Home>Construction & Tools>Building Materials>How To Fix A Brick Patio
Building Materials
How To Fix A Brick Patio
Modified: August 28, 2024
Learn how to fix your brick patio using the right building materials and techniques. Follow our step-by-step guide for a durable and long-lasting solution.
(Many of the links in this article redirect to a specific reviewed product. Your purchase of these products through affiliate links helps to generate commission for Storables.com, at no extra cost. Learn more)
Introduction
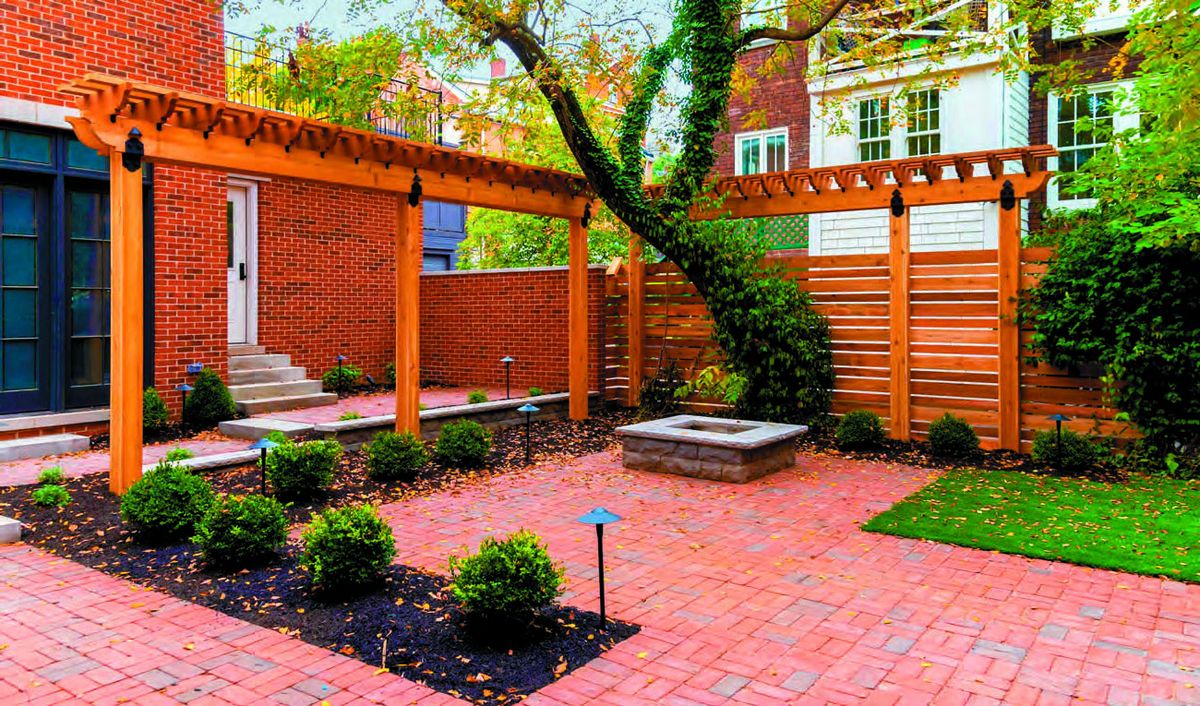
Welcome to the world of outdoor living! A brick patio is a beautiful and durable addition to any home, providing a charming space for relaxation, entertainment, and al fresco dining. However, over time, exposure to the elements and regular use can lead to wear and tear, resulting in cracked, sunken, or uneven bricks. Fortunately, with the right guidance and a bit of elbow grease, you can restore your brick patio to its former glory.
In this comprehensive guide, we will walk you through the step-by-step process of fixing a brick patio. Whether you’re a seasoned DIY enthusiast or a novice homeowner eager to tackle your first outdoor project, this article will equip you with the knowledge and confidence to revitalize your outdoor space. From assessing the damage to gathering materials and tools, removing damaged bricks, preparing the base, installing new bricks, and adding those all-important finishing touches, we’ve got you covered. Additionally, we’ll provide valuable maintenance tips to help prolong the life of your rejuvenated brick patio.
So, roll up your sleeves, put on your work gloves, and let’s dive into the world of brick patio repair. With a little effort and a lot of passion, you’ll soon be savoring the satisfaction of a job well done and enjoying your revitalized outdoor oasis.
Key Takeaways:
- Revitalizing a brick patio involves assessing damage, gathering materials, removing damaged bricks, preparing the base, installing new bricks, and adding finishing touches. Regular maintenance is crucial for preserving its beauty and longevity.
- Repairing a brick patio is a rewarding DIY project that requires patience and attention to detail. By following the step-by-step process and incorporating regular maintenance, you can enjoy a revitalized outdoor oasis for years to come.
Read more: How To Make A Brick Patio
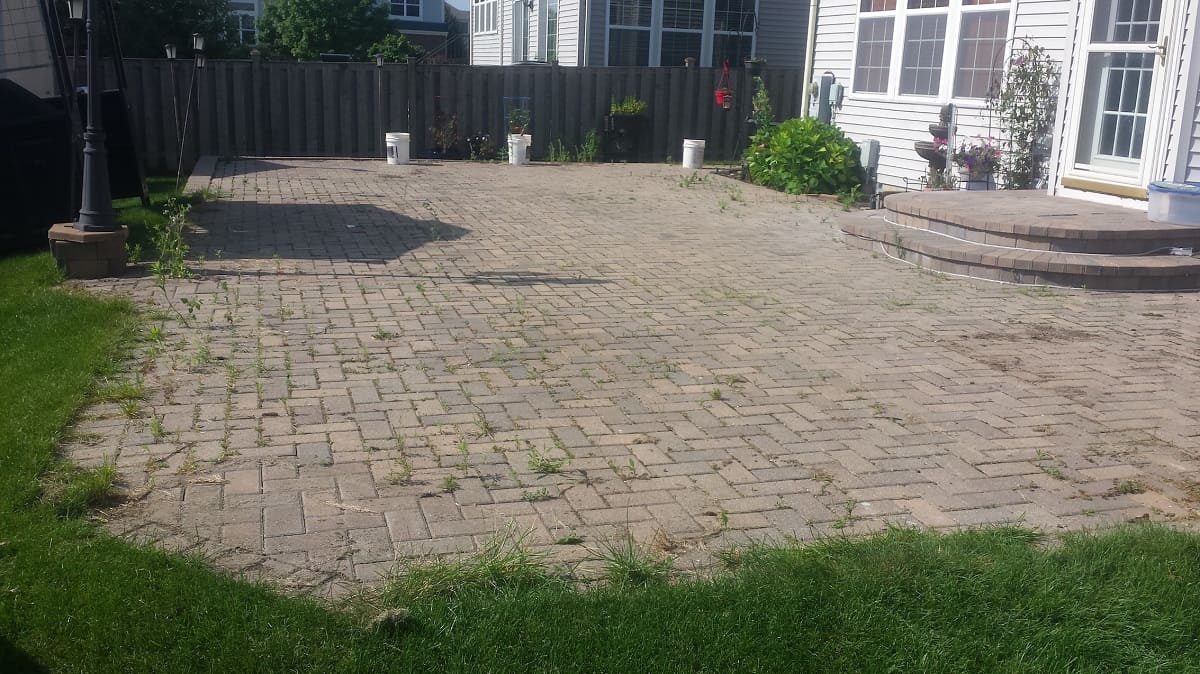
Assessing the Damage
Before diving into the repair process, it’s essential to assess the extent of the damage to your brick patio. Conducting a thorough evaluation will help you determine the scope of the project and identify the specific issues that need to be addressed. Here’s how to go about it:
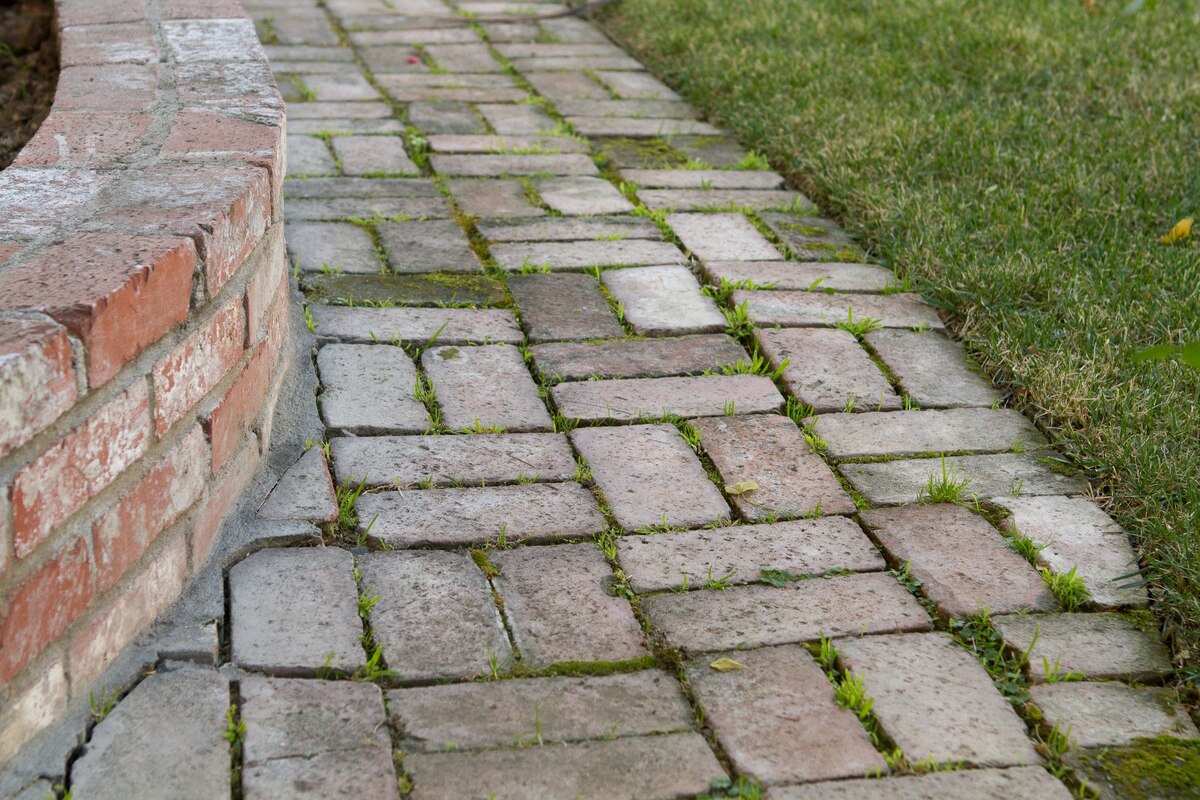
- Inspect for Cracks and Displacement: Take a walk around your patio and carefully examine the surface of the bricks. Look for cracks, gaps, or areas where the bricks appear to be sunken or raised. These signs indicate potential damage that needs to be repaired.
- Check for Unevenness: Use a straight edge, such as a long level or a piece of lumber, to check for unevenness across the surface of the patio. Uneven areas may require adjustments to the base or the replacement of sunken bricks.
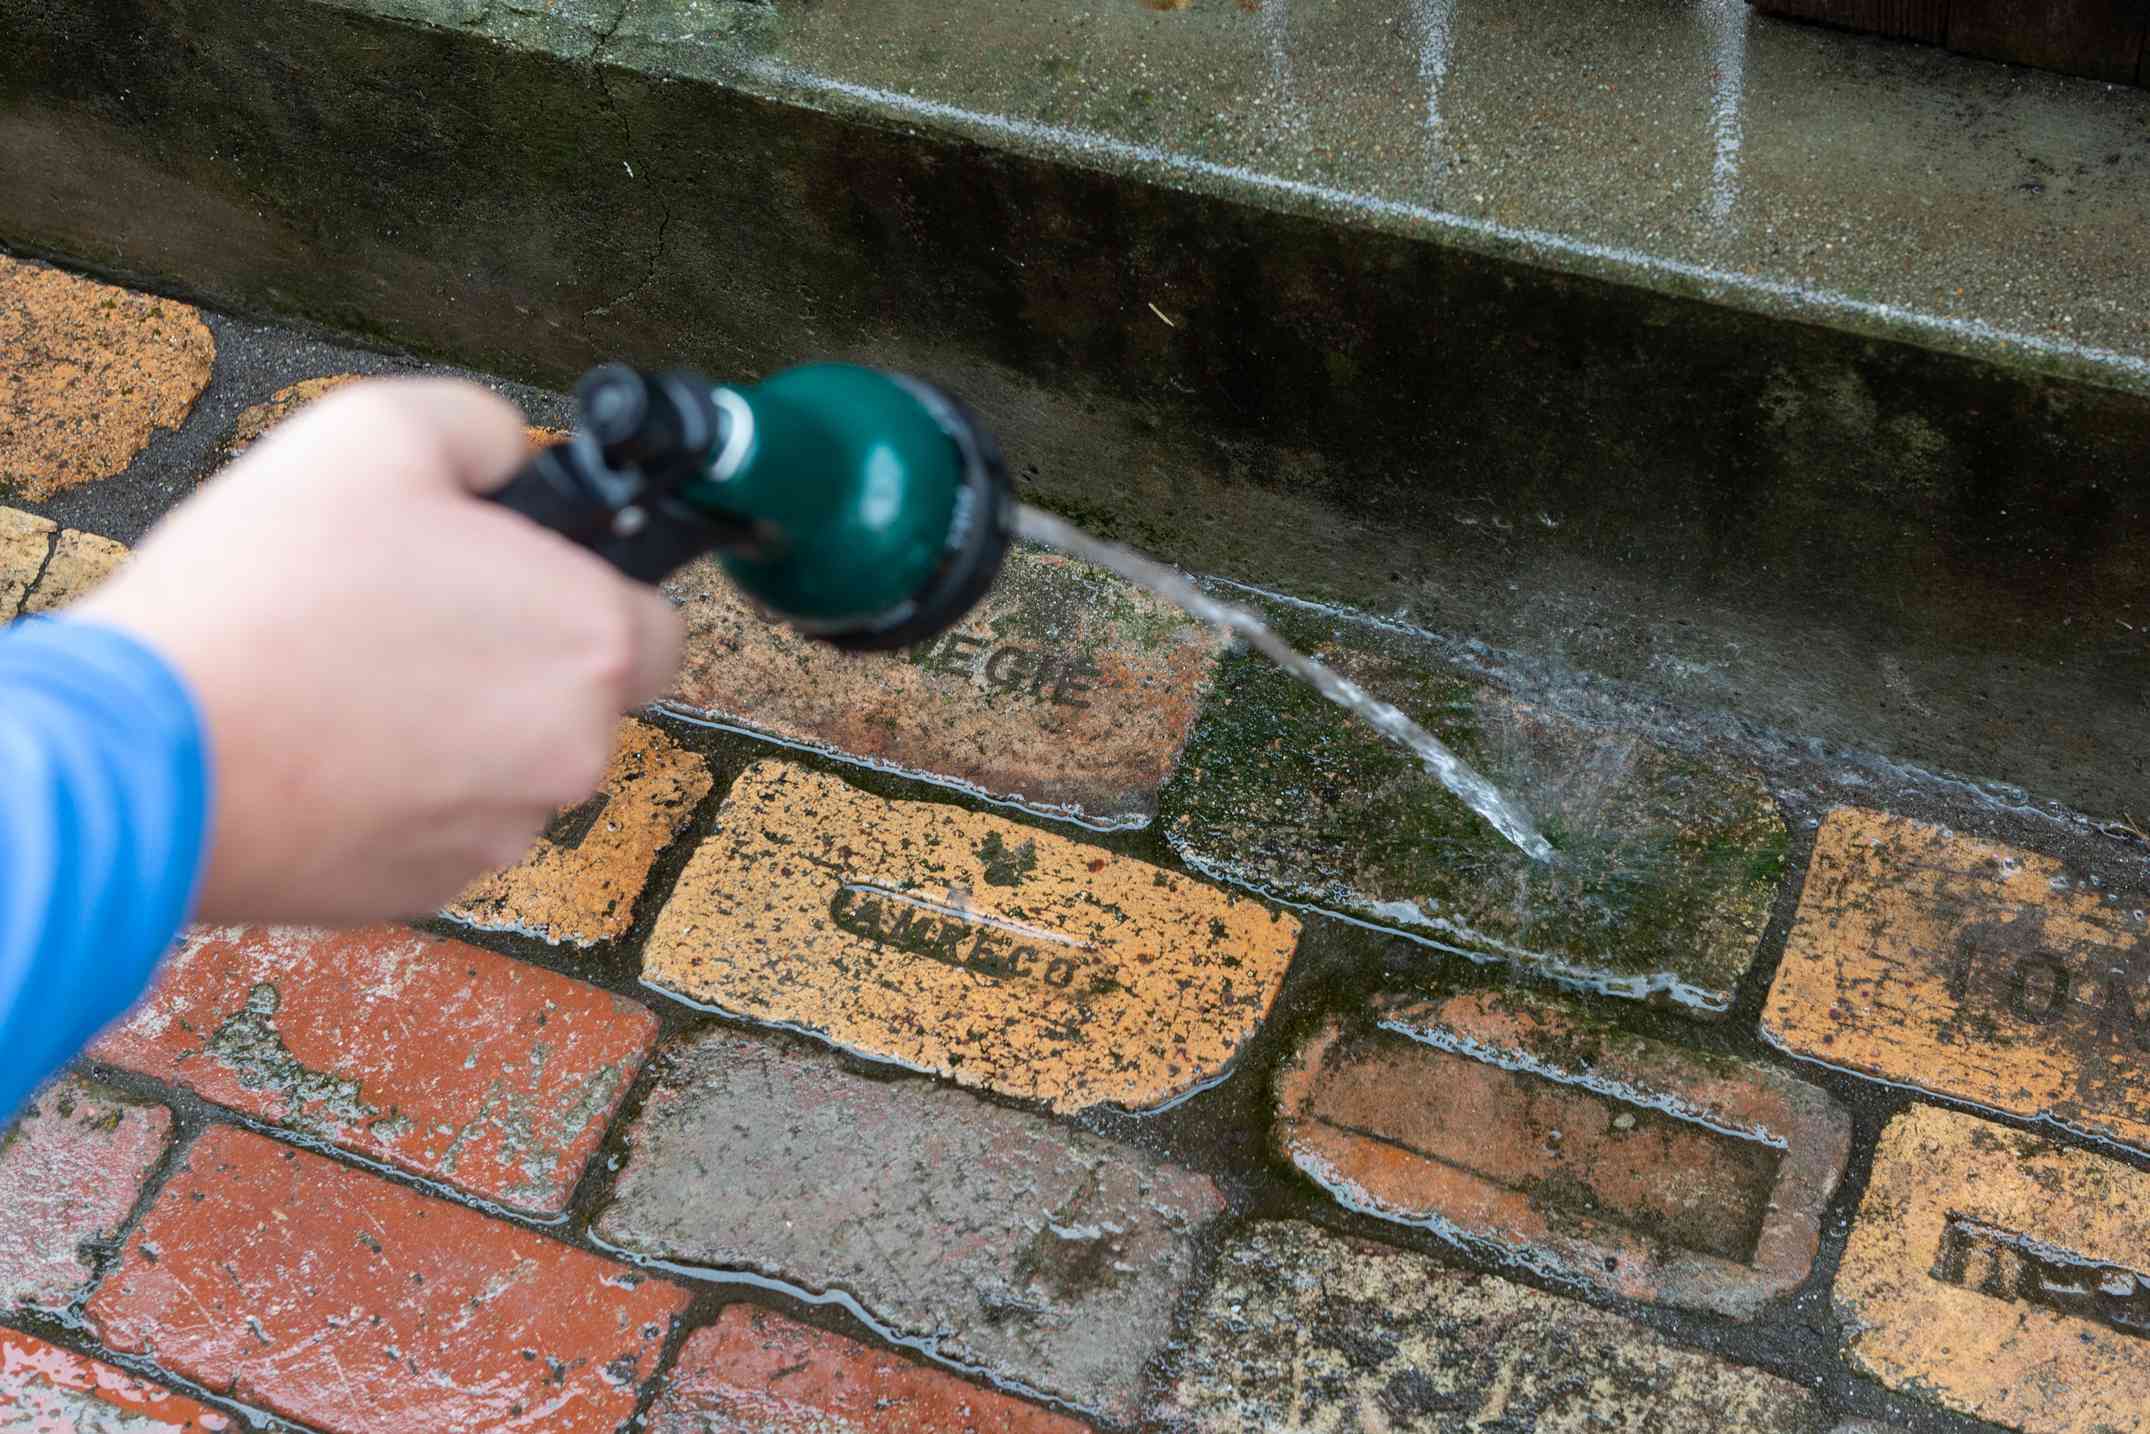
- Assess Drainage: Observe how water drains off the patio during rainfall or after hosing it down. Pooled water or inadequate drainage can lead to erosion and damage over time, so it’s crucial to address any drainage issues as part of the repair process.
- Examine Surrounding Landscaping: Take note of any nearby trees, shrubs, or other landscaping elements that may be encroaching on the patio. Overgrown roots or vegetation can exert pressure on the bricks, causing them to shift or crack.
By carefully evaluating these aspects, you’ll gain a clear understanding of the condition of your brick patio and the specific issues that require attention. This assessment will serve as a valuable roadmap as you proceed with the repair process, ensuring that you address the root causes of the damage and achieve long-lasting results.
Gathering Materials and Tools
Before embarking on the repair of your brick patio, it’s essential to gather the necessary materials and tools to ensure a smooth and efficient process. Here’s a comprehensive list of what you’ll need:
- Safety Gear: Prioritize safety by equipping yourself with work gloves, safety goggles, and a dust mask to protect against potential hazards such as sharp debris and airborne particles.
- Measuring Tools: A tape measure and a carpenter’s square will come in handy for accurately assessing dimensions and ensuring precise cuts and placements.
- Masonry Tools: Essential masonry tools include a brick chisel, masonry hammer, trowel, jointer, and a pointing trowel for removing and replacing bricks, as well as for mortar application and finishing touches.
- Leveling and Compacting Tools: A long level, a rubber mallet, and a tamper are crucial for ensuring the evenness and stability of the base and the newly laid bricks.
- Replacement Bricks: Depending on the extent of the damage, procure an adequate quantity of replacement bricks that match the size, style, and color of the existing ones.
- Mortar Mix: Select a high-quality mortar mix suitable for outdoor applications, ensuring durability and weather resistance.
- Gravel and Sand: These materials are essential for preparing the base and providing a stable foundation for the bricks.
- Protective Sealant: Consider investing in a protective sealant to apply to the repaired patio, enhancing its resilience against moisture and wear.
By gathering these materials and tools in advance, you’ll be well-prepared to tackle the repair of your brick patio with confidence and efficiency. Additionally, having everything at your disposal will minimize interruptions and ensure a seamless workflow, allowing you to focus on achieving outstanding results.
Removing Damaged Bricks
Once you’ve assessed the damage and gathered the necessary materials and tools, it’s time to roll up your sleeves and begin the repair process by removing the damaged bricks. This step is crucial for creating a clean canvas on which to build the revitalized patio. Here’s a detailed guide on how to remove damaged bricks:
- Prepare the Work Area: Clear the surrounding space and lay down a tarp or a sturdy drop cloth to collect debris and prevent damage to the ground or adjacent surfaces.
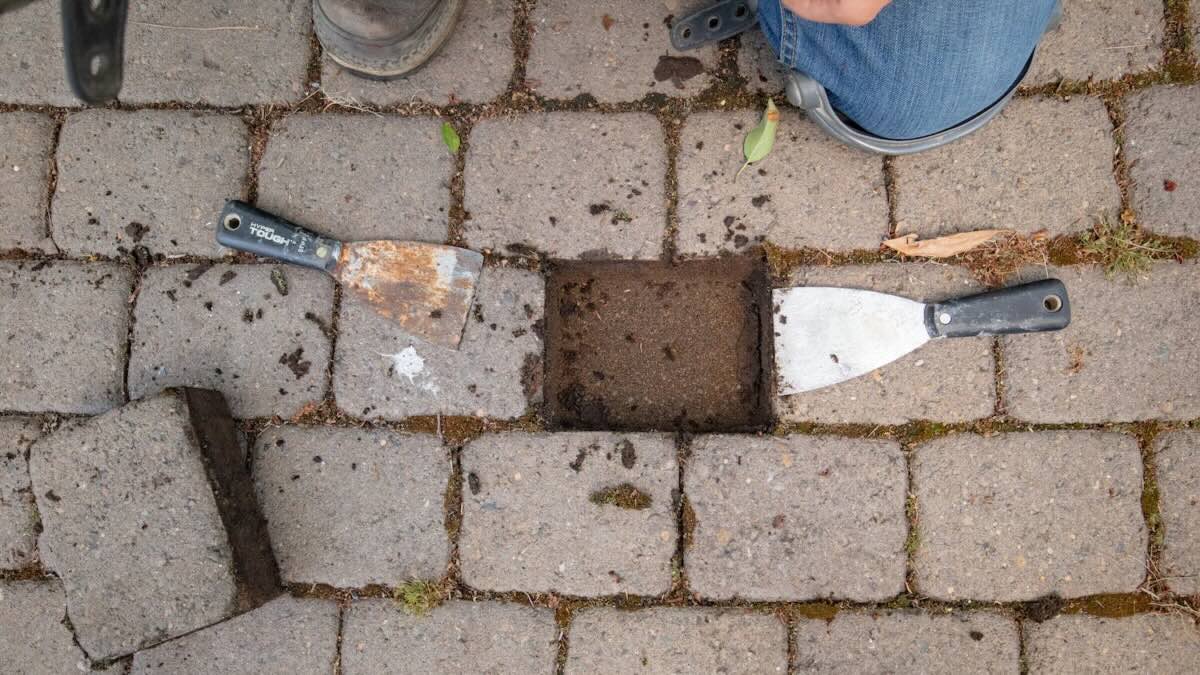
- Inspect the Mortar Joints: Carefully examine the mortar joints around the damaged bricks. Using a brick chisel and a masonry hammer, gently chip away at the mortar to loosen and remove it, taking care not to damage neighboring bricks in the process.
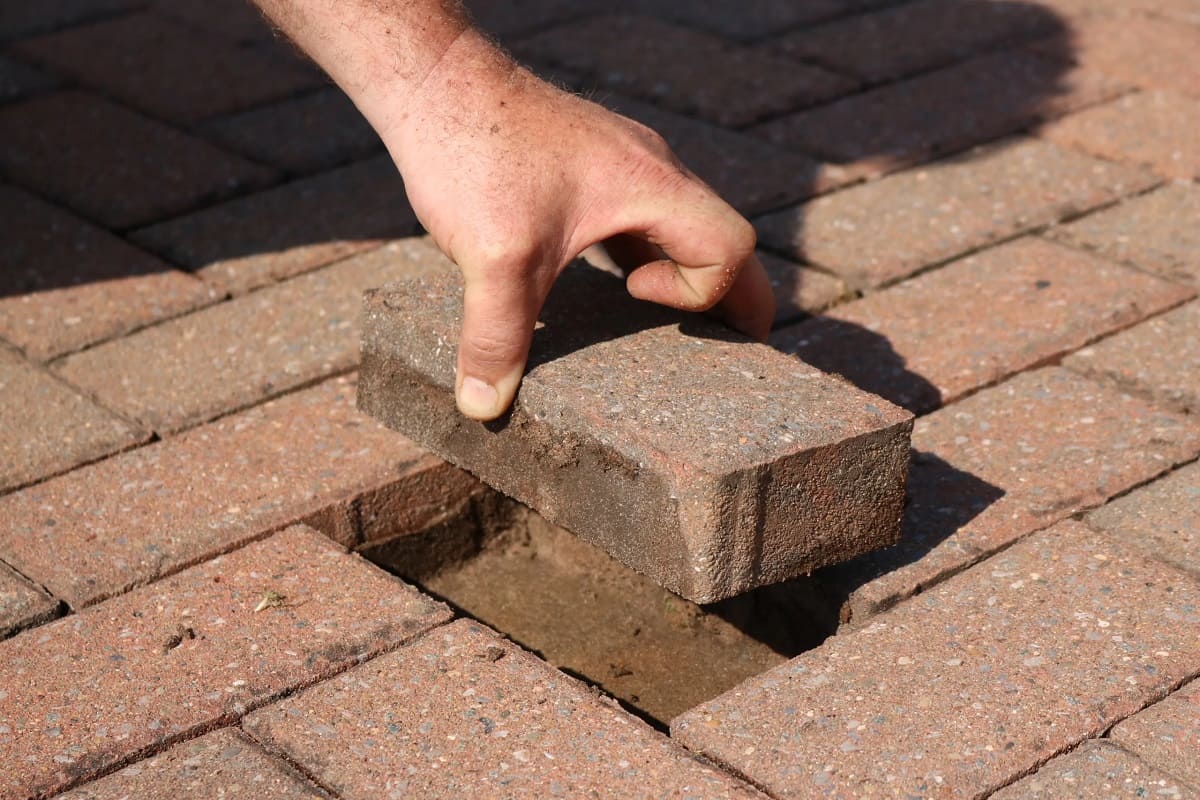
- Remove the Bricks: Once the mortar is sufficiently loosened, carefully pry out the damaged bricks using the brick chisel and a flat pry bar. Work methodically to avoid unnecessary strain on adjacent bricks and to minimize the risk of further damage.
- Clean the Area: After removing the damaged bricks, use a stiff brush and a vacuum to clean out any remaining debris and mortar from the empty spaces, ensuring a smooth and level surface for the next steps.
- Inspect the Base: Take the opportunity to inspect the base beneath the removed bricks. Address any issues such as unevenness, erosion, or inadequate compaction, as these can contribute to future damage if left unattended.
By following these steps, you’ll effectively clear the way for the next stages of the repair process, setting the stage for the installation of new bricks and the rejuvenation of your brick patio. Remember to work patiently and methodically, prioritizing the careful removal of damaged bricks to avoid causing further harm to the surrounding area.
Preparing the Base
With the damaged bricks removed and the work area cleared, the next crucial step in fixing your brick patio is to prepare the base. A stable and well-prepared base is essential for ensuring the longevity and structural integrity of the repaired patio. Here’s a comprehensive guide on how to prepare the base for the installation of new bricks:
- Assess the Substrate: Evaluate the condition of the substrate beneath the removed bricks. Ensure that it is compact, level, and free of debris, with proper slope for drainage.
- Add Gravel and Sand: If necessary, add a layer of gravel to the substrate to enhance drainage and provide a stable foundation. Follow this with a layer of coarse sand, leveling and compacting both materials to create a solid base.
- Establish Proper Slope: Use a long level to confirm that the base has the appropriate slope for water drainage, ensuring that it slopes away from any nearby structures to prevent water accumulation.
- Compact the Base: Utilize a tamper to compact the gravel and sand layers thoroughly, promoting stability and minimizing the risk of settling over time.
- Verify Evenness: Double-check the evenness of the compacted base using the level, making any necessary adjustments to achieve a uniformly level surface for the new bricks.
By meticulously preparing the base according to these guidelines, you’ll establish a solid and reliable foundation for the reinstallation of bricks, setting the stage for a successful repair that will stand the test of time. Take your time with this step, as a well-prepared base is fundamental to the overall quality and durability of your rejuvenated brick patio.
To fix a brick patio, start by removing any damaged bricks and replacing them with new ones. Make sure to use the proper tools and materials, and consider hiring a professional if the damage is extensive.
Read more: How To Clean A Brick Patio
Installing New Bricks
With the base thoroughly prepared, it’s time to breathe new life into your brick patio by installing the replacement bricks. This step marks a pivotal moment in the repair process, as it sets the stage for the visual and functional transformation of your outdoor space. Here’s a comprehensive guide on how to install new bricks:
- Arrange the Replacement Bricks: Lay out the replacement bricks in the desired pattern, ensuring a visually pleasing arrangement and accounting for any necessary cuts to fit the layout.
- Apply Mortar: Using a trowel, apply a layer of mortar to the base where the first brick will be placed, ensuring even coverage to promote strong adhesion.
- Set the Bricks: Carefully place the replacement bricks into the mortar, pressing them firmly and evenly to seat them securely in place. Use a rubber mallet to gently tap the bricks into position, ensuring a level surface.
- Check Alignment: Utilize a carpenter’s square and a level to confirm that the bricks are aligned and level, making adjustments as needed to maintain a uniform and aesthetically pleasing layout.
- Fill Joints with Mortar: Once the bricks are in place, fill the joints with mortar using a pointing trowel, ensuring that the mortar is evenly distributed and neatly finished for a professional appearance.
- Smooth and Shape Joints: Use a jointer to smooth and shape the mortar joints, creating a clean and uniform finish that enhances the overall appearance of the patio.
By following these steps with precision and attention to detail, you’ll effectively install the new bricks, breathing fresh vitality into your patio and setting the stage for a beautiful and functional outdoor space. Take pride in the meticulous placement and finishing of each brick, knowing that your efforts will yield a rejuvenated patio that you can enjoy for years to come.
Finishing Touches
As you near the completion of the brick patio repair process, it’s time to add those all-important finishing touches that will elevate the visual appeal and longevity of your outdoor oasis. These final steps will not only enhance the aesthetics of the patio but also contribute to its durability and resilience. Here’s a guide to the finishing touches:
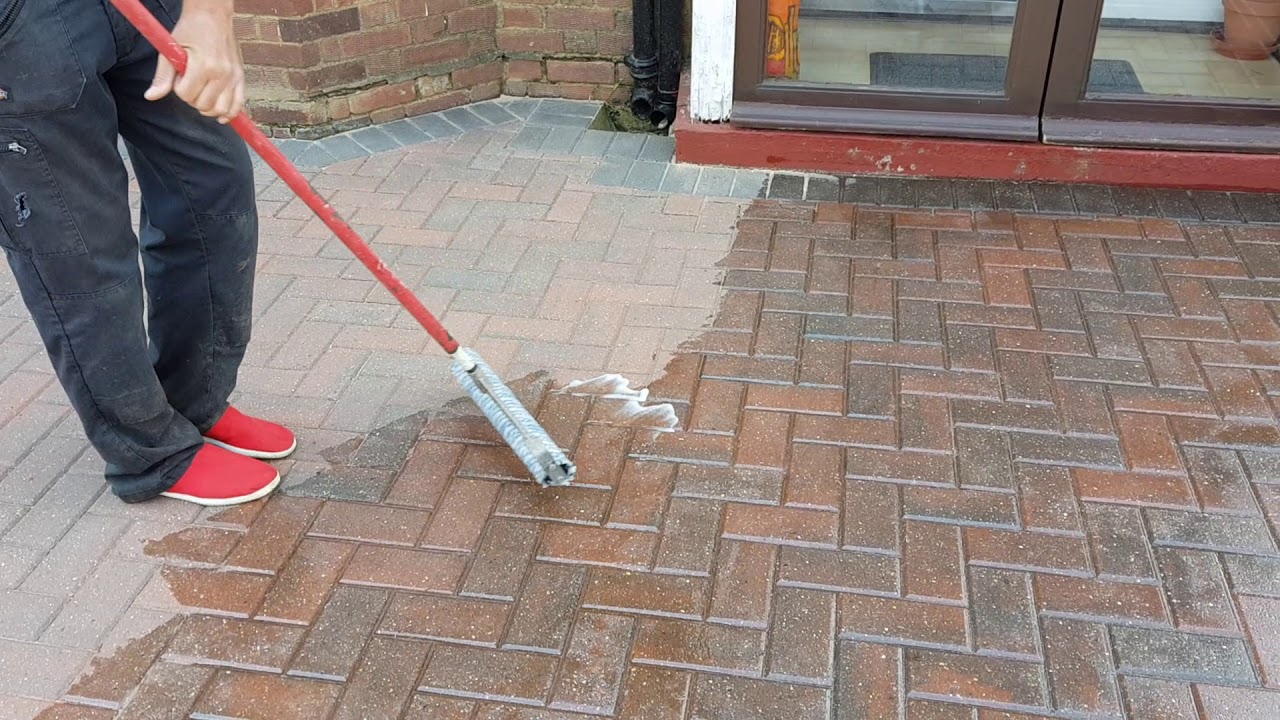
- Apply a Protective Sealant: Consider applying a high-quality sealant specifically designed for brick surfaces. This protective coating will safeguard the patio against moisture penetration, weathering, and staining, prolonging the lifespan of the bricks and mortar.
- Inspect and Adjust: Take a comprehensive look at the repaired patio, checking for any unevenness, loose bricks, or imperfections. Make any necessary adjustments to ensure that the surface is uniformly level and stable.
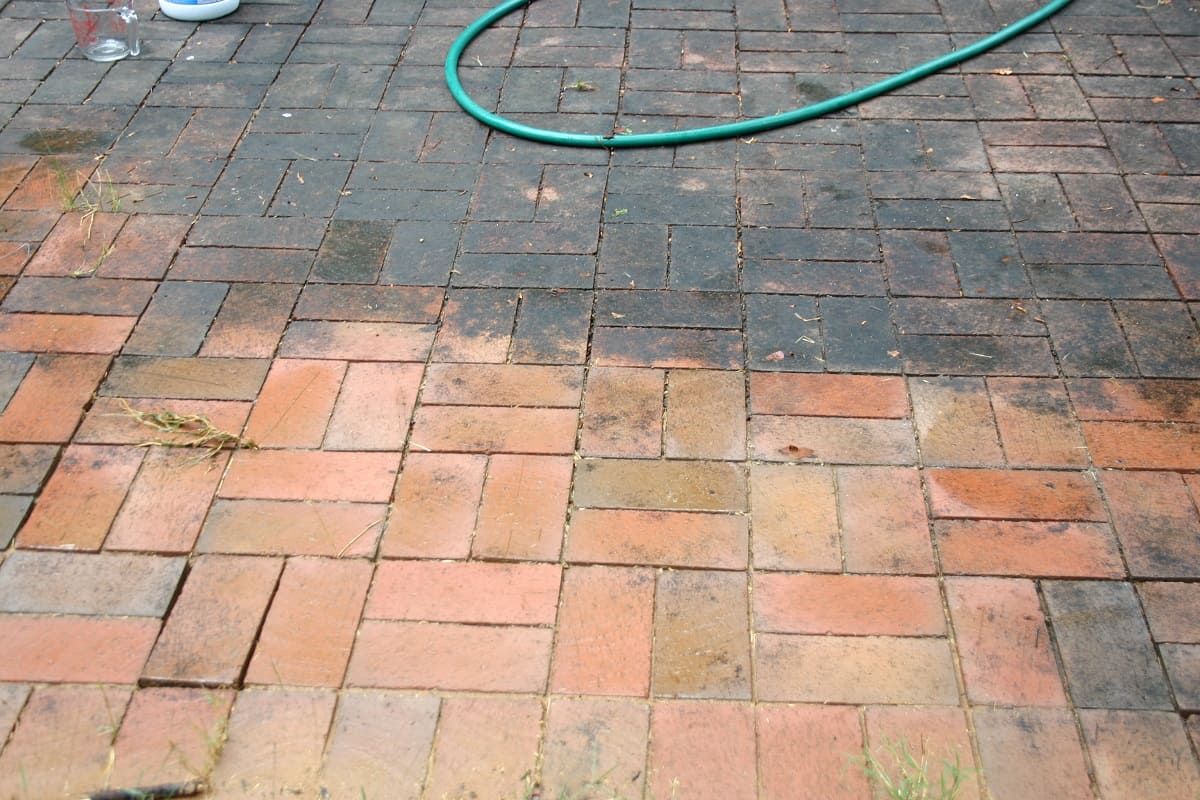
- Clean the Patio: Thoroughly clean the entire patio surface, removing any residual mortar, debris, or dust. A gentle wash with a mild detergent and water can help restore the patio to its original luster.
- Enhance with Landscaping: Consider complementing the rejuvenated patio with tasteful landscaping elements such as potted plants, decorative borders, or outdoor furnishings to create an inviting and harmonious outdoor environment.
- Regular Maintenance: Emphasize the importance of regular maintenance to preserve the beauty and integrity of your brick patio. This includes periodic cleaning, inspecting for damage, and promptly addressing any issues that arise.
By attending to these finishing touches with care and consideration, you’ll elevate the overall appeal and functionality of your brick patio, ensuring that it remains a cherished feature of your outdoor living space for years to come. Embrace these final steps as an opportunity to infuse your personal touch and create a welcoming and enduring outdoor haven.
Maintenance Tips
Maintaining your newly repaired brick patio is essential for preserving its beauty and structural integrity over time. By incorporating regular maintenance into your outdoor care routine, you can ensure that your patio remains a stunning and functional feature of your home. Here are some valuable maintenance tips to help you keep your brick patio in top condition:
- Regular Cleaning: Schedule routine cleaning sessions to remove dirt, debris, and organic matter from the surface of the patio. Use a stiff brush, mild detergent, and water to gently scrub away stains and grime.
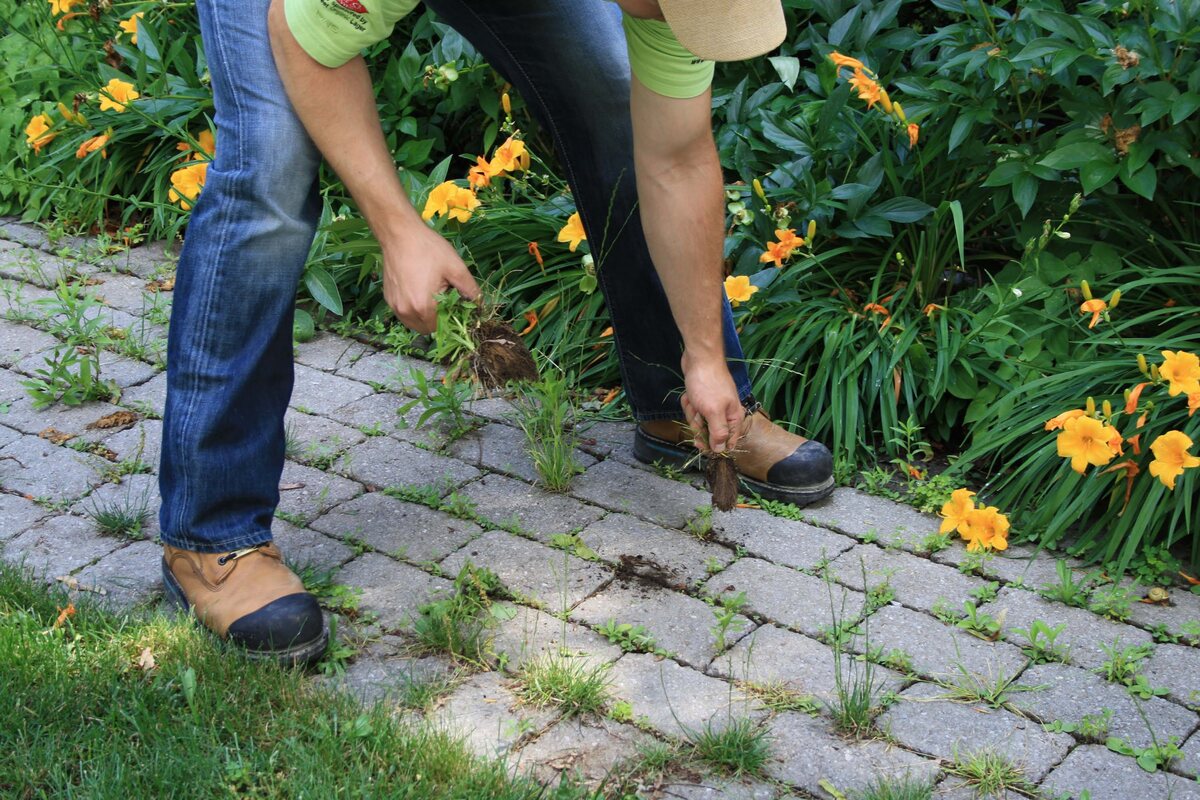
- Weed Control: Keep an eye out for any weeds or vegetation that may encroach on the patio. Promptly remove any unwanted growth to prevent it from compromising the integrity of the brickwork.
- Inspect for Damage: Periodically inspect the patio for signs of damage, including cracked or loose bricks, as well as deteriorating mortar joints. Address any issues promptly to prevent further deterioration.
- Sealant Maintenance: If your patio is sealed, monitor the condition of the sealant regularly. Reapply the sealant as needed to maintain its protective properties and enhance the patio’s resistance to moisture and staining.
- Address Drainage Issues: Ensure that the patio maintains proper drainage to prevent water from pooling or infiltrating the brickwork. Address any drainage concerns promptly to safeguard the patio against water-related damage.
- Protective Measures: Take proactive measures to protect the patio during inclement weather or harsh environmental conditions. Consider using furniture pads or protective coverings to prevent damage from heavy or abrasive objects.
- Professional Inspection: Periodically engage a professional to conduct a comprehensive inspection of your brick patio. A trained eye can identify potential issues and provide expert recommendations for maintenance and repairs.
By integrating these maintenance tips into your regular outdoor care routine, you’ll play a vital role in preserving the beauty and longevity of your brick patio. Embrace the opportunity to care for this cherished outdoor space, knowing that your efforts will ensure its enduring appeal for years to come.
Conclusion
Congratulations on successfully navigating the process of fixing your brick patio! By following the comprehensive steps outlined in this guide, you’ve not only revitalized your outdoor space but also gained valuable insights into the art of brick patio repair. As you stand back and admire the fruits of your labor, it’s important to reflect on the journey and the transformation that has taken place.
Repairing a brick patio is not just about restoring functionality; it’s an opportunity to infuse your personal touch and creativity into an integral part of your home’s outdoor environment. The meticulous removal of damaged bricks, the careful preparation of the base, the precise installation of new bricks, and the thoughtful application of finishing touches have all contributed to the rejuvenation of your patio as a welcoming and enduring feature of your home.
As you enjoy the beauty and functionality of your repaired brick patio, remember that regular maintenance is key to preserving its allure and structural integrity. By incorporating the maintenance tips provided in this guide into your outdoor care routine, you’ll ensure that your patio remains a source of pride and enjoyment for years to come.
Whether you’re savoring quiet moments of relaxation, hosting gatherings with friends and family, or simply reveling in the beauty of your outdoor sanctuary, your brick patio stands as a testament to your dedication and craftsmanship. As the seasons change and the years unfold, your repaired patio will continue to be a cherished backdrop for countless memories and experiences.
So, take a moment to celebrate your accomplishment and the newfound allure of your outdoor space. Your commitment to restoring and maintaining your brick patio has not only enhanced the aesthetic appeal of your home but has also enriched your connection to the natural beauty that surrounds you.
As you look ahead, may your revitalized brick patio serve as a constant source of joy and inspiration, inviting you to embrace the simple pleasures of outdoor living and the timeless charm of a well-crafted space.
Frequently Asked Questions about How To Fix A Brick Patio
Was this page helpful?
At Storables.com, we guarantee accurate and reliable information. Our content, validated by Expert Board Contributors, is crafted following stringent Editorial Policies. We're committed to providing you with well-researched, expert-backed insights for all your informational needs.

0 thoughts on “How To Fix A Brick Patio”