Home>Construction & Tools>Building Materials>How To Seal A Brick Patio
Building Materials
How To Seal A Brick Patio
Modified: October 30, 2024
Learn how to seal your brick patio with the right building materials. Protect and enhance the beauty of your outdoor space with our expert tips.
(Many of the links in this article redirect to a specific reviewed product. Your purchase of these products through affiliate links helps to generate commission for Storables.com, at no extra cost. Learn more)
Introduction
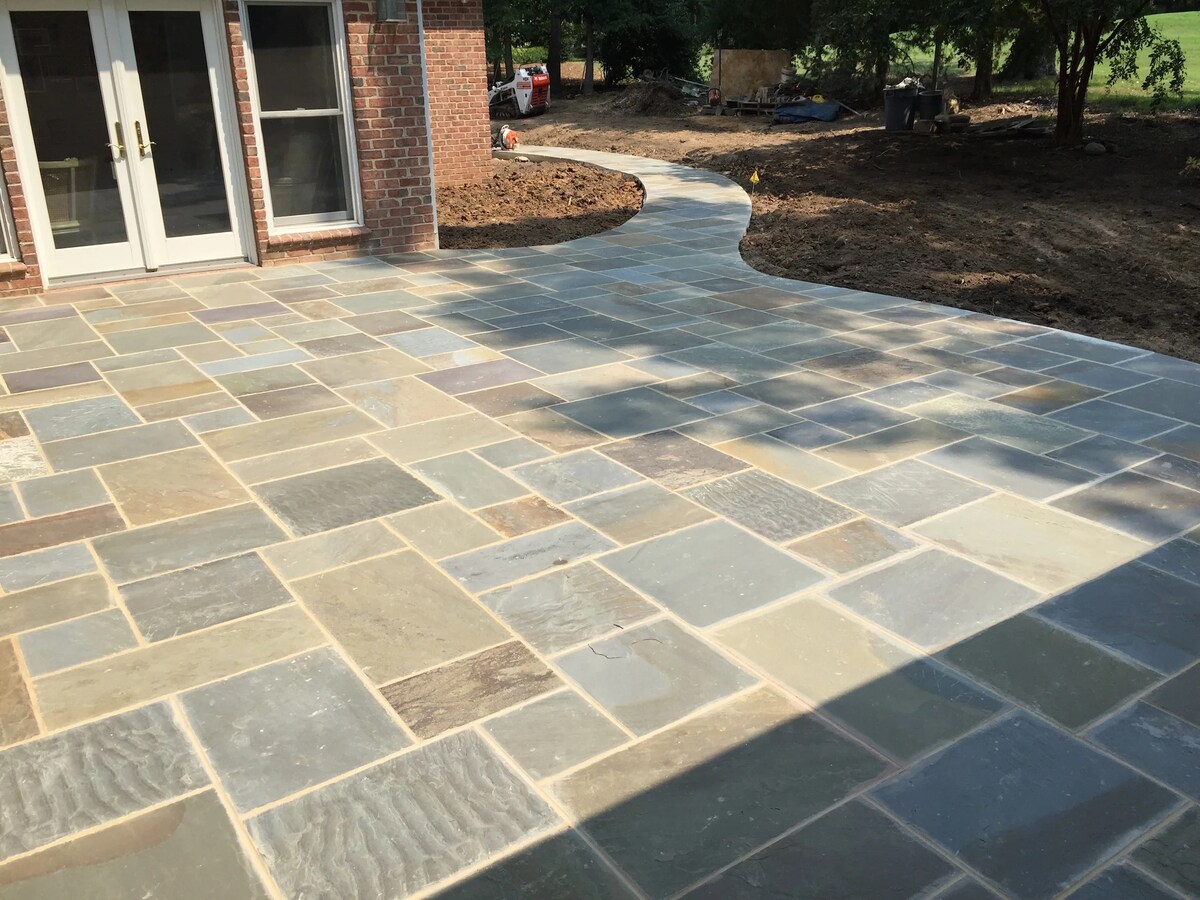
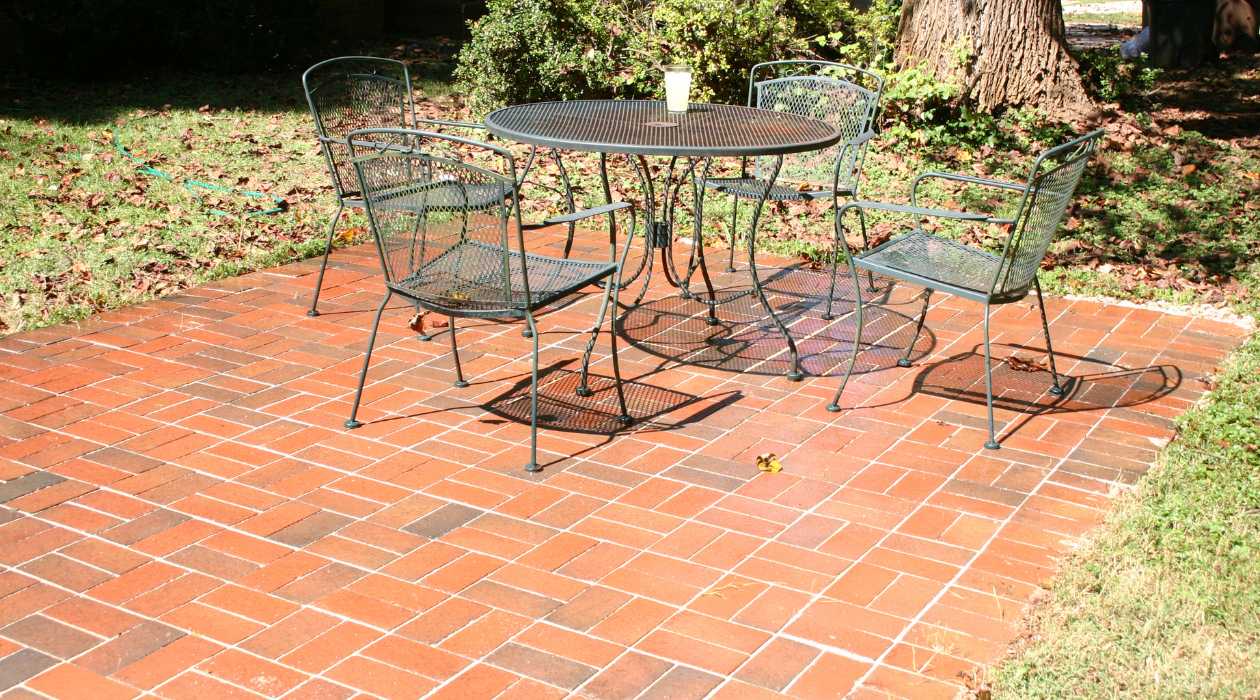
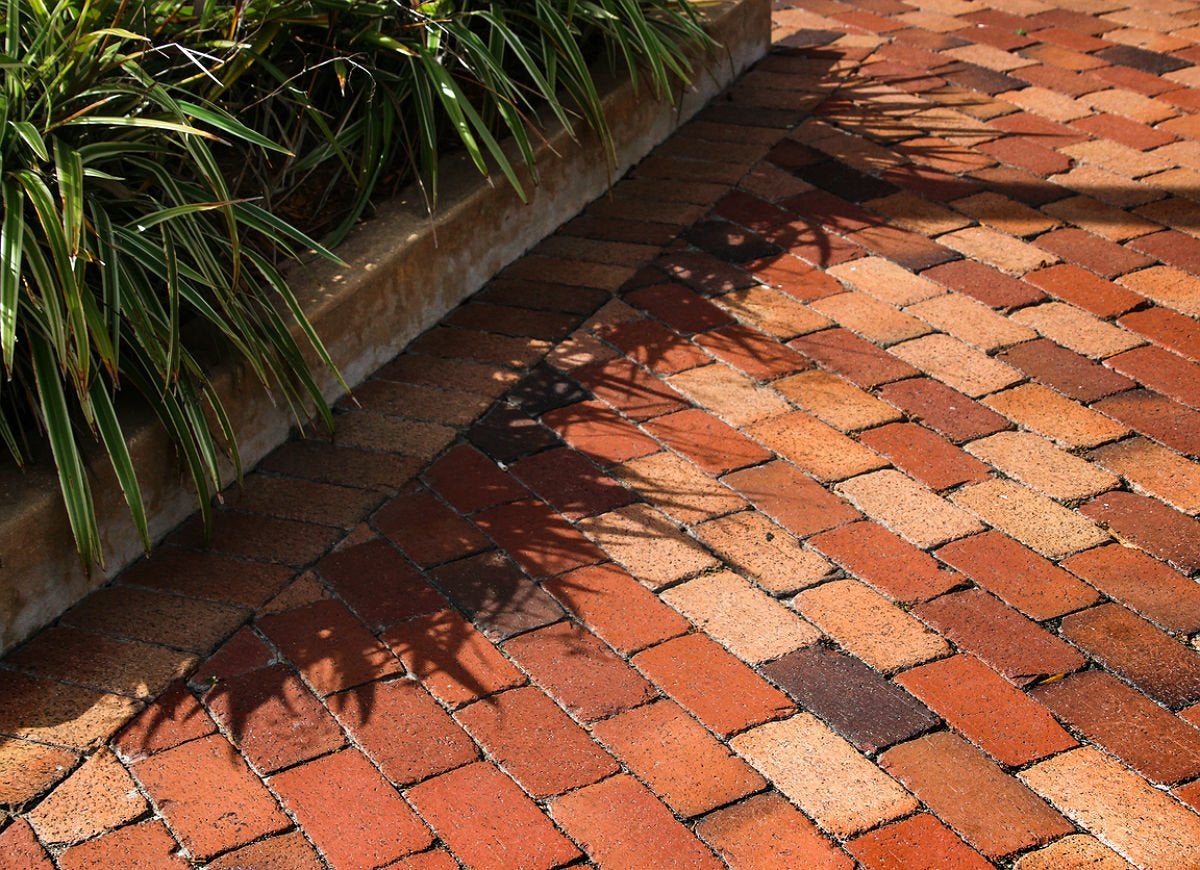
Creating a beautiful and durable outdoor space is a common aspiration for homeowners. A brick patio is a timeless addition to any home, offering a charming and rustic aesthetic that can enhance the overall appeal of your property. However, to ensure that your brick patio remains in top condition for years to come, it's essential to seal it properly. Sealing a brick patio not only enhances its appearance but also provides protection against the elements, preventing erosion and prolonging its lifespan.
In this comprehensive guide, we will walk you through the step-by-step process of sealing your brick patio. Whether you're a seasoned DIY enthusiast or a novice homeowner looking to take on a new project, this guide will equip you with the knowledge and confidence to tackle the task successfully. From cleaning the patio surface to selecting the right sealant and applying it with precision, we've got you covered. So, roll up your sleeves and get ready to transform your brick patio into a stunning and resilient outdoor oasis.
Key Takeaways:
- Sealing a brick patio involves cleaning, repairing, choosing the right sealant, applying it carefully, and allowing for proper drying. This process protects the patio, enhances its appearance, and ensures long-lasting durability.
- Regular maintenance, including cleaning, inspections, and prompt repairs, is essential for extending the life of a sealed brick patio. Following manufacturer’s recommendations for reapplying the sealant helps maintain optimal protection against the elements.
Read more: How To Seal A Brick Chimney
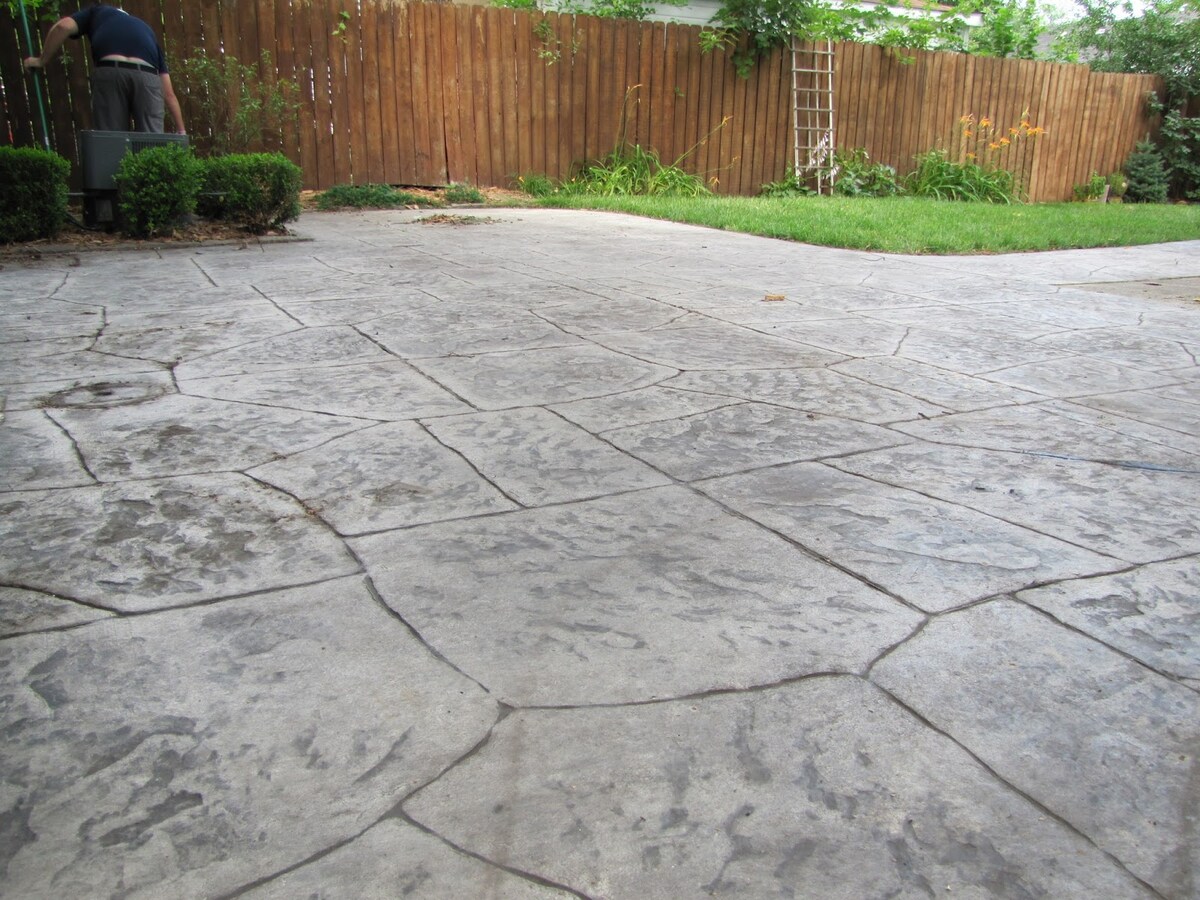
Step 1: Clean the Patio
Before you begin the sealing process, it’s crucial to start with a clean slate. Over time, dirt, grime, moss, and other debris can accumulate on the surface of your brick patio, diminishing its visual appeal and hindering the effectiveness of the sealant. Here’s a comprehensive approach to cleaning your patio:
- Clear the Area: Remove any furniture, potted plants, or decorative items from the patio to access the entire surface easily.
- Sweep or Power Wash: Use a broom or a power washer to remove loose dirt, leaves, and other debris. A power washer can be especially effective in dislodging embedded grime from the brick’s surface.
- Apply a Cleaning Solution: Depending on the level of dirt and staining, you may need to use a specialized brick or patio cleaner. Ensure that the cleaning solution is suitable for the type of brick used in your patio.
- Scrub the Surface: Use a stiff-bristled brush or a scrubbing tool to work the cleaning solution into the brick. Pay particular attention to areas with noticeable stains or discoloration.
- Rinse Thoroughly: Once the cleaning solution has had time to penetrate and lift the dirt, thoroughly rinse the entire patio with a garden hose or a pressure washer. Ensure that no cleaning residue is left behind.
- Allow for Drying: Let the patio dry completely before proceeding to the next step. This may take a day or two, depending on the weather conditions in your area.
By starting with a meticulously cleaned surface, you set the stage for the sealant to adhere effectively and provide long-lasting protection for your brick patio. Now that your patio is spotless and ready for the next phase, it’s time to address any damaged areas that may have developed over time.
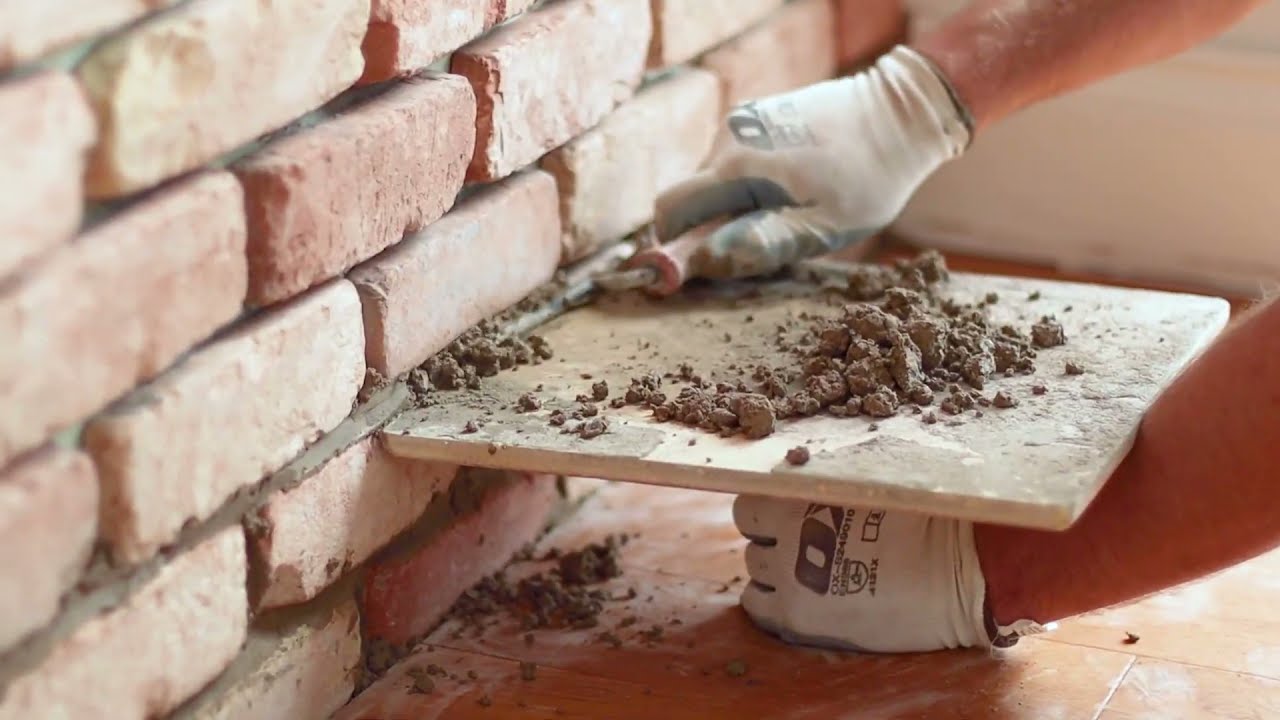
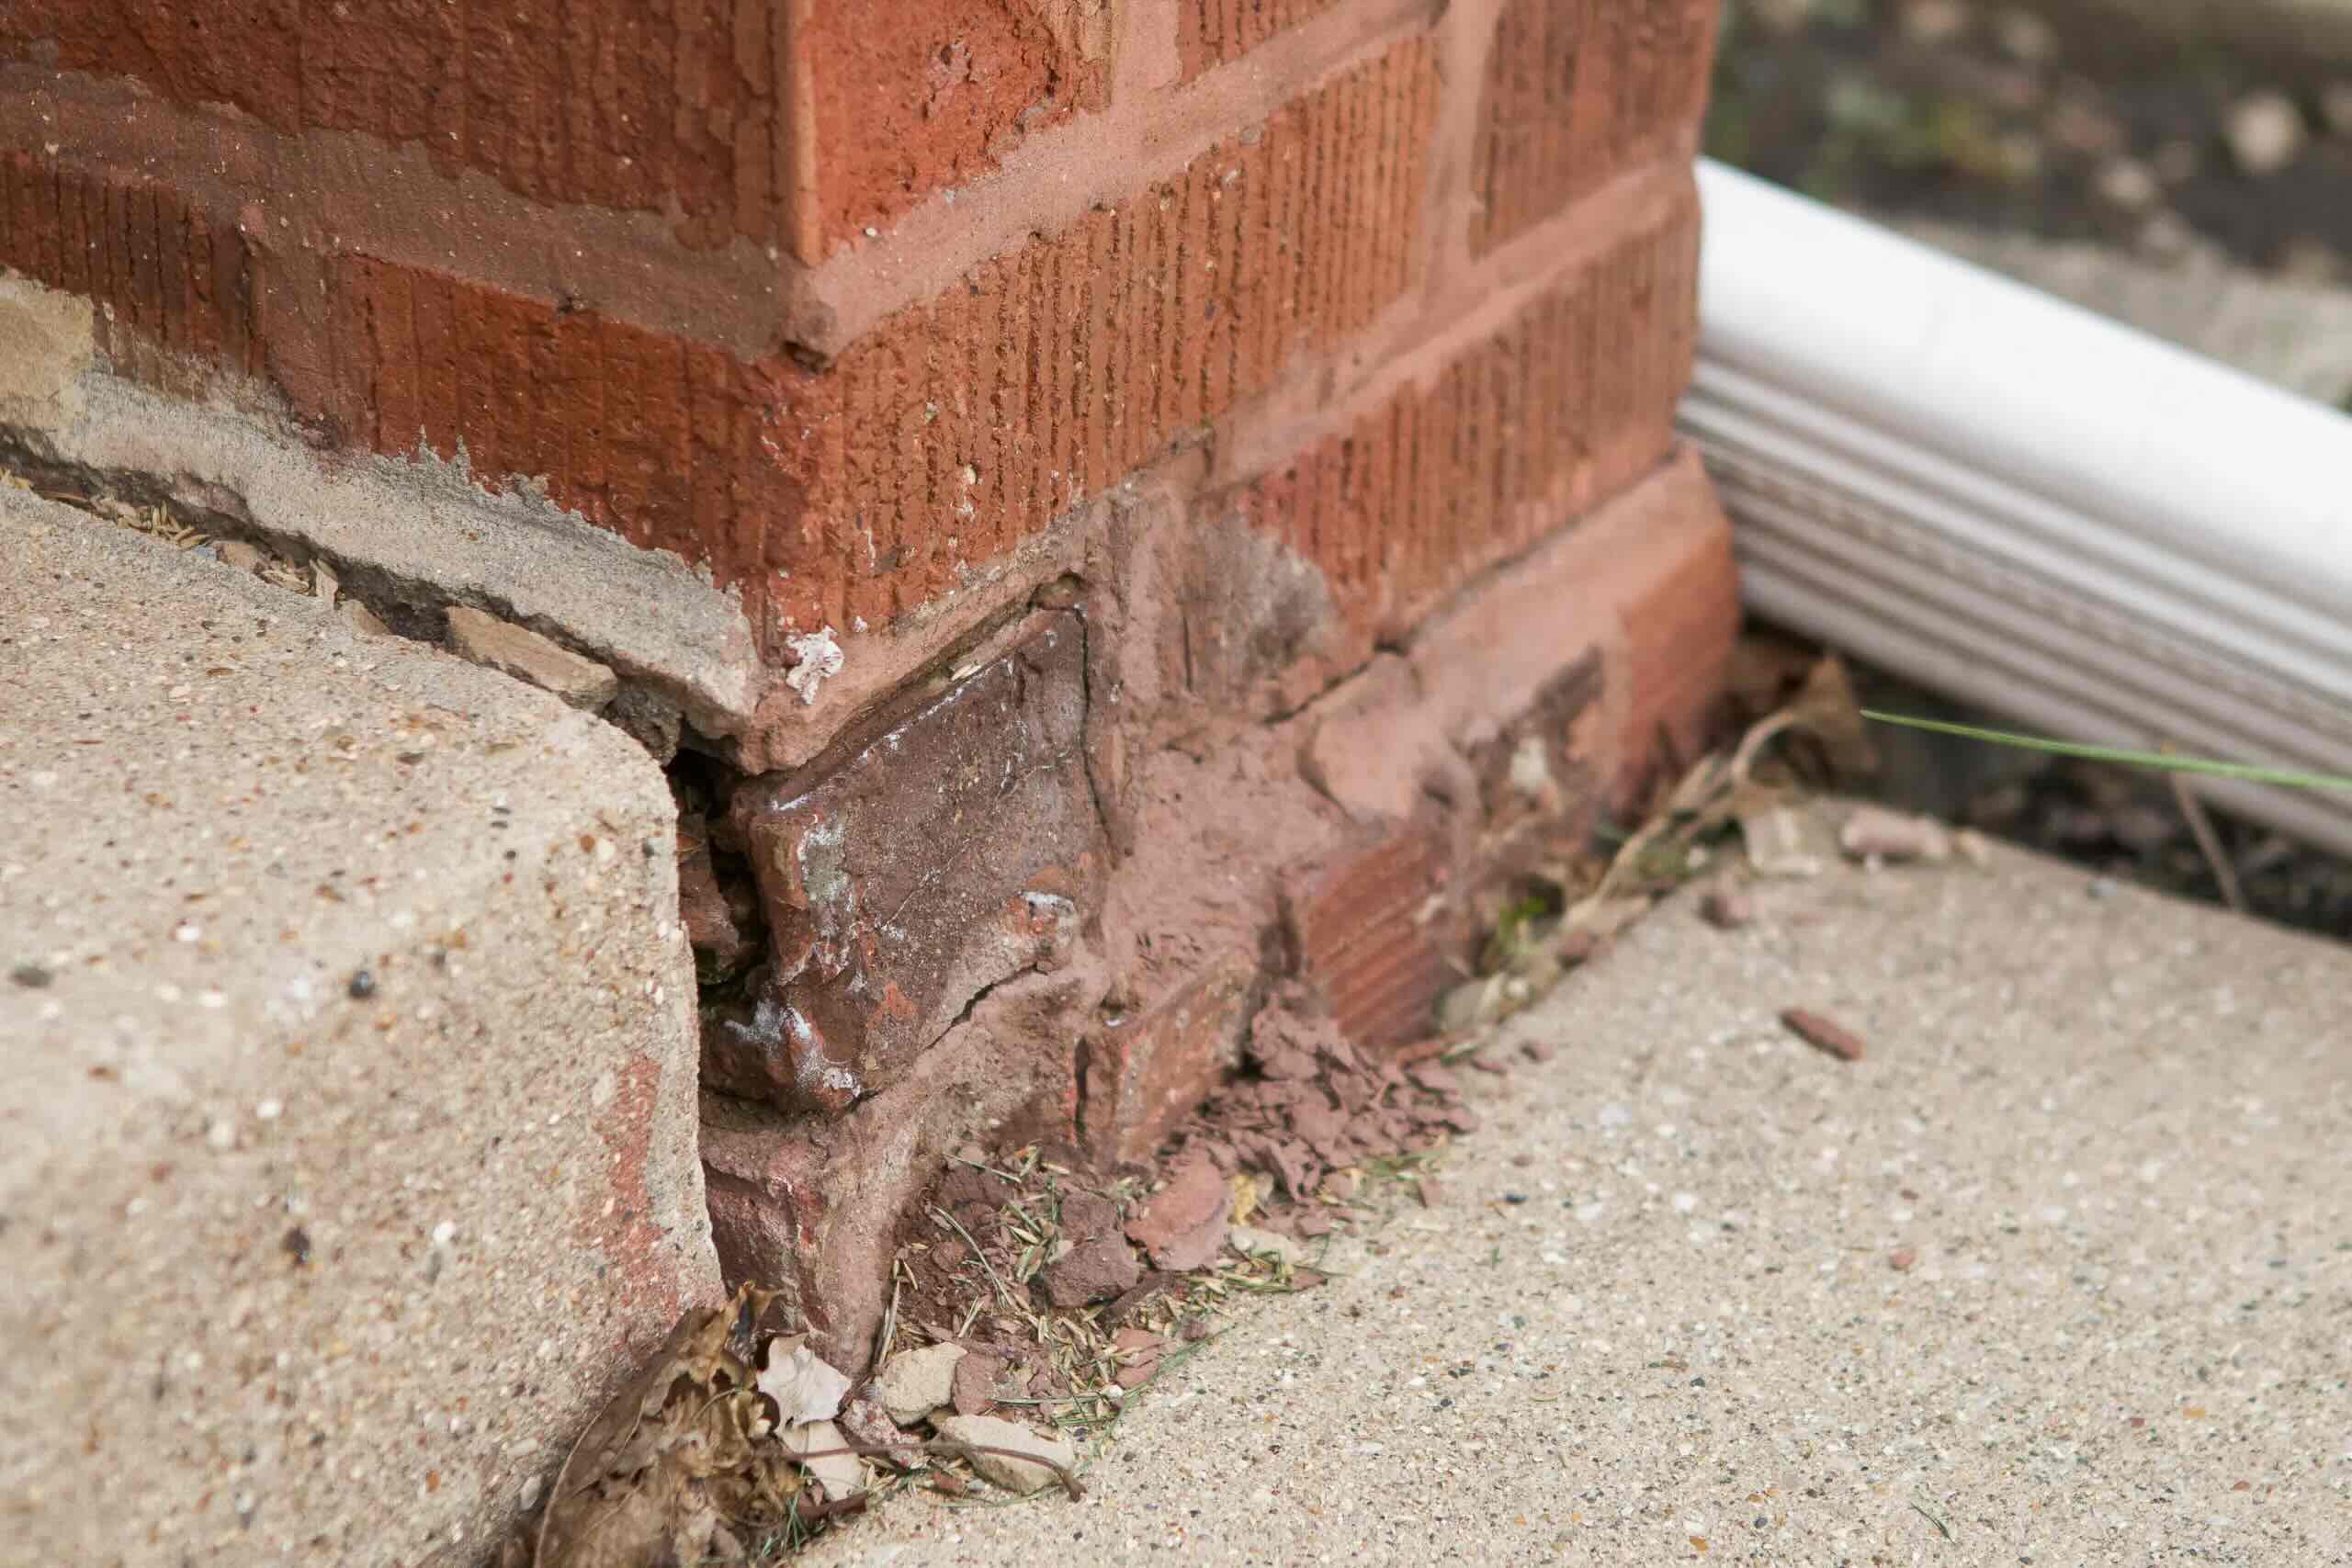
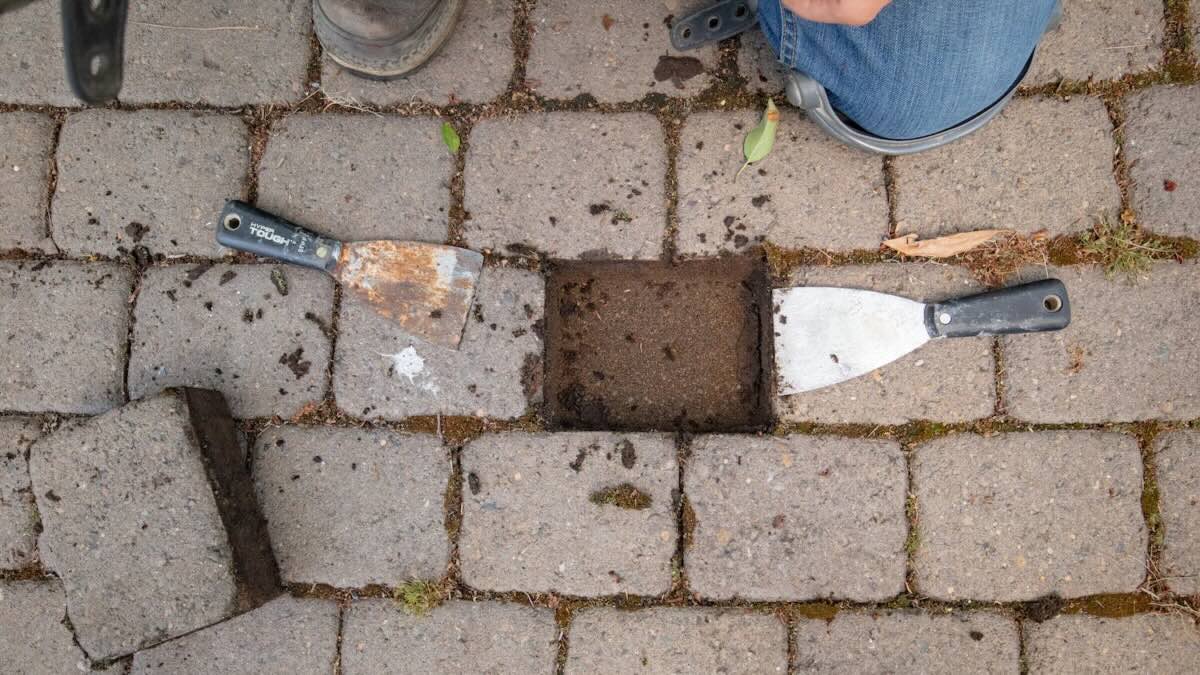
Step 2: Repair Any Damaged Areas
Inspecting your brick patio for any signs of wear and tear is a crucial step in the sealing process. Over time, exposure to the elements and regular use can lead to issues such as cracked or chipped bricks, uneven surfaces, or deteriorating mortar joints. Addressing these issues before applying the sealant will ensure that your patio maintains its structural integrity and visual appeal. Here’s how to tackle the repair process:
- Assess the Damage: Carefully examine the entire patio surface, paying close attention to the condition of the bricks and mortar joints. Note any areas that require repair or replacement.
- Replace Damaged Bricks: If you identify cracked or broken bricks, carefully remove them and replace them with new ones of the same size and style. Ensure that the replacement bricks are securely set in place.
- Repair Mortar Joints: Crumbling or deteriorating mortar joints can compromise the stability of the patio. Use a suitable mortar mix to fill in any gaps or repair damaged joints, ensuring a uniform and secure bond between the bricks.
- Address Uneven Surfaces: If certain areas of the patio have settled or become uneven over time, consider using a suitable leveling compound to restore a smooth and uniform surface.
- Allow for Set Time: Once the necessary repairs have been made, allow sufficient time for the new bricks, mortar, or leveling compound to set and cure completely before proceeding to the next step.
By taking the time to address any structural issues and restore the integrity of your brick patio, you are laying the groundwork for a successful and long-lasting sealing process. With the repairs completed, you can now focus on selecting the right sealant to safeguard your patio against the elements.
Step 3: Choose the Right Sealant
When it comes to sealing a brick patio, selecting the appropriate sealant is paramount to achieving optimal results. The right sealant not only enhances the natural beauty of the bricks but also provides essential protection against moisture, UV rays, and general wear and tear. Here are the key considerations to keep in mind when choosing a sealant for your brick patio:
- Sealant Types: There are various types of sealants available, including film-forming sealers, penetrating sealers, and acrylic sealers. Each type offers distinct benefits in terms of appearance and protective properties.
- Appearance: Consider whether you prefer a natural, matte finish or a glossy appearance for your brick patio. Different sealants can impart varying levels of sheen to the surface.
- Protection Level: Evaluate the sealant’s ability to repel water, resist UV damage, and prevent efflorescence, which is the migration of salts to the surface of the bricks.
- Compatibility: Ensure that the sealant is compatible with the type of bricks used in your patio. Some sealants may be specifically formulated for certain brick materials.
- Application Method: Consider whether the sealant is suitable for the application method you intend to use, whether it’s spraying, rolling, or brushing on the sealant.
- Environmental Impact: If environmental considerations are important to you, look for sealants that are low in volatile organic compounds (VOCs) and environmentally friendly.
- Manufacturer’s Recommendations: Follow the manufacturer’s guidelines and recommendations regarding the application process, coverage rates, and any specific instructions for optimal results.
By carefully considering these factors and conducting thorough research on available sealant options, you can make an informed decision that aligns with your aesthetic preferences and the specific needs of your brick patio. Once you’ve selected the ideal sealant, the next step is to apply it to the clean and repaired surface of your patio.
Before sealing a brick patio, make sure to clean the surface thoroughly to remove any dirt, debris, and stains. Use a pressure washer or a stiff brush and mild detergent. Allow the patio to dry completely before applying the sealer to ensure a smooth and even finish.
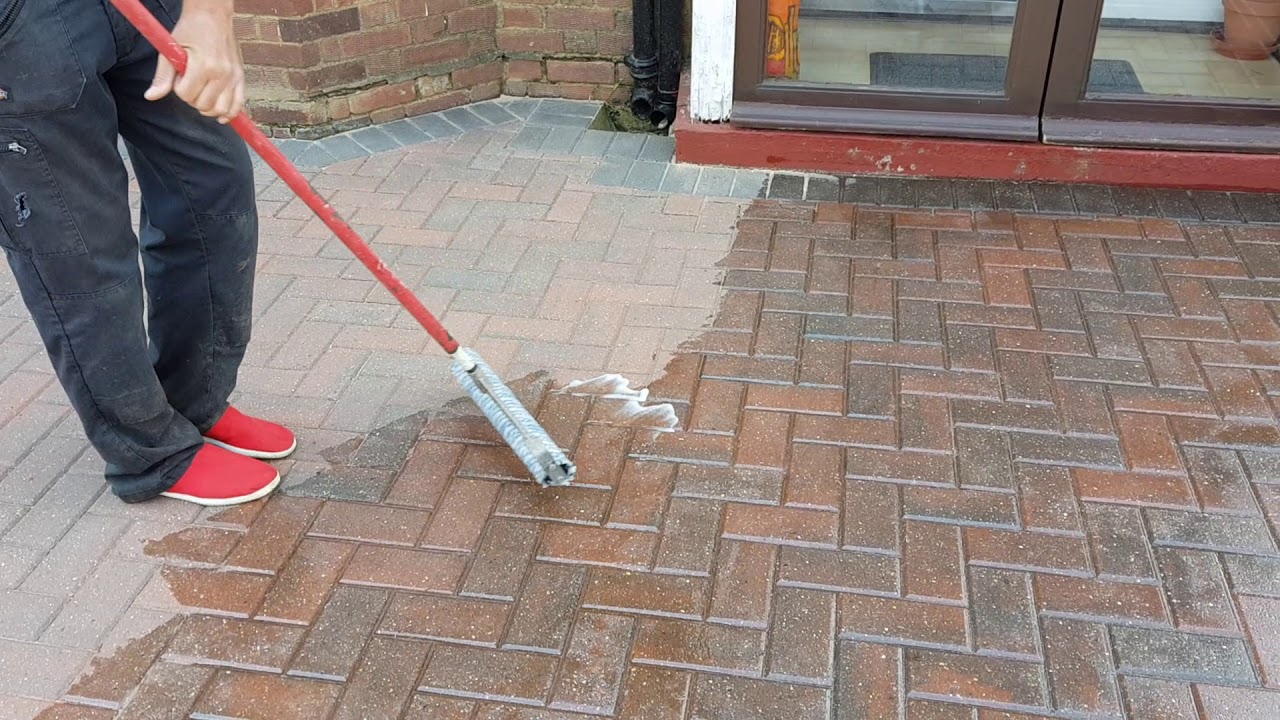
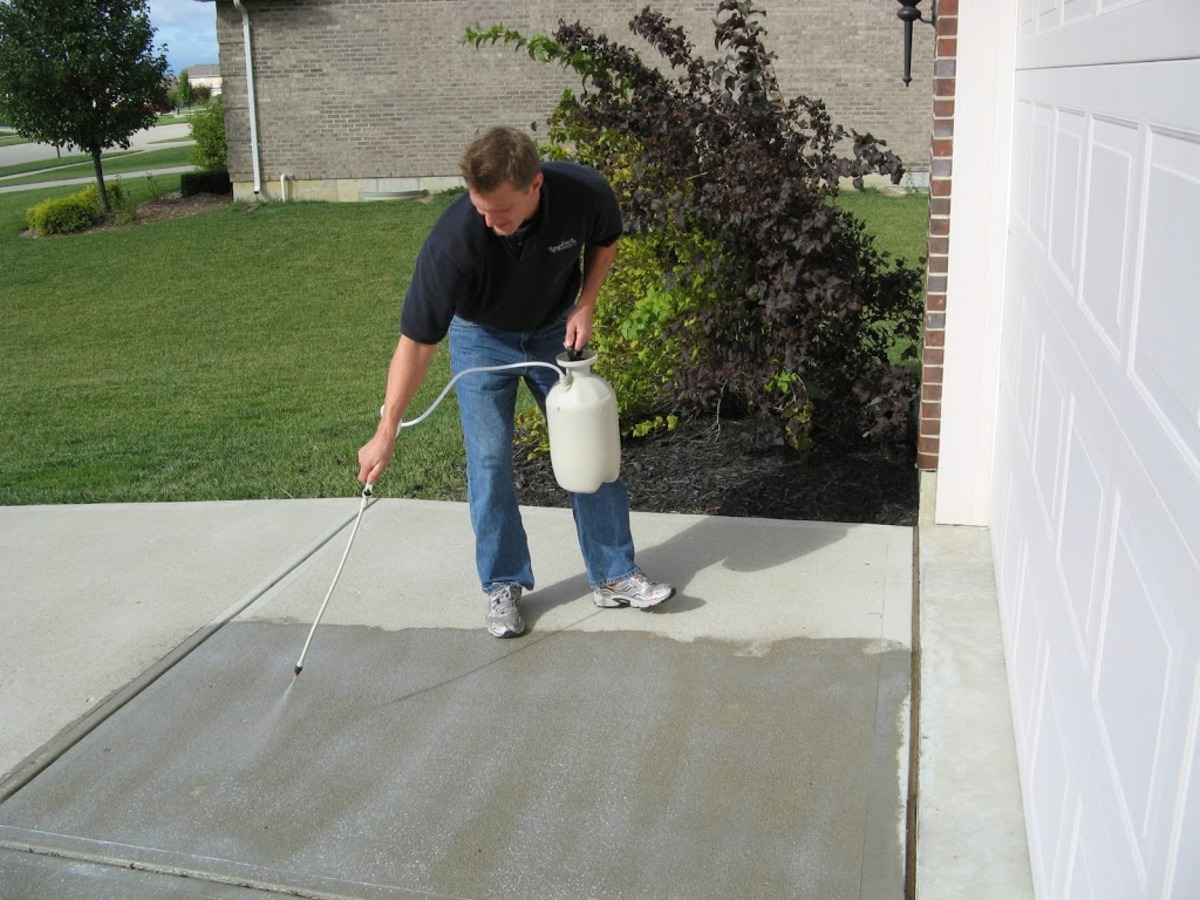
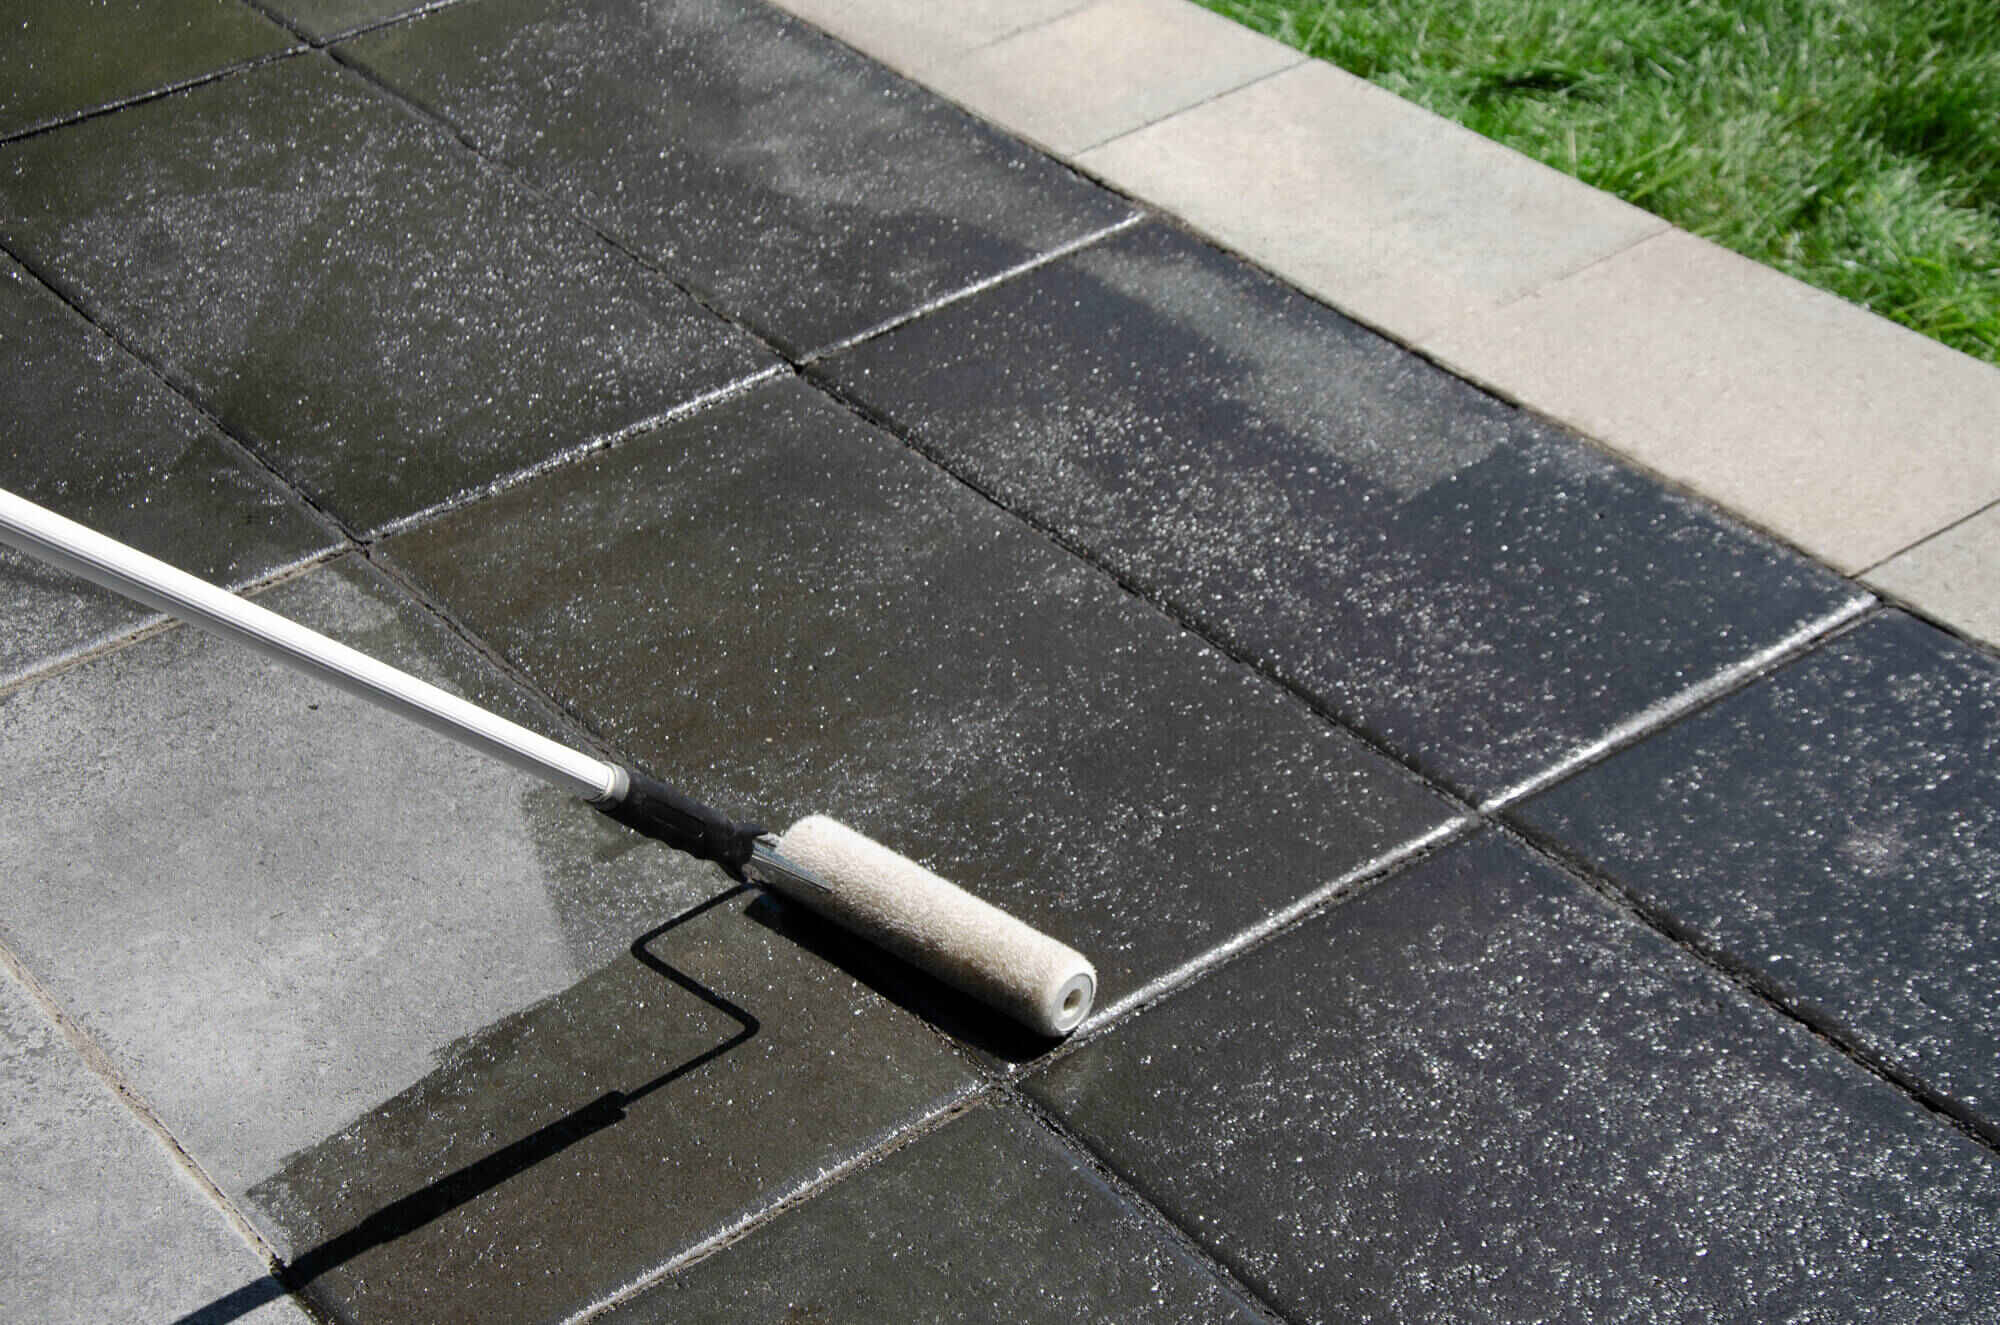
Step 4: Apply the Sealant
With your clean and structurally sound brick patio ready for protection, it’s time to apply the chosen sealant. Proper application is crucial to ensuring that the sealant forms a durable barrier, safeguarding the bricks from moisture, stains, and other potential damage. Here’s a systematic approach to applying the sealant to your brick patio:
- Prepare the Area: Ensure that the patio surface is completely dry before applying the sealant. Remove any residual debris or dust that may have accumulated since the cleaning process.
- Read the Instructions: Carefully review the manufacturer’s instructions and recommendations for the specific sealant you have chosen. This includes guidelines on temperature conditions, application tools, and the number of coats required.
- Protect Surrounding Areas: Use painter’s tape or plastic sheeting to cover any adjacent surfaces, such as walls or landscaping, to prevent accidental overspray or spills from affecting other areas.
- Apply the Sealant: Depending on the type of sealant, use a suitable applicator, such as a brush, roller, or sprayer, to apply a thin and even coat over the entire patio surface. Work methodically to ensure complete coverage without pooling or uneven application.
- Work in Sections: If your patio is large, consider dividing it into manageable sections to ensure thorough and consistent application of the sealant. This approach can help you maintain control over the process and achieve a uniform finish.
- Allow for Drying Time: After applying the initial coat, follow the manufacturer’s recommendations regarding the drying time before applying additional coats, if necessary. Adequate drying time is essential for the sealant to bond effectively with the brick surface.
- Apply Additional Coats (If Needed): Depending on the type of sealant and the level of protection desired, you may need to apply multiple coats. Follow the recommended interval between coats to achieve the desired level of sealing.
By adhering to these steps and taking a meticulous approach to the application process, you can ensure that your brick patio receives the full benefits of the chosen sealant, enhancing its longevity and resilience. With the sealant applied, the final step is to allow for adequate drying time before resuming regular use of the patio.
Read more: How To Seal Brick Pavers
Step 5: Allow for Drying Time
After the sealant has been meticulously applied to your brick patio, it’s essential to allow for sufficient drying time before resuming regular foot traffic and outdoor activities on the surface. Proper drying ensures that the sealant forms a robust protective layer, enhancing the durability and longevity of your patio. Here’s what you need to know about allowing for adequate drying time:
- Follow Manufacturer’s Guidelines: Refer to the specific instructions provided by the sealant manufacturer regarding the recommended drying time between coats and before subjecting the patio to normal use.
- Avoid Moisture Exposure: During the drying period, it’s crucial to prevent any moisture, including rain, sprinklers, or accidental spills, from coming into contact with the freshly sealed patio surface. Moisture can interfere with the curing process of the sealant.
- Monitor Weather Conditions: Take into account the prevailing weather conditions in your area, such as humidity levels and temperature fluctuations, as these factors can impact the drying time of the sealant. Ideally, choose a period of dry and moderate weather for the application and drying process.
- Exercise Caution with Furniture Placement: If you plan to return furniture or other items to the patio, ensure that they are placed gently to avoid scratching or disrupting the freshly sealed surface. Consider using protective pads or glides on furniture legs to prevent damage to the sealant.
- Perform a Touch Test: To assess the drying progress, perform a gentle touch test on a discreet area of the patio. The sealant should feel dry to the touch without any tackiness or residue. Avoid walking on the patio until you are confident that the sealant has fully cured.
- Plan for Long-Term Protection: While the initial drying time is crucial, it’s important to recognize that the full curing of the sealant may take several days. Exercise patience and plan for long-term protection of your patio by adhering to recommended care and maintenance practices.
By allowing the sealant to dry thoroughly and following the recommended guidelines, you can ensure that your brick patio receives the maximum benefits of the sealing process. With the drying process complete, you can look forward to enjoying a revitalized and well-protected outdoor space for years to come.
Conclusion
Sealing a brick patio is a rewarding endeavor that not only enhances the visual appeal of your outdoor space but also fortifies the durability and longevity of the patio surface. By following the comprehensive steps outlined in this guide, you have taken a proactive approach to preserving the beauty and structural integrity of your brick patio. From thorough cleaning and meticulous repairs to the selection and application of the right sealant, each step contributes to the overall resilience of your outdoor oasis.
As you admire the revitalized appearance of your brick patio, it’s important to recognize the significance of regular maintenance and care. Periodic cleaning, routine inspections for any signs of wear, and prompt repairs as needed will further extend the life of your patio and the effectiveness of the sealant. Additionally, consider reapplying the sealant according to the manufacturer’s recommendations to maintain optimal protection against the elements.
With a beautifully sealed brick patio, you have created a welcoming and enduring space for relaxation, entertaining, and creating cherished memories with family and friends. Embrace the transformation of your outdoor environment and take pride in the proactive measures you’ve taken to safeguard your investment. Whether it’s basking in the warm glow of the sun or hosting gatherings under the stars, your sealed brick patio stands as a testament to your commitment to creating a vibrant and enduring outdoor retreat.
So, as you step onto your newly sealed brick patio, take a moment to appreciate the dedication and care you’ve invested in preserving its timeless charm and functionality. Your outdoor sanctuary awaits, ready to enrich your lifestyle and provide a backdrop for countless moments of joy and relaxation.
Frequently Asked Questions about How To Seal A Brick Patio
Was this page helpful?
At Storables.com, we guarantee accurate and reliable information. Our content, validated by Expert Board Contributors, is crafted following stringent Editorial Policies. We're committed to providing you with well-researched, expert-backed insights for all your informational needs.


0 thoughts on “How To Seal A Brick Patio”