Home>Construction & Tools>Building Materials>How To Cover A Brick Floor
Building Materials
How To Cover A Brick Floor
Modified: August 17, 2024
Learn how to cover a brick floor with various building materials. Discover tips and techniques for a successful floor renovation project.
(Many of the links in this article redirect to a specific reviewed product. Your purchase of these products through affiliate links helps to generate commission for Storables.com, at no extra cost. Learn more)
Introduction
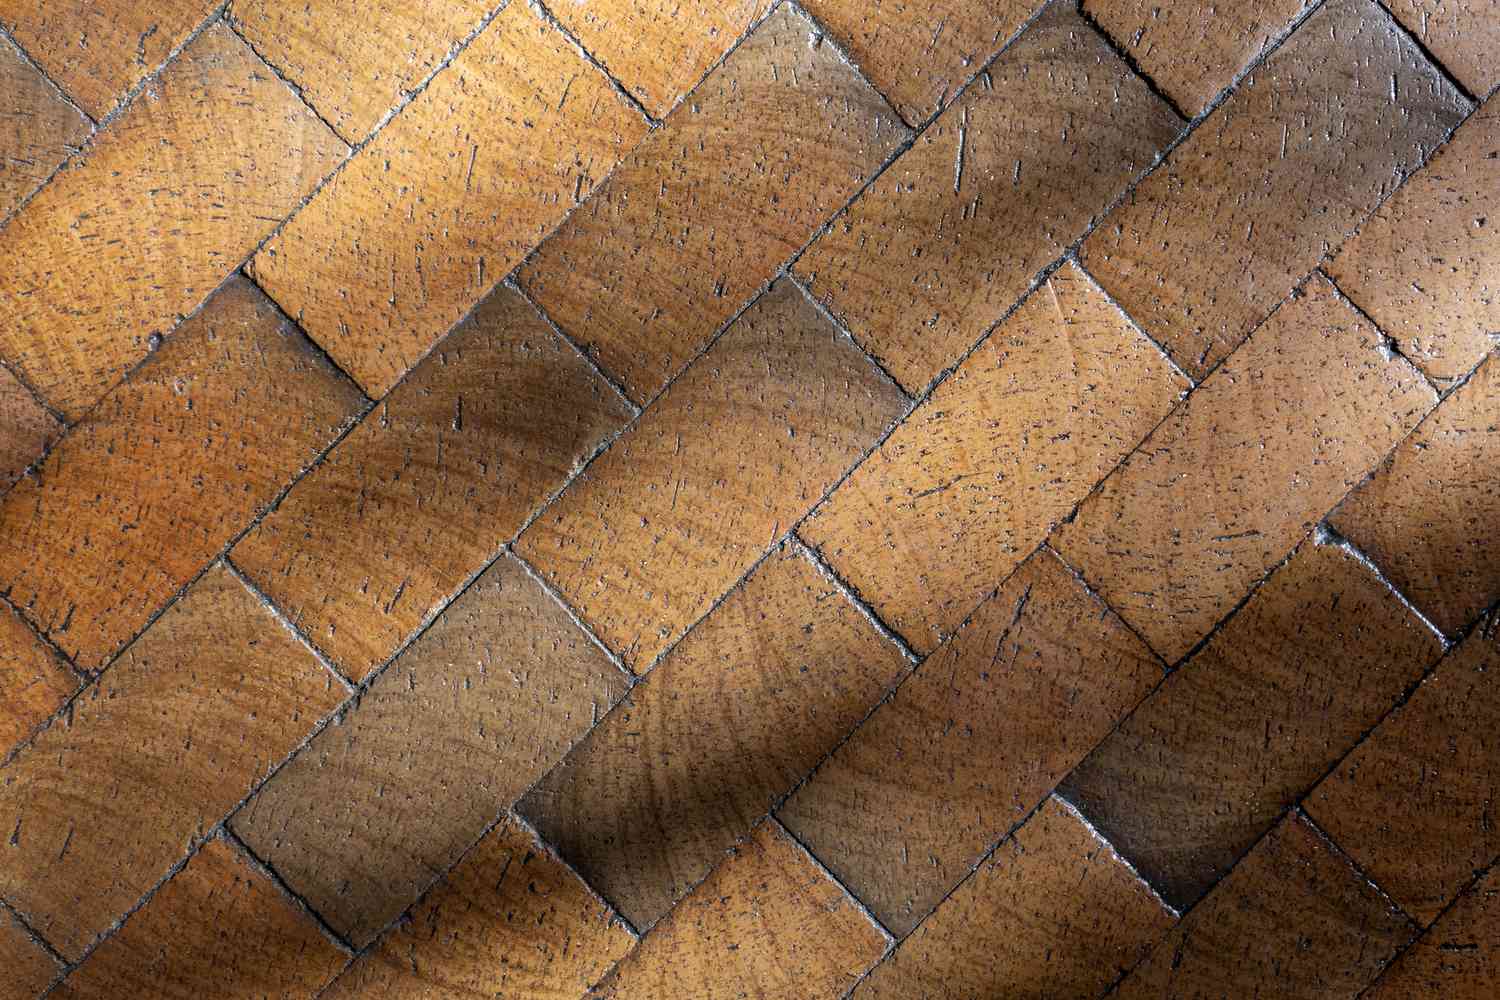
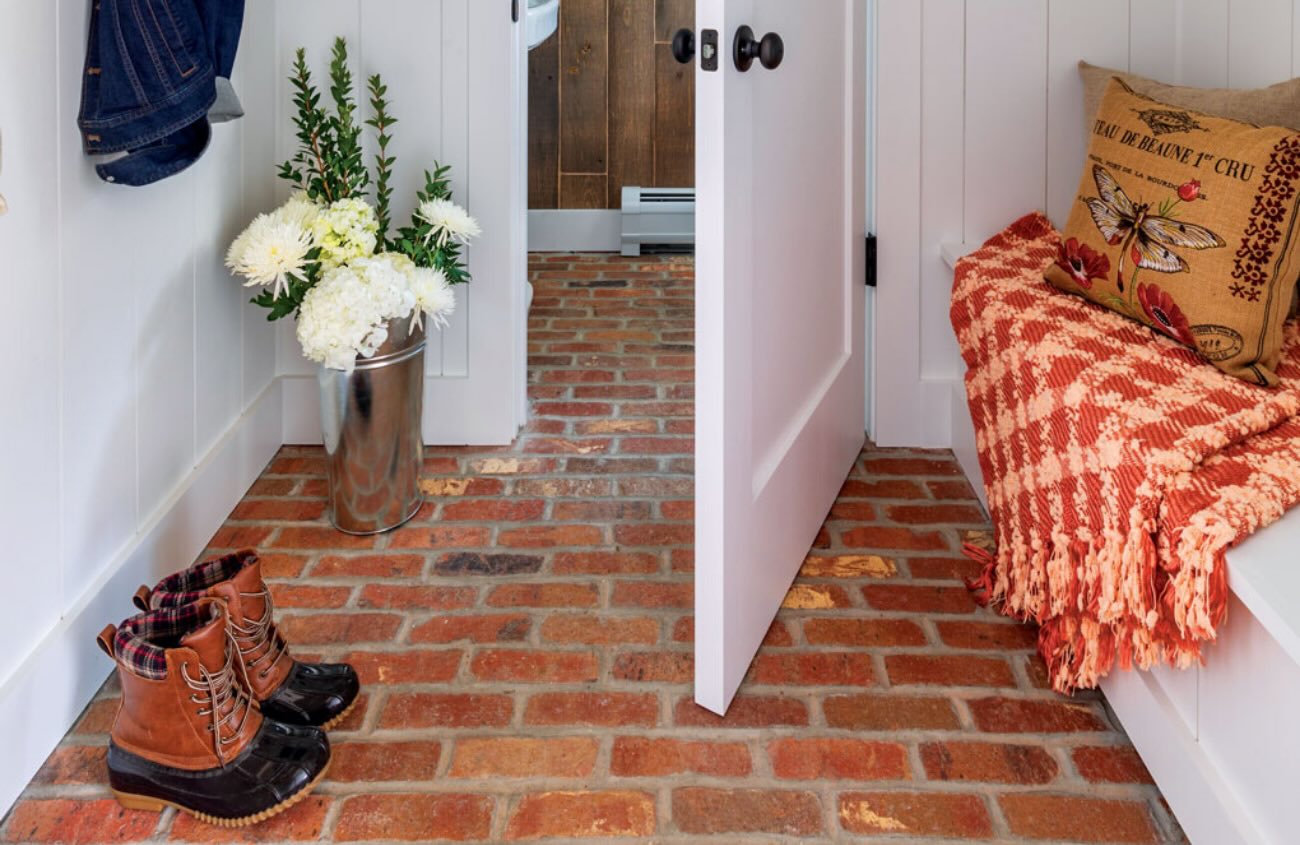
Are you looking to give your space a fresh new look? Perhaps you've inherited a home with a dated brick floor, or you simply want to update the flooring in your current space. Whatever the reason, covering a brick floor can completely transform the aesthetic of a room, infusing it with a modern, sleek, or rustic charm, depending on the material you choose. Whether you're aiming for a polished, contemporary feel or a cozy, traditional ambiance, the process of covering a brick floor can be a rewarding and transformative project.
In this comprehensive guide, we'll walk you through the steps to successfully cover a brick floor, providing you with the knowledge and confidence to tackle this project with ease. From gathering the necessary materials to sealing the finished floor, we'll cover each step in detail, ensuring that you have all the information you need to achieve a stunning result.
So, roll up your sleeves, gather your tools, and let's embark on this exciting journey to revitalize your space by covering that brick floor. Whether you're a seasoned DIY enthusiast or a newcomer to home improvement projects, this guide is designed to empower you with the expertise to create a beautiful new floor that reflects your personal style and enhances the overall ambiance of your space. Let's get started!
Key Takeaways:
- Transform your space by covering a brick floor with new materials like hardwood, laminate, vinyl, or tile. Follow the steps to prepare, install, and seal the new flooring for a stunning, personalized result.
- Gather the necessary materials, prepare the brick floor, apply primer, install underlayment, lay the new flooring, and seal the floor to achieve a professional and long-lasting transformation.
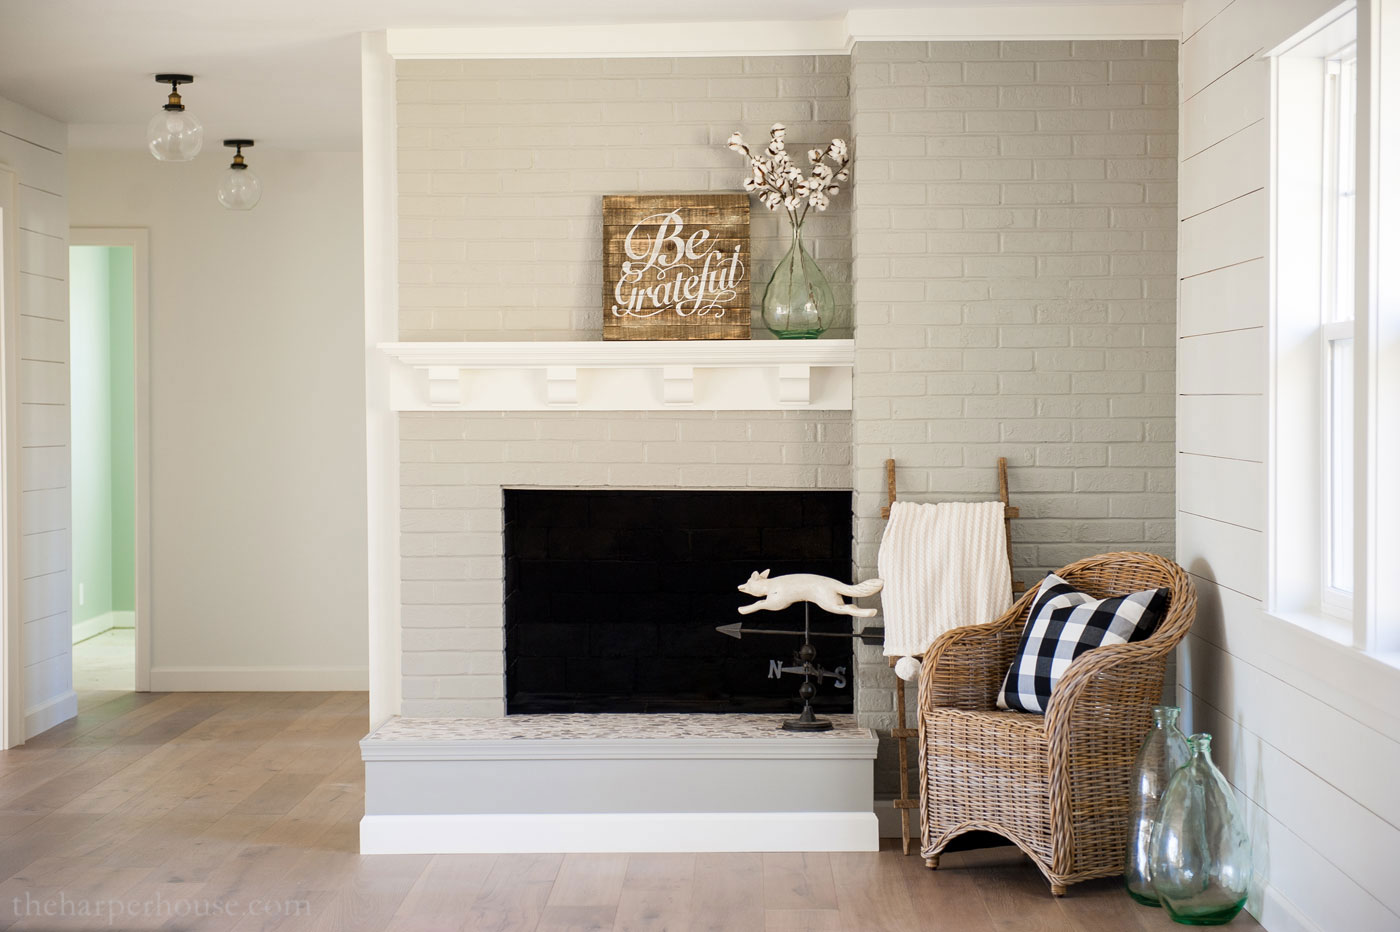
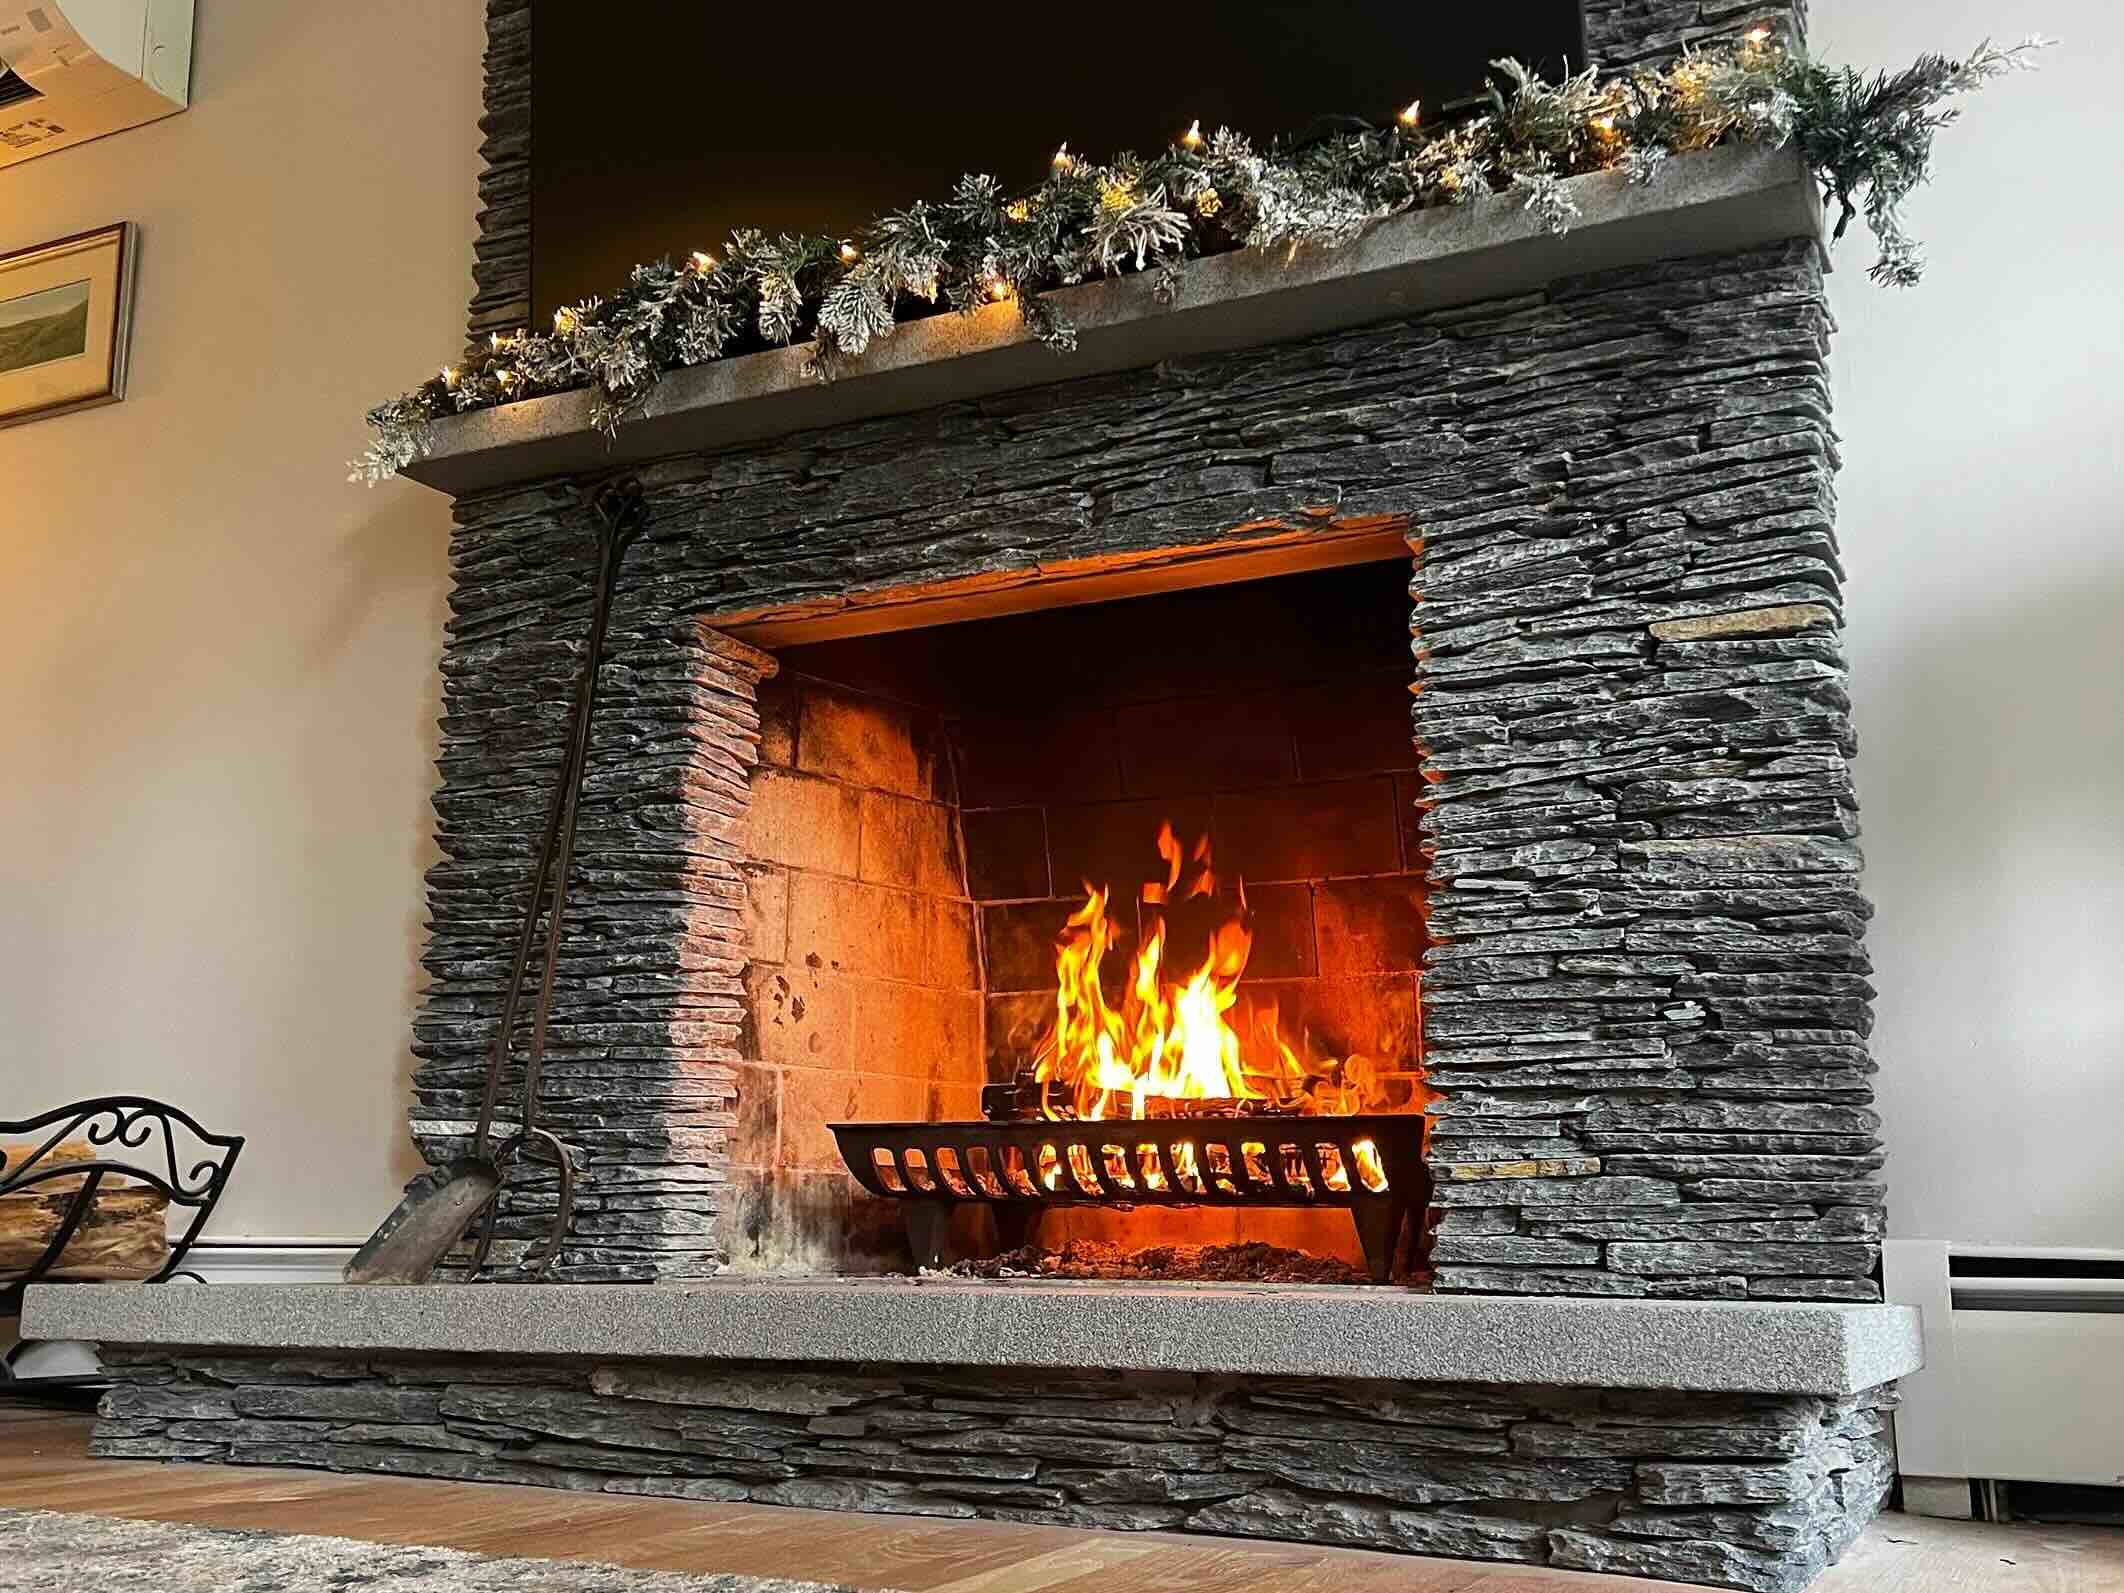
Read more: How To Cover A Brick Fireplace
Step 1: Gather the Necessary Materials
Before embarking on the project of covering a brick floor, it’s essential to gather all the necessary materials. Ensuring that you have everything at hand will streamline the process and prevent interruptions as you work through each step.
Here’s a list of materials you’ll need:
- Protective Gear: Safety goggles, gloves, and a dust mask are essential for protecting yourself during the preparation and installation process.
- Cleaning Supplies: A sturdy broom, a vacuum cleaner with a brush attachment, and a mild detergent for thoroughly cleaning the brick floor.
- Primer: A high-quality primer suitable for the type of flooring material you’ll be installing.
- Underlayment: Depending on the flooring material, you may need an underlayment to provide cushioning, moisture protection, and insulation.
- New Flooring Material: Whether you’ve chosen hardwood, laminate, vinyl, or tile, ensure that you have enough of the chosen material to cover the entire floor area, accounting for any cuts or wastage.
- Adhesive or Fasteners: If your new flooring material requires adhesive or fasteners for installation, make sure to have these on hand.
- Sealant: A high-quality sealant appropriate for the chosen flooring material and the specific requirements of your space.
- Tools: Depending on the type of flooring material, you may need various tools such as a saw, trowel, spacers, and a rubber mallet for installation.
By ensuring that you have all the necessary materials and tools ready, you’ll be well-prepared to proceed seamlessly to the next steps of preparing and transforming your brick floor.
Step 2: Prepare the Brick Floor
Preparing the brick floor is a crucial step that sets the foundation for a successful flooring transformation. The thoroughness of this preparation directly impacts the final result, so it’s essential to approach this step with care and attention to detail.
Here’s a comprehensive guide to preparing the brick floor:
- Clean the Surface: Begin by thoroughly cleaning the brick floor. Use a sturdy broom to remove loose debris and dirt, and then vacuum the surface with a brush attachment to ensure all dust and smaller particles are removed. For any stubborn dirt or stains, use a mild detergent and a scrub brush to clean the surface, and allow it to dry completely.
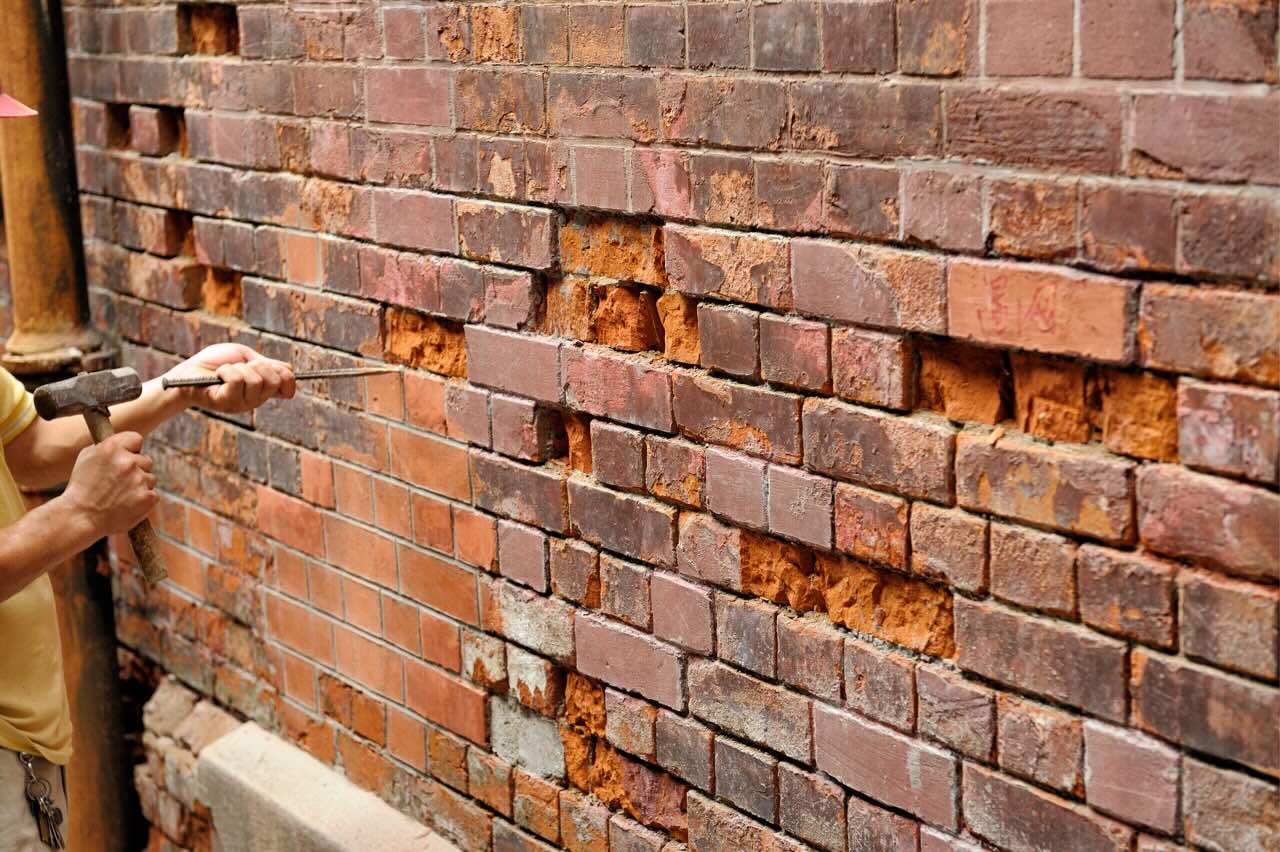
- Inspect for Damage: Carefully inspect the brick floor for any damage, such as cracks, uneven areas, or loose bricks. Address any issues by repairing the damaged areas and ensuring that the surface is level and stable.
- Fill Gaps and Cracks: If there are noticeable gaps or cracks between the bricks, use a suitable filler to level the surface. This step is crucial for ensuring a smooth and even foundation for the new flooring material.
- Remove Protrusions: Any protruding mortar or irregularities on the surface should be smoothed out to create a flat and uniform base for the new flooring.
- Consider Moisture Barriers: Depending on the specific requirements of your space and the new flooring material, you may need to install a moisture barrier to prevent any moisture from seeping through the brick and affecting the new floor. This is particularly important for areas prone to moisture, such as basements or kitchens.
By diligently preparing the brick floor, you’ll ensure that the new flooring material can be installed on a stable, even, and clean surface, setting the stage for a professional and long-lasting result.
Step 3: Apply the Primer
Once the brick floor is thoroughly cleaned and prepared, the next crucial step is to apply the appropriate primer. The primer serves as a bonding agent between the brick surface and the new flooring material, ensuring a secure and durable installation.
Here’s a detailed guide to applying the primer:
- Choose the Right Primer: Select a high-quality primer that is specifically designed for the type of flooring material you’ll be installing. Different materials, such as hardwood, laminate, vinyl, or tile, may require different types of primers, so be sure to choose one that is compatible with your chosen flooring.
- Prepare the Area: Ensure that the prepared brick floor is clean, dry, and free of any debris before applying the primer. It’s essential to work in a well-ventilated area and use appropriate protective gear, including gloves and a mask, to safeguard your health during the application process.
- Apply the Primer: Follow the manufacturer’s instructions for the primer application. Use a paint roller or brush to apply the primer evenly over the entire surface of the brick floor. Pay special attention to any gaps or crevices to ensure thorough coverage.
- Allow for Drying Time: After applying the primer, allow sufficient time for it to dry completely. This drying time is crucial for the primer to create a strong bond with the brick surface, providing a solid foundation for the new flooring material.
- Inspect the Surface: Once the primer has dried, inspect the surface to ensure that it is uniformly covered and ready for the next steps of installing the underlayment and laying the new flooring material.
By applying the appropriate primer, you’ll enhance the adhesion and stability of the new flooring, contributing to a professional and long-lasting finish that will elevate the overall aesthetic and functionality of your space.
When covering a brick floor, make sure to clean and level the surface before laying down any new flooring material. Use a high-quality adhesive to ensure the new flooring stays in place and consider adding a sealant to protect the bricks from moisture and stains.
Step 4: Install the Underlayment
Installing the underlayment is a critical step in the process of covering a brick floor, as it provides essential functions such as cushioning, moisture protection, and insulation for the new flooring material. The underlayment serves as a supportive layer that enhances the performance and longevity of the finished floor.
Here’s a comprehensive guide to installing the underlayment:
- Select the Appropriate Underlayment: Choose an underlayment that is suitable for the type of flooring material you’ll be installing. Different materials may require specific types of underlayment to optimize their performance and durability.
- Measure and Cut: Carefully measure the dimensions of the room and cut the underlayment material to fit the floor space. Ensure that the underlayment is cut precisely to avoid overlapping or gaps that could compromise its effectiveness.
- Lay the Underlayment: Starting from one end of the room, roll out the underlayment across the entire floor, ensuring a snug fit against the walls. If multiple pieces of underlayment are required, overlap the edges according to the manufacturer’s recommendations and secure them in place.
- Secure the Underlayment: Depending on the type of underlayment and the specific requirements of the flooring material, use appropriate fasteners or adhesive to secure the underlayment to the prepared brick floor. This step is crucial for ensuring that the underlayment remains in place during the installation of the new flooring.
- Inspect for Smoothness: Once the underlayment is installed, carefully inspect the surface to ensure that it is smooth, free of wrinkles, and securely attached to the brick floor. A properly installed underlayment sets the stage for a successful and professional installation of the new flooring material.
By installing the underlayment with precision and attention to detail, you’ll create a supportive foundation for the new flooring, enhancing its performance and contributing to a comfortable and durable finished floor.
Read more: How To Cover Exposed Brick
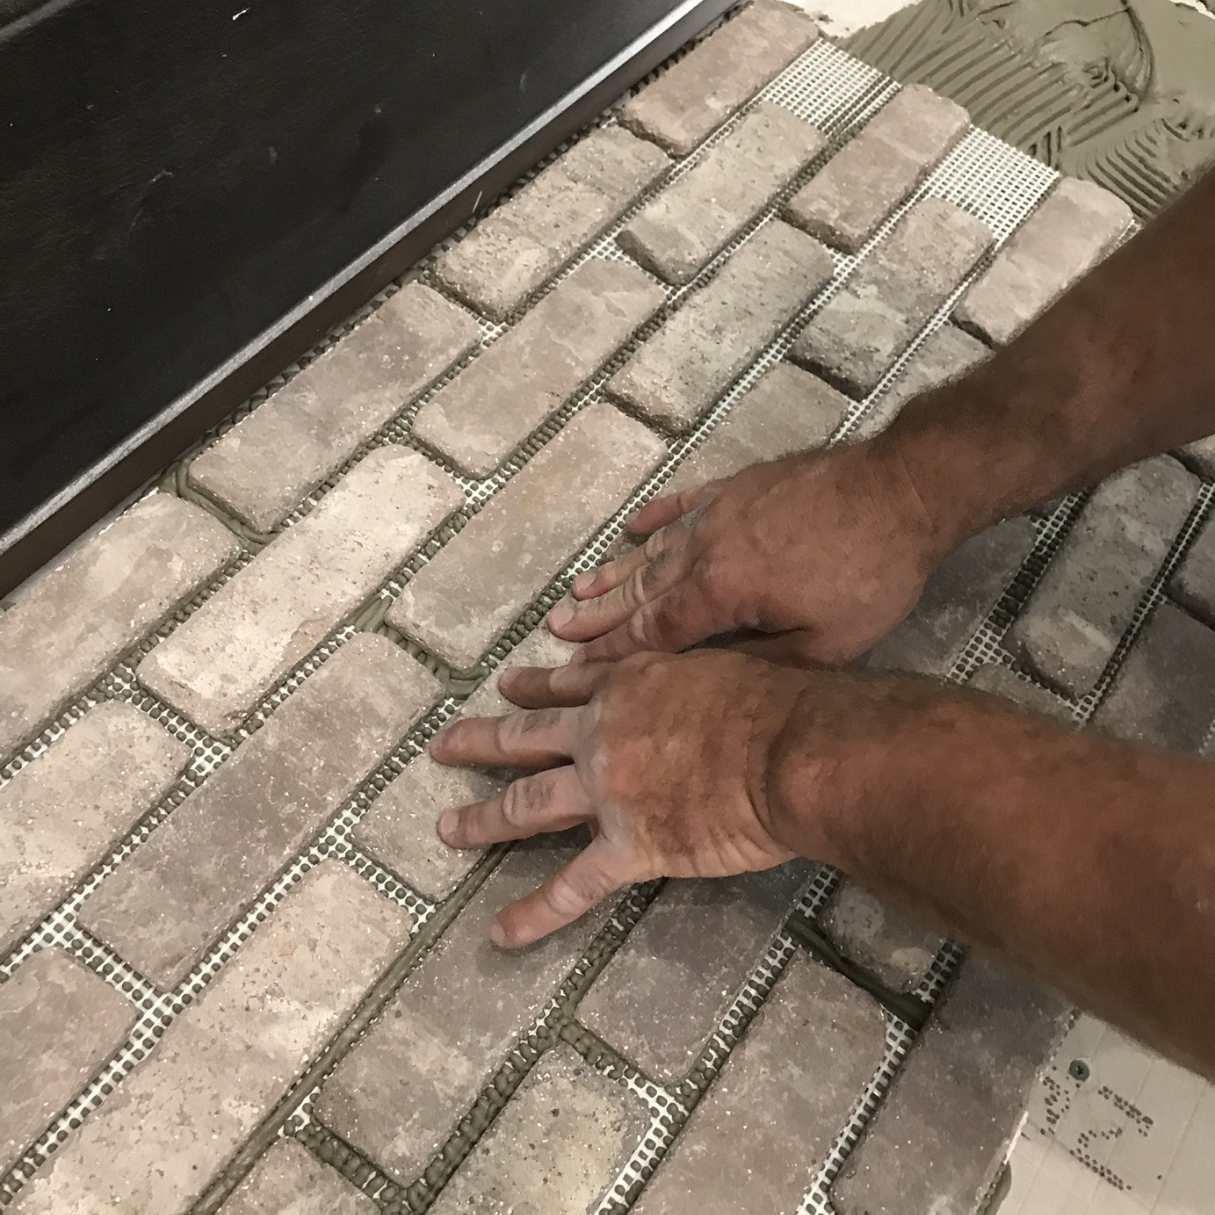
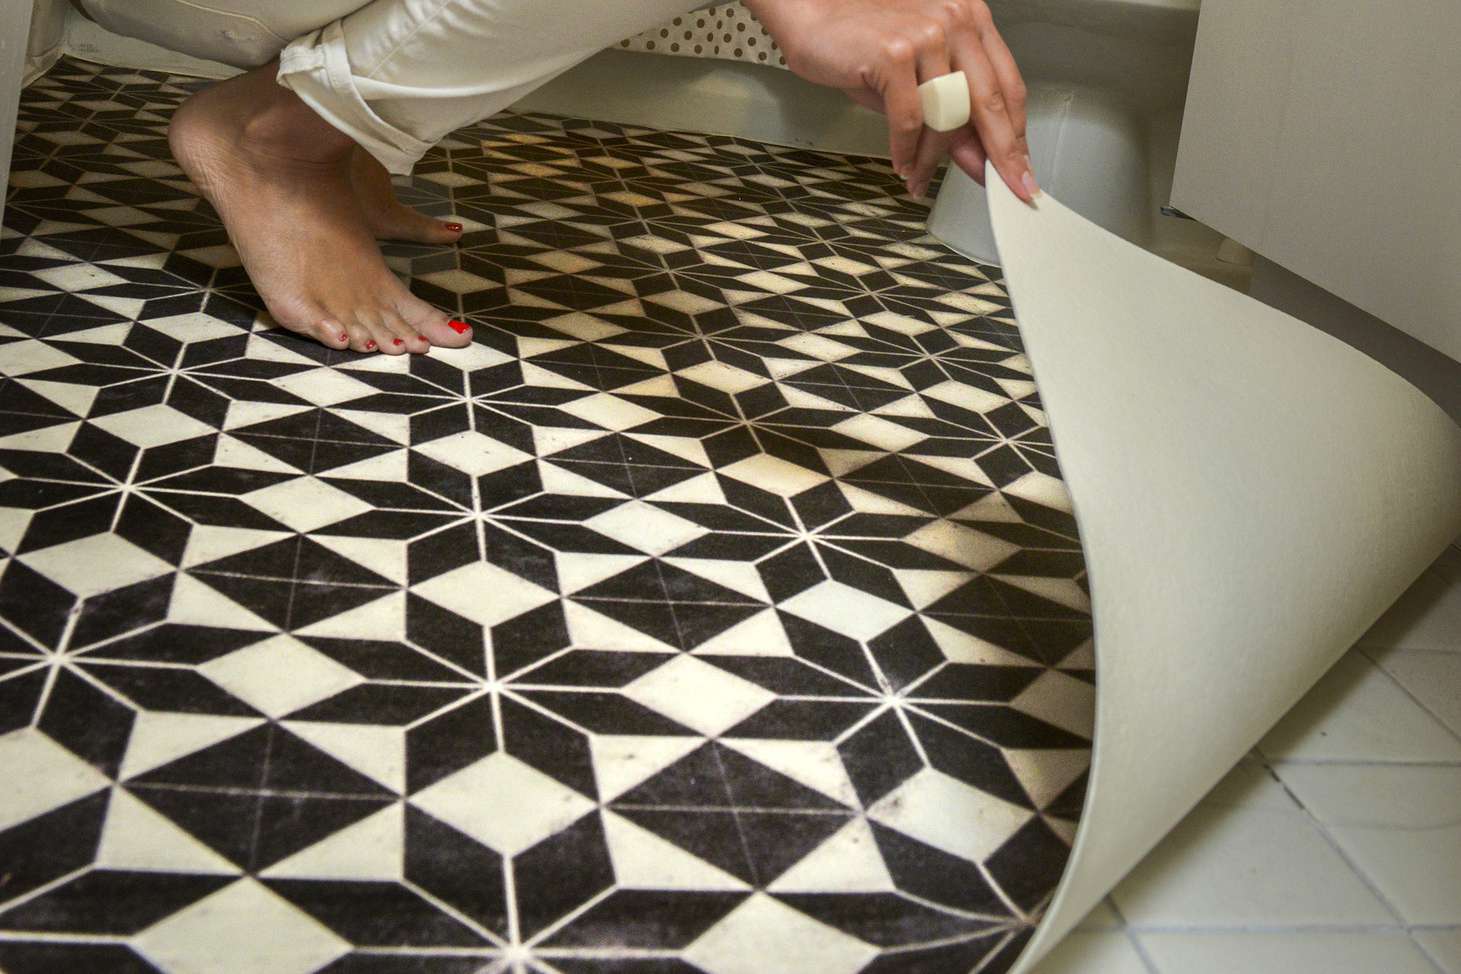
Step 5: Lay the New Flooring
With the preparation of the brick floor and installation of the underlayment complete, it’s time to embark on the exciting step of laying the new flooring material. Whether you’ve chosen hardwood, laminate, vinyl, or tile, this phase of the project is where you’ll witness the transformation of your space as the new floor takes shape.
Here’s a detailed guide to laying the new flooring:
- Acclimate the Flooring: If the new flooring material requires acclimation to the room’s temperature and humidity, follow the manufacturer’s recommendations for this crucial step. Acclimation ensures that the flooring adapts to the environmental conditions of the space, minimizing the risk of expansion, contraction, or warping after installation.
- Plan the Layout: Carefully plan the layout of the flooring, considering the dimensions of the room, the orientation of the floorboards or tiles, and any specific design considerations. This planning stage is essential for achieving a visually appealing and balanced result.
- Begin Installation: Depending on the type of flooring material, follow the manufacturer’s instructions for the installation process. Whether it involves clicking together interlocking planks, applying adhesive, or grouting tiles, ensure that each piece is installed securely and accurately according to the planned layout.
- Use Spacers: If installing tiles or planks that require spacing, use appropriate spacers to maintain consistent gaps between the flooring elements. This step contributes to a professional and polished finish.
- Trim and Cut: As you reach the edges and corners of the room, carefully measure and cut the flooring material to fit the remaining spaces. Precision in these cuts is essential for achieving a seamless and cohesive look.
- Inspect and Adjust: Throughout the installation process, periodically step back to inspect the newly laid flooring. Ensure that the alignment, spacing, and overall appearance meet your expectations, making any necessary adjustments as you progress.
By methodically laying the new flooring material with attention to detail and precision, you’ll witness the remarkable transformation of your space, culminating in a beautifully updated floor that enhances the overall aesthetic and functionality of the room.
Step 6: Seal the Floor
Sealing the newly installed flooring is a crucial final step in the process of covering a brick floor. The sealing process enhances the durability, resilience, and longevity of the floor, protecting it from everyday wear and tear while also accentuating its natural beauty and texture.
Here’s a comprehensive guide to sealing the floor:
- Choose the Right Sealant: Select a high-quality sealant that is specifically designed for the type of flooring material you’ve installed. Whether it’s a sealant for hardwood, laminate, vinyl, or tile, ensure that it offers the appropriate level of protection and enhancement for your new floor.
- Prepare the Surface: Before applying the sealant, ensure that the newly installed flooring is clean, dry, and free of any dust, debris, or installation residues. Thoroughly clean the surface according to the manufacturer’s recommendations to prepare it for sealing.
- Apply the Sealant: Follow the instructions provided with the sealant to apply it evenly across the entire surface of the new flooring. Use a paint roller, brush, or applicator recommended for the specific type of sealant to ensure consistent coverage.
- Allow for Drying Time: After applying the sealant, allow sufficient time for it to dry and cure according to the manufacturer’s guidelines. This drying period is essential for the sealant to create a protective barrier and enhance the visual appeal of the flooring.
- Apply Additional Coats (If Necessary): Depending on the type of sealant and the specific requirements of your new flooring material, you may need to apply multiple coats for optimal protection and finish. Follow the recommended drying times between coats for best results.
- Inspect the Finished Floor: Once the sealant has dried and cured, inspect the finished floor to ensure that it exhibits the desired level of sheen, protection, and enhancement. The sealed floor should showcase the natural beauty of the flooring material while providing a durable and easy-to-maintain surface.
By meticulously sealing the newly installed flooring, you’ll safeguard its longevity and beauty, ensuring that it continues to enrich your space with its aesthetic appeal and functionality for years to come.
Conclusion
Congratulations on successfully covering your brick floor with a stunning new surface! By following the comprehensive steps outlined in this guide, you’ve embarked on a transformative journey that has revitalized the aesthetic and functionality of your space. The process of covering a brick floor is a rewarding endeavor that allows you to personalize your environment and create a fresh, updated ambiance that reflects your style and preferences.
Throughout this project, you’ve demonstrated patience, attention to detail, and a commitment to achieving a professional and long-lasting result. From gathering the necessary materials to meticulously laying the new flooring, each step has contributed to the remarkable transformation of your space.
As you admire the newly covered floor, take pride in the craftsmanship and dedication you’ve invested in this project. The seamless transition from a dated brick floor to a modern, stylish surface is a testament to your vision and determination to enhance your surroundings.
Not only has the new flooring elevated the visual appeal of your space, but it also brings practical benefits, such as improved durability, ease of maintenance, and enhanced comfort. Whether you’ve chosen the warmth of hardwood, the versatility of laminate, the resilience of vinyl, or the timeless elegance of tile, the new floor serves as a foundation for countless moments and memories in your home.
As you enjoy the fruits of your labor, remember that the journey doesn’t end here. Embrace and care for your new floor, maintaining its beauty and functionality for years to come. Regular cleaning, proper maintenance, and occasional refinishing or resealing will ensure that your covered brick floor continues to enrich your space and provide a welcoming backdrop for your daily life.
Thank you for allowing this guide to be a part of your home improvement journey. May your newly covered floor inspire and delight you, creating a space that reflects your personality and brings joy to all who experience it.
Frequently Asked Questions about How To Cover A Brick Floor
Was this page helpful?
At Storables.com, we guarantee accurate and reliable information. Our content, validated by Expert Board Contributors, is crafted following stringent Editorial Policies. We're committed to providing you with well-researched, expert-backed insights for all your informational needs.


0 thoughts on “How To Cover A Brick Floor”