Home>Construction & Tools>Building Materials>How To Cover Brick Walls Inside House
Building Materials
How To Cover Brick Walls Inside House
Modified: February 18, 2024
Discover the best building materials to cover brick walls inside your house. Explore creative ideas and practical solutions for a stylish interior transformation.
(Many of the links in this article redirect to a specific reviewed product. Your purchase of these products through affiliate links helps to generate commission for Storables.com, at no extra cost. Learn more)
Introduction
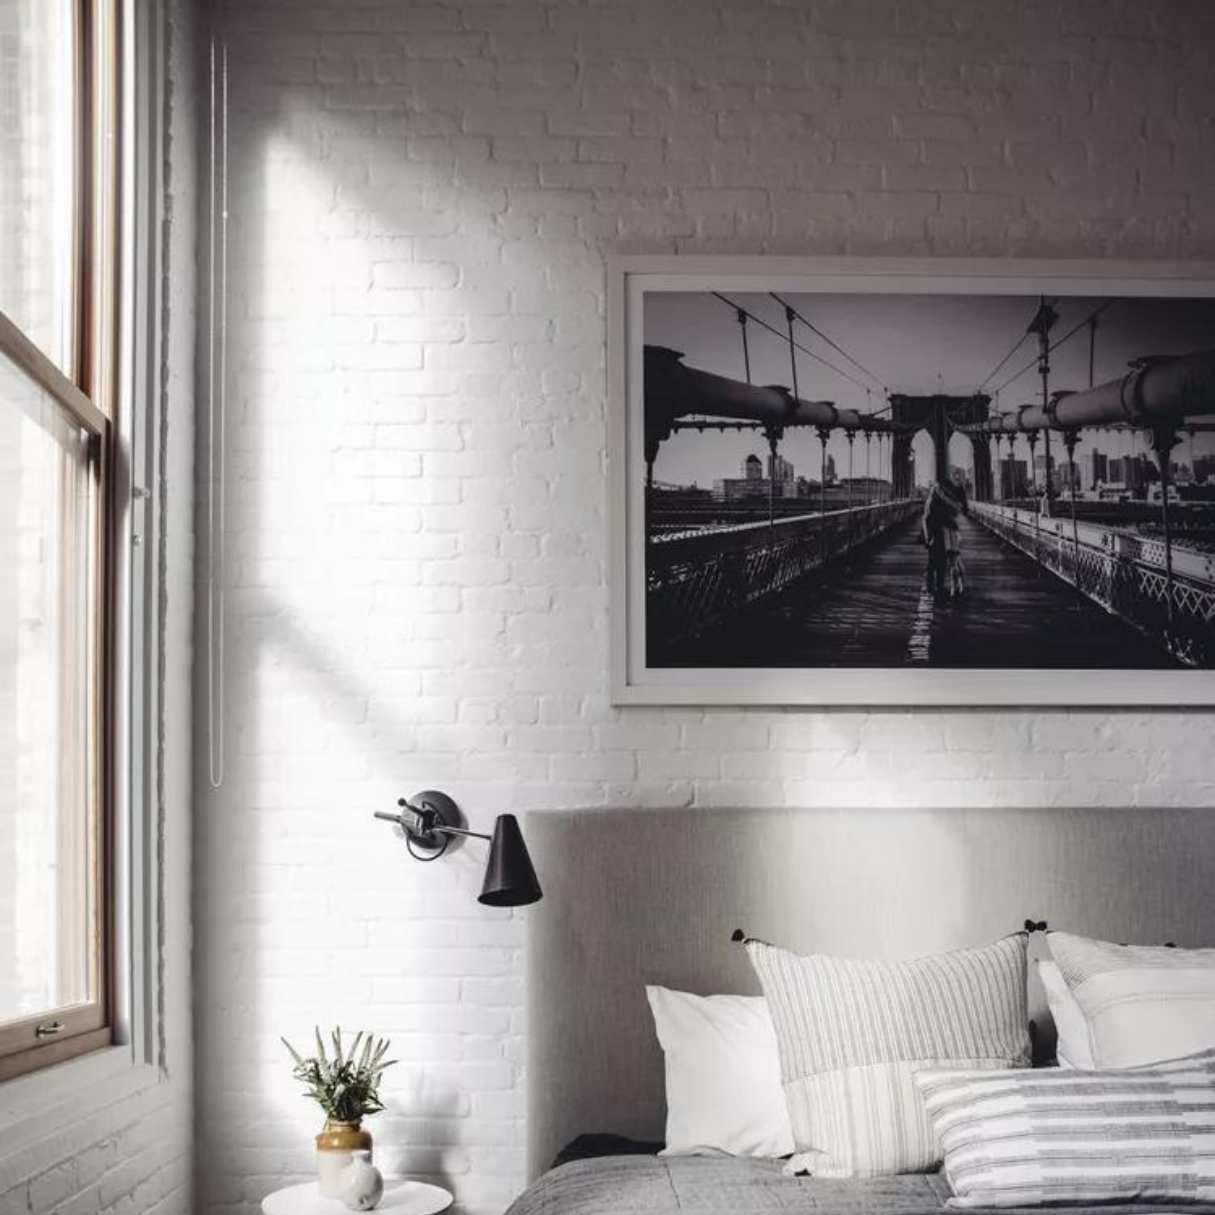
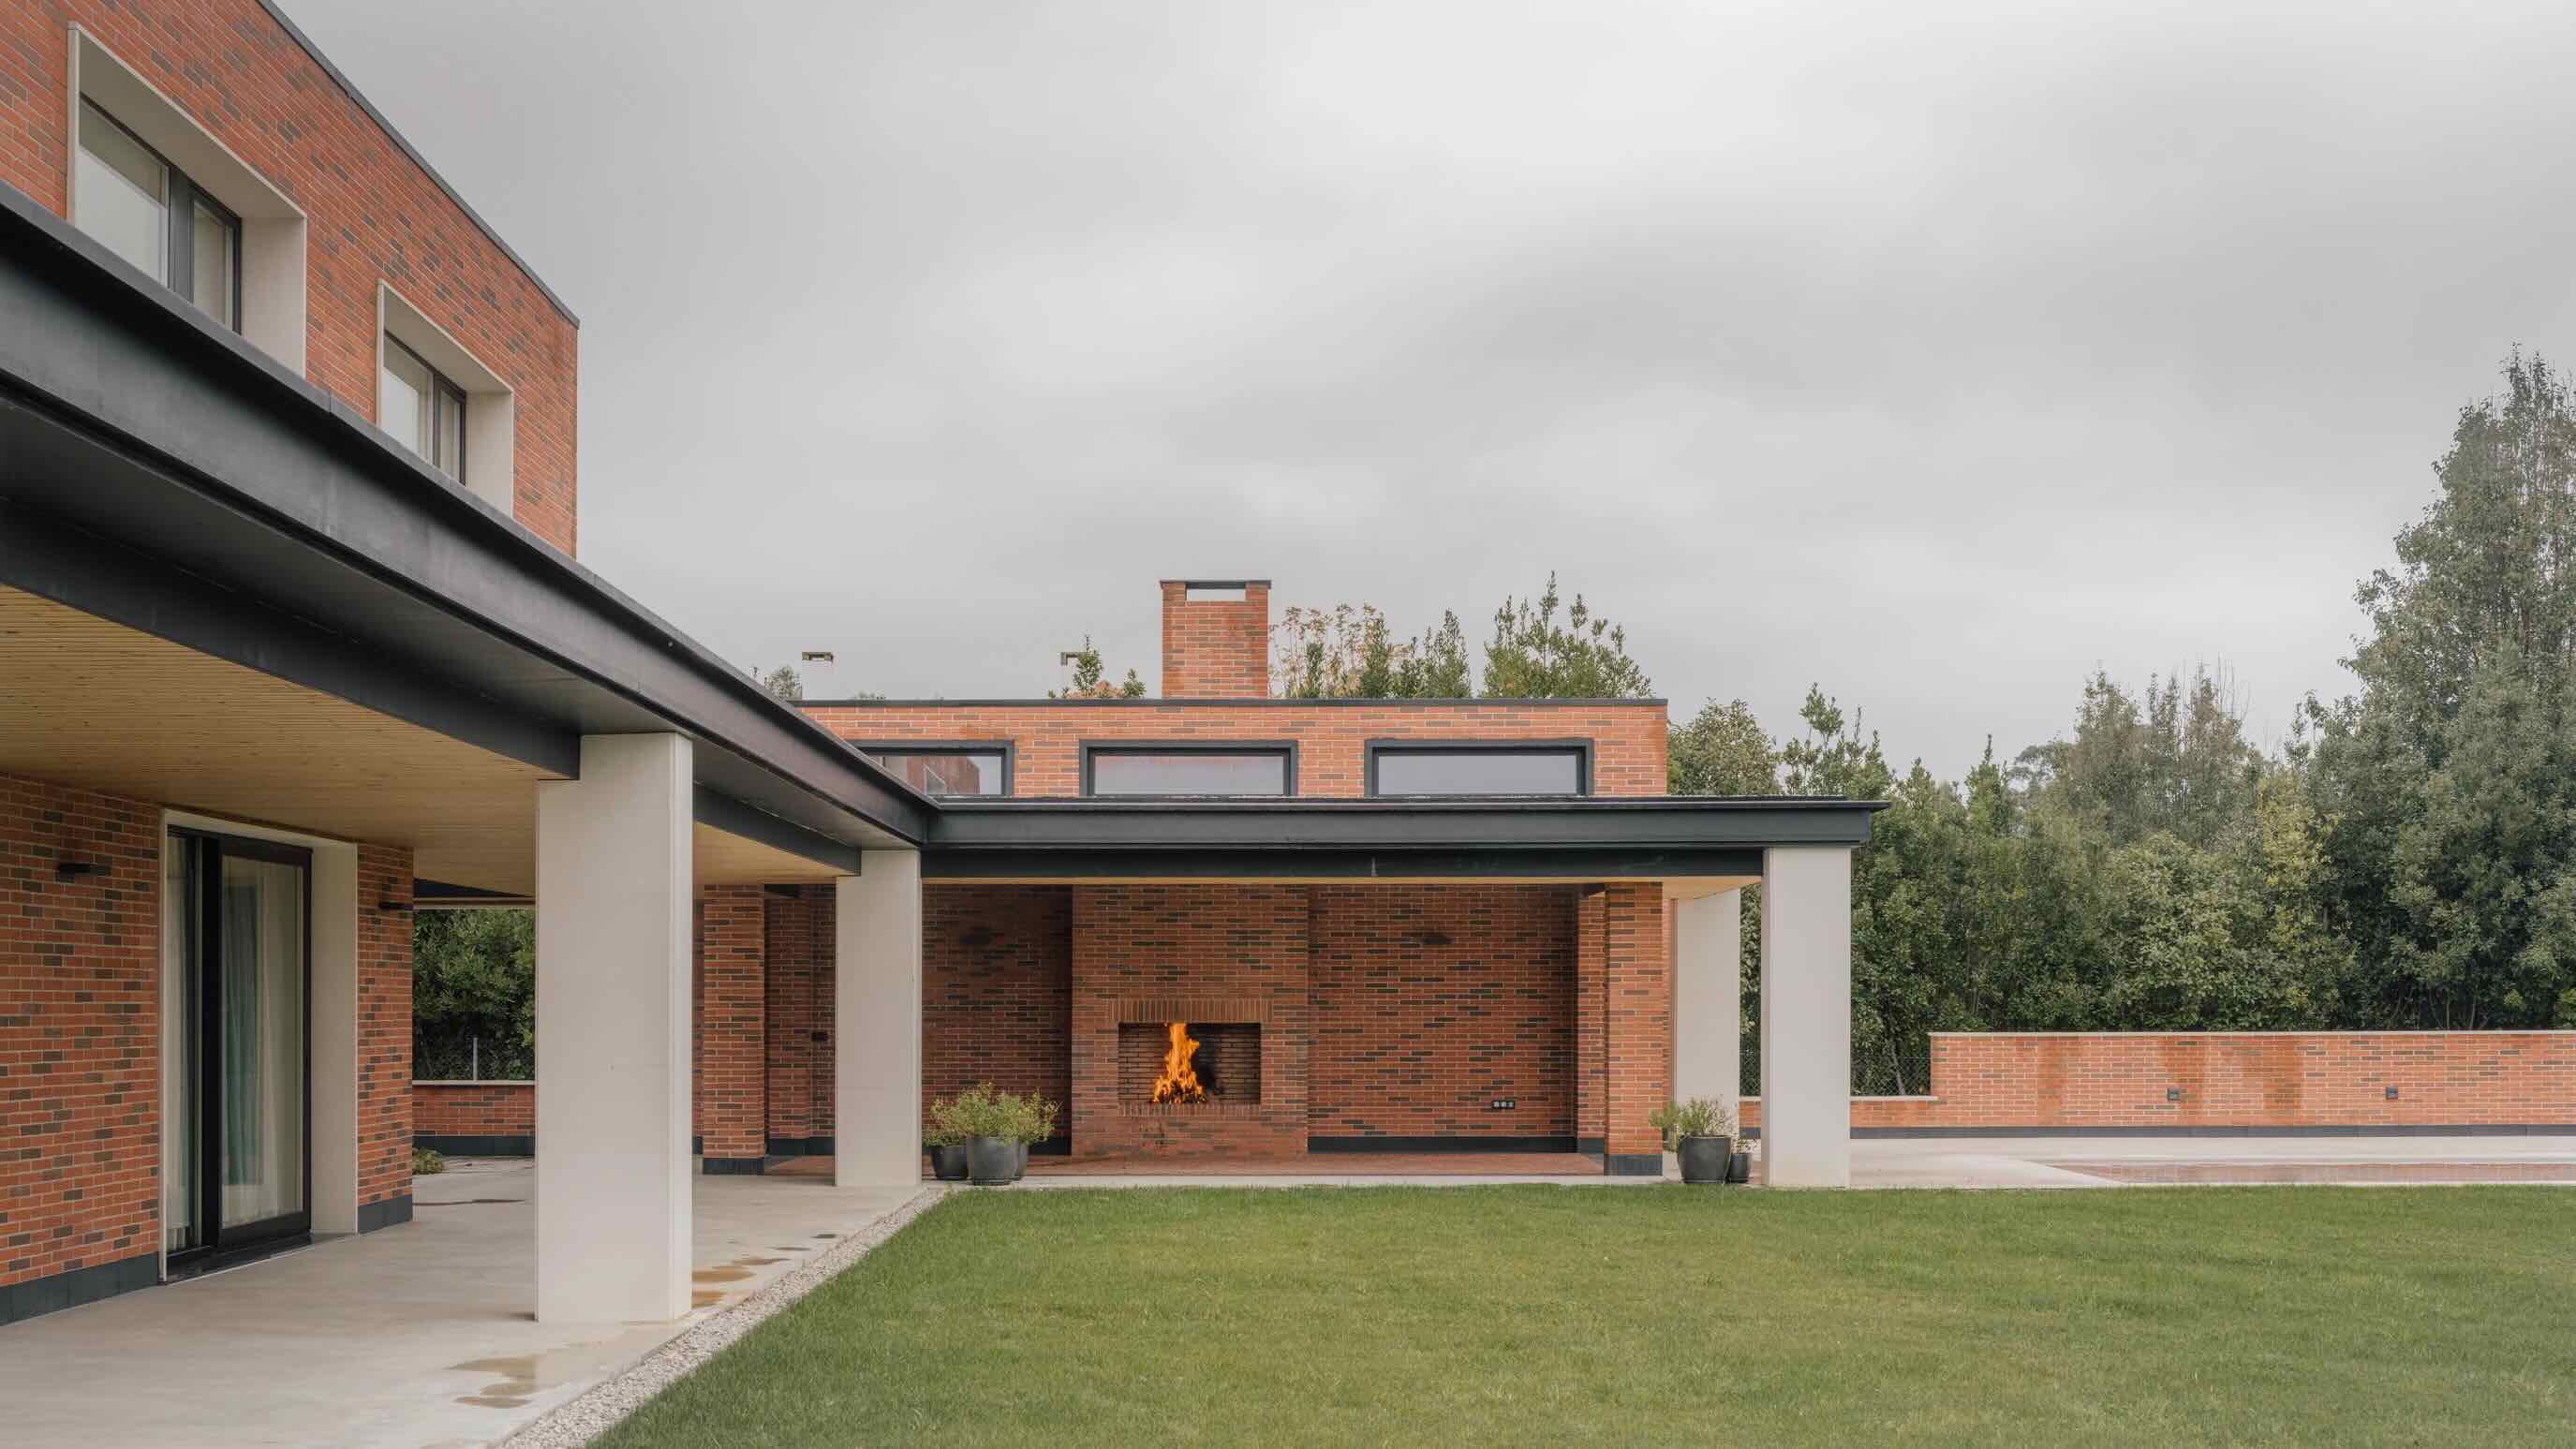
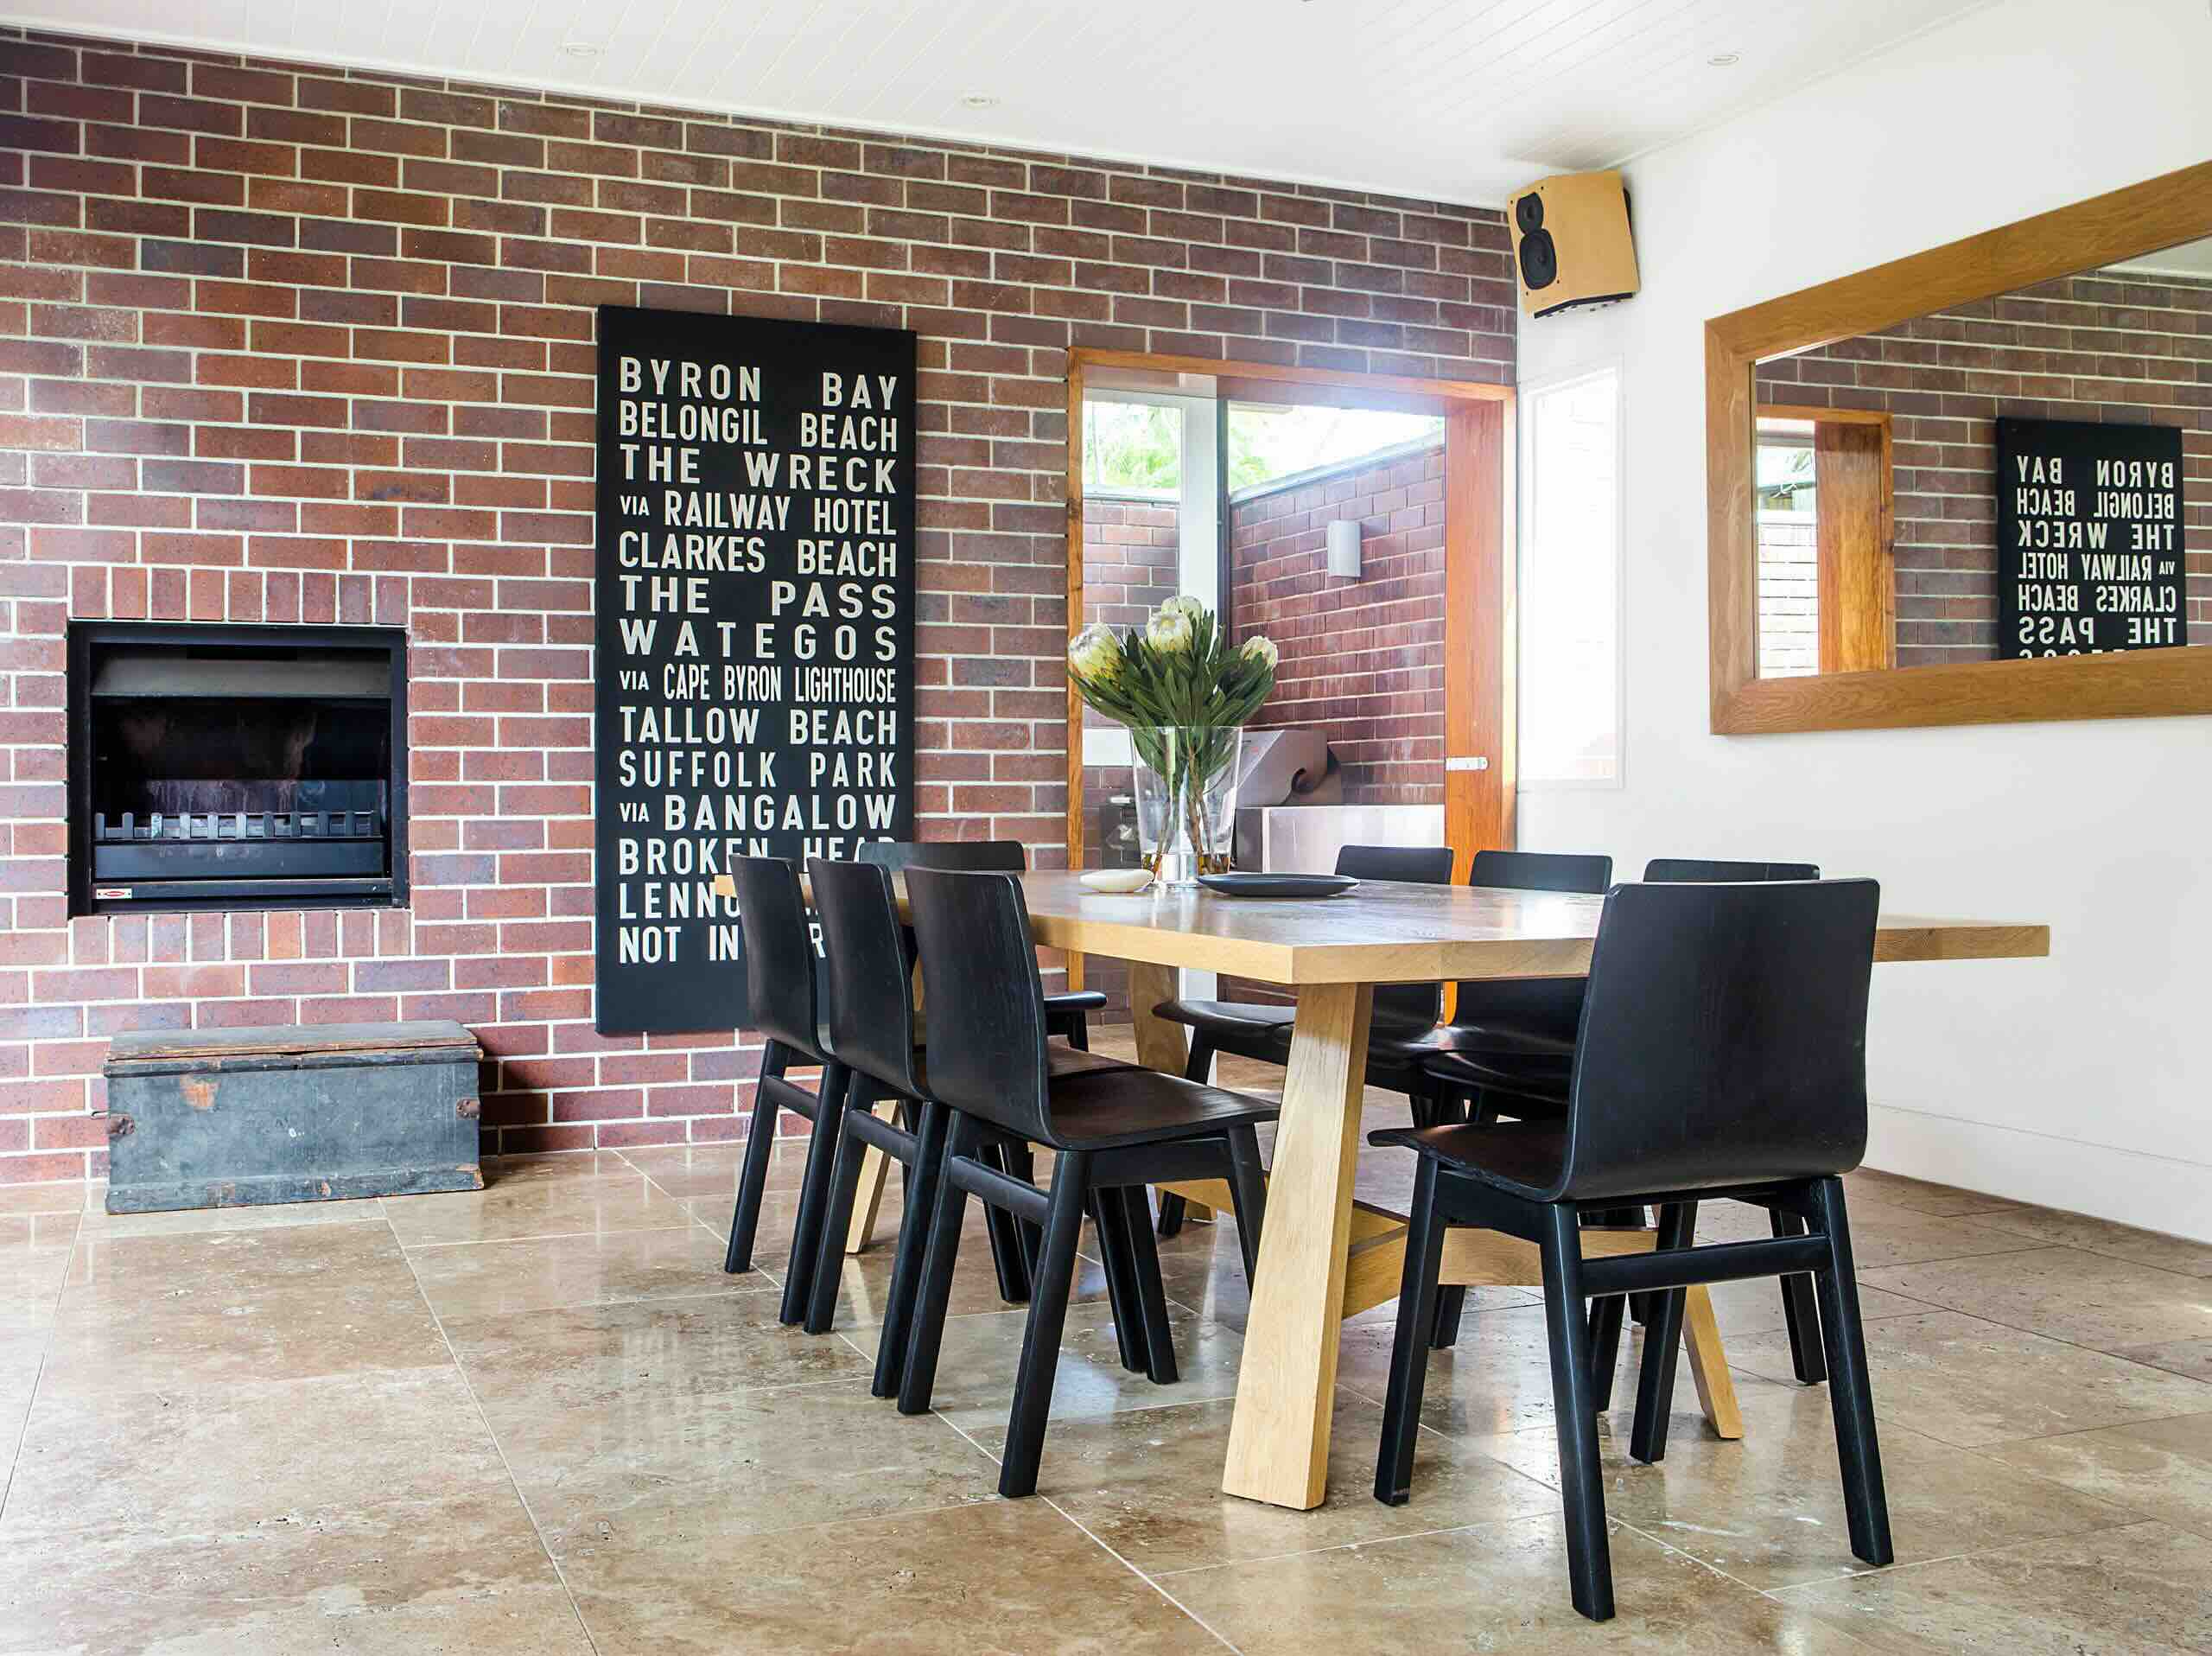
So, you've moved into a new house or are looking to revamp your current living space, and you're faced with the challenge of dealing with those unattractive brick walls. While exposed brick can lend a rustic charm to a space, it may not always align with your desired aesthetic. The good news is that you don't have to undertake a major renovation to transform the look and feel of your home. By covering those brick walls, you can achieve a fresh, modern, or even timeless appearance that suits your style.
In this comprehensive guide, we'll explore the various methods and materials for covering brick walls, along with the benefits and considerations associated with this endeavor. Whether you're aiming for a sleek, contemporary finish or a cozy, traditional ambiance, this article will equip you with the knowledge to make informed decisions and achieve stunning results. Let's dive in and discover the possibilities of transforming your interior brick walls into captivating features that elevate your home's appeal.
Key Takeaways:
- Transform your home’s interior by covering brick walls with materials like drywall, wood paneling, or wallpaper to achieve a personalized and stylish look while improving insulation and reducing maintenance.
- Prepare brick walls by cleaning, repairing, and priming before covering them with methods like drywall installation, wood paneling application, or wallpaper installation to achieve a seamless and polished appearance.
Read more: How To Decorate A Brick Wall Inside
Understanding the Benefits of Covering Brick Walls
Covering brick walls offers a myriad of advantages, making it a popular choice for homeowners seeking to update their interior spaces. Here are some key benefits to consider:
- Enhanced Aesthetic Appeal: By covering brick walls, you can completely transform the look and feel of a room. Whether you prefer a sleek, modern finish or a cozy, traditional ambiance, covering brick walls allows for a wide range of design possibilities to suit your personal style.
- Improved Insulation: Brick walls can be porous and may contribute to heat loss or gain, affecting the overall energy efficiency of a home. By covering the brick with insulating materials, you can enhance the thermal performance of the walls, leading to potential energy savings and a more comfortable living environment.
- No More Dust and Debris: Exposed brick walls can shed dust and debris, which may require frequent cleaning. By covering the brick, you can minimize the accumulation of dust and enjoy a cleaner, low-maintenance interior.
- No Structural Alterations: In some cases, covering brick walls can be a more practical solution than attempting to remove or alter the existing brickwork. This approach allows you to achieve a new look without the need for extensive structural modifications.
- Enhanced Soundproofing: Depending on the materials used for covering the brick walls, you can potentially improve the acoustic performance of a room. This can be particularly beneficial in reducing noise transmission between rooms or from external sources.
- Personalization and Customization: Covering brick walls provides an opportunity to personalize your living space according to your preferences. Whether you opt for paint, wallpaper, wood paneling, or other materials, you can tailor the appearance of the walls to reflect your unique style and design vision.
Understanding these benefits can help you make an informed decision when considering the best approach to covering your interior brick walls. Whether you prioritize aesthetics, energy efficiency, or maintenance convenience, covering brick walls presents a versatile and effective solution for enhancing your home’s interior.
Choosing the Right Materials for Covering Brick Walls
When it comes to covering brick walls, selecting the appropriate materials is crucial to achieving the desired aesthetic and functional outcomes. Here are several options to consider:
- Drywall: Drywall, also known as plasterboard or wallboard, is a popular choice for covering brick walls. It provides a smooth, paintable surface and can be installed with relative ease. Drywall offers excellent versatility and can be finished in various textures, making it suitable for a wide range of interior design styles.
- Wood Paneling: Wood paneling adds warmth and texture to interior spaces, creating a cozy and inviting atmosphere. Whether you opt for traditional tongue-and-groove panels or modern, sleek designs, wood paneling can effectively conceal brick walls while adding character and charm to the room.
- Wallpaper: Wallpaper presents a diverse array of patterns, textures, and colors, allowing for endless design possibilities. It offers a cost-effective and relatively simple method for covering brick walls, enabling you to achieve unique and eye-catching effects that align with your personal style.
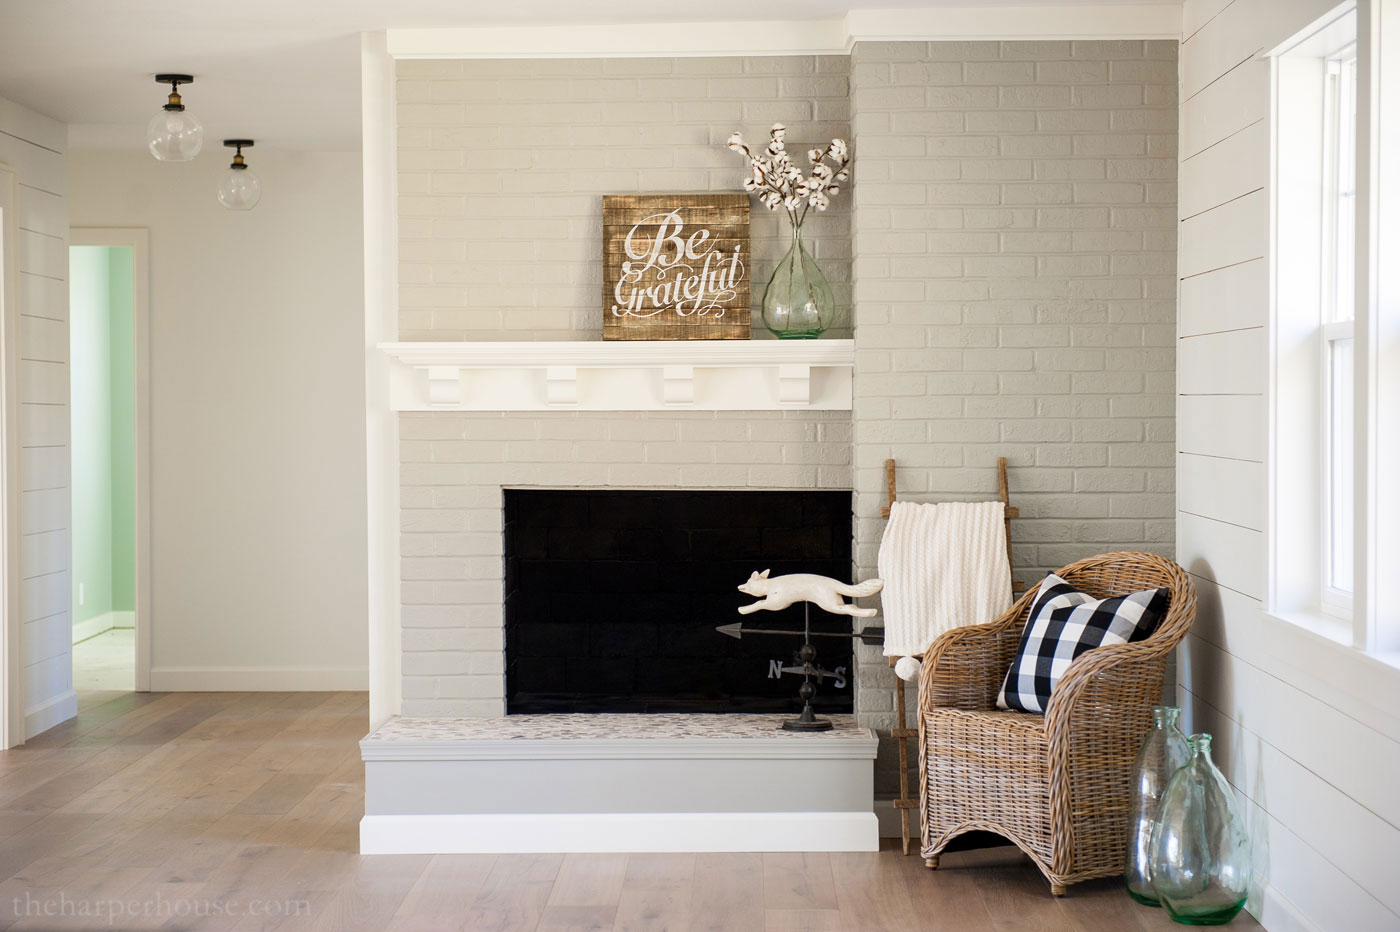
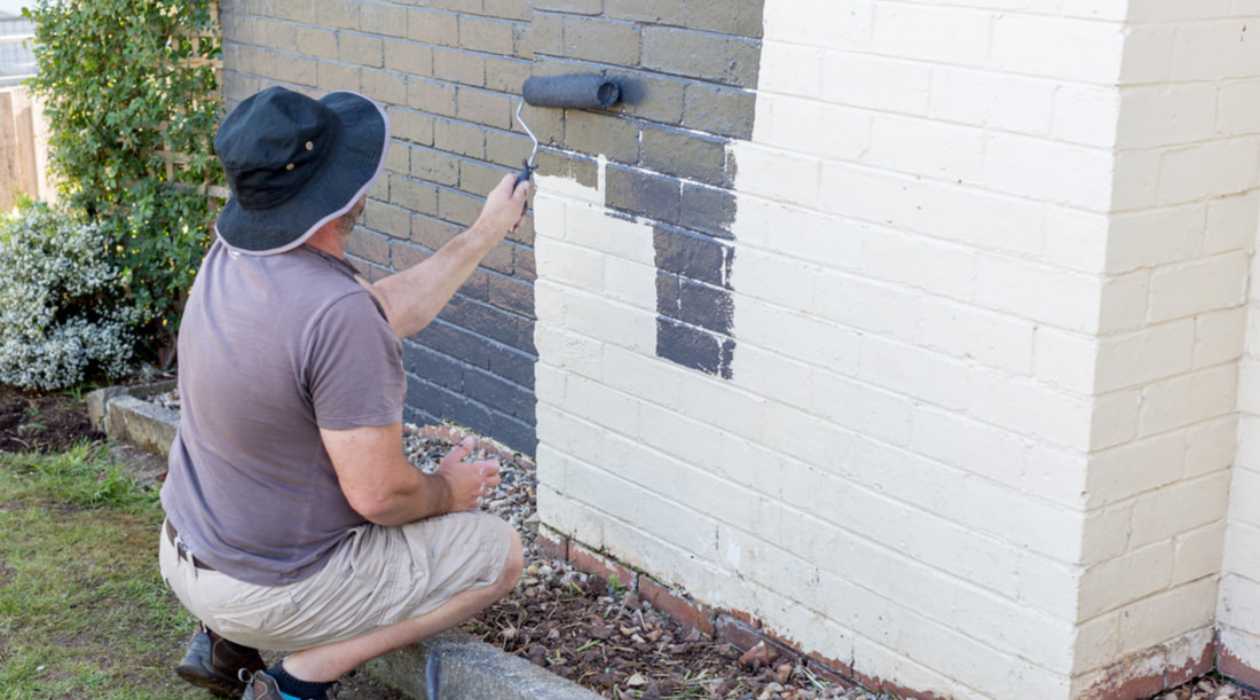
- Paint: Painting brick walls is a versatile and budget-friendly option for transforming their appearance. Whether you prefer a solid color, faux finish, or decorative mural, paint allows for creative expression and can dramatically alter the look of the space.
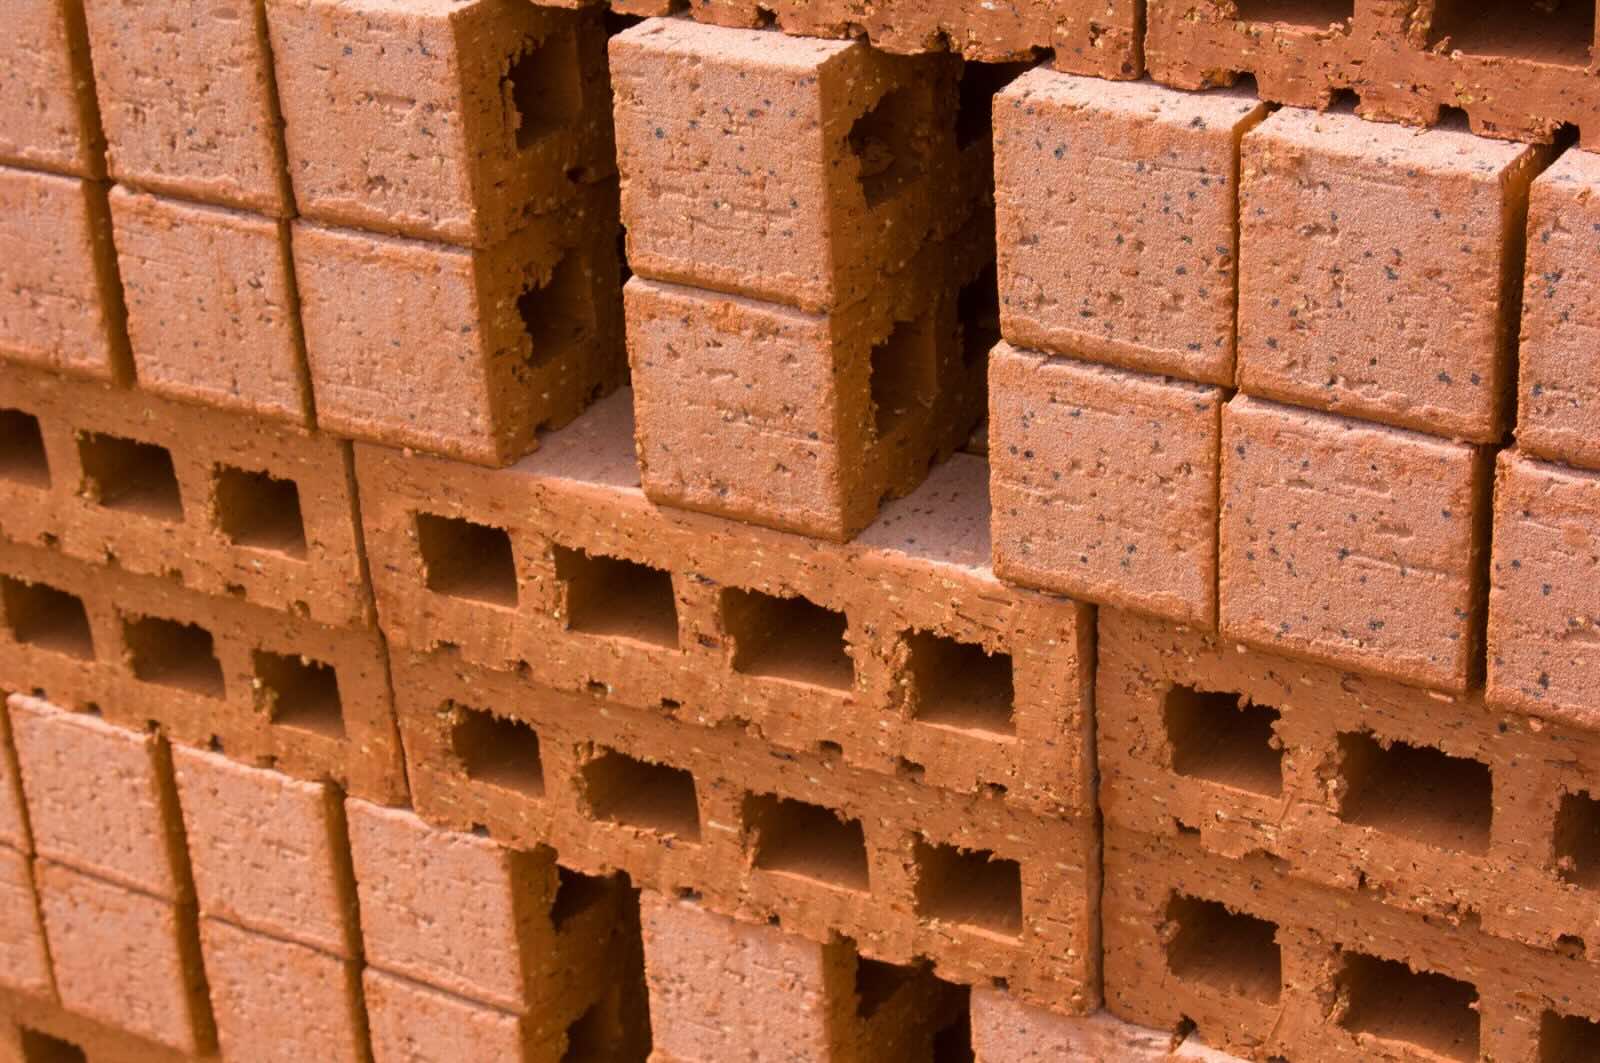
- Faux Stone or Brick Veneer: For those who appreciate the look of natural stone or brick, faux veneer materials offer a lightweight and cost-effective alternative. These veneers can be installed directly over existing brick walls, providing the aesthetic appeal of genuine stone or brick without the need for extensive structural modifications.
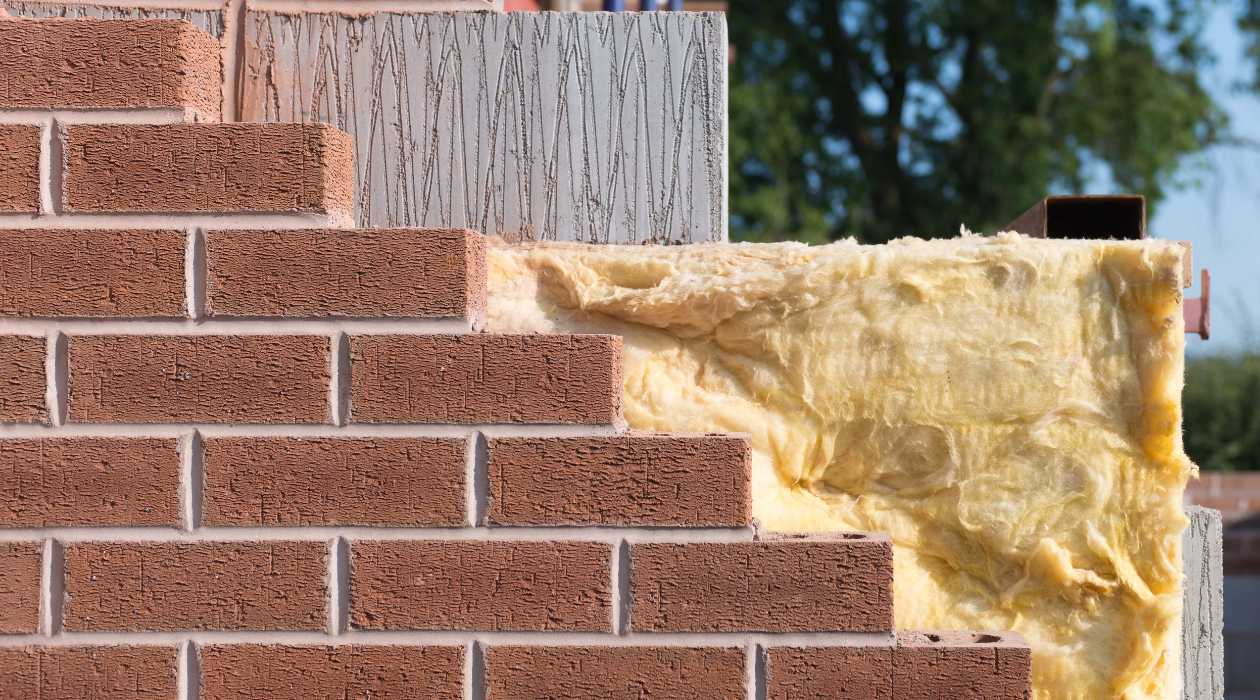
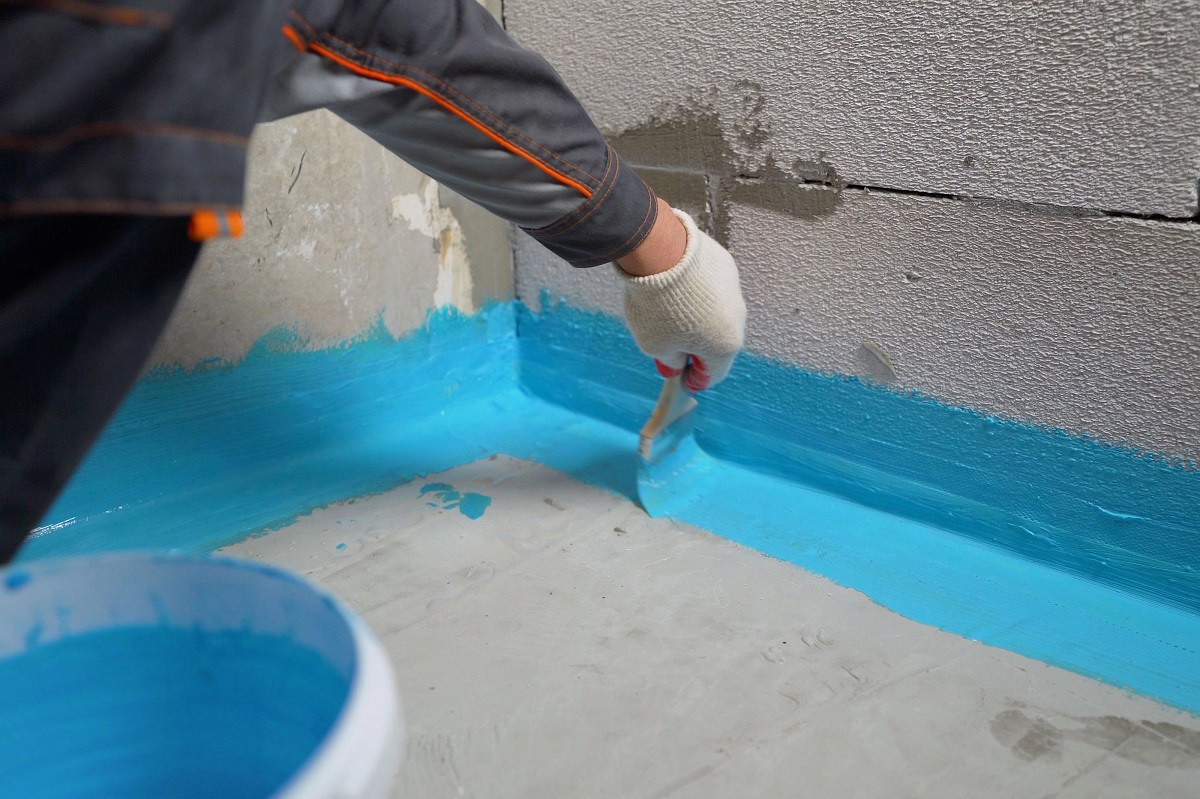
- Insulating Materials: If improving energy efficiency is a priority, consider using insulating materials such as rigid foam panels or spray foam to cover the brick walls. These materials not only conceal the brick but also enhance the thermal performance of the walls, contributing to a more comfortable and energy-efficient living environment.
When choosing the right materials for covering brick walls, it’s essential to consider factors such as durability, maintenance requirements, design flexibility, and the overall impact on the room’s ambiance. By carefully evaluating these considerations, you can select the most suitable materials to achieve your desired aesthetic and functional goals.
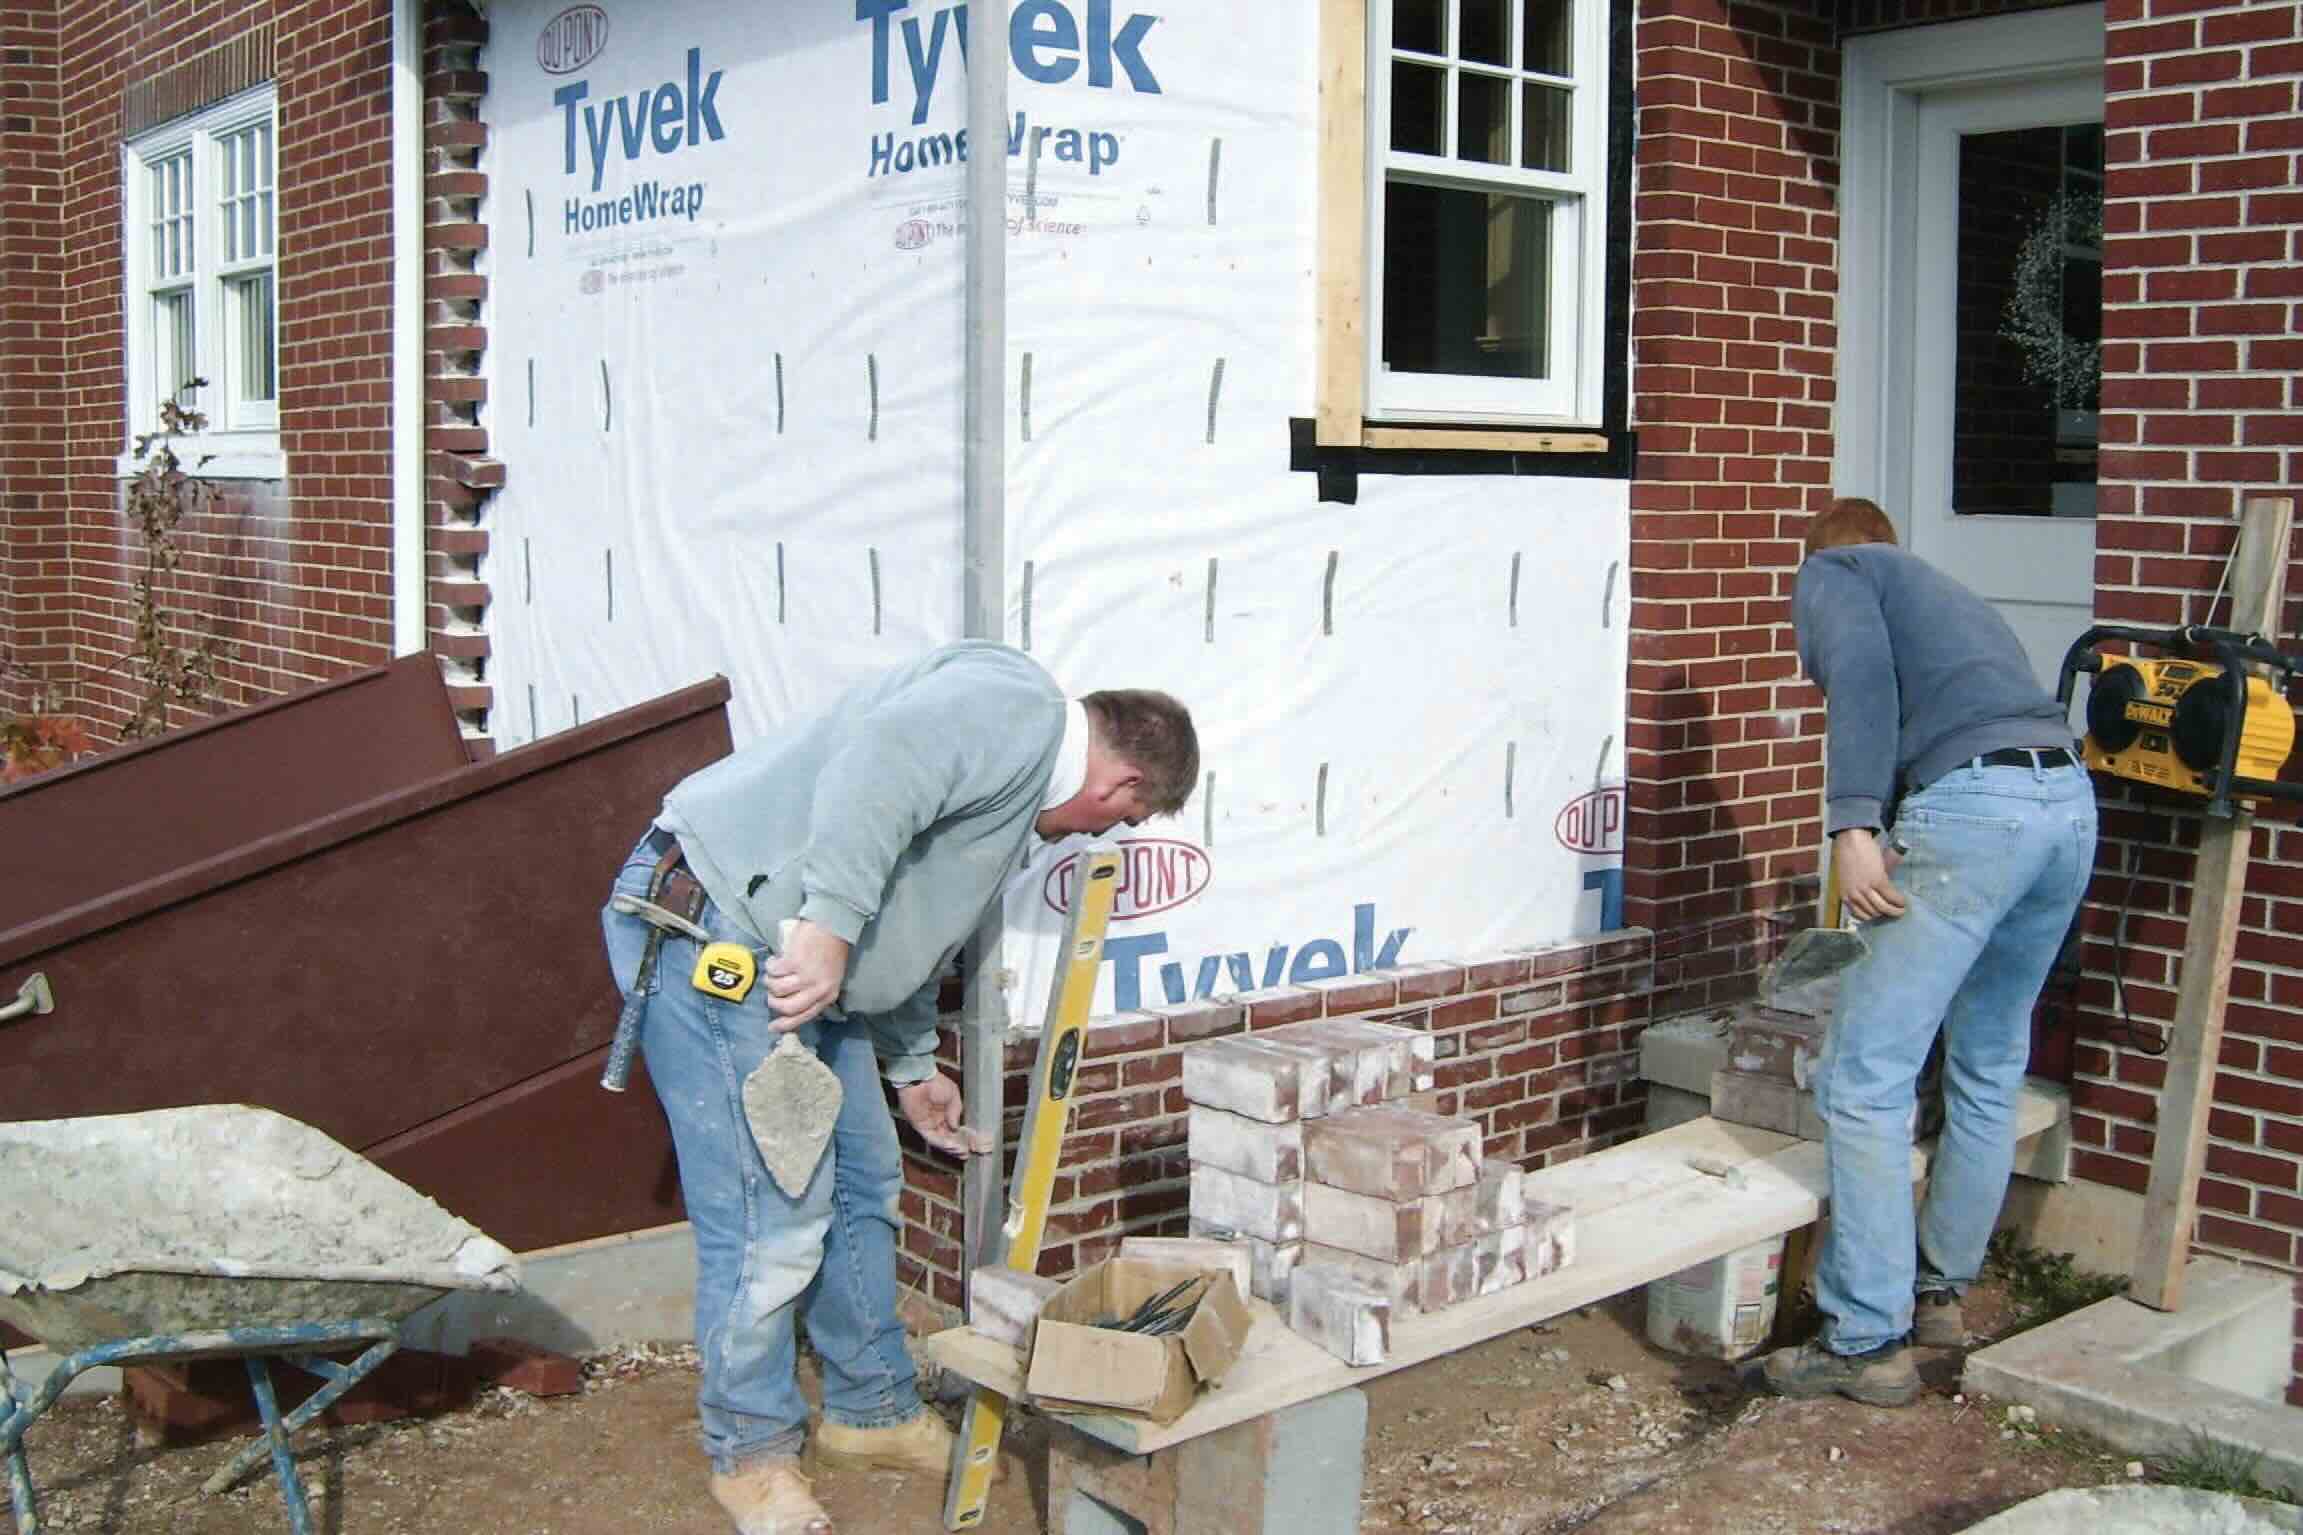
Preparing the Brick Walls for Covering
Before embarking on the process of covering brick walls, it’s crucial to ensure that the walls are properly prepared to optimize the results and longevity of the coverings. Here are essential steps to consider when preparing brick walls for covering:
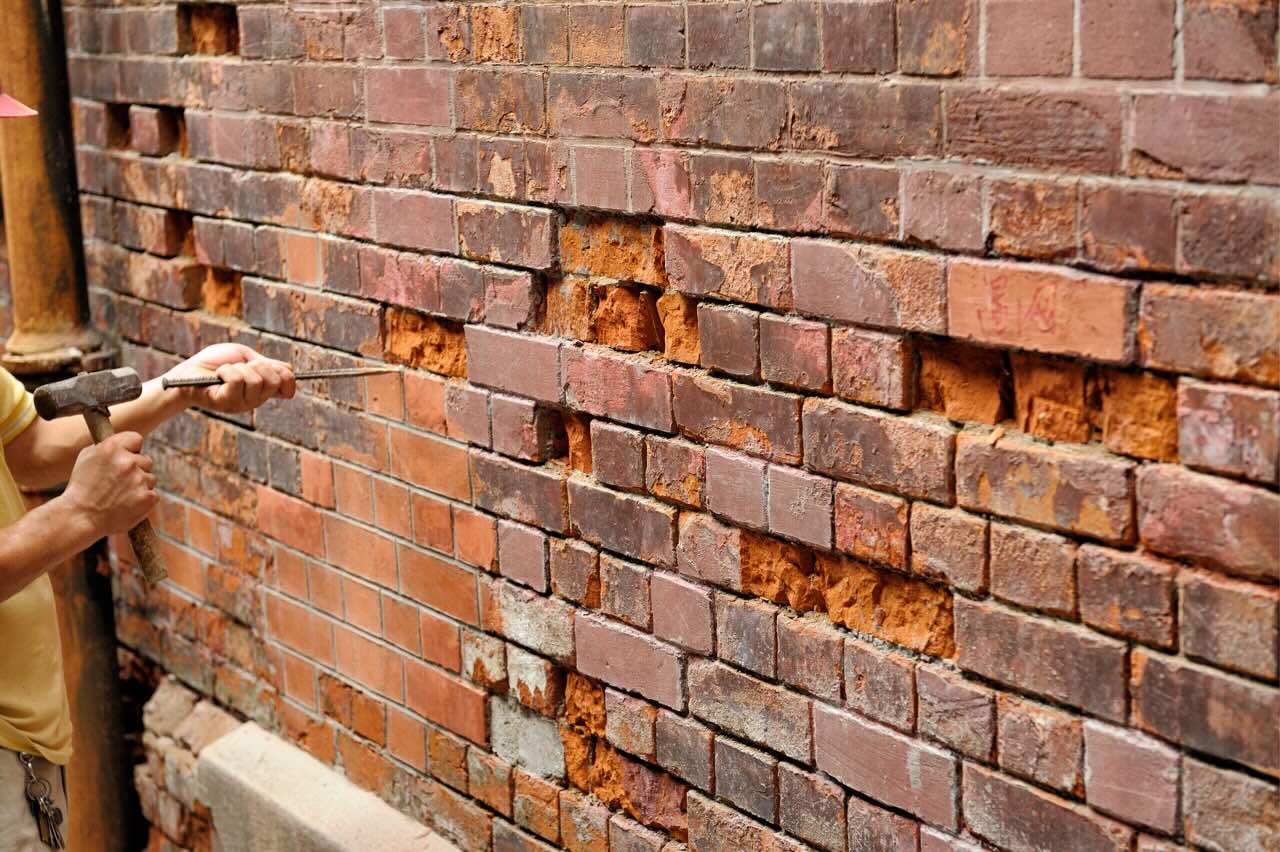
- Clean the Surface: Begin by thoroughly cleaning the brick walls to remove any dirt, dust, or debris. Use a stiff brush, mild detergent, and water to scrub the surface and eliminate any contaminants that could hinder the adhesion of the covering materials.
- Repair Any Damage: Inspect the brick walls for any signs of damage, such as cracks or loose mortar. Address these issues by filling in cracks with appropriate masonry repair products and securing loose mortar to ensure a smooth and stable surface for the coverings.
- Apply a Primer: Depending on the type of covering material you plan to use, applying a suitable primer to the brick walls can enhance adhesion and promote a uniform finish. Consult with a professional at your local hardware store to select the appropriate primer for the specific covering materials you’ve chosen.
- Address Moisture Concerns: Evaluate the moisture levels in the brick walls, especially if they are prone to dampness or water infiltration. Implement moisture mitigation measures as needed to prevent potential issues with mold, mildew, or covering material adhesion in the future.
- Level Uneven Surfaces: If the brick walls exhibit uneven or rough surfaces, consider applying a layer of leveling compound to create a smooth and even base for the coverings. This step is particularly important when using materials like drywall or applying wallpaper to ensure a flawless end result.
- Allow Sufficient Drying Time: After cleaning, repairing, and priming the brick walls, allow ample time for the surfaces to dry completely before proceeding with the installation of the chosen coverings. Adequate drying time is essential to ensure the effectiveness of the preparatory steps and the long-term performance of the coverings.
By meticulously preparing the brick walls for covering, you can mitigate potential issues and create a solid foundation for the installation of the chosen materials. Taking the time to address cleaning, repairs, priming, moisture concerns, and surface leveling is essential for achieving professional-quality results and ensuring the durability of the coverings over time.
Consider using a combination of paint and wallpaper to cover brick walls inside your house. Start by cleaning the bricks and applying a primer before painting or applying the wallpaper for better adhesion.
Methods for Covering Brick Walls
When it comes to covering brick walls, several methods can be employed to achieve the desired aesthetic and functional results. Each method offers unique advantages and considerations, allowing homeowners to select the approach that best suits their preferences and the specific characteristics of the space. Here are several effective methods for covering brick walls:
- Drywall Installation: Installing drywall over brick walls is a popular and versatile method for achieving a smooth, paintable surface. This approach involves affixing drywall panels directly to the brick using construction adhesive and fasteners. Once installed, the drywall can be finished with joint compound, sanded, and painted to create a seamless and polished appearance.
- Wood Paneling Application: Applying wood paneling to brick walls adds warmth and texture to interior spaces. This method typically involves securing furring strips to the brick to create a framework for attaching the wood panels. The panels can then be affixed to the strips, providing a visually appealing and customizable covering solution.
- Wallpaper Installation: Wallpaper offers a convenient and diverse method for covering brick walls with an extensive range of patterns, textures, and colors. After properly preparing the brick walls, wallpaper can be applied using adhesive, allowing for creative expression and the ability to achieve various design effects to suit the desired aesthetic.
- Painting the Brick Walls: Painting brick walls is a straightforward and cost-effective method for transforming their appearance. Prior to painting, the brick walls should be cleaned, primed, and prepared to ensure optimal adhesion and a professional finish. Whether opting for a solid color or decorative techniques, paint provides a versatile solution for covering brick walls.
- Application of Faux Stone or Brick Veneer: Installing faux stone or brick veneer over existing brick walls offers a lightweight and visually striking covering method. These veneers can be adhered directly to the brick, providing the appearance of genuine stone or brick without the need for extensive structural modifications, while adding depth and character to the space.
- Insulating Material Incorporation: For homeowners seeking to improve energy efficiency, incorporating insulating materials such as rigid foam panels or spray foam into the covering process can provide both thermal benefits and a fresh, new look. These materials can be installed directly over the brick walls, effectively concealing the brick while enhancing the thermal performance of the space.
Each method for covering brick walls presents unique advantages in terms of aesthetics, functionality, and ease of installation. By carefully evaluating the characteristics of the space and considering personal preferences, homeowners can select the most suitable method to achieve their desired interior transformation.
Read more: How To Build A Brick Wall For A House
Finishing Touches and Maintenance
Upon completing the covering of brick walls, attention to finishing touches and maintenance is essential to ensure the longevity and visual appeal of the newly transformed space. Here are important considerations for adding the final touches and maintaining the covered brick walls:
- Trim and Molding: Adding trim and molding can provide a polished and cohesive look to the covered brick walls. Whether using crown molding, baseboards, or chair rails, carefully selected trim can complement the covering materials and create a seamless transition between the walls and other architectural elements in the room.
- Sealing and Protecting: Depending on the covering materials used, applying a protective sealant or topcoat may be necessary to safeguard the surfaces from wear, moisture, or stains. Consult with a professional to determine the appropriate sealant for the specific coverings and ensure their long-term durability.
- Regular Cleaning and Maintenance: To preserve the appearance of covered brick walls, establish a routine for cleaning and maintenance. Depending on the covering materials, regular dusting, wiping, or gentle cleaning with appropriate products can help maintain the walls’ beauty and prolong their lifespan.
- Inspecting for Wear and Damage: Periodically inspect the covered brick walls for any signs of wear, damage, or areas requiring touch-ups. Addressing minor issues promptly can prevent them from escalating and ensure that the walls continue to enhance the overall aesthetic and comfort of the space.
- Personalizing with Décor: Once the brick walls are covered, consider personalizing the space with artwork, mirrors, shelving, or other decorative elements. Thoughtfully chosen décor can further enhance the ambiance of the room and complement the newly transformed walls.
- Adapting to Seasonal Changes: Be mindful of seasonal changes and their potential impact on the covered brick walls. For instance, adjusting humidity levels and protecting the walls from direct sunlight can help maintain their appearance and structural integrity over time.
By attending to finishing touches and implementing a proactive maintenance approach, homeowners can ensure that their covered brick walls remain visually appealing and functional for years to come. Whether adding decorative elements, protecting the surfaces, or establishing a maintenance routine, these efforts contribute to the overall enjoyment and longevity of the interior transformation.
Conclusion
Covering brick walls inside a house presents an exciting opportunity to transform the aesthetic and functionality of interior spaces. Whether aiming for a contemporary, traditional, or eclectic design, the process of covering brick walls offers numerous benefits, including enhanced aesthetics, improved insulation, and reduced maintenance. By carefully selecting the right materials, preparing the walls effectively, and applying suitable covering methods, homeowners can achieve stunning results that align with their vision for a welcoming and personalized home environment.
As with any home improvement project, attention to detail during the covering process, as well as thoughtful consideration of finishing touches and maintenance, are essential to ensuring the longevity and appeal of the transformed walls. By incorporating trim, protective treatments, and regular maintenance routines, homeowners can preserve the beauty and functionality of the covered brick walls for years to come.
Ultimately, the decision to cover brick walls inside a house opens the door to endless design possibilities and the opportunity to create a space that reflects individual tastes and preferences. Whether opting for the timeless appeal of wood paneling, the versatility of drywall, or the creative expression of wallpaper and paint, the covered walls can serve as a captivating backdrop for daily living and personal enjoyment.
With careful planning, attention to detail, and a touch of creativity, the process of covering brick walls can yield remarkable transformations, elevating the overall ambiance and comfort of a home. Embracing this endeavor allows homeowners to infuse their living spaces with character, style, and functionality, ultimately creating an environment that truly feels like home.
Frequently Asked Questions about How To Cover Brick Walls Inside House
Was this page helpful?
At Storables.com, we guarantee accurate and reliable information. Our content, validated by Expert Board Contributors, is crafted following stringent Editorial Policies. We're committed to providing you with well-researched, expert-backed insights for all your informational needs.


0 thoughts on “How To Cover Brick Walls Inside House”