Home>Furniture>Outdoor Furniture>How To Cover A Patio Floor
Outdoor Furniture
How To Cover A Patio Floor
Modified: March 25, 2024
Discover the best ways to cover your patio floor with our helpful guide. Enhance your outdoor space with stylish and durable outdoor furniture.
(Many of the links in this article redirect to a specific reviewed product. Your purchase of these products through affiliate links helps to generate commission for Storables.com, at no extra cost. Learn more)
Introduction
Welcome to our comprehensive guide on how to cover a patio floor! Your patio is an extension of your home, a place where you can relax, entertain, and enjoy the outdoors. However, over time, the flooring of your patio may become worn, cracked, or just plain boring. But don’t worry, with the right materials and techniques, you can give your patio floor a fresh new look.
Whether you want to transform your patio with a stylish and durable material or simply want to update the existing flooring, we’ve got you covered. In this article, we will walk you through the step-by-step process of preparing, choosing, and installing the perfect patio flooring material.
Before diving into the specifics, it’s important to note that the choice of patio flooring material depends on various factors such as budget, climate, and personal style. From classic options like wood and stone to modern alternatives like composite decking and rubber tiles, the possibilities are endless. Ready to get started? Let’s begin!
Key Takeaways:
- Revamp your patio with a new flooring material, from classic wood to durable rubber, to create a stylish and inviting outdoor space that suits your budget, climate, and personal style.
- Ensure a long-lasting patio floor by properly preparing, cleaning, and repairing the surface before laying and securing the chosen flooring material. Add finishing touches like furniture, lighting, and plants to create a cozy outdoor oasis.
Read more: How To Cover A Brick Floor
Step 1: Prepare the Patio Floor
Before you can cover your patio floor, it’s important to prepare the surface properly. This step ensures that the new flooring material adheres well and provides a smooth and long-lasting finish. Here are the key steps involved in preparing your patio floor:
- Remove furniture and plants: Start by clearing off your patio. Remove any furniture, potted plants, or other items that may obstruct your work area.
- Clean the surface: Next, thoroughly clean the patio surface. Sweep away any dirt, leaves, and debris. Use a pressure washer or hose with a nozzle attachment to remove stubborn stains or grime. You can also use a mild detergent and scrub brush for more stubborn areas. Allow the surface to dry completely before proceeding to the next step.
- Repair any cracks or damage: Inspect the patio floor for any cracks or damage. Fill any small cracks with a concrete crack filler and smooth it out using a trowel. For larger cracks or uneven areas, you may need to consider resurfacing the entire patio. Consult a professional if needed.
- Level the surface: A level surface is crucial for a successful patio floor installation. If your patio is uneven, you can use a self-leveling compound to even out the floor. Follow the manufacturer’s instructions for the specific product you choose.
- Apply a primer (if necessary): Depending on the type of flooring material you choose, you may need to apply a primer to the patio surface. This step ensures proper adhesion and enhances the durability of the new flooring. Check the manufacturer’s guidelines for the recommended primer and application method.
By properly preparing your patio floor, you ensure that the surface is clean, level, and ready for the next steps. Taking the time to complete this crucial step will result in a more successful and long-lasting patio floor installation. Once your patio floor is fully prepared, you can move on to selecting the appropriate flooring material.
Step 2: Choose the Patio Flooring Material
Choosing the right patio flooring material is a crucial decision that will determine the overall look, durability, and maintenance requirements of your patio. There are various options available, each with its unique characteristics and suitability for different climates and lifestyles. Here are some popular patio flooring materials to consider:
- Wood: Wood is a classic and timeless choice for patio flooring. It adds warmth and natural beauty to your outdoor space. Hardwood, such as teak or cedar, is highly durable and resistant to rot and insects. Alternatively, you can opt for composite wood decking, which mimics the look of wood but requires less maintenance.
- Stone: Natural stone, such as slate, limestone, or travertine, creates an elegant and sophisticated patio floor. It comes in various shapes, sizes, and colors, allowing you to create a unique and personalized look. Stone is durable, heat-resistant, and requires minimal maintenance.
- Concrete: Concrete is a versatile and cost-effective option for patio flooring. With advances in decorative concrete techniques, you can achieve a wide range of textures, patterns, and colors. Concrete is highly durable and can withstand harsh weather conditions. It can also be stained or stamped to mimic other materials like stone or tile.
- Brick: Brick pavers add a charming and traditional touch to your patio. They come in various colors and sizes, allowing for creative patterns and designs. Brick is durable, slip-resistant, and requires minimal maintenance.
- Tile: Ceramic or porcelain tiles are popular choices for patios. They offer a wide range of styles and designs to suit different aesthetics. Tiles are durable, easy to clean, and resistant to moisture. However, it’s important to choose non-slip tiles to ensure safety in wet conditions.
- Rubber: Rubber tiles or pavers are a great option for creating a comfortable and slip-resistant patio surface. They come in various colors and textures and provide cushioning and shock absorbance. Rubber is also resistant to mold, mildew, and stains, making it low-maintenance.
When choosing the patio flooring material, consider factors such as your budget, climate, desired aesthetics, and maintenance requirements. It’s also essential to ensure that the material is suitable for outdoor use and can withstand the specific weather conditions in your area. Take your time to research and explore different options before making a decision.
In the next step, we will cover the process of cleaning the patio surface to ensure a proper installation of the chosen flooring material.
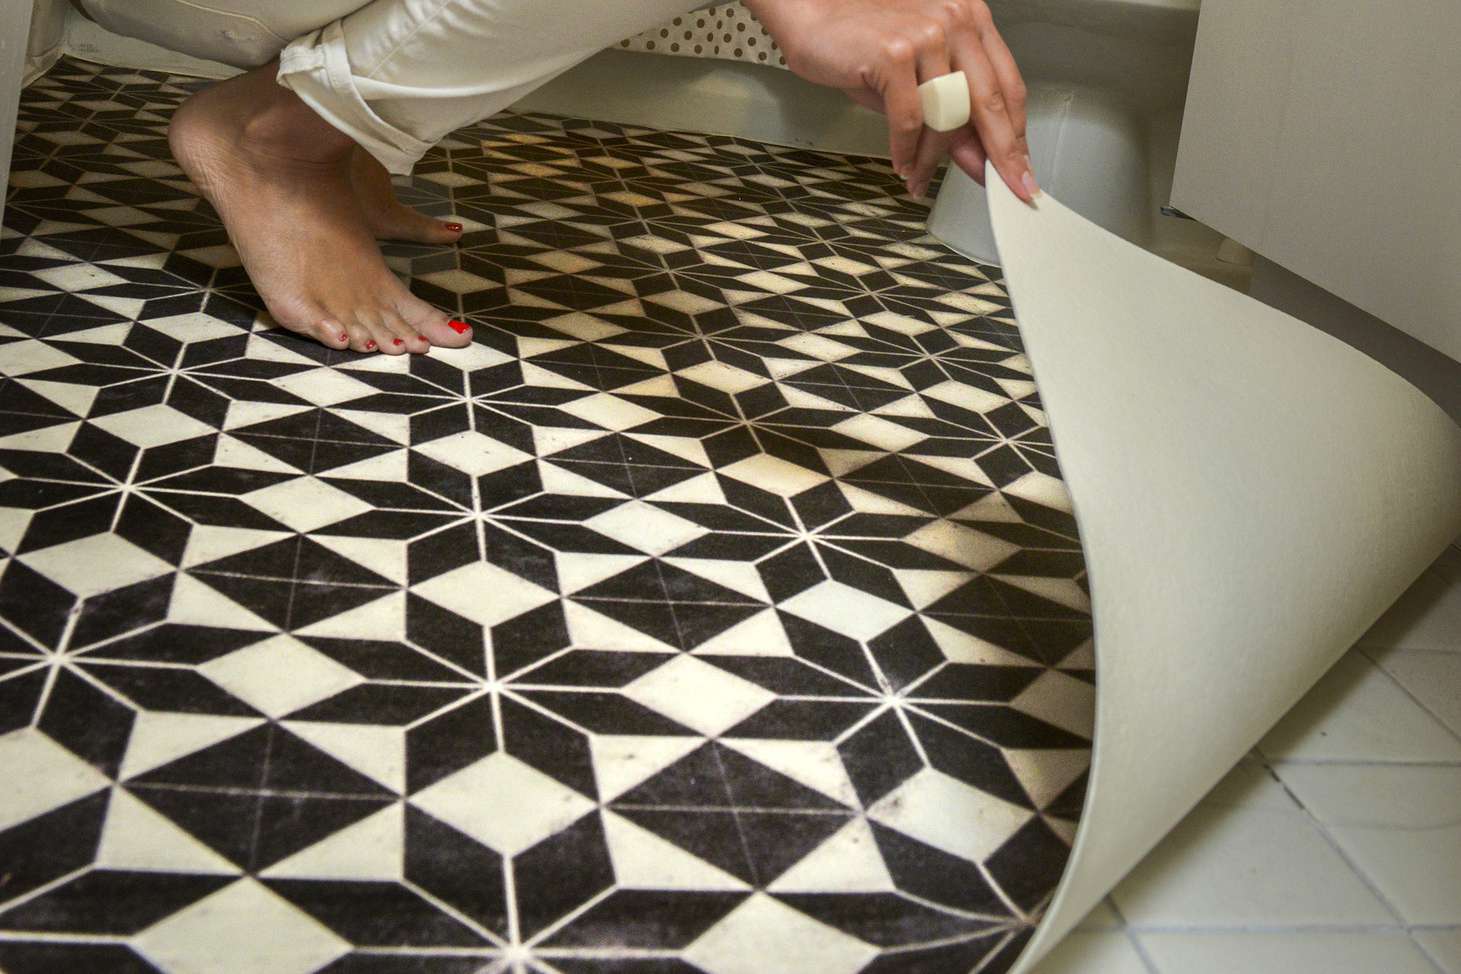
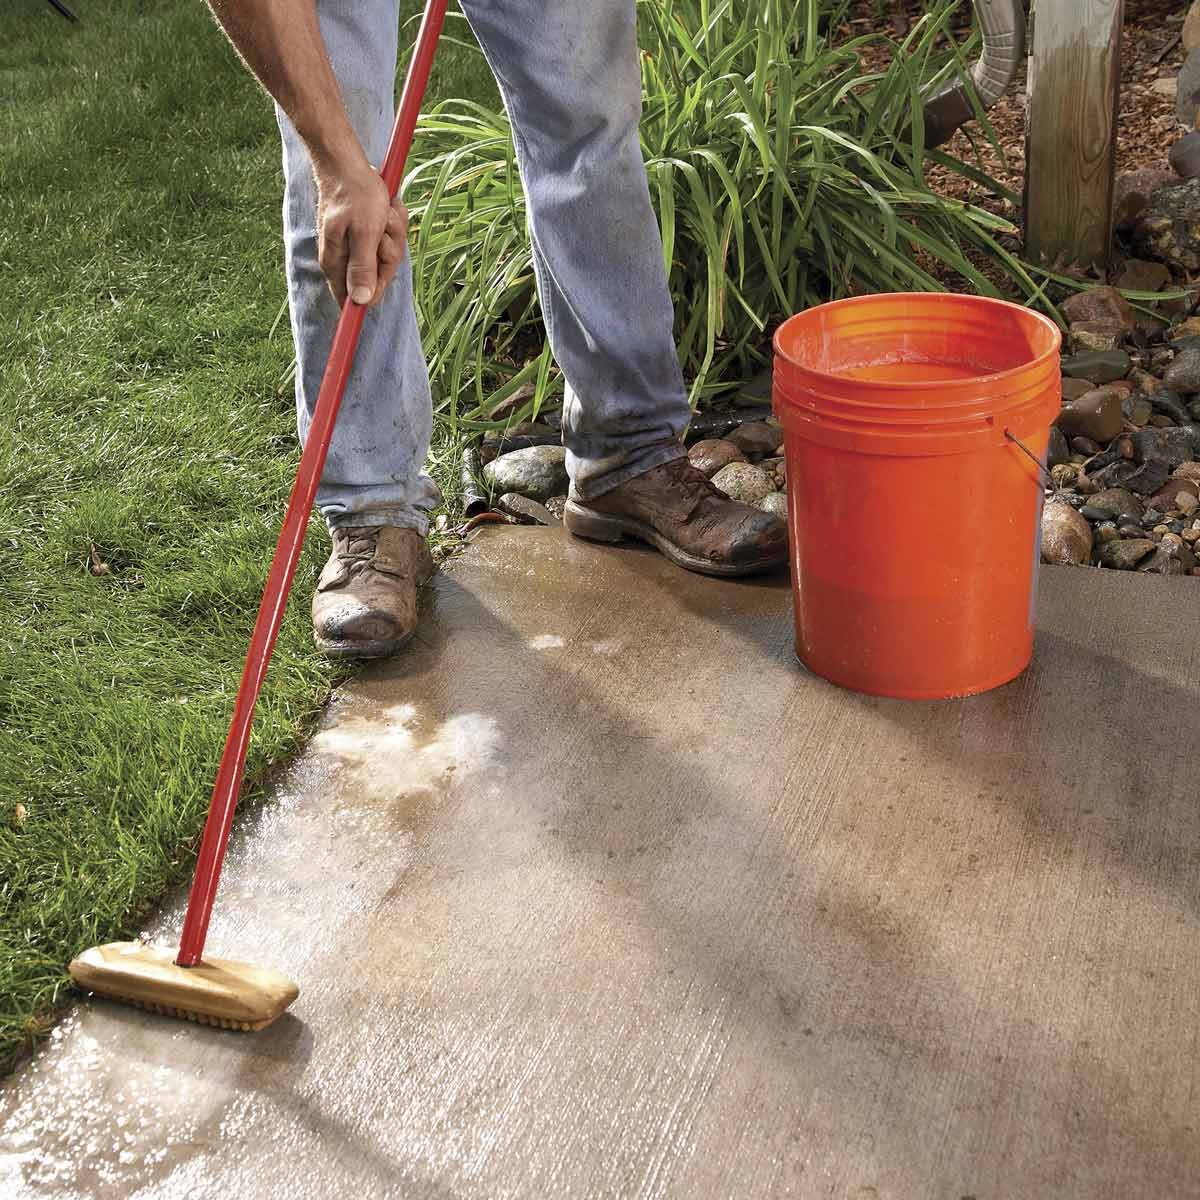
Step 3: Clean the Patio Surface
Now that you have chosen the perfect patio flooring material, it’s time to ensure that the surface is clean and ready for installation. Cleaning the patio surface is essential to remove any dirt, grime, or residue that could interfere with the adhesion of the new flooring. Follow these steps to effectively clean your patio surface:
- Sweep away debris: Start by sweeping the patio surface with a broom to remove any loose dirt, leaves, or debris. Pay special attention to the corners and edges of the patio.
- Remove stains: If there are any stubborn stains on the patio, such as grease or oil, you can use a cleaning solution specifically formulated for outdoor surfaces. Follow the instructions on the product label and scrub the stains using a brush or scrubber. For mildew or mold stains, you can use a mixture of water and bleach or a commercial mildew remover.
- Pressure wash: For a deep and thorough clean, consider using a pressure washer. This powerful tool can effectively remove embedded dirt and grime from the patio surface. Follow the manufacturer’s instructions for proper usage and safety precautions. Start from a distance and gradually move closer to the surface to avoid damage.
- Rinse thoroughly: After you have cleaned the patio with a cleaning solution or pressure washer, rinse the surface thoroughly with water. This will remove any residual cleaning solution or loose debris.
- Allow to dry: Before proceeding to the next step, ensure that the patio surface is completely dry. This will ensure proper adhesion and prevent moisture-related issues in the future. Depending on the weather conditions, it may take a few hours to a day for the surface to dry completely.
By thoroughly cleaning your patio surface, you create a clean and smooth canvas for the installation of your chosen flooring material. This step ensures that any dirt or debris that could hinder the adhesion of the new flooring is removed. Once the patio surface is dry, you can proceed to the next step, which involves repairing any damaged areas of the patio.
Step 4: Repair any Damaged Areas
Before proceeding with the installation of the new patio flooring, it’s important to address any damaged or uneven areas on the patio surface. Repairing these areas will ensure a smooth and level foundation for the new flooring material. Here’s how to effectively repair damaged areas:
- Inspect the patio surface: Take a close look at the entire patio surface and identify any cracks, chips, or other forms of damage. Pay attention to areas that may have been previously repaired but require further attention.
- Fill cracks and holes: For small cracks or holes, use a concrete crack filler or patching compound. Apply the filler into the cracks or holes, smoothing it out with a putty knife or trowel. Make sure to follow the manufacturer’s instructions for the specific product you are using.
- Address uneven areas: If your patio surface has areas that are uneven or sunken, you may need to level the surface. This can be done by applying a self-leveling compound to the affected areas. Follow the manufacturer’s instructions for proper application and ensure that the compound is spread evenly to achieve a level surface.
- Allow the repairs to cure: Once the necessary repairs have been made, allow the filled cracks, holes, or self-leveling compounds to cure according to the manufacturer’s instructions. This will ensure that the repaired areas are properly set and ready for the next steps.
Repairing any damaged areas on the patio surface is crucial to creating a stable and even foundation for the new flooring. It ensures that the surface is ready to receive the new material without any hindrances or inconsistencies. Once the repairs have cured, you can move on to the next step, which involves applying a base coat or primer if necessary.
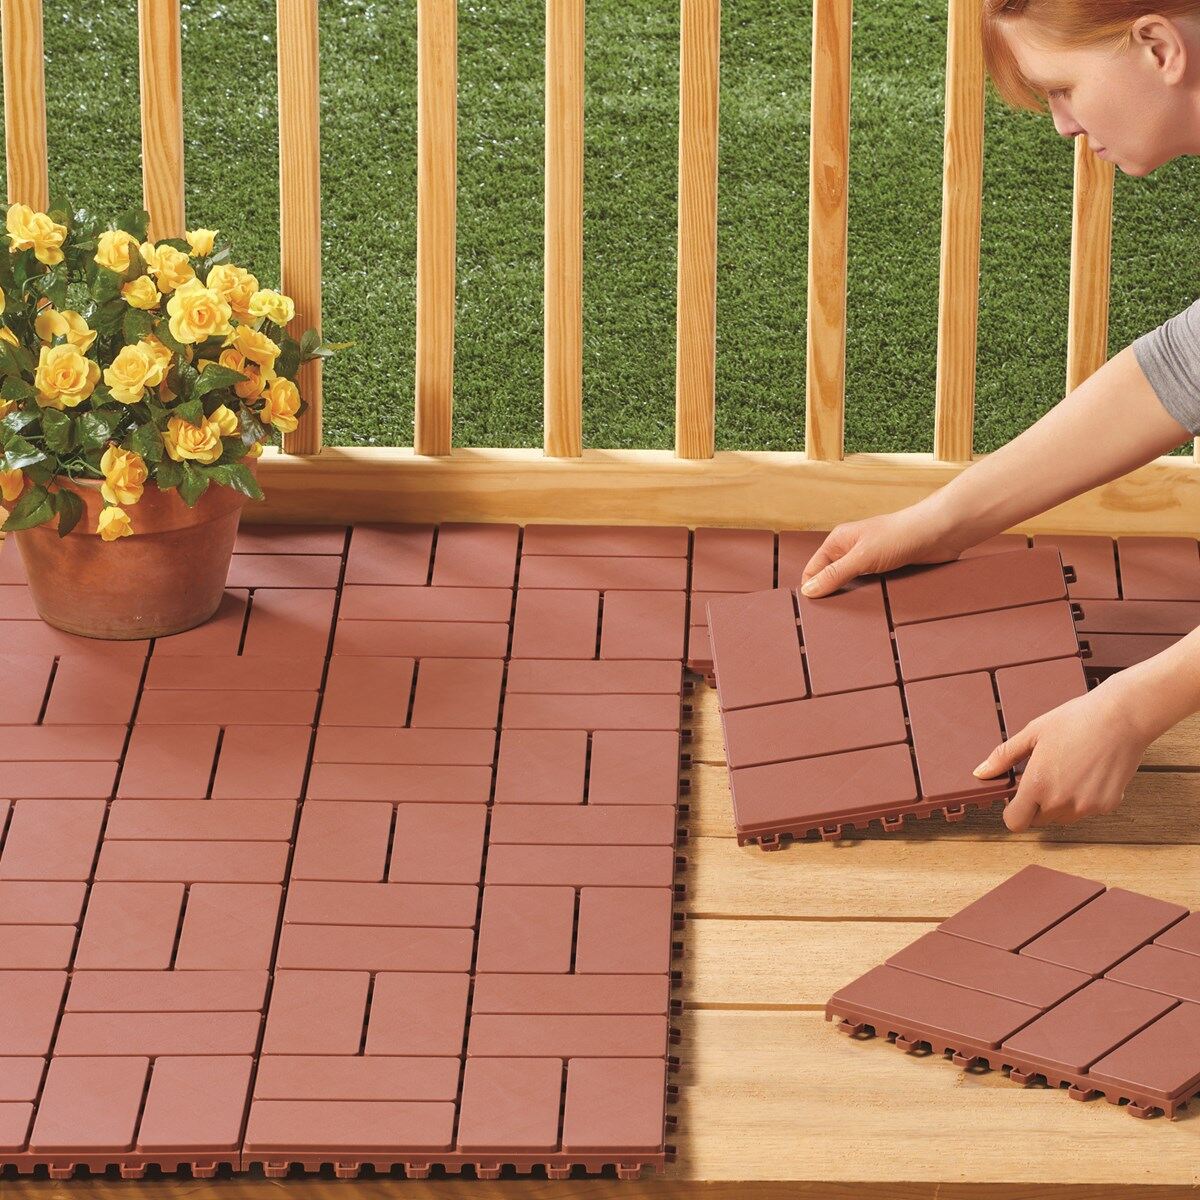
Consider using interlocking deck tiles for a quick and easy patio floor cover. They come in a variety of materials and designs, and can be installed without the need for special tools or skills.
Read more: How To Cover Patio Doors
Step 5: Apply a Base Coat or Primer (if necessary)
Before installing the final patio flooring material, it’s important to determine if a base coat or primer is necessary. This step ensures proper adhesion, enhances durability, and can also provide added protection for your patio surface. Here’s how to apply a base coat or primer if required:
- Check the manufacturer’s instructions: Review the instructions provided by the manufacturer of your chosen flooring material. They will indicate whether a base coat or primer is necessary for optimal performance and longevity.
- Clean the patio surface: Ensure that the patio surface is clean and free from any dirt, dust, or debris. Use a broom or a brush to sweep away any loose particles.
- Prepare the base coat or primer: If a base coat or primer is required, follow the manufacturer’s instructions to prepare the product. This may involve mixing components or diluting the product with water.
- Apply the base coat or primer: Use a roller, brush, or sprayer to apply an even coat of the base coat or primer to the patio surface. Work in small sections, starting from one corner and moving towards the opposite side. Ensure that the coating is applied evenly and smoothly.
- Allow the base coat or primer to dry: Follow the manufacturer’s instructions regarding drying time. It’s essential to allow the base coat or primer to dry completely before proceeding with the installation of the final flooring material.
Applying a base coat or primer, if recommended by the manufacturer, helps to create a strong bond between the patio surface and the final flooring material. It can enhance the durability and lifespan of your patio floor, providing a protective layer against moisture and other elements. Once the base coat or primer is fully dry, you’re ready to move on to the exciting step of laying the patio flooring material.
Step 6: Lay the Patio Flooring Material
Now that the necessary preparations have been completed, it’s time to lay the chosen patio flooring material. This step will bring your vision to life and transform your patio into a beautiful and functional space. Here’s how to lay the patio flooring material:
- Measure and plan: Start by measuring the dimensions of your patio and calculating the amount of flooring material needed. Consider any patterns or designs you want to incorporate and plan the layout accordingly.
- Follow the manufacturer’s instructions: Refer to the manufacturer’s guidelines for specific installation instructions for your chosen patio flooring material. Each material may have different requirements and techniques.
- Start from the center: Begin laying the flooring material from the center of the patio and work your way towards the edges. This will ensure a balanced and symmetrical appearance.
- Secure the flooring material: Depending on the type of material, you may need to use adhesive, mortar, or fasteners to secure the flooring in place. Follow the recommended installation method to ensure a secure and sturdy finish.
- Cut the material as needed: Use appropriate tools such as a saw or tile cutter to carefully cut the flooring material to fit around any obstacles or edges. Take accurate measurements and make precise cuts for a professional-looking installation.
- Maintain consistency: Ensure that the flooring material is laid uniformly, with consistent spacing and levelness. Use spacers or guidelines if needed to maintain a consistent pattern or design.
- Work in small sections: It’s recommended to work in small manageable sections, ensuring that each section is complete before moving on to the next. This allows you to maintain control and accuracy throughout the installation process.
- Double check and adjust: Regularly double check the placement and alignment of the flooring material. Make any necessary adjustments during the installation to ensure a seamless and visually pleasing result.
By carefully following the manufacturer’s instructions and taking your time with the installation, you can achieve a professional finish for your patio flooring. Remember to maintain consistency and attention to detail throughout the process. Once the flooring material is securely laid, you can move on to the next step of securing it in place.
Step 7: Secure the Flooring in Place
After laying the patio flooring material, the next step is to secure it in place to ensure its stability and longevity. Properly securing the flooring will prevent shifting, movement, and potential damage over time. Here’s how to securely fix the patio flooring in place:
- Follow manufacturer’s recommendations: Check the manufacturer’s instructions for the recommended method of securing the specific type of flooring material you have chosen.
- Use adhesive or mortar: If your patio flooring material requires adhesive or mortar, apply it according to the manufacturer’s instructions. Use a trowel or designated applicator to spread the adhesive or mortar evenly.
- Press the flooring into place: Once the adhesive or mortar is applied, carefully press the flooring material down firmly. Ensure even contact with the patio surface, eliminating any air pockets or gaps.
- Secure with fasteners: Some flooring materials, such as wood or composite decking, may require additional fasteners for added stability. Follow the manufacturer’s recommendations for the appropriate type and placement of fasteners.
- Consider expansion joints: Depending on the type of flooring material and the size of your patio, it may be necessary to incorporate expansion joints. Expansion joints allow for movement and expansion due to temperature changes. Follow the manufacturer’s guidelines on spacing and installation of expansion joints.
- Allow for curing time: After securing the flooring material in place, allow sufficient time for any adhesives, mortars, or fasteners to cure. This will ensure maximum adhesion and stability.
- Perform final checks: Once the flooring is secured, take a final look at the entire patio surface. Check for any loose or uneven areas and make any necessary adjustments. This will ensure a visually appealing and long-lasting patio floor.
By taking the time to properly secure the patio flooring in place, you can enjoy a stable and reliable outdoor space. Whether using adhesive, mortar, or fasteners, following the manufacturer’s recommendations is crucial for the best results. With the flooring securely fixed, you can move on to adding the finishing touches and decorations in the next step.
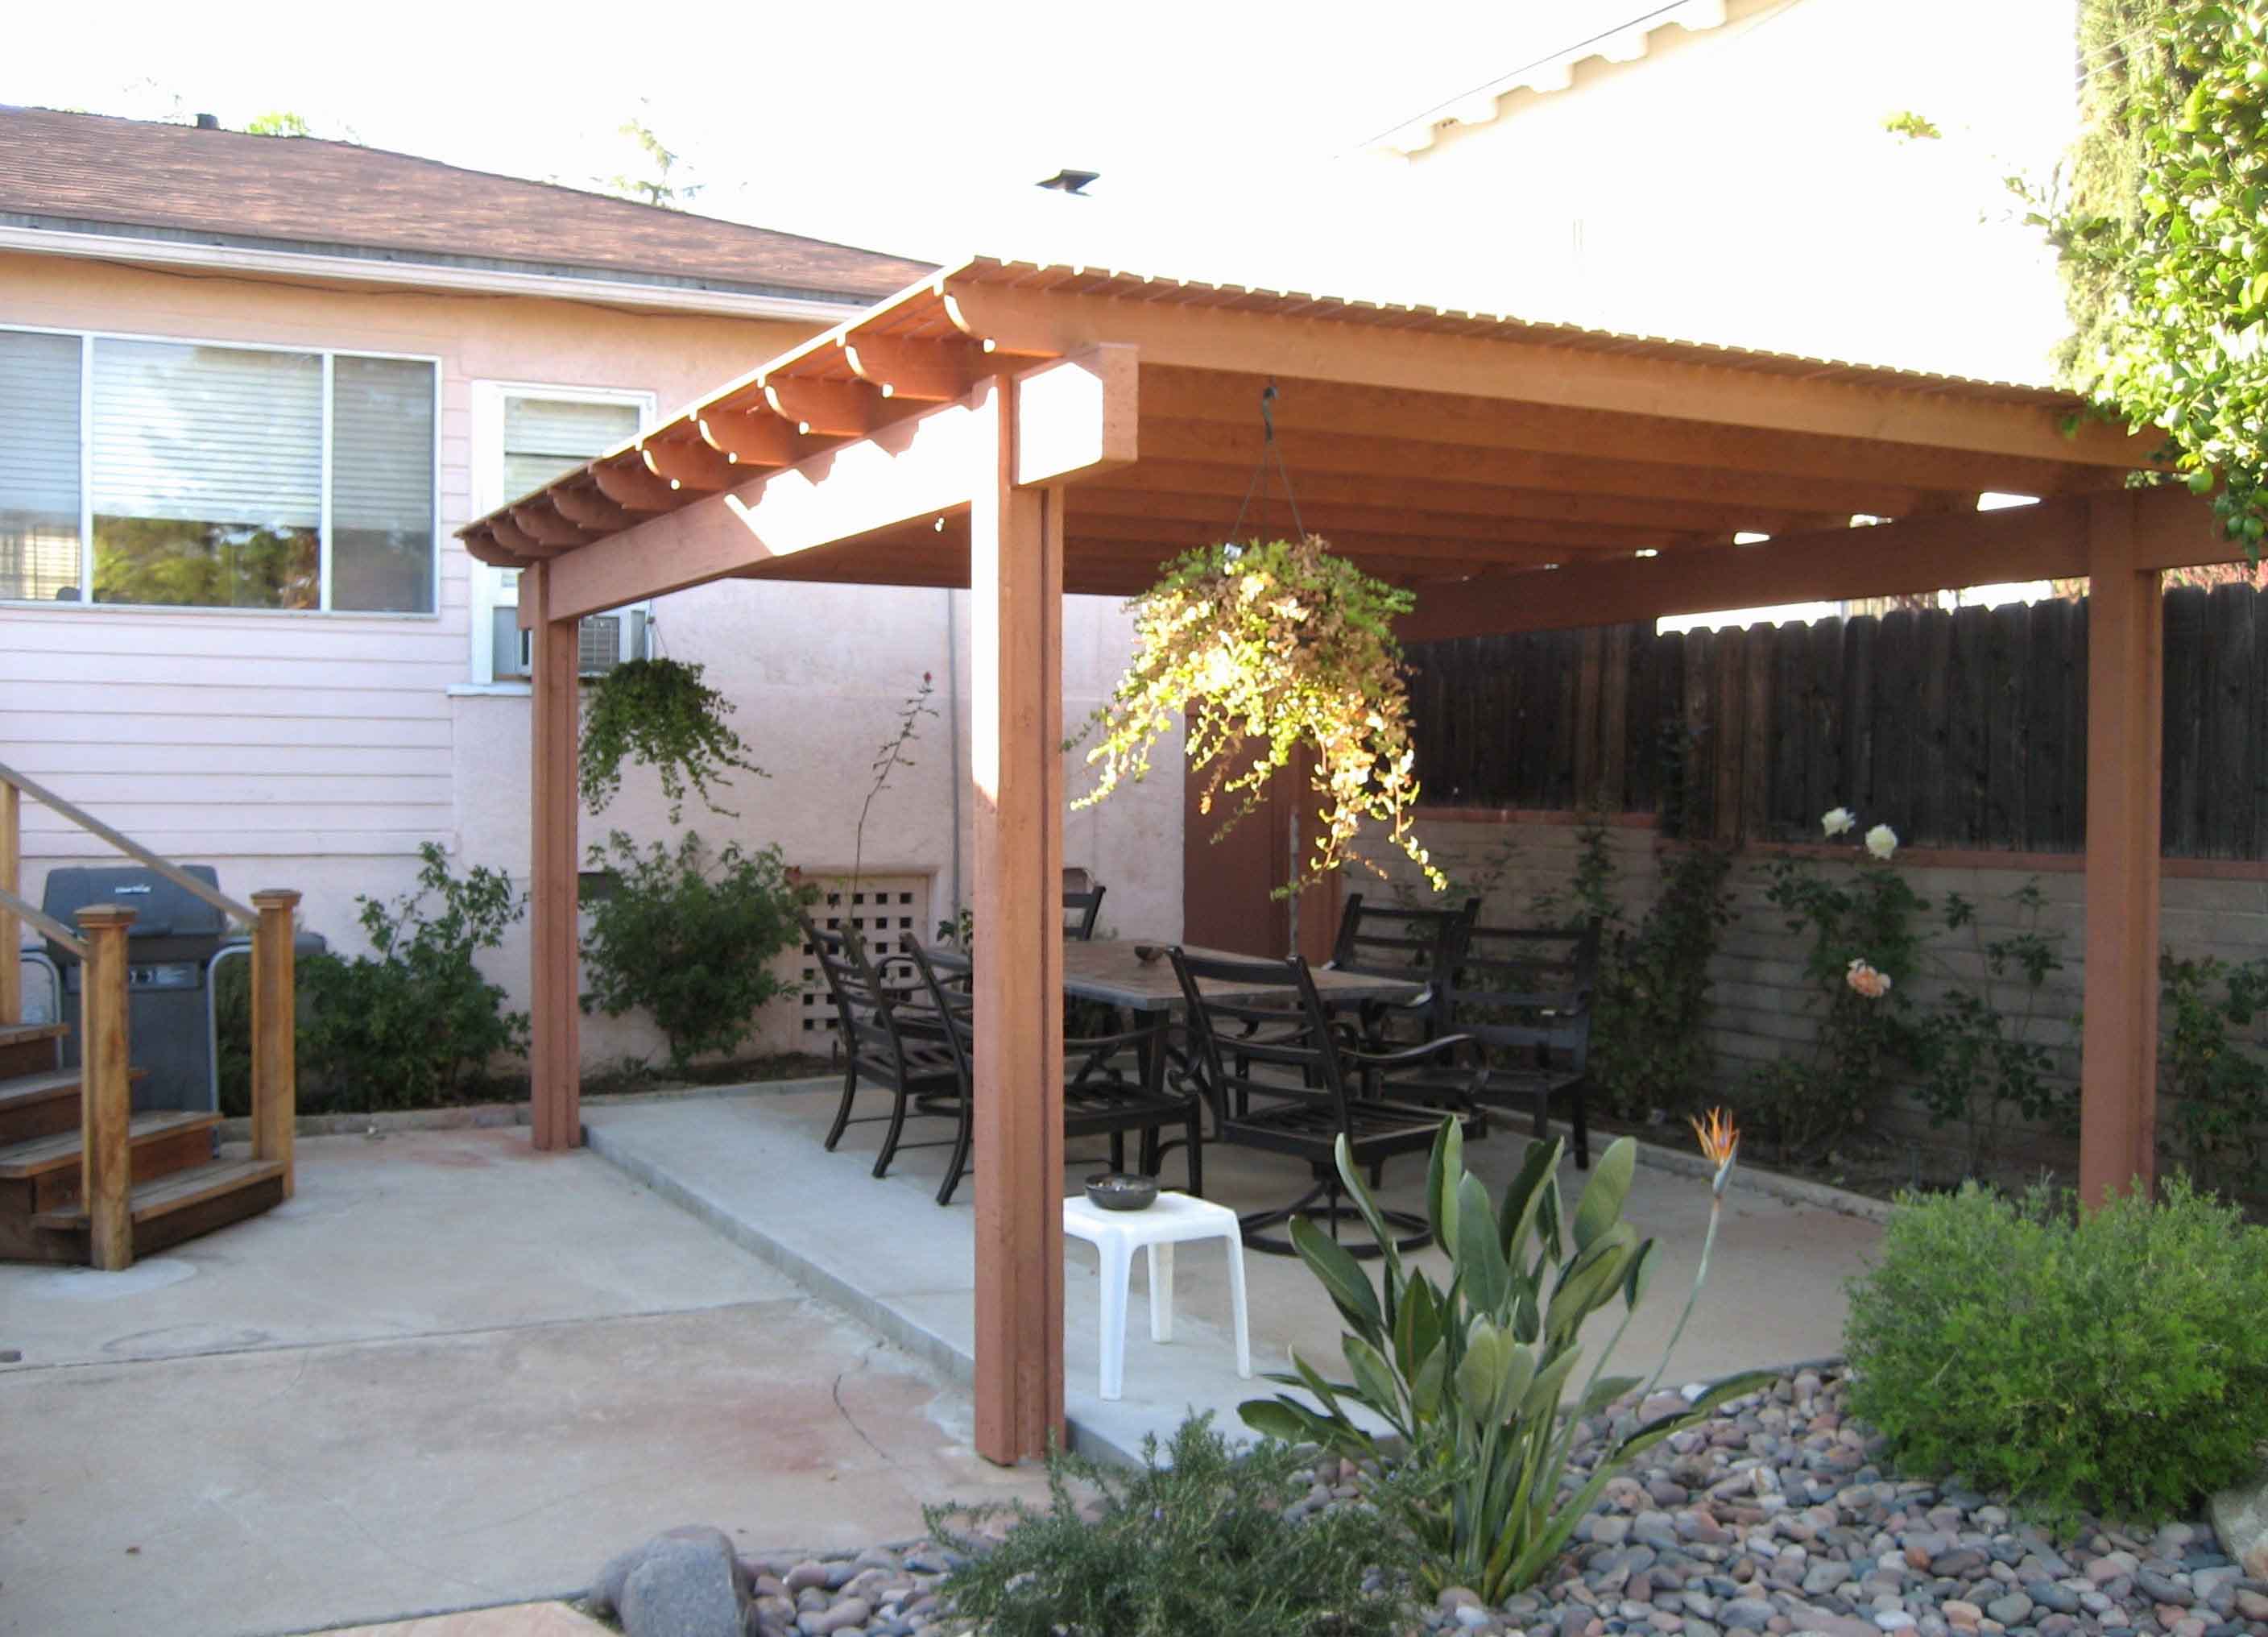
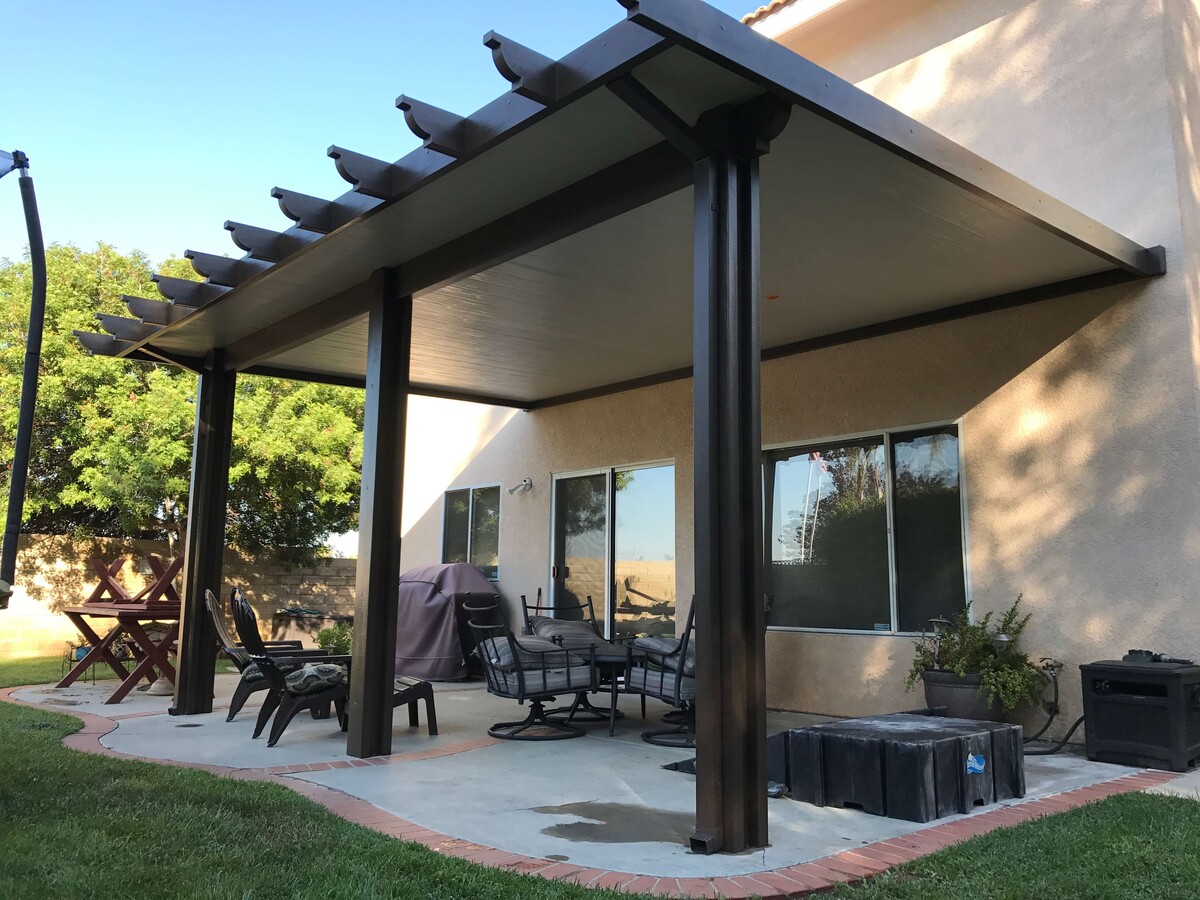
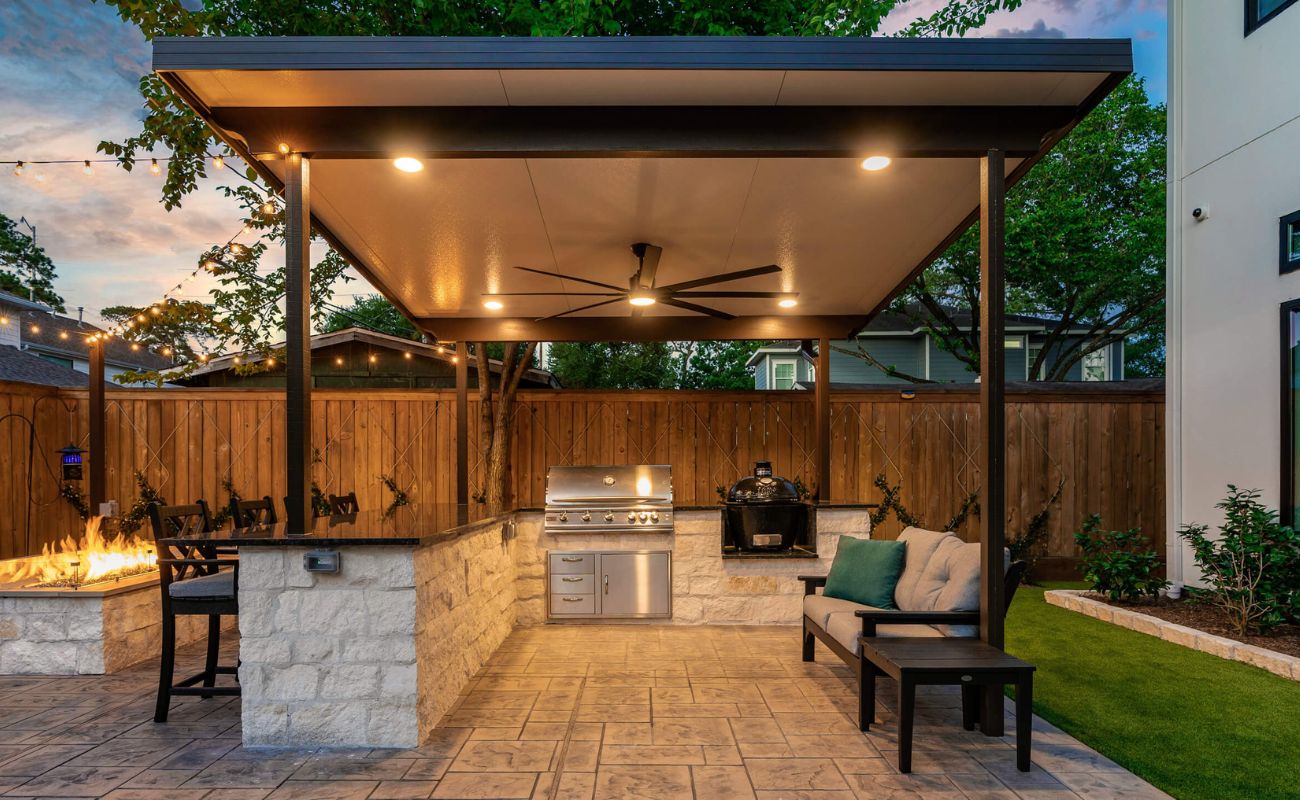
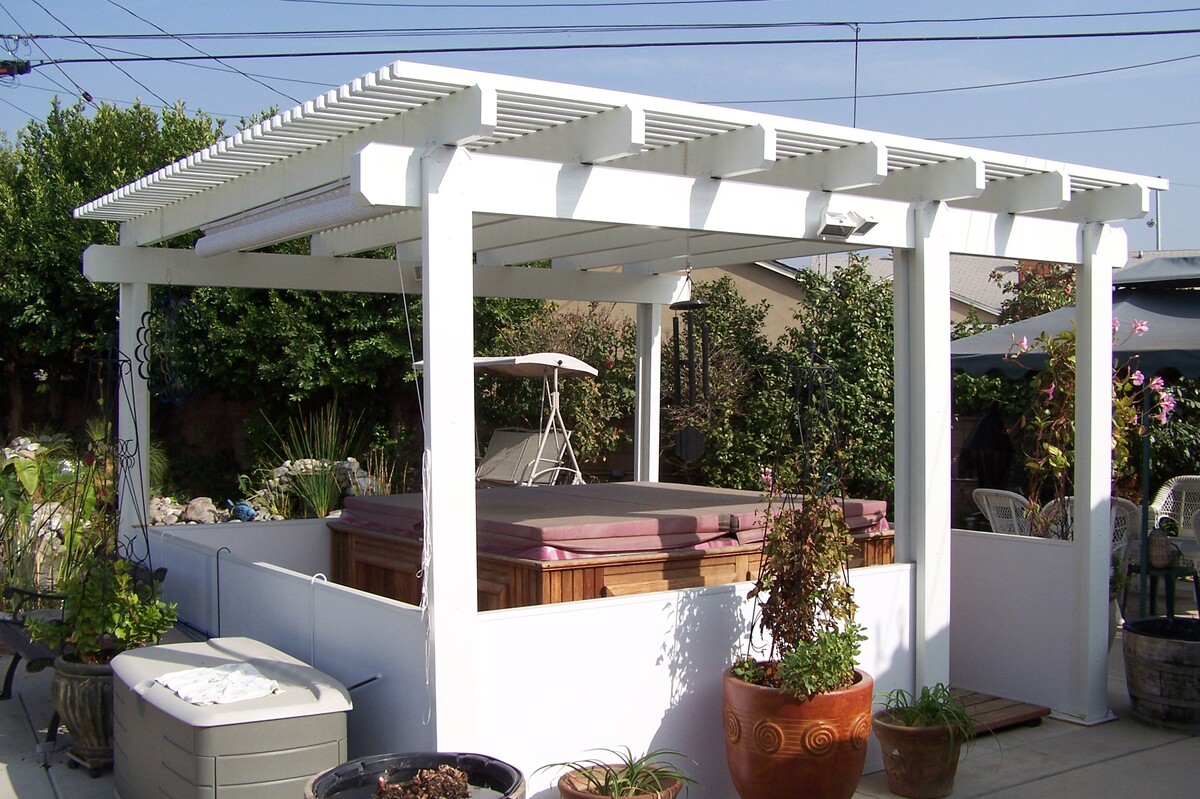
Step 8: Add Finishing Touches and Decorations
Congratulations! You have successfully laid and secured your patio flooring material. Now, it’s time to add the finishing touches and decorations to complete the transformation of your outdoor space. Here are some ideas to enhance the aesthetic appeal and functionality of your patio:
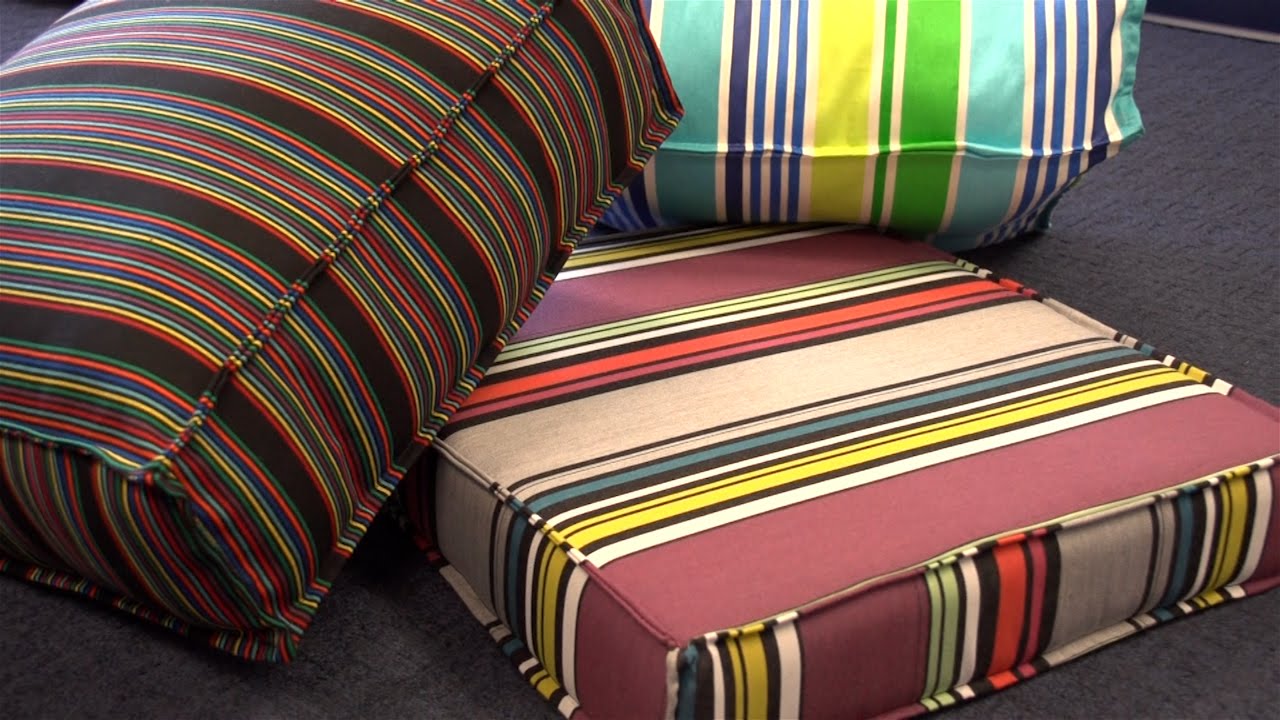
- Furniture: Choose comfortable and stylish outdoor furniture that suits your personal taste and matches the overall design of your patio. Consider seating options such as loungers, chairs, benches, and tables that provide both functionality and comfort.
- Rugs: Add an extra layer of coziness and style with an outdoor rug. Opt for rugs specifically designed for outdoor use, as they are resistant to moisture, fading, and mildew. Rugs can define specific areas of your patio and add warmth and color to the space.
- Lighting: Install outdoor lighting fixtures that illuminate your patio and create a pleasant ambiance. Consider a combination of ambient lighting, such as string lights or lanterns, and task lighting, such as spotlights or pathway lights. This will allow you to enjoy your patio during the evenings and create a welcoming atmosphere.
- Plants and Greenery: Incorporate plants and greenery to bring life and freshen up your patio. Choose potted plants that thrive in outdoor environments and consider vertical gardening to maximize space. Select plants with a variety of colors, textures, and heights for visual interest.
- Outdoor Decor: Personalize your patio with decorative elements such as outdoor artwork, sculptures, wind chimes, or outdoor curtains. These elements add personality and can reflect your individual style.
- Outdoor Kitchen or Barbecue Area: If you enjoy outdoor cooking and entertaining, consider incorporating an outdoor kitchen or barbecue area. Install a grill, countertops, storage, and seating to create a functional space for hosting gatherings and enjoying meals outdoors.
- Fire Pit or Outdoor Heater: Extend the usability of your patio into the cooler months by adding a fire pit or outdoor heater. This provides warmth and creates a cozy atmosphere, allowing you to enjoy your patio even during chilly evenings.
- Outdoor Entertainment: Consider incorporating outdoor entertainment options such as a sound system, television, or outdoor theater setup. This allows you to enjoy music, movies, or your favorite shows while spending time on your patio.
Adding these finishing touches and decorations will transform your patio into a welcoming and functional outdoor oasis. Take your time to select elements that align with your style and preferences. Remember to create a comfortable and inviting space where you can relax, entertain, and enjoy the beauty of the outdoors.
With these steps complete, you can now fully enjoy your revamped patio floor and make lasting memories in your outdoor sanctuary. Keep in mind that regular maintenance and care will ensure the longevity of your patio flooring and the overall beauty of your outdoor space.
Enjoy your new and improved patio!
Read more: How To Build A Covered Patio
Conclusion
Covering a patio floor is a rewarding project that can breathe new life into your outdoor space. By following the steps outlined in this comprehensive guide, you can transform your patio into an inviting and stylish area where you can relax, entertain, and enjoy the beauty of the outdoors.
From preparing the patio surface to selecting the perfect flooring material, each step plays a crucial role in the overall success of your project. Properly cleaning the patio surface, repairing any damaged areas, and applying a base coat or primer when necessary ensure a smooth and durable foundation for the new flooring material.
Choosing the right patio flooring material allows you to customize the look and feel of your patio. Whether you opt for the timeless beauty of wood, the elegance of stone, the versatility of concrete, or any other material, select something that aligns with your budget, climate, and personal style preferences.
Once the patio flooring material is installed and secured in place, it’s time for the finishing touches and decorations. By incorporating furniture, rugs, lighting, plants, and other decorative elements, you can create a personalized and inviting space that reflects your style and enhances the ambiance of your patio.
Remember, maintaining your patio floor is important to preserve its beauty and longevity. Regular cleaning, proper care, and periodic inspections will help keep your patio floor in excellent condition for years to come.
Now that you have completed the steps outlined in this guide, it’s time to sit back, relax, and enjoy your new and improved patio. Whether you’re hosting gatherings, spending quality time with loved ones, or simply enjoying a peaceful moment outdoors, your revamped patio will provide the perfect setting.
Get ready to make lasting memories in your outdoor oasis. Cheers to your beautifully covered patio floor!
Frequently Asked Questions about How To Cover A Patio Floor
Was this page helpful?
At Storables.com, we guarantee accurate and reliable information. Our content, validated by Expert Board Contributors, is crafted following stringent Editorial Policies. We're committed to providing you with well-researched, expert-backed insights for all your informational needs.

0 thoughts on “How To Cover A Patio Floor”