Home>Construction & Tools>Building Materials>How To Install Vinyl Siding Over Brick
Building Materials
How To Install Vinyl Siding Over Brick
Modified: August 25, 2024
Learn how to install vinyl siding over brick with our comprehensive guide. Find the best building materials and step-by-step instructions for a successful installation.
(Many of the links in this article redirect to a specific reviewed product. Your purchase of these products through affiliate links helps to generate commission for Storables.com, at no extra cost. Learn more)
Introduction
Introduction
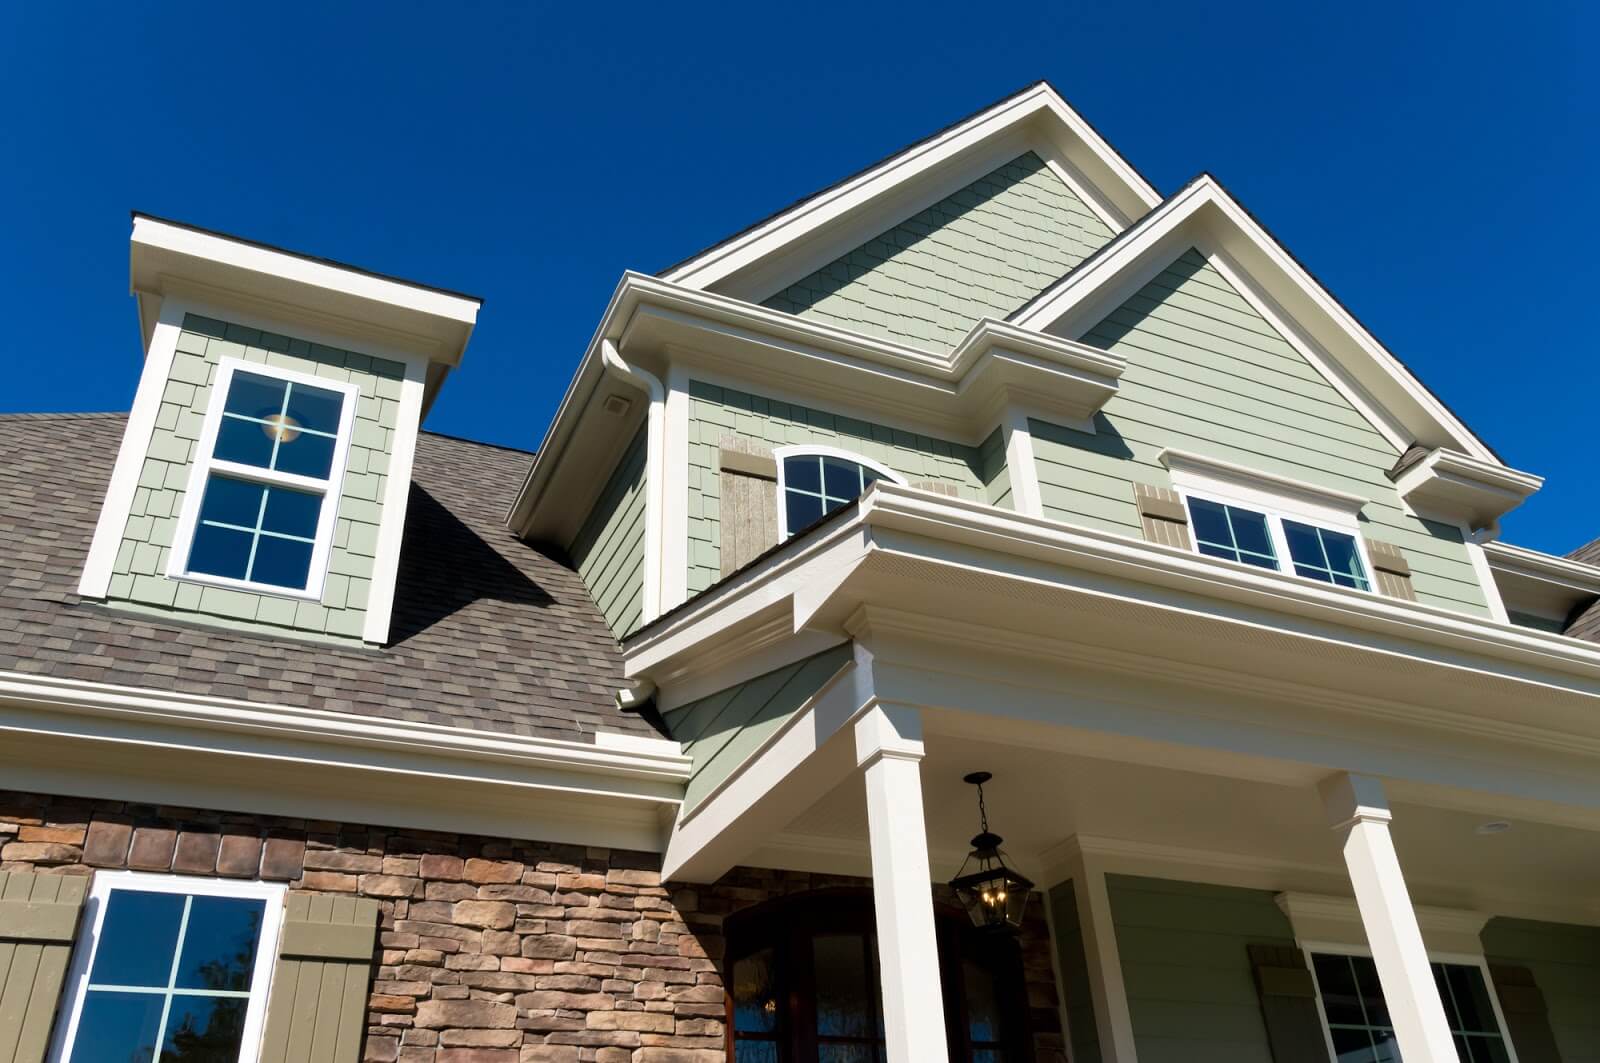
So, you've decided to give your home a fresh new look by installing vinyl siding over the existing brick exterior. This decision can bring a host of benefits, from enhancing curb appeal to improving energy efficiency. With the right guidance, you can transform your home's appearance and functionality while adding value to your property.
In this comprehensive guide, we will walk you through the step-by-step process of installing vinyl siding over brick. By following these instructions, you can achieve a professional-looking result that will stand the test of time. Whether you're a seasoned DIY enthusiast or a homeowner eager to take on a new project, this guide will equip you with the knowledge and confidence to tackle this endeavor.
Before diving into the practical aspects of the installation process, it's essential to understand the advantages of vinyl siding and the considerations specific to installing it over brick. Vinyl siding offers durability, low maintenance, and a wide range of style options, making it a popular choice among homeowners. When installed correctly, it can significantly enhance the aesthetic appeal of your home while providing protection against the elements.
Installing vinyl siding over brick requires careful preparation, precise measurements, and attention to detail. Throughout this guide, we will address these key elements and provide valuable insights to ensure a successful outcome. Additionally, we will explore the tools and materials you'll need, along with tips for overcoming common challenges that may arise during the installation process.
By the end of this guide, you will have the knowledge and expertise to embark on this home improvement project with confidence. Let's embark on this exciting journey to revitalize your home's exterior and create a lasting impression with vinyl siding installation over brick.
Step 1: Prepare the Brick Surface
Key Takeaways:
- Prepare the brick surface meticulously to ensure a strong foundation for vinyl siding installation. Address any damage, clean the surface, apply bonding agent, and check for levelness to optimize longevity and visual appeal.
- Attention to detail is crucial for a successful vinyl siding installation over brick. Accurate measurements, precise cuts, and careful alignment during the installation process contribute to a visually stunning and durable exterior finish.
Step 1: Prepare the Brick Surface
Before you begin the installation of vinyl siding over brick, it’s crucial to prepare the existing surface to ensure optimal adhesion and a smooth finish. Here’s a detailed breakdown of the preparatory steps:
- Inspect the Brick: Start by carefully examining the condition of the brick exterior. Look for any signs of damage, such as cracks, loose mortar, or areas with excessive moisture. Addressing these issues before proceeding with the installation will help prevent future complications.
- Clean the Surface: Thoroughly clean the brick surface to remove dirt, debris, and any existing coatings. A pressure washer can be an effective tool for this task, but be mindful of the water pressure to avoid damaging the brick or forcing water into the structure.
- Repair and Replace: Repair any damaged areas of the brick and replace any deteriorated mortar. It’s essential to ensure that the surface is structurally sound and free of any potential sources of moisture infiltration.
- Apply a Bonding Agent: To promote strong adhesion between the brick and the vinyl siding, apply a suitable bonding agent or primer to the prepared surface. This step is crucial for creating a secure bond that will withstand the elements and the test of time.
- Inspect for Levelness: Use a level to check the evenness of the brick surface. Any significant irregularities should be addressed to prevent the siding from appearing warped or misaligned once installed.
By meticulously preparing the brick surface, you’ll create a solid foundation for the vinyl siding installation. This proactive approach will help optimize the longevity and visual appeal of the finished result, ensuring that your home’s exterior exudes quality and craftsmanship.
Step 2: Measure and Cut the Vinyl Siding
Read more: How To Install Brick Siding
Step 2: Measure and Cut the Vinyl Siding
Accurate measurements and precise cuts are essential for achieving a seamless and professional-looking vinyl siding installation. Here’s a detailed overview of the crucial steps involved in measuring and cutting the vinyl siding:
- Measure the Walls: Begin by carefully measuring the length of each wall where the siding will be installed. Take accurate measurements, allowing for a small amount of overhang at the ends to accommodate expansion and contraction due to temperature changes.
- Calculate the Panels: Based on the measurements, calculate the number of siding panels needed for each wall. It’s advisable to add a small buffer to account for any errors or unexpected adjustments during the installation process.
- Select the Tools: Utilize a sharp utility knife, tin snips, or a specialized vinyl siding cutting tool to make precise cuts. Ensure that the chosen tool is suitable for the thickness of the vinyl siding material.
- Mark and Cut: Mark the measured panels of vinyl siding with a pencil or a fine-tipped marker, indicating the points where cuts need to be made. Exercise caution and precision when cutting the siding to achieve clean and accurate edges.
- Test-Fit the Panels: After cutting the siding panels, perform a test-fit to confirm that the dimensions are accurate and that the panels align seamlessly with the walls. Make any necessary adjustments before proceeding with the installation.
By meticulously measuring and cutting the vinyl siding, you’ll set the stage for a visually appealing and structurally sound installation. Attention to detail at this stage will contribute to a polished and professional outcome, elevating the overall aesthetic of your home’s exterior.
Step 3: Install the Starter Strip
Step 3: Install the Starter Strip
The starter strip serves as the foundation for the vinyl siding installation, providing a secure base and ensuring proper alignment. Here’s a comprehensive guide to installing the starter strip:
- Locate the Starting Point: Identify the lowest point of the exterior wall where the siding installation will commence. This is where the starter strip will be positioned to initiate the seamless progression of the siding panels.
- Secure the Starter Strip: Affix the starter strip along the bottom of the wall, ensuring that it is level and securely fastened. Use corrosion-resistant nails or screws to secure the strip, allowing for a small degree of flexibility to accommodate any minor adjustments.
- Establish Proper Slope: Ensure that the starter strip maintains a slight downward slope from the starting point to facilitate proper drainage and prevent water from accumulating behind the siding.
- Create Drainage Holes: If the wall has a moisture barrier or insulation, create weep holes in the starter strip to allow for drainage and ventilation, thereby mitigating the risk of moisture-related issues.
- Overlap and Secure: Overlap subsequent sections of the starter strip as you progress along the wall, ensuring a snug and secure fit. Use a level to verify the alignment and make any necessary adjustments to maintain a consistent and level base for the siding panels.
By meticulously installing the starter strip, you’ll establish a solid foundation for the vinyl siding, setting the stage for a visually appealing and structurally sound installation. Attention to detail at this stage will contribute to a polished and professional outcome, elevating the overall aesthetic of your home’s exterior.
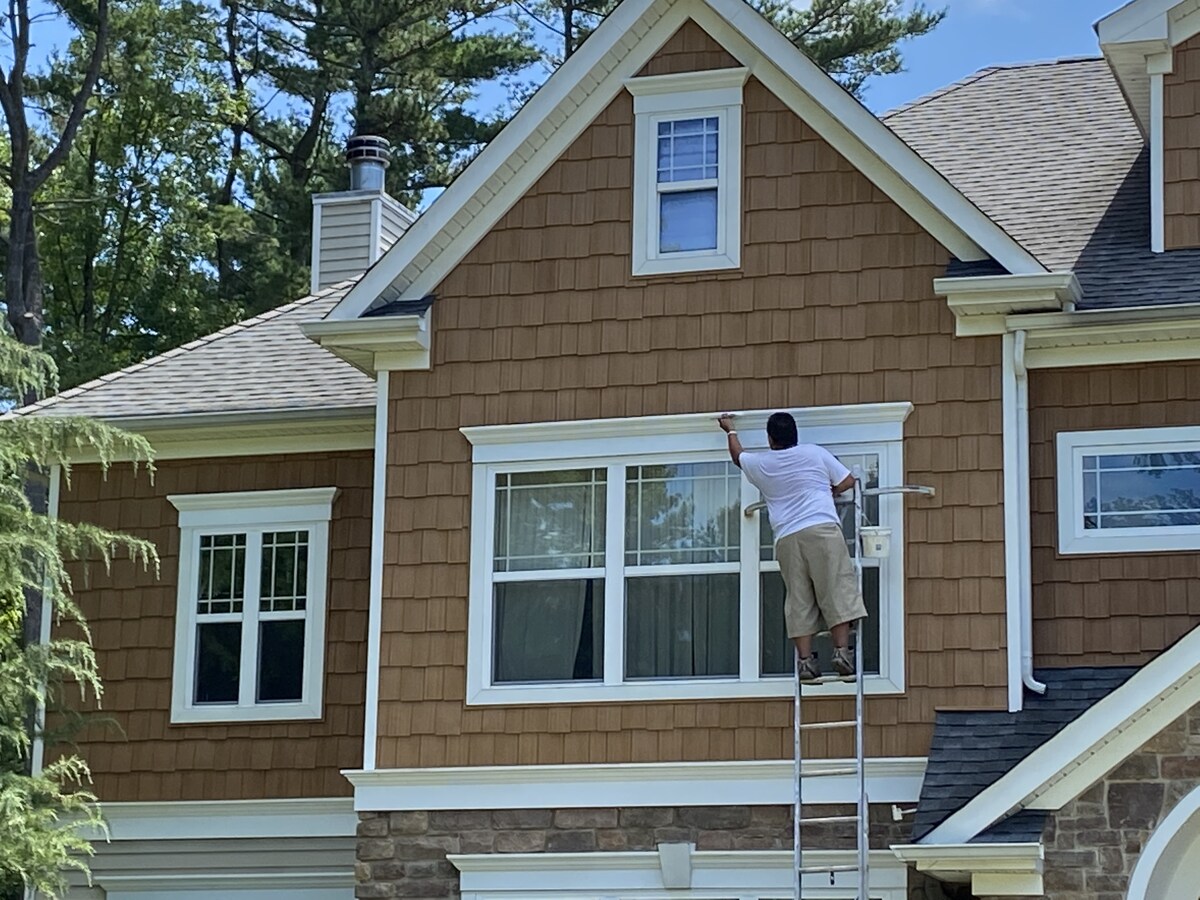
Step 4: Attach the Vinyl Siding Panels
Read more: How To Install Awning On Vinyl Siding
Step 4: Attach the Vinyl Siding Panels
Installing the vinyl siding panels is a pivotal stage that demands precision and attention to detail. Here’s a comprehensive overview of the essential steps involved in attaching the vinyl siding panels:
- Begin at the Corner: Start at a corner of the wall and secure the first siding panel, ensuring that it aligns with the starter strip and any corner posts. Use appropriately sized nails or fasteners to secure the panel, allowing for a degree of vertical movement to accommodate temperature-related expansion and contraction.
- Interlock the Panels: As you progress along the wall, interlock each subsequent siding panel with the preceding one, ensuring a snug fit and seamless alignment. Pay close attention to the locking mechanism of the panels to achieve a secure and visually uniform installation.
- Utilize J-Channel and Trim Pieces: Incorporate J-channel and trim pieces around windows, doors, and other architectural features to provide a polished and professional finish. Carefully cut and fit these components to ensure a seamless integration with the siding panels.
- Maintain Proper Clearances: Allow for the necessary clearances around windows, doors, and other protrusions to accommodate the expansion and contraction of the vinyl siding. This proactive approach will prevent buckling or warping over time.
- Verify Alignment and Levelness: Regularly check the alignment and levelness of the installed siding panels, making any adjustments as needed to maintain a uniform and visually appealing appearance. Attention to detail at this stage will contribute to a polished and professional outcome.
By meticulously attaching the vinyl siding panels, you’ll create a visually stunning and durable exterior finish that enhances the overall aesthetic of your home. Attention to detail at this stage will result in a high-quality installation that stands the test of time.
Step 5: Finish and Trim the Siding
Step 5: Finish and Trim the Siding
The finishing touches and trim details play a crucial role in elevating the visual appeal and cohesiveness of the vinyl siding installation. Here’s a comprehensive guide to the essential steps involved in finishing and trimming the siding:
- Install Soffit and Fascia: Complete the upper portion of the exterior by installing soffit panels and fascia trim. These elements provide a clean and polished transition between the siding and the roofline, enhancing the overall aesthetic of your home’s exterior.
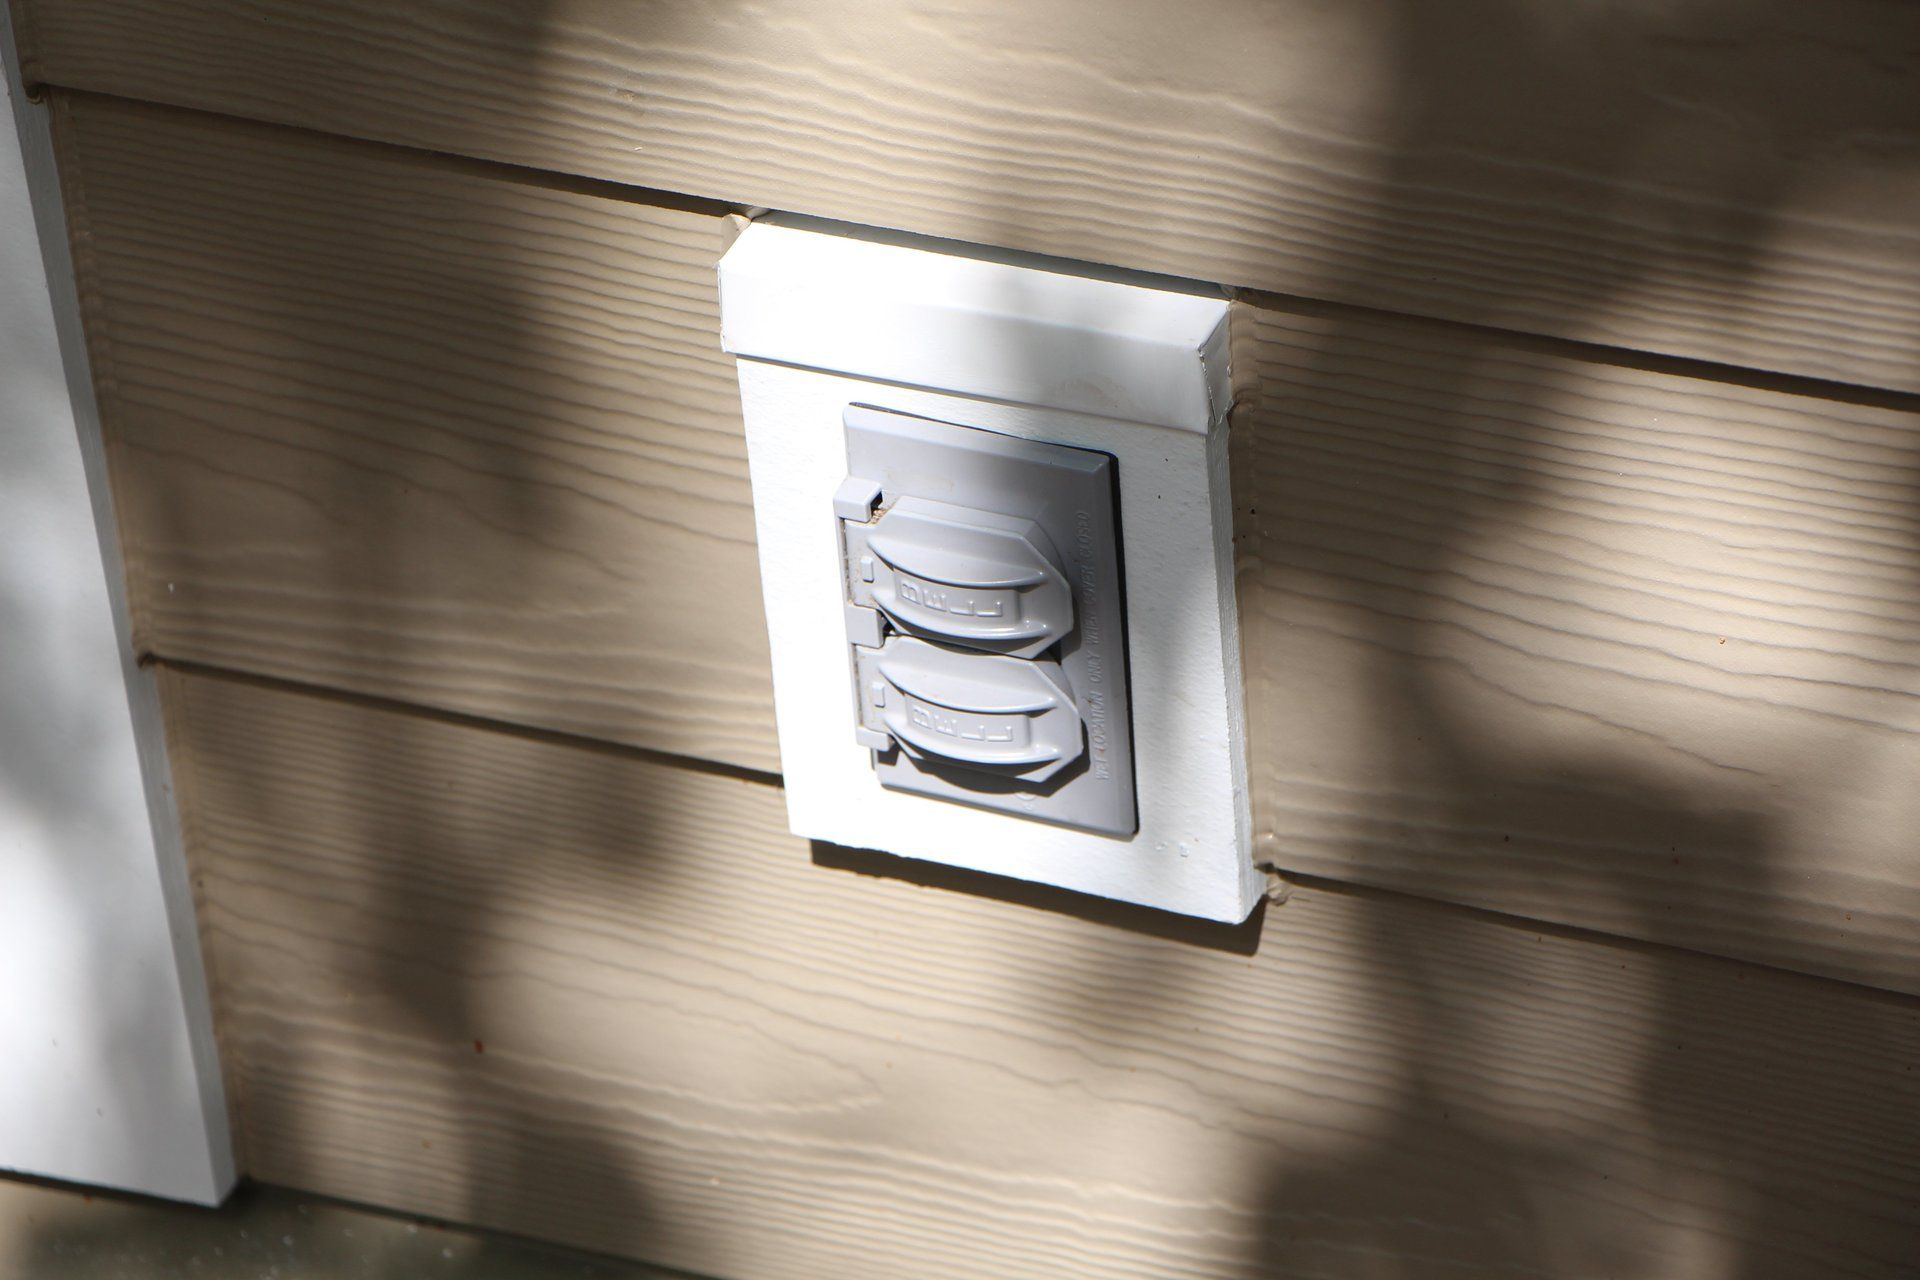
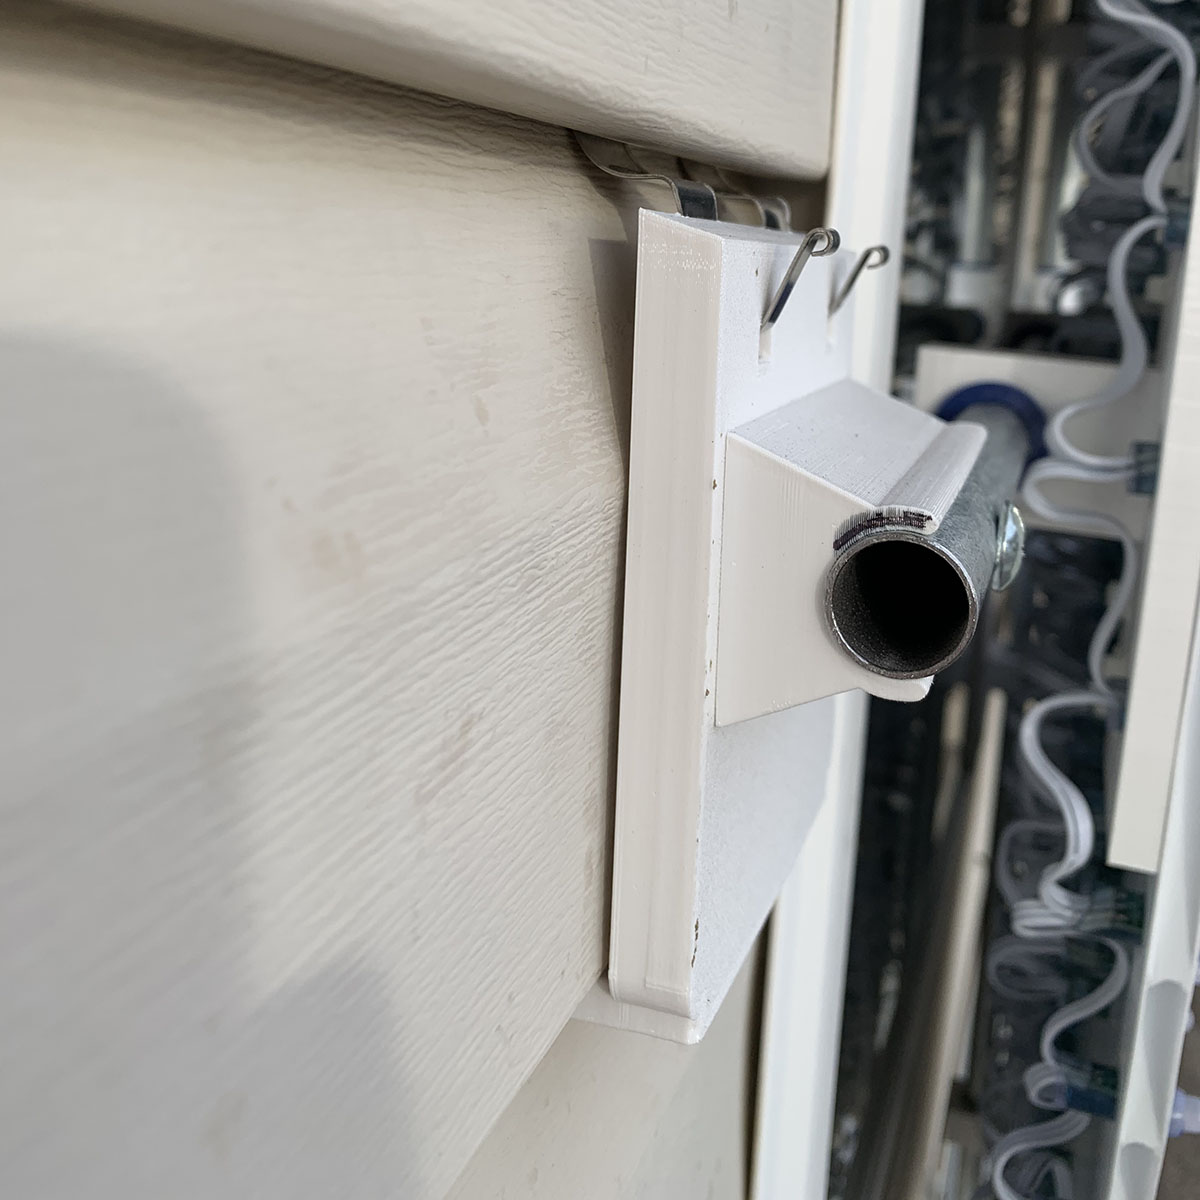
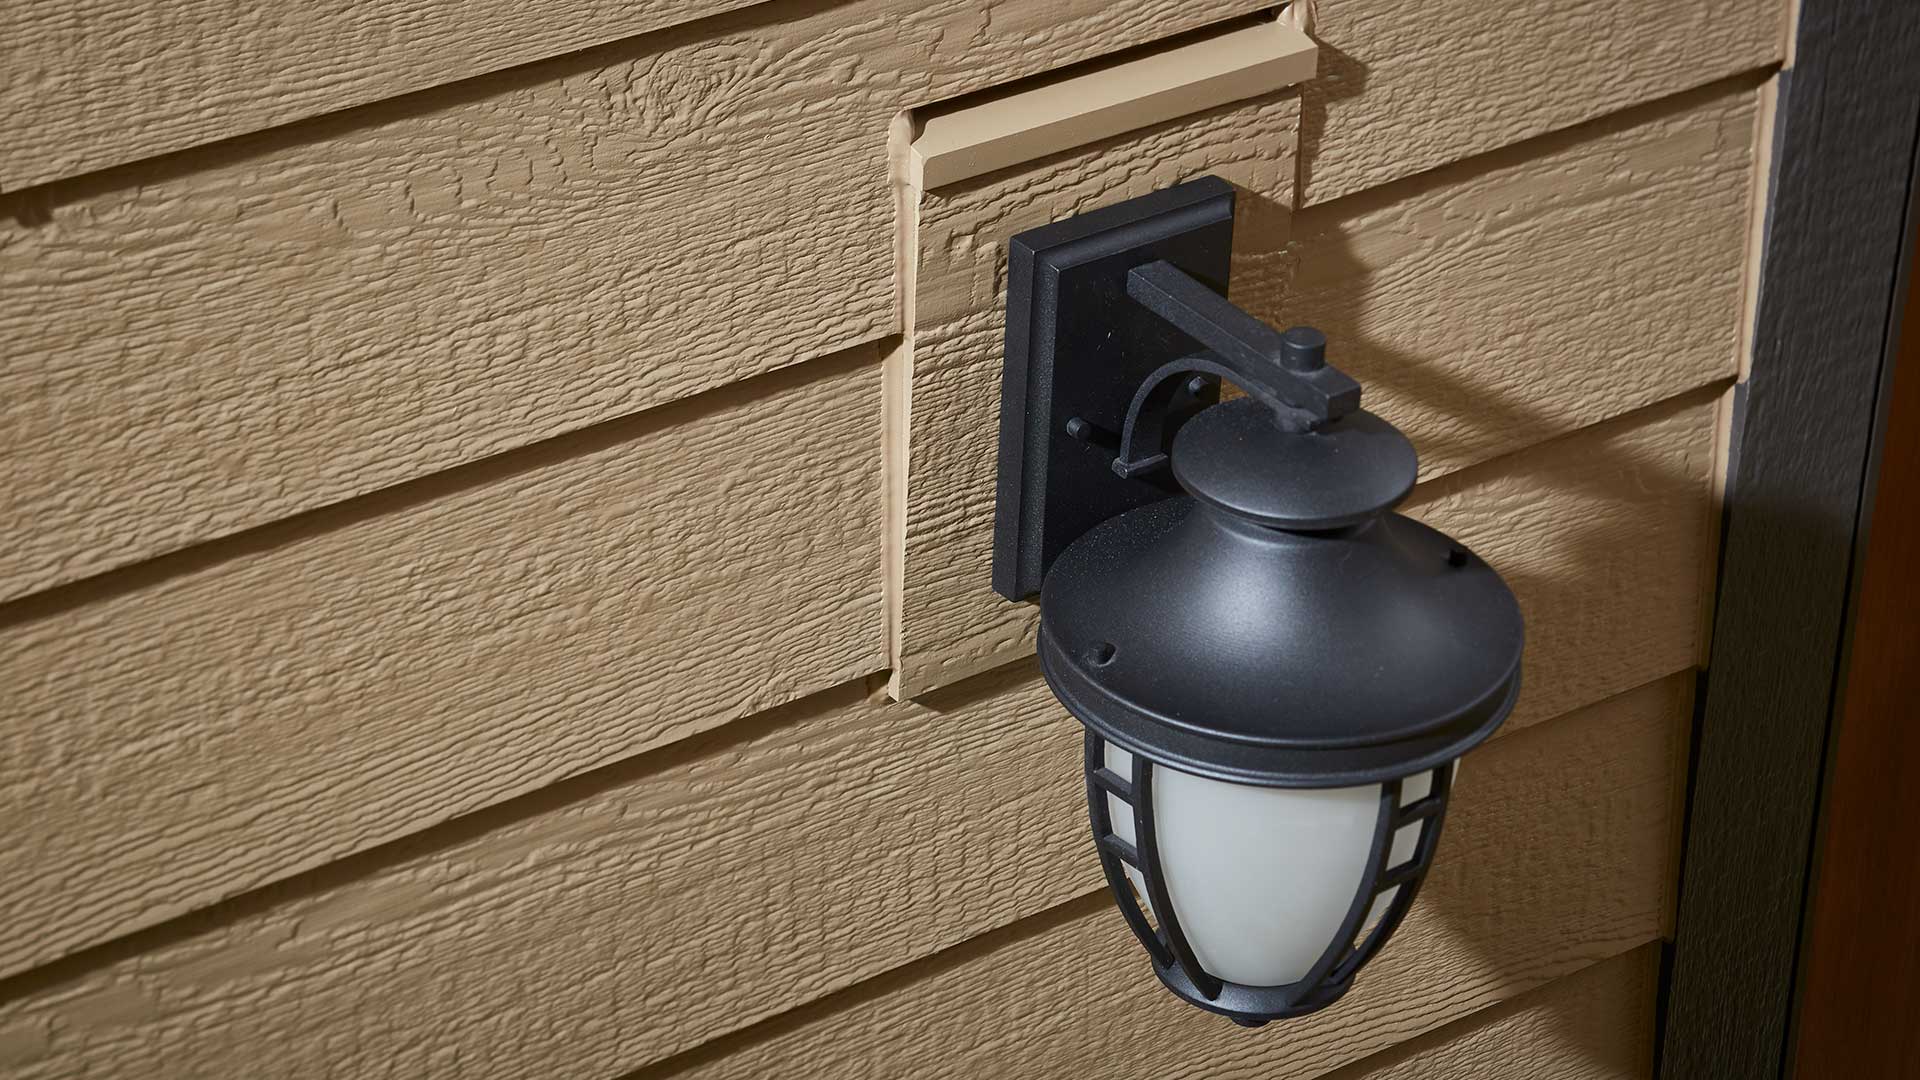
- Incorporate Utility Trim: Use utility trim to frame areas such as outdoor outlets, light fixtures, and vents, ensuring a seamless integration with the vinyl siding. Precise measurements and cuts are essential to achieve a professional and cohesive appearance.
- Address Gable Ends: Install gable trim to neatly finish the exposed ends of the siding, creating a refined and visually appealing transition at the peak of gable walls. This detail adds a touch of sophistication to the overall exterior design.
- Apply Transition and Corner Posts: Utilize transition and corner posts to define and accentuate the edges and corners of the siding installation. These components contribute to the structural integrity and visual coherence of the exterior finish.
- Inspect and Clean: Thoroughly inspect the completed installation, addressing any visible imperfections or inconsistencies. Clean the siding and trim components to remove any debris or markings, leaving behind a flawless and immaculate exterior finish.
By meticulously finishing and trimming the siding, you’ll elevate the visual appeal and cohesiveness of your home’s exterior, resulting in a polished and professional outcome that exudes quality and attention to detail. These final touches will leave a lasting impression and contribute to the overall charm and allure of your property.
Conclusion
Conclusion
Congratulations on completing the comprehensive guide to installing vinyl siding over brick! By following the step-by-step instructions outlined in this guide, you’ve gained valuable insights and expertise to embark on this transformative home improvement project with confidence and precision.
Throughout the installation process, meticulous preparation, precise measurements, and attention to detail have been paramount. By carefully preparing the brick surface, measuring and cutting the vinyl siding, installing the starter strip, attaching the siding panels, and finishing and trimming the exterior, you’ve laid the foundation for a visually stunning and durable transformation of your home’s exterior.
The decision to install vinyl siding over brick offers a myriad of benefits, from enhanced curb appeal and durability to improved energy efficiency. This versatile and low-maintenance cladding option allows you to infuse your home with a fresh, modern aesthetic while increasing its overall value and appeal.
As you admire the newly transformed exterior of your home, take pride in the craftsmanship and attention to detail that have contributed to this remarkable outcome. The seamless integration of vinyl siding over brick exemplifies your dedication to enhancing and preserving the beauty and functionality of your living space.
Whether you’re a seasoned DIY enthusiast or a homeowner venturing into the realm of exterior renovations, the knowledge and skills acquired through this guide will serve you well in this project and future endeavors. Your commitment to excellence and your home’s aesthetic transformation are testaments to your passion for creating a welcoming and visually captivating living environment.
As you revel in the enhanced allure and protection that vinyl siding provides, remember that the journey doesn’t end here. Your home’s exterior will continue to exude charm and resilience, reflecting the careful planning and execution that have gone into this installation.
Thank you for embarking on this exciting journey to revitalize your home’s exterior and create a lasting impression with vinyl siding installation over brick. Your dedication to enhancing your living space is a testament to the pride of homeownership and the pursuit of beauty and functionality.
Frequently Asked Questions about How To Install Vinyl Siding Over Brick
Was this page helpful?
At Storables.com, we guarantee accurate and reliable information. Our content, validated by Expert Board Contributors, is crafted following stringent Editorial Policies. We're committed to providing you with well-researched, expert-backed insights for all your informational needs.


0 thoughts on “How To Install Vinyl Siding Over Brick”