
Articles
How To Put Up Curtains Over Blinds
Modified: October 20, 2024
Learn how to easily hang curtains over blinds with our informative articles. Enhance the beauty and functionality of your windows with this simple DIY solution.
(Many of the links in this article redirect to a specific reviewed product. Your purchase of these products through affiliate links helps to generate commission for Storables.com, at no extra cost. Learn more)
Introduction
Welcome to our comprehensive guide on how to put up curtains over blinds. When it comes to window treatments, combining curtains with blinds can provide a stylish and practical solution. By adding curtains to your blinds, you not only enhance the overall aesthetics of your windows but also improve privacy, insulation, and light control.
In this article, we will take you through a step-by-step process on how to successfully install curtains over blinds. Whether you are looking to create a layered, decorative look or simply want to maximize the functionality of your window treatments, we’ve got you covered.
Before we dive into the installation process, let’s gather all the necessary materials you’ll need:
- Curtains and curtain rods
- Curtain rod brackets
- Screws and wall anchors
- Measuring tape
- Pencil
- Drill
- Screwdriver
Once you have these materials ready, we can move on to measuring the windows to ensure a proper fit.
Key Takeaways:
- Elevate your window treatments by combining curtains with blinds for enhanced aesthetics, privacy, and light control. Follow our step-by-step guide for a seamless and stylish installation process.
- Enjoy the benefits of layered window treatments with our comprehensive guide on installing curtains over blinds. From gathering materials to testing for smooth operation, transform your space with ease.
Read more: How To Install Curtains Over Blinds
Step 1: Gather the necessary materials
Before you start the installation process, gather all the materials you’ll need. Having everything prepared beforehand will make the process smoother and more efficient. Here’s a list of the materials you’ll need:
- Curtains and curtain rods: Choose curtains and a curtain rod that match your preferred style and complement your blinds.
- Curtain rod brackets: These brackets will hold the curtain rod securely in place. Make sure to choose brackets that are appropriate for the weight and size of your curtains.
- Screws and wall anchors: Depending on the type of wall you have, you may need screws and wall anchors to secure the curtain rod brackets in place.
- Measuring tape: Accurate measurements are essential for proper installation. Use a measuring tape to measure the width and height of your windows.
- Pencil: A pencil will come in handy for marking the placement of the curtain rod brackets on the wall.
- Drill: If you need to install wall anchors, you’ll need a drill to create holes in the wall.
- Screwdriver: A screwdriver is needed to secure the curtain rod brackets and adjust the curtains.
Ensure that you have all the necessary materials before you begin the installation process. This will save you time and prevent any interruptions during the installation.
Step 2: Measure the window
Accurate measurements are crucial when it comes to installing curtains over blinds. Before moving forward, take the time to measure the window properly. This will ensure that your curtains fit perfectly and hang at the desired height.
Here’s how you can measure your window:
- Start by measuring the width of the window. Use a measuring tape to determine the distance between the outer edges of the window frame. Make a note of the measurement.
- Next, measure the height of the window. Measure from the top of the window frame to the desired length where you want the curtains to hang. Keep in mind that curtains should ideally fall a few inches below the window frame for a more elegant look. Note down the measurement.
- Consider the placement of your blinds. If the blinds are already installed, measure the distance from the top of the blinds to the desired length where you want the curtains to start. This will help you determine where to mount the curtain rod brackets.
Once you have the measurements, it’s time to mark the placement of the curtain rod brackets on the wall.
Take a pencil and make small marks on the wall where the brackets will be installed. Ensure that the marks are level and evenly spaced. Use a measuring tape to double-check the distance between the marks to ensure accuracy.
Now that you have measured the window and marked the placement of the brackets, you are ready to proceed to the next step: removing the blinds (if necessary).
Step 3: Remove the blinds (if necessary)
In this step, you will need to assess whether it is necessary to remove the blinds before installing the curtains. Removing the blinds will allow you to have a clean slate for installing the curtain rod and will prevent any interference between the blinds and the curtains. Here’s how you can determine whether to remove the blinds:
1. Examine the configuration: If your blinds are mounted inside the window frame, it is usually possible to install the curtain rod above the blinds without removing them. However, if the blinds are mounted outside the window frame or if you prefer a layered look with curtains hanging in front of the blinds, it is best to remove the blinds.
2. Consider functionality: If you frequently adjust or open and close the blinds, you may want to remove them to avoid any obstruction or tangling with the curtains. Removing the blinds will provide a clear path for the curtains to move freely.
If you’ve decided to remove the blinds, follow these steps:
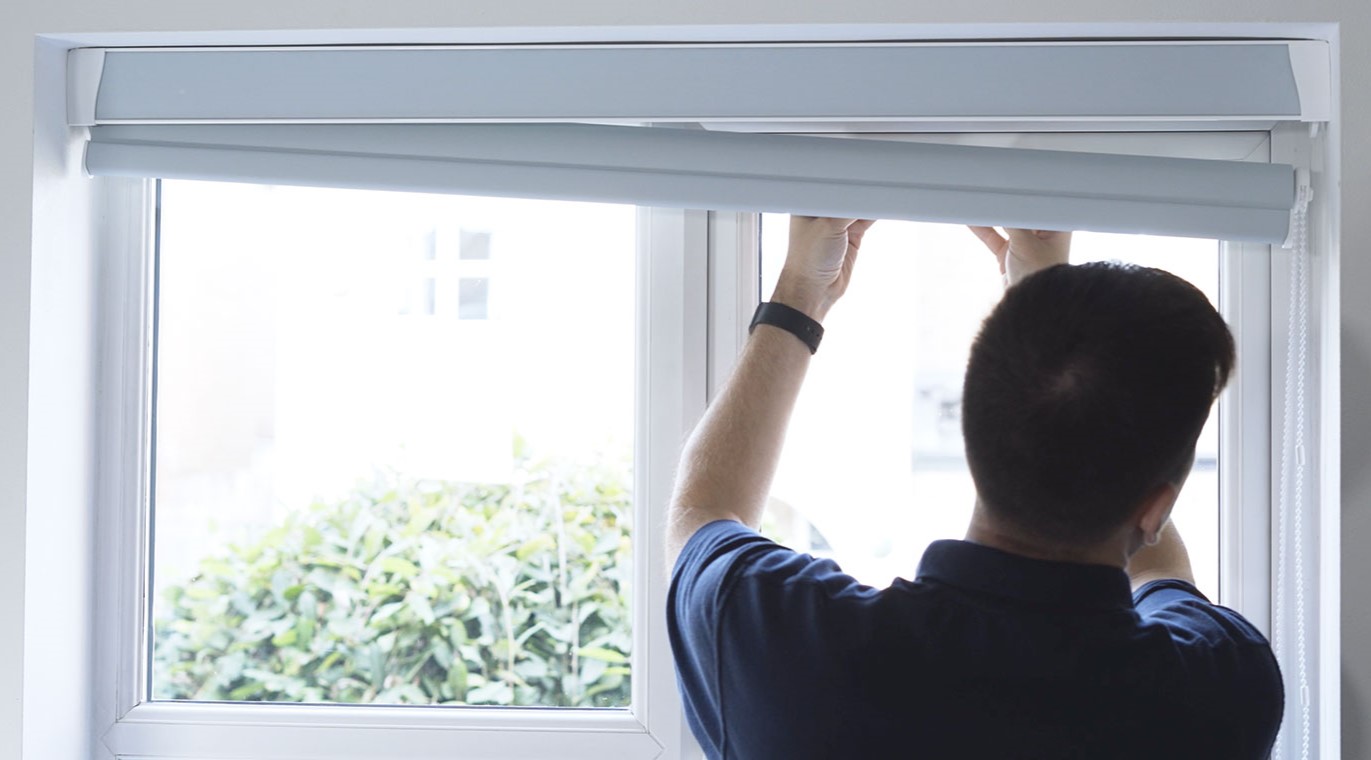
- Ensure that the blinds are fully raised or in the open position.
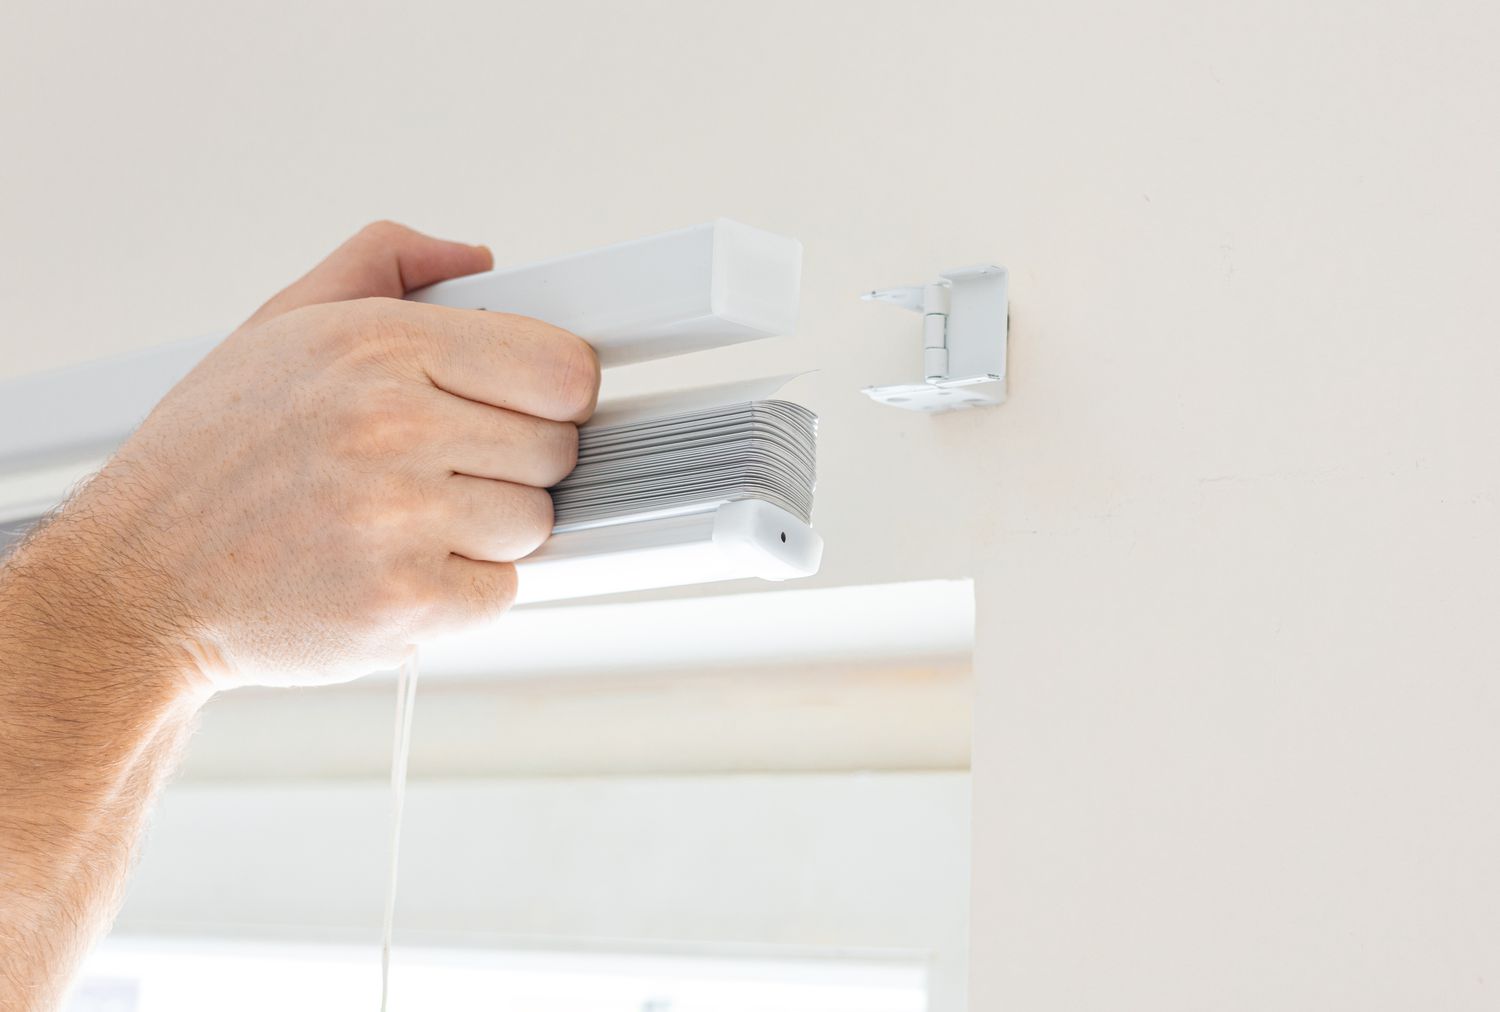
- Locate the mounting brackets that hold the blinds in place. These brackets are usually located on the top corners of the window frame or on the sides.
- Using a screwdriver, loosen the screws that secure the brackets to the window frame. Once the screws are loosened, carefully lift the blinds out of the brackets.
- Store the blinds in a safe place or remove them from the window entirely, depending on your preference.
If you have chosen to keep the blinds or if they are already mounted inside the window frame, simply proceed to the next step: installing the curtain rod brackets.
Step 4: Install the curtain rod brackets
Now that you have measured the window and, if necessary, removed the blinds, it’s time to install the curtain rod brackets. The brackets will securely hold the curtain rod in place, allowing you to hang your curtains effortlessly. Follow these steps to install the curtain rod brackets:
- Using the marks you made earlier as a guide, position the first curtain rod bracket on the wall. Ensure that it is level and aligned with the mark.
- Take a pencil and mark the screw holes on the wall through the bracket’s mounting holes. This will indicate where you need to drill the pilot holes for the screws.
- If you are drilling into drywall or plaster, insert the appropriate wall anchors into the pilot holes to provide additional support for the screws. If you are drilling into wood or a stud, skip this step.
- With the pilot holes and wall anchors (if applicable), use a drill to create holes in the designated spots on the wall.
- Position the bracket over the holes and insert the screws through the mounting holes. Use a screwdriver to tighten the screws, ensuring that the bracket is securely attached to the wall.
- Repeat the same process for the second bracket, ensuring that it is aligned with the corresponding mark and level with the first bracket.
With the curtain rod brackets properly installed, you are now ready to move on to the next step: hanging the curtains.
When putting up curtains over blinds, make sure to use a double curtain rod so that the blinds can still be functional. This will allow you to control the amount of light and privacy in the room.
Read more: How To Hang Curtains Over Blinds And Shades
Step 5: Hang the curtains
Now that you have the curtain rod brackets securely installed, it’s time to hang the curtains. Follow these steps to hang your curtains with ease:
- Take your curtain rod and remove any packaging or protective covers.
- Position yourself in front of the window and hold the curtain rod with both hands.
- Place one end of the curtain rod into the bracket on one side of the window. Hold the rod firmly in place.
- Walk to the other side of the window and carefully insert the other end of the curtain rod into the bracket on that side. This may require a slight upward or downward angle to align the rod with the bracket.
- Ensure that the rod is securely in place by giving it a gentle tug.
- If your curtains have rod pockets, carefully gather the fabric and slide the rod through the pocket until the curtains are evenly distributed along the rod.
- If your curtains have grommets or hooks, attach them to the rod according to the manufacturer’s instructions.
Once the curtains are hung, step back and admire your handiwork. Take a moment to make any necessary adjustments to ensure that the curtains are hanging evenly and at the desired height.
Now that your curtains are in place, let’s move on to the next step: adjusting and securing the curtains.
Step 6: Adjust and secure the curtains
After hanging the curtains, it’s important to adjust and secure them properly. This will ensure that they hang evenly and stay in place. Follow these steps to adjust and secure your curtains:
- Stand back and observe the curtains to check if they are hanging at the desired height. If you find that they are too long, use a pair of scissors to carefully trim them to the desired length. Remember to leave a little extra fabric for a more elegant and flowing look.
- If your curtains have a header or pleats, use your hands to gently arrange and smooth out the folds. This will give your curtains a neat and polished appearance.
- If necessary, use curtain rings to attach the curtains to the curtain rod. Slide the rings onto the rod and then attach the curtains to the rings, distributing them evenly along the rod.
- Step back and make any additional adjustments to ensure that the curtains are hanging straight and evenly.
- If your curtains have tiebacks or holdbacks, use them to pull the curtains to the sides and secure them in place. This will allow more light into the room and create an elegant, draped effect.
Take a moment to admire your curtains and make any final adjustments to achieve the desired look and feel. Once you are satisfied with the placement and appearance of the curtains, it’s time to move on to the final step: testing for smooth operation.
Step 7: Test for smooth operation
The final step in installing curtains over blinds is to test for smooth operation. This step ensures that your curtains glide effortlessly and can be easily opened and closed. Follow these steps to test the curtains:
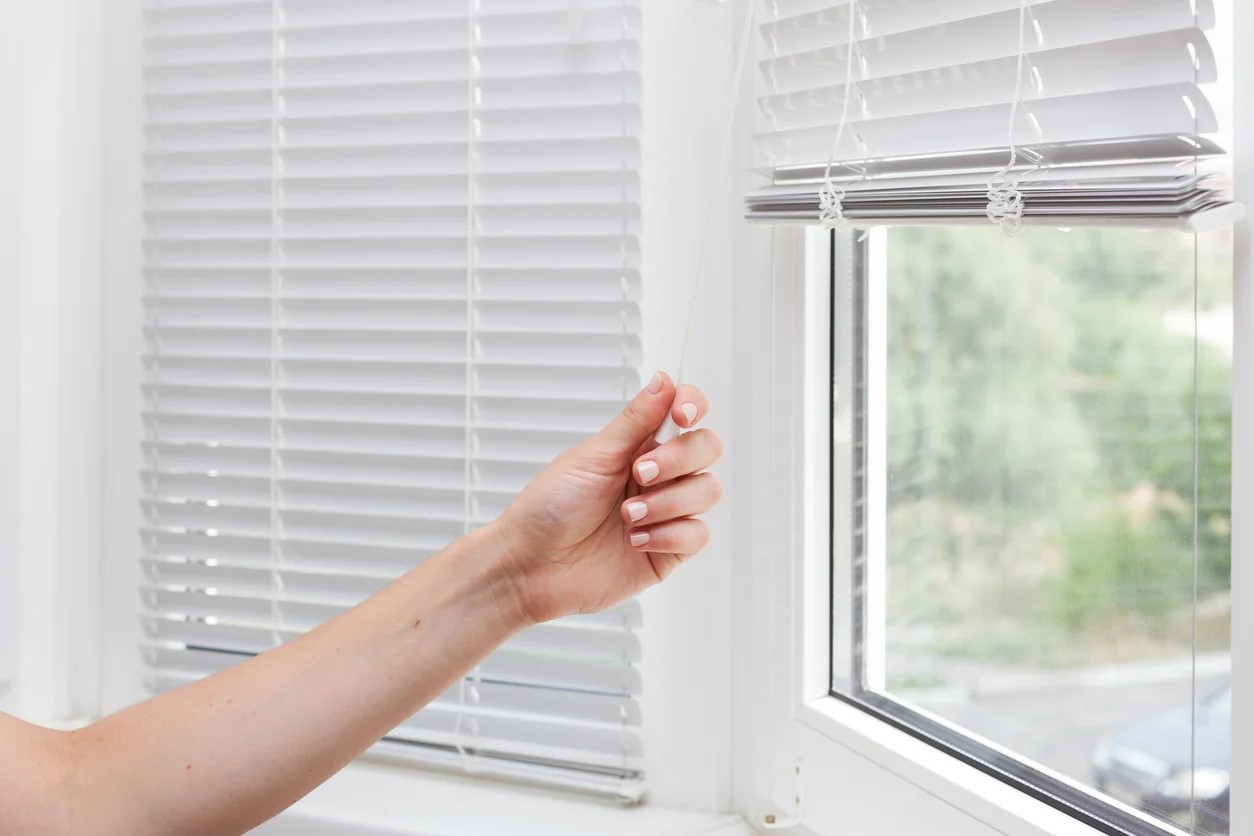
- Grasp the edge of the curtains and gently pull them to one side to open them. Ensure that the curtains move smoothly along the curtain rod without any obstructions or snags.
- If your curtains have a drawstring or cord mechanism, check that it functions properly. Pull the cord to open and close the curtains, ensuring that they move smoothly and without any resistance.
- If there are any issues with the smooth operation of the curtains, consider adjusting the placement of the curtain rod or the curtain hooks/rings. This may involve loosening or tightening the screws on the brackets to achieve the desired movement.
- Make any necessary adjustments until the curtains glide effortlessly along the curtain rod and can be opened and closed with ease.
Once you are satisfied with the smooth operation of the curtains, congratulations, you have successfully installed curtains over blinds!
Remember to periodically check and adjust the curtains if necessary, as they may require some maintenance over time. Also, make sure to clean the curtains and blinds regularly to keep them looking fresh and appealing.
Enjoy the enhanced aesthetic and functionality that curtains over blinds bring to your windows. They provide privacy, light control, and a stylish touch to any room, allowing you to create the perfect ambiance.
We hope this step-by-step guide has been helpful in assisting you with installing curtains over blinds. Now, sit back, relax, and enjoy the beauty and functionality of your newly adorned windows.
Conclusion
Installing curtains over blinds is a fantastic way to add style, versatility, and functional benefits to your windows. By following the step-by-step guide provided in this article, you can successfully put up curtains over blinds and transform the look of your space.
From gathering the necessary materials and measuring the window to removing the blinds (if needed), installing the curtain rod brackets, hanging the curtains, adjusting and securing them, and testing for smooth operation, each step plays a crucial role in achieving a seamless and visually appealing result.
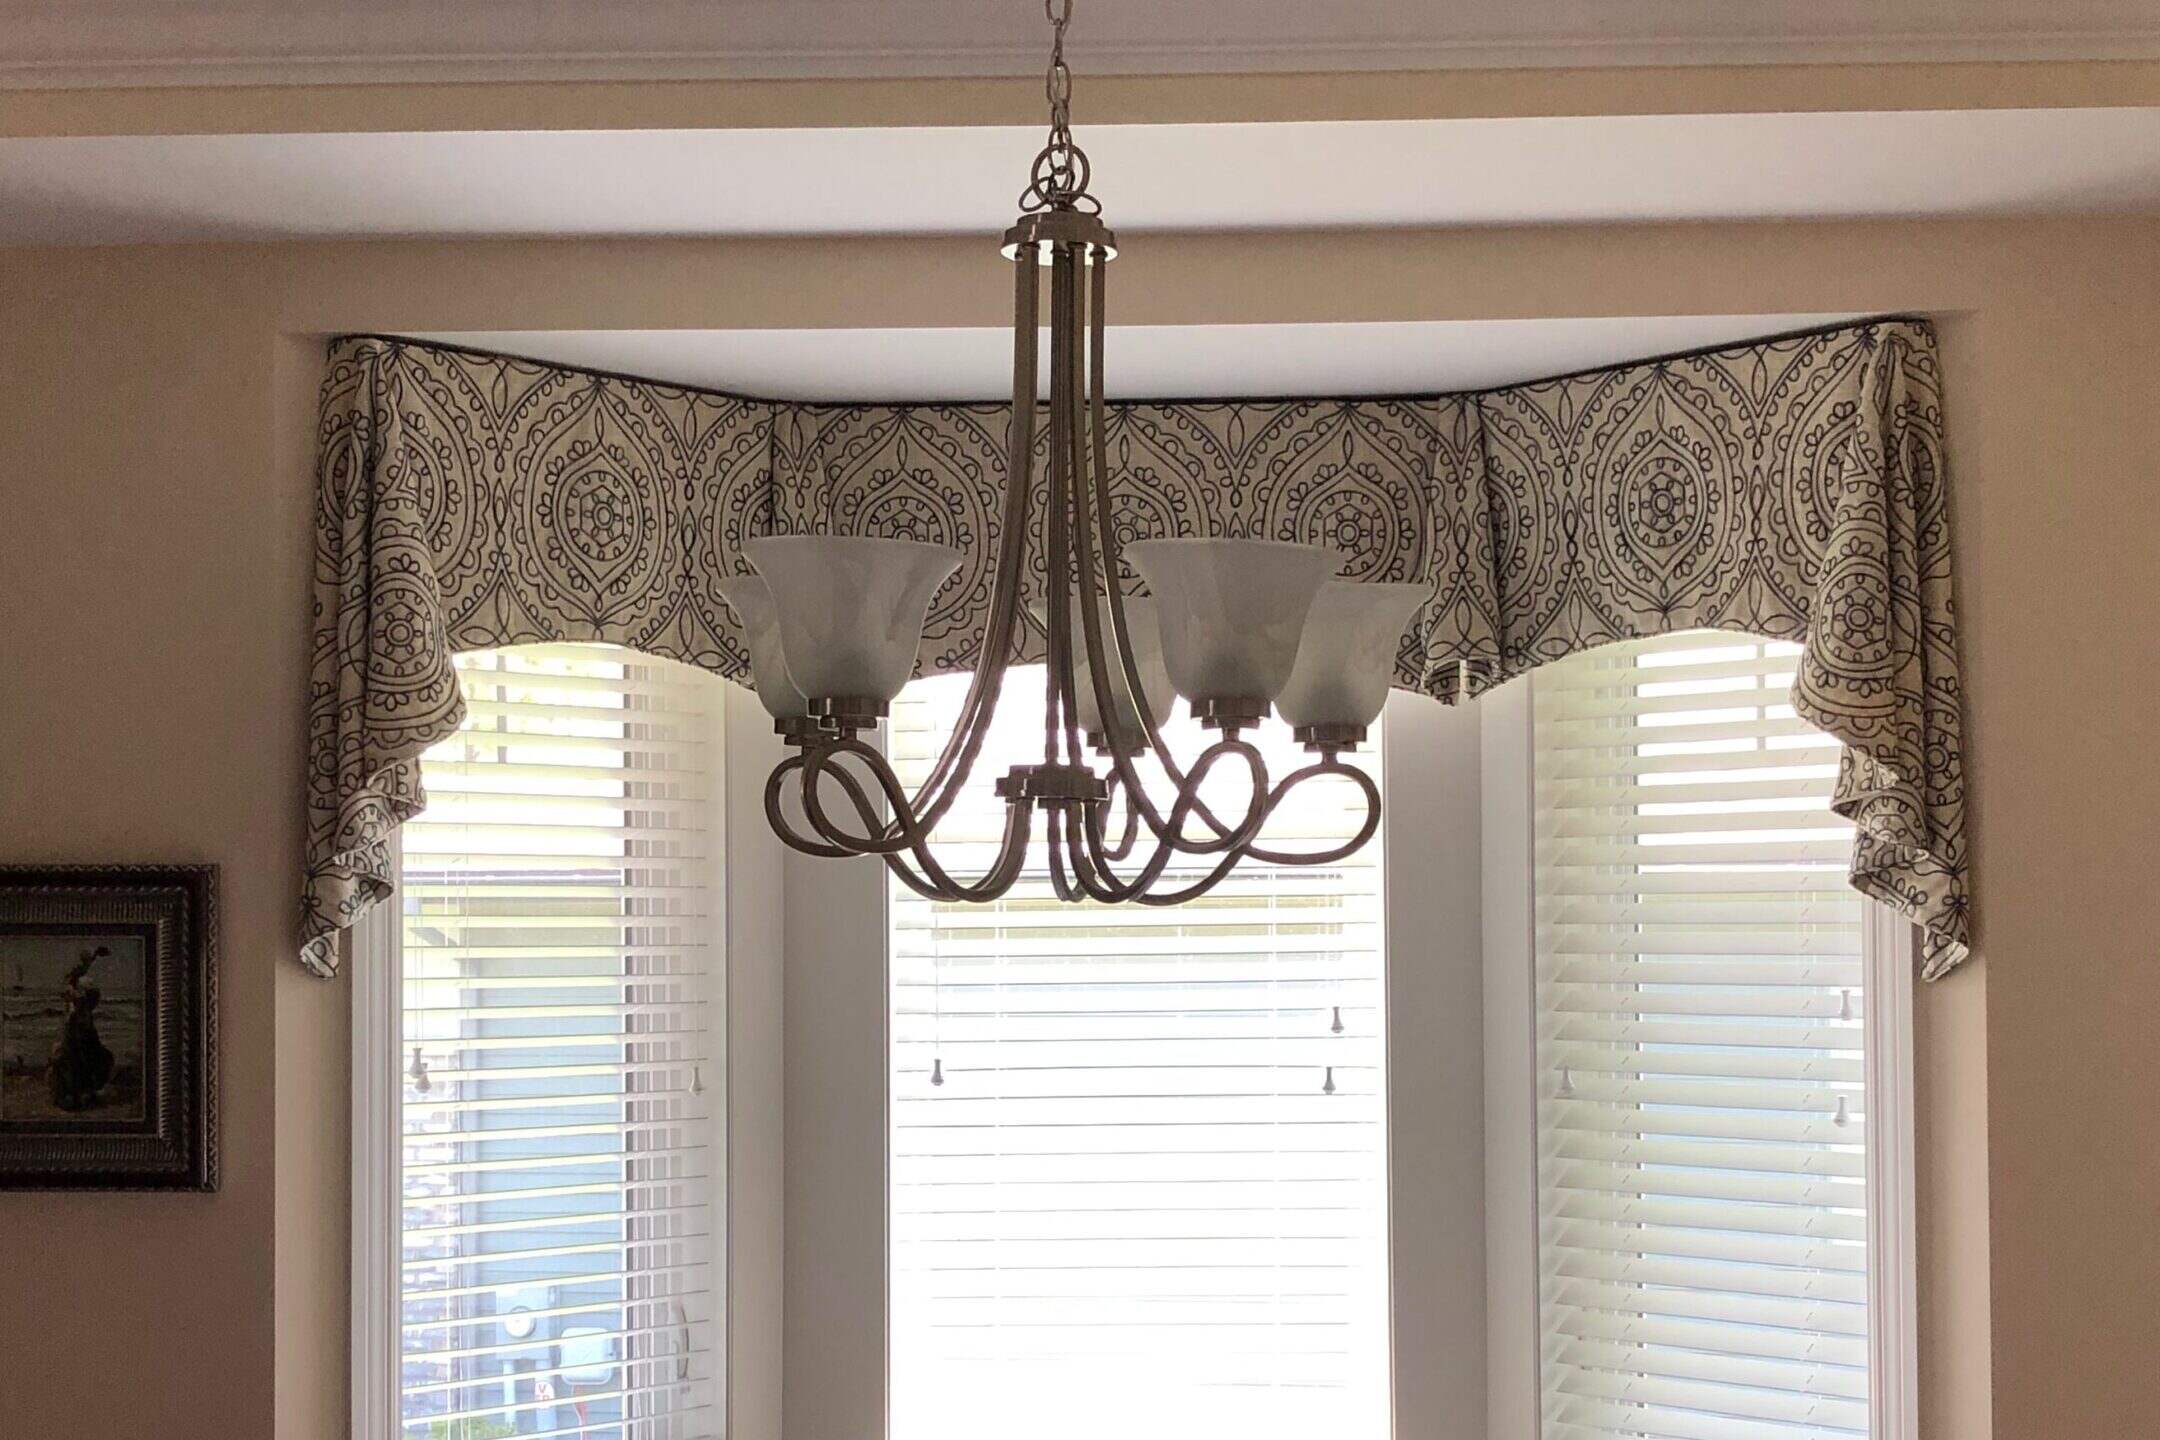
By combining curtains with blinds, you can enhance privacy, control natural light, and elevate the overall aesthetic of your space. Layering window treatments adds depth and dimension to your windows, creating a more inviting and elegant environment.
Remember to take accurate measurements, use the appropriate tools, and follow the manufacturer’s instructions for the curtain rod brackets and curtain installation. By doing so, you can ensure a successful installation process and enjoy the benefits of your curtains for years to come.
Now that you have learned how to put up curtains over blinds, it’s time to get started on transforming your windows. Enjoy the freedom to adjust privacy and lighting, enhance the décor of your space, and add a touch of personal style.
So go ahead, gather your materials, measure your windows, install the brackets, hang the curtains, make adjustments as needed, and enjoy the beauty and functionality that curtains over blinds bring to your home or office.
Happy decorating!
Frequently Asked Questions about How To Put Up Curtains Over Blinds
Was this page helpful?
At Storables.com, we guarantee accurate and reliable information. Our content, validated by Expert Board Contributors, is crafted following stringent Editorial Policies. We're committed to providing you with well-researched, expert-backed insights for all your informational needs.


0 thoughts on “How To Put Up Curtains Over Blinds”