Home>Construction & Tools>Building Materials>How To Repair Peeling Stucco Exterior
Building Materials
How To Repair Peeling Stucco Exterior
Modified: August 28, 2024
Learn effective techniques for repairing peeling stucco exterior using high-quality building materials. Follow our step-by-step guide for a seamless repair process.
(Many of the links in this article redirect to a specific reviewed product. Your purchase of these products through affiliate links helps to generate commission for Storables.com, at no extra cost. Learn more)
Introduction
When it comes to the exterior of a home, stucco is a popular choice due to its durability, versatility, and timeless aesthetic appeal. However, over time, even the most well-maintained stucco can develop issues, with peeling being a common concern. Peeling stucco not only detracts from the visual charm of a home but also exposes the underlying structure to potential damage from moisture and other environmental elements.
In this comprehensive guide, we will delve into the intricacies of repairing peeling stucco exteriors, providing you with the knowledge and step-by-step instructions to tackle this project with confidence. Whether you are a seasoned DIY enthusiast or a homeowner looking to understand the process before hiring a professional, this article will equip you with valuable insights and practical tips.
Understanding the underlying causes of peeling stucco is crucial for implementing effective repairs. We will explore the factors that contribute to this issue, empowering you to address the root of the problem and prevent future recurrence. Additionally, we will outline the essential tools and materials needed for the repair, ensuring that you are well-prepared to embark on this endeavor.
From meticulous preparation steps to the actual repair process and the finishing touches, each phase of the stucco repair will be thoroughly explained. By the end of this guide, you will not only have a deeper understanding of peeling stucco but also the confidence to restore your home's exterior to its former glory.
Join us as we embark on a journey to rejuvenate your stucco exterior, enhancing both its visual appeal and structural integrity. Let's dive into the world of peeling stucco repair and discover the transformative power of a well-executed restoration.
Key Takeaways:
- Repairing peeling stucco involves understanding the causes, thorough preparation, applying the patching compound, and finishing with a professional paint application. This process restores the stucco’s visual appeal and structural integrity.
- Regular maintenance and proactive care are crucial for preserving the beauty and functionality of stucco exteriors. By addressing signs of damage promptly, homeowners can prolong the lifespan of their stucco and continue to enjoy its timeless allure.
Read more: How To Paint Exterior Stucco
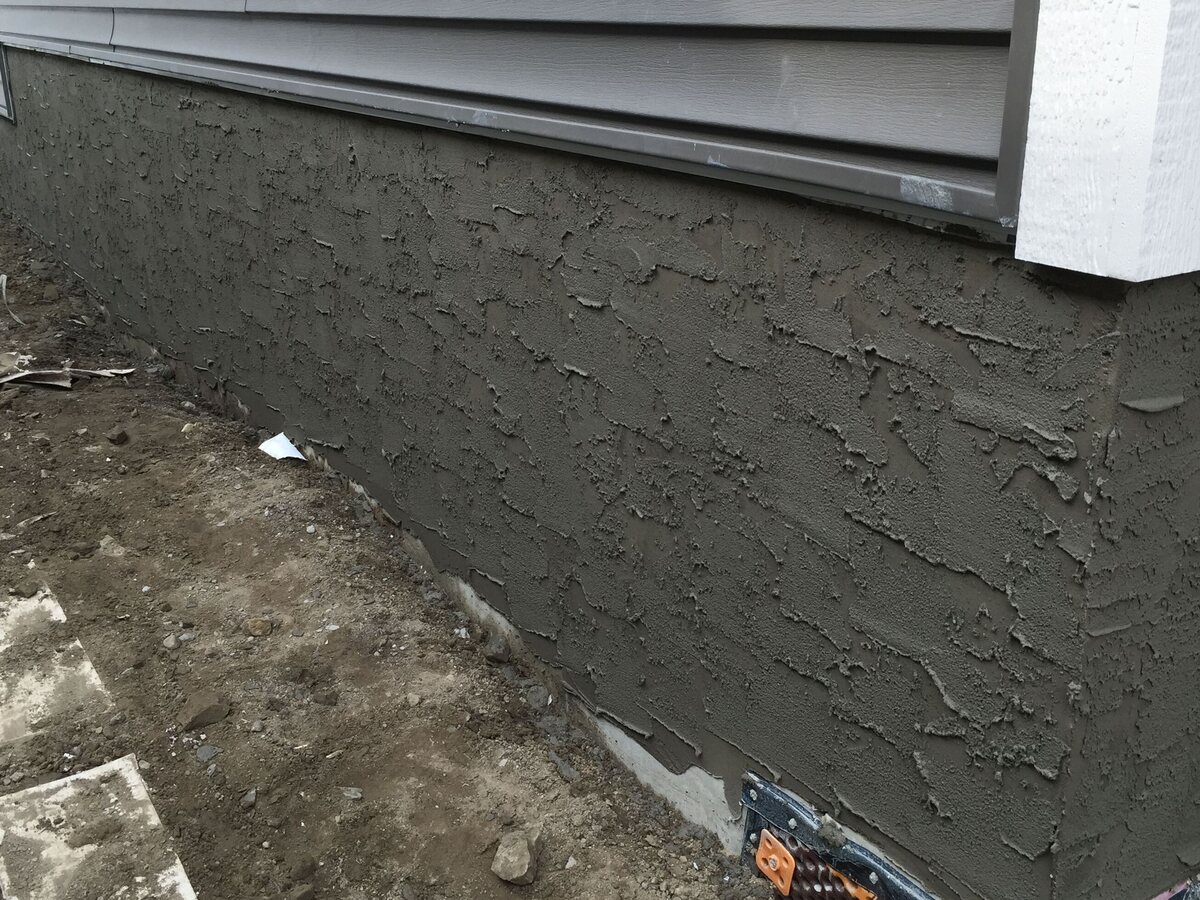
Understanding the Causes of Peeling Stucco
Peeling stucco can be attributed to various factors, each contributing to the deterioration of the exterior surface. By gaining insight into these causes, you can effectively address the underlying issues and prevent future instances of peeling. Here are some common culprits behind peeling stucco:
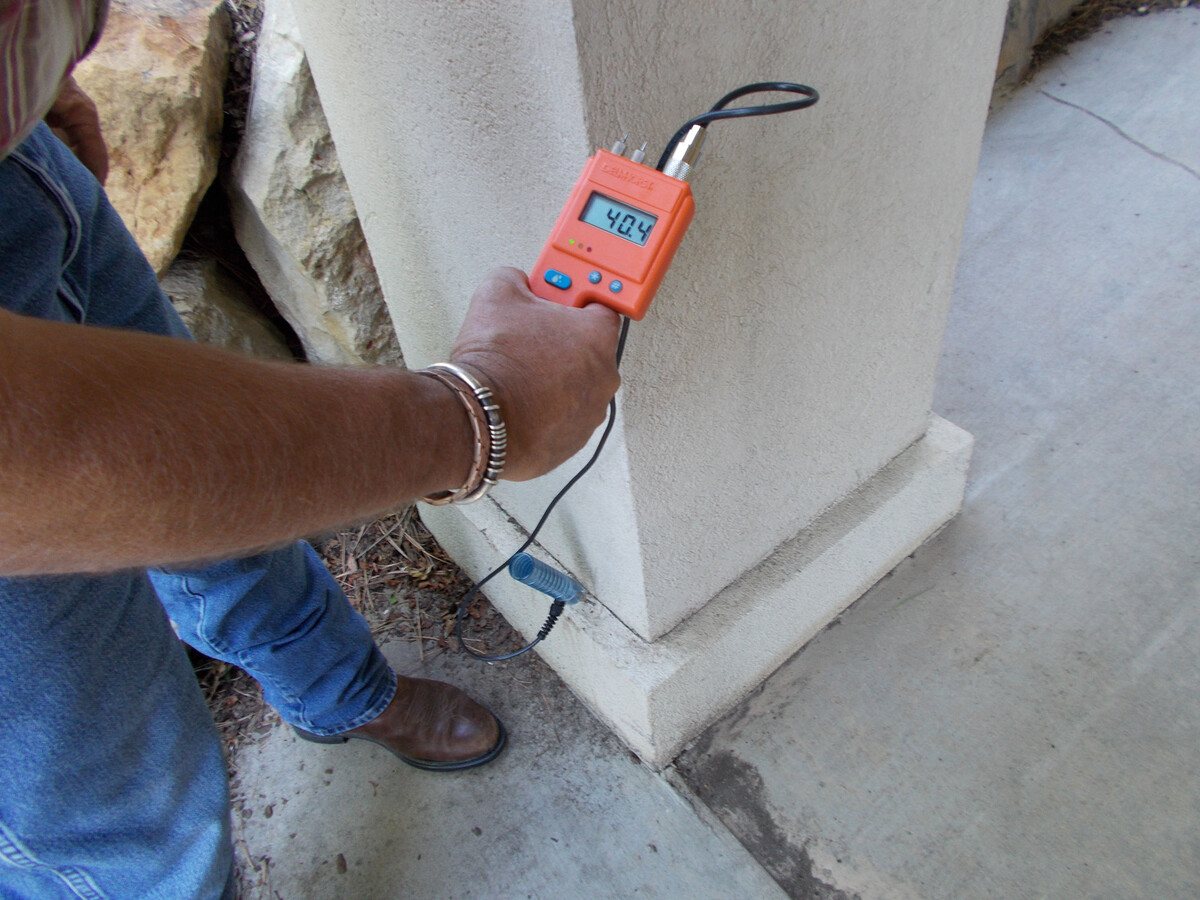
- Moisture Infiltration: One of the primary reasons for peeling stucco is moisture infiltration. When water seeps behind the stucco surface, it can lead to the breakdown of the adhesion between the stucco and the substrate, causing the stucco to peel away. This can occur due to improper flashing, cracks in the stucco, or inadequate sealing around windows and doors.
- Substrate Movement: The substrate to which the stucco is applied can experience movement over time, especially in regions prone to temperature fluctuations and seismic activity. This movement can result in the separation of the stucco from the substrate, leading to peeling and cracks.
- Improper Application: If the stucco was not applied correctly during the initial installation, such as insufficient mixing of the stucco materials or inadequate curing time, it can lead to adhesion issues and eventual peeling.
- Aging and Wear: Over time, the effects of weather, UV exposure, and general wear and tear can cause the stucco to degrade, leading to peeling and a weathered appearance.
By identifying the specific cause or combination of factors contributing to the peeling, you can tailor your repair approach to effectively address the underlying issues. Additionally, taking preventive measures such as proper maintenance, regular inspections, and addressing any signs of damage promptly can help mitigate the risk of peeling stucco in the future.
Armed with a deeper understanding of the causes of peeling stucco, you are better equipped to approach the repair process with a strategic and informed mindset. In the following sections, we will delve into the essential tools and materials needed to undertake the stucco repair, setting the stage for a successful restoration endeavor.
Tools and Materials Needed
Before embarking on the repair of peeling stucco, it is essential to gather the necessary tools and materials to ensure a smooth and efficient restoration process. Here is a comprehensive list of items that you will need:
Tools:
- Wire Brush: A wire brush is essential for removing loose or peeling stucco, preparing the surface for repairs.
- Chisel or Scraper: For more stubborn areas of peeling stucco, a chisel or scraper can be used to carefully remove the damaged sections.
- Hammer: A hammer will come in handy for tapping and securing the stucco patching material in place.
- Stiff Bristle Brush: This type of brush is ideal for cleaning the repair area and ensuring proper adhesion of the new stucco.
- Masonry Trowels: Different sizes of masonry trowels will be needed for applying the stucco patching material with precision.
- Bucket and Mixing Tools: You will require a bucket for mixing the stucco patching material, as well as a mixing tool such as a hoe or mixing drill attachment.
- Protective Gear: Safety goggles, gloves, and a dust mask are essential for protecting yourself during the repair process.
Materials:
- Stucco Patching Compound: This specialized compound is formulated for repairing and patching damaged stucco surfaces.
- Primer: A high-quality bonding primer designed for masonry surfaces will ensure proper adhesion of the new stucco patch.
- Exterior Paint: If you plan to repaint the repaired stucco, select a durable exterior paint that complements your home's aesthetic.
- Fiber Mesh Tape: This tape is used to reinforce the repair area, providing added strength and preventing future cracking.
- Caulk: A paintable exterior caulk is essential for sealing any gaps or cracks around windows, doors, and other openings to prevent moisture infiltration.
- Clean Water: Having access to clean water for mixing the stucco patching compound is crucial for achieving the right consistency.
By ensuring that you have the necessary tools and materials at your disposal, you can approach the stucco repair project with confidence and efficiency. In the next section, we will delve into the crucial preparation steps that set the foundation for a successful peeling stucco repair.
Read more: How To Redo Stucco Exterior
Preparation Steps
Before diving into the repair of peeling stucco, thorough preparation is essential to ensure that the surface is ready for the restoration process. The following steps will guide you through the crucial preparation phase:
1. Assess the Extent of Damage:
Begin by carefully examining the affected areas of peeling stucco. Determine the extent of the damage and identify any underlying issues such as cracks, moisture infiltration points, or substrate irregularities that may have contributed to the peeling.
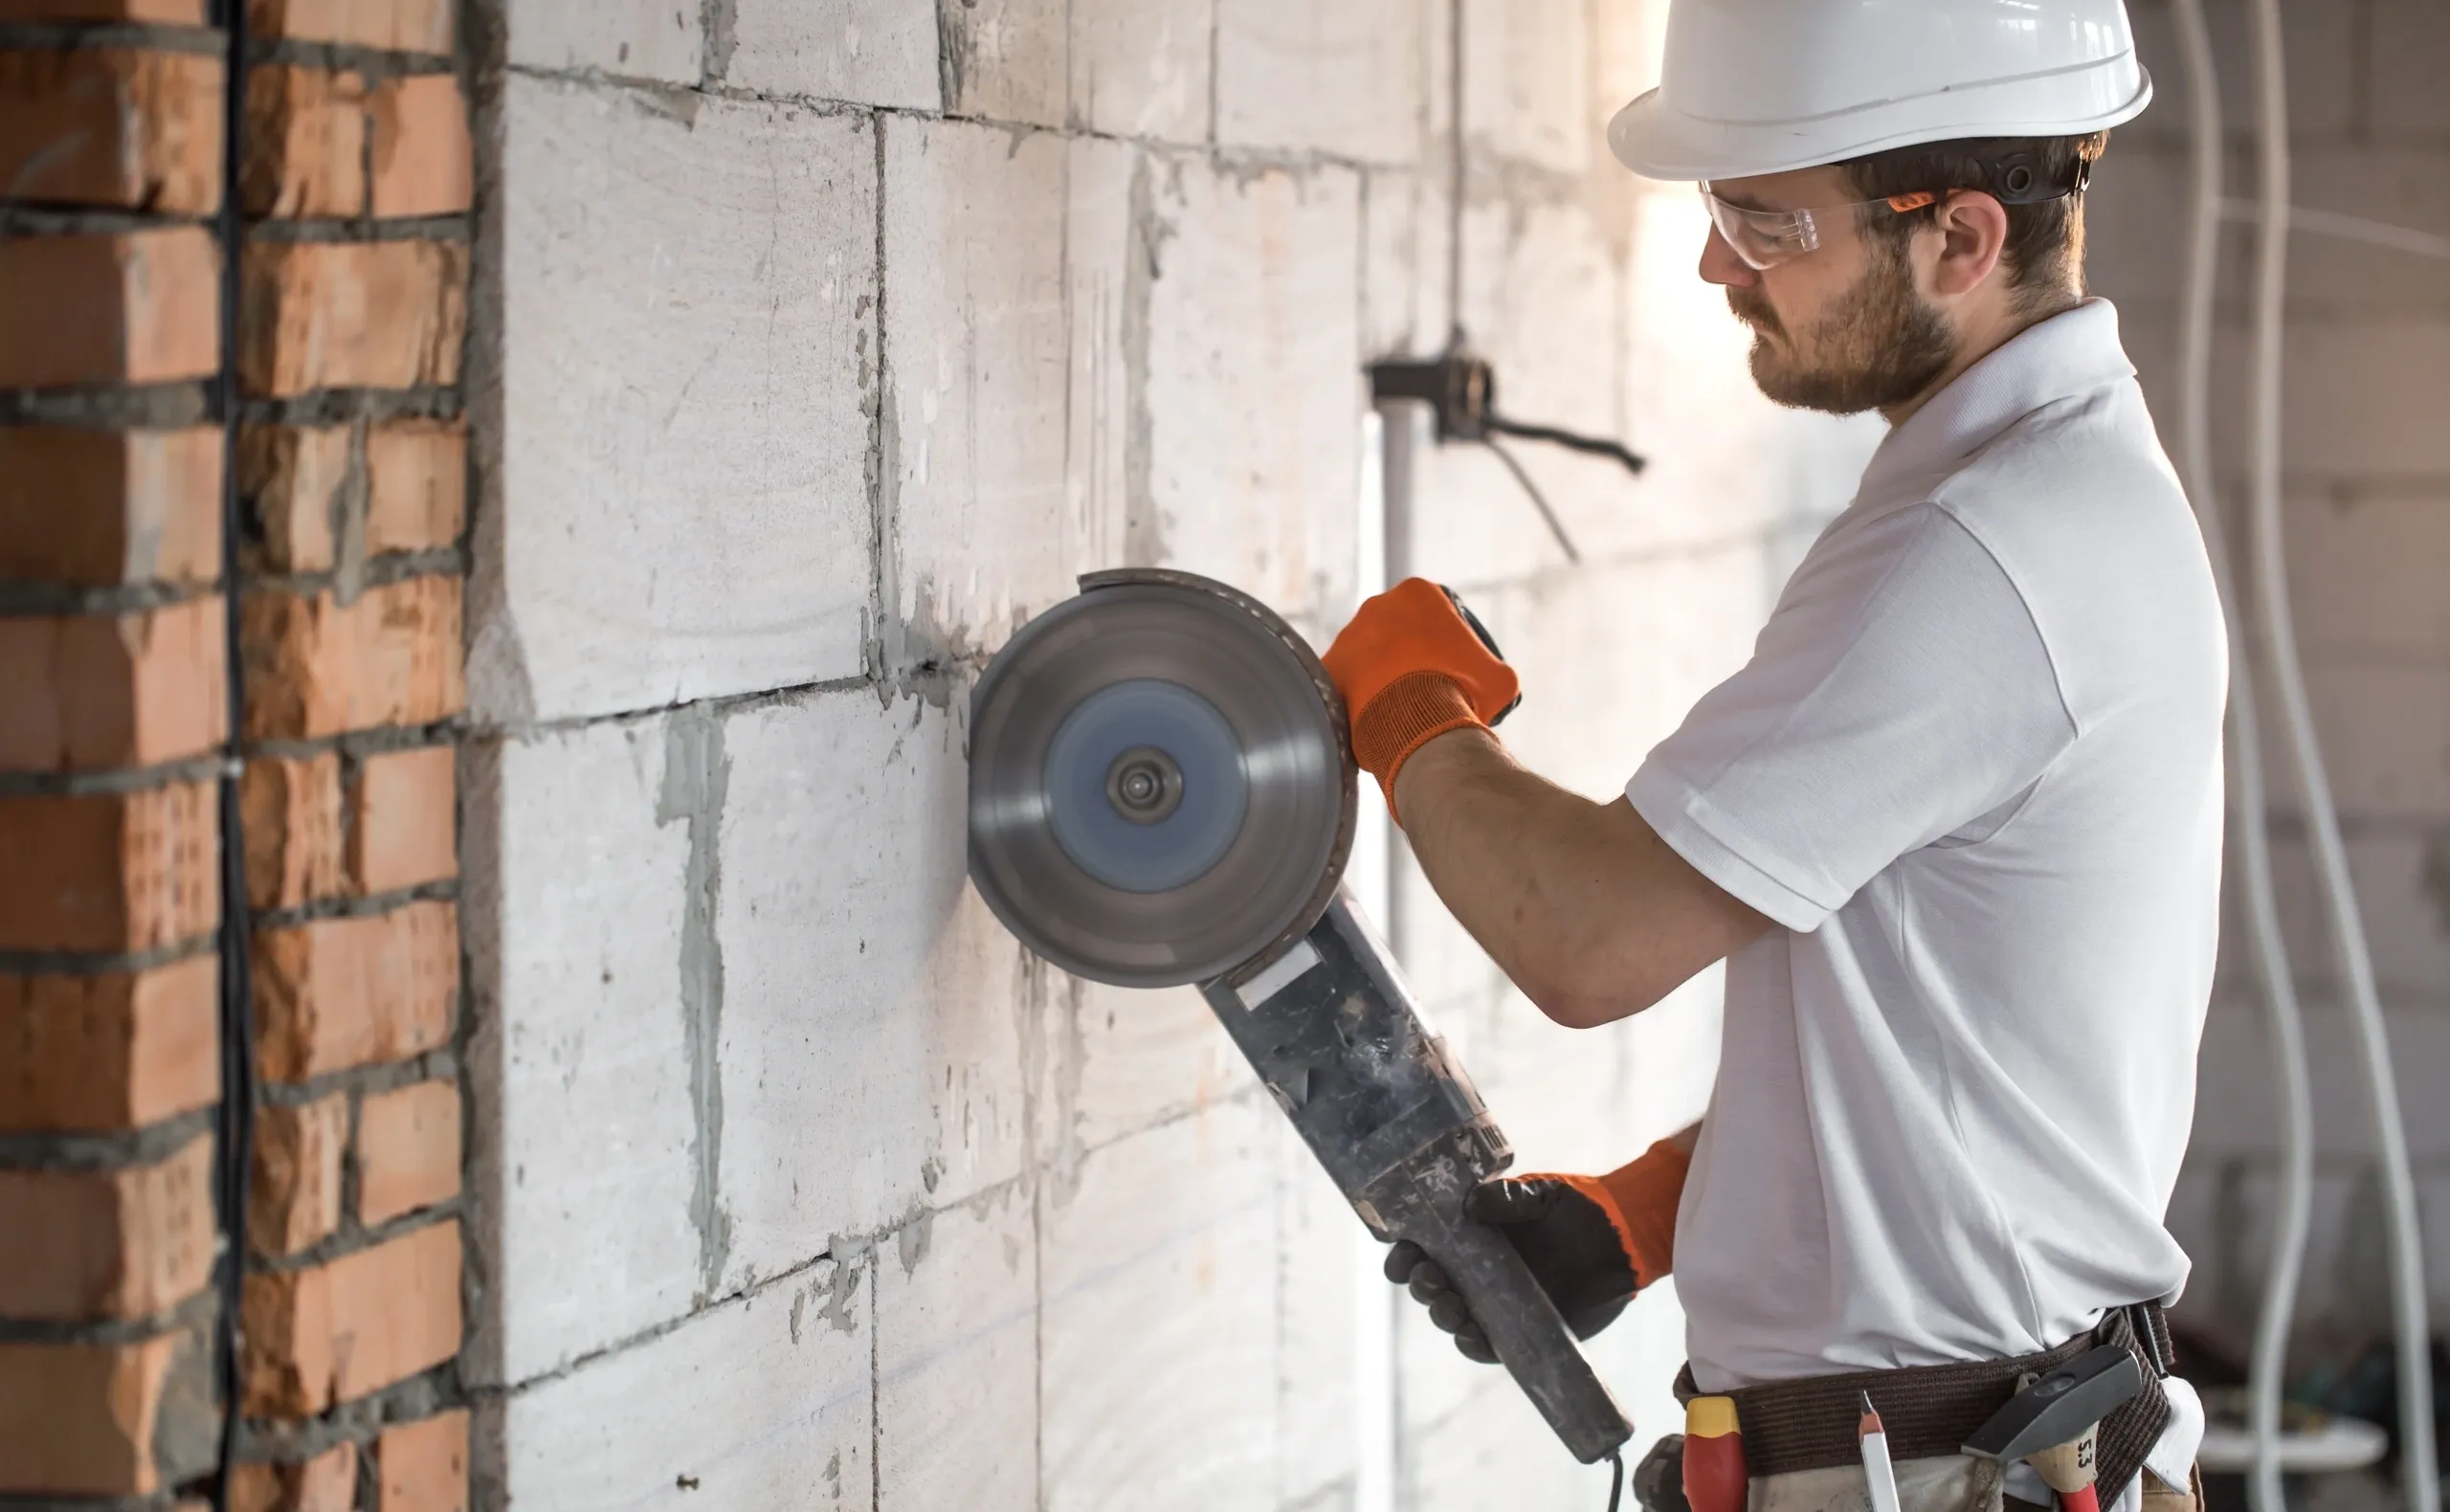
2. Clear the Repair Area:
Use a wire brush, scraper, or chisel to clear away any loose or peeling stucco from the repair area. Ensure that the edges around the damaged sections are clean and free from debris to facilitate proper adhesion of the patching material.
3. Clean the Surface:
Thoroughly clean the exposed substrate and surrounding stucco surface using a stiff bristle brush to remove dirt, dust, and any remaining loose particles. This step is crucial for promoting adhesion and ensuring a seamless repair.
Read more: How To Remove Exterior Stucco
4. Apply Bonding Primer:
Apply a high-quality bonding primer to the prepared surface. The primer enhances adhesion and creates a strong bond between the existing stucco, the patching material, and the substrate. Follow the manufacturer’s instructions for the application and drying time of the primer.
5. Reinforce with Fiber Mesh Tape:
If the damage includes hairline cracks or areas prone to future movement, apply fiber mesh tape over these areas to reinforce the repair. The mesh tape provides added strength and helps prevent future cracking in the repaired stucco surface.
6. Seal Gaps and Openings:
Inspect and seal any gaps, cracks, or openings around windows, doors, and other fixtures using a paintable exterior caulk. Proper sealing is essential for preventing moisture infiltration and ensuring the longevity of the stucco repair.
By meticulously completing these preparation steps, you establish a solid foundation for the subsequent repair process, setting the stage for a durable and visually appealing restoration. With the repair area primed and reinforced, you are ready to embark on the actual repair of the peeling stucco, which we will explore in the following section.
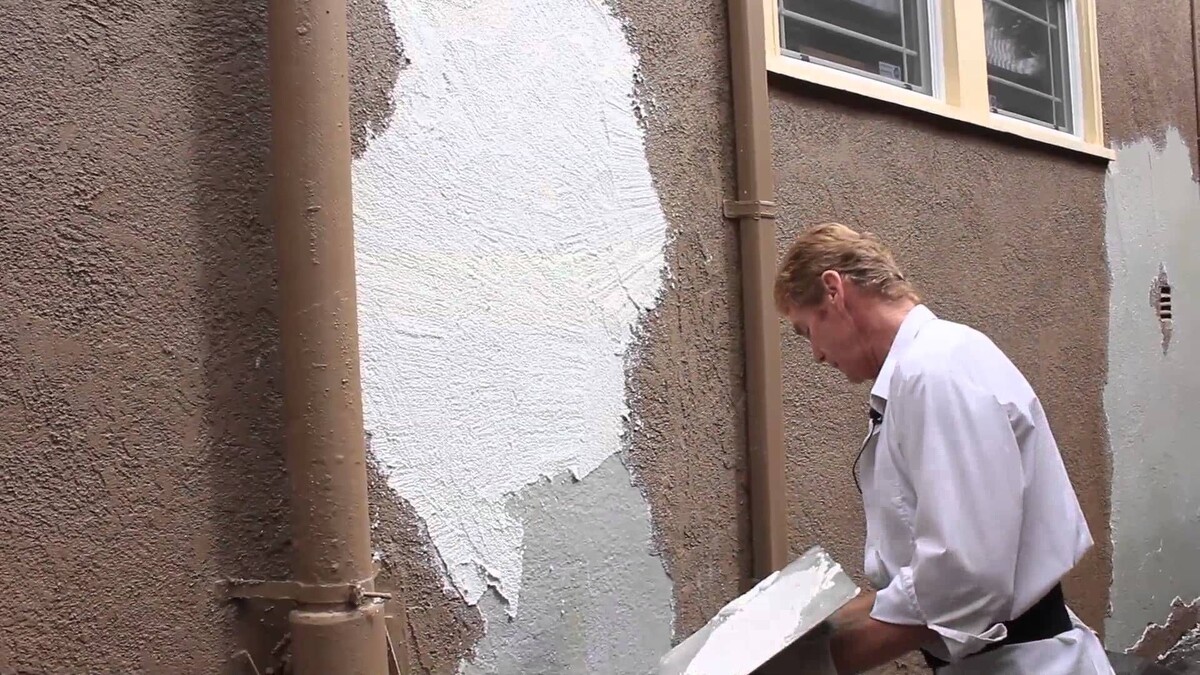
Repairing the Peeling Stucco
With the preparation steps meticulously completed, you are now ready to undertake the repair of the peeling stucco. The following guidelines will walk you through the essential steps of the repair process:
Read more: How To Paint Exterior Stucco With A Roller
1. Prepare the Stucco Patching Compound:
Follow the manufacturer’s instructions to prepare the stucco patching compound. Ensure that the mixture reaches the desired consistency for easy application and optimal adhesion to the repair area.
2. Apply the Patching Compound:
Using a masonry trowel, carefully apply the stucco patching compound to the prepared repair area. Smooth the surface of the patch to match the surrounding stucco, ensuring a seamless integration with the existing exterior finish.
3. Feather the Edges:
Feather the edges of the applied patch to blend it with the surrounding stucco, creating a gradual transition and minimizing the visibility of the repair. This technique helps achieve a natural and aesthetically pleasing result.
4. Allow for Proper Curing:
Allow the patched area to cure according to the manufacturer’s recommendations. This curing period is crucial for the patching compound to set and achieve the necessary strength and durability.
Read more: How To Spray Stucco Exterior Walls
5. Inspect and Refine:
Once the patching compound has cured, inspect the repaired area for any imperfections or unevenness. Use a fine-grit sandpaper to gently refine the surface, ensuring a smooth and uniform finish that seamlessly blends with the rest of the stucco.
6. Prime the Repaired Area:
Apply a coat of bonding primer over the repaired stucco surface. This step promotes adhesion and prepares the surface for the application of the exterior paint, ensuring a professional and long-lasting finish.
By following these meticulous steps, you can effectively repair the peeling stucco and restore the integrity and visual appeal of your home’s exterior. With the repaired stucco surface primed and ready, the final phase of the restoration process involves finishing and painting the stucco, which we will explore in the following section.
Finishing and Painting the Repaired Stucco
After successfully repairing the peeling stucco, the finishing and painting phase is essential to achieve a cohesive and visually appealing exterior surface. The following steps will guide you through the final stages of the stucco restoration process:
1. Select the Exterior Paint:
Choose a high-quality exterior paint that complements the existing color scheme of your home. Consider the climate and environmental factors in your area to select a durable paint that offers long-term protection against the elements.
Read more: How To Replace Windows With Stucco Exterior
2. Apply the Exterior Paint:
Using a paintbrush or roller, apply a uniform coat of exterior paint over the repaired stucco surface. Ensure thorough coverage and pay attention to achieving a seamless blend with the surrounding stucco for a cohesive finish.
3. Allow for Drying and Cure Time:
Allow the first coat of paint to dry completely according to the manufacturer’s recommendations. Depending on the specific paint product, multiple coats may be required to achieve the desired color depth and coverage.
4. Apply Additional Coats (If Needed):
If necessary, apply additional coats of exterior paint to achieve the desired finish and ensure long-lasting protection for the repaired stucco surface. Follow proper drying and curing times between each coat.
5. Inspect the Finished Surface:
Once the final coat of paint has dried and cured, inspect the finished stucco surface for uniformity, color consistency, and overall visual appeal. Address any touch-ups or refinements as needed to achieve a seamless and professional result.
Read more: How Do You Clean Exterior Stucco
6. Maintain and Protect:
After completing the finishing and painting process, prioritize regular maintenance and upkeep of the stucco exterior. Periodically inspect the surface for any signs of damage or wear, and address any issues promptly to preserve the integrity and aesthetic appeal of the repaired stucco.
By following these steps, you can elevate the appearance of your home’s exterior, showcasing a beautifully restored stucco surface that exudes durability and timeless charm. With the comprehensive repair, finishing, and painting process complete, your home’s exterior is ready to captivate and endure for years to come.
Conclusion
Embarking on the journey to repair peeling stucco is a transformative endeavor that not only restores the visual appeal of your home’s exterior but also reinforces its structural integrity. By understanding the underlying causes of peeling stucco and following the comprehensive repair process outlined in this guide, you have equipped yourself with the knowledge and skills to undertake this project with confidence.
From meticulously preparing the repair area to applying the stucco patching compound and finishing with a professional paint application, each phase of the restoration process plays a crucial role in achieving a seamless and enduring result. By investing time and effort into these steps, you have revitalized your stucco exterior, ensuring its resilience against the elements and enhancing the overall curb appeal of your home.
As you stand back and admire the beautifully restored stucco, take pride in the craftsmanship and dedication that have gone into this project. The rejuvenated exterior not only reflects your attention to detail but also serves as a testament to the enduring charm and durability of stucco as a building material.
Remember that regular maintenance and proactive care are key to preserving the beauty and functionality of your stucco exterior. By staying vigilant and addressing any signs of damage or wear in a timely manner, you can prolong the lifespan of the stucco and continue to enjoy its timeless allure for years to come.
Whether you embarked on this restoration journey as a DIY enthusiast or sought to understand the process before engaging a professional, the knowledge and insights gained from this guide empower you to make informed decisions and take proactive steps in maintaining your home’s stucco exterior.
As you revel in the renewed splendor of your home’s exterior, take pride in the craftsmanship and dedication that have gone into this project. The rejuvenated stucco not only reflects your attention to detail but also serves as a testament to the enduring charm and durability of stucco as a building material.
With a beautifully restored stucco exterior, your home stands as a testament to the timeless allure and enduring resilience of this remarkable building material. As you continue to care for and appreciate your revitalized stucco, may it serve as a source of pride and admiration for years to come.
Frequently Asked Questions about How To Repair Peeling Stucco Exterior
Was this page helpful?
At Storables.com, we guarantee accurate and reliable information. Our content, validated by Expert Board Contributors, is crafted following stringent Editorial Policies. We're committed to providing you with well-researched, expert-backed insights for all your informational needs.

0 thoughts on “How To Repair Peeling Stucco Exterior”