Articles
How To Install Soffit Vents Over Vinyl Siding
Modified: October 28, 2024
Learn how to properly install soffit vents over vinyl siding with our step-by-step articles. Improve ventilation and prevent moisture buildup in your home.
(Many of the links in this article redirect to a specific reviewed product. Your purchase of these products through affiliate links helps to generate commission for Storables.com, at no extra cost. Learn more)
Introduction
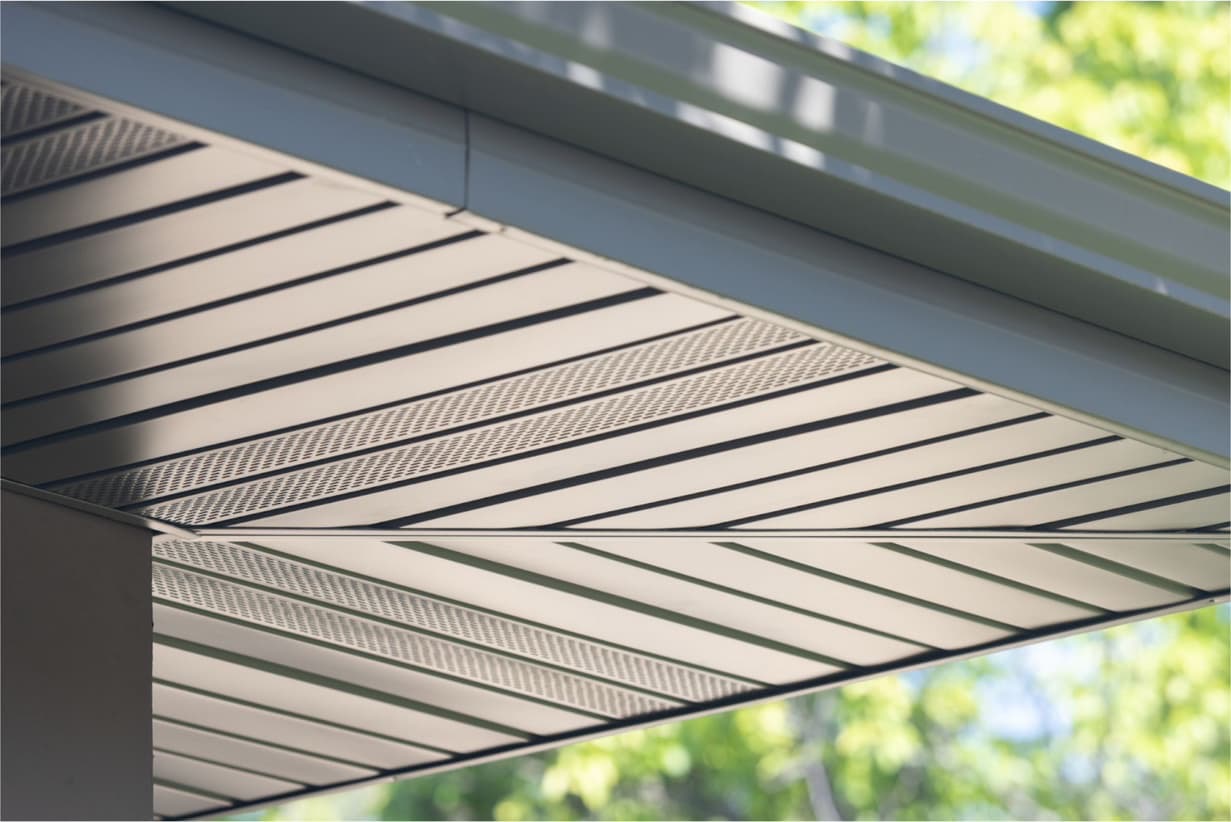
When it comes to maintaining proper ventilation in your home, one essential aspect to consider is installing soffit vents. Soffit vents are specially designed to allow air to flow into the attic, improving air circulation and preventing moisture buildup. Without proper ventilation, your attic can become a breeding ground for mold and mildew, leading to potential damage to your home’s structure.
Installing soffit vents over vinyl siding can seem like a daunting task, but with the right materials and a step-by-step approach, it can be easily accomplished. In this guide, we will walk you through the process of installing soffit vents over vinyl siding, ensuring that your home stays properly ventilated and protected.
Before we dive into the installation process, let’s go over the materials you will need:
- Soffit vents
- Tape measure
- Pencil
- Circular saw or jigsaw
- Caulk
- Drill
- Screws or nails
- Screwdriver or hammer
- Safety glasses
- Protective gloves
Key Takeaways:
- Properly installed soffit vents over vinyl siding can improve attic ventilation, preventing moisture-related issues and protecting your home’s structure. Follow the step-by-step guide for a professional and effective installation.
- Attention to detail, precision in measurements, and use of the right tools and materials are crucial for a successful soffit vent installation. Regular maintenance ensures continued optimal airflow and a healthier home environment.
Read more: How To Install Vinyl Siding Over Brick
Materials Needed
Before you begin installing soffit vents over vinyl siding, make sure you have the following materials on hand:
- Soffit vents: These can be purchased at your local home improvement store. Choose vents that are appropriate for the size of your home and provide adequate ventilation.
- Tape measure: Use a tape measure to accurately measure the dimensions for the vent openings.
- Pencil: Marking the location of the vent openings is crucial for proper installation. Use a pencil to make these markings.
- Circular saw or jigsaw: Depending on the thickness of your vinyl siding, you’ll need a circular saw or jigsaw to cut out the vent openings.
- Caulk: A good silicone caulk will help seal the edges of the vents, preventing any water penetration.
- Drill: You’ll need a drill to create pilot holes for the screws or nails that will secure the vents in place.
- Screws or nails: Choose screws or nails that are appropriate for your siding material. Check the manufacturer’s recommendations for the correct size and length.
- Screwdriver or hammer: Depending on the type of fasteners you choose, you’ll need either a screwdriver or a hammer to install them.
- Safety glasses: It’s important to protect your eyes while cutting and installing the vents. Safety glasses will prevent any debris from causing injury.
- Protective gloves: Vinyl siding can have sharp edges, so wearing gloves will protect your hands during the installation process.
Having these materials ready before you start the installation will make the process smoother and more efficient. It’s always better to be prepared so that you can focus on the task at hand without any interruptions. Now that you have everything you need, let’s move on to the first step of the installation process: preparing the vinyl siding.
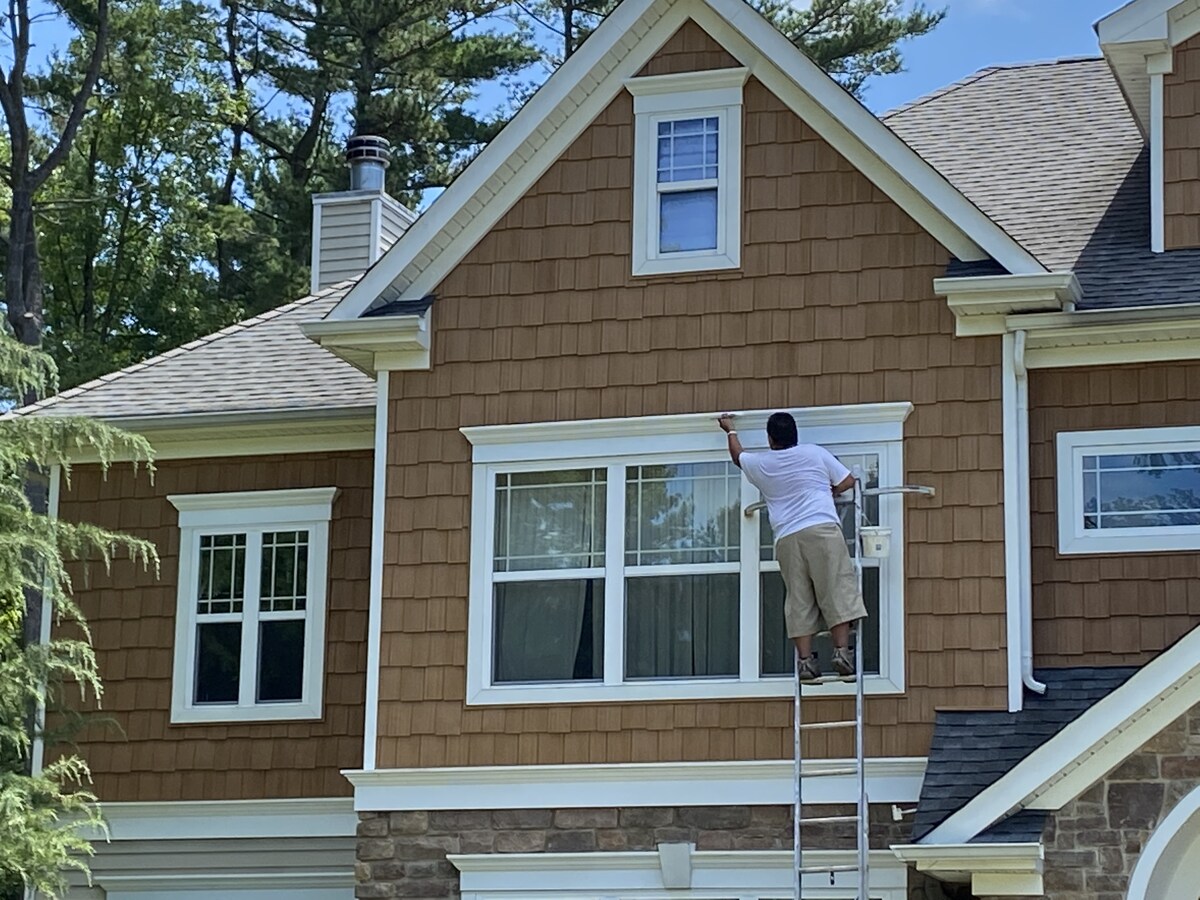
Step 1: Preparing the Vinyl Siding
Before you can install the soffit vents, it’s important to prepare the vinyl siding to ensure a proper fit and a clean installation. Follow these steps to prepare the vinyl siding:
- Clean the siding: Use a mild detergent and warm water to clean the area where the vents will be installed. This will remove any dirt, debris, or mildew that could affect the adhesion of the caulk.
- Inspect the siding: Carefully inspect the vinyl siding for any cracks or damage. Repair or replace any damaged sections to ensure a solid surface for installation.
- Identify the location: Determine the best location for the soffit vents. They should be evenly spaced and strategically placed to provide optimal ventilation.
- Remove the vinyl siding panels: Start by removing the bottom row of vinyl siding panels where the vent openings will be located. Use a pry bar or siding removal tool to gently lift the panels and detach them from the mounting tracks.
- Measure and mark: Use a tape measure to determine the appropriate dimensions for the vent openings. Mark the measurements on the backside of the vinyl siding panels, ensuring precise placement.
- Keep the panels organized: As you remove the vinyl siding panels, label them or keep them in the order they were installed. This will make reinstallation easier later on.
By properly preparing the vinyl siding, you’ll create a clean and sturdy surface for the installation of the soffit vents. Take your time in this step to ensure accuracy and attention to detail.
With the vinyl siding prepared, it’s now time to move on to the next step: measuring and marking for installation.
Step 2: Measuring and Marking for Installation
Once you have prepared the vinyl siding, the next step in installing soffit vents over vinyl siding is to measure and mark the appropriate locations for the vent openings. Follow these steps to correctly measure and mark for installation:
- Refer to the manufacturer’s instructions: Read the manufacturer’s guidelines for the recommended spacing and placement of the soffit vents. This will ensure proper airflow throughout your attic.
- Measure the available space: Use a tape measure to determine the available space for the vents. Take into account any obstructions or obstacles that may affect placement, such as electrical wires or structural components.
- Divide the space evenly: Divide the available space into equal sections to determine the placement of each vent. This will provide consistent airflow throughout the soffit area.
- Mark the measurements: Use a pencil to mark the measurements on the vinyl siding panels. Be sure to mark the top, bottom, and sides of each vent opening to ensure accurate cutting.
- Double-check the measurements: Once you have marked all the measurements, double-check them to ensure accuracy. Measure twice to cut once!
It is important to take your time during this step to ensure precision in measuring and marking the vent openings. Accurate measurements will result in a professional-looking installation and optimal functioning of the soffit vents.
Now that you have measured and marked the vent locations, it’s time to move on to the next step: cutting out the soffit vent openings.
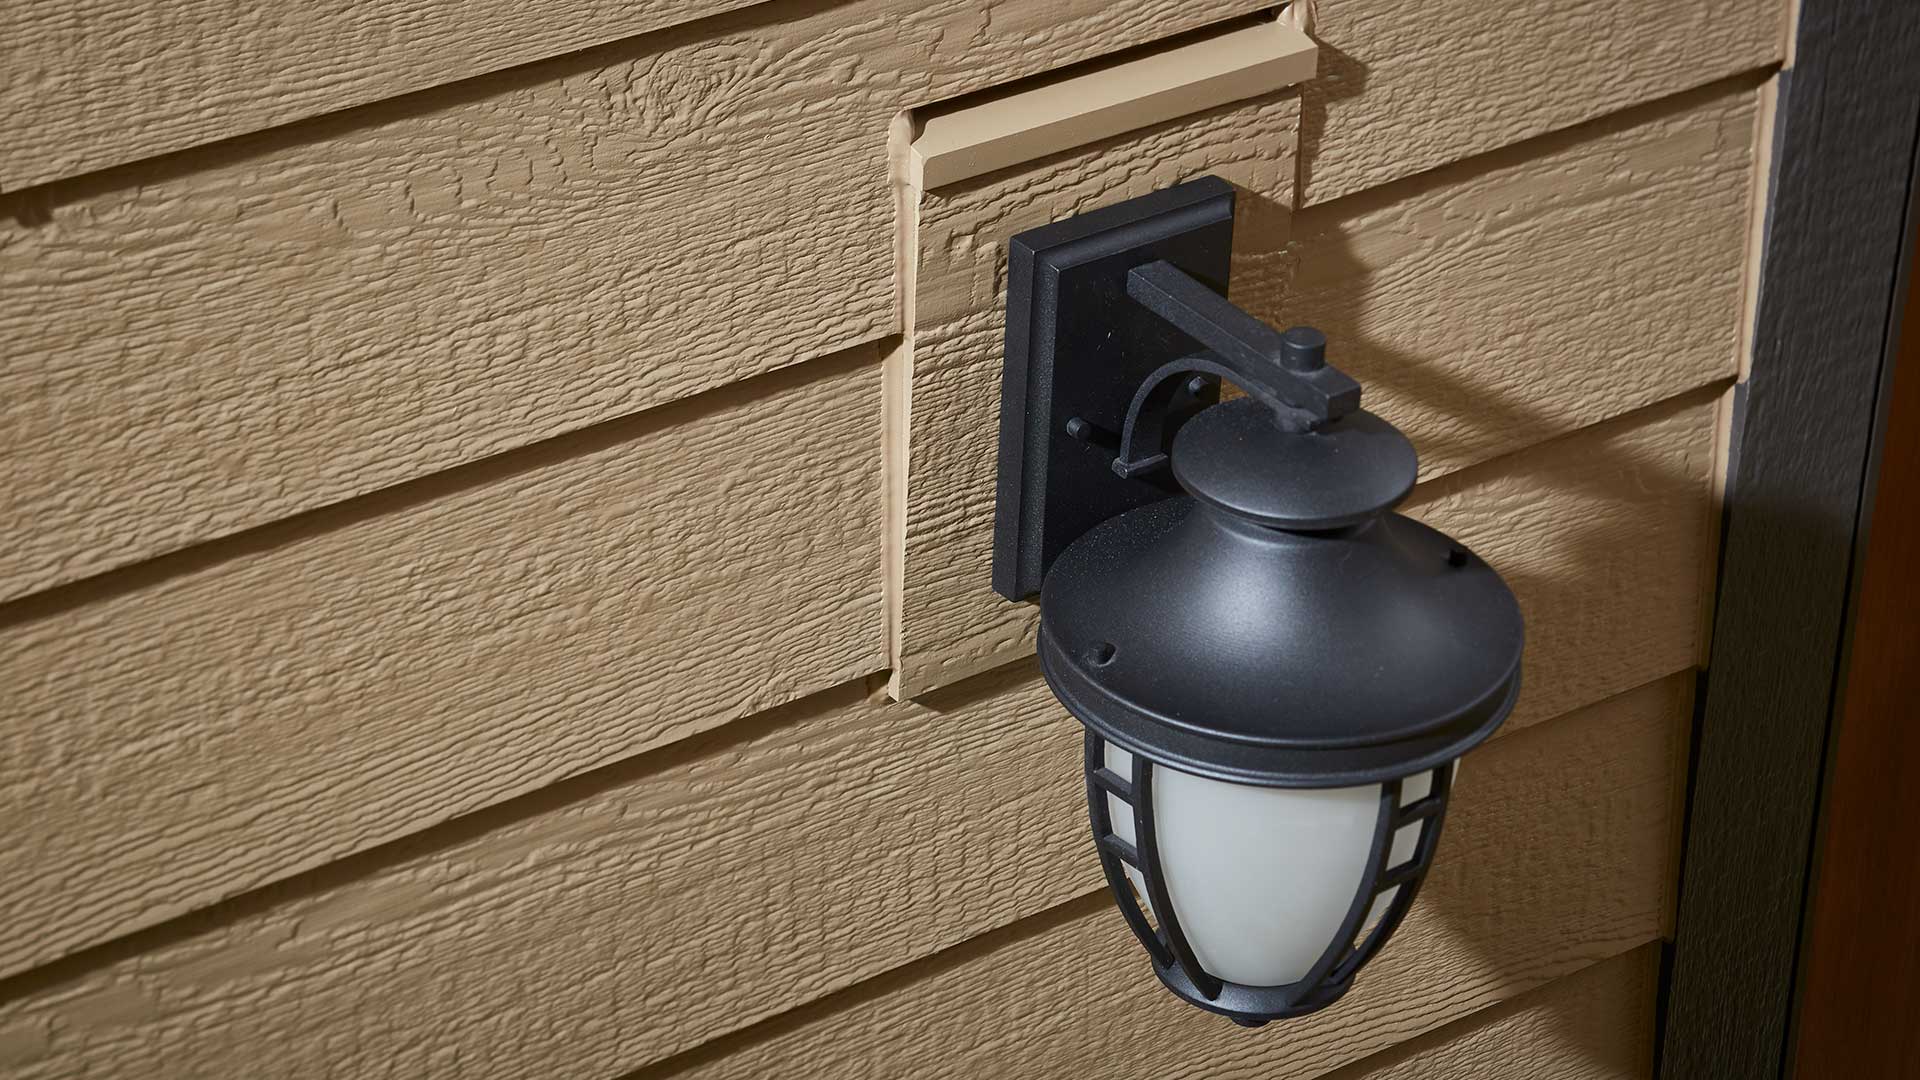
When installing soffit vents over vinyl siding, make sure to use a vent that is designed to fit over the siding and follow the manufacturer’s instructions carefully for proper installation.
Step 3: Cutting Out the Soffit Vent Openings
Once you have measured and marked the locations for the soffit vent openings, the next step in installing soffit vents over vinyl siding is to cut out the vent openings. Follow these steps to accurately cut out the openings:
- Put on safety gear: Before you begin cutting, put on safety glasses and protective gloves to protect yourself from any debris or sharp edges.
- Choose the appropriate tool: Depending on the thickness and type of your vinyl siding, you can use a circular saw or a jigsaw with a fine-tooth blade to cut out the vent openings. Select the tool that best suits your needs.
- Align the cutting tool: Align the cutting tool with the marked lines of the vent openings. Ensure that the tool’s blade is positioned correctly to achieve a smooth and clean cut.
- Start cutting: Turn on the tool and begin cutting along the marked lines. Follow a steady and controlled motion while applying gentle pressure to cut through the vinyl siding. Take your time to ensure precise cuts.
- Remove the cut sections: Once you have completed the cuts, carefully remove the cut sections of the vinyl siding. Be cautious not to damage the surrounding areas of the siding.
- Smooth the edges: Use a utility knife or sandpaper to smooth any rough or jagged edges around the vent openings. This will prevent any snags or potential hazards during the installation.
It is crucial to be careful and take your time when cutting out the soffit vent openings. Properly cut openings will facilitate easy installation and ensure a professional finish for your soffit vents.
Now that you have cut out the vent openings, it’s time to move on and learn how to install the soffit vents properly.
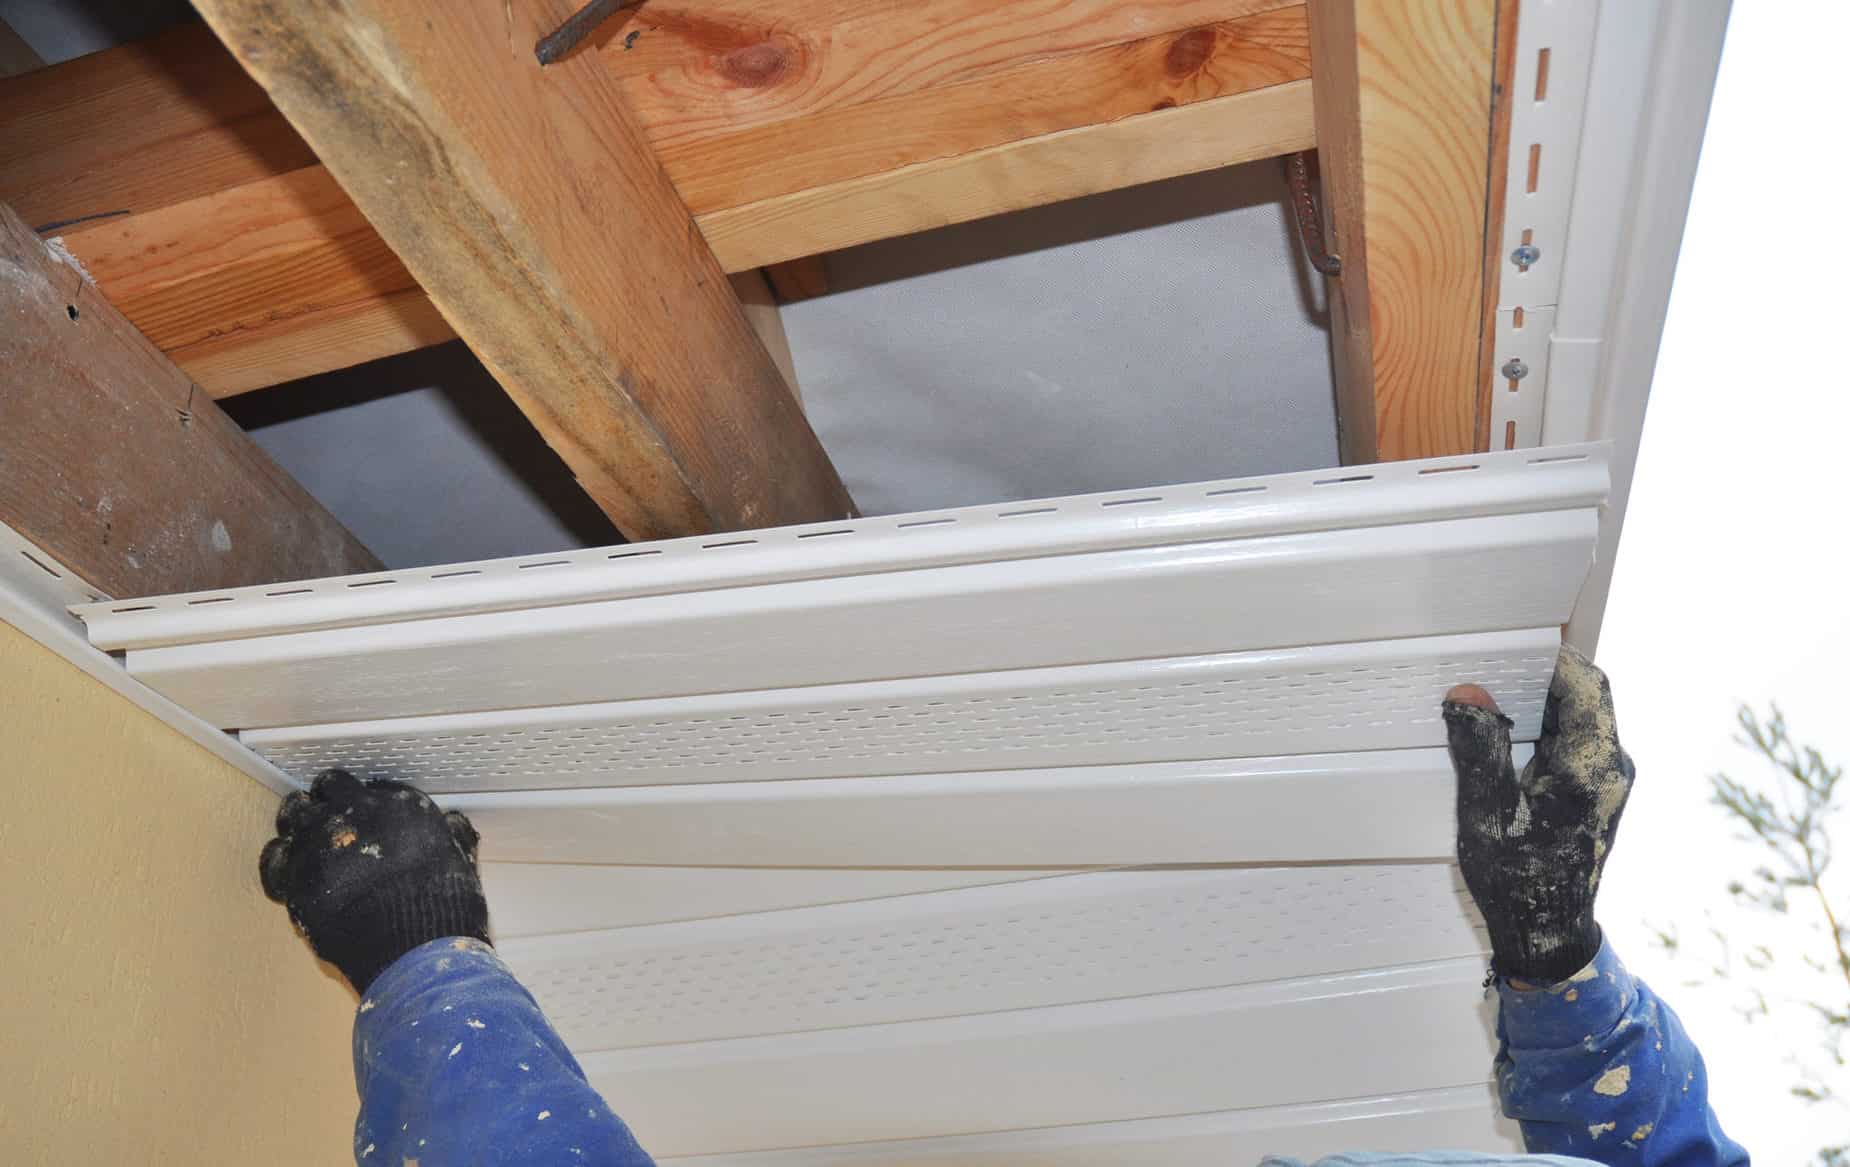
Step 4: Installing the Soffit Vents
With the vent openings cut out, it’s time to move on to the next step: installing the soffit vents. Follow these steps to ensure a proper and secure installation:
- Apply caulk to the back of the vent: Flip over the soffit vent and apply a thin bead of caulk along the back edges. This will help create a watertight seal between the vent and the vinyl siding.
- Position the vent: Align the vent with the corresponding vent opening in the vinyl siding. Make sure the vent is centered and level within the opening.
- Secure the vent: Using screws or nails, secure the soffit vent to the vinyl siding. Start with the top corners and work your way down, ensuring a tight and secure fit. Use the appropriate size and length of fasteners recommended by the manufacturer.
- Repeat for other vent openings: Repeat the process for each vent opening, applying caulk and securing the vents one by one.
During the installation process, remember to take your time and double-check the alignment and levelness of each vent. This will ensure a professional-looking installation and allow for optimal airflow.
With the soffit vents successfully installed, we’re almost done. There’s just one more step remaining: securing the vents and adding the finishing touches.
Step 5: Securing the Vents and Finishing Touches
Now that the soffit vents are installed, the final step is to secure them properly and add the finishing touches. Follow these steps to complete the installation:
- Check for stability: Ensure that each soffit vent is securely fastened to the vinyl siding. Give them a gentle tug to make sure they are stable and properly attached.
- Apply additional caulk: Inspect the edges of the vent where it meets the vinyl siding. If there are any gaps or areas that need sealing, apply additional caulk to ensure a watertight seal.
- Trim any excess material: If there is any excess vinyl siding protruding from around the vent openings, use a utility knife or vinyl snips to carefully trim it away. This will create a clean and polished finish.
- Clean up: Once you have finished securing the vents and trimming any excess material, clean up the work area. Remove any debris or scraps and ensure the surrounding area is neat and tidy.
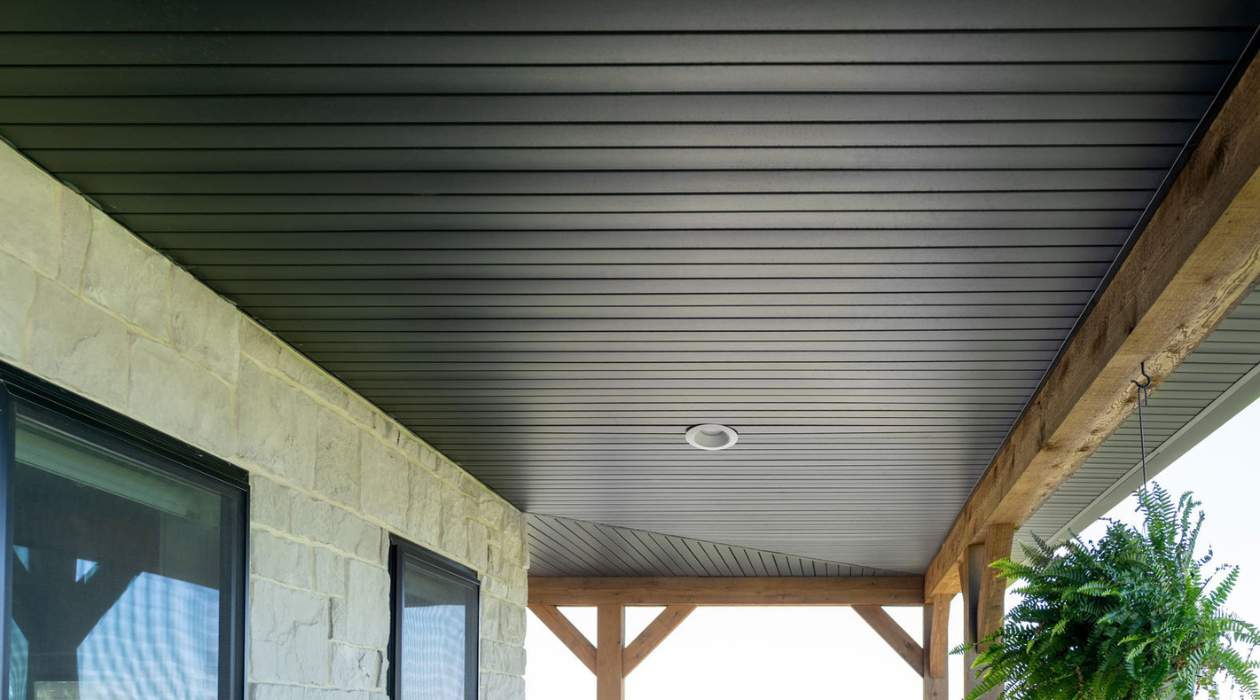
With the soffit vents securely in place and the finishing touches completed, your installation is now complete. Take a step back and admire your work, knowing that you have improved the ventilation of your home and taken steps to prevent moisture-related issues.
It’s essential to periodically inspect the soffit vents and ensure they are clean and free from any blockages or obstructions. This will help maintain proper airflow and ensure their effectiveness in keeping your attic well-ventilated.
Congratulations! You have successfully installed soffit vents over vinyl siding, improving the ventilation of your home and protecting it from potential damage. By following these steps and taking the time to ensure a precise and secure installation, you can enjoy the benefits of a properly ventilated attic for years to come.
If you still have any questions or concerns, it’s always best to consult with a professional or seek guidance from the manufacturer of the soffit vents. They can provide further instructions and recommendations specific to your particular situation.
Thank you for reading this guide, and we hope it has been helpful in your soffit vent installation journey!
Conclusion
Installing soffit vents over vinyl siding is a crucial step in maintaining proper ventilation and preventing moisture-related issues in your home. By following the steps outlined in this guide and taking the time to ensure a precise installation, you can improve the airflow in your attic and protect your home from potential damage.
Throughout the installation process, it’s important to be prepared with the necessary materials and to follow safety precautions. Take your time in preparing the vinyl siding, measuring and marking for installation, cutting out the vent openings, installing the soffit vents, and securing them properly. Double-check your work to ensure accuracy and attention to detail.
Remember to apply caulk for a watertight seal, use the appropriate tools and fasteners, and clean up any excess material. By paying attention to these details, you can achieve a professional-looking installation and optimize the effectiveness of your soffit vents.
Once the installation is complete, regularly inspect and clean the soffit vents to ensure they remain unobstructed and functioning correctly. This will help maintain a healthy and well-ventilated attic space.
If you encounter any challenges or are unsure about any step of the process, it’s always advisable to seek guidance from a professional or consult with the manufacturer of the soffit vents. They can provide specific instructions and recommendations based on your unique situation.
By installing soffit vents over vinyl siding, you are taking proactive steps to improve the overall ventilation of your home and protect it from potential moisture-related issues. Enjoy the peace of mind that comes with knowing you have created a healthier and more comfortable living environment for you and your family.
Thank you for reading this guide, and we hope it has been helpful in your soffit vent installation journey. Here’s to a well-ventilated and well-protected home!
Curious about the perks of handling projects yourself? Our latest guide on DIY projects might just spark your interest in taking up new, exciting home improvement tasks. Also, if updating your home's exterior is on your mind, don't miss out on our roundup of the best vinyl siding for the upcoming year. Both articles are packed with useful tips and trends to keep your living space both functional and stylish.
Frequently Asked Questions about How To Install Soffit Vents Over Vinyl Siding
Was this page helpful?
At Storables.com, we guarantee accurate and reliable information. Our content, validated by Expert Board Contributors, is crafted following stringent Editorial Policies. We're committed to providing you with well-researched, expert-backed insights for all your informational needs.


0 thoughts on “How To Install Soffit Vents Over Vinyl Siding”