Home>Gardening & Outdoor>Outdoor Structures>How To Put Siding On A Shed
Outdoor Structures
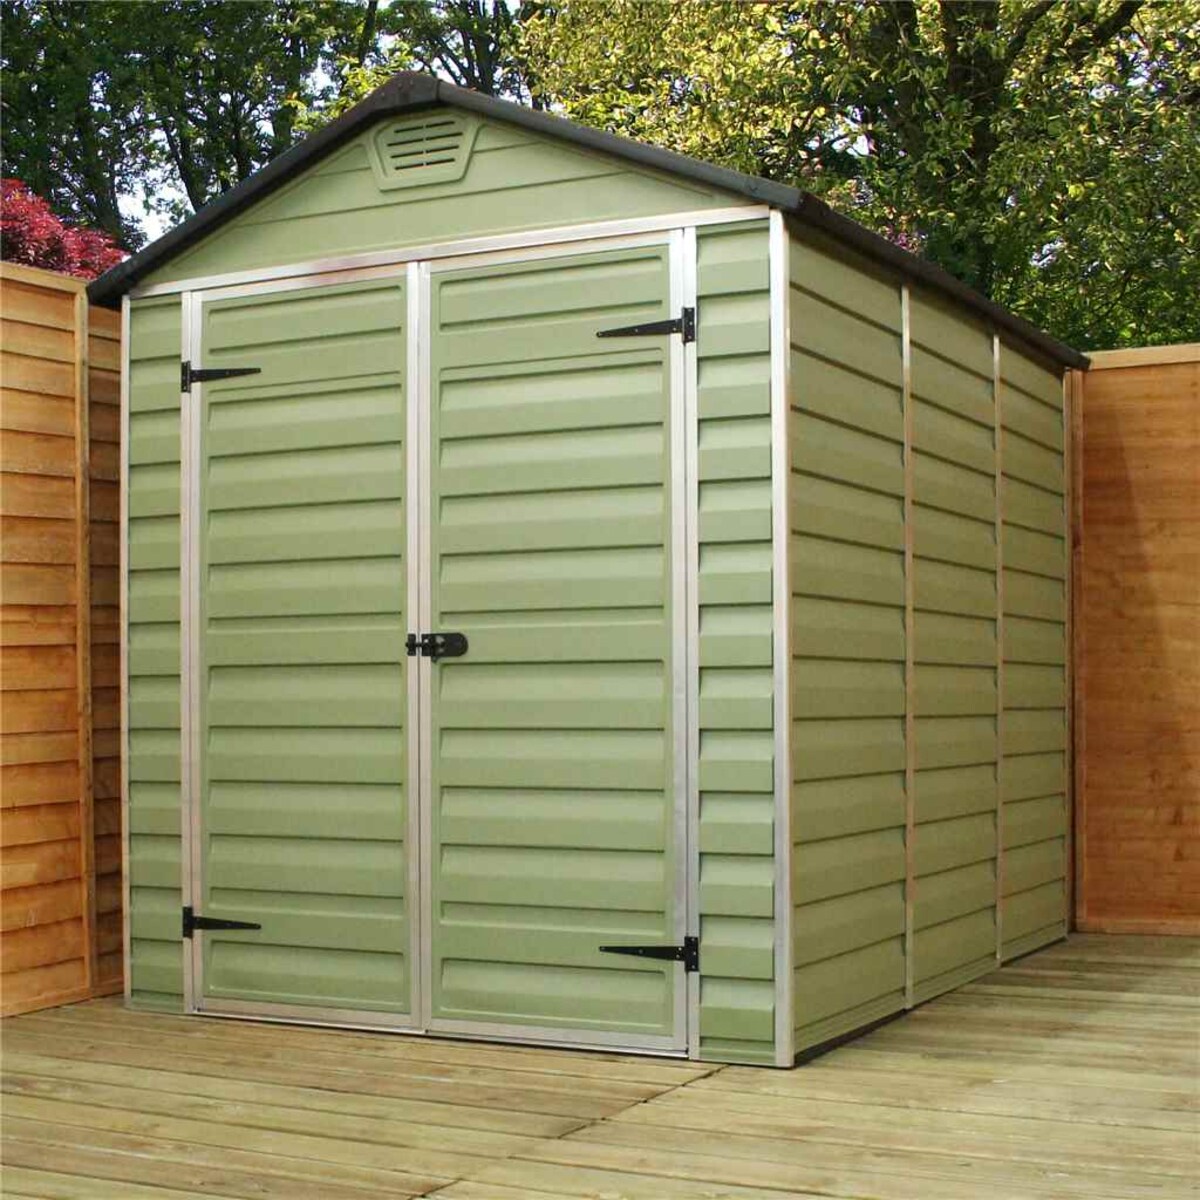
How To Put Siding On A Shed
Modified: February 18, 2024
Learn how to put siding on a shed and enhance its durability and aesthetics with our expert tips for outdoor structures. Whether it's wood, vinyl, or metal siding, we've got you covered!
(Many of the links in this article redirect to a specific reviewed product. Your purchase of these products through affiliate links helps to generate commission for Storables.com, at no extra cost. Learn more)
Introduction
Welcome to the world of outdoor structures, where sheds stand as a testament to functionality and aesthetics. Adding siding to a shed not only enhances its visual appeal but also provides protection against the elements. Whether you’re a seasoned DIY enthusiast or a first-time shed owner, learning how to put siding on a shed is a valuable skill that can elevate the look and longevity of your outdoor space.
As we delve into this comprehensive guide, you’ll discover the step-by-step process of transforming your shed with beautiful and durable siding. From gathering the necessary materials and tools to the finishing touches, each stage is crucial in ensuring a successful siding installation. By the end of this journey, you’ll have the confidence and know-how to tackle this project with precision and finesse.
So, roll up your sleeves, gather your tools, and let’s embark on this fulfilling venture to elevate the charm and resilience of your beloved shed.
Key Takeaways:
- Transform your shed with beautiful and durable siding by following a step-by-step guide. From gathering materials to adding finishing touches, elevate your outdoor space with confidence and precision.
- Embrace the art of siding installation to enhance your shed’s visual appeal and resilience. Meticulously prepare, install, and finish to create a stunning and enduring outdoor centerpiece.
Read more: How To Install Siding On A Shed
Step 1: Gather Materials and Tools
Before diving into the siding installation process, it’s essential to gather all the necessary materials and tools to ensure a smooth and efficient workflow. Here’s a comprehensive list of items you’ll need:
Materials:
- Siding panels
- Starter strip
- Nails or screws
- Trim pieces
- Flashing (if required)
- Caulk
- Primer and paint (if painting the siding)
Tools:
- Tape measure
- Level
- Hammer or screw gun
- Saw (for cutting siding to size)
- Nail punch
- Caulking gun
- Safety goggles
- Work gloves
By ensuring you have all the necessary materials and tools on hand, you’ll be well-prepared to commence the siding installation process without interruptions. It’s also prudent to double-check the shed’s exterior for any existing damage or areas that may require repair before proceeding with the installation.
Now that you’re equipped with the essential elements for the project, let’s move on to the next step: preparing the shed for the siding installation.
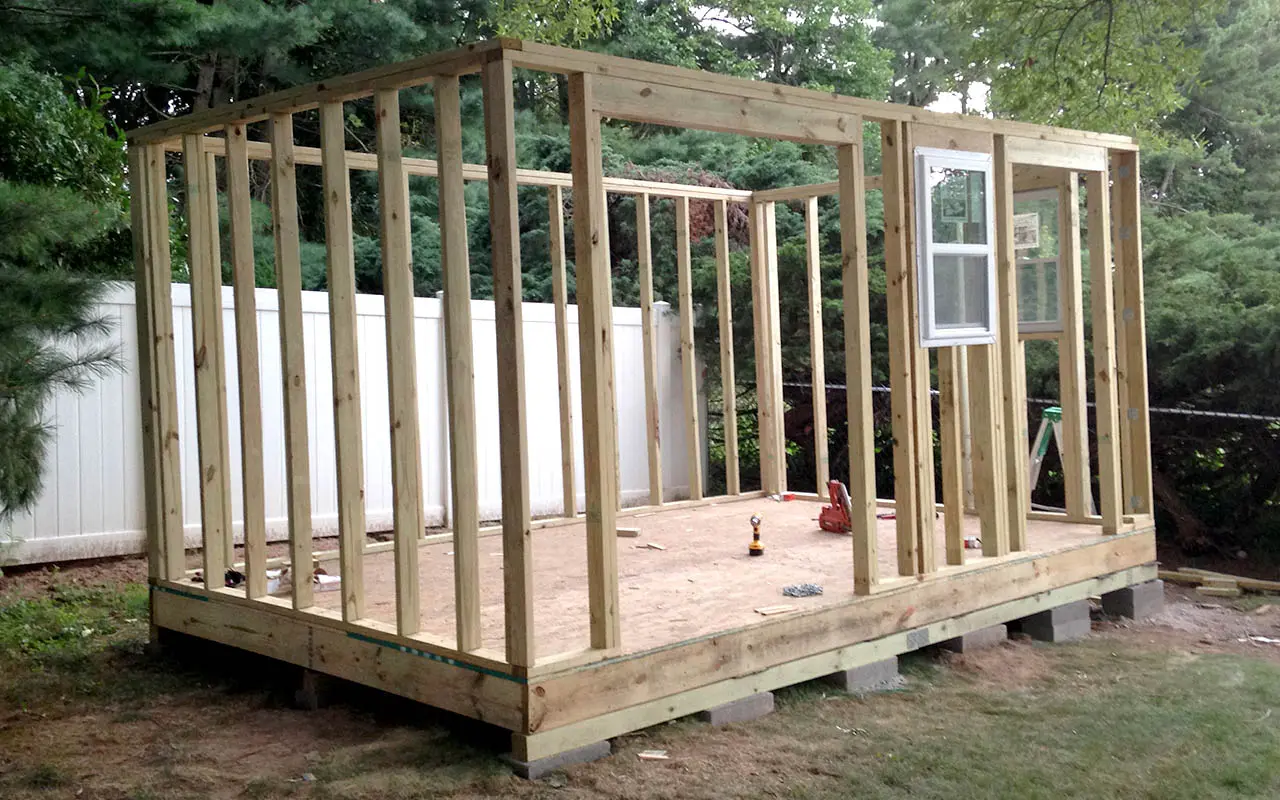
Step 2: Prepare the Shed
Preparing the shed before installing the siding is a critical phase that sets the foundation for a successful and enduring outcome. Here’s a detailed guide on how to prepare the shed for the siding installation:
Read more: How To Put Gutters On A Shed
Inspect the Exterior:
Before proceeding, carefully inspect the shed’s exterior for any signs of damage, rot, or mold. Addressing these issues beforehand will ensure a solid and stable base for the siding installation.
Clean the Surface:
Thoroughly clean the exterior surface of the shed to remove dirt, debris, and any existing paint or finish. A pressure washer can be a valuable tool for this task, effectively prepping the surface for the new siding.
Repair and Replace:
Repair any damaged areas and replace any rotted or compromised sections of the shed. Ensuring that the underlying structure is in optimal condition is vital for the longevity and stability of the new siding.
Apply Primer (if necessary):
If you’re using unpainted siding, applying a primer to the shed’s exterior can enhance the adhesion and longevity of the siding. Follow the manufacturer’s guidelines for the appropriate primer application.
Read more: How To Put A Window In A Shed
Install House Wrap (optional):
Consider installing a house wrap, such as Tyvek, to provide an additional layer of protection against moisture and drafts. This step is particularly beneficial if your shed is located in an area prone to harsh weather conditions.
By meticulously preparing the shed for the siding installation, you’re laying the groundwork for a seamless and resilient transformation. With the shed primed and ready, you’re now poised to move forward with installing the starter strip, the first pivotal step in the siding installation process.
Step 3: Install the Starter Strip
With the shed primed and prepared, it’s time to initiate the siding installation process by installing the starter strip. This crucial element serves as the foundation for the siding panels, ensuring a secure and visually appealing outcome. Here’s a detailed guide on how to install the starter strip:
Measure and Cut:
Using a tape measure, carefully measure the bottom perimeter of the shed to determine the length of the starter strip needed. Use a saw to precisely cut the starter strip to the required dimensions.
Positioning:
Position the starter strip at the bottom of the shed, ensuring that it is level and aligned with the shed’s base. The starter strip provides a secure anchor for the first row of siding panels.
Read more: How To Put Skids On A Shed
Secure in Place:
Using nails or screws, secure the starter strip along the bottom of the shed. Be sure to space the fasteners according to the manufacturer’s recommendations, ensuring a firm and even attachment.
Overlap and Trim:
If your shed has corners or edges where the siding will overlap, ensure that the starter strip is appropriately trimmed to accommodate these areas. This meticulous approach sets the stage for a seamless and professional-looking siding installation.
Inspect for Stability:
Once the starter strip is in place, carefully inspect the installation to ensure that it is stable, level, and securely affixed to the shed. This step is crucial in laying a solid groundwork for the subsequent siding panels.
By meticulously installing the starter strip, you’ve established a sturdy and level foundation for the siding panels, setting the stage for the next pivotal step: installing the first row of siding. With the starter strip securely in place, you’re now ready to embark on the transformative process of adding siding to your shed.
Step 4: Install the First Row of Siding
As the foundation is set with the starter strip in place, it’s time to embark on the exciting phase of installing the first row of siding. This step marks the beginning of the shed’s visual transformation, and attention to detail is paramount. Here’s a comprehensive guide on how to install the first row of siding:
Read more: How To Install Metal Siding On A Shed
Align and Position:
Carefully align the first siding panel with the starter strip, ensuring that it is level and positioned according to the manufacturer’s guidelines. Precision in this step will set the tone for a uniform and polished siding installation.
Read more: How To Put Skids On A Shed
Secure in Place:
Using nails or screws, secure the first siding panel to the shed, ensuring that it is firmly anchored and aligned with the starter strip. Adhering to the recommended fastening pattern will contribute to the structural integrity and visual appeal of the siding.
Interlock the Panels:
If your siding panels feature interlocking edges, ensure that each subsequent panel seamlessly interlocks with the preceding one. This creates a cohesive and weather-resistant barrier, enhancing the shed’s durability and aesthetic appeal.
Trim to Fit:
As you approach corners, windows, or doors, accurately measure and trim the siding panels to fit these specific areas. Precision in these cuts will result in a professional and tailored finish, elevating the overall appearance of the shed.
Read more: How To Put Together A Rubbermaid Shed
Inspect and Adjust:
After installing the first row of siding, meticulously inspect the alignment, levelness, and overall appearance of the panels. Make any necessary adjustments to ensure a flawless and uniform installation.
With the first row of siding securely in place, the visual impact of the transformation is already evident. The shed is on its way to a remarkable rejuvenation, and the subsequent steps will further enhance its allure and resilience. With the first row installed, it’s time to continue the siding installation process, building upon this solid foundation to achieve a stunning and enduring result.
Step 5: Continue Installing Siding
With the first row of siding elegantly adorning the shed, it’s time to continue the installation process, building upon the foundation that has been meticulously established. This phase involves seamlessly integrating additional siding panels to envelop the shed in a protective and visually captivating exterior. Here’s a comprehensive guide on how to continue installing siding:
Align and Secure:
Carefully align each subsequent siding panel with the preceding one, ensuring a snug and uniform fit. Secure the panels in place using the recommended fastening method, maintaining a consistent and visually pleasing installation pattern.
Overlapping and Interlocking:
As you progress, pay attention to overlapping and interlocking the siding panels to create a seamless and weather-resistant barrier. This meticulous approach enhances the shed’s resilience and elevates its aesthetic appeal.
Read more: What To Put On Sides Of Fireplace
Trim and Customize:
When encountering corners, edges, or architectural features, meticulously measure and trim the siding panels to accommodate these areas. Customizing the panels with precision and care contributes to a polished and professional finish.
Read more: How To Put Together A Rubbermaid Shed
Inspect and Adjust:
After installing each set of siding panels, thoroughly inspect the alignment, levelness, and overall appearance. Make any necessary adjustments to ensure a flawless and harmonious integration of the siding.
Attention to Detail:
Throughout this phase, maintain a keen eye for detail, ensuring that each siding panel is seamlessly integrated with its counterparts. This dedication to precision will result in a cohesive and visually striking exterior for the shed.
As you continue to install the siding, the shed’s transformation becomes increasingly tangible, with each panel contributing to its enhanced allure and durability. With each step, you’re inching closer to the culmination of this project, where the shed will stand as a testament to meticulous craftsmanship and enduring beauty.
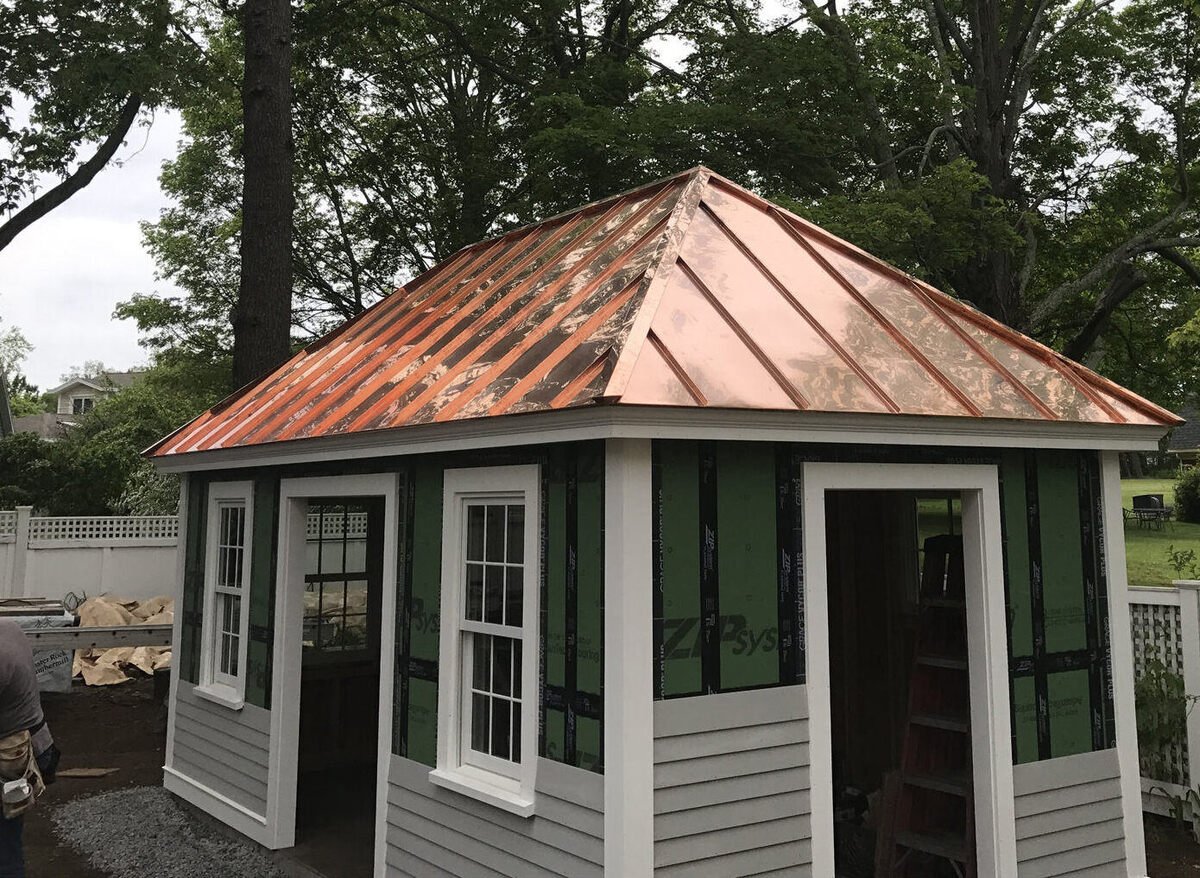
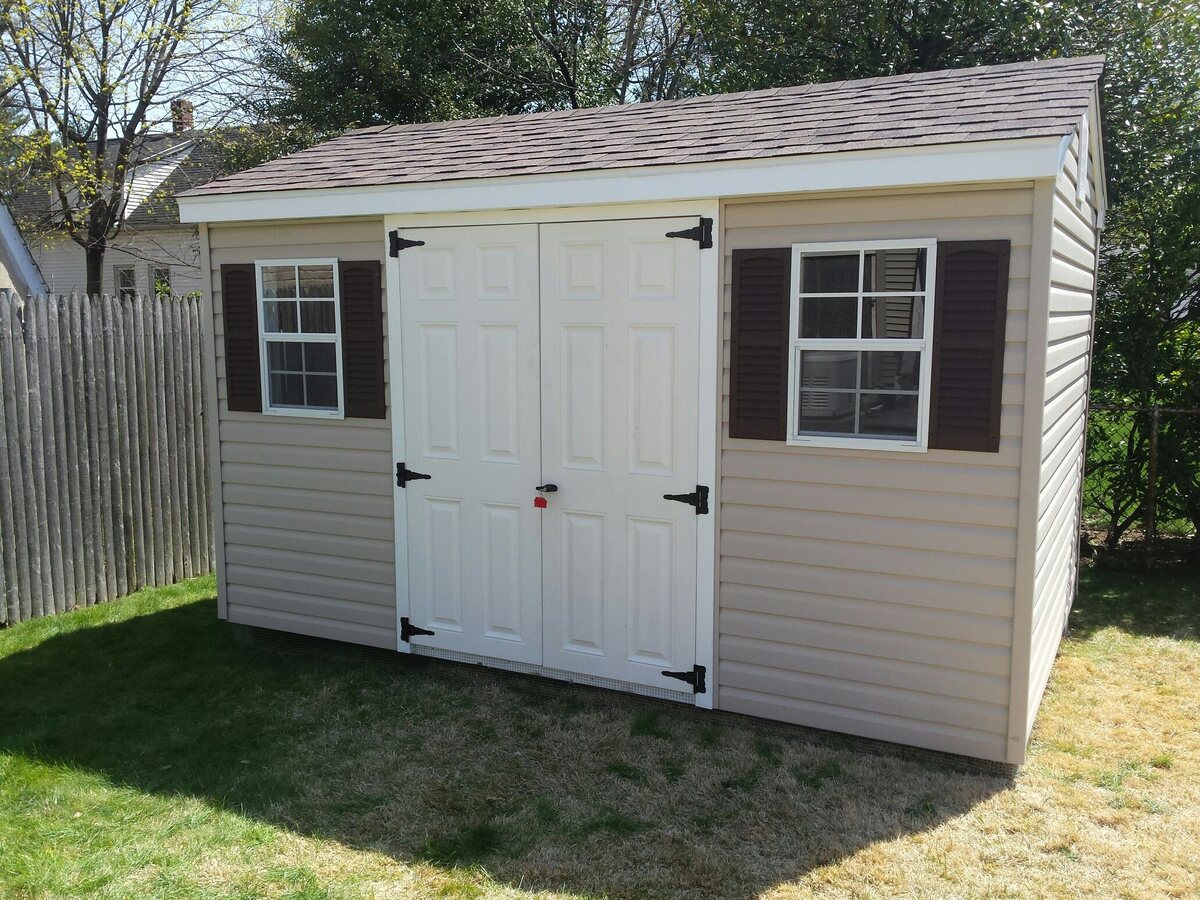
Step 6: Trim and Finish
As the siding installation nears completion, the focus shifts to the essential details that will elevate the shed’s exterior from functional to truly captivating. The trim and finishing touches play a pivotal role in refining the overall aesthetics and ensuring a cohesive and polished appearance. Here’s a comprehensive guide on how to trim and finish the siding installation:
Read more: How To Put Air Vents In A Shed
Trimming Corners and Edges:
Carefully measure, cut, and install trim pieces to neatly frame the corners and edges of the shed. This meticulous step adds a touch of sophistication and ensures a seamless transition between siding panels.
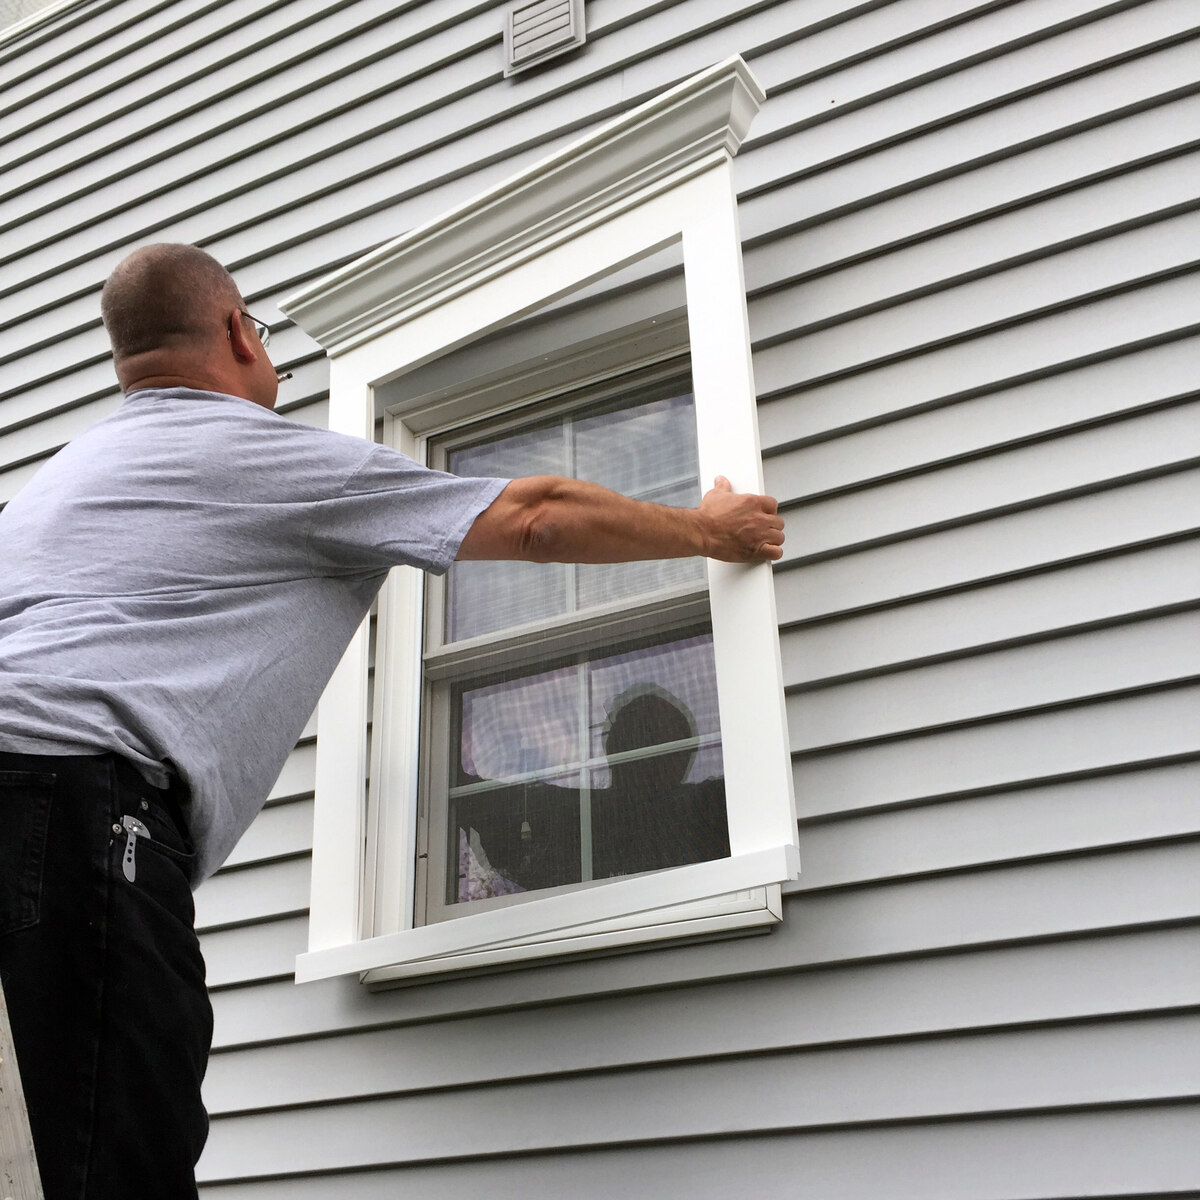
Window and Door Casings:
Install trim around windows and doors, creating a visually appealing and structurally sound framework. This enhances the shed’s architectural charm and provides a polished and professional finish.
Caulking and Sealing:
Apply caulk to seal gaps and joints, safeguarding the shed against moisture and drafts. This step contributes to the weatherproofing and longevity of the siding installation, ensuring enduring protection for the shed’s exterior.
Paint or Stain (if desired):
If you’ve opted for unpainted siding, consider applying a coat of high-quality paint or stain to enhance the shed’s visual appeal and provide an additional layer of protection. Select a color that complements the surrounding landscape and adds character to the outdoor space.
Read more: How To Put Felt On A Shed Roof
Final Inspection:
Thoroughly inspect the entire siding installation, paying close attention to the trim, caulk, and overall appearance. Make any necessary adjustments to ensure that every detail is impeccably executed, resulting in a flawless and captivating exterior for the shed.
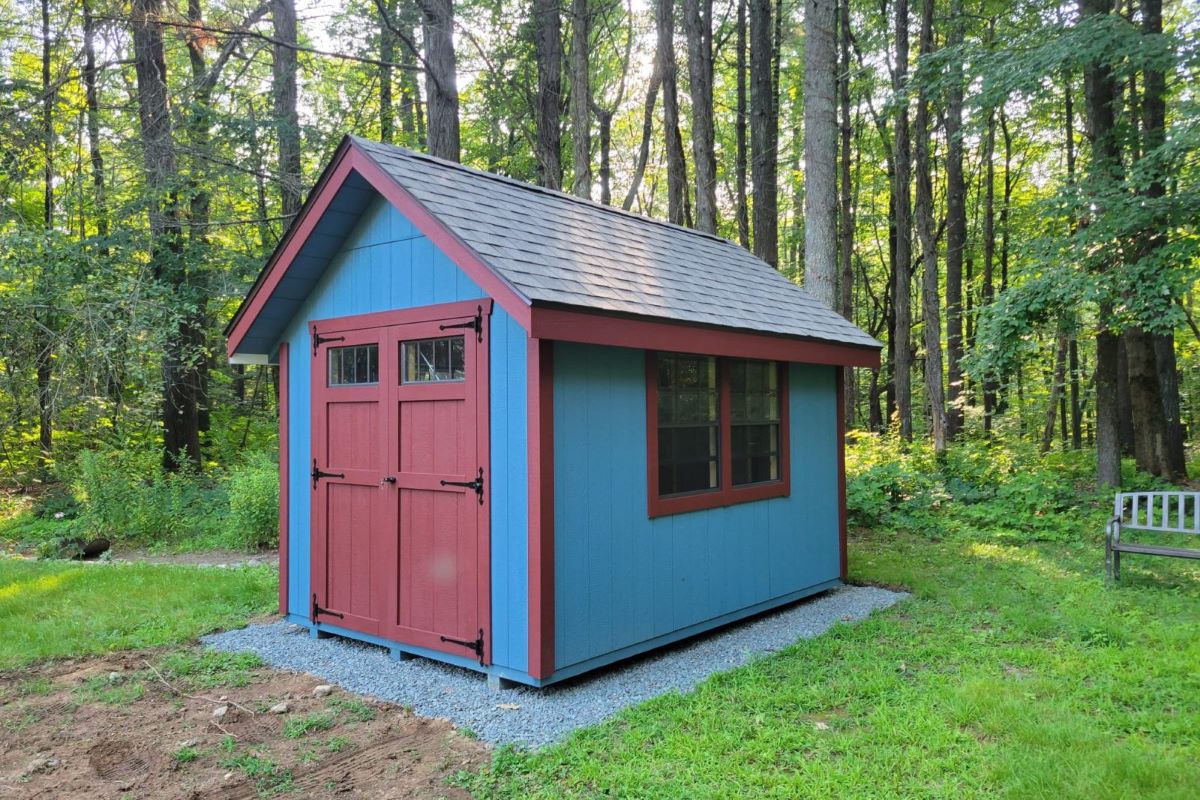
With the trim meticulously installed and the finishing touches applied, the shed’s exterior undergoes a remarkable metamorphosis, exuding charm, resilience, and timeless elegance. The culmination of this step signifies the fulfillment of a transformative journey, where meticulous attention to detail has yielded a stunning and enduring enhancement to the outdoor space.
Conclusion
Congratulations on completing the transformative journey of adding siding to your shed! Through meticulous preparation, precise installation, and thoughtful finishing touches, you’ve elevated the shed’s exterior from a functional structure to a visually captivating and resilient outdoor centerpiece.
By following the step-by-step guide, you’ve gained valuable insights into the art of siding installation, mastering the nuances of aligning, securing, and customizing panels to create a seamless and enduring exterior. The attention to detail in trimming, caulking, and finishing has culminated in a polished and professional outcome, showcasing your dedication to craftsmanship and aesthetics.
As you admire the shed’s rejuvenated facade, take pride in the enduring protection and timeless allure that the siding provides. The shed now stands as a testament to your commitment to enhancing your outdoor space, offering both visual appeal and steadfast resilience against the elements.
Embrace this achievement as a testament to your DIY prowess and creative vision. The journey of adding siding to your shed has not only enhanced its exterior but has also enriched your skill set and confidence in undertaking future outdoor projects.
Whether you’re admiring the shed from a distance or reveling in the pride of a completed project, this endeavor embodies the essence of craftsmanship, creativity, and the transformative power of dedicated effort.
As you continue to infuse your outdoor space with your unique touch, may the shed’s revitalized exterior serve as a source of inspiration and a reminder of the remarkable results that unfold when passion meets skill.
With the shed now boasting a captivating and enduring exterior, your outdoor space has been enriched with a touch of timeless charm and functional elegance, a testament to your dedication to creating an inviting and enduring environment.
Frequently Asked Questions about How To Put Siding On A Shed
Was this page helpful?
At Storables.com, we guarantee accurate and reliable information. Our content, validated by Expert Board Contributors, is crafted following stringent Editorial Policies. We're committed to providing you with well-researched, expert-backed insights for all your informational needs.
0 thoughts on “How To Put Siding On A Shed”