Home>Dining>Table Decor>How To Collapse Lifestyle Table Legs
Table Decor
How To Collapse Lifestyle Table Legs
Modified: December 7, 2023
Learn how to collapse table legs and transform your lifestyle with stylish table decor. Enhance your space with versatile and functional furniture.
(Many of the links in this article redirect to a specific reviewed product. Your purchase of these products through affiliate links helps to generate commission for Storables.com, at no extra cost. Learn more)
Introduction
Welcome to the world of table decor! In this article, we will delve into the fascinating topic of table legs and learn how to collapse them to enhance our lifestyle. Whether you’re planning a move, need to save space, or simply want to change up the look of your table, understanding how to collapse table legs can be a valuable skill.
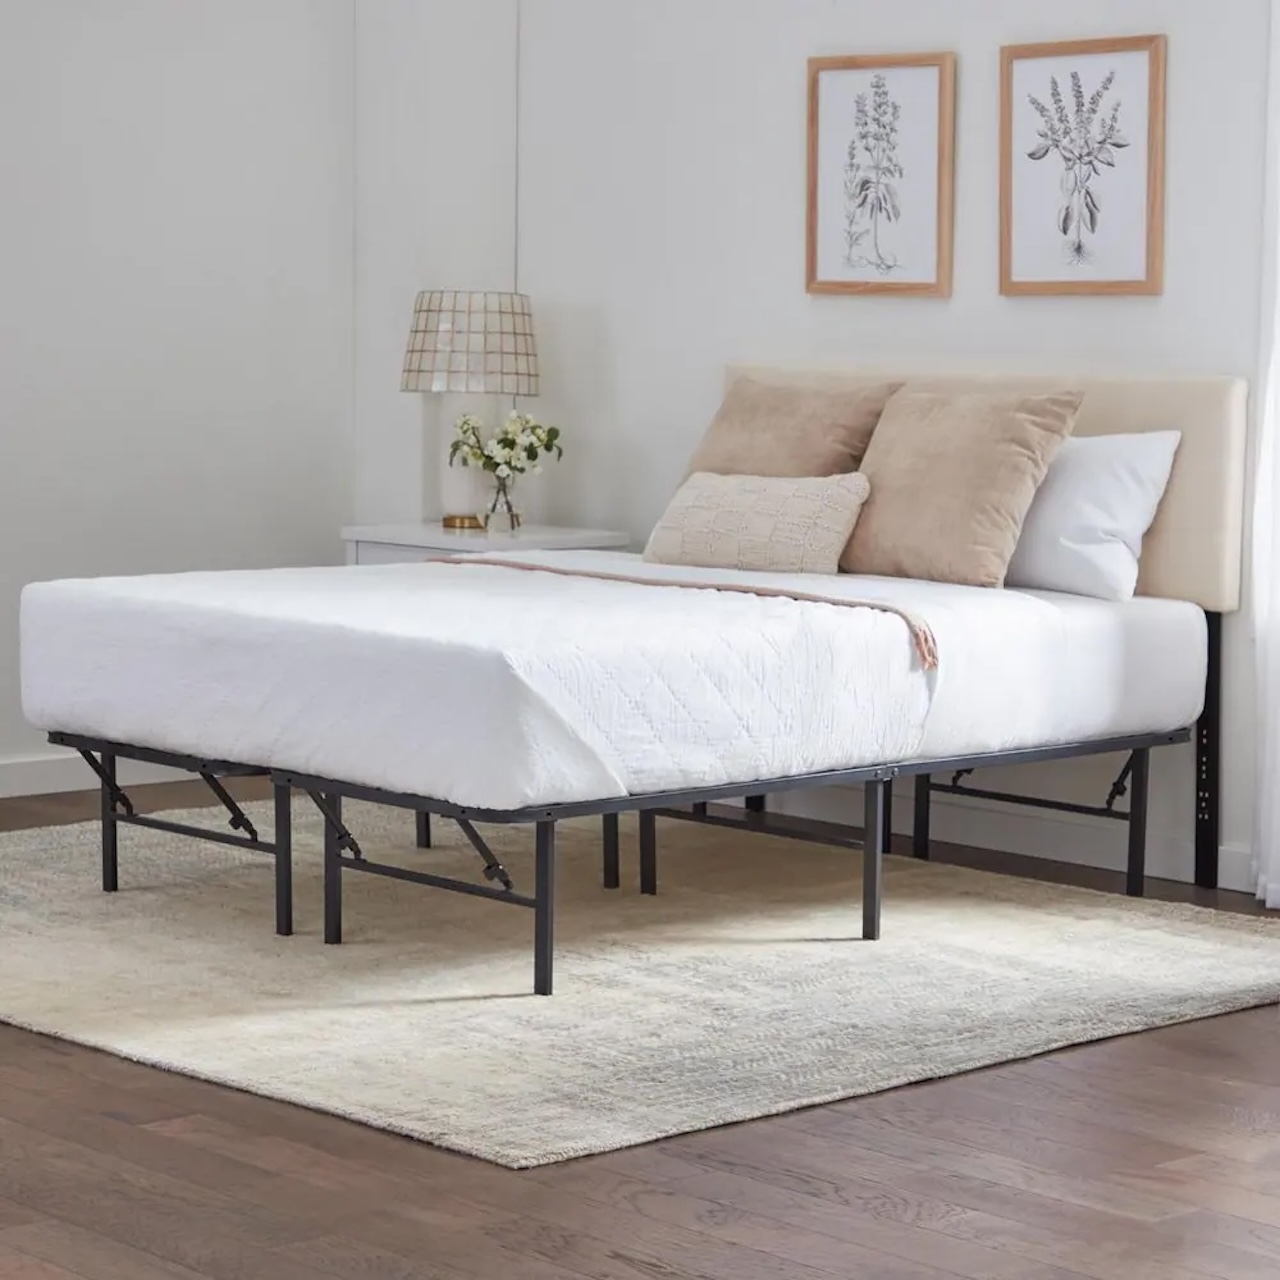
Collapsible table legs offer a practical solution for those seeking versatility and convenience. They allow you to transform a full-sized table into a more compact and portable form, making it easier to transport or store when not in use. Plus, collapsing table legs can also be aesthetically pleasing, giving your table a sleek and modern look.
In this step-by-step guide, we will walk you through the process of collapsing table legs. From gathering the necessary tools to securely storing the legs, we will cover all the essential aspects to ensure a seamless experience. So, let’s dive in and unlock the secrets of table leg collapse!
Key Takeaways:
- Master the art of collapsing table legs to enhance versatility, save space, and update your table decor. Follow the step-by-step guide to gather tools, engage release mechanisms, and secure and store collapsed legs for a seamless experience.
- Embrace the convenience and modern touch of collapsible table legs. Prioritize safety, stability, and proper storage to protect and extend the lifespan of your collapsed table legs. Enjoy the newfound flexibility they bring to your lifestyle!
Read more: How To Make Coffee Table Legs
Step 1: Gather the necessary tools
Before you begin collapsing your table legs, it’s important to gather the necessary tools to ensure a smooth and efficient process. Here are the essential tools you will need:
- Adjustable wrench or screwdriver: Depending on the type of table legs you have, you may need an adjustable wrench or screwdriver to loosen and tighten any screws or bolts.
- Lubricant: If your table legs have been in use for a while and are stiff or difficult to collapse, a lubricant can help ease the process. Be sure to choose a lubricant appropriate for the material of your table legs (e.g., metal, wood).
- Protective gloves: To protect your hands from any sharp edges or potential injuries during the collapsing process, it’s recommended to wear a pair of protective gloves.
- Clean cloth: A clean cloth can come in handy for wiping down any dirt or debris on the table legs, ensuring they collapse smoothly.
Now that you have gathered these essential tools, you are ready to move on to the next step.
Step 2: Prepare the workspace
Creating a suitable workspace is crucial to ensure a safe and efficient process when collapsing your table legs. Follow these steps to prepare your workspace:
- Clear the area: Remove any items or obstacles around the table to provide ample space for maneuvering and collapsing the legs.
- Cover the floor: Place a protective covering, such as a thick blanket or drop cloth, on the floor to prevent any scratches or damages to the table legs or the surface below.
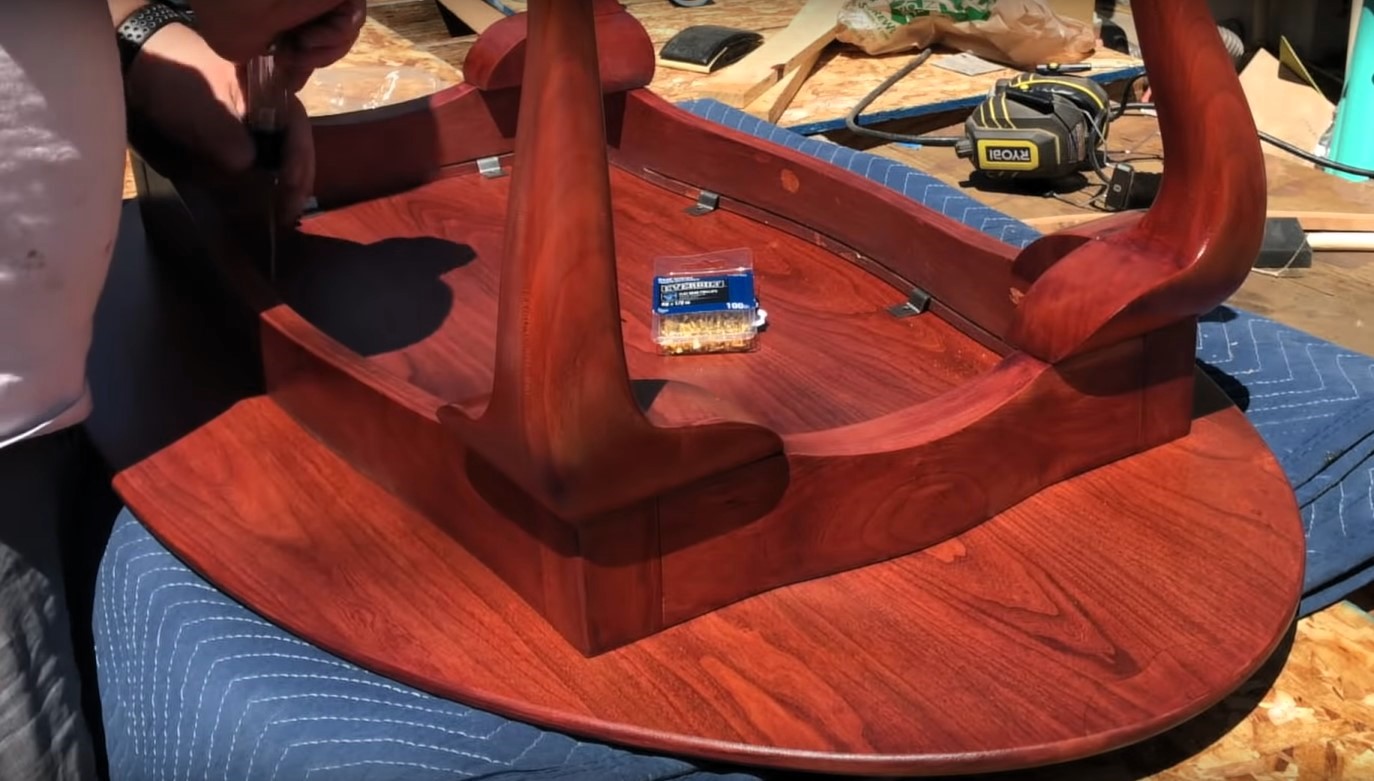
- Position the table: Lay the table on its side or upside down, depending on the design and structure of the table legs. Ensure it is secure and stable before proceeding.
- Find a sturdy support: If the table legs are long or heavy, you may need additional support to prevent any accidental collapses. Consider using sturdy objects such as books or wooden blocks underneath the table.
By preparing your workspace properly, you create a safe and organized environment for collapsing the table legs. This will help prevent any accidents or damages and streamline the process.
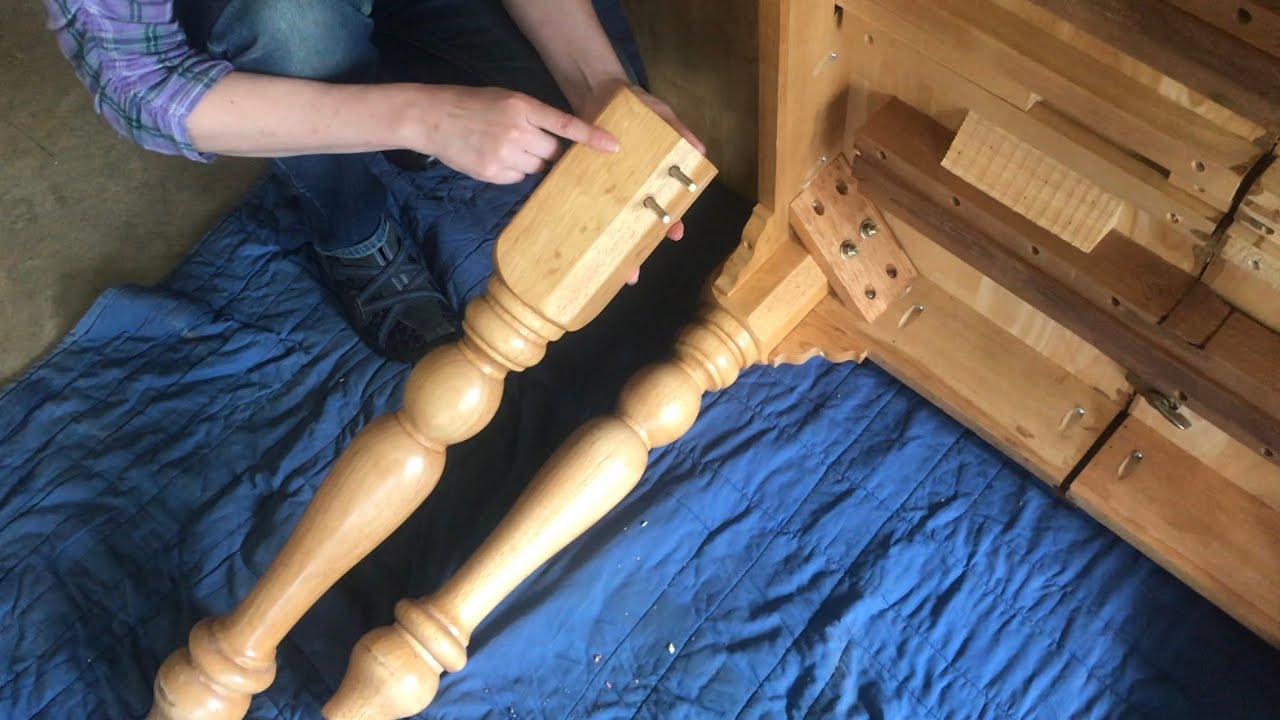
Step 3: Locate the release mechanism
Next, it’s time to locate the release mechanism of your table legs. The release mechanism is the key component that allows you to collapse and extend the legs easily. Here are some common types of release mechanisms:
- Lever or latch system: Some table legs have a lever or latch system that needs to be engaged to release or lock the legs in place. Look for a lever or latch mechanism located near the joints of the legs.
- Screw or bolt system: Other table legs may use a screw or bolt system to secure the legs. In this case, you will need to locate the screws or bolts that hold the legs in place.
- Spring-loaded system: Certain table legs have a spring-loaded mechanism that automatically locks or unlocks when pressure is applied. Look for any visible springs or buttons on the legs.
Once you have identified the type of release mechanism your table legs have, familiarize yourself with how it operates. Take note of any specific steps or actions required to engage or disengage the mechanism.
Remember, each table leg design can vary, so it’s important to refer to the manufacturer’s instructions if available. They may provide specific guidance on locating and operating the release mechanism for your particular table legs.
Now that you have located the release mechanism, you are one step closer to collapsing your table legs. Let’s move on to the next step to learn how to engage the mechanism effectively.
Step 4: Engage the release mechanism
Now that you have located the release mechanism of your table legs, it’s time to engage it to begin collapsing the legs. Follow these steps to ensure a smooth process:
- If your table legs have a lever or latch system, determine the correct position for releasing the legs. This could involve lifting or pressing down on the lever or latch to disengage the lock.
- If your table legs use a screw or bolt system, use the appropriate tool (such as an adjustable wrench or screwdriver) to loosen the screws or bolts. Turn them counterclockwise to release the legs.
- If your table legs have a spring-loaded system, apply pressure to the designated area or button to release the lock. This may require pressing, pushing, or pulling depending on the design of the mechanism.
As you engage the release mechanism, pay close attention to any resistance or difficulties you may encounter. If the legs are stubborn or refuse to release, try using a lubricant to ease the process.
Once the release mechanism is engaged, you should feel or see the legs becoming loose or disconnecting from the locking position. This indicates that the legs are now ready to collapse.
Remember to proceed with caution and follow the manufacturer’s guidelines if available, as different table leg designs may require specific actions or additional steps to engage the release mechanism.
Now that you have successfully engaged the release mechanism, it’s time to move on to the next step to ensure the stability of the collapsed table legs.
When collapsing table legs, always make sure to follow the manufacturer’s instructions to avoid damaging the table or injuring yourself. Double-check that all locking mechanisms are secure before using the table.
Read more: How Tall Are Dining Table Legs
Step 5: Secure the table legs
After successfully engaging the release mechanism and collapsing the table legs, it’s important to secure them to ensure stability. Follow these steps to securely hold the collapsed legs in place:
- Look for any built-in locking mechanisms: Some table legs have built-in locking mechanisms that automatically secure the collapsed position. Check if your table legs have this feature and ensure it is engaged.
- If there are no built-in locks, use straps or fasteners: In the absence of built-in locks, you can use straps or fasteners to hold the collapsed legs together. Secure them tightly around the legs to prevent any accidental extensions.
- If the table has detachable legs, store them separately: In the case of detachable legs, it’s best to store them in a secure place to prevent loss or damage. Label or store them with care, ensuring they are easily accessible when needed.
- Perform stability checks: Once you have secured the collapsed legs, perform stability checks by gently shaking or moving the table. If the legs remain stable and firmly in place, you can proceed to the next step. However, if you notice any wobbling or instability, double-check the security of the collapsed legs and make any necessary adjustments.
By following these steps, you can ensure that the collapsed table legs are securely held in place. This will help prevent any accidental extensions or collapses, providing safety and peace of mind when moving or storing the table.
Now that you have secured the collapsed table legs, let’s move on to the next step to learn how to store them properly.
Step 6: Test stability
After securing the collapsed table legs, it’s essential to test their stability before proceeding. Testing the stability ensures that the table remains steady and safe to use. Here’s how you can test the stability of the collapsed table legs:
- Place the table on a flat and even surface: Find a suitable area where you can safely test the stability of the collapsed table legs. Make sure the surface is level to get accurate results.
- Gently apply pressure to different areas of the table: With caution, press down on different areas of the table’s surface. This will help you identify any potential weak spots or wobbling in the legs.
- Observe any movement or instability: Pay close attention to any movement or instability in the table legs. If you notice excessive shaking or wobbling, it indicates that the collapsed legs may not be securely locked or fastened.
- Make necessary adjustments: If you observe any issues with stability, carefully inspect the collapsed legs and review the previous steps. Make any necessary adjustments, such as tightening straps or fasteners, or re-engaging the release mechanism.
- Re-test stability: Once you have made the necessary adjustments, repeat the stability test. Ensure that the table remains steady and secure, even with slight pressure or movement.
It’s crucial to thoroughly test the stability of the collapsed table legs to avoid any potential accidents or injury. Taking the time to perform this step will provide you with confidence in the safety and reliability of the table.
If you encounter persistent stability issues despite your efforts, it’s recommended to consult the manufacturer or a professional for further guidance or repairs.
Now that you have tested the stability of the collapsed table legs, let’s move on to the final step to learn how to store them properly.
Step 7: Store the collapsed table legs
Once you have successfully collapsed and tested the stability of the table legs, it’s time to store them properly. Proper storage will help protect the legs from damage and ensure their longevity. Follow these steps to store the collapsed table legs:
- Clean the legs: Before storing the legs, give them a thorough cleaning. Use a clean cloth to remove any dust, dirt, or debris that may have accumulated during the collapsing process. This will help maintain the legs in good condition.
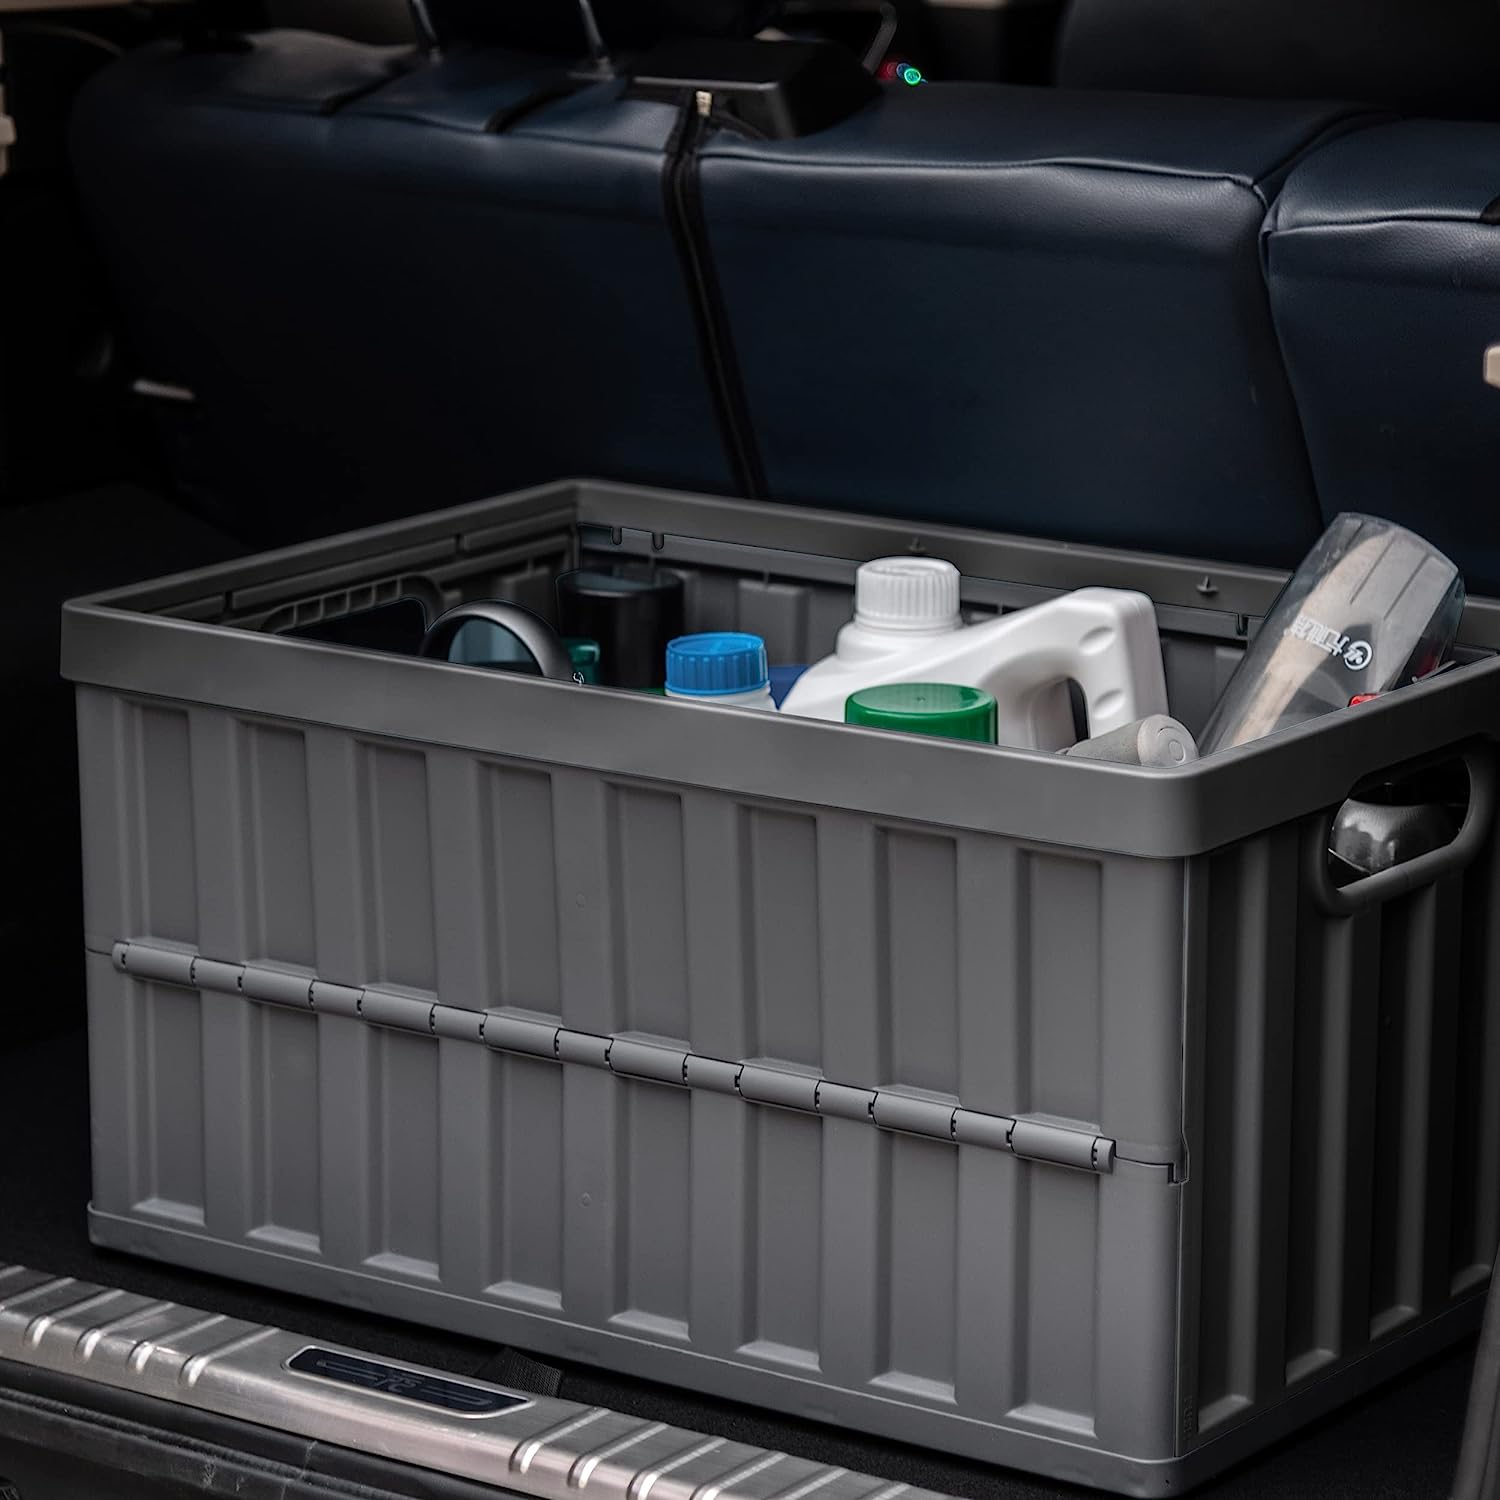
- Choose a suitable storage location: Select a suitable storage area that is clean, dry, and free from extreme temperature fluctuations. Consider using a dedicated storage space, such as a closet, garage, or basement, to keep the legs safe and easily accessible.
- Protect the legs: To prevent any scratches or damage during storage, wrap the collapsed legs in a soft cloth or protective covering. This will provide an additional layer of protection against dust or accidental bumps.
- Label or organize: If you have multiple sets of table legs, label or organize them to easily identify which table they belong to. This can save you time and effort when you need to retrieve the legs in the future.
- Store in an upright or horizontal position: Depending on the design and size of the collapsed legs, store them in an upright or horizontal position. Ensure they are secure and won’t accidentally fall or roll.
By following these steps, you can effectively store the collapsed table legs in a safe and organized manner. This will help extend their lifespan and ensure they are ready for use whenever needed.
Remember to periodically check on the stored legs to ensure they are still in good condition. If you notice any signs of damage or deterioration, take appropriate action, such as repairs or replacements, as needed.
Congratulations! You have now successfully learned how to collapse table legs and store them properly. Enjoy the newfound flexibility and convenience that collapsible table legs bring to your lifestyle!
Wishing you many enjoyable gatherings and stylish table setups in the future!
Conclusion
Congratulations on mastering the art of collapsing table legs! By following the steps outlined in this guide, you have learned how to gather the necessary tools, prepare the workspace, locate and engage the release mechanism, secure the collapsed legs, test their stability, and store them properly. With this newfound knowledge, you can easily transform your table to save space, enhance portability, or change up your table decor.
Collapsible table legs offer a practical solution for those seeking versatility and convenience. Whether you’re moving to a new home, hosting a gathering in a small space, or simply looking to update the look of your table, collapsing the legs can make a significant difference. Not only does it provide functionality, but it also adds a sleek and modern touch to your table.
Remember to always prioritize safety while collapsing and securing the table legs. Take your time and follow the manufacturer’s instructions or guidelines if available. Ensure that the legs are stable and secure before using the table to prevent any accidents or injuries.
By properly storing the collapsed table legs, you can protect them from damage and ensure their longevity. Clean the legs, choose a suitable storage area, and take steps to protect them from dust, scratches, or accidental damage. With proper care, your collapsed table legs will be ready for use whenever you need them.
Now that you have equipped yourself with the knowledge and skills to collapse table legs, you can confidently explore different table setups that suit your changing needs. Embrace the flexibility and convenience that collapsible table legs bring to your home or any space you wish to decorate.
Thank you for joining us on this table leg collapsing journey. We hope you find this information helpful and enjoy the benefits of collapsible table legs in your daily life. Here’s to more stylish and space-saving tables in the future!
Frequently Asked Questions about How To Collapse Lifestyle Table Legs
Was this page helpful?
At Storables.com, we guarantee accurate and reliable information. Our content, validated by Expert Board Contributors, is crafted following stringent Editorial Policies. We're committed to providing you with well-researched, expert-backed insights for all your informational needs.


0 thoughts on “How To Collapse Lifestyle Table Legs”