Furniture
How To Add Legs To A Dresser
Modified: February 23, 2024
Learn how to easily add legs to a dresser and transform it into stylish furniture. Step-by-step guide for a DIY furniture upgrade.
(Many of the links in this article redirect to a specific reviewed product. Your purchase of these products through affiliate links helps to generate commission for Storables.com, at no extra cost. Learn more)
Introduction
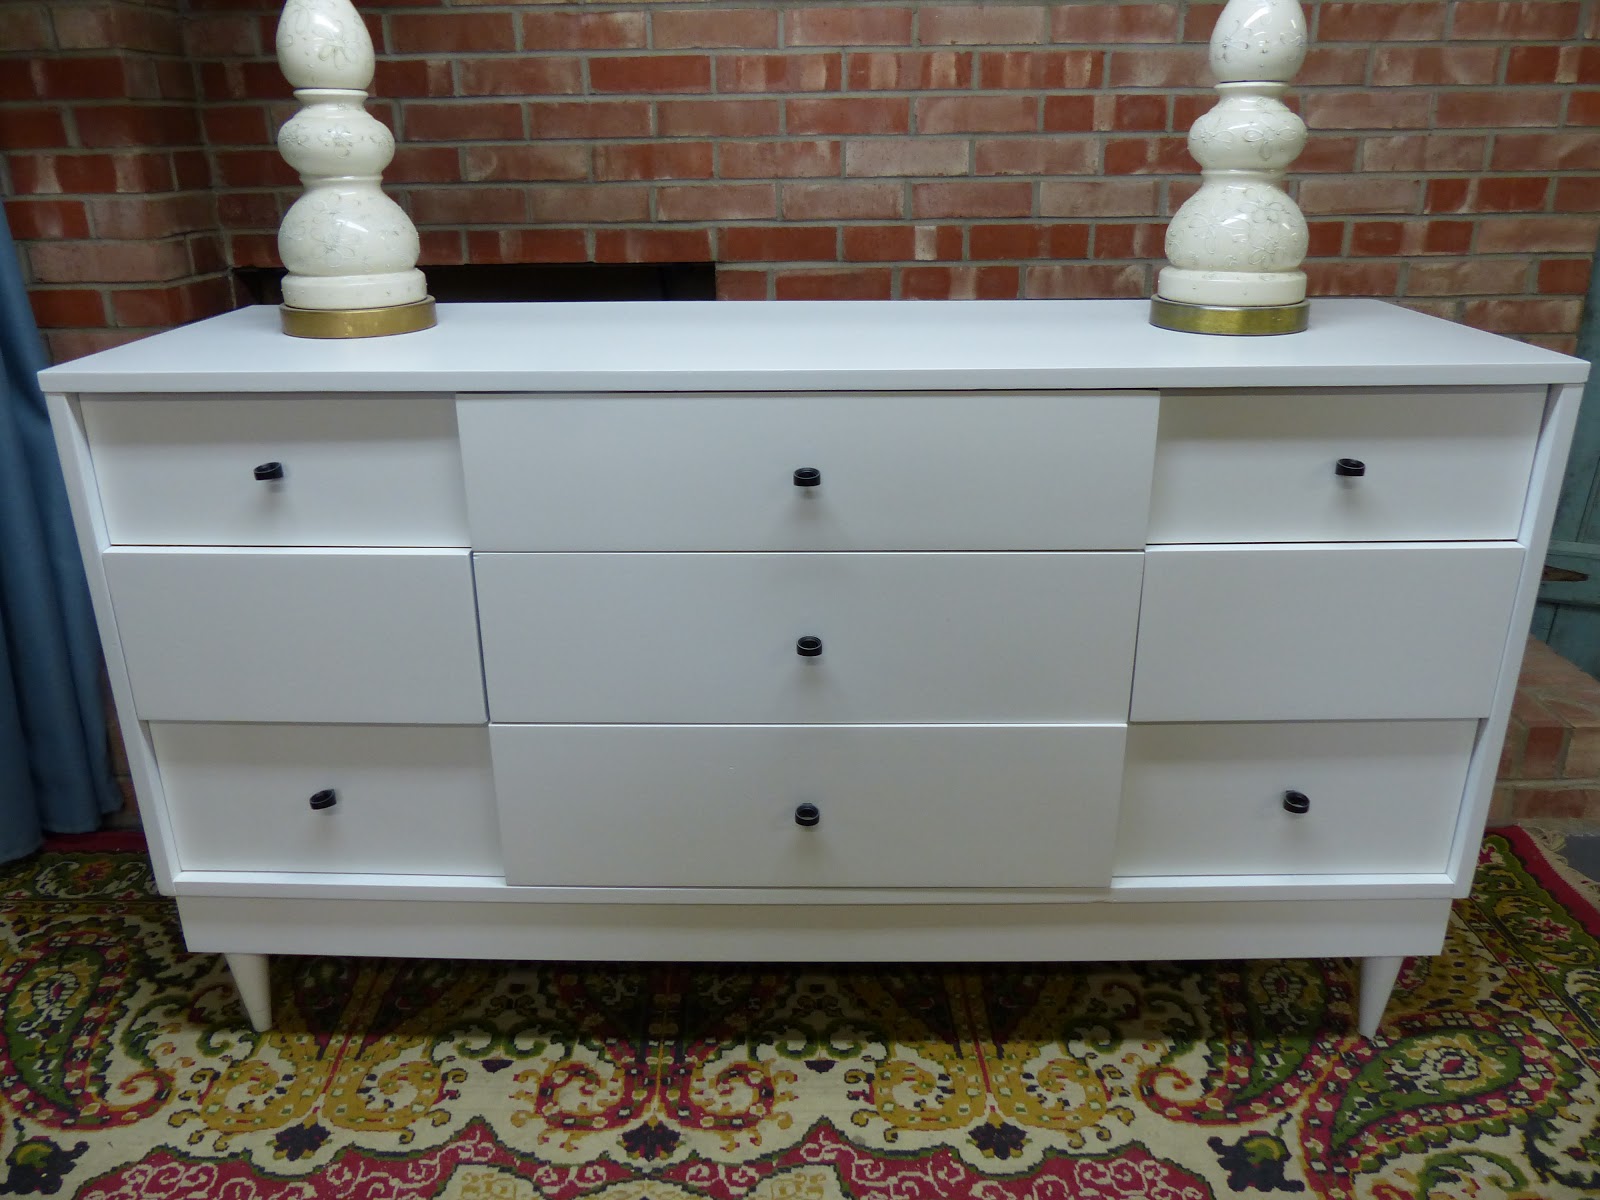
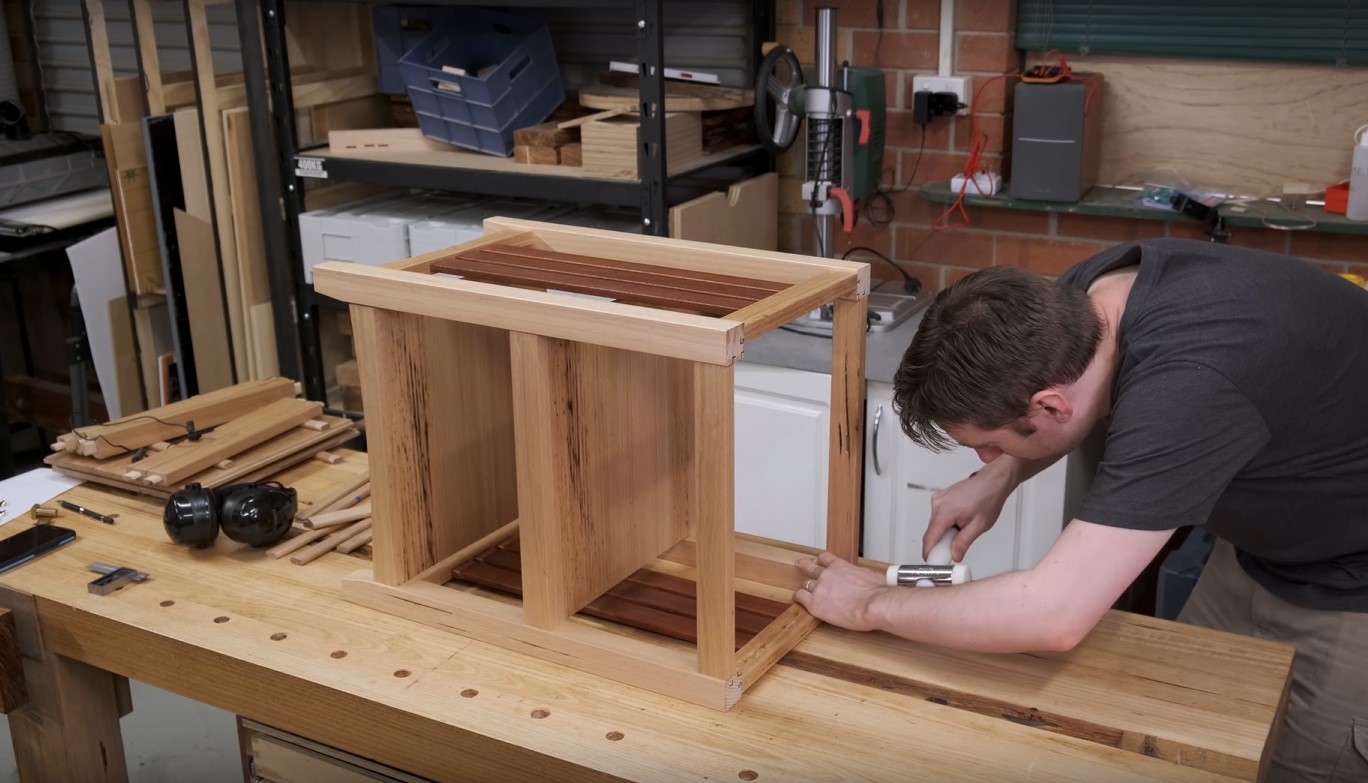
Adding legs to a dresser can be a fantastic way to give it a fresh new look and elevate its style. Whether you want to add some height, enhance its stability, or simply update its design, this furniture DIY project can make a significant impact in transforming your dresser. With just a few simple steps and the right materials, you can easily add legs to your dresser and create a custom piece that suits your personal taste.
In this article, we will guide you through the process of adding legs to a dresser, from gathering the necessary materials to finishing touches. Whether you’re a seasoned DIY enthusiast or just starting out with your first furniture project, we’ve got you covered with step-by-step instructions and helpful tips along the way.
Before we dive into the details, it’s important to note that adding legs to a dresser might require some basic woodworking skills and tools. If you’re unsure about your abilities or don’t have the necessary tools, it’s always a good idea to seek assistance from a professional or take a woodworking class to gain the necessary knowledge. Safety should always be a top priority when working with tools and equipment.
Now, let’s get started on transforming your dresser and giving it a whole new look!
Key Takeaways:
- Elevate your dresser’s style and functionality by adding legs with this DIY project. From gathering materials to finishing touches, transform your dresser into a custom piece that suits your personal taste.
- Unleash your creativity and infuse your personal style into this project. Experiment with different leg styles, materials, and finishes to achieve the look that best complements your existing décor.
Read more: How To Add Legs To An IKEA Malm Dresser
Step 1: Gather the necessary materials
Before you begin adding legs to your dresser, it’s essential to gather all the materials you’ll need for the project. Here’s a list of what you’ll typically need:
- Dresser
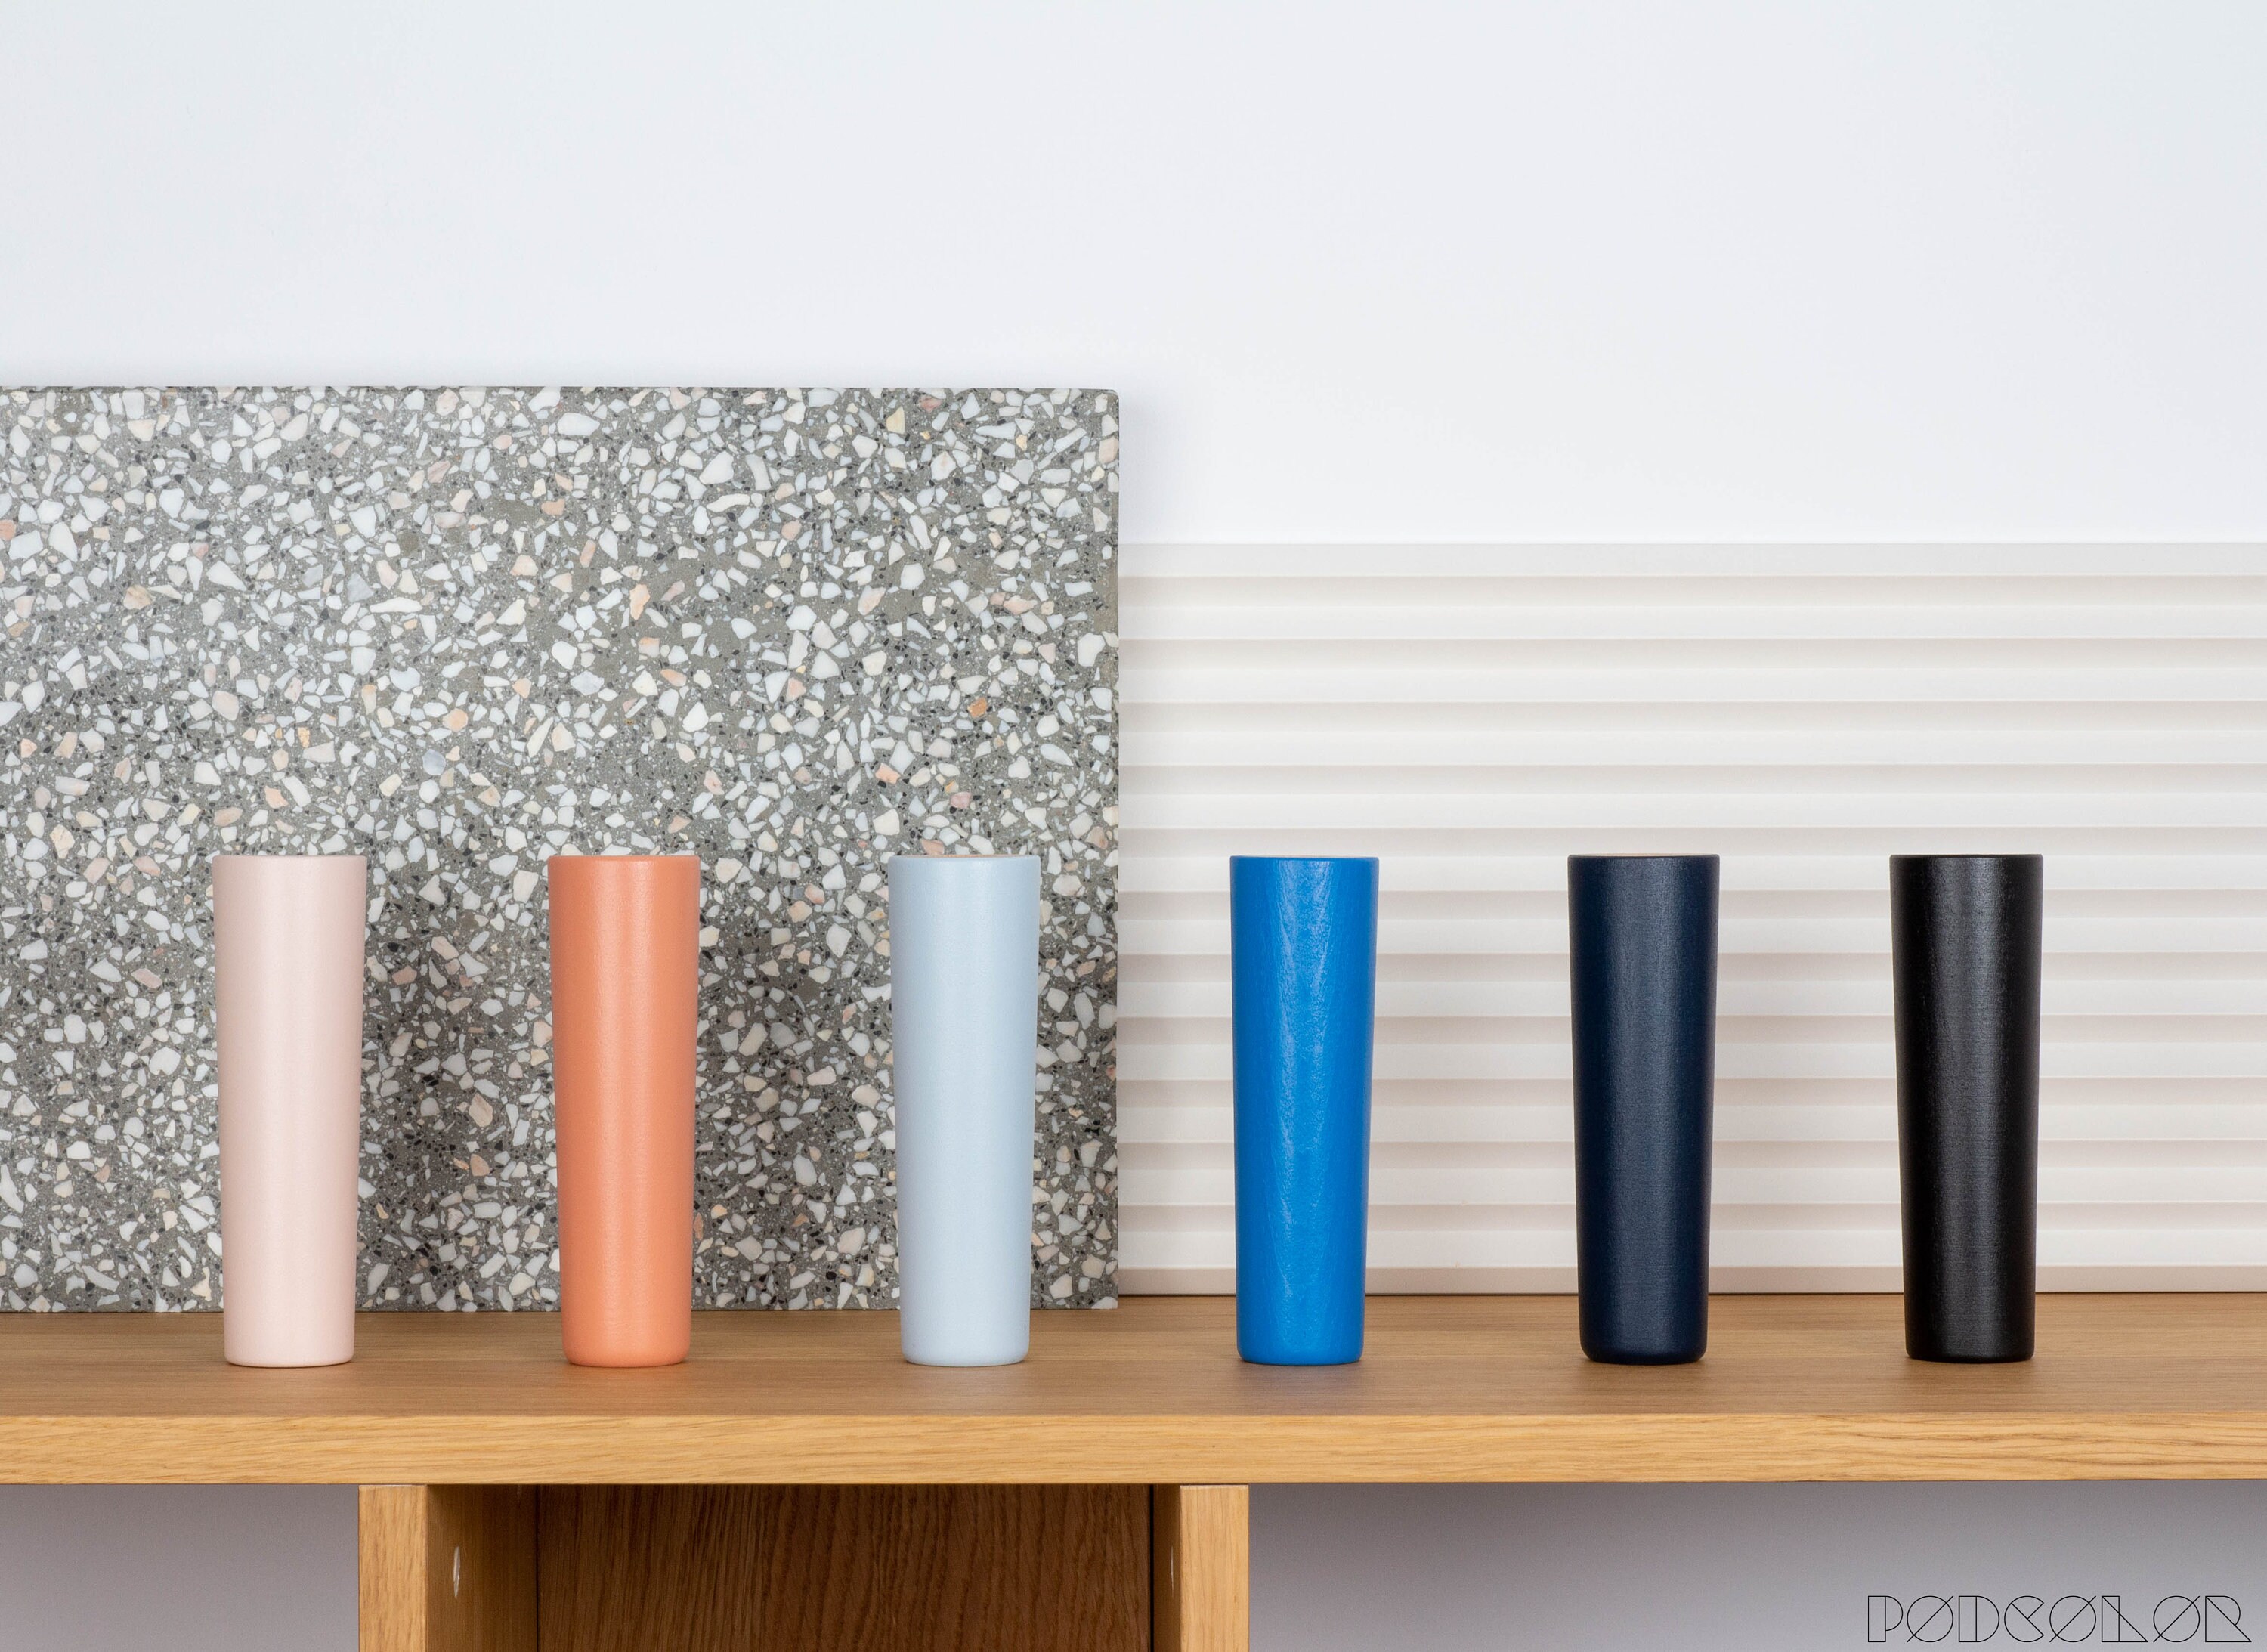
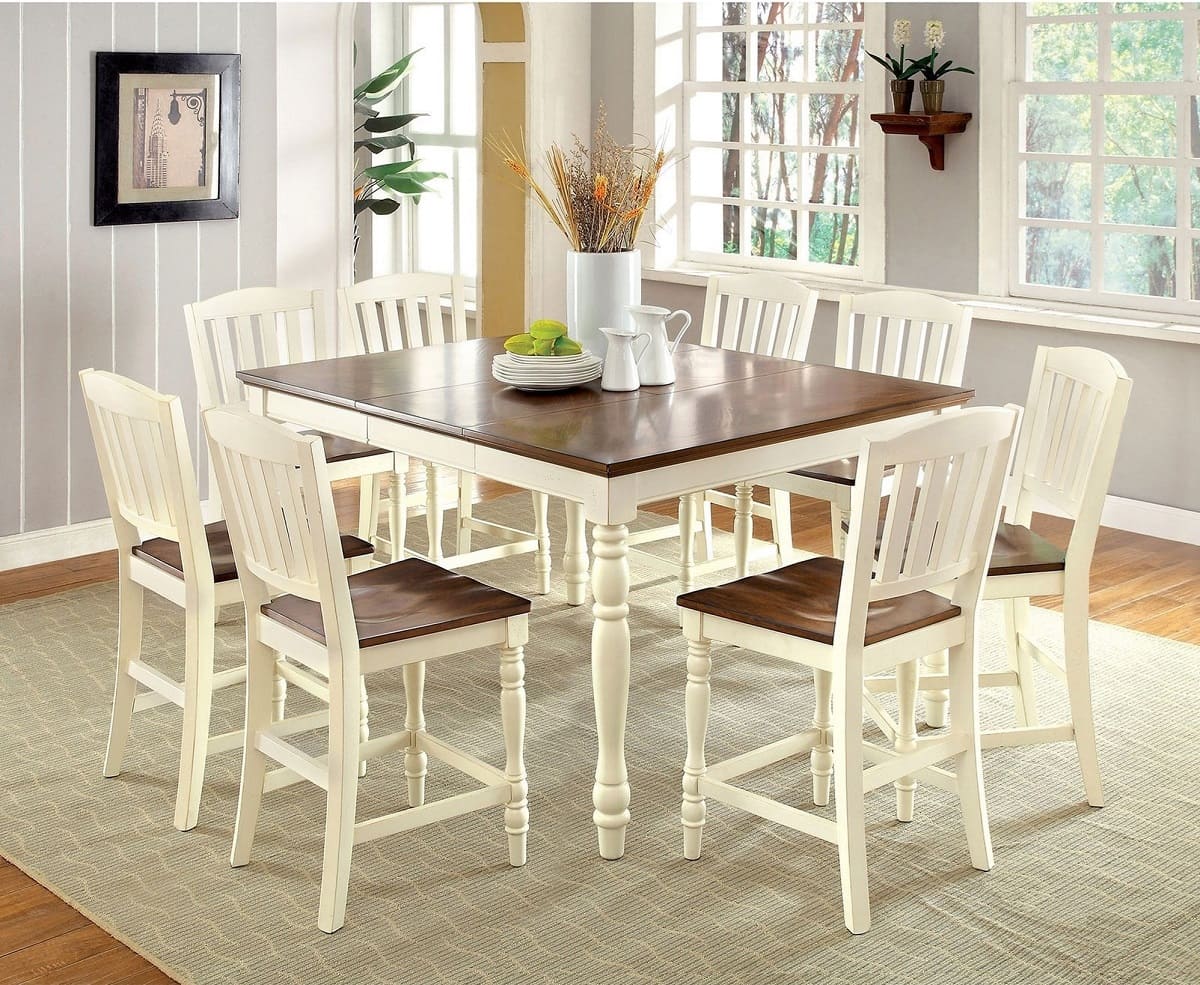
- Legs: You can choose from a variety of leg styles, such as tapered, turned, or straight. The material can range from wood to metal, depending on your preference.
- Leg mounting plates or brackets: These are hardware pieces that will attach the legs to the bottom of the dresser. Make sure to choose sturdy and durable mounting plates that can support the weight of the dresser.
- Measuring tape and a pencil: These will be used to measure and mark the placement for the new legs.
- Drill: A power drill will be needed to pre-drill holes for the leg attachment.
- Screws: Choose screws that are suitable for attaching the legs to the mounting plates.
- Screwdriver: This will be used to secure the screws in place.
- Level: A level will help ensure that the dresser is balanced and stable once the legs are attached.
- Sandpaper: You may need sandpaper to smooth any rough edges or surfaces on the dresser or legs.
- Paint or stain (optional): If you want to change the color or finish of the legs or the dresser, you’ll need paint or stain in your desired shade.
- Paintbrush or foam brush (optional): These will be required if you choose to paint or stain the legs or the dresser.
Make sure to gather all these materials before you start the project, as it will save you time and make the process smoother. It’s always a good idea to have everything in one place to avoid any interruptions or delays during the process.
Once you have all the necessary materials, it’s time to move on to the next step: removing any existing legs or base from the dresser.
Step 2: Remove any existing legs or base
Before you can add new legs to your dresser, you’ll need to remove any existing legs or base that are currently attached. This step is essential to ensure a clean and stable installation of the new legs. Here’s how you can go about it:
- Empty the dresser: Remove all items from the dresser’s drawers and temporarily find a safe place to store them.
- Flip the dresser upside down: Carefully flip the dresser upside down, ensuring that it is resting on a soft surface to prevent any damage to the dresser or the floor.
- Examine the existing legs or base: Inspect the bottom of the dresser and look for any screws, bolts, or attachments that are holding the legs or base in place. Using a screwdriver or appropriate tool, remove these fasteners to detach the legs or base from the dresser.
- Set aside the removed legs or base: Once you have successfully removed the existing legs or base, set them aside in a safe place. You may decide to repurpose them for another project or keep them for future use.
By following these steps, you can effectively remove any existing legs or base from your dresser, preparing it for the installation of the new legs. Remember to handle the dresser with care during the process to avoid causing any damage or injury.
Now, with the dresser ready for the next step, let’s move on to measuring and marking the placement for the new legs.
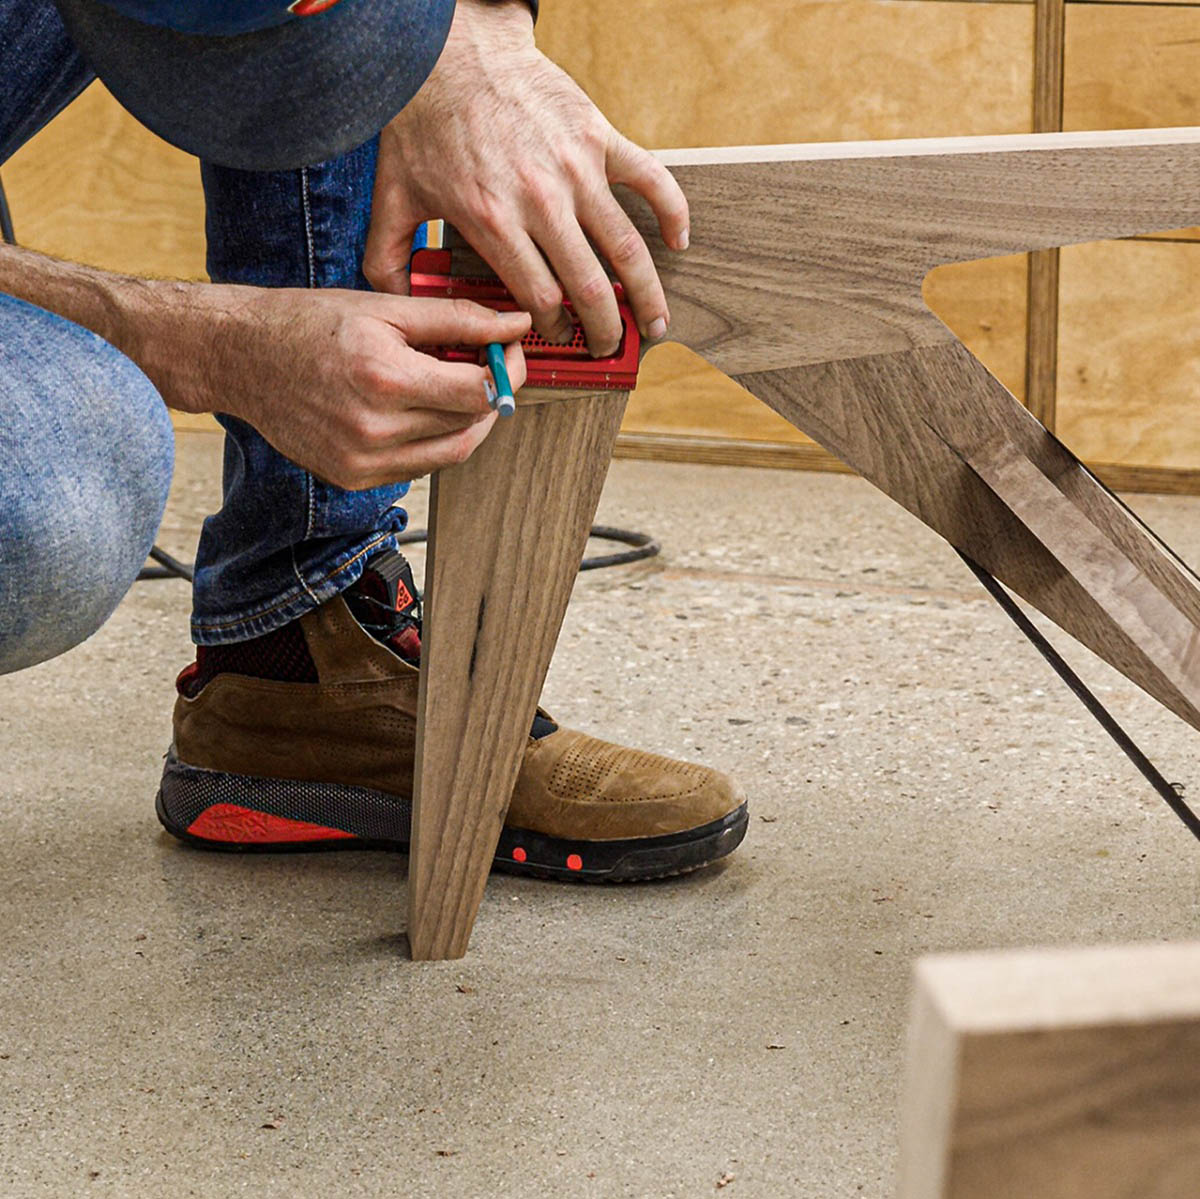
Step 3: Measure and mark the placement for the new legs
Once you have removed any existing legs or base from your dresser, it’s time to measure and mark the placement for the new legs. This step is crucial to ensure proper alignment and stability of the dresser. Follow these instructions to accurately measure and mark the placement:
- Flip the dresser right-side up: Carefully flip the dresser back to its original position.
- Choose the desired height for the new legs: Consider the overall design and functionality you envision for the dresser and determine the ideal height for the new legs.
- Measure and mark the placement for the legs: Using a measuring tape, carefully measure from the bottom of the dresser up to the desired height for the legs. Mark this measurement with a pencil on each corner of the dresser, ensuring that the marks are equal in length.
- Check for levelness: Place a level on top of the dresser to ensure it is level. If necessary, make any adjustments to the placement marks to ensure the dresser sits level once the legs are attached.
It’s important to take accurate measurements and ensure the placement marks are evenly spaced to ensure stability and a visually pleasing result. Double-check your measurements and marks before moving on to the next step.
Now that you have marked the placement for the new legs, it’s time to prepare the dresser for the attachment of the legs by pre-drilling holes.
Step 4: Pre-drill holes for the leg attachment
Pre-drilling holes is an important step in adding legs to your dresser as it ensures that the attachment is secure and prevents the wood from splitting. Follow these steps to pre-drill holes for the leg attachment:
- Flip the dresser upside down: Carefully flip the dresser over so that the bottom side is facing up.
- Place the mounting plates or brackets: Position the leg mounting plates or brackets on the marked spots on each corner of the dresser. Make sure they are aligned properly and centered on the marks.
- Mark the screw hole locations: Use a pencil or a small nail to mark the screw hole locations on the dresser through the mounting plate or bracket screw holes.
- Pre-drill the holes: Select a drill bit that is slightly smaller than the diameter of the screws you will be using. Use the marked spots as a guide and carefully pre-drill holes into the dresser at each marked location. Make sure to drill straight and not too deep, taking care not to drill through the front or side of the dresser.
- Clear any debris: After drilling the holes, use a brush or cloth to clean away any wood shavings or debris from the drilled holes.
By pre-drilling the holes, you create a guide for the screws, allowing for easier and more precise attachment of the legs. This step ensures a secure and stable installation, preventing any potential damage to the wood of the dresser.
With the holes pre-drilled, you’re one step closer to adding the new legs to your dresser. The next step involves attaching the legs securely to the dresser.
When adding legs to a dresser, make sure to measure and mark the placement of the legs accurately before attaching them. Use sturdy and appropriate hardware to secure the legs to the dresser for stability.
Read more: How To Add Drawer Slides To An Old Dresser
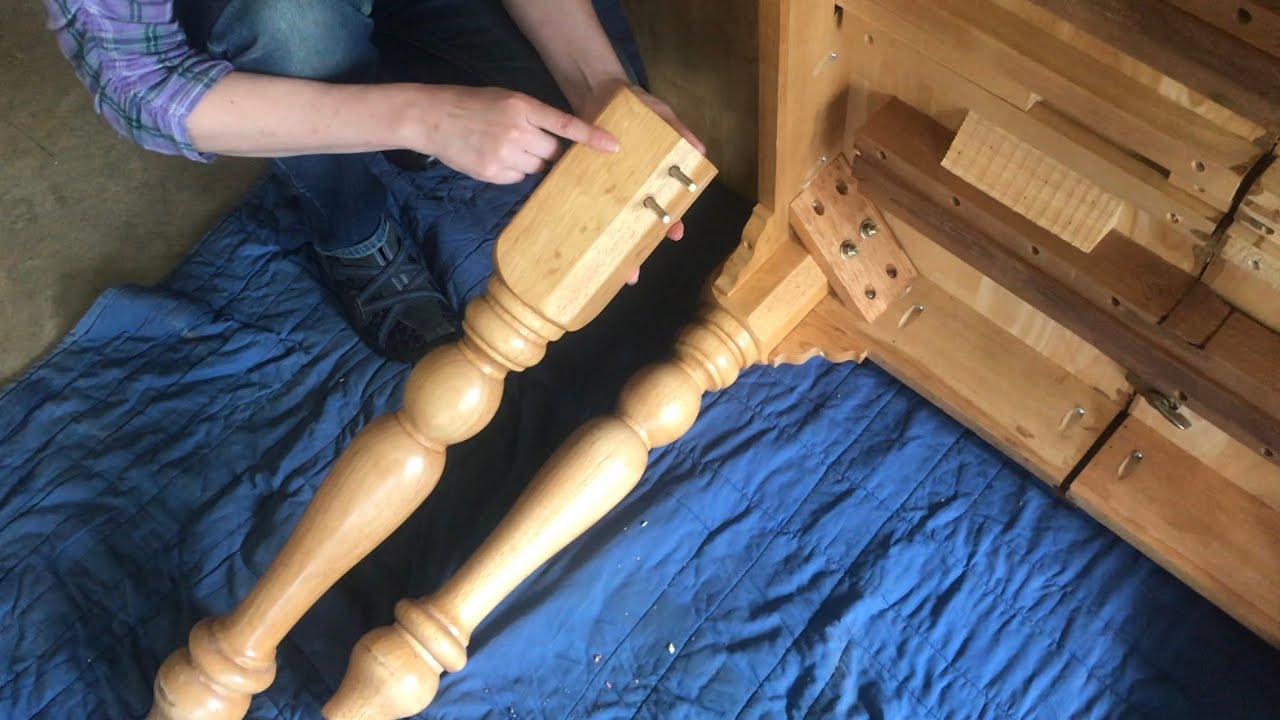
Step 5: Attach the legs to the dresser
After pre-drilling the holes, it’s time to attach the legs to your dresser. This step is where the transformation really takes shape, and you start to see your dresser with its new legs. Follow these steps to securely attach the legs:
- Set the dresser upright: Carefully flip the dresser back to its upright position.
- Align the legs: Place one leg over each corresponding mounting plate or bracket. Ensure that the legs are aligned with the pre-drilled holes and that they are leveled.
- Insert the screws: Take the screws you have chosen and insert them through the mounting plates or brackets, going into the pre-drilled holes on the dresser. Use a screwdriver to tighten the screws securely, but be careful not to overtighten as it can damage the wood or strip the screws.
- Repeat for all legs: Repeat the process for all the legs, ensuring proper alignment and secure attachment with the screws. Double-check that the legs are firmly attached and that the dresser is level.
As you attach the legs, you may want to have an extra pair of hands to hold the legs in place while you insert and tighten the screws. It can make the process smoother and more efficient.
Once all the legs are securely attached, give the dresser a gentle shake or sway to test its stability. If it feels loose or wobbly, recheck the screws and tighten them if necessary.
Now that the legs are in place, it’s time to move on to the next step: testing the stability of the dresser.
Step 6: Test the stability of the dresser
After attaching the legs to your dresser, it’s important to test its stability to ensure that it can safely support its weight and withstand everyday use. Testing the stability will also help identify if any adjustments are needed. Follow these steps to test the stability of the dresser:
- Reposition the dresser: Carefully move the dresser to its intended location, ensuring that it is on a level surface.
- Check for wobbling: Gently rock the dresser back and forth, side to side, and front to back to check for any wobbling or instability. Pay close attention to the legs and the overall balance of the dresser.
- Make adjustments if necessary: If you notice any wobbling or unevenness, you may need to make adjustments. Check to see if all the legs are securely attached and tightened. If necessary, loosen the screws slightly, adjust the leg placement, and then retighten the screws.
- Test the weight-bearing capacity: Test the dresser’s ability to support weight by placing some items inside the drawers. Gradually add weight to ensure that the legs and the dresser can handle the load without sagging or showing signs of stress.
By testing the stability of the dresser, you’ll ensure that it’s secure and safe for use. Adjustments may be necessary to achieve optimal stability, so don’t hesitate to make any needed changes before proceeding.
Once you’re satisfied with the stability of the dresser, it’s time to move on to the next step: making any necessary adjustments.
Step 7: Make any necessary adjustments
After testing the stability of your dresser, it’s time to assess if any adjustments are needed to ensure its functionality and aesthetics. Making necessary adjustments will help you achieve the desired outcome and ensure a seamless integration of the added legs. Here are some aspects to consider when making adjustments:
- Leveling the dresser: Use a level to check if the dresser is sitting evenly on the floor. If it’s not level, you can place shims or furniture pads under the legs to adjust the height and achieve a level position.
- Realigning the legs: If you notice that the legs aren’t aligned perfectly or are not parallel to each other, you can gently adjust their position. Loosen the screws slightly, reposition the legs, and retighten the screws.
- Sanding any rough edges: If you encounter any rough edges or surfaces on the legs or the dresser, use sandpaper to smooth them out. This step will not only improve the overall appearance of the dresser but also enhance user safety.
- Tightening screws: Double-check that all the screws attaching the legs are firmly tightened. This step ensures the stability and durability of the dresser, preventing any potential loosening over time.
Take your time to make these adjustments, ensuring that the dresser meets your expectations in terms of both functionality and appearance. Pay attention to details and take pride in the final result.
With any necessary adjustments made, it’s now time to move on to the final step: finishing and painting the legs (optional).
Step 8: Finish and paint the legs (optional)
If you want to further customize the look of your dresser, you can consider finishing and painting the legs. This step gives you the opportunity to add a personal touch and tie in the new legs with the overall style of the dresser. Here are some options to consider:
- Sanding and staining: If you have opted for wooden legs, sand them to smoothen any rough surfaces or imperfections. Then, apply a wood stain or sealant of your choice to enhance the natural beauty and protect the legs from wear and tear.
- Painting: For a more dramatic or cohesive look, you can paint the legs in a color that complements the dresser or matches your décor scheme. Ensure that you clean the legs thoroughly and apply a primer before painting to achieve a smooth and long-lasting finish.
- Customizing with patterns or designs: Get creative and add patterns or designs to the legs with stencils or freehand techniques. This allows you to create a one-of-a-kind look that truly reflects your personal style.
- Adding protective coats: Once you have finished painting or staining the legs, consider adding a clear protective coat to shield them from scratches, stains, and other potential damage.
Remember to allow sufficient drying time between each step of the finishing process, following the instructions provided by the paint or stain manufacturer. This will ensure that the legs achieve their intended appearance and optimal durability.
Keep in mind that finishing and painting the legs are optional steps. If you are satisfied with the natural look of the legs or prefer to maintain their original finish, you can skip this step and proceed to enjoy your transformed dresser.
Congratulations! With the legs attached and, if desired, finished to your liking, you have successfully completed the process of adding legs to your dresser. Step back and admire your work – you’ve created a unique and stylish piece of furniture that will enhance the beauty and functionality of your space.
As a final tip, remember to regularly clean and maintain your dresser, including the legs, to ensure its longevity and continued enjoyment for years to come.
Happy crafting!
Read more: How To Store Lularoe Leggings
Conclusion
Adding legs to a dresser is a rewarding DIY project that can completely transform the look and functionality of your furniture. By following the step-by-step instructions outlined in this article, you can successfully add legs to your dresser and create a unique piece that perfectly suits your style and needs.
Throughout the process, we covered everything from gathering the necessary materials to attaching the legs and making any necessary adjustments. We also discussed optional steps like finishing and painting the legs to further customize the look of your dresser.
It’s important to approach this project with caution and patience, ensuring that you have the necessary tools and skills or seeking assistance if needed. Safety should always be a priority when working with tools and equipment.
Not only does adding legs to a dresser enhance its aesthetics, but it can also provide functional benefits such as added height, improved stability, and easier accessibility. By elevating your dresser, you can enhance its presence in your room and create a more cohesive and polished space.
We encourage you to unleash your creativity and infuse your personal style into this project. Experiment with different leg styles, materials, and finishes to achieve the look that best complements your existing décor.
Remember to take your time during each step of the process, carefully measuring, aligning, and attaching the legs. Test the stability of the dresser, make any necessary adjustments, and consider adding a finishing touch with paint or stain if desired.
With the legs securely attached and, if applicable, finished and painted, you can now enjoy your updated dresser. It will not only serve its practical purpose but also become a standout piece in your home, showcasing your DIY skills and unique style.
Now that you have the knowledge and guidance to tackle this project, it’s time to get started! Embrace the challenge, have fun, and enjoy the satisfaction of turning a plain dresser into a statement piece that reflects your personality and creativity.
Happy crafting!
Frequently Asked Questions about How To Add Legs To A Dresser
Was this page helpful?
At Storables.com, we guarantee accurate and reliable information. Our content, validated by Expert Board Contributors, is crafted following stringent Editorial Policies. We're committed to providing you with well-researched, expert-backed insights for all your informational needs.


0 thoughts on “How To Add Legs To A Dresser”