Home>Dining>Table Decor>How To Attach Mission Style Table Legs
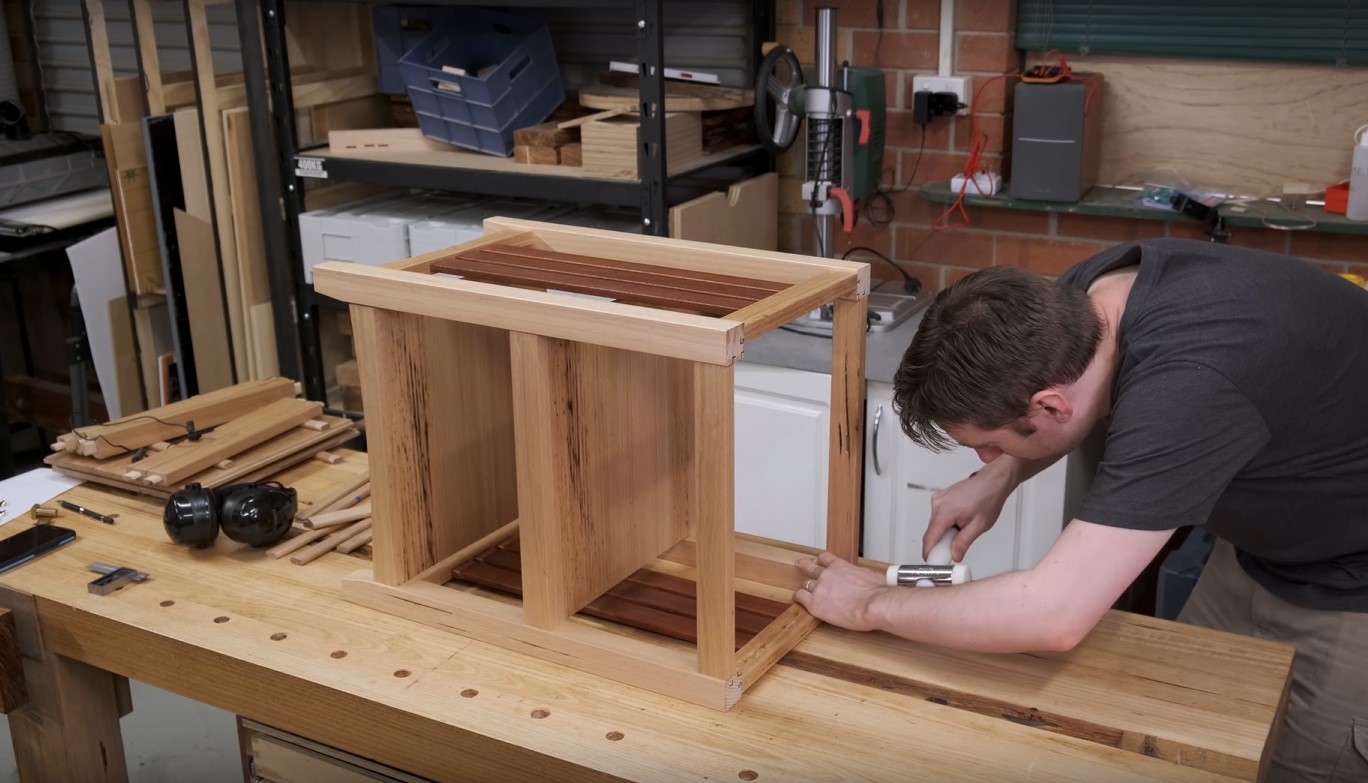
Table Decor
How To Attach Mission Style Table Legs
Modified: December 7, 2023
Learn how to enhance your table decor with mission style table legs. Step-by-step guide on attaching table legs for a stylish and functional upgrade.
(Many of the links in this article redirect to a specific reviewed product. Your purchase of these products through affiliate links helps to generate commission for Storables.com, at no extra cost. Learn more)
Introduction
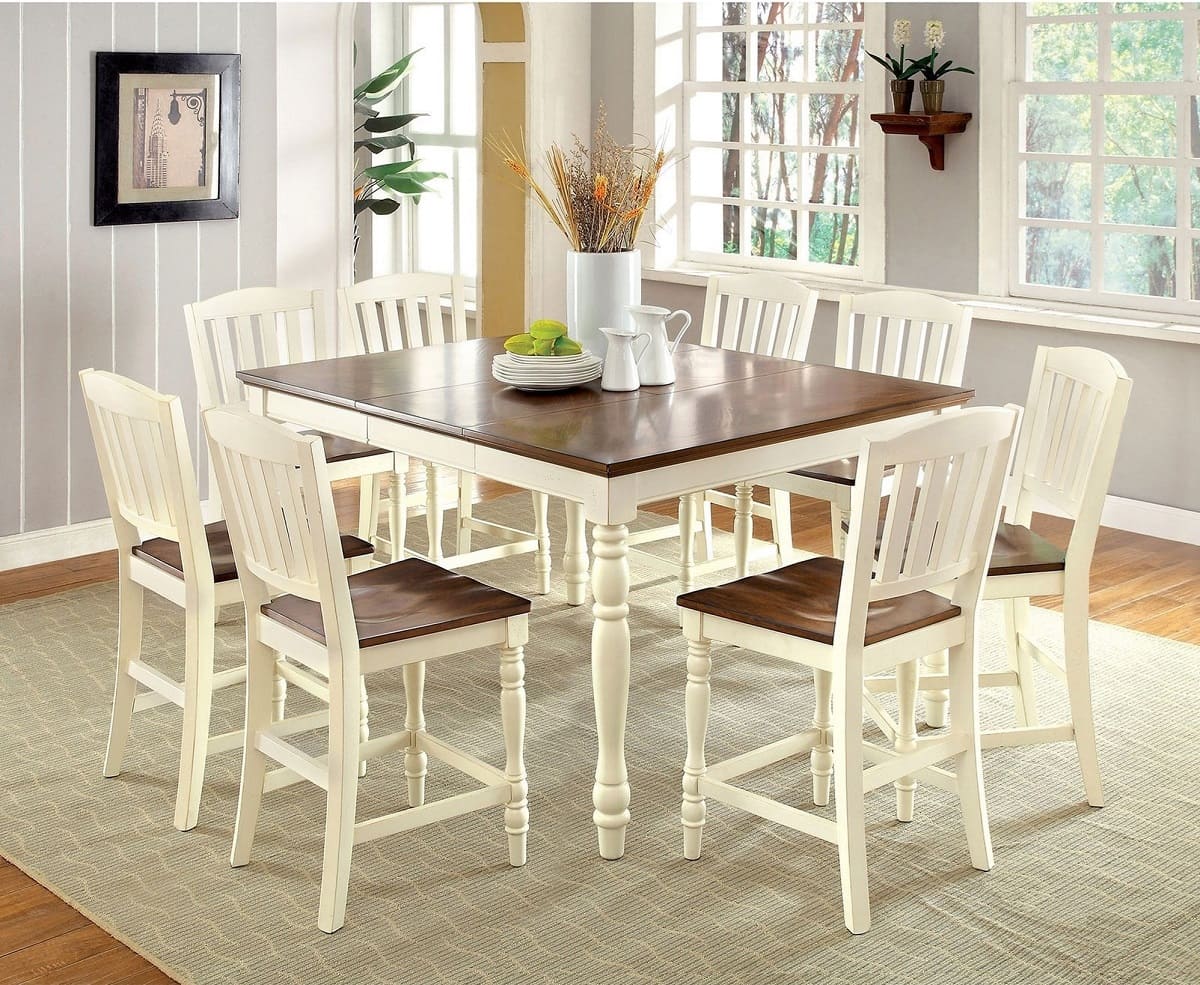
Welcome to the world of table decor! Tables are an essential piece of furniture in any home or office, providing a functional and aesthetic foundation for various activities. Whether it’s a dining table, coffee table, or desk, the legs play a vital role in ensuring stability and style. One popular style of table legs is the mission style, known for its clean lines, simple design, and timeless appeal. In this article, we will guide you through the process of attaching mission style table legs to your tabletop, helping you create a stunning centerpiece for your space.
Before we dive into the step-by-step instructions, it’s important to gather the necessary tools and materials for this project. Having everything at hand will make the process smoother and more efficient. Let’s take a look at what you’ll need:
Key Takeaways:
- Elevate your table decor with mission style table legs. Follow our step-by-step guide for a sturdy, stylish, and wobble-free attachment process.
- Prepare, measure, secure, and finish for a stunning centerpiece. Enjoy the beauty and functionality of your newly transformed furniture piece!
Read more: How To Build A Mission Style Dining Table
Tools and Materials Needed
To successfully attach mission style table legs, you’ll need the following tools and materials:
- Power drill
- Drill bits (appropriate size for pilot holes)
- Measuring tape
- Pencil or marker
- Screwdriver (or appropriate screwdriver bit for your drill)
- Level
- Leg mounting brackets (specific to your table leg style)
- Screws (appropriate length for your leg mounting brackets)
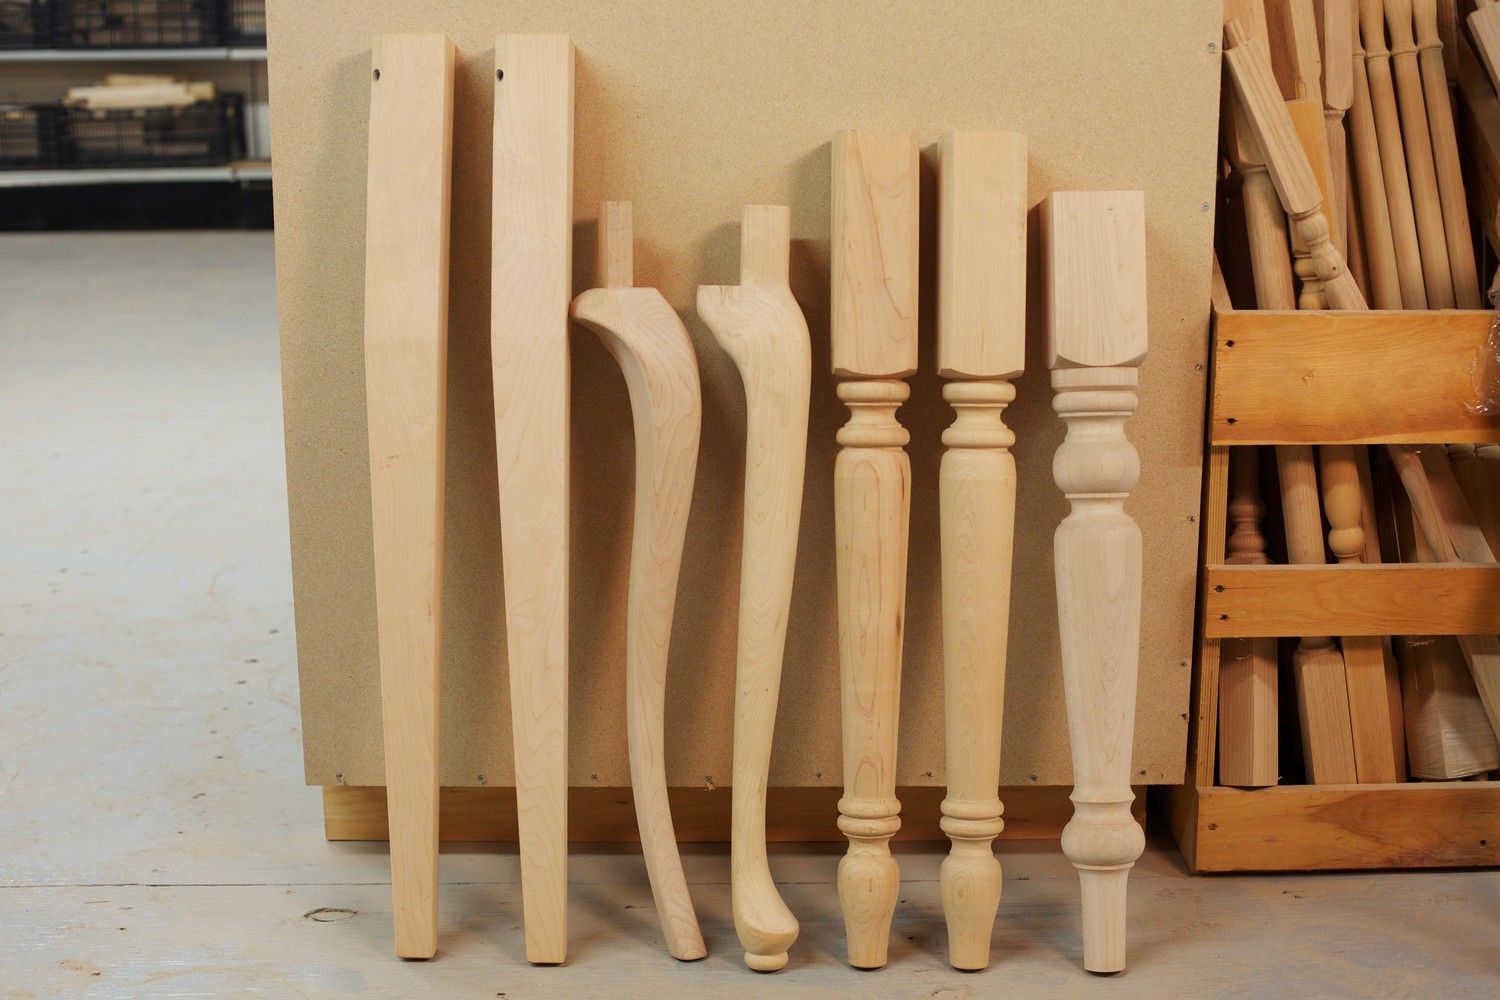
- Table legs (mission style)
- Wood glue (optional)
- Finishing materials (stain, paint, varnish, etc.)
- Paintbrush or sponge
- Protective gloves and eyewear
Make sure you have all these tools and materials ready before starting the attachment process. It’s essential to use the correct size screws and leg mounting brackets to ensure a secure and stable connection.
Step 1: Preparing the Tabletop
Before attaching the mission style table legs, it’s important to properly prepare the tabletop. This involves ensuring a clean and flat surface for the attachment process. Follow these steps:
- Clear the tabletop: Remove any items or debris from the surface of the table. This will provide a clear workspace and prevent any obstructions during the attachment process.
- Clean the tabletop: Use a mild cleaning solution and a soft cloth to clean the surface of the table. This will remove any dirt, grease, or stains that may interfere with the attachment or finishing process.
- Inspect the tabletop: Thoroughly examine the tabletop for any cracks, splits, or unevenness. It’s important to address these issues before attaching the legs to ensure stability and prevent further damage. If you notice any significant damage, consider repairing or replacing the tabletop before proceeding.
- Sand the tabletop (if necessary): If the tabletop has rough or uneven areas, lightly sand them using sandpaper. This will create a smooth and uniform surface for attaching the legs.
By properly preparing the tabletop, you’ll create a solid foundation for attaching the mission style table legs. This step ensures that the legs will be securely fastened and provide stability when the table is in use.
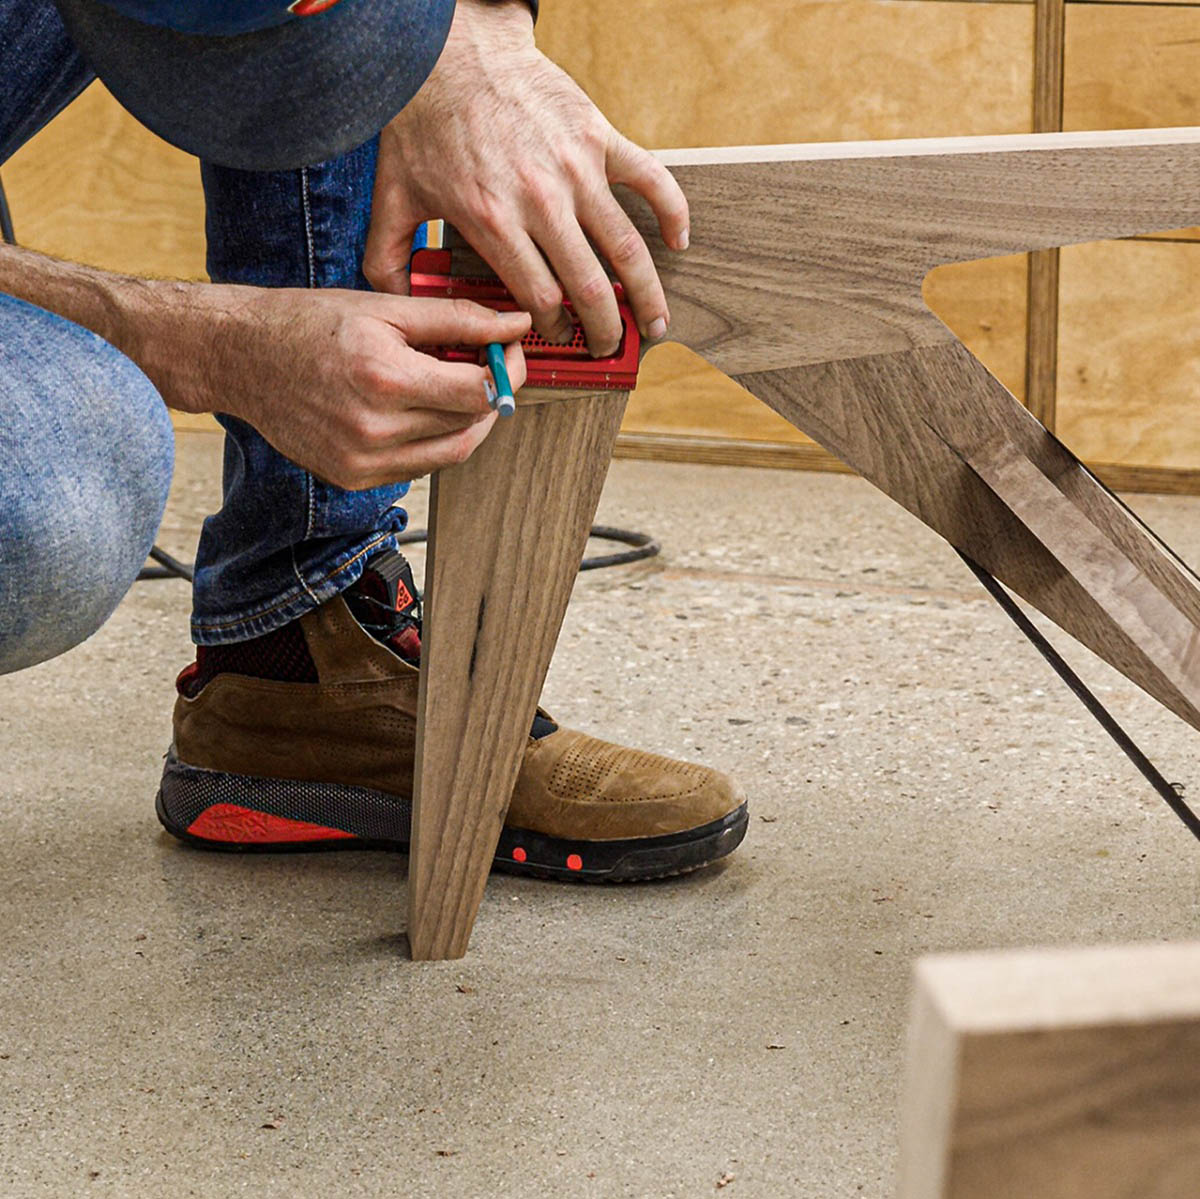
Step 2: Measuring and Marking for Leg Attachment
Once the tabletop is prepared, the next step is to measure and mark the placement of the leg attachment points. This ensures that the table legs are evenly spaced and properly aligned. Follow these steps:
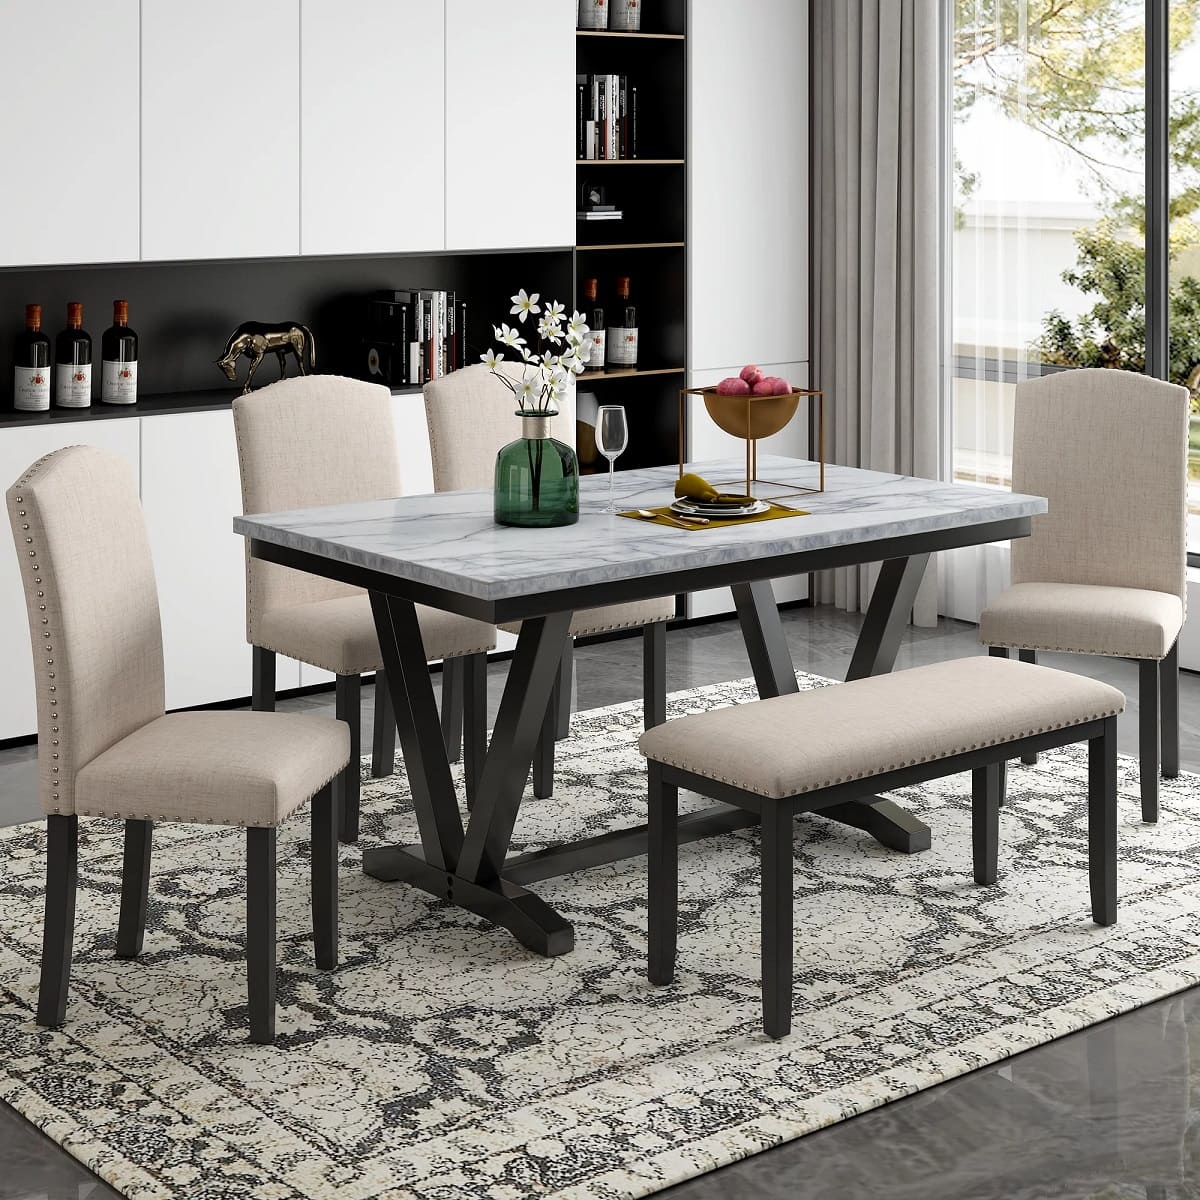
- Choose the desired placement: Determine where you want to attach the table legs. Consider factors such as the table’s shape, size, and intended use. For rectangular or square tables, it is common to attach the legs at the corners. For round or oval tables, evenly spacing the legs around the perimeter is recommended. Take into account any overhang or extension of the tabletop, as this may affect the placement of the legs.
- Measure for alignment: Use a measuring tape to achieve symmetrical and precise placement of the table legs. Measure the distance from the edge of the tabletop to each leg attachment point. Ensure that the measurements are equal on all sides to maintain balance and stability.
- Mark the attachment points: Once you have determined the measurements, use a pencil or marker to mark the attachment points on the underside of the tabletop. Make small, visible marks at the measured locations to guide you during the next steps.
Accurate measurements and markings are crucial for proper leg attachment. Taking the time to measure and mark carefully will ensure a visually pleasing and well-balanced final result.
Step 3: Creating Pilot Holes
Now that you have marked the attachment points on the underside of the tabletop, it’s time to create pilot holes. Pilot holes serve as guides for the screws that will secure the leg mounting brackets to the tabletop. Follow these steps:
- Choose the appropriate drill bit: Select a drill bit that matches the size of the screws you will be using to attach the leg mounting brackets. The drill bit should be slightly smaller than the diameter of the screws.
- Attach the drill bit to the power drill: Insert the drill bit into the chuck of the power drill and tighten it securely.
- Drill pilot holes: Position the drill over the marked attachment points and slowly drill into the tabletop. Apply gentle pressure and keep the drill steady to create clean and straight pilot holes. Take care not to drill all the way through the tabletop; you simply want to create holes that are deep enough to guide the screws.
- Repeat for all attachment points: Move along to each marked attachment point and repeat the drilling process until you have created pilot holes at all the leg attachment locations.
The pilot holes will help prevent the wood from splitting when you insert the screws. They also ensure that the screws go in straight and provide a secure connection between the leg mounting brackets and the tabletop.
When attaching mission style table legs, make sure to pre-drill pilot holes for the screws to prevent splitting the wood. Use a level to ensure the legs are straight and even before tightening the screws.
Read more: How To Make A Mission Style Coffee Table
Step 4: Attaching Leg Mounting Brackets
With the pilot holes created, it’s time to attach the leg mounting brackets to the tabletop. These brackets will serve as the connection points between the table legs and the tabletop. Follow these steps:
- Position the leg mounting brackets: Align the leg mounting brackets with the pilot holes on the underside of the tabletop. Make sure the brackets are centered over the attachment points and flush against the tabletop surface.
- Secure the brackets: Using a screwdriver or the appropriate screwdriver bit for your power drill, insert the screws into the pilot holes of the leg mounting brackets. Begin by partially driving in the screws, and then go back to fully tighten them once all the brackets have been positioned and partially secured.
- Check for alignment: Use a level to ensure that the leg mounting brackets are properly aligned. Adjust the brackets as needed to achieve a level surface. This will ensure that the table legs sit evenly on the floor.
Attaching the leg mounting brackets is a crucial step that ensures the stability and longevity of the table. Make sure the brackets are securely fastened to the tabletop, as they will be supporting the weight of the table legs and everything placed on the table.
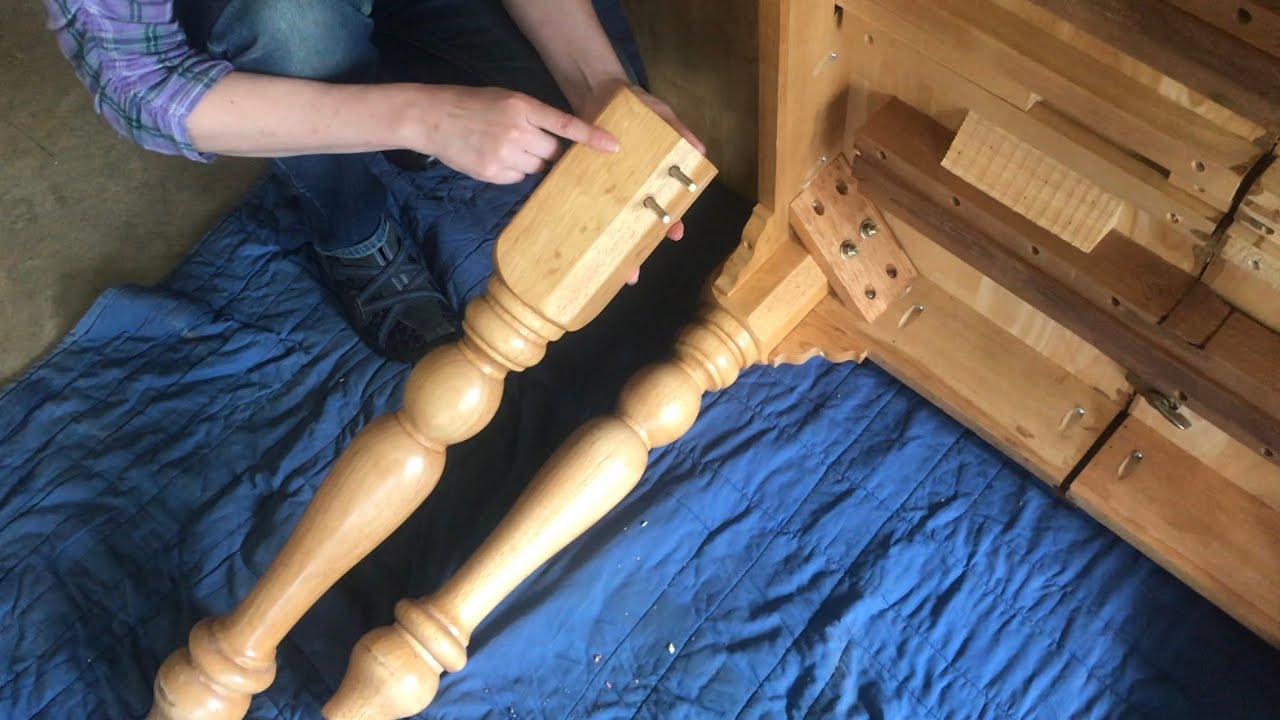
Step 5: Installing Mission Style Table Legs
Now that the leg mounting brackets are securely attached, it’s time to install the mission style table legs. The installation process may vary depending on the specific style of table legs you have, so be sure to follow the manufacturer’s instructions. Here are some general guidelines:
- Position the table legs: Carefully align the table legs with the leg mounting brackets. The legs should fit snugly into the brackets and rest securely on the floor.
- Insert the legs into the brackets: Slide each table leg into its corresponding leg mounting bracket. Ensure that the legs are inserted fully, allowing for a stable and secure attachment.
- Secure the legs: Depending on the specific design of the leg mounting brackets, there may be additional screws or fasteners that need to be used to secure the legs in place. Follow the manufacturer’s instructions for the proper installation process.
The installation of mission style table legs is an exciting moment, as it brings your table to life. Make sure to handle the legs with care and ensure they are securely attached to the table to prevent any wobbling or instability.
Step 6: Securing the Legs
After installing the mission style table legs, it’s important to secure them properly to ensure stability and durability. This step will help prevent any wobbling or movement of the legs during use. Follow these steps:
- Check for stability: Once the table legs are in place, gently test the stability of the table. Apply slight pressure to different corners and sides to ensure that the legs are securely attached and there is no wobbling or rocking.
- Tighten screws or fasteners: Using a screwdriver or the appropriate tool, tighten any screws or fasteners that may have been included with the leg mounting brackets or leg attachment system. Ensure that all connections are secure and snug.
- Apply wood glue (optional): For added stability, you can apply a small amount of wood glue to the joint where the table leg meets the leg mounting bracket. This can provide an extra layer of reinforcement. However, be cautious when using glue, as it may make future leg adjustments or replacements difficult.
By properly securing the table legs, you can enjoy a sturdy and robust table that will withstand regular use and provide a reliable surface for various activities.
Step 7: Final Touches and Finishing
With the mission style table legs securely attached, it’s time to add the final touches and give your table a finished look. This step involves applying any desired finishes or treatments to the table legs and tabletop. Follow these steps to complete the transformation:
- Clean the table: Before applying any finishes, ensure that the table is clean and free from dust or debris. Wipe down the tabletop and legs with a soft cloth to remove any residue.
- Apply stain, paint, or varnish: Depending on your preference and the desired aesthetic, you can apply stain, paint, or varnish to the table legs and tabletop. Follow the manufacturer’s instructions for the specific product you are using. Use a paintbrush or sponge to apply the finish in smooth, even strokes, ensuring full coverage.
- Allow the finish to dry: Give the finish ample time to dry according to the manufacturer’s instructions. This will ensure a durable and long-lasting result.
- Inspect and make adjustments: Once the finish is dry, carefully inspect the table legs and tabletop for any imperfections or areas that may need touch-ups. Make any necessary adjustments to achieve the desired look.
Adding the final touches and finishing to your table will not only enhance its appearance but also provide protection and durability to the surface. Choose a finish that complements your space and personal style.
With the completion of these steps, your mission style table legs are successfully attached, and your table is ready to be showcased in your home or office. Enjoy the beauty and functionality of your newly transformed furniture piece!
Conclusion
Attaching mission style table legs is a rewarding project that can elevate the look and functionality of your table. By following the step-by-step process outlined in this article, you can successfully attach the legs and create a stunning centerpiece for your space.
Remember to prepare the tabletop properly, measuring and marking for leg attachment with precision. Creating pilot holes and attaching leg mounting brackets securely ensures stability and longevity. Installing the mission style table legs and securing them properly will guarantee a sturdy and wobble-free table.
Don’t forget the final touches and finishing steps, where you can add your personal style and protect the table’s surface. Whether you choose to stain, paint, or varnish, these finishes will give your table legs and tabletop a polished look.
Now that you’ve accomplished attaching mission style table legs, take a moment to appreciate your hard work and enjoy the beautiful and functional piece of furniture you have created. Whether it’s a dining table where friends and family gather, a coffee table for cozy conversations, or a desk where creative ideas blossom, your table will be a cherished addition to your space.
Remember, each step is crucial in ensuring the stability, durability, and aesthetic appeal of your table. Take your time, follow the instructions carefully, and enjoy the process. With the right tools, materials, and a touch of creativity, you can transform any table into a work of art.
So, what are you waiting for? Take your table decor to the next level by attaching mission style table legs and enjoy the beauty and functionality they bring to your space.
Frequently Asked Questions about How To Attach Mission Style Table Legs
Was this page helpful?
At Storables.com, we guarantee accurate and reliable information. Our content, validated by Expert Board Contributors, is crafted following stringent Editorial Policies. We're committed to providing you with well-researched, expert-backed insights for all your informational needs.


0 thoughts on “How To Attach Mission Style Table Legs”