Home>Furniture>Living Room Furniture>How To Fix Coffee Table Legs
Living Room Furniture
How To Fix Coffee Table Legs
Modified: March 16, 2024
Learn how to fix coffee table legs and enhance your living room furniture. Easy DIY tips and tricks to ensure stability and functionality of your favorite centerpiece.
(Many of the links in this article redirect to a specific reviewed product. Your purchase of these products through affiliate links helps to generate commission for Storables.com, at no extra cost. Learn more)
Introduction
Welcome to our comprehensive guide on how to fix coffee table legs. Whether your coffee table legs are wobbly, damaged, or in need of a stylish upgrade, we’ve got you covered. A sturdy and functional coffee table is an essential piece of furniture in any living room, and by following the steps outlined in this article, you’ll be able to restore it to its former glory or even give it a fresh new look.
Before we dive into the step-by-step process, it’s important to assess the damage and determine the best course of action. Coffee table legs can become loose due to regular wear and tear, or they may have suffered structural damage from accidents or heavy items placed on top. By understanding the nature of the problem, you’ll be able to take the necessary steps to fix it.
In this guide, we’ll walk you through the process of assessing the damage to your coffee table legs, gathering the right tools and materials, removing the old legs, repairing or replacing them, and finally attaching the new legs securely. We’ll also share some tips on stabilizing your coffee table if needed and provide you with some finishing touches and maintenance tips to keep your newly fixed coffee table looking great for years to come.
Fixing your coffee table legs not only saves you the cost of purchasing a new table but also gives you the satisfaction of reviving a piece of furniture that holds sentimental value or perfectly complements your living room decor. So, let’s grab our tools and get ready to give those coffee table legs the attention they deserve!
Key Takeaways:
- Assess the damage to your coffee table legs carefully to understand what repairs are needed. Take your time and don’t rush this step to avoid missing any issues that could cause problems later on.
- When fixing your coffee table legs, gather all the necessary tools and materials in advance to make the repair process easier and more efficient. Having everything prepared beforehand will help you achieve the best results.
Read more: How To Make Coffee Table Legs
Step 1: Assess the Damage
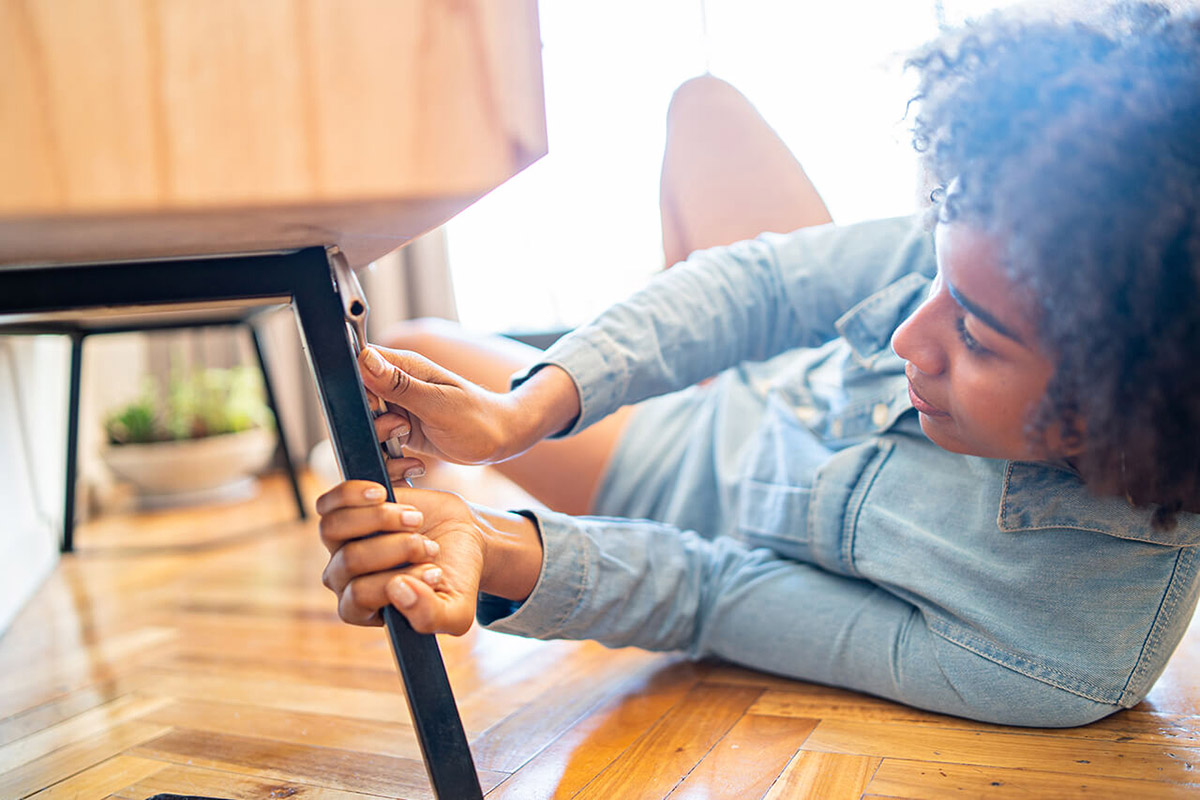
The first step in fixing coffee table legs is assessing the extent of the damage. Carefully inspect each leg to identify any cracks, loose joints, or other issues that might need attention.
If the legs are wobbly, try to determine if the problem is isolated to a single leg or if multiple legs are affected. This will help you decide whether to repair or replace the legs.
Examine the joints where the legs attach to the table. Loose or weakened joints can cause instability, making the table wobble. Look for any signs of damage such as loose screws, missing hardware, or structural issues. Take note of any specific repairs or replacements that need to be made.
Additionally, check the overall condition of the legs. Are they scratched or dented? If you’re looking to give your coffee table a fresh new look, you might consider refinishing or painting the legs as part of the repair process.
By thoroughly assessing the damage, you’ll have a clear understanding of what needs to be done and can proceed to the next steps with confidence.
Remember, it’s important to take your time during this step. Rushing the assessment might result in overlooking certain issues that can lead to further problems down the line. So, grab a cup of coffee, sit down with your table, and carefully examine the legs to identify and note all the necessary repairs or replacements.
Step 2: Gather Necessary Tools and Materials
Once you have assessed the damage to your coffee table legs, it’s time to gather the necessary tools and materials for the repair process. Having everything prepared beforehand will make the job easier and more efficient.
Here is a list of common tools and materials you may need:
Tools:
- Screwdriver or drill
- Hammer
- Safety goggles
- Adjustable wrench
- Clamps
- Chisel
- Sandpaper
- Paintbrushes
Materials:
- Wood glue
- Screws or nails
- Wood filler
- Paint or stain (if refinishing)
- Protective finish (varnish, polyurethane, etc.)
The specific tools and materials you’ll need may vary depending on the type of repair or replacement you plan to undertake. For example, if you’re simply tightening loose screws, a screwdriver may be sufficient. On the other hand, if you’re replacing a damaged leg, you may require more extensive tools and materials.
It’s always a good idea to have a variety of sizes and types of screws or nails on hand, as well as different grits of sandpaper for smoothing surfaces. If you’re planning to refinish or paint the legs, make sure you have the appropriate paint or stain, as well as a protective finish to seal the wood and provide durability.
Before you begin the repair process, make sure you have a safe and well-lit workspace. It’s also a good idea to wear safety goggles to protect your eyes from any flying debris or accidental spills.
By gathering all the necessary tools and materials in advance, you’ll be fully prepared to proceed with the repairs and achieve the best possible results for your coffee table legs.
Step 3: Remove the Old Legs
Now that you have assessed the damage and gathered all the necessary tools and materials, it’s time to remove the old legs from your coffee table. Removing the legs will allow you to repair or replace them as needed.
Here are the steps to follow:
- Flip the coffee table over carefully to gain access to the underside. It’s advisable to have a helping hand to assist with this step, especially if the table is heavy.
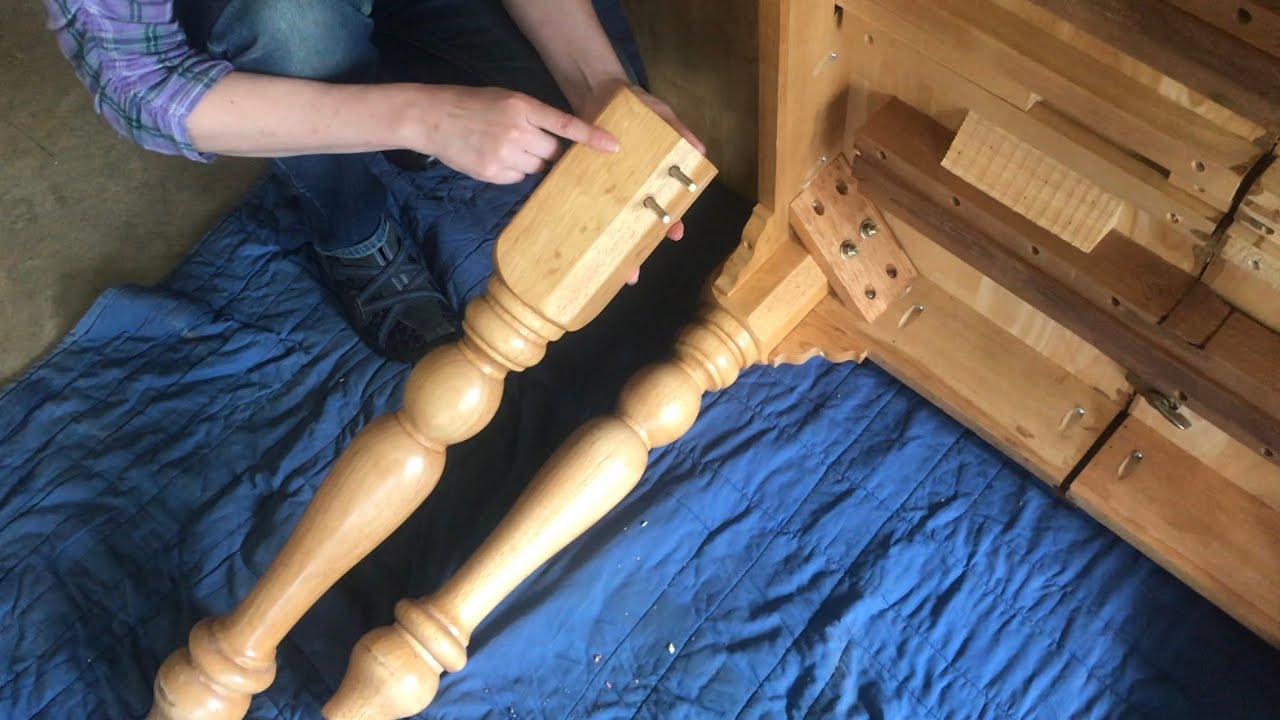
- Inspect how the legs are attached to the table. They may be secured with screws, nails, or brackets.
- Using a screwdriver, drill, or adjustable wrench, remove any screws, nails, or brackets that are holding the legs in place.
- If the legs are glued in place, you may need to use a chisel or hammer to gently tap and loosen the adhesive bond.
- Once the attachments have been removed or loosened, gently wiggle and twist each leg to detach it from the table.
- Repeat the process for all the legs until they are completely detached.
During the process of removing the old legs, be cautious not to damage the table or yourself. Take your time and use the appropriate tools to ensure a safe and successful removal.
Upon removing the legs, inspect the table’s underside to see if any repairs or adjustments are needed. If there are any loose screws or brackets, tighten them or replace them as necessary. Additionally, check for any other structural issues that may require attention before attaching the new legs.
By carefully removing the old legs, you’ll be one step closer to giving your coffee table a fresh new look or restoring its stability and functionality. Now, let’s move on to the next step and repair or replace those legs!
Step 4: Repair or Replace the Legs
With the old legs removed from your coffee table, it’s time to determine whether they can be repaired or if you need to replace them entirely. This step will depend on the extent of the damage and your personal preference.
If you decide to repair the legs, here are some common issues and corresponding solutions:
- Loose Joints: If the legs have loose joints, apply wood glue to the joints and use clamps to hold them together until the glue dries. This will help restore stability to the legs.
- Cracks or Structural Damage: Use wood filler to fill in any cracks or damaged areas of the legs. Allow the filler to dry according to the manufacturer’s instructions, then sand it down until smooth. This will restore the appearance and strength of the legs.
- Decay or Rot: If the legs are severely decayed or rotted, repairing may not be feasible. In this case, it’s recommended to replace the legs entirely.
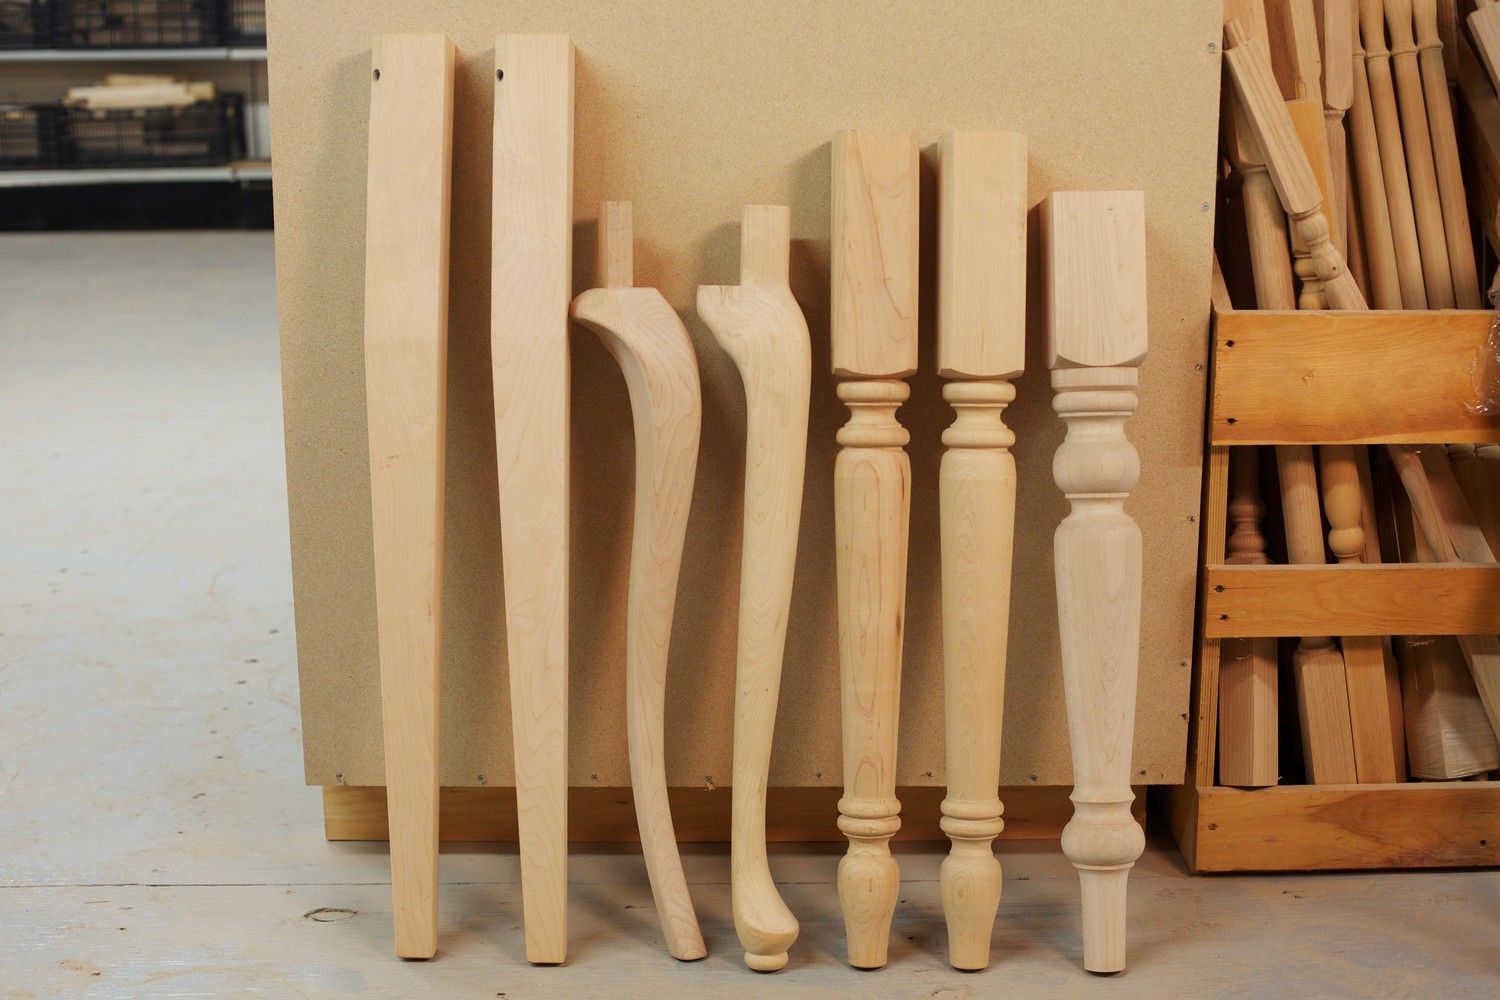
If you opt to replace the legs, measure the length and width of the old legs to ensure a proper fit. There are various options available for replacement legs, including wooden, metal, or even decorative options. Choose the material and style that best suits your taste and complements your coffee table.
When replacing the legs, make sure they are properly attached to the table. This can be done by using screws, brackets, or any other appropriate hardware for securing the new legs. Ensure a tight and stable connection to guarantee the longevity and stability of the coffee table.
Remember, the repair or replacement process may vary depending on the specific issues you encounter and the type of coffee table legs you have. Take your time and follow any manufacturer instructions or guidelines to ensure a successful repair or replacement.
Once the legs are repaired or replaced, and securely attached to the table, you’re ready to move on to the next step: attaching the new legs to your coffee table.
If your coffee table legs are wobbly, try tightening the screws or bolts connecting them to the table. If that doesn’t work, consider adding felt pads to the bottom of the legs to stabilize them.
Read more: How Tall Are Dining Table Legs
Step 5: Attach the New Legs
Now that you have repaired or replaced the legs for your coffee table, it’s time to attach the new legs securely. This step is crucial to ensure the stability and functionality of your table.
Follow these steps to attach the new legs:
- Place the coffee table right side up on a flat surface, making sure it is stable.
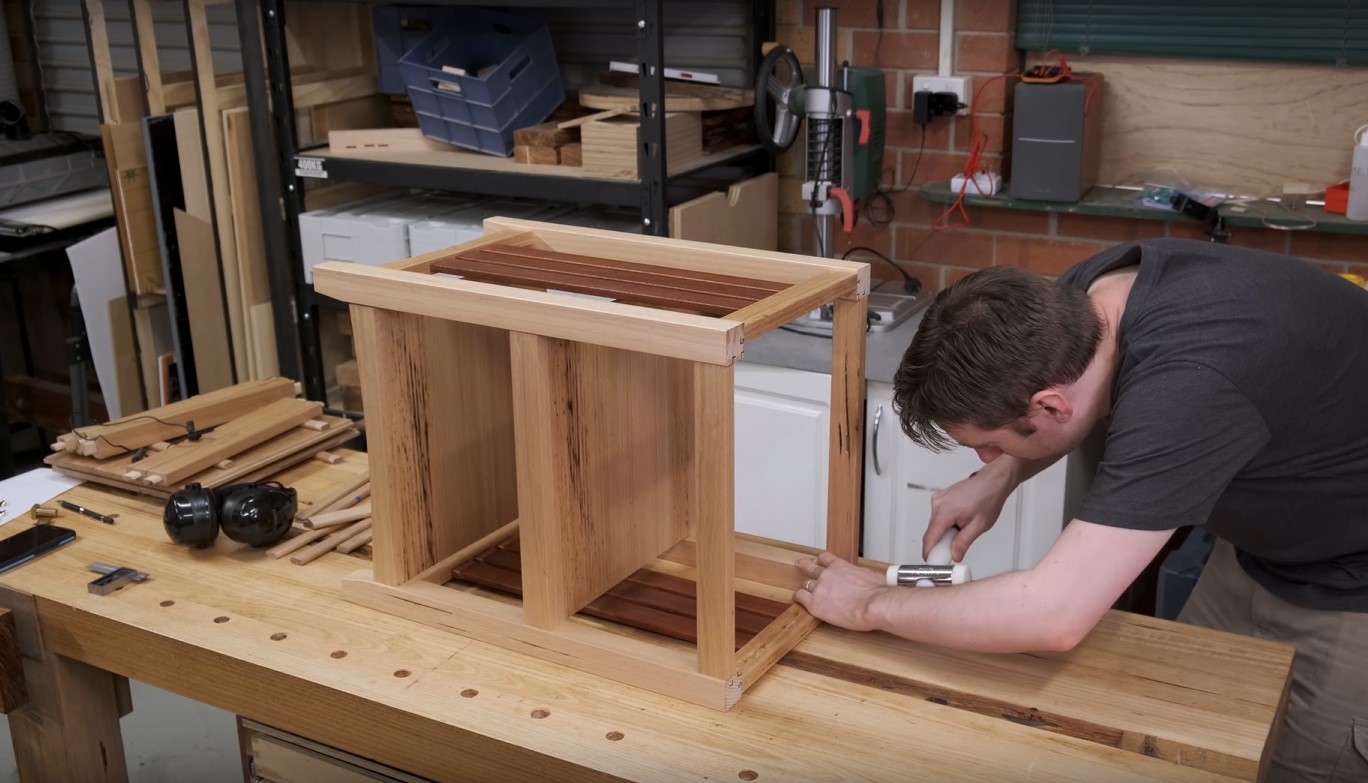
- Take one of the new legs and position it at the corner of the table where the old leg was previously attached.
- Using a screwdriver or drill, insert screws into the pre-drilled holes on the leg and tighten them until the leg feels secure. Make sure to use screws that are appropriate for the thickness of the leg and the material of the table.
- Repeat the process for the remaining legs, attaching them securely to their corresponding corners.
If the new legs do not come with pre-drilled holes, you may need to drill pilot holes before inserting the screws. This will prevent the wood from splitting and make it easier to attach the legs.
When attaching the new legs, ensure that they are straight and level. Use a level tool to verify the alignment and make any necessary adjustments before fully tightening the screws.
Once all the new legs are attached and properly secured, flip the coffee table over to verify that it stands stable without any wobbling. If you notice any instability, check the leg attachments and tighten them as needed.
Congratulations! You have successfully attached the new legs to your coffee table, restoring its stability and functional beauty. The next step involves stabilizing the coffee table if necessary.
Note: If you have decided to refinish or paint the new legs, it’s best to do so before attaching them to the table. This will allow for easier and more thorough coverage, ensuring a seamless look for your coffee table.
Step 6: Stabilize the Coffee Table if Needed
After attaching the new legs to your coffee table, it’s important to ensure that it is stable and level. This step is crucial for the safety and functionality of the table, especially if the floor is uneven or if the table tends to wobble.
Here are some methods to stabilize your coffee table if needed:
- Adjustable Levelers: If your table has adjustable levelers, use them to create a level surface. These levelers can be found on the bottom of each leg and can be adjusted by turning them clockwise or counterclockwise as needed.
- Felt Pads: Attach felt pads or furniture glides to the bottom of the table legs. These pads provide a cushioned surface and help minimize movement and scratching on the floor.
- Shims: If the table is still wobbly, even after using levelers, you can use shims to provide additional stability. Place small wooden shims or wedges under the legs that are off balance to even out the height and eliminate any wobbling.
When using shims, make sure they are placed securely and do not protrude out from under the legs. You can trim the excess shim to ensure a clean and flush appearance.
By stabilizing your coffee table, you’ll create a sturdy surface for placing items and prevent any accidents or spills that can occur due to an uneven table surface. Take the time to make any necessary adjustments to ensure the table is level and secure.
Once you have stabilized the coffee table, you’re almost done! The final step involves adding some finishing touches and maintaining the beauty of your fixed coffee table.
Step 7: Finishing Touches and Maintenance Tips
Congratulations on successfully fixing your coffee table legs! Now, it’s time to add some finishing touches and learn how to maintain the beauty and functionality of your newly repaired or upgraded coffee table.
Here are some important steps to consider:
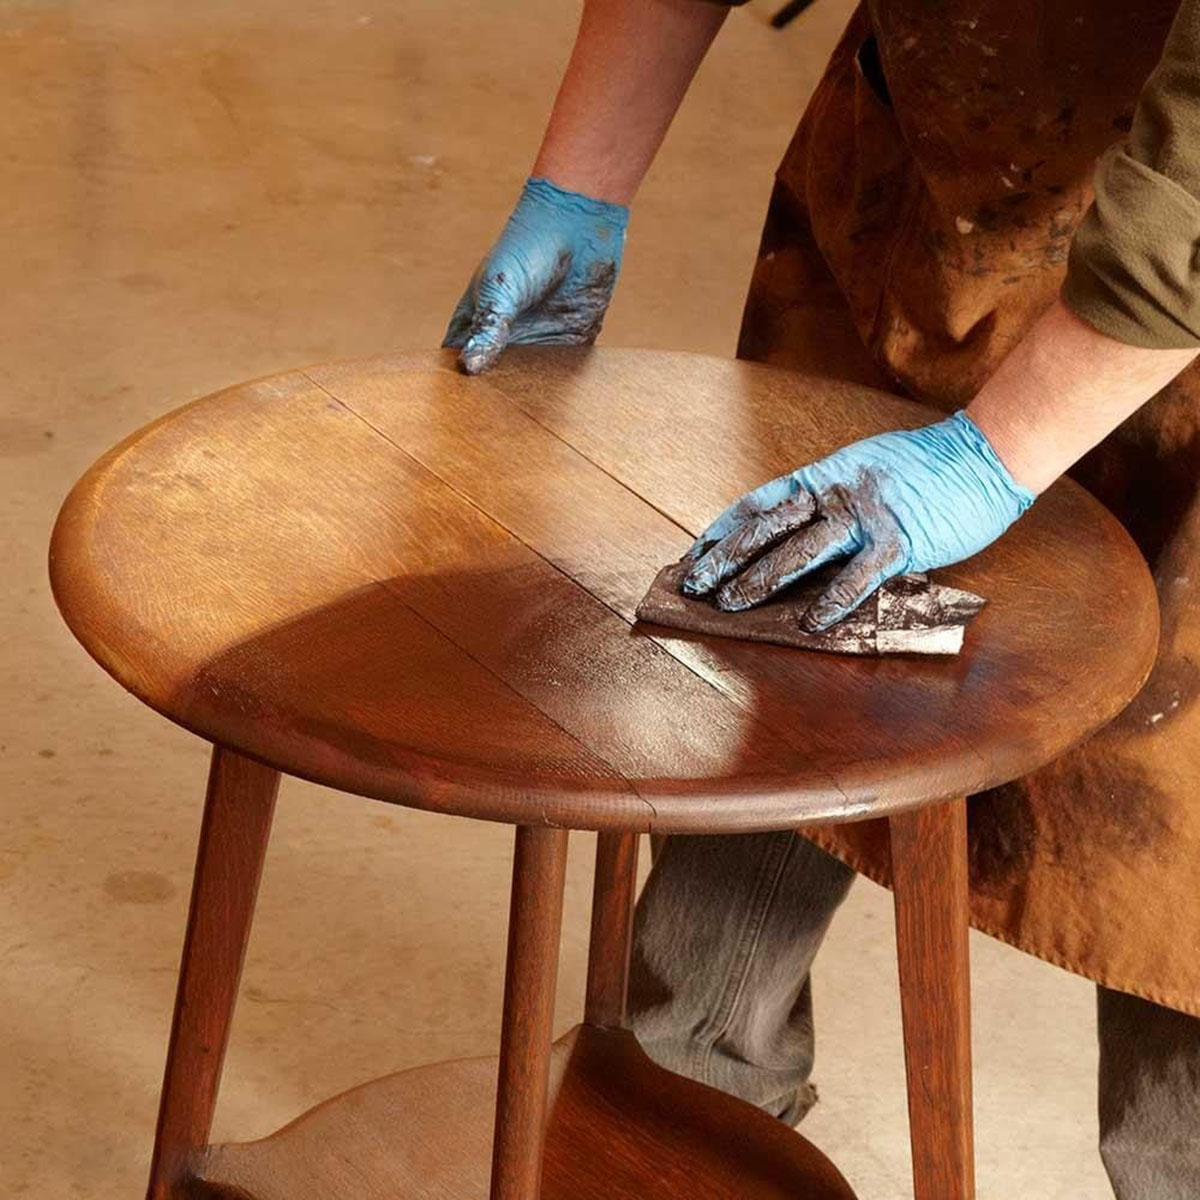
- Refinishing or Painting: If you haven’t already done so, now is the perfect time to refinish or paint the legs of your coffee table. Follow the manufacturer’s instructions to achieve the desired look. Make sure to allow adequate drying time before placing any items on the table.
- Protective Finish: Apply a protective finish, such as varnish or polyurethane, to the legs and the entire surface of the table. This will provide durability and safeguard against spills, stains, and scratches.
- Cleaning: Regularly dust and clean your coffee table to maintain its appearance. Use a soft cloth or a furniture cleaner recommended for the type of surface you have. Avoid abrasive cleaners or harsh chemicals that can damage the finish.
- Avoid Excessive Weight: Be mindful of the weight limit your coffee table can handle. Avoid placing heavy or excessive items on it, as this can put unnecessary stress on the legs and compromise their stability over time.
- Adjust Legs Periodically: Check the tightness of the leg attachments periodically. Over time, screws or other hardware may loosen. Tighten any loose attachments to maintain a stable coffee table.
- Use Coasters: To protect the surface of your table, use coasters or place mats under hot or cold drinks. This prevents unsightly rings and heat damage that can occur from direct contact.
By following these finishing touches and maintenance tips, you’ll be able to enjoy your coffee table for years to come. Regular care and attention will keep it looking beautiful and in optimal condition.
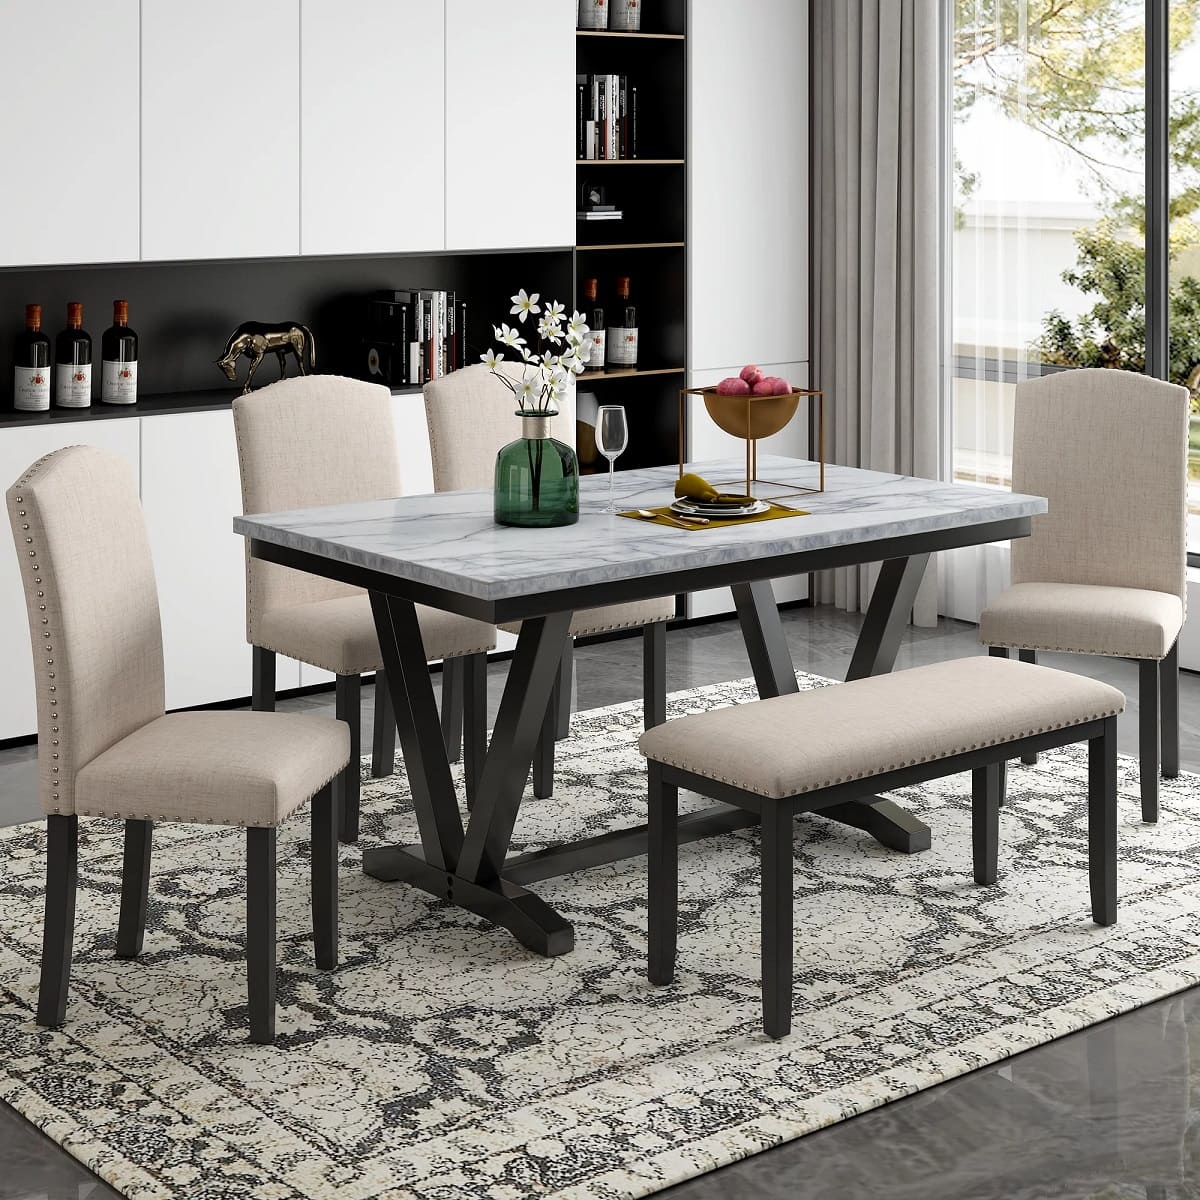
Remember, your coffee table is not just a functional piece of furniture but also a centerpiece in your living room. Take pride in the work you’ve done to fix and maintain it, and enjoy the benefits of a sturdy and visually appealing coffee table.
With that, we conclude our guide on how to fix coffee table legs. We hope this step-by-step process has been helpful in restoring or upgrading your coffee table. Now, go ahead and showcase your newly repaired or revamped coffee table with pride!
Conclusion
Fixing coffee table legs may seem like a daunting task, but with the right knowledge and tools, it can be a rewarding DIY project. By following the steps outlined in this guide, you have learned how to assess the damage, gather the necessary tools and materials, remove old legs, repair or replace them, attach new legs, stabilize the table if needed, and add finishing touches and maintenance tips.
By taking the time to assess the damage, you can determine the appropriate repairs or replacements required. Gathering the necessary tools and materials ensures that you have everything you need to complete the project efficiently. The process of removing the old legs and attaching the new ones might require some careful handling and attention to detail, ensuring a secure attachment and stable coffee table.
Stabilizing the table and adding finishing touches, such as refinishing or painting the legs, not only enhances the overall look and feel of the table but also adds durability and protection. Maintaining the coffee table by periodically checking the leg attachments and using coasters or mats helps prolong its lifespan, ensuring that it remains a functional and beautiful piece of furniture in your living room.
Remember, fixing your coffee table legs not only saves you money but also imbues a sense of accomplishment and pride. Whether it’s reviving an old and cherished piece or giving it a fresh new look, you have the power to transform your coffee table and create a focal point in your living space.
We hope this comprehensive guide has been informative and helpful in your coffee table leg repair endeavors. Enjoy the process, and may your coffee table bring both functionality and style to your home for years to come!
Frequently Asked Questions about How To Fix Coffee Table Legs
Was this page helpful?
At Storables.com, we guarantee accurate and reliable information. Our content, validated by Expert Board Contributors, is crafted following stringent Editorial Policies. We're committed to providing you with well-researched, expert-backed insights for all your informational needs.


0 thoughts on “How To Fix Coffee Table Legs”