Home>Dining>Table Decor>How To Make A Deco Mesh Table Centerpiece
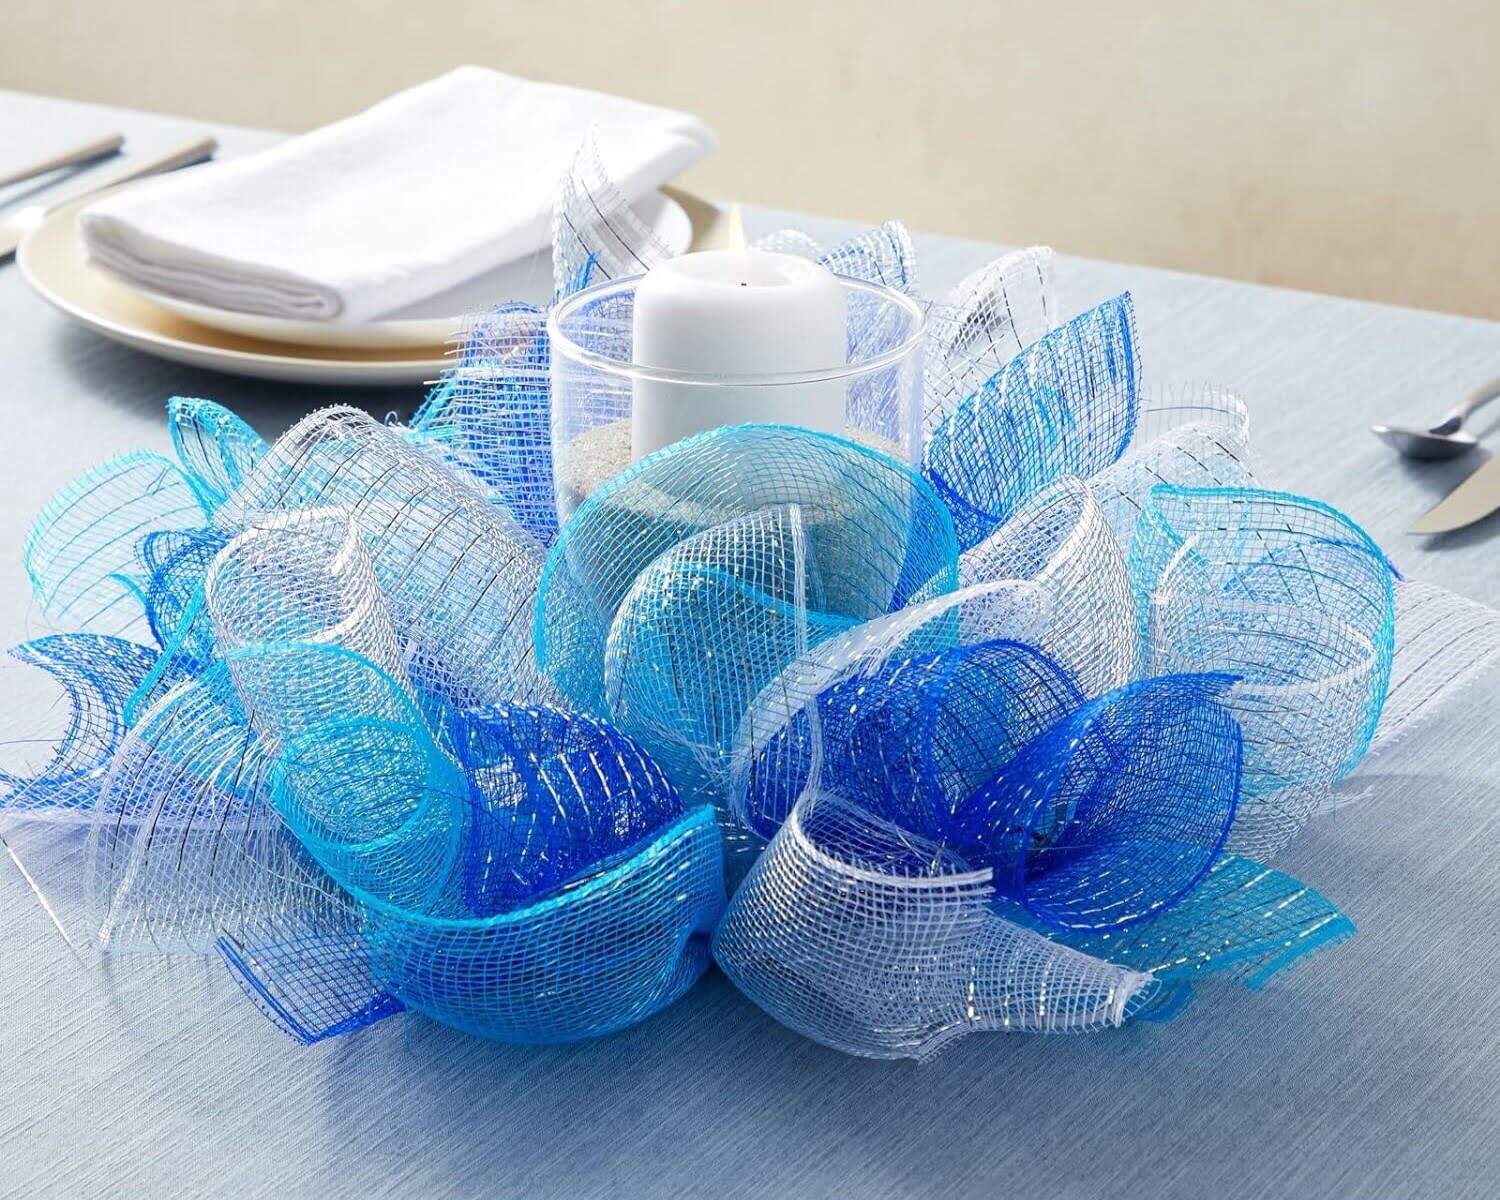
Table Decor
How To Make A Deco Mesh Table Centerpiece
Modified: October 20, 2024
Learn how to create a stunning table centerpiece with deco mesh for your next event. Enhance your table decor with this easy step-by-step tutorial.
(Many of the links in this article redirect to a specific reviewed product. Your purchase of these products through affiliate links helps to generate commission for Storables.com, at no extra cost. Learn more)
Introduction
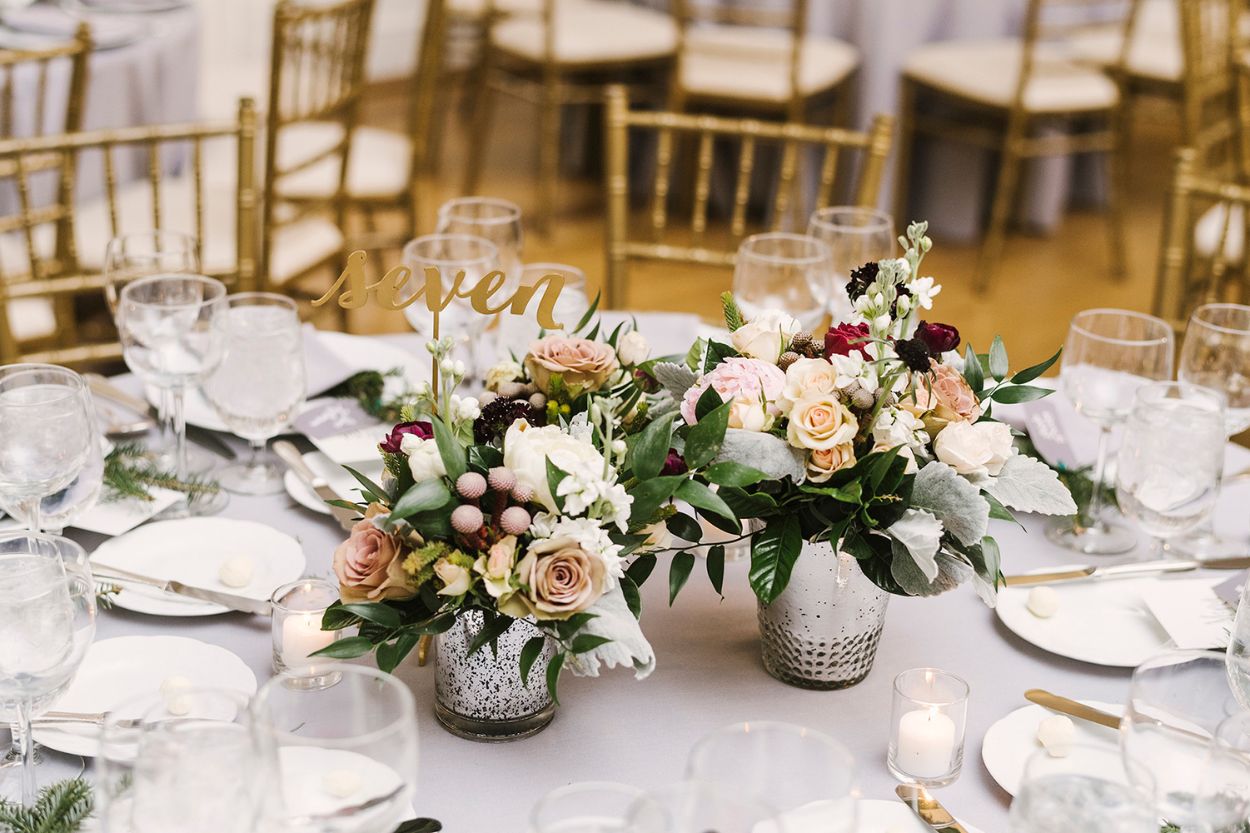
Welcome to the world of table décor, where creativity and aesthetics merge to create stunning centerpieces that elevate any event or gathering. If you’re looking to add a touch of elegance and style to your table setting, a deco mesh table centerpiece is a perfect choice. Not only is it visually appealing, but it also allows for endless customization options.
Deco mesh is a versatile material that comes in a variety of colors and patterns. It is a lightweight, flexible, and durable material that can be easily manipulated to create beautiful and intricate designs. Whether you’re planning a wedding, a birthday party, or a holiday celebration, a deco mesh table centerpiece is sure to impress your guests.
In this step-by-step guide, we will walk you through the process of creating your own deco mesh table centerpiece. From choosing the base to adding accents and embellishments, we will cover everything you need to know to create a stunning centerpiece that will be the talk of the town.
So, let’s gather our materials and get started on this exciting and creative journey of making a beautiful deco mesh table centerpiece. Grab your glue guns, ribbons, and other decorative elements, and let your imagination run wild!
Key Takeaways:
- Elevate any event with a stunning deco mesh table centerpiece. Unleash your creativity and personalize each step to create a captivating focal point that impresses guests and adds a touch of sophistication.
- Secure your masterpiece and enjoy the admiration it receives. With proper care, your deco mesh centerpiece can be reused for future events, showcasing your artistic skills and attention to detail.
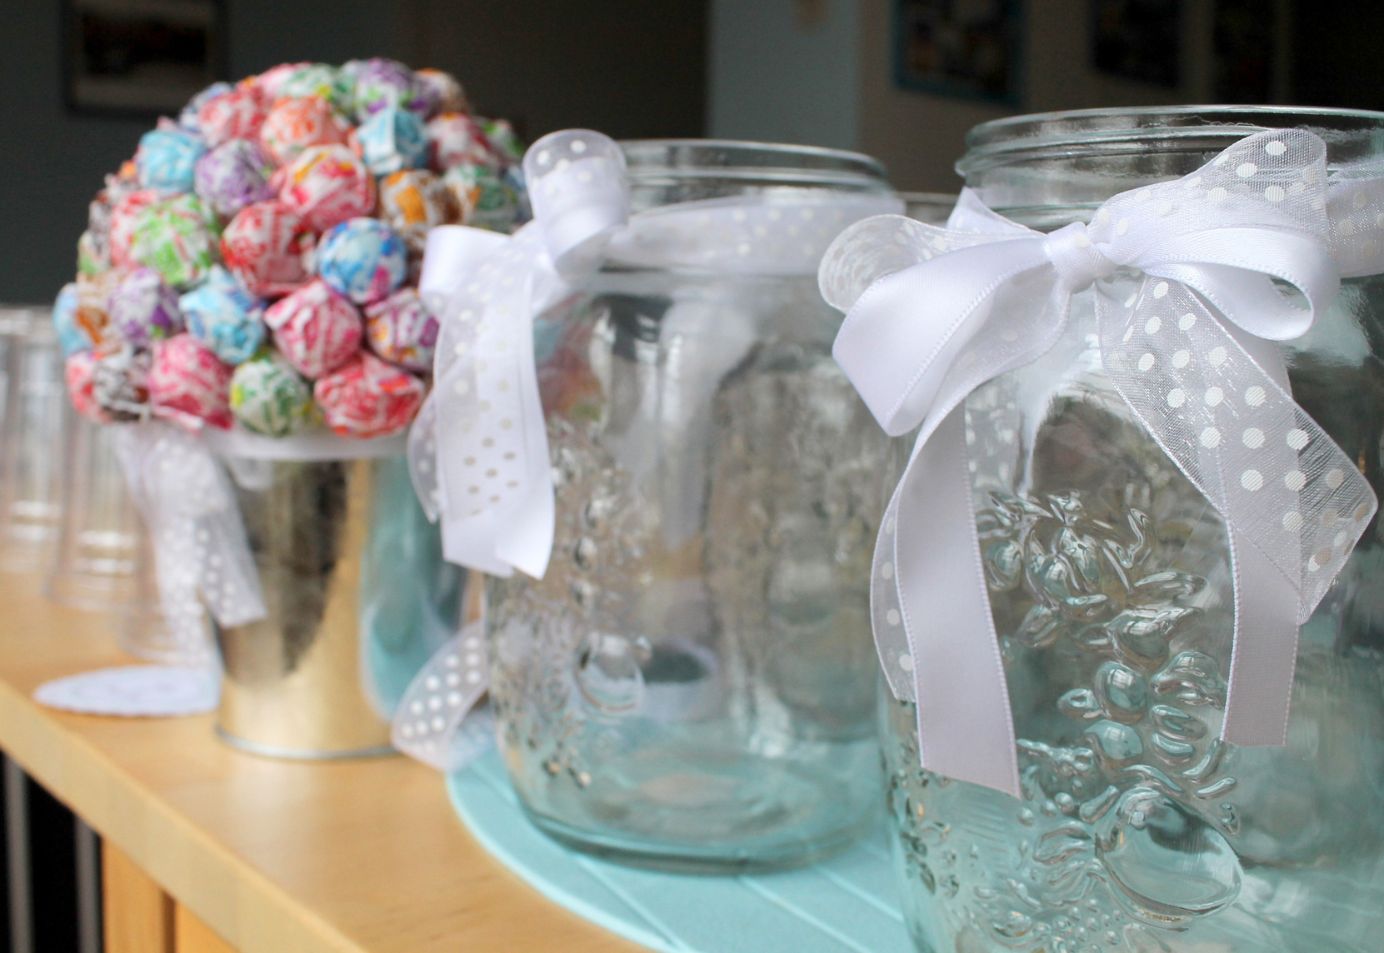
Read more: How To Make Centerpieces With Candy
Materials Needed
Before diving into the creation of your deco mesh table centerpiece, let’s gather all the necessary materials. Here’s a list of items you’ll need:
- Deco mesh – Choose a color or pattern that complements your event theme
- Wire wreath frame – The size of the frame will depend on the desired dimensions of your centerpiece
- Floral wire or pipe cleaners – These will be used to secure the deco mesh to the frame
- Scissors – To cut the deco mesh and other materials
- Ribbon – Select various ribbons in different widths, colors, and textures for added dimension
- Embellishments – You can choose from decorative picks, brooches, beads, faux flowers, or any other accessories that suit your style
- Hot glue gun – To attach the embellishments securely
- Wire cutters – Useful for trimming floral wire or removing excess materials
- Optional: LED lights – If you want to add an enchanting glow to your centerpiece, consider incorporating battery-operated LED lights
Make sure you have all these materials readily available before you begin. Having everything in place will ensure a smooth and uninterrupted creative process.
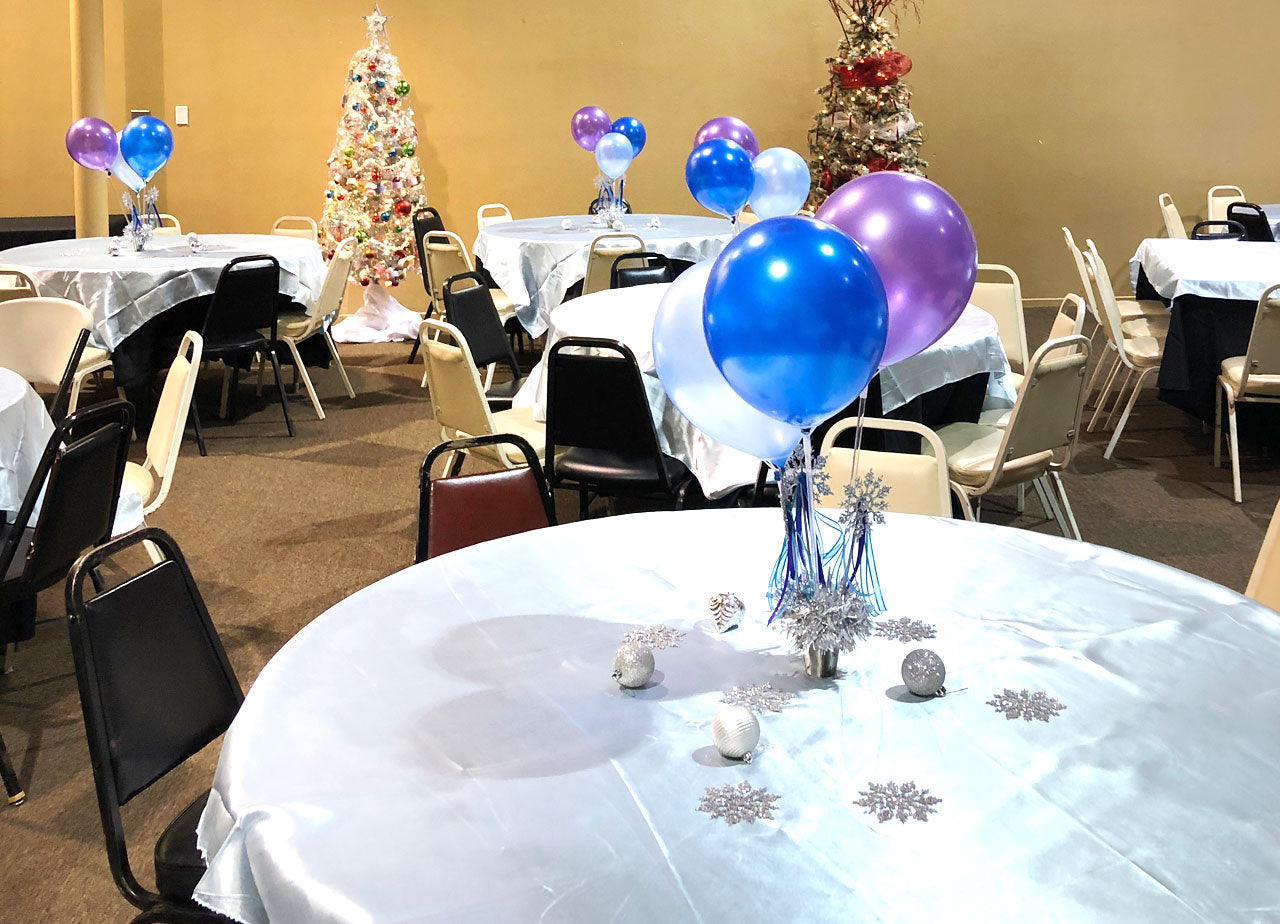
Step 1: Choosing a Base for the Centerpiece
The first step in creating your deco mesh table centerpiece is selecting a suitable base. The base serves as the foundation on which you will build your design. Here are a few options to consider:
- Wire wreath frame: This is a popular choice for deco mesh centerpieces. They come in various sizes and shapes, such as round, square, or heart-shaped. Choose a frame that fits nicely on your table and provides enough surface area to work with.
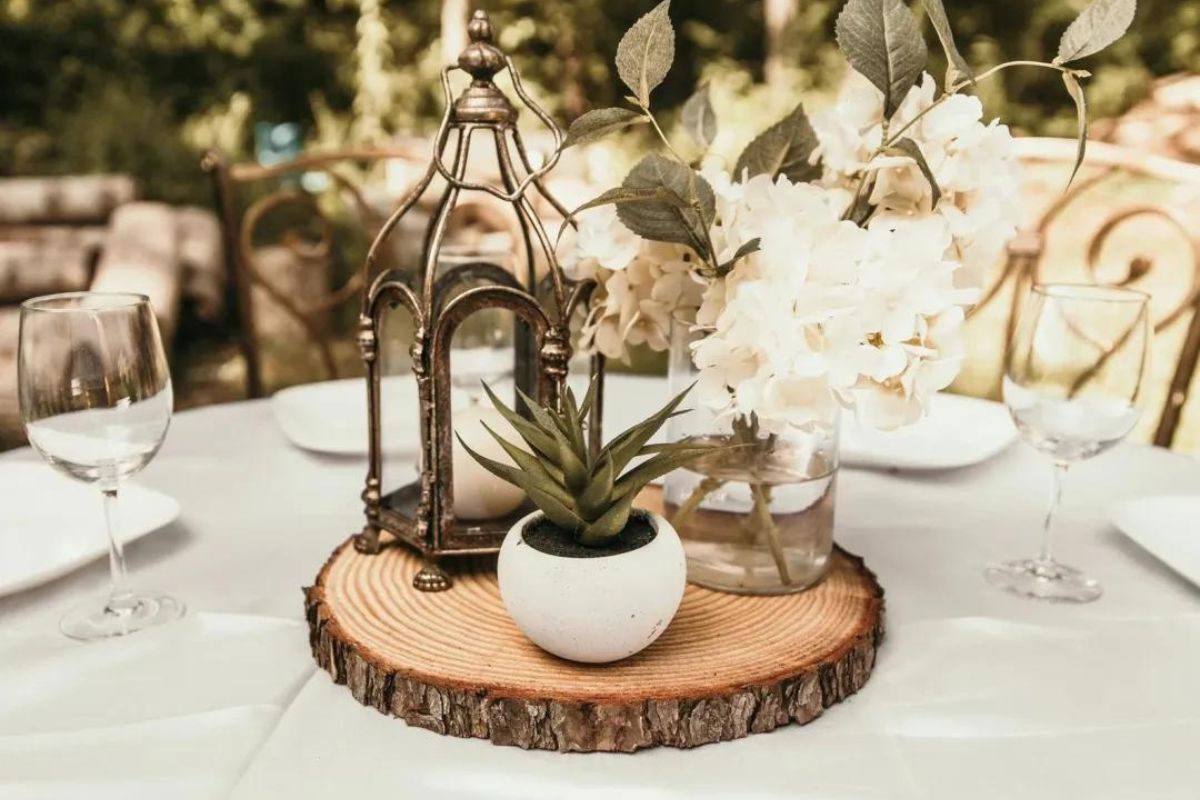
- Wooden box: If you prefer a more rustic or farmhouse-style centerpiece, a wooden box can be a great base. You can find pre-made wooden boxes or even repurpose an old crate or tray.
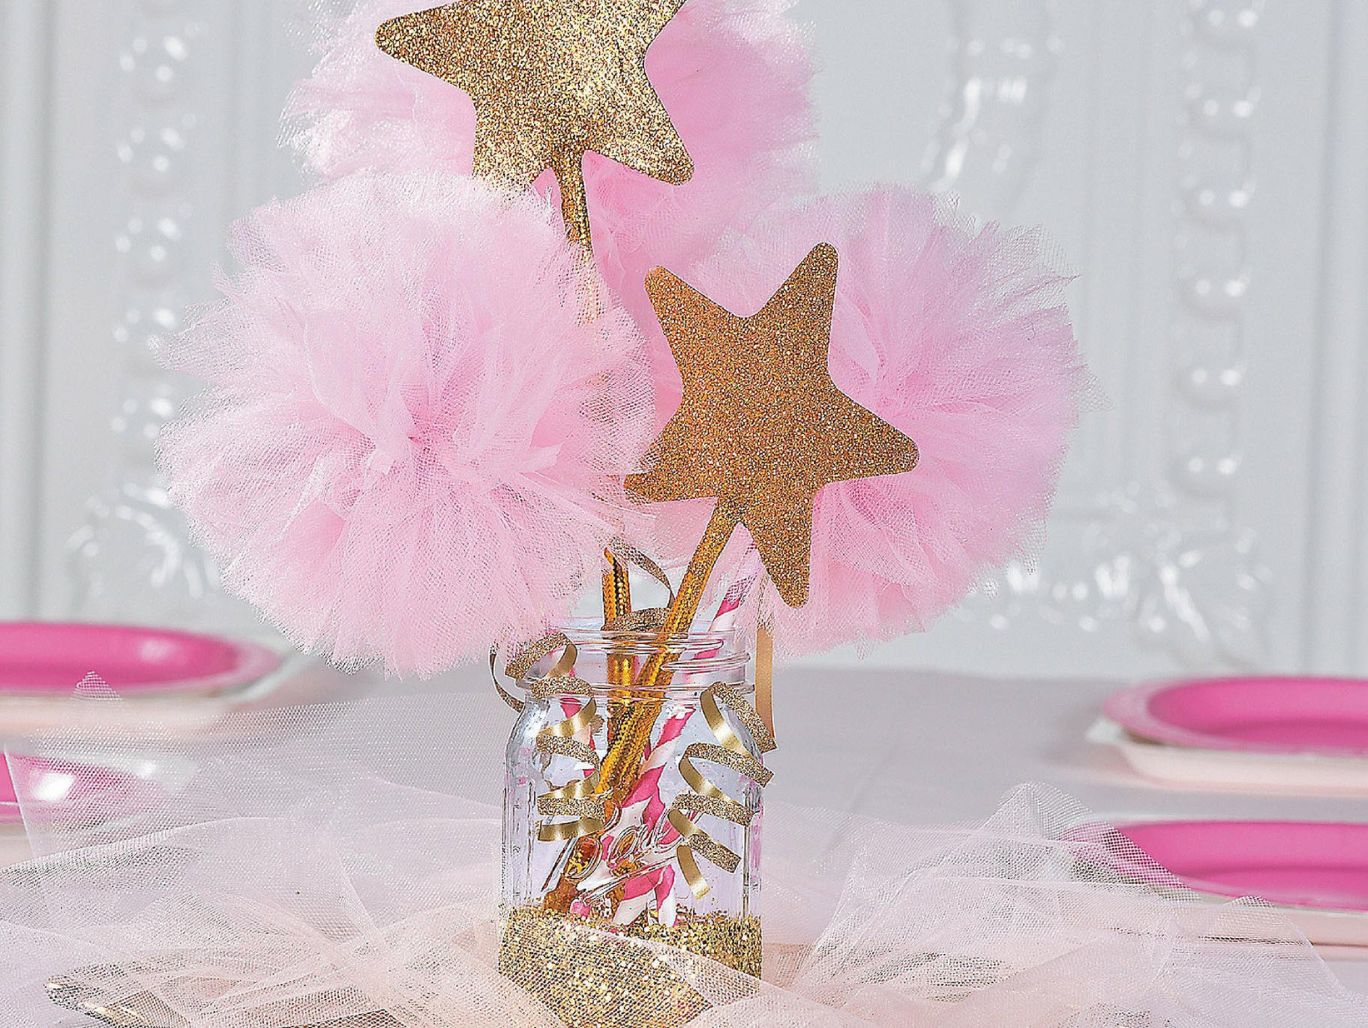
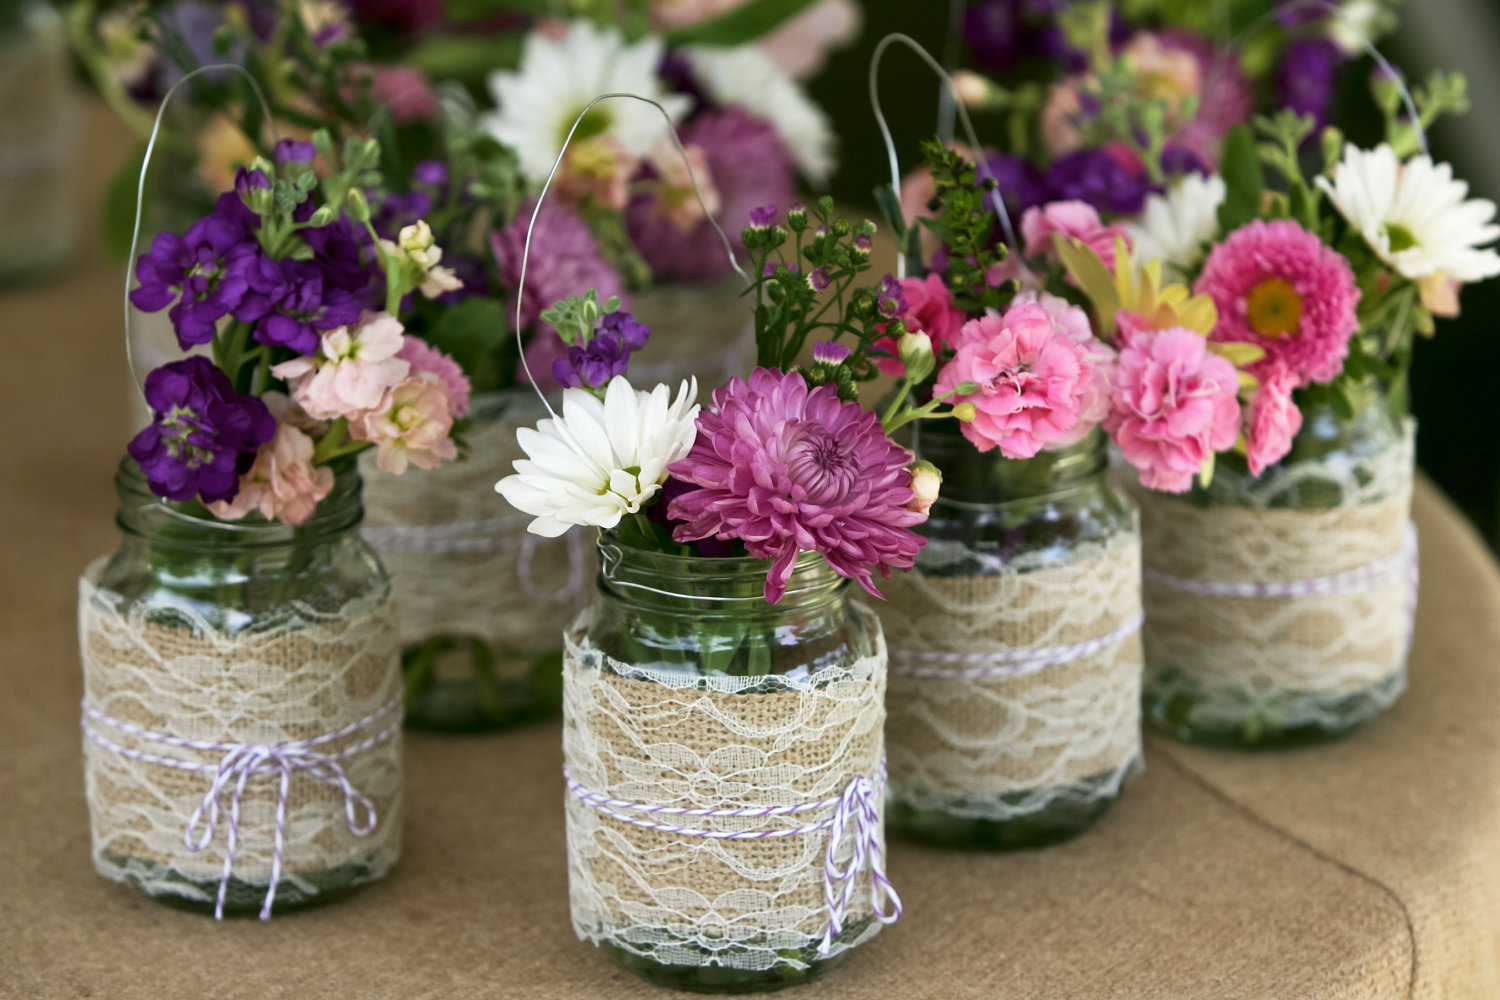
- Glass vase or jar: For a sleek and modern look, consider using a glass vase or jar as your base. These can be filled with decorative elements or left empty to showcase the deco mesh on the outside.
- Foam base: A foam block or sphere can be a useful base if you want to create a more sculptural or customized design. The foam can be easily shaped and decorated with deco mesh and other materials.
Take some time to envision the style and theme of your event and choose a base that aligns with your vision. Consider the size and shape of your table, as well as the overall aesthetic you want to achieve. Once you’ve selected your base, you’re ready to move on to the next step – attaching the deco mesh!
Step 2: Attaching the Deco Mesh
Now that you have chosen your base, it’s time to start adding the deco mesh to bring your centerpiece to life. Follow these steps to attach the deco mesh:
- Start at one end: Begin by securing the end of the deco mesh to the base using floral wire or pipe cleaners. Twist the wire tightly to ensure the mesh is secure.
- Loop and gather: Working in sections, create loops with the mesh by folding it back and forth. Make the loops of your desired size, keeping in mind the overall dimensions of your centerpiece.
- Secure the loops: Once you have created a loop, gather it together and secure it to the base using floral wire or pipe cleaners. Twist the wire tightly to hold the loop in place.
- Continue looping and securing: Repeat the looping and securing process, moving along the base. As you progress, make sure to fluff the previous loops to create fullness and volume.
- Vary the directions: To add visual interest, vary the direction of your loops. Some loops can face upwards, while others can face downwards or sideways. This will create a textured and dynamic look.
- Fill the base: Continue attaching and layering the deco mesh until the entire base is covered. Make sure there are no gaps or empty spaces.
As you work with the deco mesh, feel free to experiment with different techniques and styles. You can create uniform loops or mix in some ruffles and twists for a more whimsical and playful design. The key is to have fun and let your creativity shine!
Once you have attached the deco mesh, step back and assess the overall appearance. Make any adjustments or fluff the loops as needed to achieve the desired shape and fullness.
In the next step, we will explore how to add accents and embellishments to enhance the beauty of your deco mesh table centerpiece. Stay tuned!
When creating a deco mesh table centerpiece, start by choosing a color scheme that complements the event or space. Then, use a sturdy base such as a foam or wire wreath form to build your design upon. This will ensure that your centerpiece holds its shape and looks professional.
Step 3: Adding Accents and Embellishments
Now that you have the foundation of your deco mesh table centerpiece in place, it’s time to add additional accents and embellishments to enhance its visual appeal. Here are some ideas on how to decorate your centerpiece:
- Ribbon: Cut various lengths of ribbon and attach them to different sections of the deco mesh. You can tie bows, create streamers, or weave the ribbon through the loops to add texture and pops of color.
- Embellishments: Get creative with decorative picks, brooches, beads, or faux flowers. Attach them to the deco mesh using a hot glue gun or floral wire. These embellishments can act as focal points or fillers to add depth and interest to your centerpiece.
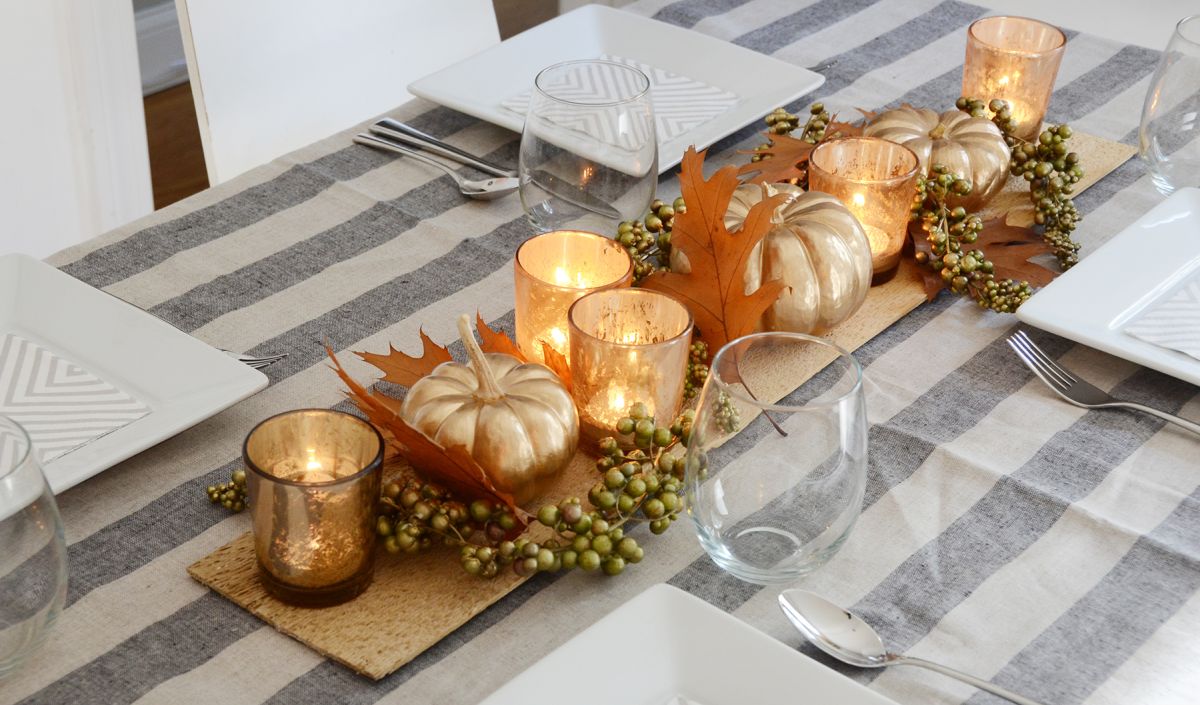
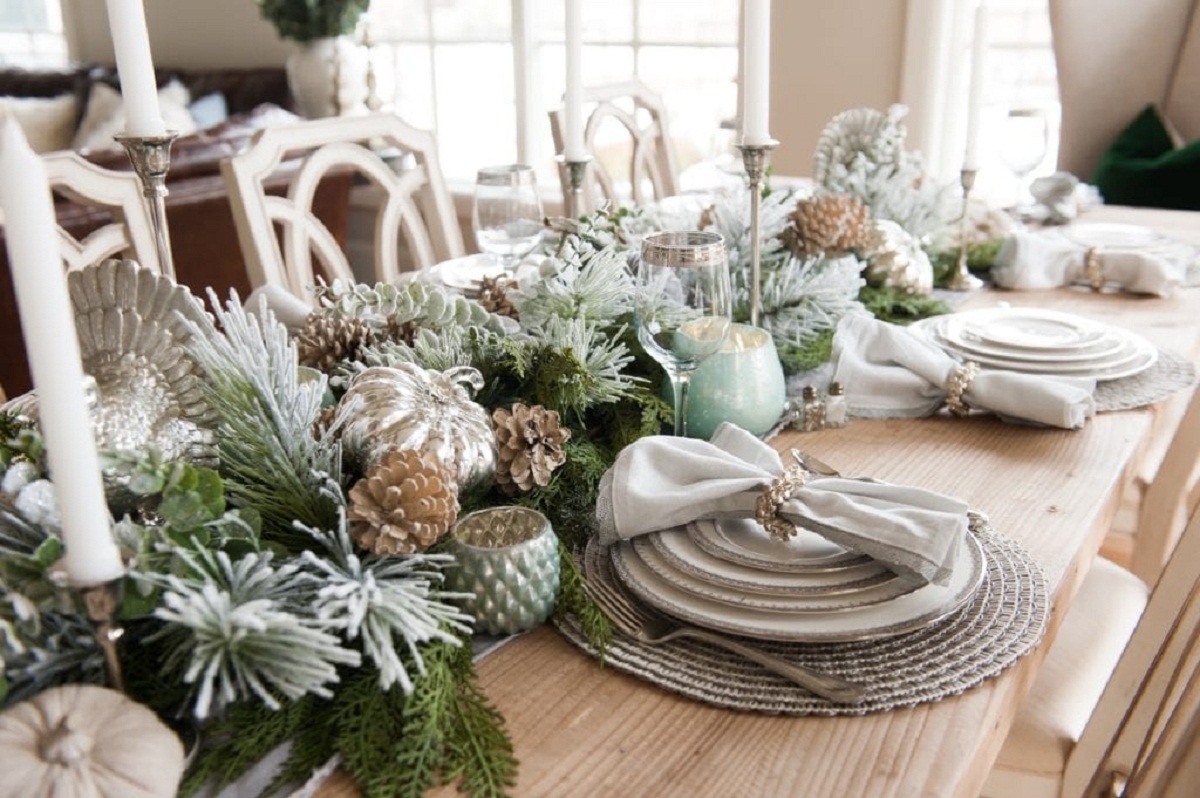
- Greenery: Incorporate faux foliage or greenery to give your centerpiece a natural and lush look. Tuck them in between the loops of the deco mesh, ensuring they are securely attached.
- Personal touches: Consider adding personalized elements such as photos, name cards, or small mementos that are meaningful to the event or occasion. These can be nestled within the loops or attached to the base of the centerpiece.
- LED lights: For a touch of enchantment, weave battery-operated LED lights throughout the deco mesh. The soft glow will add a magical ambiance to your table centerpiece, especially for evening events.
Remember to distribute the accents and embellishments evenly throughout the centerpiece to maintain balance and harmony. Step back periodically to assess the overall look and make any necessary adjustments.
This is the stage where your creativity can truly shine. Don’t be afraid to think outside the box and experiment with different combinations of colors, textures, and materials. Let your personal style and the theme of your event guide your choices.
Now, with the accents and embellishments added, your deco mesh table centerpiece is well on its way to becoming a showstopper. In the next step, we will focus on creating a focal point to make your centerpiece truly captivating. Stay tuned!
Read more: How To Make Centerpieces For Baptism
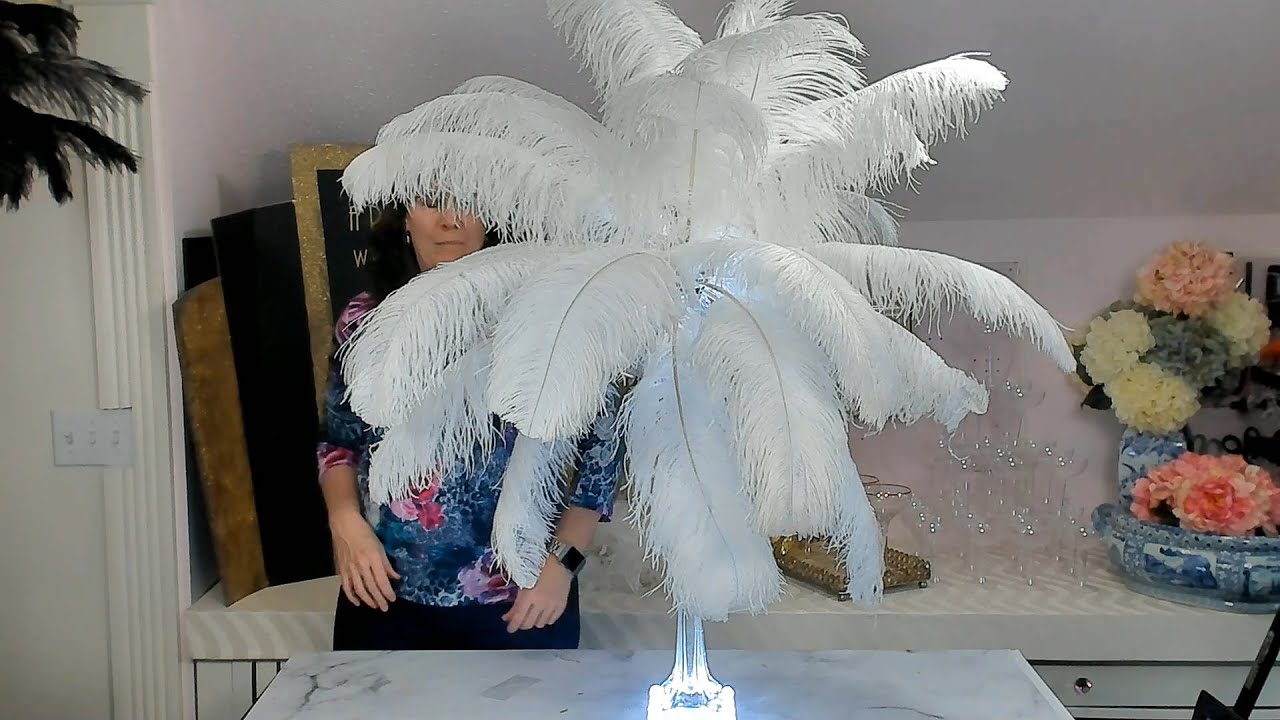
Step 4: Creating a Focal Point
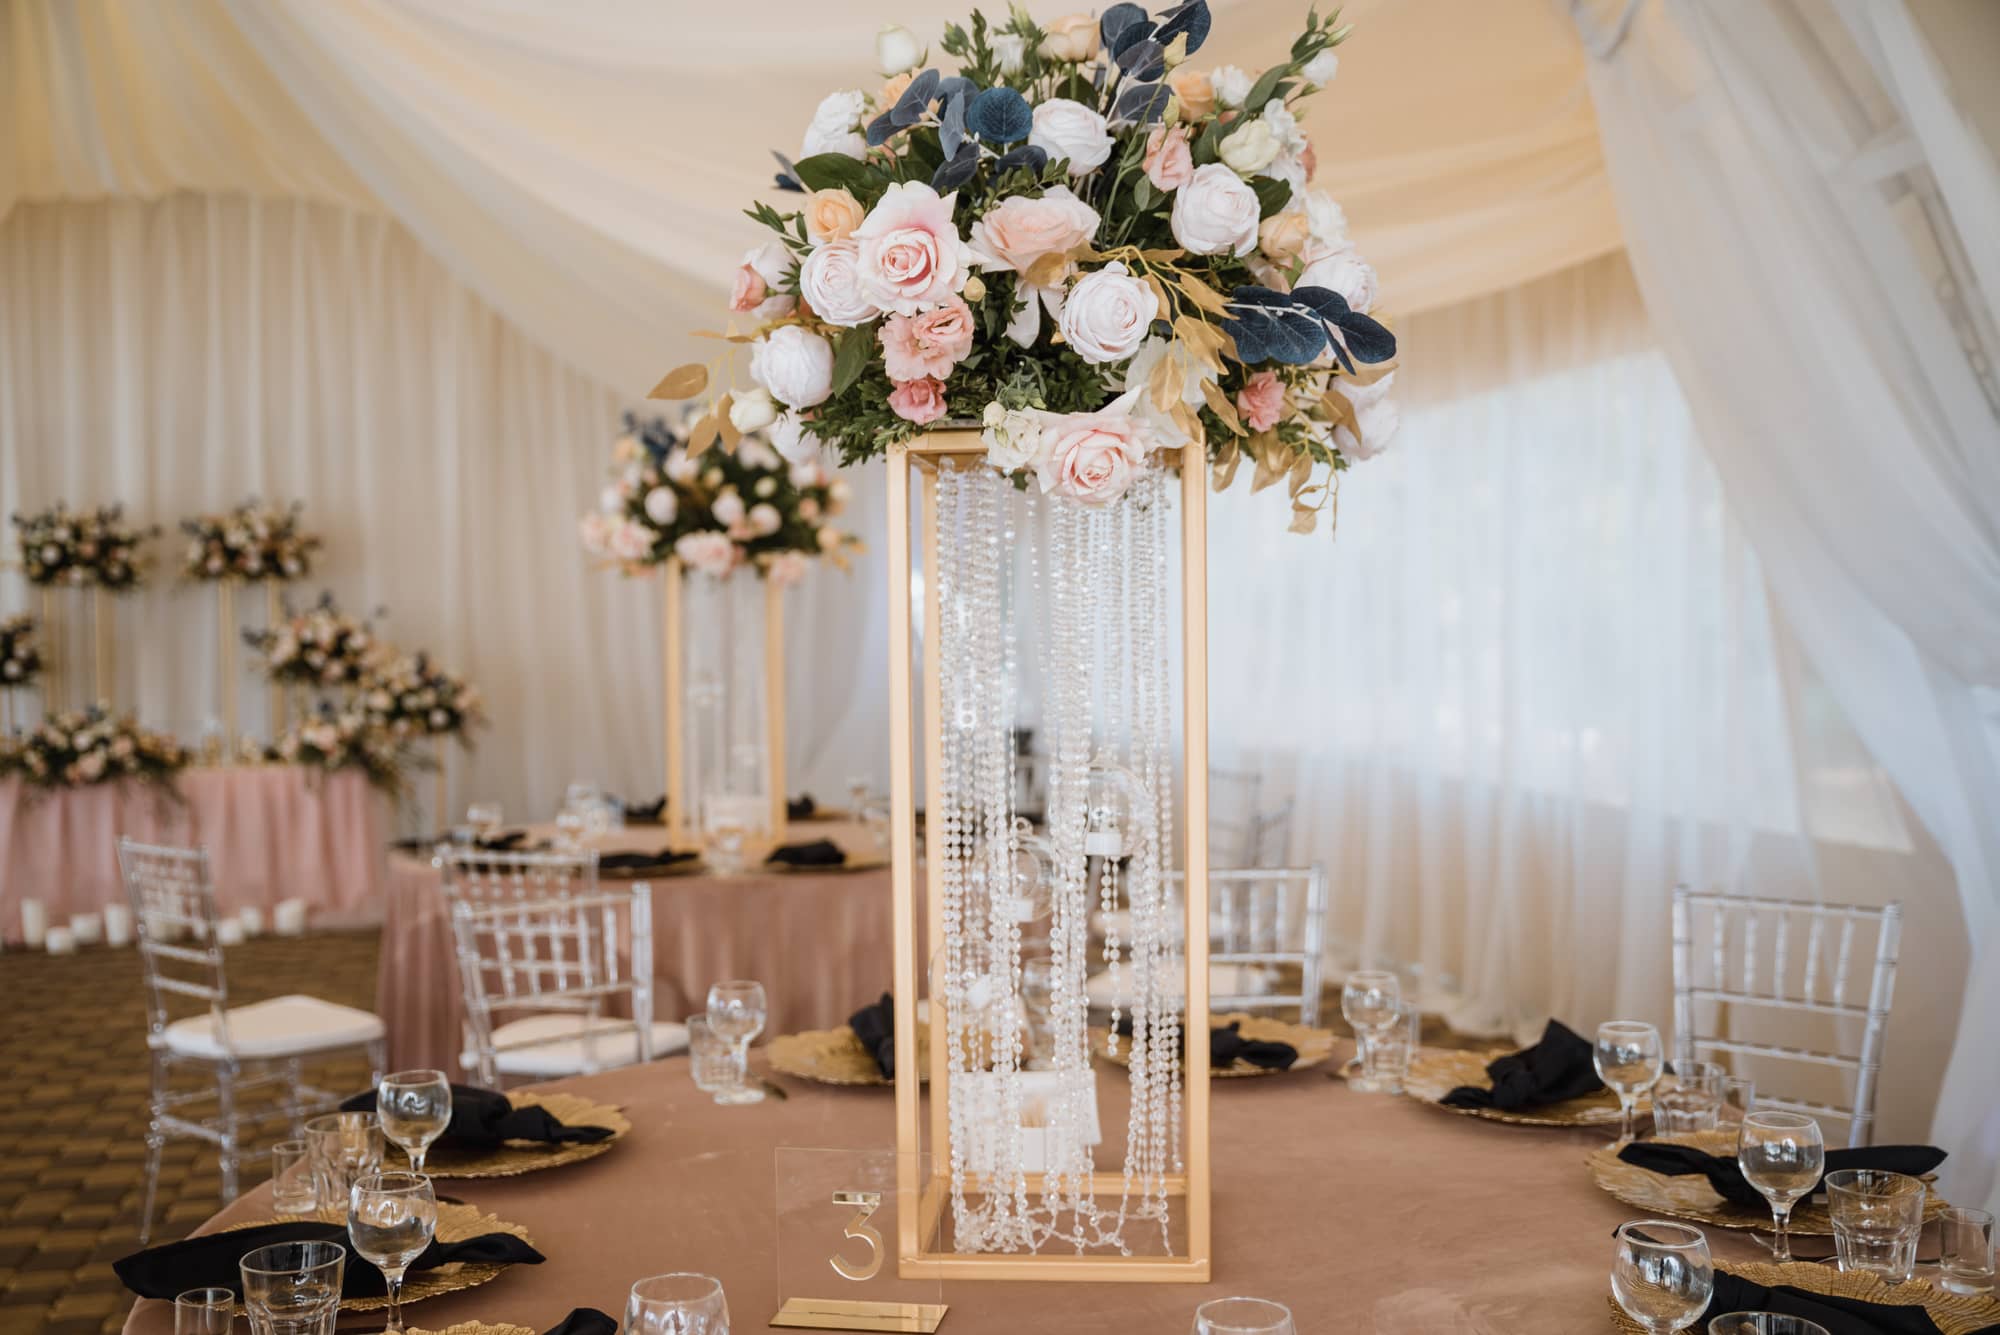
To make your deco mesh table centerpiece even more captivating, it’s time to create a focal point. A focal point is a visually striking element that draws attention and becomes the centerpiece’s highlight. Here are some ideas on how to create a focal point:
- Large decorative bow: Create a statement bow using a wide ribbon. Place it strategically at the top or center of your centerpiece to add a bold and eye-catching focal point.
- Ornamental pick: Use a decorative pick, such as a glittery spray, a sparkling brooch, or a unique ornament, to create a focal point amidst the deco mesh loops. Insert it securely into the centerpiece, making sure it stands out and complements the overall design.
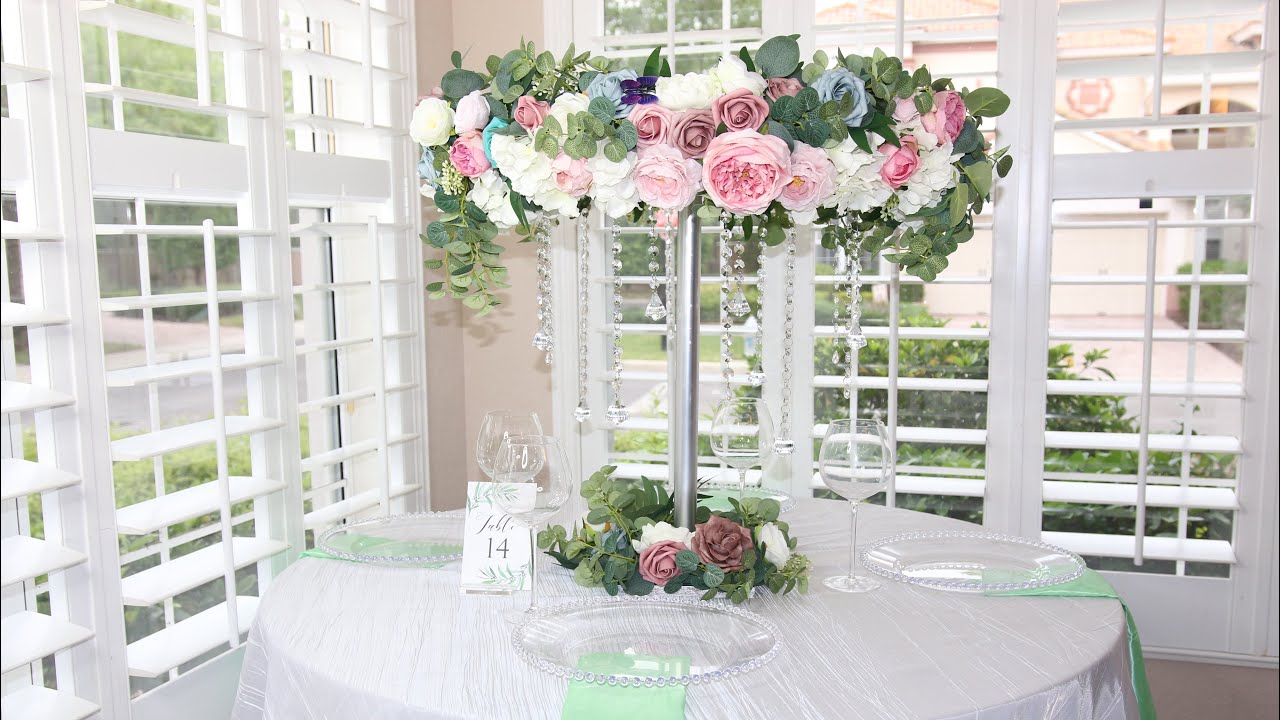
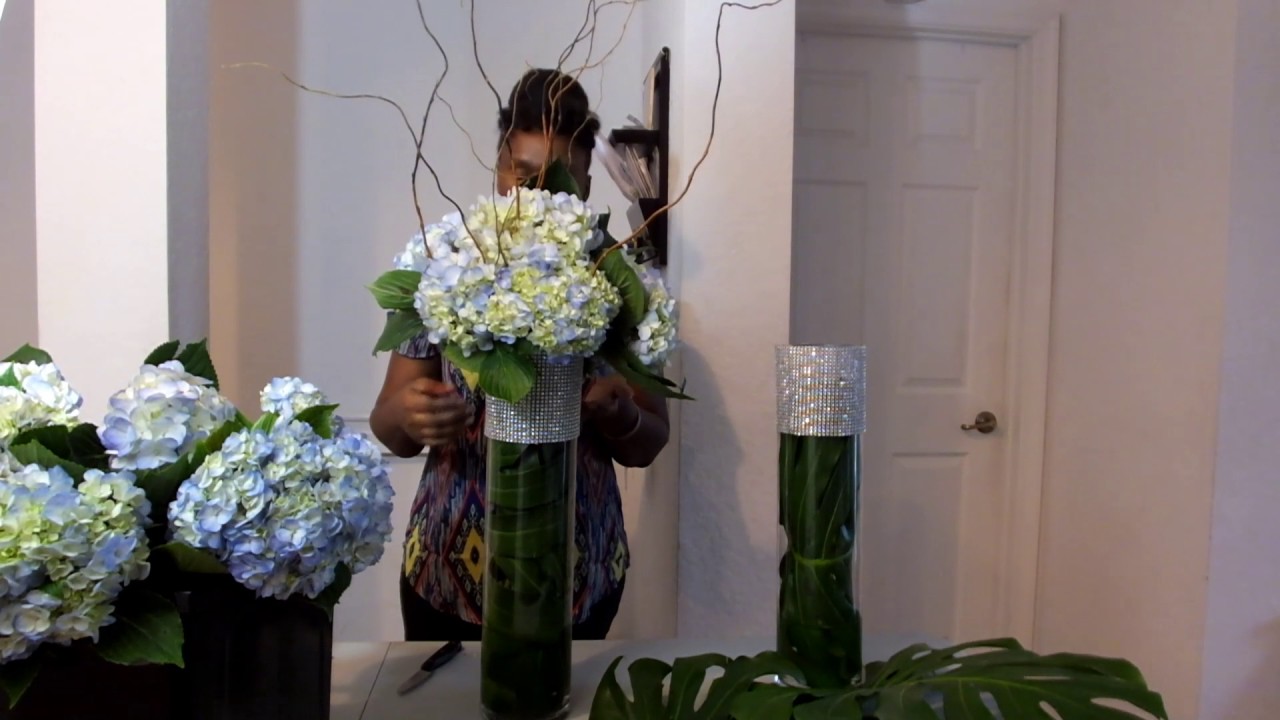
- Floral arrangement: If you’re a fan of flowers, consider adding a small floral arrangement as the focal point. Use fresh flowers or opt for faux flowers that will last longer. Place the arrangement in a mini vase or secure it to the centerpiece using floral wire.
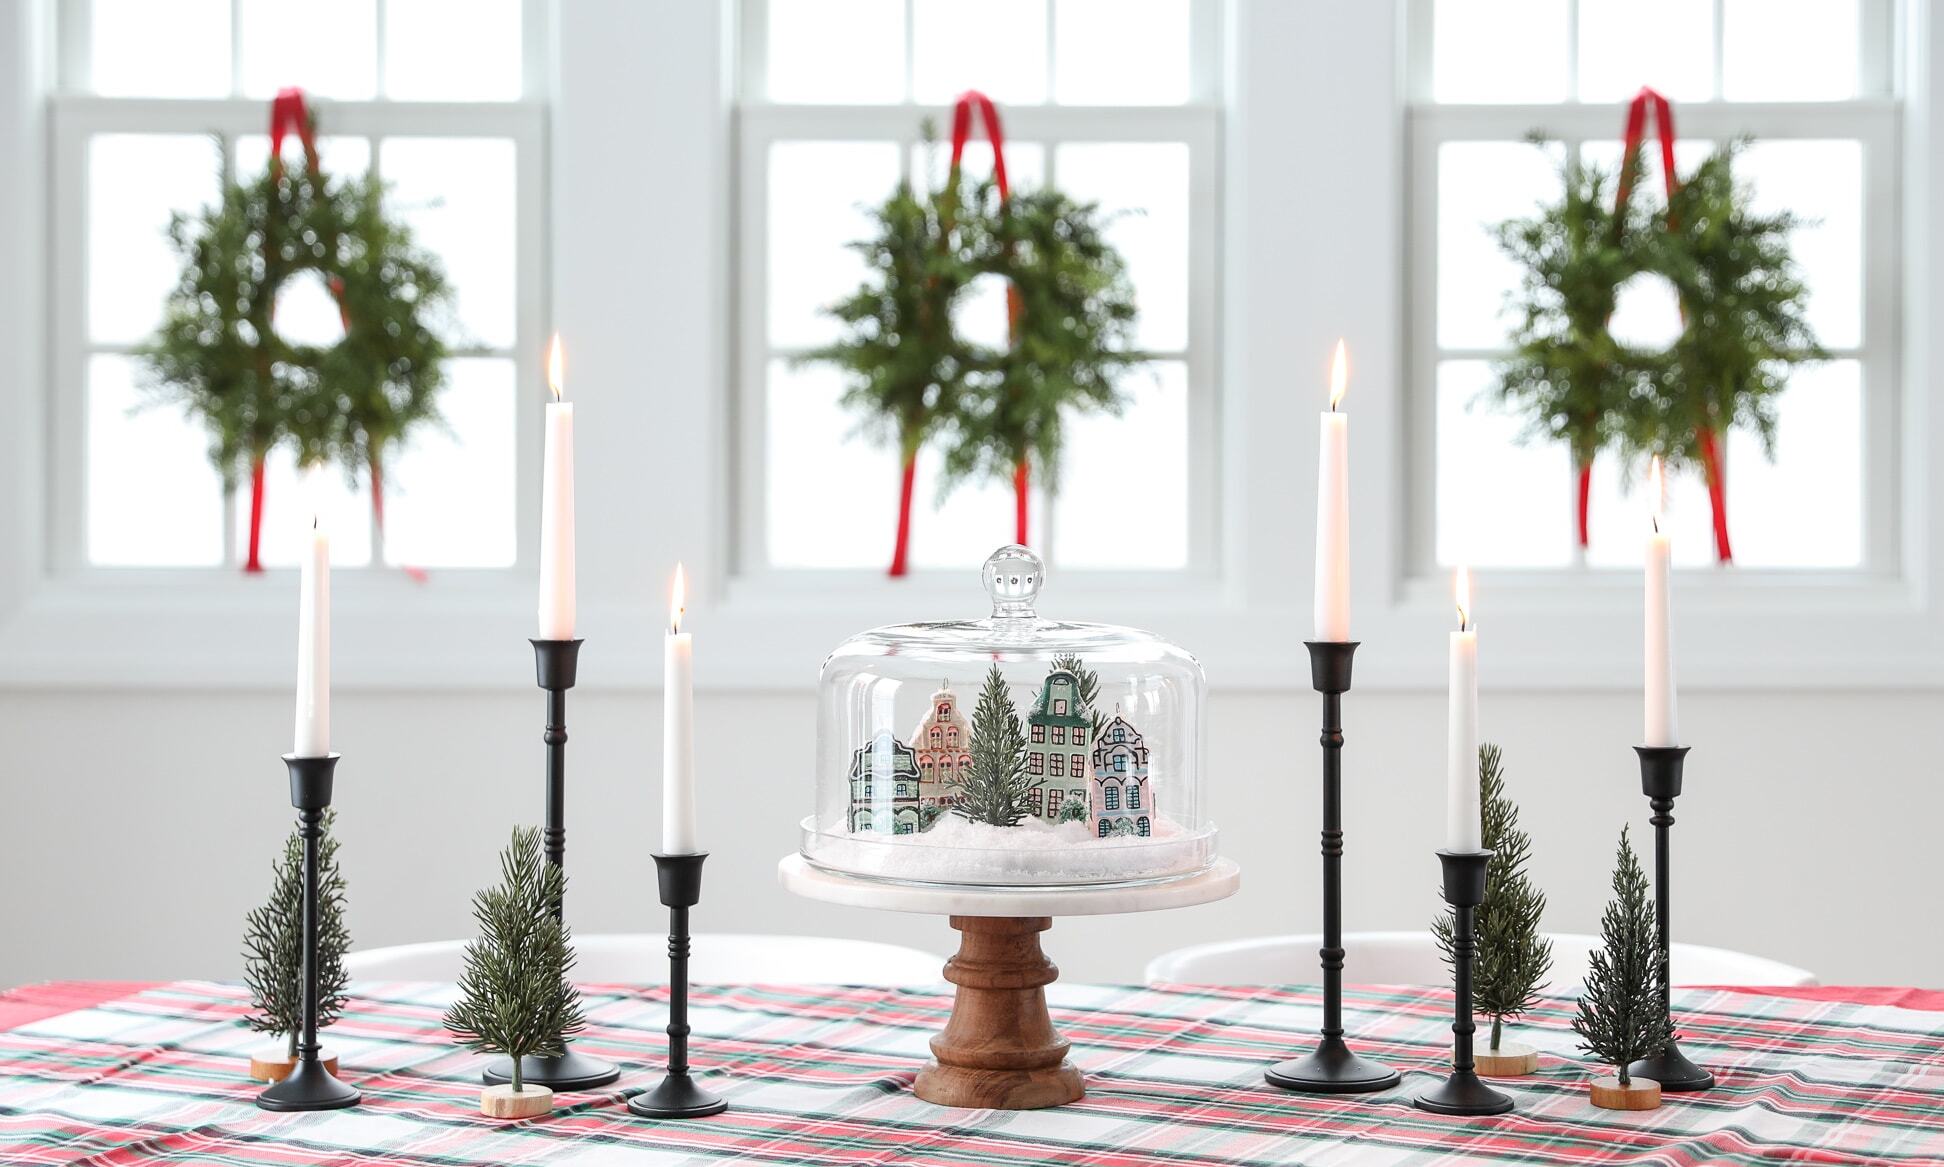
- Candles: Candles create a warm and inviting ambiance. Incorporate a few pillar candles or tea lights within the deco mesh loops to create a soft glow and a focal point that adds a touch of romance to your centerpiece.
When deciding on the focal point, keep in mind the size and scale of your centerpiece. Make sure it doesn’t overpower the overall design but rather complements and enhances it. The focal point will serve as the centerpiece’s star, so take your time to select the perfect element.
Remember, there are no hard and fast rules when it comes to creating a focal point. Trust your intuition and let your creative instincts guide you. Play around with different options until you find the one that speaks to you and captures the essence of your event or gathering.
With a stunning focal point in place, your deco mesh table centerpiece is nearly complete. In the final step, we will explore how to secure the centerpiece, ensuring it stays intact throughout your event. Let’s proceed!
Step 5: Securing the Centerpiece
Now that you have put so much effort into creating your beautiful deco mesh table centerpiece, it’s important to ensure it stays secure and intact during your event. Follow these steps to securely attach and stabilize your centerpiece:
- Check stability: Before securing your centerpiece, make sure it is balanced and stands upright on the table. If needed, adjust the positioning of your base or reposition some of the deco mesh loops to create stability.
- Glue or tie down loose ends: Use a hot glue gun or floral wire to secure any loose ends of the deco mesh. This will prevent them from unraveling or shifting during transport or throughout the event.
- Attach to the table: For added stability, consider attaching the base of your centerpiece to the table. You can use adhesive putty, double-sided tape, or even small weights to hold it in place. This will prevent any accidental tipping or movement.
- Anchor with floral wire: If you have incorporated floral wire or pipe cleaners in your design, use them to anchor the centerpiece. Twist the wire around the table legs or other nearby objects to keep it secure.
- Secure embellishments: Ensure that any additional accents or embellishments are securely attached. Use hot glue or additional wire to reinforce their placement so that they don’t come loose during the event.
By taking these precautionary measures, you can enjoy your event without worrying about your centerpiece shifting or falling apart. Just be gentle when moving or transporting the centerpiece to avoid any accidental damage.
Once your centerpiece is securely in place, step back and admire your stunning creation. The combination of the deco mesh, accents, and focal point will create a visually captivating centerpiece that is sure to impress your guests.
Remember, while the steps provided here act as a general guide, don’t be afraid to add your personal touch and adapt the process to suit your preferences and style. Let your creativity and imagination guide you!
Now that you have completed all the steps, it’s time to showcase your deco mesh table centerpiece at your event and bask in the admiration and compliments it receives. Enjoy the process and have a wonderful time celebrating!
Additional tip: Take photos of your completed centerpiece before the event for keepsake and inspiration for future projects.
Note: Validate your HTML output to ensure it meets the standards of valid encoding.
Conclusion
Congratulations! You have successfully learned how to create a stunning deco mesh table centerpiece. With your newfound knowledge and creativity, you can now bring elegance and charm to any event or gathering.
By following the step-by-step process outlined in this guide, you have learned how to choose a base, attach the deco mesh, add accents and embellishments, create a focal point, and secure your centerpiece. Each step allows for flexibility and personalization, inviting you to explore different colors, styles, and materials to suit your unique taste.
Remember, the key to a truly captivating centerpiece lies in your creativity and imagination. You have the freedom to experiment, mix and match, and make it truly your own. The deco mesh table centerpiece is a statement piece, adding a touch of sophistication and allure to any table setting.
Whether it’s a wedding reception, a birthday party, a holiday gathering, or any other special occasion, your deco mesh centerpiece will undoubtedly become a focal point of attention and admiration. Your guests will be impressed by your artistic skills and attention to detail.
Now, gather your materials, unleash your creativity, and let your imagination guide you as you embark on this exciting journey of creating a dazzling deco mesh table centerpiece. Remember to have fun and enjoy the process of crafting something beautiful.
With proper care and storage, your centerpiece can be reused and enjoyed for future events. Showcase it proudly and share your knowledge and tips with others who are interested in the art of table décor.
Thank you for joining us on this decorative adventure. We hope this guide has inspired you to create stunning centerpieces that leave a lasting impression. Happy decorating!
Frequently Asked Questions about How To Make A Deco Mesh Table Centerpiece
Was this page helpful?
At Storables.com, we guarantee accurate and reliable information. Our content, validated by Expert Board Contributors, is crafted following stringent Editorial Policies. We're committed to providing you with well-researched, expert-backed insights for all your informational needs.

0 thoughts on “How To Make A Deco Mesh Table Centerpiece”