Home>Furniture & Design>Interior Design Trends>How To Glitter A Wine Glass
Interior Design Trends
How To Glitter A Wine Glass
Modified: October 19, 2024
Learn how to add a touch of glamour to your interior design with our step-by-step guide on glittering wine glasses. Explore the latest interior design trends and elevate your home decor effortlessly.
(Many of the links in this article redirect to a specific reviewed product. Your purchase of these products through affiliate links helps to generate commission for Storables.com, at no extra cost. Learn more)
Introduction
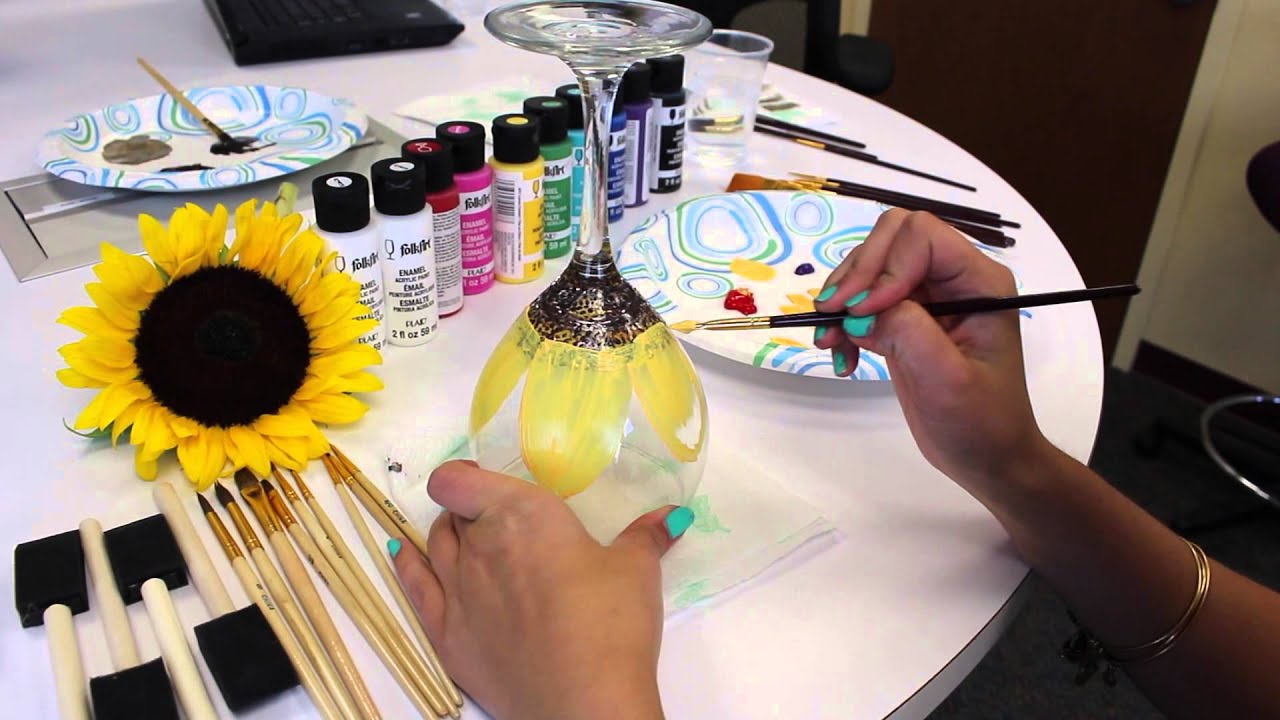
Glittering a wine glass is a delightful way to add a touch of glamour and sophistication to your glassware collection. Whether you're preparing for a special occasion or simply looking to elevate your everyday dining experience, this creative DIY project offers a fun and personalized way to enhance the aesthetic appeal of your wine glasses. By infusing them with a shimmering sparkle, you can transform ordinary glassware into eye-catching pieces that exude elegance and charm.
This step-by-step guide will walk you through the process of adorning your wine glasses with glitter, allowing you to unleash your creativity and customize your glassware to suit your personal style. With just a few simple materials and a touch of artistic flair, you can achieve stunning results that will impress your guests and elevate the ambiance of any gathering.
By embarking on this creative endeavor, you'll have the opportunity to express your individuality and add a personalized touch to your dining experience. Whether you opt for a subtle hint of sparkle or a bold, dazzling effect, the choice is yours. Embrace the opportunity to unleash your creativity and infuse your wine glasses with a touch of glamour that reflects your unique personality and style.
So, gather your materials and get ready to embark on a sparkling journey of creativity and self-expression as we guide you through the process of glittering your wine glasses. Let's dive into the enchanting world of DIY glassware decoration and discover how to transform ordinary wine glasses into extraordinary pieces that exude charm and sophistication.
Key Takeaways:
- Transform ordinary wine glasses into dazzling, personalized works of art by adorning them with glitter, creating a captivating sparkle that exudes elegance and charm for any occasion.
- Infuse your glassware with a touch of glamour and individuality through the art of glittering wine glasses, celebrating creativity and self-expression while elevating the aesthetic appeal of everyday dining.
Read more: How To Make Glitter Wine Glasses
Materials Needed
To embark on the enchanting journey of glittering your wine glasses, you'll need a few essential materials to ensure a seamless and successful DIY project. Here's a comprehensive list of the items required to transform your ordinary wine glasses into dazzling, personalized pieces:
-
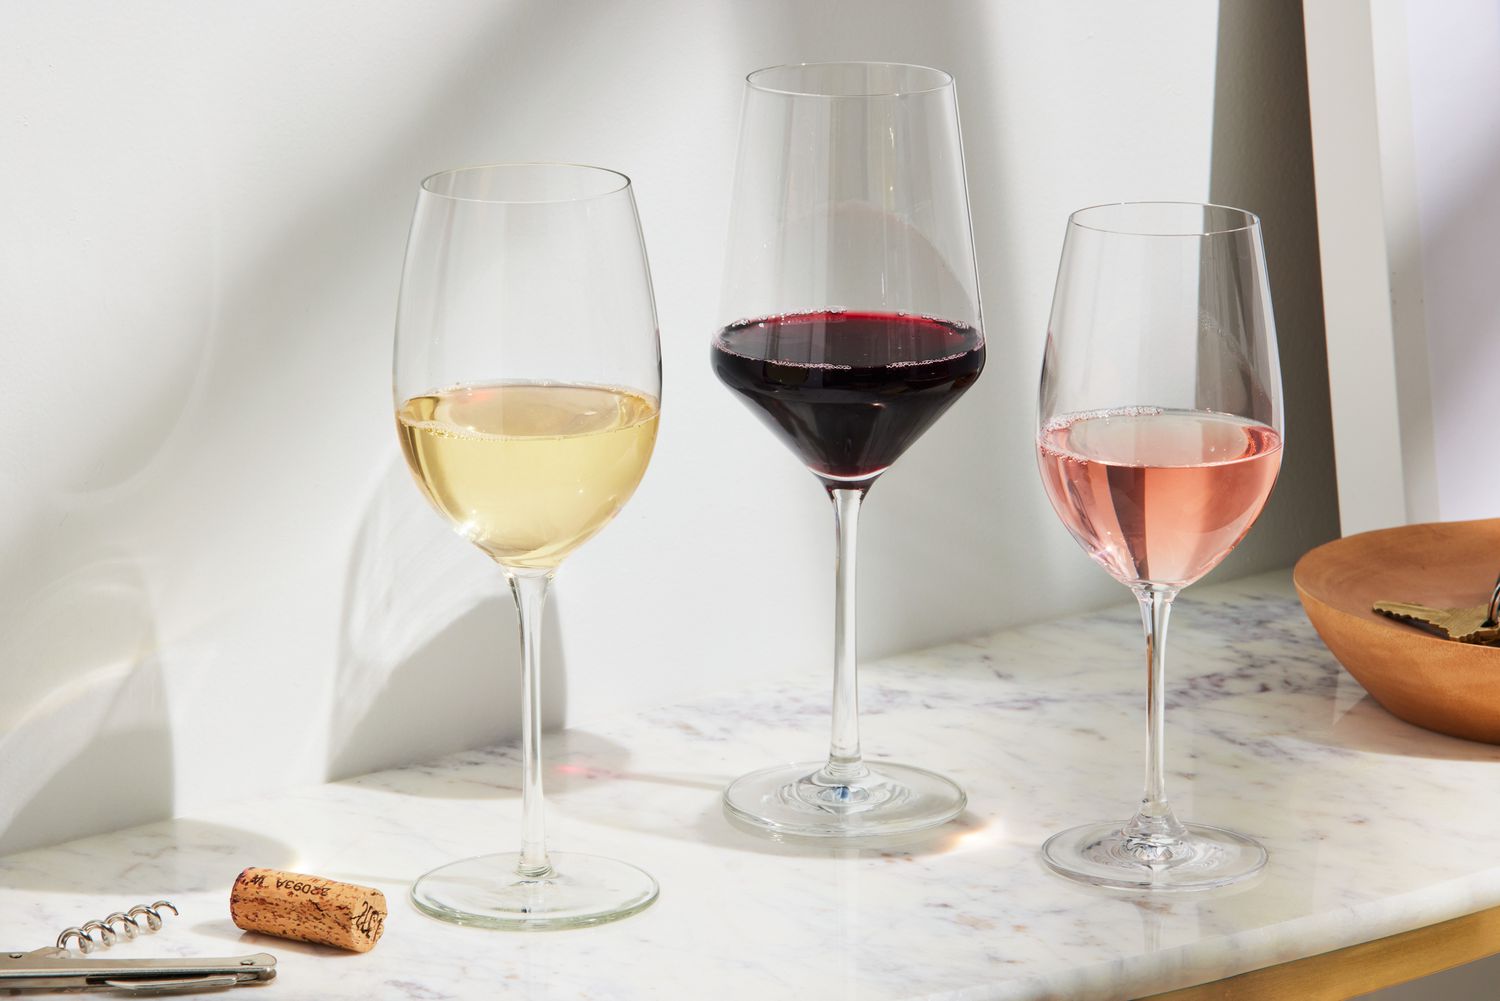
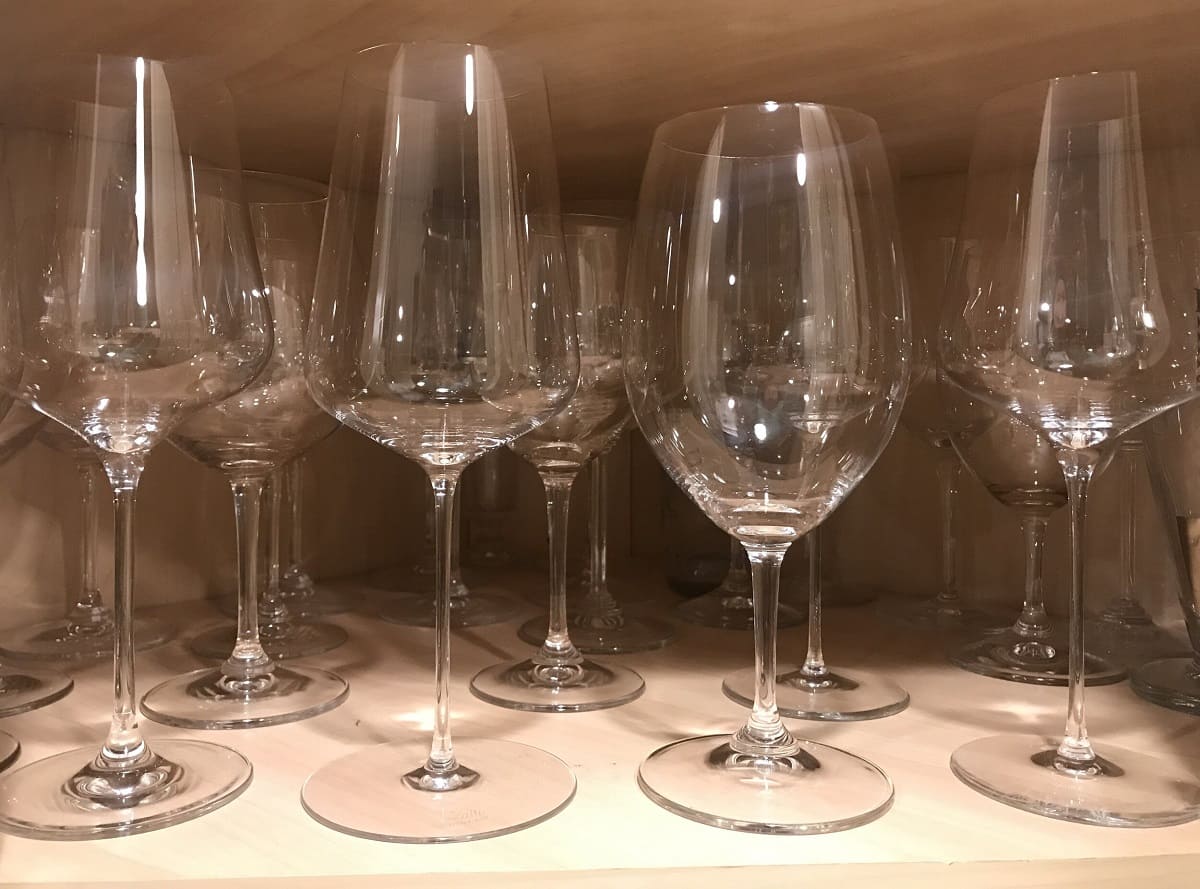
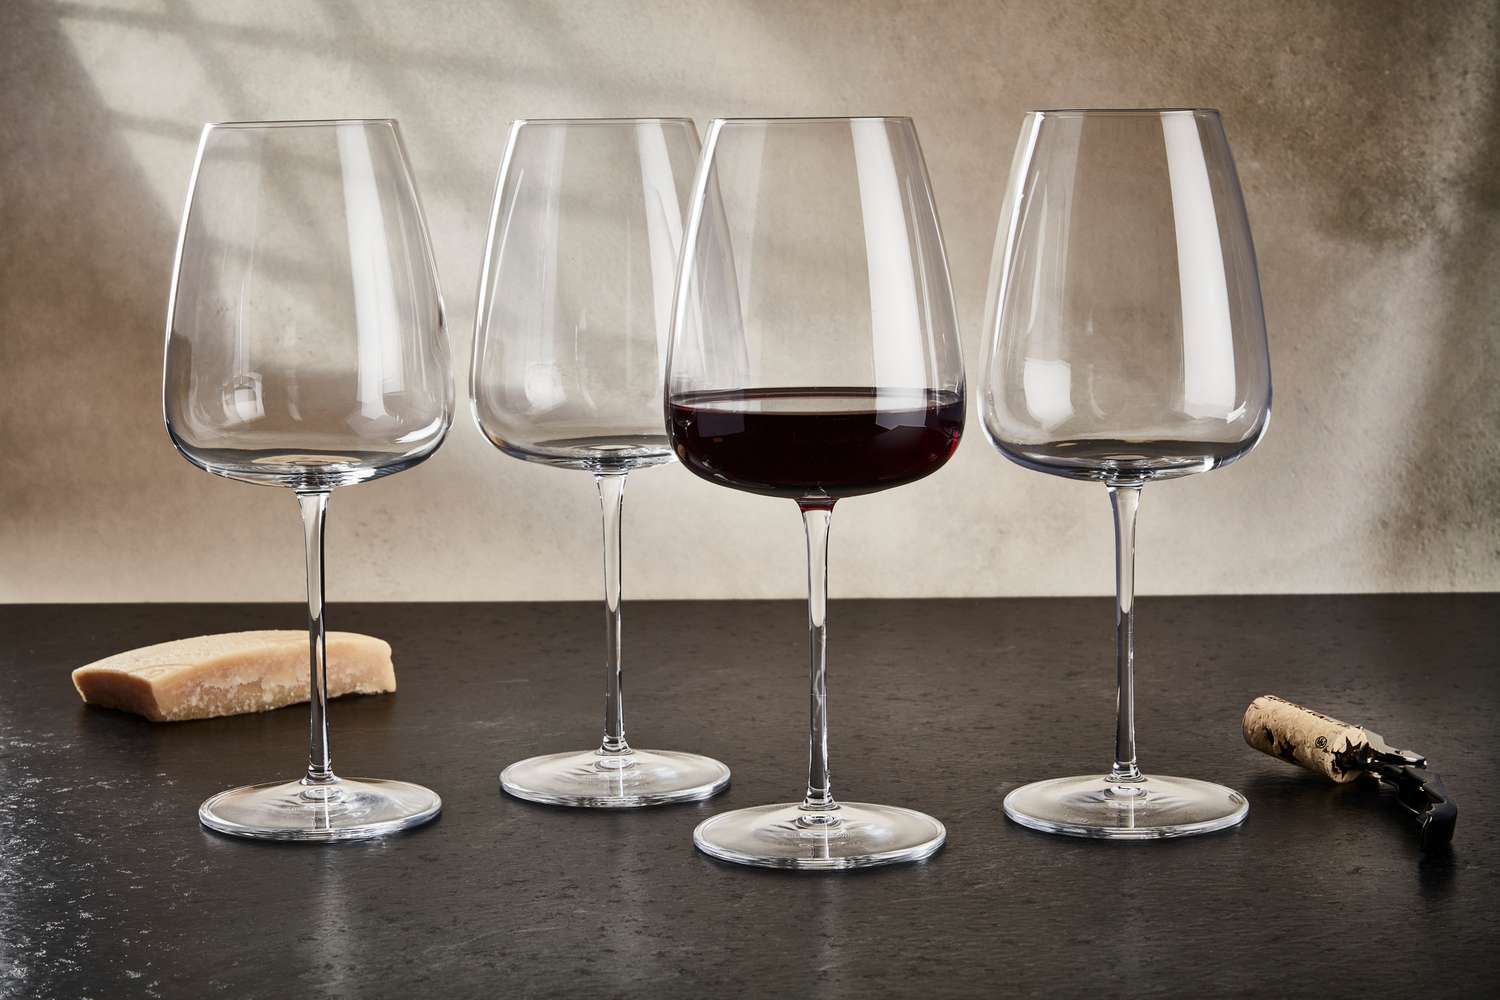
Wine Glasses: Select the wine glasses you wish to embellish with glitter. Whether you choose classic stemmed glasses or modern stemless designs, ensure they are clean and free from any dust or residue.
-
Glitter: Choose high-quality, fine glitter in the color of your preference. Whether you opt for classic silver or gold for a timeless look, or vibrant hues for a bold statement, the choice is yours. Ensure the glitter is non-toxic and suitable for crafting purposes.
-
Mod Podge or Craft Glue: Select a reliable adhesive such as Mod Podge or craft glue to securely affix the glitter to the wine glass surface. Ensure the adhesive is clear-drying and suitable for glassware.
-
Paintbrushes: Acquire a set of small, soft-bristled paintbrushes to facilitate precise application of the adhesive and glitter onto the wine glasses.
-
Protective Sealant: Invest in a clear, glossy sealant designed for use on glass surfaces. This sealant will not only preserve the glitter but also ensure the longevity of your sparkling creation.
-
Protective Gloves: Consider wearing protective gloves to prevent the adhesive and glitter from coming into direct contact with your skin during the application process.
-
Newspaper or Drop Cloth: Lay down newspaper or a drop cloth to protect your work surface from any potential spills or messes while working with the adhesive and glitter.
-
Paper Plates or Palette: Utilize paper plates or a palette to contain and organize the glitter during the application process, making it easier to work with and minimize waste.
-
Lint-Free Cloth: Keep a lint-free cloth on hand to gently wipe the wine glasses and ensure they are clean and free from any dust particles before applying the adhesive.
-
Optional Embellishments: If desired, consider incorporating additional decorative elements such as rhinestones, beads, or ribbons to further customize and enhance the visual appeal of your glittered wine glasses.
By gathering these materials, you'll be well-equipped to embark on the exciting process of transforming your wine glasses into dazzling, personalized works of art. With these essentials at your disposal, you're ready to embark on a creative journey that will infuse your glassware with a touch of glamour and individuality.
Step 1: Clean the Wine Glass
Before embarking on the enchanting process of adorning your wine glasses with glitter, it is crucial to ensure that the glass surfaces are impeccably clean. This initial step lays the foundation for a successful and long-lasting glitter application, as it eliminates any dust, residue, or oils that may hinder the adhesion of the glitter and adhesive.
To begin, gather your selected wine glasses and place them on a clean, flat surface. Using a lint-free cloth, meticulously wipe the exterior and interior of each glass to remove any lingering dust particles or fingerprints. It is essential to pay close attention to the rims and stems of the glasses, as these areas are often overlooked but are equally important for achieving a pristine surface.
Once the initial dusting is complete, rinse the wine glasses under lukewarm water to remove any remaining debris. Avoid using harsh detergents or abrasive scrubbers, as these may leave behind residues that could interfere with the adhesion of the glitter and adhesive. After rinsing, allow the glasses to air dry completely or gently pat them dry with a lint-free cloth to ensure they are free from moisture before proceeding to the next step.
By meticulously cleaning the wine glasses, you create an optimal foundation for the glitter application, allowing the adhesive to bond securely to the glass surface. This meticulous attention to detail ensures that your glittered wine glasses will exude a flawless sparkle and maintain their enchanting allure for countless gatherings to come.
With the wine glasses now impeccably clean and free from any impurities, you are ready to proceed to the next step in the glittering process, where the magic of transformation truly begins to unfold. Prepare to embark on a captivating journey of creativity and self-expression as you infuse your glassware with a touch of glamour and individuality.
Step 2: Apply Glue
With the wine glasses impeccably clean and prepared for the next phase of transformation, it's time to apply the adhesive that will serve as the foundation for the enchanting glitter application. The choice of adhesive is crucial, as it not only facilitates the adherence of the glitter but also contributes to the overall durability and longevity of the sparkling embellishments.
Begin by selecting a reliable adhesive such as Mod Podge or craft glue, ensuring that it is specifically formulated for use on glass surfaces. These clear-drying adhesives are ideal for securing the glitter to the wine glasses while maintaining a transparent finish, allowing the sparkling particles to shine through brilliantly.
Using a small, soft-bristled paintbrush, carefully apply a thin, even layer of the chosen adhesive to the exterior of the wine glass. Start from the top rim and work your way down, ensuring that the adhesive is spread evenly across the surface. Take care to avoid applying excess adhesive, as this may result in a prolonged drying time and potential clumping of the glitter.
As you delicately brush on the adhesive, visualize the captivating transformation taking place before your eyes. The transparent layer serves as a blank canvas, eagerly awaiting the infusion of shimmering glitter that will elevate the wine glass to a new level of elegance and allure.
Maintain a steady hand and a gentle touch as you navigate around the curves and contours of the glass, ensuring that the adhesive is applied with precision and finesse. Take your time to achieve a flawless coating, as this meticulous approach will yield stunning results that captivate the eye and elevate the aesthetic appeal of the wine glasses.
Once the adhesive is evenly applied to the entire exterior of the wine glass, allow it to dry according to the manufacturer's instructions. This crucial drying period sets the stage for the next captivating phase of the glittering process, where the wine glasses will be adorned with a mesmerizing cascade of sparkling particles.
As the adhesive dries, anticipate the forthcoming transformation with eager excitement, knowing that each passing moment brings you closer to witnessing the enchanting allure of glitter infusing your wine glasses with a touch of personalized glamour and sophistication.
Apply a thin layer of adhesive to the outside of the wine glass, then sprinkle glitter over the adhesive. Gently tap off excess glitter and let it dry completely before using.
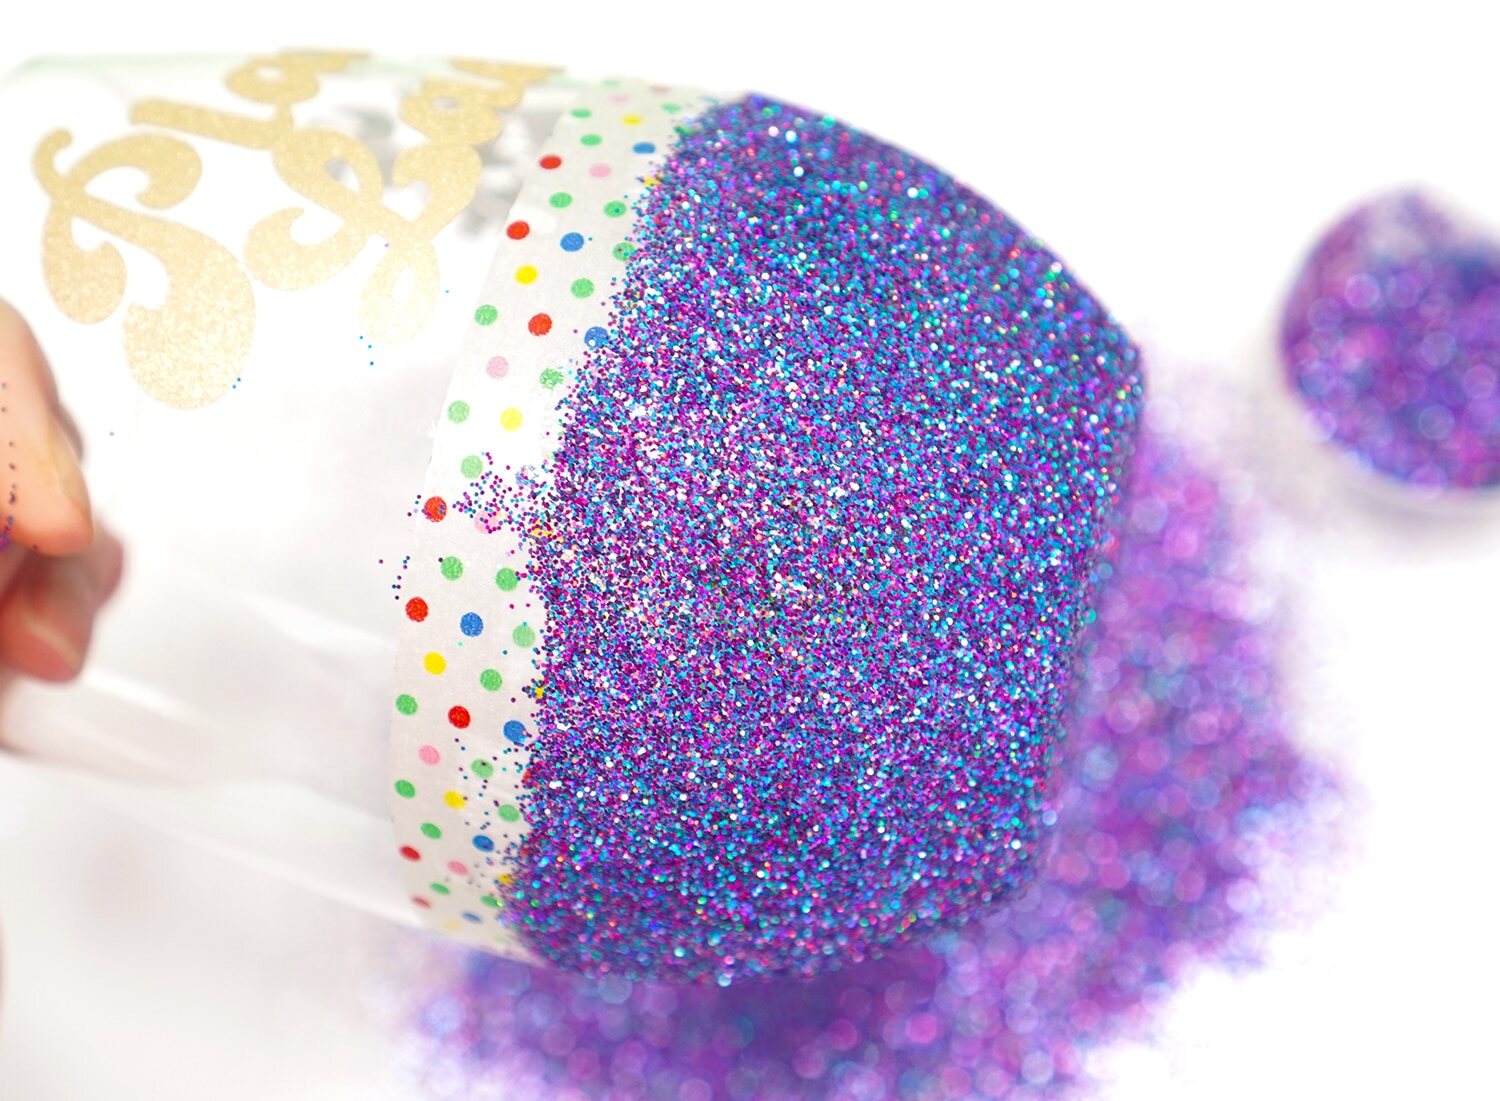
Step 3: Sprinkle Glitter
As the adhesive on the wine glasses dries to a clear, tacky finish, the stage is set for the enchanting moment when shimmering glitter is delicately sprinkled onto the surface, transforming the glassware into dazzling, personalized works of art. This pivotal step in the glittering process infuses the wine glasses with an iridescent allure, elevating them to a new realm of elegance and charm.
With the wine glass held securely, take a pinch of fine glitter in the color of your choice and gently sprinkle it over the adhesive-coated surface. Whether you opt for classic silver or gold for a timeless, sophisticated look, or vibrant hues for a bold, contemporary statement, the glitter cascading onto the glass creates a mesmerizing visual impact.
As the glitter descends onto the adhesive, watch in awe as the wine glass undergoes a captivating transformation, evolving from a pristine surface into a glistening masterpiece. The delicate particles of glitter intertwine and settle onto the adhesive, creating a radiant tapestry of shimmer that captivates the eye and exudes an enchanting allure.
Maintain a steady hand and a gentle touch as you sprinkle the glitter, ensuring an even distribution across the entire exterior of the wine glass. Embrace the creative freedom to experiment with varying densities and patterns, allowing your artistic vision to manifest in the form of sparkling embellishments that reflect your unique style and personality.
As the wine glass becomes adorned with a captivating layer of glitter, take a moment to admire the dazzling spectacle unfolding before you. Each glimmering particle contributes to the creation of a personalized masterpiece, infusing the glassware with a touch of glamour that is as unique as it is enchanting.
Once the glitter is evenly distributed and the adhesive-coated surface is adorned with a breathtaking display of shimmer, gently tap the wine glass to dislodge any excess glitter. This ensures that only the securely adhered particles remain, creating a smooth and flawless finish that radiates with captivating brilliance.
With the glitter now adorning the wine glasses in a resplendent display of personalized glamour, the stage is set for the final step in the glittering process, where a protective sealant will be applied to preserve the enchanting embellishments and ensure their longevity. Prepare to embark on the culminating phase of this captivating DIY project, where the sparkling allure of your personalized wine glasses will be safeguarded for countless gatherings to come.
Read more: How To Seal Glitter On Glass
Step 4: Seal the Glitter
With the wine glasses now adorned with a captivating layer of shimmering glitter, it is essential to preserve and safeguard the enchanting embellishments to ensure their longevity and enduring allure. The final step in the glittering process involves the application of a protective sealant, which serves as a transparent shield, encapsulating the glitter and securing its position on the glass surface.
Select a clear, glossy sealant designed specifically for use on glass surfaces. This protective coating not only safeguards the glitter but also enhances its luminous brilliance, creating a smooth and durable finish that withstands the test of time. Ensure that the sealant is compatible with the adhesive and glitter used, as this compatibility is crucial for achieving optimal results.
Using a clean, soft-bristled paintbrush, delicately apply a thin, even layer of the sealant over the glitter-adorned surface of the wine glass. The transparent coating encapsulates the glitter, ensuring that each sparkling particle is securely anchored in place, while also imparting a glossy sheen that accentuates the enchanting allure of the embellishments.
Exercise precision and finesse as you navigate around the curves and contours of the wine glass, ensuring that the sealant is applied evenly and without any streaks or clumping. This meticulous approach results in a flawless finish that not only preserves the glitter but also enhances its luminosity, creating a captivating visual impact that exudes sophistication and charm.
As the sealant dries to a crystal-clear finish, it forms an invisible barrier that safeguards the glitter from abrasion and wear, ensuring that the sparkling embellishments remain pristine and captivating. This protective shield not only prolongs the longevity of the glitter but also facilitates easy maintenance, allowing the wine glasses to retain their enchanting allure with minimal effort.
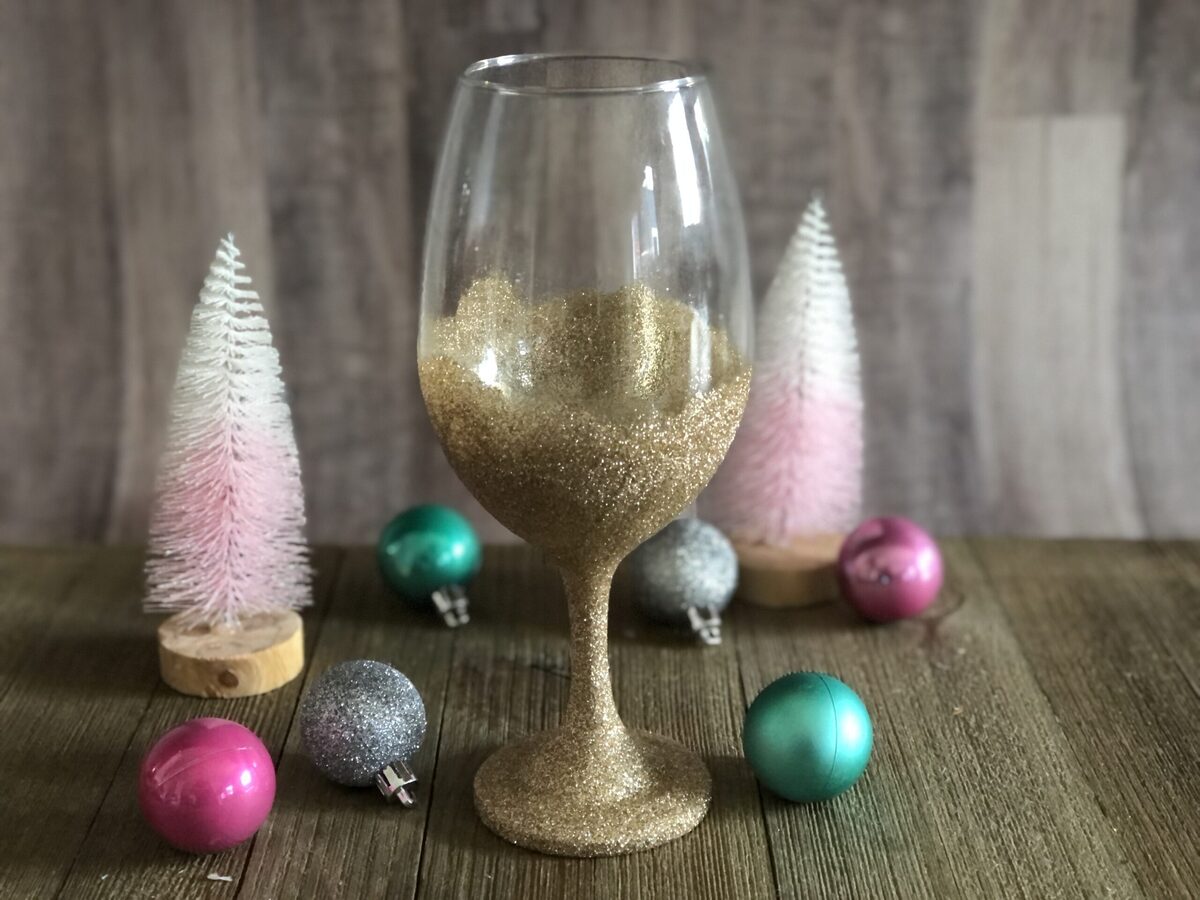
Once the sealant has dried completely, the glittered wine glasses are ready to take center stage, exuding a captivating sparkle that elevates the ambiance of any gathering. Whether displayed as decorative accents or utilized for serving fine wines, these personalized works of art infuse every occasion with a touch of glamour and individuality, leaving a lasting impression on all who behold their enchanting allure.
By sealing the glitter with a protective shield, you ensure that your personalized wine glasses remain resplendent and captivating, ready to enhance the aesthetic appeal of any setting and elevate the dining experience with a touch of personalized glamour and sophistication.
Conclusion
In conclusion, the art of glittering wine glasses offers a captivating avenue for infusing ordinary glassware with a touch of personalized glamour and sophistication. Through the meticulous application of adhesive and shimmering glitter, these DIY embellishments transform wine glasses into dazzling, personalized works of art that exude elegance and charm.
As the final protective sealant dries to a crystal-clear finish, the glittered wine glasses stand as captivating testaments to creativity and individuality. Whether showcased as decorative accents or utilized for serving fine wines, these personalized pieces elevate any occasion with their enchanting allure, leaving a lasting impression on all who behold their resplendent sparkle.
The journey of glittering wine glasses transcends the realm of mere crafting; it is a celebration of self-expression and creativity. Each sparkling particle that adorns the glassware reflects the unique vision and style of the creator, infusing the wine glasses with a touch of individuality that resonates with every shimmer and glimmer.
Embracing the art of glittering wine glasses offers a delightful opportunity to unleash creativity and elevate the aesthetic appeal of everyday glassware. Whether adorning the glasses for a special celebration or simply to add a touch of glamour to daily dining, this DIY project empowers individuals to personalize their glassware in a manner that reflects their distinct personality and style.
As the glittered wine glasses take their place as captivating embellishments in the home, they serve as reminders of the transformative power of creativity and the joy of infusing everyday objects with a touch of personalized allure. With each glittering masterpiece, a unique story unfolds, encapsulating the essence of individuality and the enchanting allure of self-expression.
In essence, the art of glittering wine glasses transcends the boundaries of a mere DIY project; it is a celebration of creativity, individuality, and the enduring allure of personalized glamour. Through this enchanting endeavor, ordinary wine glasses are transformed into extraordinary pieces that radiate with a captivating sparkle, infusing every gathering with a touch of personalized charm and sophistication.
Frequently Asked Questions about How To Glitter A Wine Glass
Was this page helpful?
At Storables.com, we guarantee accurate and reliable information. Our content, validated by Expert Board Contributors, is crafted following stringent Editorial Policies. We're committed to providing you with well-researched, expert-backed insights for all your informational needs.


0 thoughts on “How To Glitter A Wine Glass”