Tableware
How To Make Glitter Wine Glasses
Modified: October 20, 2024
Learn how to make stunning glitter wine glasses with this step-by-step guide. Elevate your tableware collection with this fun and easy DIY project.
(Many of the links in this article redirect to a specific reviewed product. Your purchase of these products through affiliate links helps to generate commission for Storables.com, at no extra cost. Learn more)
Introduction
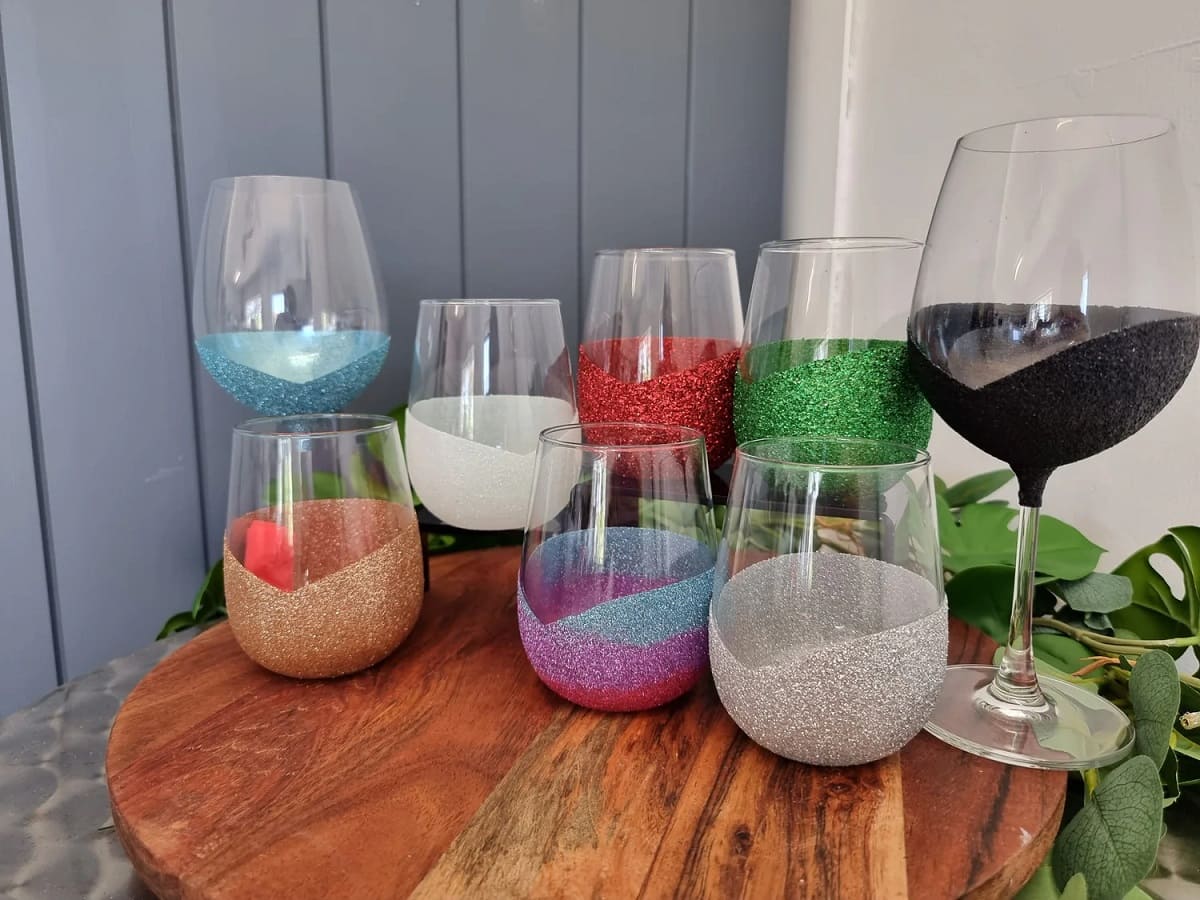
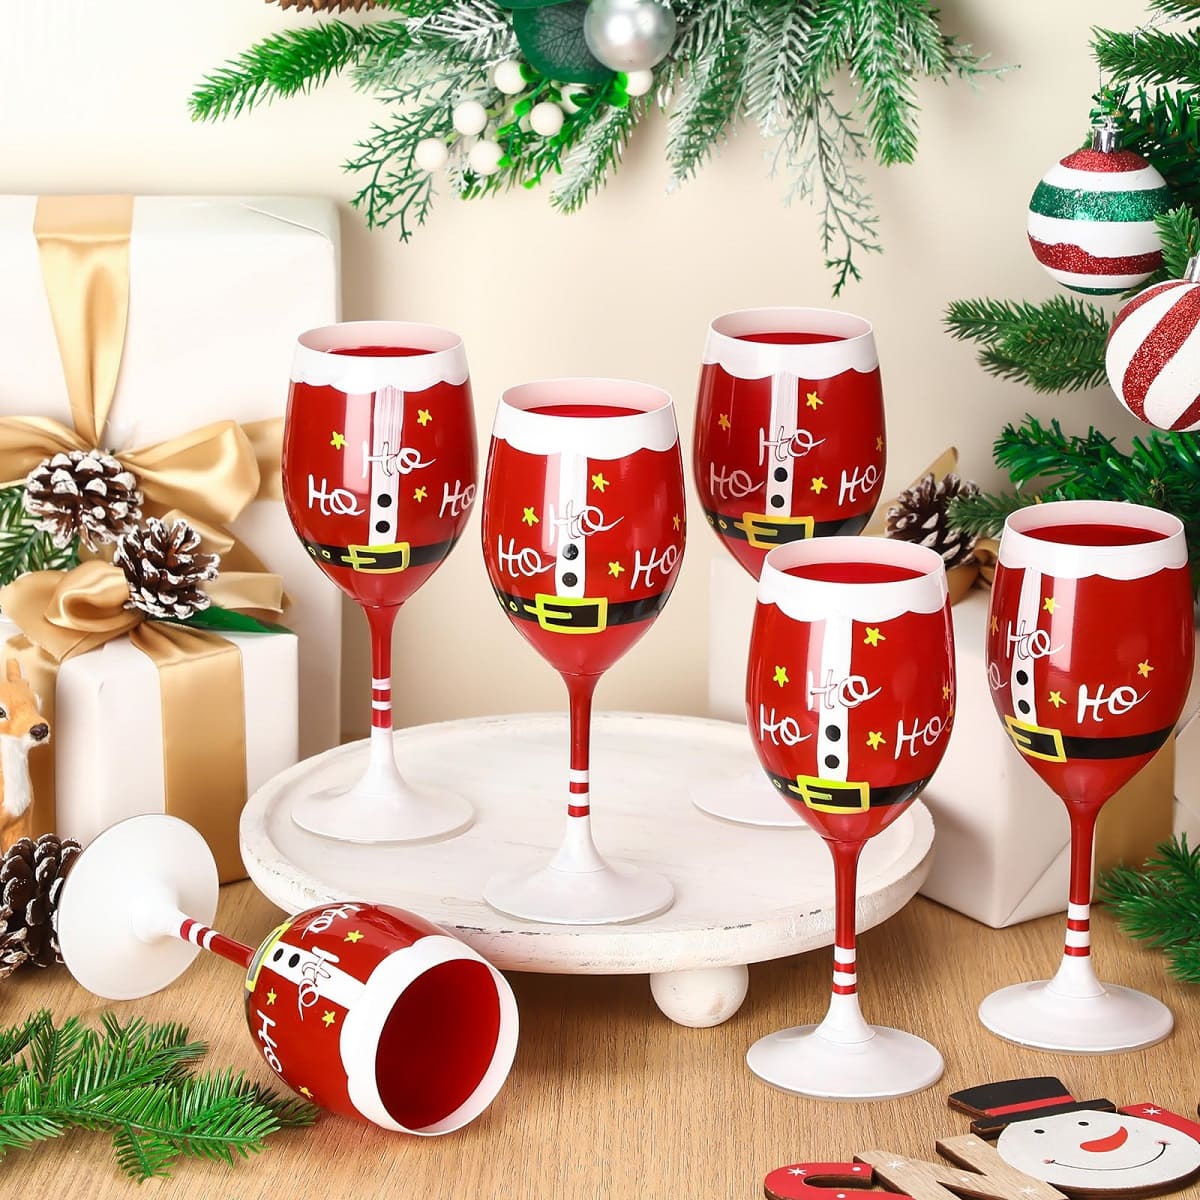
When it comes to adding a touch of glamour and sparkle to your table setting, glitter wine glasses are the perfect choice. Whether you’re hosting a special occasion or want to elevate your everyday dining experience, these dazzling and eye-catching glasses are sure to impress your guests.
Creating your own glitter wine glasses is a fun and creative DIY project that allows you to customize your tableware to suit your personal style. With just a few materials and some simple steps, you’ll have beautiful, one-of-a-kind glasses that will make every sip feel extraordinary.
In this article, we’ll guide you through the process of making glitter wine glasses, a perfect way to set your table with a touch of sparkle. From cleaning the glasses to applying the glitter and sealing it for long-lasting shine, we’ve got you covered. So, roll up your sleeves, put on your creative hat, and let’s get started on this sparkling adventure!
Key Takeaways:
- Add a touch of glamour to your table setting with DIY glitter wine glasses. Customize your tableware and impress guests with dazzling, one-of-a-kind creations using simple materials and easy steps.
- Ensure long-lasting sparkle by sealing the glitter and handling the glasses with care. Experiment with colors and designs to create personalized, professional-looking glitter wine glasses for any occasion.
Read more: How To Glitter A Wine Glass
Materials Needed
Before you embark on your glittery journey, gather the following materials:
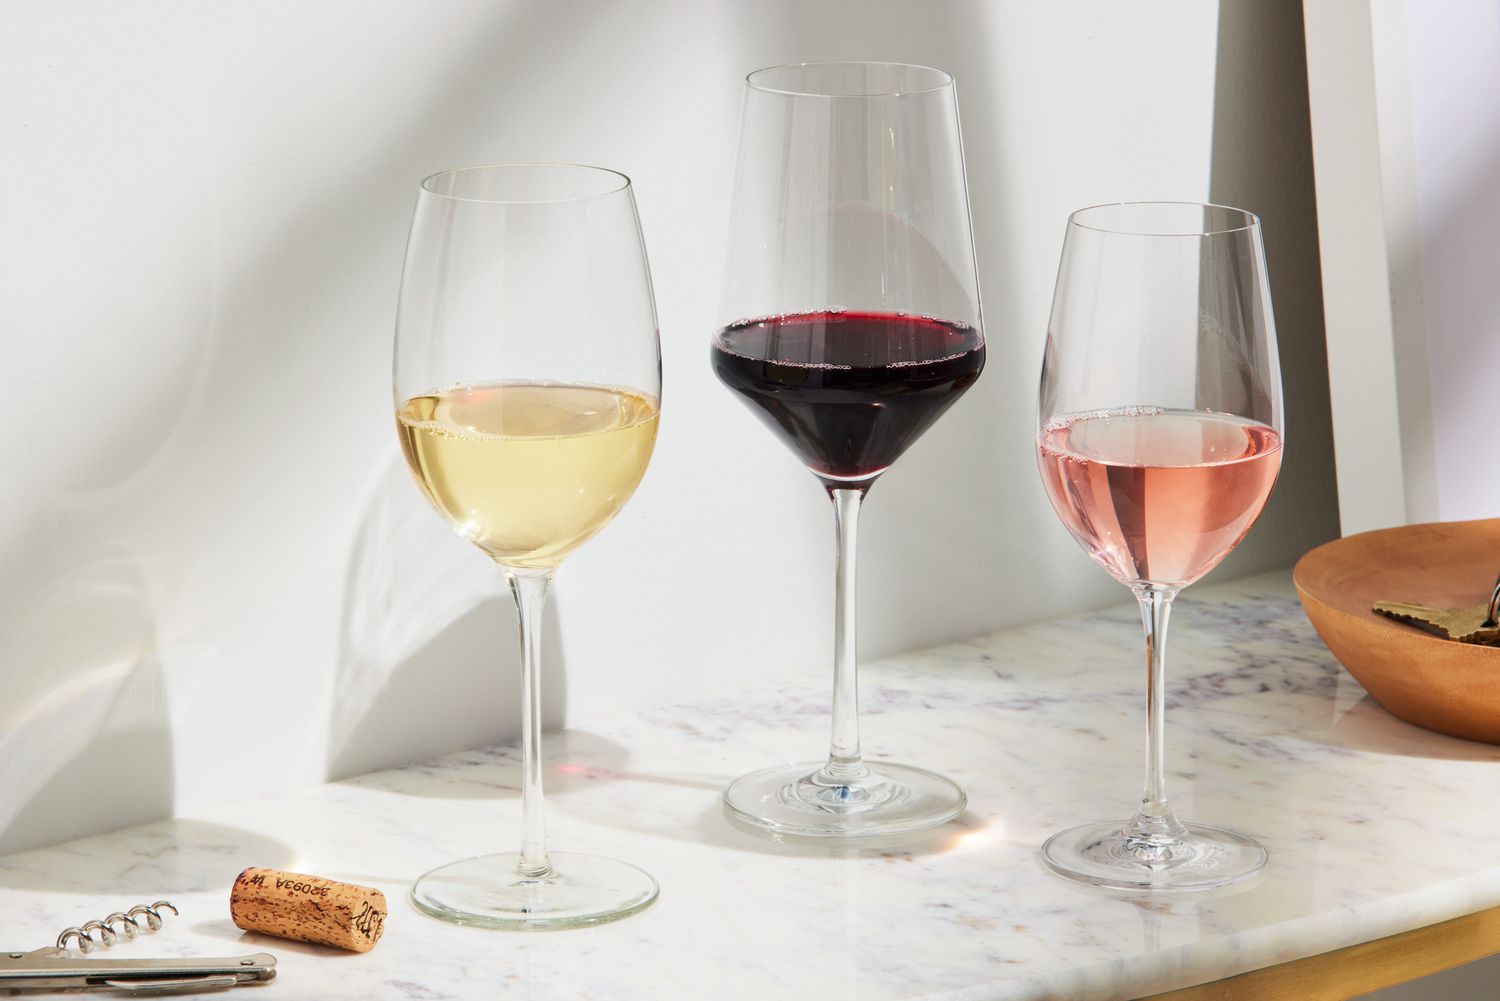
- Wine glasses: Choose plain glass wine glasses with smooth surfaces for the best adhesion of the glitter. Opt for stemmed glasses for an elegant touch, or stemless glasses for a more casual vibe.
- Glitter: Select your favorite shades and colors of glitter to suit your personal style and the occasion. You can choose from fine glitter for a subtle shimmer or chunky glitter for a bolder look.
- Glue: To make sure the glitter adheres and stays in place, you’ll need a strong adhesive. Look for a clear-drying, waterproof glue that is suitable for glass and crafts.
- Paintbrush or sponge: Use a paintbrush or sponge to apply the glue evenly onto the glass surface. Choose a brush or sponge that is small enough to reach all the nooks and crannies of the glass.
- Sealer: To protect the glitter and give your glasses a long-lasting shine, you’ll need a clear sealer. Look for a sealer that is compatible with both the glitter and the glass material.
- Newspaper or craft paper: Place newspaper or craft paper on your work surface to protect it from any spills or drips.
- Masking tape: Use masking tape to create clean lines or protect certain areas of the glass from the glue and glitter.
- Gloves: Optional, but wearing gloves can help protect your hands from getting sticky or from any chemicals in the glue and sealer.
Once you have gathered all these materials, you’re ready to start creating your glitter wine glasses! They make fantastic handmade gifts, stunning additions to your table setting, or simply a fun project to unleash your creativity.
Step 1: Clean the Wine Glasses
Before you begin the glitter application process, it’s important to ensure that your wine glasses are clean and free from any dirt, dust, or residue. This will provide a smooth and even surface for the glue and glitter to adhere to.
Here’s how to clean your wine glasses:
- Fill a sink or a basin with warm water and a small amount of mild dish soap.
- Gently place the wine glasses into the soapy water, taking care not to crowd them or stack them to prevent breakage.
- Use a soft sponge or cloth to clean the inside and outside of the glasses. Pay special attention to the rim and base of the glasses.
- Rinse the glasses thoroughly under running water to remove any soap residue.
- Place the glasses upside down on a clean towel to air dry. Avoid using a dish towel which may leave lint on the glasses.
Make sure the glasses are completely dry before proceeding to the next steps. Any moisture on the glasses may affect the adhesion of the glue and glitter.
By starting with clean glasses, you’ll ensure that the glitter wine glasses have a professional and polished finish. Now that your glasses are sparkling clean, it’s time to move on to the next step – preparing the glitter!
Step 2: Prepare the Glitter
Preparing the glitter is an important step in creating the perfect glitter wine glasses. This involves selecting the colors and types of glitter you want to use, as well as organizing them for easy application.
Here’s how to prepare the glitter:
- Choose your glitter: Decide on the colors and types of glitter you want to use. You can opt for a single color for a cohesive look, or mix and match different colors for a more dazzling effect.
- Place the glitter in separate containers: To make it easier to work with, pour each color of glitter into separate containers. This will prevent them from getting mixed up and allow you to easily access the glitter during the application process.
- Consider a glitter mix: If you want to create a unique look, consider making your own glitter mix. Combine different colors and sizes of glitter to achieve a customized and eye-catching blend.
Once you have prepared the glitter, you’re ready to move on to the next step – applying the glue to the wine glasses.
Remember, the key to a successful glitter application is to have your glitter organized and easily accessible. This will allow you to work efficiently and achieve the desired effect on your wine glasses.
Step 3: Apply the Glue
Now that you have your clean wine glasses and prepared glitter, it’s time to start applying the glue. The glue will act as a base for the glitter, ensuring its adhesion to the glass and providing a smooth surface for a flawless finish.
Follow these steps to apply the glue:
- Prepare your work area: Lay down newspaper or craft paper to protect your work surface from any glue spills or drips.
- If desired, use masking tape: If you want to create clean lines or protect certain areas of the glass from the glue and glitter, apply masking tape to those areas.
- Dip your brush or sponge in the clear-drying, waterproof glue.
- Apply the glue to the surface of the wine glass using even strokes. Start from the top and work your way down, ensuring that you cover the entire area where you want the glitter to adhere.
- If you want a gradient effect, apply more glue at the top of the glass and gradually decrease the amount as you move down.
- Take care not to apply too much glue, as it may create drips or make the drying process longer.
Once you have applied the glue, set aside the wine glass for a moment to allow the glue to dry slightly. This will create a tacky surface for the glitter to adhere to in the next step.
With the glue applied, your wine glasses are now ready for a touch of sparkle. Get ready to bring on the glitter in the next step!
Read more: How To Seal Glitter On Glass
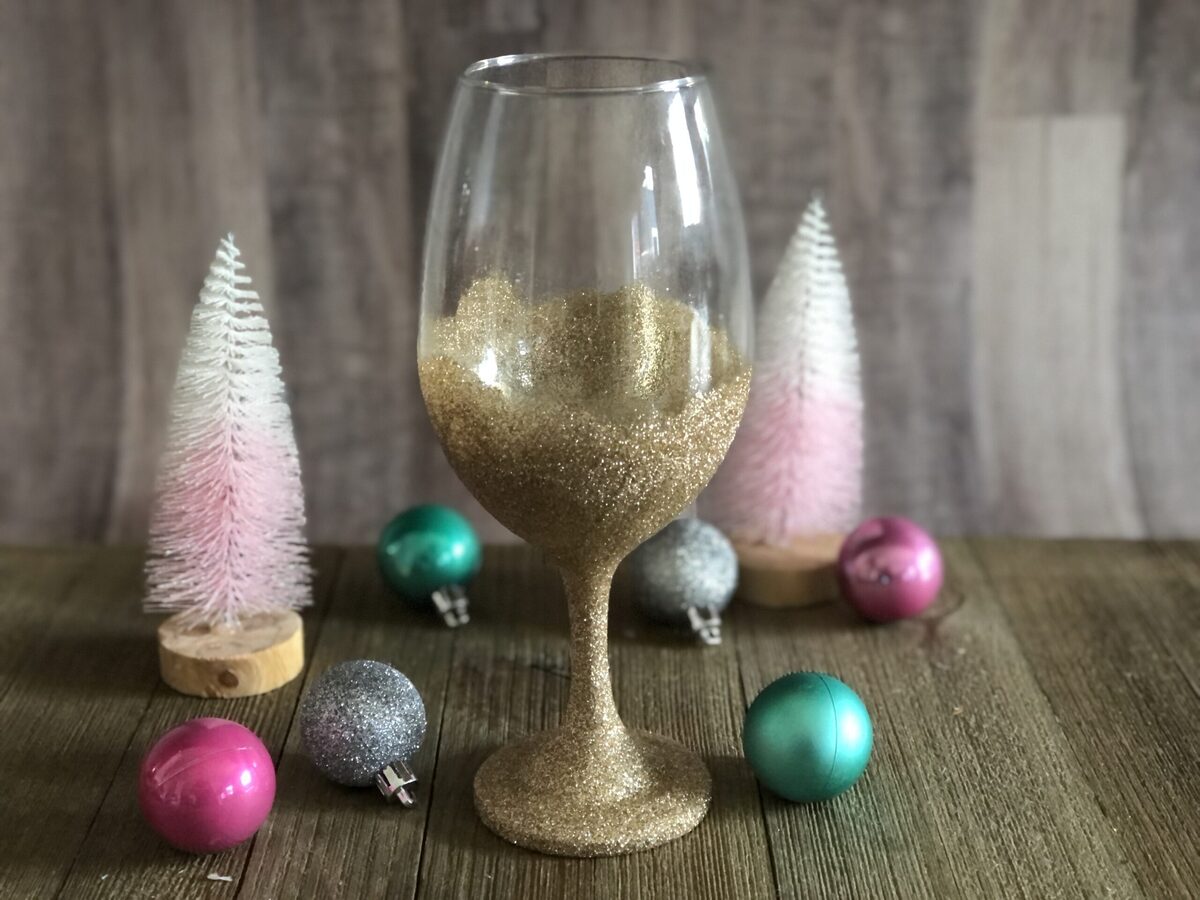
Step 4: Apply the Glitter
The moment has arrived to add that dazzling sparkle to your wine glasses! Applying the glitter is where the magic happens, and it’s your chance to get creative and make your glasses truly shine.
Follow these steps to apply the glitter:
- Take one of your prepared containers of glitter.
- Hold the wine glass over the container to catch any excess glitter.
- Sprinkle the glitter onto the tacky surface of the glue. Be generous with the glitter, ensuring that the entire glued area is covered.
- Gently tap the glass to remove any excess glitter. You can also use a soft brush to brush away any loose glitter.
- If you’re using multiple colors of glitter, you can create patterns or designs by applying one color at a time or by mixing colors directly on the glass.
- Rotate the glass as you add the glitter to ensure even coverage.
- Once you’re satisfied with the glitter coverage, carefully shake off any remaining excess glitter into the container or onto a separate piece of paper.
- Repeat the process for each wine glass, working on one glass at a time.
Allow the glitter to set and adhere to the glue for a few minutes before moving on to the next step. This will help ensure that the glitter stays in place and minimizes any glitter fallout.
Absorb the beauty of your sparkling wine glasses, as they start to come to life. But don’t stop just yet – there are a couple more steps to make them truly spectacular!
When applying glitter to wine glasses, use a clear adhesive that dries quickly and is safe for use with glass. This will ensure that the glitter adheres well and the glasses remain safe for drinking.
Step 5: Seal the Glitter
To ensure that your glitter wine glasses maintain their sparkle and shine over time, it’s important to seal the glitter. Sealing the glitter will protect it from rubbing off or fading, and it will also give your glasses a smooth and finished look.
Here’s how to seal the glitter:
- Choose a clear sealer that is compatible with both the glitter and the glass material. Look for a spray-on sealer or a brush-on sealer, depending on your preference.
- Read and follow the instructions provided by the manufacturer for the specific sealer you are using.
- Hold each glittered wine glass over a new sheet of newspaper or craft paper to protect your work surface.
- If you’re using a spray-on sealer, spray a light and even coat over the glittered areas, taking care not to oversaturate. Ensure that the sealer covers the entire glittered surface.
- If you’re using a brush-on sealer, dip a clean brush into the sealer and apply a thin and even layer over the glittered areas. Use smooth brush strokes to prevent streaks or clumps.
- Allow the sealer to dry according to the manufacturer’s instructions. This may take a few hours or overnight, depending on the sealer you are using.
Sealing the glitter will help protect it from rubbing off or smudging when handling the wine glasses. It will also make cleaning the glasses easier, as the sealer creates a barrier between the glitter and any moisture.
With the glitter sealed, your wine glasses are almost complete. Just a little more patience and a few finishing touches, and you’ll have stunning glitter wine glasses that are ready to impress.
Step 6: Let the Glasses Dry
After sealing the glitter, it’s essential to allow the wine glasses to dry completely. This will ensure that the sealer fully sets and the glitter adheres firmly to the glass surface.
Follow these steps to let the glasses dry:
- Place the glittered and sealed wine glasses on a clean and dry surface.
- Ensure that the glasses are arranged in such a way that they don’t touch each other, to prevent any smudging or sticking during the drying process.
- Leave the glasses undisturbed in a well-ventilated area, away from direct sunlight or heat sources.
- Allow the glasses to dry for the recommended time stated on the sealer’s instructions. This can range from a few hours to overnight.
- Check the glasses periodically during the drying process to ensure that there are no visible signs of smudging or running of the glitter.
- Once the glasses are completely dry, gently touch different areas of the glitter and sealer to ensure they are no longer tacky.
It’s crucial to exercise patience during this step, as rushing the drying process can lead to unwanted smudges or the glitter not adhering properly. By allowing the glasses to dry thoroughly, you’ll ensure the longevity and quality of your glitter wine glasses.
As the glasses dry, take a moment to appreciate your beautiful and shimmering creations. You’re nearing the end of your DIY glitter wine glass journey, but there’s still one more step to go – the final touches!
Step 7: Final Touches
Now that your glitter wine glasses are dry and the glitter is securely in place, it’s time to add some final touches to make them truly stunning. These final touches will elevate the overall look and ensure that your glasses are ready to impress.
Consider the following options for adding those finishing touches:
- Remove any excess glitter: Use a soft brush or cloth to gently brush away any loose or excess glitter that may have stuck to the glass outside of the glued area.
- Clean the edges: Use a craft knife or a clean, damp cloth to carefully clean the edges of the glasses, removing any glue or glitter that may have seeped onto areas you don’t want it to be.
- Personalize with embellishments: If desired, you can further customize your glitter wine glasses by adding additional embellishments such as ribbons, beads, or charms. Attach them securely using craft glue or a hot glue gun, ensuring they complement the glitter and overall design.
- Wrap as gifts or display on a table: Once you are happy with the final touches, you can wrap the glitter wine glasses individually as gifts for friends or loved ones. Alternatively, proudly display them on your dining table or use them for your next special occasion.
By adding these final touches, you’ll add that extra layer of finesse to your glitter wine glasses. Every small detail counts in making your creations truly exceptional and unique.
Now that you’ve completed all the steps, you can step back and admire your beautiful glitter wine glasses. Your hard work and creativity have paid off, and you have gorgeous tableware pieces that are sure to make a dazzling impression on anyone who sees them.
Remember, these glitter wine glasses make fabulous gifts, showstoppers at parties, or simply delightful additions to your own collection. Have fun experimenting with different colors, patterns, and designs to take your glitter wine glass game to the next level!
Enjoy sipping in style and revel in the joy of your glittery creations!
Read more: How To Make Teacup Wine Glasses
Tips and Tricks
Here are some helpful tips and tricks to ensure your glitter wine glass making process goes smoothly and yields the best results:
- Choose high-quality materials: Invest in good quality wine glasses, glitter, glue, and sealer. This will ensure a long-lasting and professional finish.
- Test your materials: Before applying the glue and glitter to the entire glass, perform a small test on a small area to ensure the materials are compatible and give you the desired effect.
- Work in a well-ventilated area: It’s important to have proper ventilation when working with glue and sealers. Open a window or work in a well-ventilated space to avoid inhaling any fumes.
- Protect your workspace: Cover your work area with newspaper or craft paper to make cleanup easier and protect the surface from any spills or drips.
- Be patient when drying: Allow sufficient time for the glue, glitter, and sealer to dry between each step. Rushing the drying process can lead to smudging or compromised results.
- Experiment with different glitter colors and sizes: Get creative and mix and match different colors and sizes of glitter for unique and eye-catching designs.
- Practice good glitter application techniques: Tap off excess glitter gently to avoid wasting it, and rotate the glass as you apply the glitter to ensure even coverage.
- Seal the edges: To keep the edges of the glitter secure and prevent chipping or peeling, apply an extra layer of sealer along the edges of the glass.
- Handle with care: Glitter wine glasses are delicate and should be handled with care. Avoid abrasive scrubbing or soaking to preserve the glitter and sealer.
- Clean properly: When cleaning the glitter wine glasses, hand wash them gently with mild soap and warm water. Avoid scrubbing the glittered area vigorously to prevent the glitter from coming loose.
By following these tips and tricks, you’ll be able to create dazzling glitter wine glasses with ease while achieving professional-looking results. Now, it’s time to put your newfound knowledge into practice and start crafting!
Conclusion
Creating glitter wine glasses is a wonderful way to add a touch of glamour and sparkle when you set your table, or to create personalized gifts for your loved ones. With just a few materials and some simple steps, you can transform plain wine glasses into dazzling, eye-catching pieces that will elevate any occasion.
In this comprehensive guide, we’ve covered everything you need to know to create your own stunning glitter wine glasses. From cleaning the glasses to applying the glue, sprinkling on the glitter, sealing it for longevity, and adding those final touches, each step has been carefully explained to help you achieve professional and impressive results.
While you embark on your glitter wine glass-making journey, remember to have fun and let your creativity shine through. Experiment with different colors, patterns, and designs to create unique and personalized wine glasses that reflect your style and taste. The possibilities are endless!
Additionally, keep in mind the importance of using high-quality materials, allowing sufficient drying time between steps, and handling the glasses with care to ensure their longevity. With the right techniques and a little patience, your glitter wine glasses will be a stunning addition to your tableware collection for years to come.
So gather your materials, set up your workspace, and let your imagination run wild. Whether you’re hosting a special event, looking to add a touch of elegance to your everyday meals, or searching for a thoughtful handmade gift, glitter wine glasses are sure to leave a lasting impression.
Now, it’s time to embrace your inner artist and get crafty. Happy glittering!
Frequently Asked Questions about How To Make Glitter Wine Glasses
Was this page helpful?
At Storables.com, we guarantee accurate and reliable information. Our content, validated by Expert Board Contributors, is crafted following stringent Editorial Policies. We're committed to providing you with well-researched, expert-backed insights for all your informational needs.


0 thoughts on “How To Make Glitter Wine Glasses”