Home>Dining>Tableware>How To Apply Vinyl Decals To Wine Glasses
Tableware
How To Apply Vinyl Decals To Wine Glasses
Modified: January 11, 2024
Learn how to beautifully apply vinyl decals to your wine glasses with our step-by-step guide. Elevate your tableware with personalized designs!
(Many of the links in this article redirect to a specific reviewed product. Your purchase of these products through affiliate links helps to generate commission for Storables.com, at no extra cost. Learn more)
Introduction
Welcome to the world of vinyl decals and wine glasses! Whether you’re a DIY enthusiast looking to add a personal touch to your glassware collection or a small business owner hoping to create custom designs for your customers, learning how to apply vinyl decals to wine glasses is a valuable skill to have.
Vinyl decals are an excellent way to add a unique and stylish element to wine glasses. They can feature intricate designs, personalized names or messages, or even company logos. By following a few simple steps, you can adhere the vinyl decals securely to the glasses, creating a professional and polished look.
In this article, we will guide you through the process of applying vinyl decals to wine glasses. We will cover the materials you will need, as well as step-by-step instructions to ensure a successful application. So grab your favorite wine glass and let’s begin!
Key Takeaways:
- Personalize your wine glasses with vinyl decals by following simple steps. Clean, prepare, position, and apply the decal for a professional and polished look.
- Practice makes perfect! Experiment with different designs and colors to create unique and eye-catching glassware. Allow the decal to set for 24 hours for a strong bond.
Read more: What Vinyl To Use For Wall Decals
Materials Needed
Before you start applying vinyl decals to wine glasses, gather the following materials:
- Wine glasses: Choose plain wine glasses with a smooth surface. Avoid textured or painted glasses, as the decals may not adhere properly.
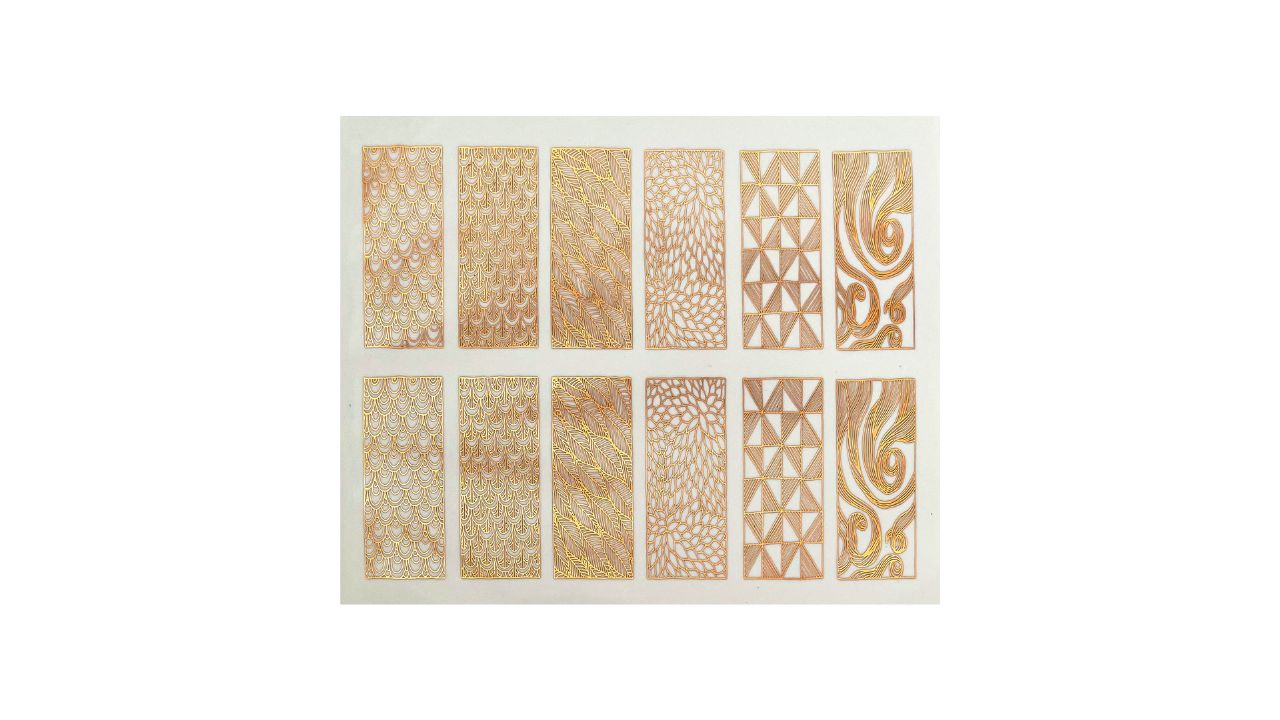
- Vinyl decals: Purchase high-quality adhesive vinyl decals in the design or customization of your choice. You can find a wide variety of decals in craft stores or online.
- Transfer tape: This transparent adhesive film is used to transfer the vinyl decal onto the glass surface. Look for transfer tape that is specifically designed for use with vinyl decals.
- Cleaning solution: Use a mild glass cleaner or dish soap and water to clean the wine glasses thoroughly before applying the decals. Make sure to eliminate any dirt, oils, or residues that may hinder the adhesive process.
- Squeegee or credit card: A squeegee or a credit card can be used to smooth out the vinyl decal and remove any air bubbles during the application process.
- Scissors or craft knife: You will need these tools to trim the excess vinyl around the decal for a clean and finished look.
Once you have gathered all these materials, you’ll be ready to move on to the next steps and start applying vinyl decals to your wine glasses.
Step 1: Cleaning the Wine Glass
Before applying the vinyl decal, it’s essential to ensure that the wine glass surface is clean and free from any dirt, oils, or residues. Follow these simple steps to clean your wine glass:
- Fill a sink or a basin with warm water.
- Add a small amount of mild dish soap or glass cleaner to the water and mix it well.
- Place the wine glass gently into the soapy water solution.
- Using a soft cloth or sponge, scrub the surface of the glass, paying attention to any areas that may have fingerprints, smudges, or stubborn stains.
- Rinse the wine glass thoroughly under running water to remove any soap residue.
- Pat the glass dry using a lint-free cloth or let it air dry.
By cleaning the wine glass, you will ensure a smooth and pristine surface for the vinyl decal to adhere to. Avoid using harsh cleaning agents, abrasive sponges, or excessive scrubbing, as these can damage the glass surface. Once the glass is clean and dry, you can move on to the next step in the process.
Step 2: Preparing the Vinyl Decal
Once your wine glass is clean and dry, it’s time to prepare the vinyl decal for application. Follow these steps to ensure that the decal is ready to be transferred onto the glass:
- Peel off the backing paper from the vinyl decal to expose the adhesive side. Be careful not to touch the adhesive surface with your fingers, as it can leave oils or residue that may affect the adhesion.
- Place the vinyl decal on a flat surface with the adhesive side facing up.
- Run your fingertips or a squeegee gently over the decal to ensure that it is smooth and free from any air bubbles or wrinkles.
- If the decal contains multiple layers or colors, make sure they are aligned correctly and in the desired position.
- If needed, use scissors or a craft knife to trim any excess vinyl around the design. This will give your decal a clean and professional appearance.
- Carefully lift the vinyl decal, making sure that it remains intact and well-aligned.
By properly preparing the vinyl decal, you will make the application process smoother and more efficient. Take your time to ensure that the decal is in the desired position and free from any imperfections. Once the decal is prepared, it’s time to move on to the next step and apply transfer tape.
Step 3: Applying Transfer Tape
Transfer tape is a crucial tool for transferring the vinyl decal from its backing paper to the wine glass. Follow these steps to apply the transfer tape:
- Cut a piece of transfer tape slightly larger than the size of the vinyl decal.
- Peel off the backing paper from the transfer tape to expose the adhesive side.
- With the adhesive side of the transfer tape facing down, carefully align and place it over the vinyl decal. Make sure the adhesive side of the transfer tape is in contact with the adhesive side of the decal.
- Gently run your fingertips or a squeegee over the transfer tape to ensure it adheres well to the decal.
- Starting from one corner, slowly peel back the transfer tape, leaving the vinyl decal attached to it. If any part of the decal lifts with the backing paper, press it back down and reapply pressure with your fingertips or a squeegee.
- Continue to peel off the transfer tape, gradually exposing the vinyl decal. Be cautious not to stretch or distort the decal during this process.
- Once the transfer tape has been completely removed and the vinyl decal is solely attached to it, move on to the next step of positioning the decal onto the wine glass.
Ensuring the transfer tape is applied correctly is essential for a successful and precise placement of the vinyl decal on the wine glass. Take your time during this step to avoid any mishaps or misalignments. With the transfer tape and decal ready, it’s time to move on to the next step and position the decal onto the wine glass.
Before applying vinyl decals to wine glasses, make sure the surface is clean and dry. Use a transfer tape to carefully place the decal on the glass, then firmly press down to ensure it adheres properly.
Read also: 11 Best Vinyl Wall Decals For 2024
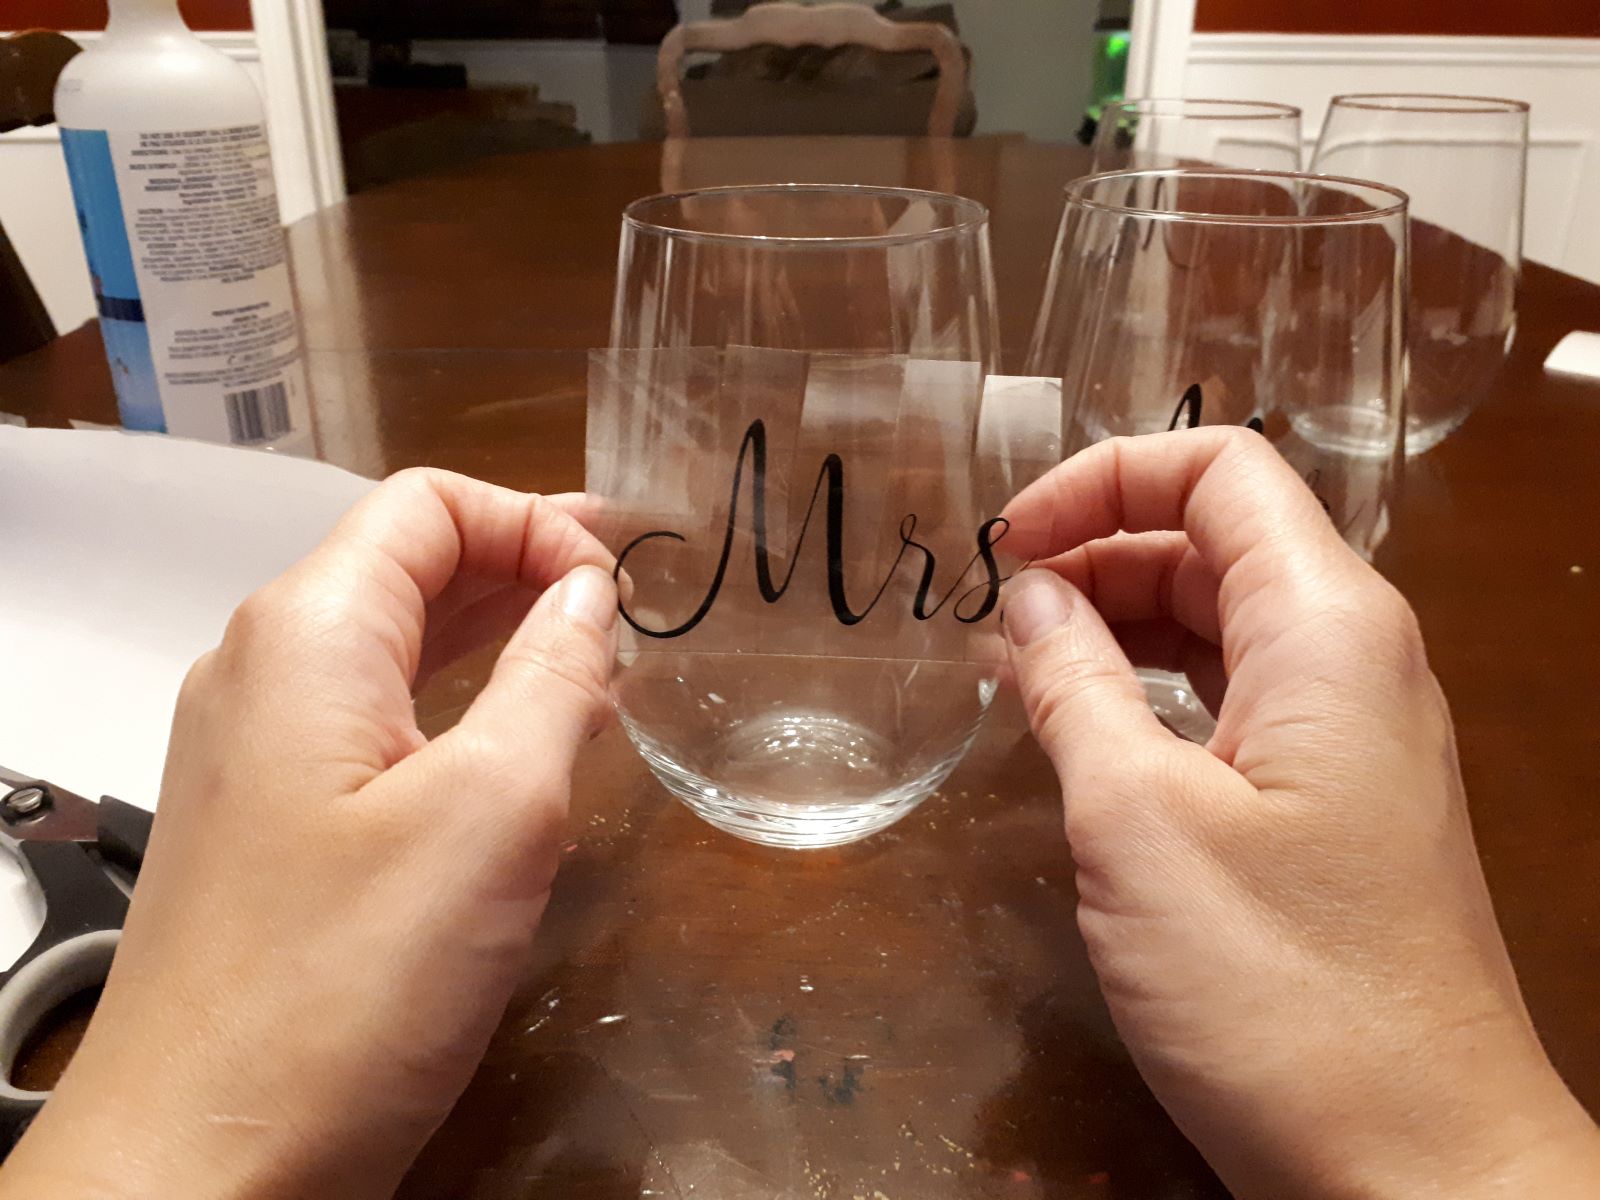
Step 4: Positioning the Decal
Now that you have the vinyl decal attached to the transfer tape, it’s time to position it onto the wine glass. Follow these steps to ensure proper placement:
- Hold the wine glass with one hand and carefully position the decal on the desired spot of the glass. Take into account the size and shape of the glass to ensure the decal is centered and aligned correctly.
- Once you are satisfied with the positioning, gently press the decal onto the glass using your fingertips. Start from the center of the decal and work your way out towards the edges. This will help to eliminate any air bubbles and ensure proper adhesion.
- If needed, you can adjust the position of the decal by carefully lifting it off the glass and repositioning it. Be cautious not to stretch or distort the decal during this process.
- Take a step back and visually inspect the positioning of the decal. Make any necessary adjustments to ensure it looks symmetrical and aligned with your desired design.
- Once you are confident with the placement, use a squeegee or the edge of a credit card to firmly press down on the decal, working from the center towards the edges. This will ensure a secure bond between the decal and the glass.
By carefully positioning the decal onto the wine glass, you will achieve a professional and seamless look. Take your time during this step to ensure accuracy and precision. With the decal properly placed, you’re ready to move on to the next step and apply the decal onto the glass surface.
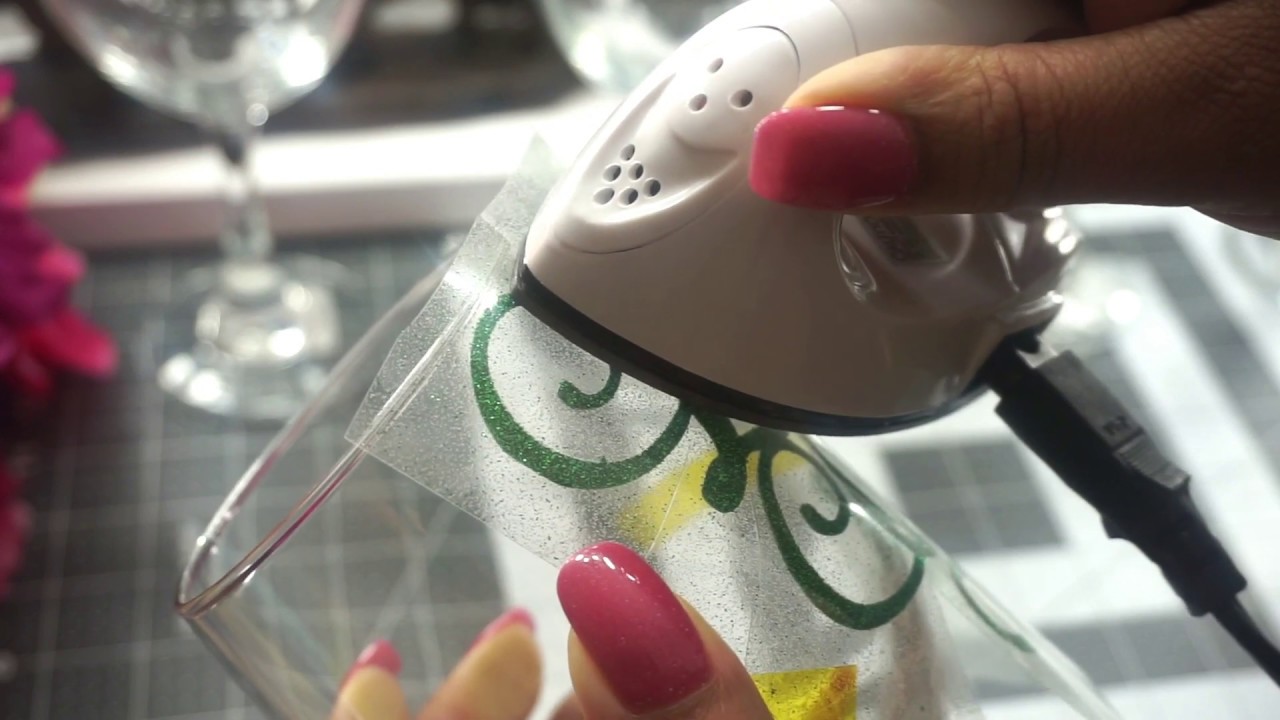
Step 5: Applying the Decal
Now that the vinyl decal is positioned on the wine glass, it’s time to apply it to the glass surface. Follow these steps to successfully adhere the decal:
- Starting from one edge of the decal, slowly peel back the transfer tape, ensuring that the decal remains attached to the glass. Peel at a 45-degree angle and take your time to prevent any lifting or tearing of the decal.
- As you peel away the transfer tape, use a squeegee or the edge of a credit card to firmly press down on the decal. This will help to ensure a strong adhesion between the decal and the glass.
- Continue peeling off the transfer tape while simultaneously pressing down on the decal, working your way across the entire decal. Take care not to rush this step and apply even pressure to avoid any air bubbles or creases.
- Once the transfer tape has been completely removed, inspect the decal for any air bubbles or imperfections. If you notice any, gently smooth them out using your fingertips or a squeegee. You can also carefully lift a portion of the decal and reapply it if necessary.
- With the decal securely applied, gently run your fingertips or the edge of a credit card over the entire decal to ensure proper adhesion and smooth out any remaining bubbles or wrinkles.
- Allow the decal to set and adhere to the glass for at least 24 hours before using or washing the wine glass. This will ensure that the decal has ample time to bond with the glass surface.
By carefully applying the decal to the wine glass, you will achieve a professional and long-lasting result. Take your time during this step to ensure that the decal adheres properly and is free from any imperfections. With the decal applied, you’re ready to move on to the final step of removing the transfer tape.
Step 6: Removing the Transfer Tape
After the vinyl decal has been applied to the wine glass, it’s time to remove the transfer tape. Follow these steps to safely and effectively remove the transfer tape:
- Starting from one corner, slowly peel back the transfer tape at a 45-degree angle. Take your time and remove the tape gradually to ensure that the decal remains securely attached to the glass.
- As you peel off the transfer tape, hold down the edge of the decal with your fingers to prevent it from lifting or coming off the glass surface.
- If you notice any part of the decal lifting with the tape, press it back down firmly with your fingertips or a squeegee and continue peeling the tape.
- Continue removing the transfer tape until it is completely detached from the wine glass, leaving the vinyl decal intact on the glass’s surface.
- Inspect the decal for any remaining air bubbles or imperfections. If you notice any, gently smooth them out using your fingertips or a squeegee.
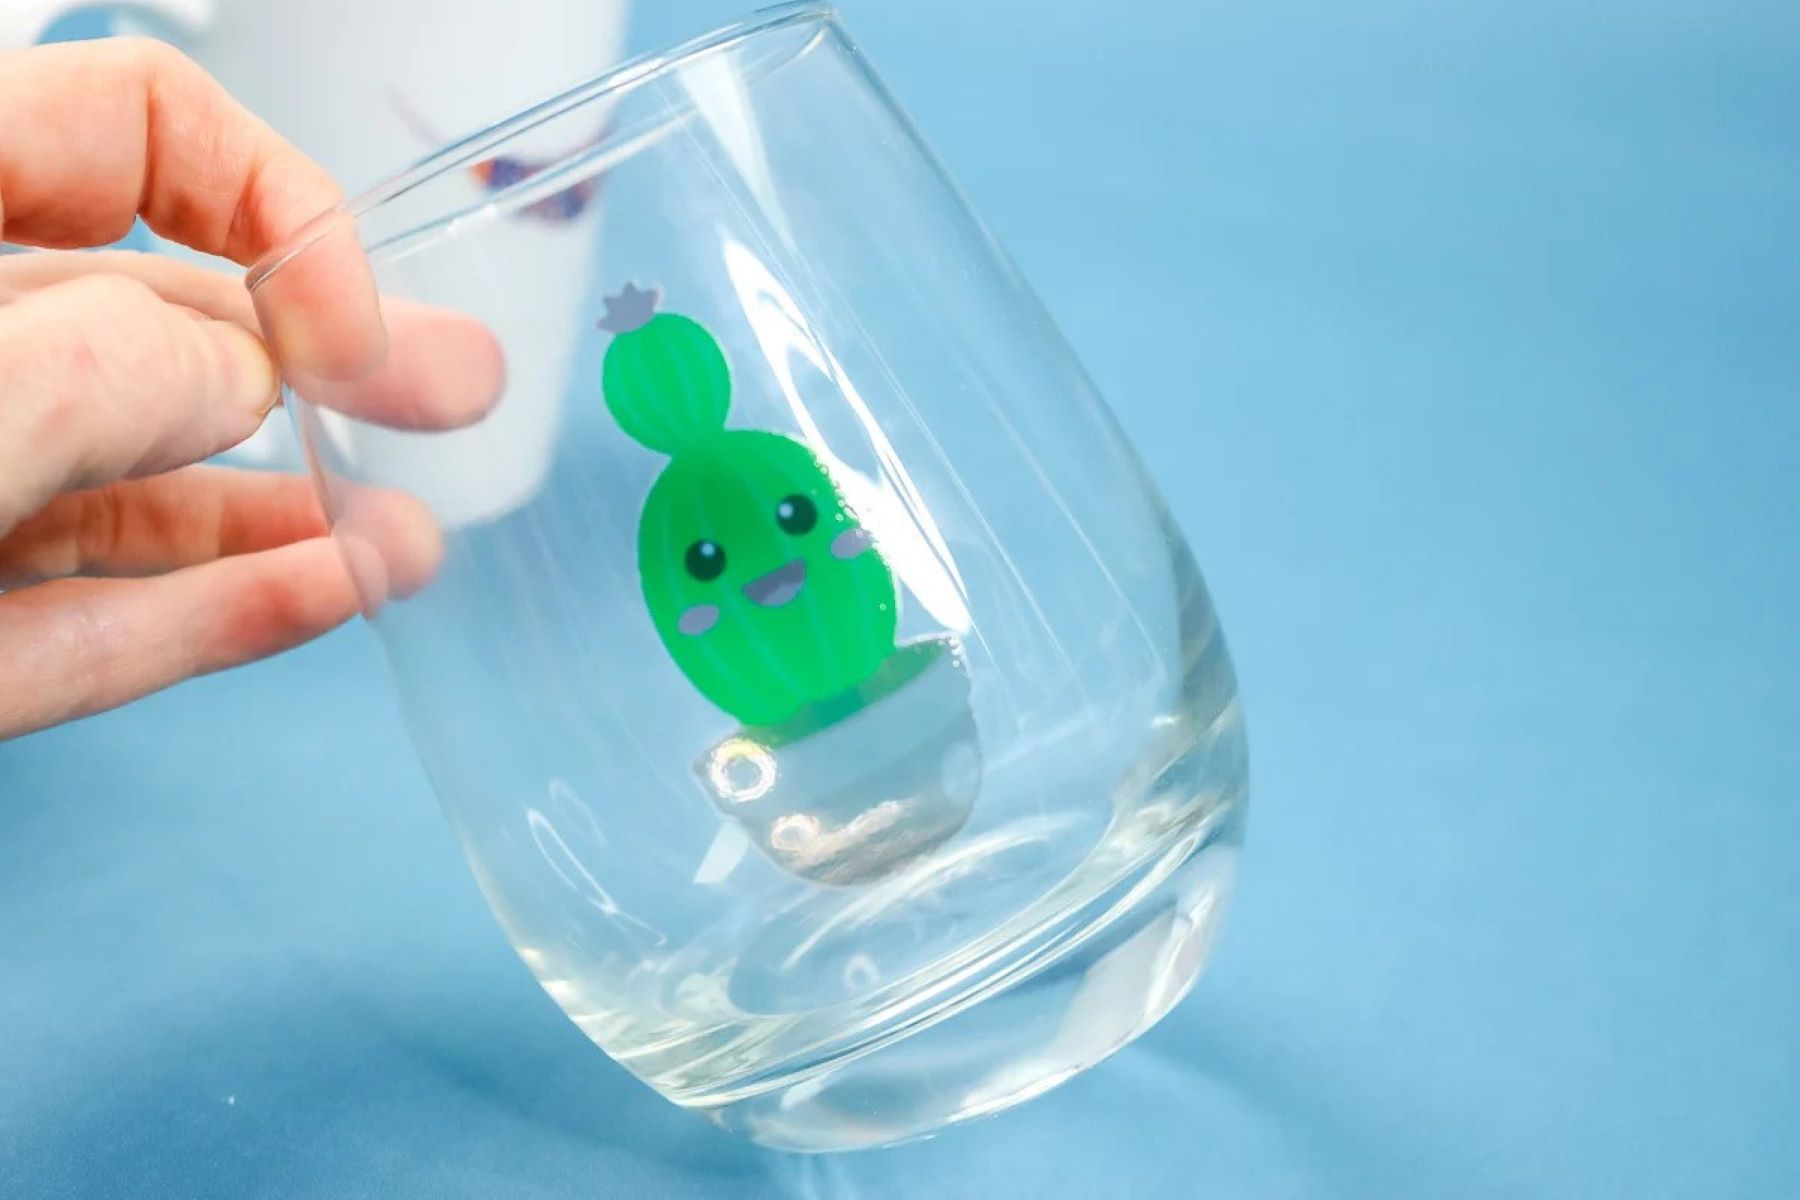
- With the transfer tape removed and the decal inspected, your wine glass is now adorned with a beautiful vinyl decal. Admire your work and feel proud of your personalized creation!
To ensure that your vinyl decal remains securely attached to the wine glass, carefully remove the transfer tape. During this step, take your time to avoid any mishaps or damage to the decal. Once the transfer tape is removed and the decal is perfectly in place, pack wine glasses carefully for enjoyment or gifting!
Conclusion
Congratulations! You have successfully learned how to apply vinyl decals to wine glasses. By following the steps outlined in this guide, you can create beautifully customized glassware that adds a personal touch to any occasion.
Remember, the key to a successful application is to start with clean and dry wine glasses, properly prepare the vinyl decal, and carefully position it onto the glass surface. Using transfer tape, you securely apply the decal and remove any air bubbles or wrinkles. Finally, by peeling off the transfer tape, you reveal a flawless vinyl decal on your wine glass.
Keep in mind that practice makes perfect. Don’t be discouraged if your first attempt is not flawless – with time and experience, you will become more skilled at applying vinyl decals. Experiment with different designs, colors, and sizes to create unique and eye-catching glassware.
Remember to allow the decal to set for at least 24 hours before using or washing the wine glass. This ensures that the decal has a strong bond with the glass and will withstand everyday use.
So, whether you want to add a touch of elegance to your own glassware collection or create personalized gifts for friends and family, applying vinyl decals to wine glasses is a rewarding and enjoyable craft. Let your creativity shine and transform ordinary wine glasses into works of art!
Now, have fun creating and showcasing your vinyl decal-adorned wine glasses. Cheers to your newfound skills!
Frequently Asked Questions about How To Apply Vinyl Decals To Wine Glasses
Was this page helpful?
At Storables.com, we guarantee accurate and reliable information. Our content, validated by Expert Board Contributors, is crafted following stringent Editorial Policies. We're committed to providing you with well-researched, expert-backed insights for all your informational needs.


0 thoughts on “How To Apply Vinyl Decals To Wine Glasses”