Home>Interior Design>How To Make Vinyl Wall Decals With Silhouette Cameo

Interior Design
How To Make Vinyl Wall Decals With Silhouette Cameo
Modified: March 19, 2024
Learn how to create stunning vinyl wall decals for your interior design projects with the Silhouette Cameo. Enhance your space with personalized and unique designs that are easy to make.
(Many of the links in this article redirect to a specific reviewed product. Your purchase of these products through affiliate links helps to generate commission for Storables.com, at no extra cost. Learn more)
Introduction
Welcome to the world of interior design where creativity knows no bounds. In this article, we will explore the fascinating process of creating vinyl wall decals using the Silhouette Cameo, a powerful tool that allows you to bring your design ideas to life. Whether you want to add a personal touch to your home decor or customize a space for a special occasion, vinyl wall decals offer a versatile and cost-effective solution that can transform any room.
With the Silhouette Cameo, you have the freedom to design and cut intricate shapes, letters, and patterns from adhesive vinyl sheets. These decals can be applied to walls, windows, furniture, and other smooth surfaces, instantly adding a touch of style and personality to any space. Whether you are a seasoned DIY enthusiast or just starting out, this step-by-step guide will walk you through the entire process of creating and applying your own vinyl wall decals.
In our journey to create stunning vinyl wall decals, we will cover everything from designing the decal using software, loading the vinyl into the Silhouette Cameo, cutting the design, weeding the excess vinyl, applying transfer tape, and finally adhering the decal to your desired surface. So, let’s dive in and discover the art of making vinyl wall decals with the Silhouette Cameo!
Key Takeaways:
- Unleash your creativity and personalize any space with vinyl wall decals using the Silhouette Cameo. From designing to applying, enjoy the process and add a unique touch to your home decor.
- With patience and attention to detail, transform your design ideas into stunning vinyl decals. Embrace the joy of crafting and cherish the personalized space you create with the Silhouette Cameo.
Read more: What Vinyl To Use For Wall Decals
Materials Needed
Before we embark on our vinyl wall decal journey, let’s gather all the materials we’ll need for this project. Here is a list of essential supplies:
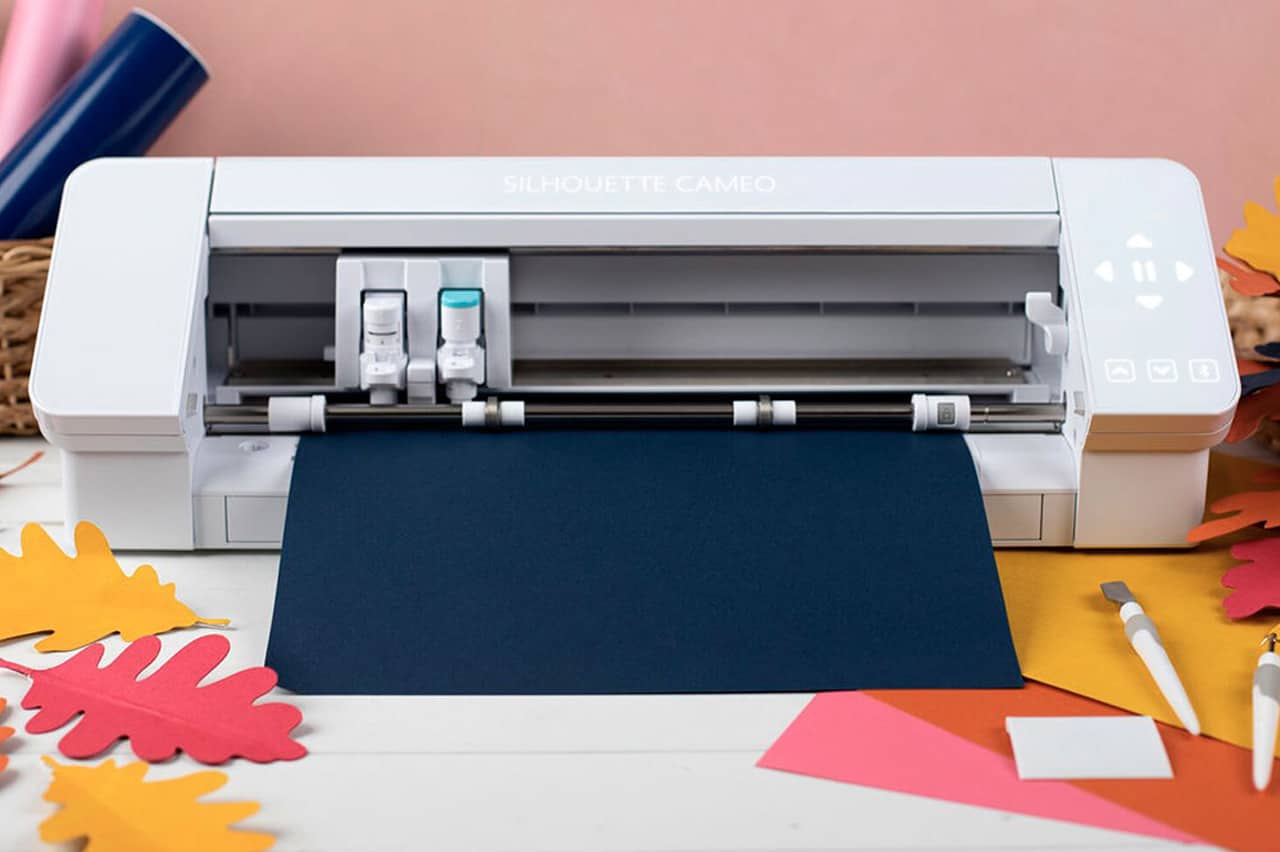
- Silhouette Cameo: This cutting machine is the heart of the operation. It allows you to precisely cut out your designs from the vinyl.
- Vinyl Sheets: Choose high-quality adhesive vinyl sheets in the colors of your choice. These sheets will be the canvas for your design.
- Transfer Tape: This transparent adhesive tape is used to transfer the vinyl decal from its backing onto the surface you’re applying it to.
- Weeding Tool: A weeding tool helps you remove the excess vinyl from your cut design without damaging it.
- Scraper Tool: This tool is used to smooth out and remove air bubbles from the transferred decal.
- Computer with Design Software: You will need a computer with design software compatible with your Silhouette Cameo. Software options include Silhouette Studio, Adobe Illustrator, and CorelDRAW.
- Cutting Mat: A cutting mat is used to hold the vinyl sheet in place while it’s being cut by the Silhouette Cameo.
- Ruler or Measuring Tape: A ruler or measuring tape will help you ensure the vinyl decal is applied straight and evenly.
- Clean Cloth: A soft, lint-free cloth is useful for cleaning the surface before applying the vinyl decal.
- Masking Tape: Masking tape can be used to hold the vinyl decal in place while applying it, especially for larger designs.
With these materials in hand, you’re ready to embark on your vinyl wall decal creation journey. The next step is designing your decal. Let’s move on to that exciting part!
Step 1: Designing the Vinyl Decal
Designing your vinyl decal is where the fun begins! This is the step where you get to unleash your creativity and create a design that reflects your personal style or the theme of the room you’re decorating. Here’s how to get started:
- Choose a Design Software: Use a design software compatible with your Silhouette Cameo to create your decal. Silhouette Studio is a popular choice, but you can also use Adobe Illustrator or CorelDRAW.
- Create or Import Your Design: If you have a specific design in mind, use the design tools in the software to create it. Alternatively, you can import pre-made designs or use design elements available in the software’s library.
- Size and Scale: Determine the size and scale of your decal based on the dimensions of the surface you plan to apply it to. Consider the overall look you want to achieve and ensure the design is balanced and appropriately sized for the space.
- Choose Colors: Select the colors for your decal. Consider the color scheme of the room or the ambiance you want to create. Experiment with different color combinations to find the perfect palette.
- Add Text or Graphics: If desired, incorporate text or graphics into your design. This could be a quote, a monogram, or a decorative element that enhances the overall aesthetic of the decal.
- Finalize and Save: Once you’re happy with your design, save it in a compatible file format such as SVG, DXF, or PNG. This will ensure that your design can be imported into the Silhouette Studio software for cutting.
Remember, designing a vinyl decal is all about personalization and creativity. Experiment with different ideas, colors, and styles until you achieve a design that truly speaks to you. Once you’ve finalized your design, you’re ready to move on to the next step: preparing the Silhouette Cameo for cutting.
Step 2: Preparing the Silhouette Cameo
Now that you have your vinyl decal design ready, it’s time to prepare the Silhouette Cameo for cutting. Follow these steps to ensure a smooth and successful cutting process:
- Connect the Silhouette Cameo to your computer: Use the USB cable provided with your Silhouette Cameo to connect it to your computer. Ensure that the machine is properly connected and recognized by your computer’s operating system.
- Open the Silhouette Studio software: Launch the Silhouette Studio software on your computer. If you haven’t installed it yet, you can download it from the official Silhouette website.
- Adjust the Silhouette Cameo settings: In the software, go to the “Page Setup” menu and select the appropriate settings for your vinyl decal and cutting mat. Choose the material type (adhesive vinyl), set the blade depth, and adjust the cutting speed and pressure based on the thickness of your vinyl.
- Load the cutting mat: Place the vinyl sheet onto the cutting mat, ensuring that it is aligned with the guidelines on the mat. Smooth out any wrinkles or bubbles, making sure the vinyl is securely adhered to the surface of the mat.
- Insert the cutting mat into the Silhouette Cameo: Open the lid of the Silhouette Cameo and carefully insert the cutting mat with the vinyl into the machine. Align it with the guides on the inner tray and push it gently until it is firmly in place.
- Adjust the rollers: Use the adjustment rollers on the Silhouette Cameo to ensure that the mat is properly aligned and held in place during the cutting process. The rollers should be placed on the edges of the cutting mat, securing it securely in place.
With the Silhouette Cameo set up and the vinyl loaded onto the cutting mat, you’re now ready to move on to the next step: loading the vinyl and adjusting the settings for cutting.
Step 3: Loading the Vinyl and Adjusting the Settings
With the Silhouette Cameo prepared, it’s time to load the vinyl into the machine and make any necessary adjustments to the cutting settings. Follow these steps to ensure precise and accurate cutting:
- Prepare the vinyl sheet: Trim the vinyl sheet to a size that fits within the cutting area of the Silhouette Cameo. Leave some extra space around your design to ensure smooth cutting.
- Open the Silhouette Studio software: Launch the Silhouette Studio software on your computer if it’s not already open. Ensure that the correct cutting mat size is selected in the software’s settings.
- Set the platform for vinyl loading: On the Silhouette Cameo, adjust the platform settings by moving the lever or turning the knobs to accommodate the thickness of the vinyl sheet you’re using.
- Load the vinyl sheet: Carefully place the prepared vinyl sheet onto the cutting mat, aligning it with the guidelines on the mat. Smooth out any wrinkles or bubbles to ensure a flat surface for cutting.
- Load the cutting mat into the Silhouette Cameo: Open the lid of the Silhouette Cameo and gently insert the cutting mat with the vinyl into the machine. Align it with the guides and push it all the way in until it locks into place.
- Adjust the settings in the software: In the Silhouette Studio software, ensure that the correct material type (adhesive vinyl) is selected. Adjust the cutting speed, blade depth, and cutting pressure based on the thickness and intricacy of your design.
- Perform a test cut: Before cutting the entire design, perform a test cut on a small corner of the vinyl to ensure that the settings are appropriate. Make any necessary adjustments based on the results of the test cut.
- Send the design to cut: Once you’re satisfied with the settings, send the design to the Silhouette Cameo for cutting. Click on the “Send to Silhouette” button in the software, and the machine will start cutting your vinyl decal.
By loading the vinyl correctly and adjusting the settings to suit your design, you’ll ensure that the Silhouette Cameo cuts your decal with precision and accuracy. Once the cutting is complete, it’s time to move on to the next step: weeding the excess vinyl from the design.
Read also: 11 Best Vinyl Wall Decals For 2024
Step 4: Cutting the Decal with Silhouette Cameo
With the vinyl loaded and the settings adjusted, it’s time to let the Silhouette Cameo work its magic and cut out your vinyl decal. Follow these steps to ensure a clean and accurate cut:
- Double-check the cutting settings: Before proceeding with the cutting process, review the settings in the Silhouette Studio software to ensure that the material type, cutting speed, blade depth, and cutting pressure are all correctly configured for your vinyl decal.
- Send the design to cut: Click on the “Send to Silhouette” button in the software to initiate the cutting process. The Silhouette Cameo will begin cutting the design according to the specified settings.
- Observe the cutting process: Watch as the Silhouette Cameo moves along the vinyl sheet, precisely cutting out your design. Take note of any areas where the blade may need adjustment or where the vinyl needs better alignment on the mat.
- Avoid disturbing the machine: While the Silhouette Cameo is cutting, refrain from moving or bumping the machine to ensure the accuracy and quality of the cut. Be patient and let the machine complete its task.
- Inspect the cut design: Once the cutting is complete, carefully remove the cutting mat from the Silhouette Cameo. Take a closer look at the cut design to ensure that all parts are cleanly cut and free of any incomplete or jagged lines.
If you notice any issues with the cut design, such as incomplete cuts or areas that didn’t adhere properly, you may need to adjust the cutting settings and repeat the cutting process. Once you’re satisfied with the quality of the cut, it’s time to move on to the next step: weeding the excess vinyl from the design.
When cutting vinyl wall decals with a Silhouette Cameo, be sure to use the appropriate blade and cut settings for the type of vinyl you are using to ensure clean and precise cuts.
Step 5: Weeding the Vinyl Design
Now that you have your vinyl design cut out, it’s time to remove the excess vinyl and reveal the intricate details of your decal. This process, known as weeding, requires patience and attention to detail. Follow these steps to weed your vinyl design:
- Prepare a clean work area: Clear a clean and flat surface to work on. This will help you see the details of the vinyl design and prevent any debris from sticking to the adhesive.
- Identify the areas to be removed: Examine your vinyl design and identify the areas that need to be removed. These are the parts of the vinyl that are not part of your design and will not be applied to the surface.
- Use a weeding tool: Take a weeding tool and gently lift the edge or corner of the excess vinyl. Slowly peel it back, angling the tool towards the excess vinyl to avoid lifting any parts of your design.
- Weed with care: As you peel back the excess vinyl, take your time and be careful not to damage or lift any parts of your design. Use the weeding tool to remove any small pieces that may be stuck or hard to lift.
- Double-check your design: Once you’ve removed all the excess vinyl, inspect your design to make sure that all the desired elements are intact. Touch up any areas if needed, using the weeding tool to remove any remaining vinyl fragments.
- Dispose of the excess vinyl: Discard the weeded excess vinyl properly. These pieces can accumulate quickly, so having a small trash bag or container nearby will help keep your work area tidy.
Weeding the vinyl design is a meticulous process that requires patience and precision. Take your time to ensure that your design is clean and crisp, with all unwanted vinyl removed. Once your design is fully weeded, you’re ready to move on to the next step: applying transfer tape to the decal.
Step 6: Applying Transfer Tape to the Decal
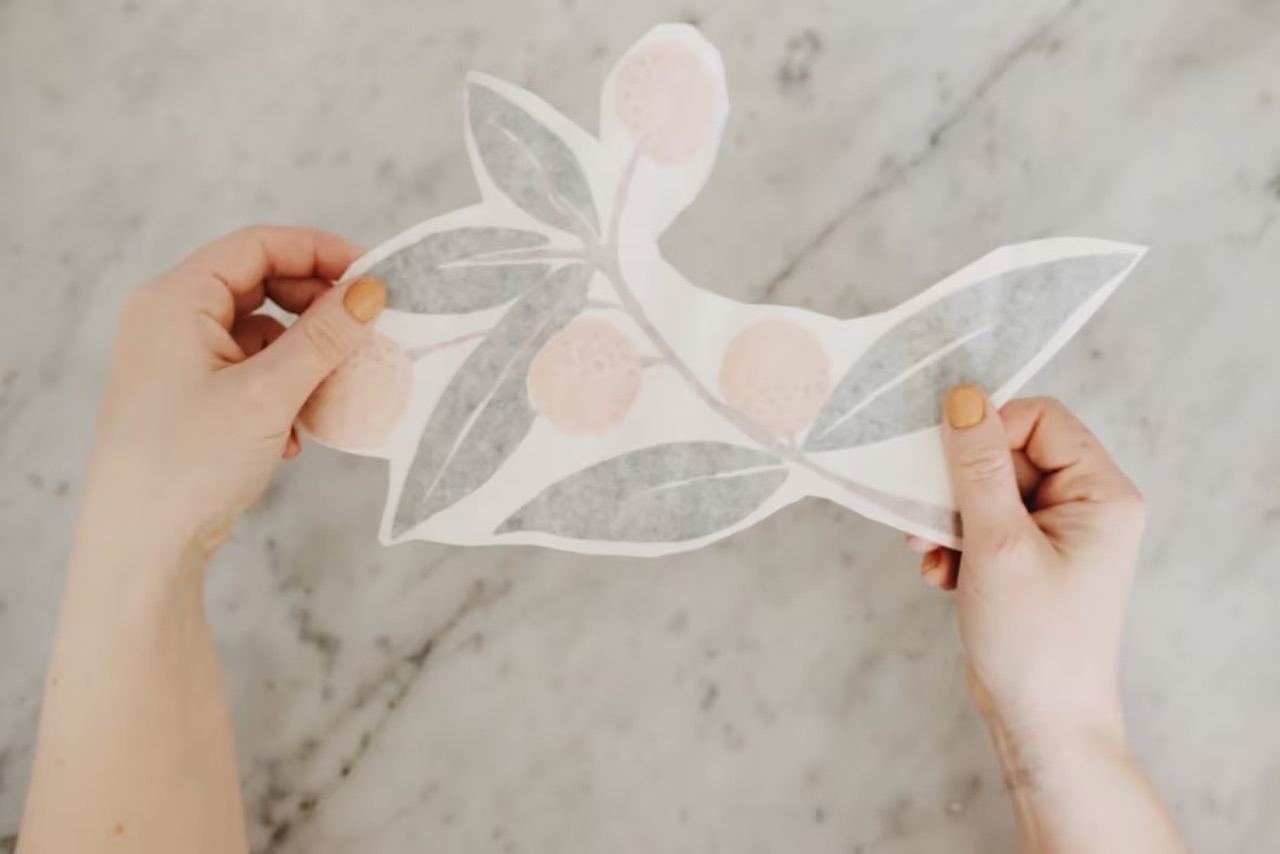
Now that you have your vinyl design beautifully weeded, it’s time to transfer it from the backing paper to the surface you want to apply it to. Transfer tape is a crucial tool that ensures a smooth and precise application. Follow these steps to apply transfer tape to your decal:
- Select the right transfer tape: Choose a transfer tape that is appropriate for the size and intricacy of your decal. There are different types of transfer tapes available, such as clear transfer tape or paper transfer tape. Clear transfer tape is easier to see through, while paper transfer tape is thicker and provides more stability.
- Cut a piece of transfer tape: Measure and cut a piece of transfer tape slightly larger than your vinyl design. This will give you some room to work with during the application process.
- Peel off the transfer tape backing: Gently peel off the backing paper of the transfer tape, taking care not to fold or crease the tape. Start from one corner and gradually remove the backing while holding down the transfer tape to prevent it from sticking to itself.
- Align the transfer tape with the vinyl design: Position the sticky side of the transfer tape carefully over your weeded vinyl design. Start from one end and slowly lower the transfer tape onto the vinyl, ensuring that it aligns properly and adheres smoothly without any wrinkles or bubbles.
- Smooth out the transfer tape: Using a scraper tool or a credit card, gently smooth out the transfer tape over the vinyl design. Start from the center and work your way outwards, applying even pressure to ensure a strong bond between the vinyl and the transfer tape.
- Press and secure the transfer tape: With the vinyl now sandwiched between the transfer tape and the backing, use your hand or the scraper tool to firmly press down on the transfer tape. This will help the vinyl adhere to the transfer tape, preparing it for the application process.
Applying transfer tape to your vinyl decal is a crucial step in ensuring a smooth and accurate installation. The transfer tape acts as a temporary carrier for your design, allowing you to position and apply it seamlessly. Once the transfer tape is securely attached to the vinyl, you’re ready to move on to the exciting part: applying the decal to the wall.
Step 7: Applying the Decal to the Wall
Now that you have your vinyl decal prepared with the transfer tape, it’s time to apply it to the wall or desired surface. This step requires precision and attention to detail to ensure a clean and professional-looking installation. Follow these steps to apply your decal to the wall:
- Clean the wall: Before applying the decal, make sure the wall surface is clean and free from dust, dirt, or grease. Use a clean cloth or damp sponge to wipe down the area where you plan to place the decal, and allow it to dry completely.
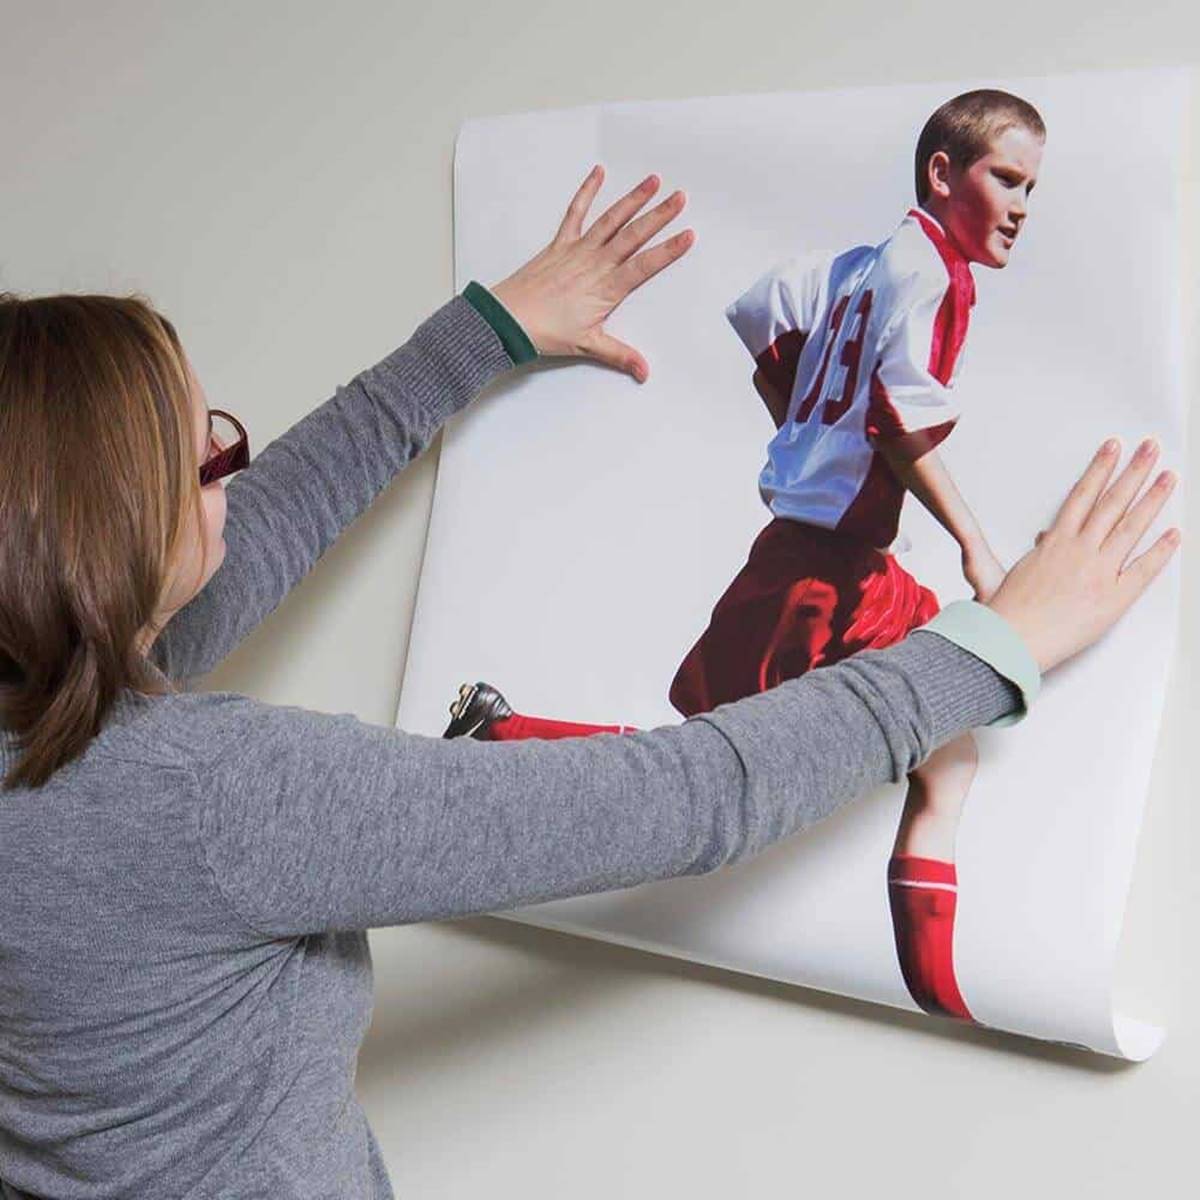
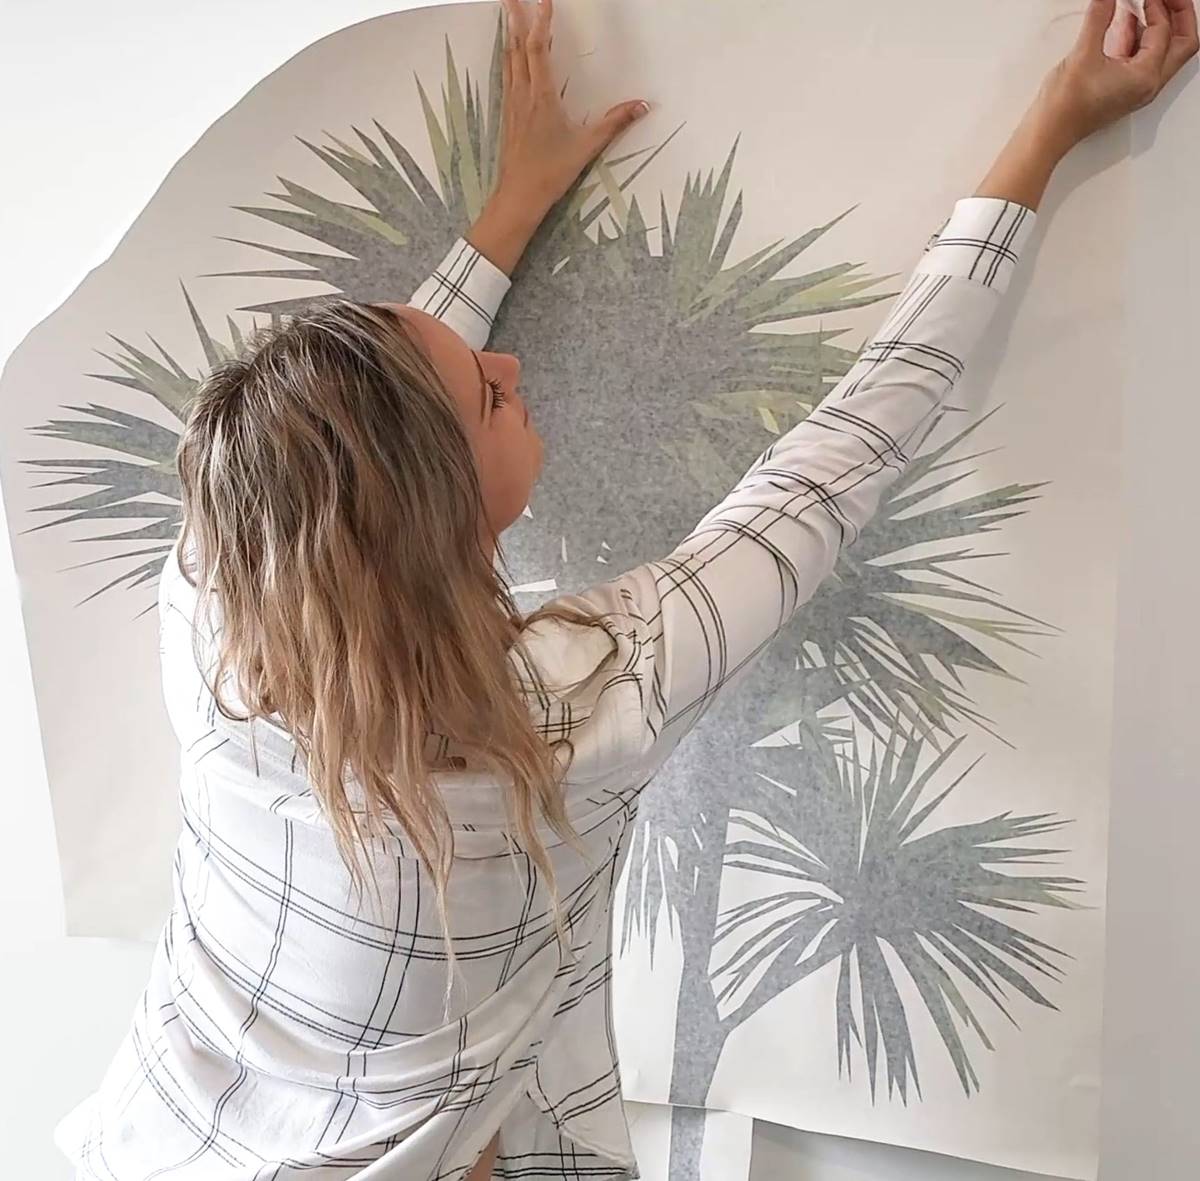
- Position the decal: Hold the decal with the transfer tape against the wall and carefully position it in the desired location. Take your time to ensure that it is straight and centered, as repositioning once applied can be challenging.
- Secure the decal: Once you are satisfied with the position, press down on the transfer tape with your hand or a scraper tool. Start from the center and work your way outward, smoothing out any air bubbles or wrinkles as you go.
- Adhere the decal to the wall: Using firm and even pressure, smooth out the decal against the wall. Start from the center and move outward, ensuring that the entire design is securely adhered to the surface.
- Remove the transfer tape: Slowly and carefully peel back the transfer tape at a 45-degree angle, keeping it close to the wall. This will ensure that the vinyl remains adhered to the surface while the transfer tape is removed. Take your time and go slowly to prevent any part of the decal from lifting.
- Smooth out any remaining air bubbles: If you notice any remaining air bubbles or wrinkles, gently press them out with your hand or a scraper tool. Take care not to damage or lift the edges of the vinyl during this process.
- Inspect the decal: Once the transfer tape is fully removed, step back and inspect the decal on the wall. Look for any imperfections or areas that may need touch-up. If necessary, use a weeding tool to remove any small leftover vinyl pieces or adjust the positioning of the decal.
Applying the decal to the wall is an exciting step as your design comes to life in the intended space. Take your time during this process to ensure a smooth and professional-looking installation. Once the decal is securely applied, you’re ready for the final step: smoothing and removing the transfer tape.
Read more: How To Make Wall Decals With Cricut
Step 8: Smooth and Remove Transfer Tape
Congratulations on reaching the final step of the vinyl decal application process! Now that your decal is affixed to the wall, it’s time to smooth out any remaining imperfections and remove the transfer tape. Follow these steps to achieve a flawless finish:
- Smooth out the decal: Use a scraper tool or a credit card to gently smooth out any remaining air bubbles or wrinkles on the decal. Start from the center and work your way outward, applying even pressure to ensure a seamless and professional-looking result.
- Pay attention to corners and intricate details: Be extra careful when smoothing out corners, lettering, or intricate parts of the design. Use your fingertips or the edge of the scraper tool to ensure that these areas are adhered smoothly to the wall.
- Inspect the decal for any touch-ups: Step back and take a closer look at the decal on the wall. Check for any areas that may need slight adjustments or touch-ups. If necessary, use your fingers or the weeding tool to make any necessary corrections.
- Remove the transfer tape: Once you are satisfied with the smoothness of the decal, it’s time to remove the transfer tape. Start from one corner and slowly peel back the tape at a 45-degree angle, keeping it close to the wall. Take your time to prevent any part of the decal from lifting or getting damaged.
- Check for any lifting or stray vinyl: As you remove the transfer tape, keep an eye out for any lifting or stray vinyl pieces. If you notice anything out of place, gently press down on the affected area with your fingers or a scraper tool to ensure proper adhesion.
- Dispose of the transfer tape: Properly dispose of the used transfer tape. Gather it up and discard it in the trash, keeping your work area neat and tidy.
- Final inspection: Step back and admire your beautifully applied vinyl decal. Check for any remaining imperfections or areas that need further attention. Touch up as needed, using a weeding tool or your fingertips to make any necessary adjustments.
With the transfer tape removed and the decal perfectly applied, you’ve completed the process of creating and installing your vinyl wall decal with the Silhouette Cameo. Take a moment to appreciate your creativity and the personal touch you’ve added to your home decor. Sit back and enjoy the beauty and uniqueness of your new vinyl wall decal!
Remember, practice makes perfect. The more you work with vinyl and the Silhouette Cameo, the more comfortable you’ll become in creating and applying stunning decals. So, don’t be afraid to explore different designs, experiment with colors, and add your personal flair to your space. Happy crafting!
Conclusion
Creating and applying vinyl wall decals with the Silhouette Cameo is a rewarding and creative process that allows you to transform any space with your unique style and design. By following the steps outlined in this guide, you can confidently embark on your vinyl decal journey and bring your design ideas to life.
From designing and cutting the vinyl to weeding the excess and applying the decal, each step plays a vital role in achieving a professional-looking result. It’s important to pay attention to detail, be patient, and take your time throughout the process to ensure a flawless installation.
Remember to gather all the necessary materials, set up the Silhouette Cameo correctly, and select the appropriate settings for cutting. Take pride in crafting your design, and enjoy the satisfaction of watching the vinyl transform into a beautiful decal.
Applying the decal to the wall requires precision and careful maneuvering, ensuring that it’s correctly positioned and adhered smoothly. Take your time when smoothing out air bubbles and wrinkles, and be diligent in removing the transfer tape to reveal the final result.
In the end, the joy of seeing your vinyl wall decal perfectly installed is well worth the effort. Add a touch of personality to your home decor, create a statement piece for a special event, or embrace your creativity and craft unique designs that reflect your individuality.
So, gather your materials, let your creativity flow, and embark on your vinyl wall decal journey with the Silhouette Cameo. Enjoy the process, and cherish the beautiful and personalized space you will create with your own two hands!
Frequently Asked Questions about How To Make Vinyl Wall Decals With Silhouette Cameo
Was this page helpful?
At Storables.com, we guarantee accurate and reliable information. Our content, validated by Expert Board Contributors, is crafted following stringent Editorial Policies. We're committed to providing you with well-researched, expert-backed insights for all your informational needs.







0 thoughts on “How To Make Vinyl Wall Decals With Silhouette Cameo”