Home>Furniture & Design>Interior Design Trends>How To Seal Waterslide Decals On Glass
Interior Design Trends
How To Seal Waterslide Decals On Glass
Published: February 7, 2024
Learn how to seal waterslide decals on glass to add a trendy touch to your interior design. Discover the latest interior design trends and techniques.
(Many of the links in this article redirect to a specific reviewed product. Your purchase of these products through affiliate links helps to generate commission for Storables.com, at no extra cost. Learn more)
Introduction
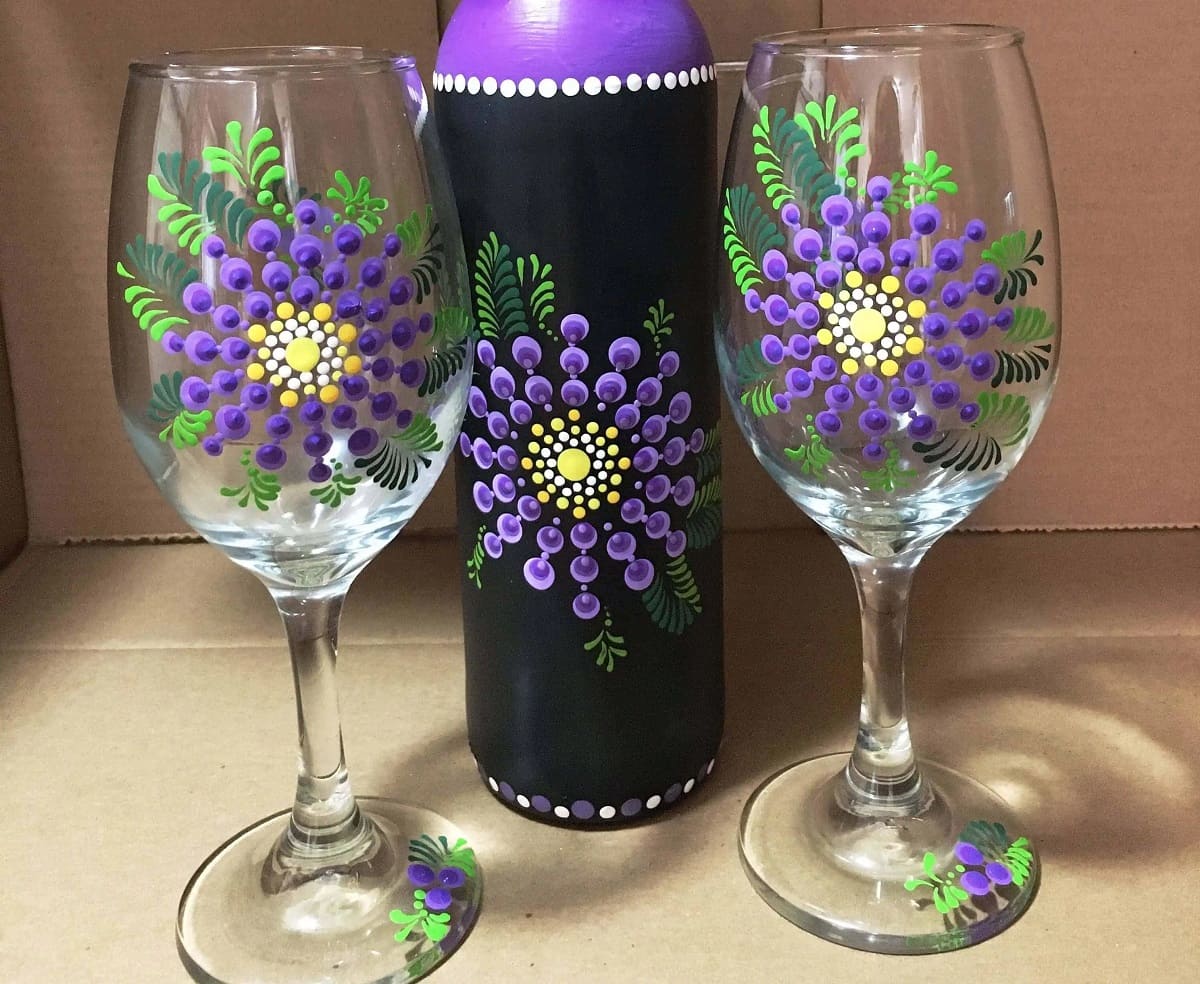
Waterslide decals are a fantastic way to add intricate designs, logos, or decorative elements to glass surfaces. Whether you're embellishing glassware, creating custom art pieces, or personalizing windows, the application of waterslide decals can elevate the visual appeal of any glass item. However, to ensure the longevity and durability of these decals, it's crucial to seal them properly. In this comprehensive guide, we will walk you through the step-by-step process of sealing waterslide decals on glass, ensuring that your creations remain vibrant and protected for years to come.
Sealing waterslide decals not only enhances their visual impact but also safeguards them from wear and tear, moisture, and fading. By following the techniques outlined in this guide, you'll be able to achieve professional-looking results while preserving the integrity of your designs. So, gather your materials and let's dive into the art of sealing waterslide decals on glass!
Key Takeaways:
- Preserve the Beauty: Sealing waterslide decals on glass protects designs from wear, moisture, and fading, ensuring long-lasting vibrancy and professional results. Follow the steps for stunning, durable creations.
- Attention to Detail: Prepare, apply, and seal waterslide decals with care for flawless results. The curing process and finishing touches enhance durability and visual appeal, creating captivating glass art.
Read more: How To Remove Decals From Glass
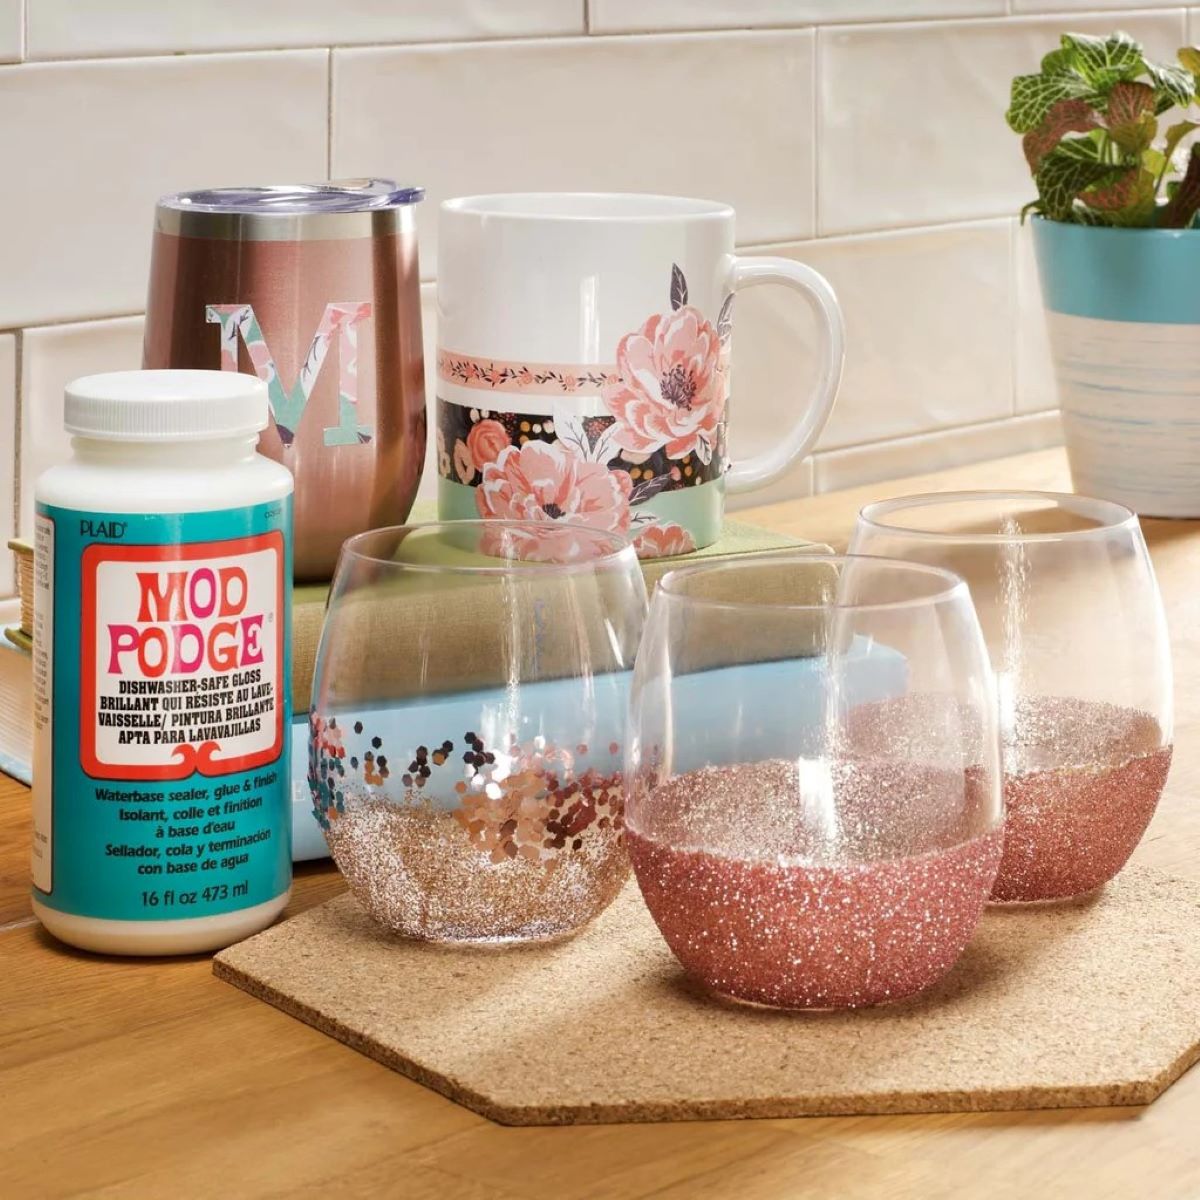
Materials Needed
Before embarking on the process of sealing waterslide decals on glass, it's essential to gather the necessary materials to ensure a smooth and successful application. Here's a comprehensive list of the items you'll need:
-
Waterslide Decals: Select high-quality waterslide decals featuring the designs or images you wish to transfer onto the glass surface. Ensure that the decals are compatible with glass applications for optimal results.
-
Glass Items: Prepare the glass items onto which you intend to apply the waterslide decals. This can include glassware, decorative glass pieces, or any other glass surface you wish to embellish.
-
Sealing Medium: Acquire a suitable sealing medium specifically designed for glass applications. This can include clear gloss sealers or clear varnishes formulated for use on glass surfaces.
-
Soft Cloth or Sponge: Have a soft, lint-free cloth or sponge on hand to gently clean the glass surface before applying the waterslide decals and the sealing medium.
-
Water and Bowl: You'll need a bowl of clean water to soak the waterslide decals before applying them to the glass surface. Ensure that the water is at room temperature for optimal decal adhesion.
-
Tweezers or Small Tongs: These tools will aid in carefully handling the delicate waterslide decals during the application process, allowing for precise placement on the glass surface.
-
Hairdryer or Heat Gun (Optional): While not essential, a hairdryer or heat gun can be used to expedite the drying process between applying the waterslide decals and the sealing medium.
-
Protective Gloves: It's advisable to wear protective gloves, especially when handling the sealing medium, to prevent direct contact with the skin and ensure safe application.
-
Ventilated Workspace: Ensure that you have a well-ventilated workspace to facilitate the application of the sealing medium, as some products may emit fumes during the drying process.
-
Protective Covering for Workspace: Lay down a protective covering, such as a plastic sheet or old newspapers, to safeguard your workspace from any potential spills or drips during the application process.
By gathering these materials, you'll be well-prepared to embark on the journey of sealing waterslide decals on glass, ensuring that your creations are not only visually stunning but also durable and long-lasting.
Preparing the Glass Surface
Before applying waterslide decals and sealing them on glass, it's crucial to prepare the glass surface to ensure optimal adhesion and a flawless finish. Follow these steps to effectively prepare the glass surface for the application process:
-
Clean the Glass: Begin by thoroughly cleaning the glass surface using a mild glass cleaner or a solution of water and vinegar. This will remove any dust, dirt, or oils that may hinder the adhesion of the waterslide decals. Use a soft, lint-free cloth or sponge to wipe the glass, ensuring that it is completely free of any residue.
-
Dry the Glass: After cleaning, allow the glass surface to air-dry or use a lint-free cloth to gently dry it. Ensuring that the glass is completely dry is essential for the successful application of the waterslide decals, as any moisture can interfere with the adhesion process.
-
Smooth Out Imperfections: Inspect the glass surface for any imperfections or rough areas. If necessary, use a fine-grit sandpaper to gently smooth out any rough spots or imperfections. This step is particularly important for achieving a seamless and professional-looking result.
-
Remove Any Residue: If there are any stubborn residues or adhesive remnants on the glass surface, use a gentle adhesive remover or rubbing alcohol to effectively eliminate them. It's crucial to ensure that the glass is entirely clean and free of any residue before proceeding with the application of the waterslide decals.
-
Ensure Room Temperature: It's important to carry out the preparation process in a room with a stable temperature. Sudden temperature changes can cause condensation on the glass surface, which can impede the adhesion of the decals. Therefore, ensure that the workspace is at a consistent room temperature before proceeding.
By meticulously preparing the glass surface using these steps, you'll create an ideal foundation for applying waterslide decals and sealing them effectively. This preparation process sets the stage for a successful application, ensuring that the decals adhere seamlessly to the glass surface, resulting in a professional and long-lasting finish.
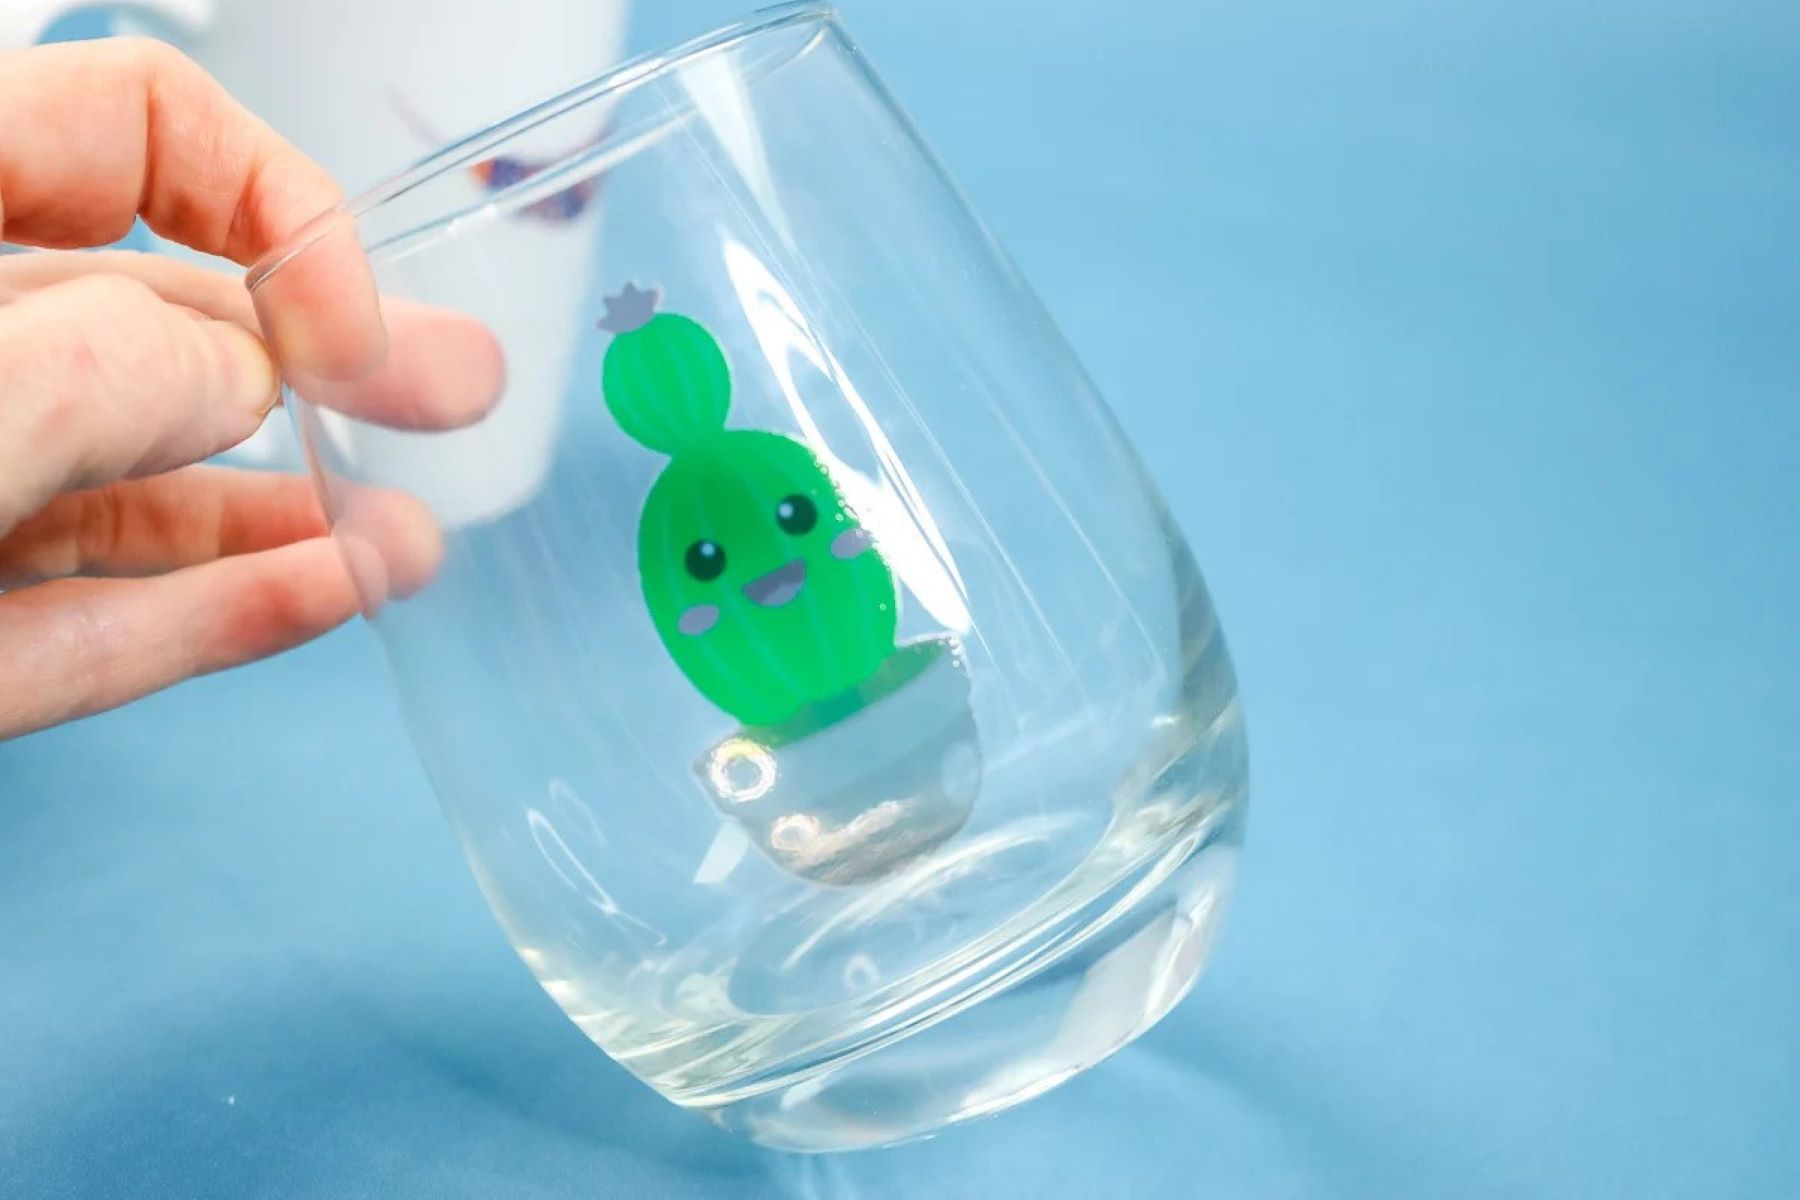
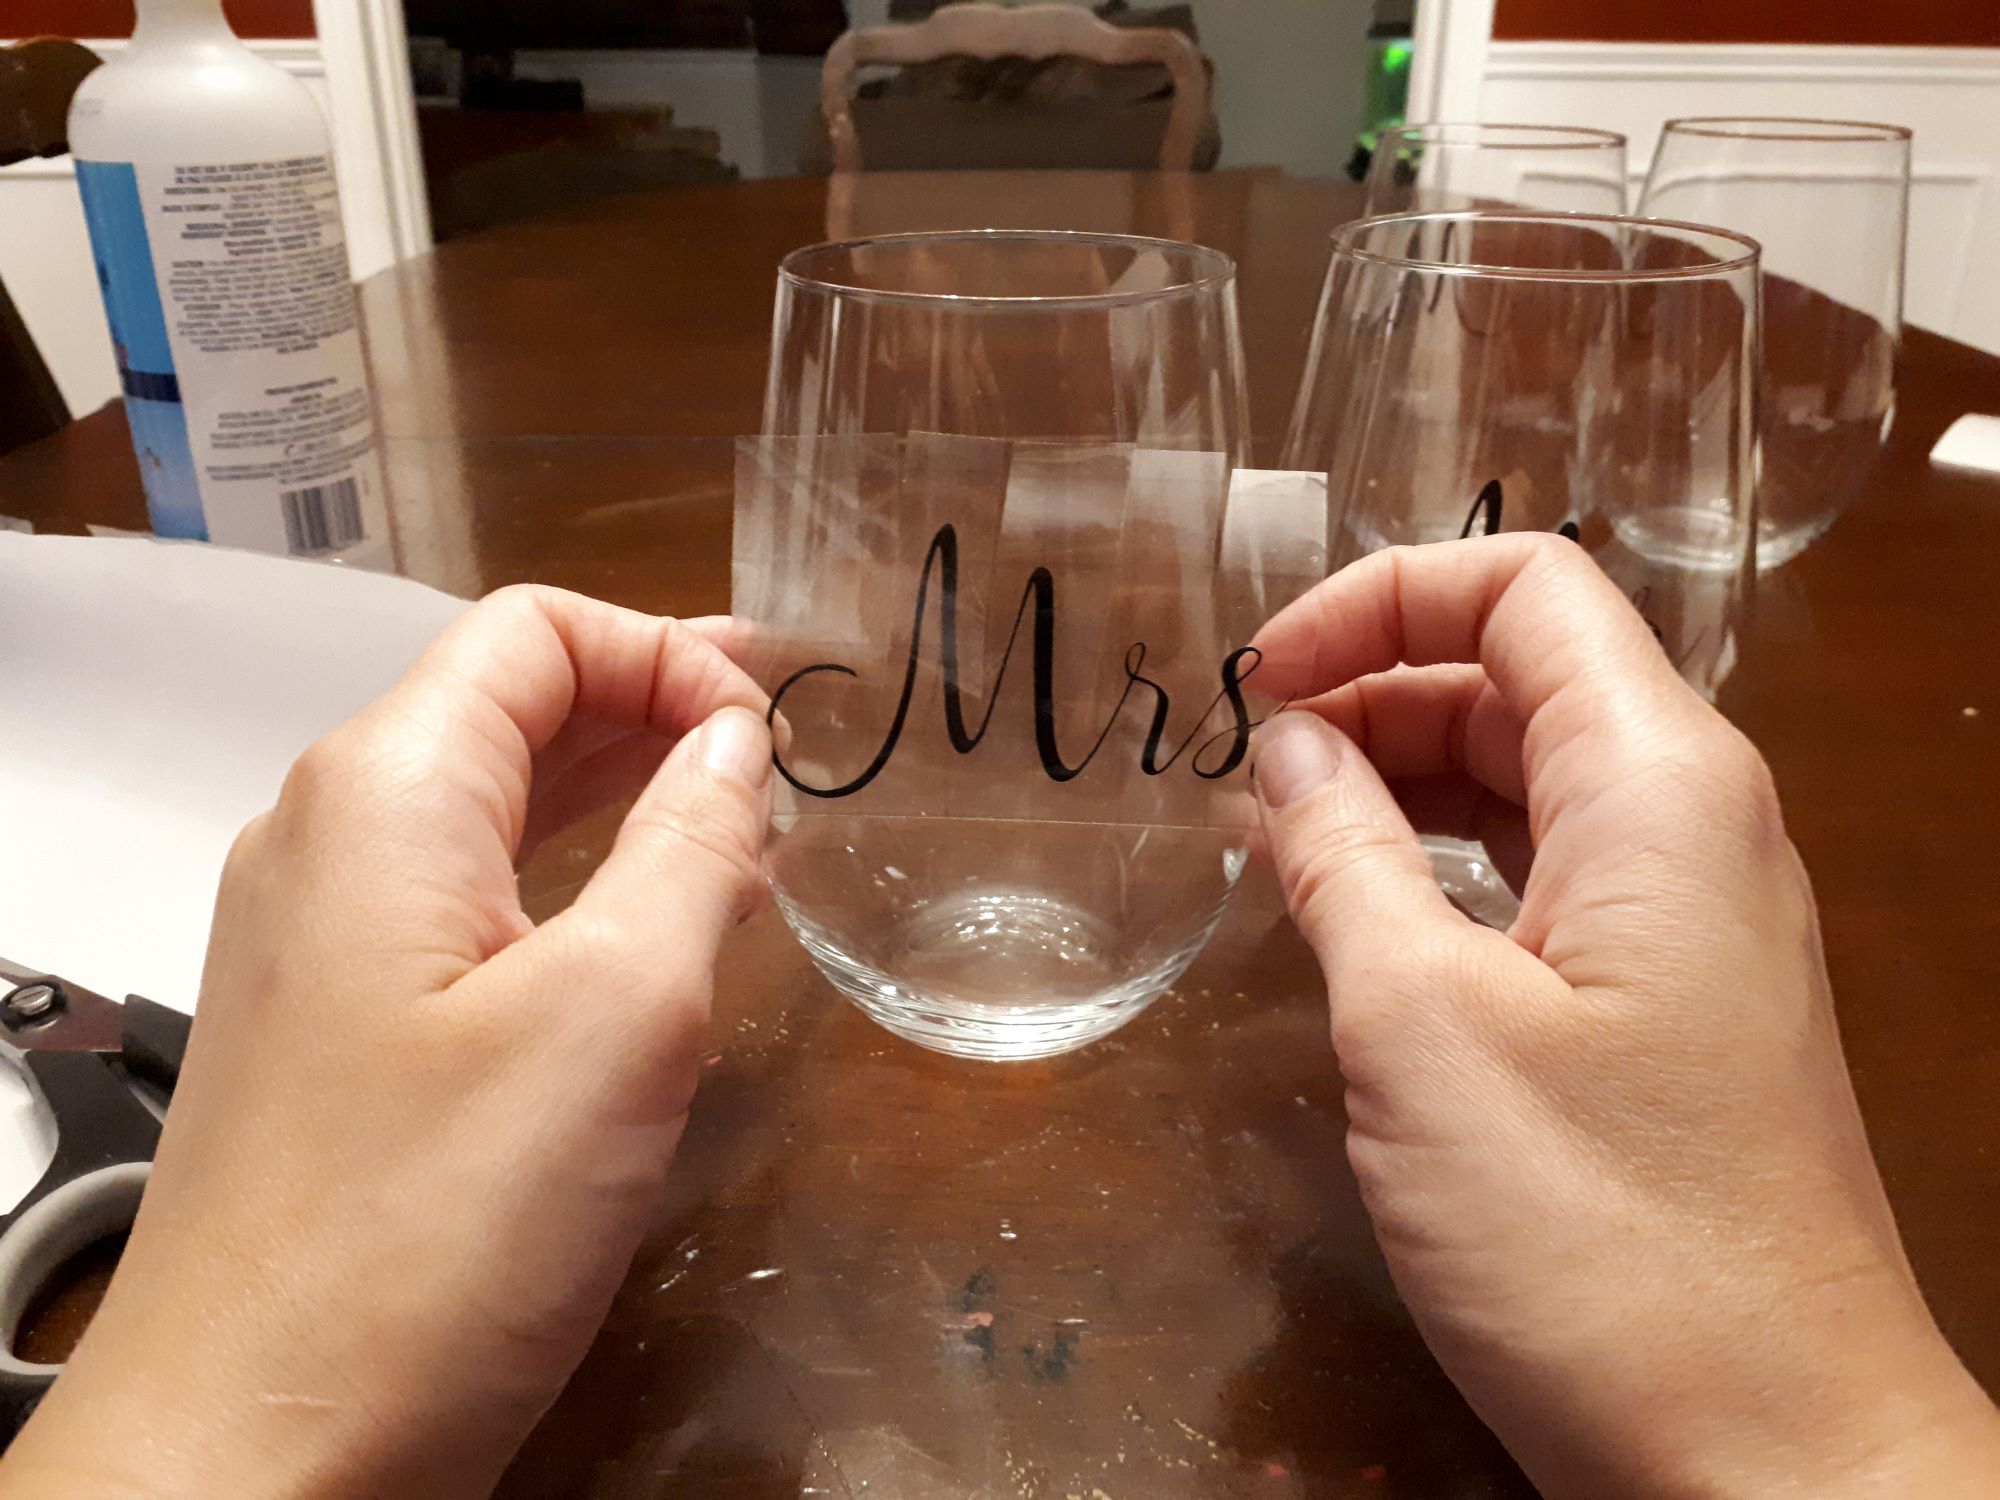
Applying the Waterslide Decals
The application of waterslide decals onto glass surfaces requires precision and care to ensure a flawless and professional outcome. Follow these detailed steps to effectively apply the waterslide decals onto the prepared glass surface:
-
Prepare the Decals: Begin by cutting out the desired waterslide decals from the sheet, leaving a small margin around each design to facilitate handling. It's essential to handle the decals gently to prevent any tearing or damage during the cutting process.
-
Soak the Decals: Fill a bowl with room-temperature water and carefully place the cut-out waterslide decals into the water, ensuring that they are fully submerged. Allow the decals to soak for the recommended duration, typically around 30 to 60 seconds, or as specified by the manufacturer. This soaking period activates the adhesive backing of the decals, preparing them for application.
-
Remove the Decals: After the soaking period, carefully slide the waterslide decals from the backing paper. Use caution to prevent the decals from folding or sticking to themselves during this process. The decals should easily slide off the backing paper once the adhesive is activated.
-
Position the Decals: Using tweezers or small tongs, gently position the waterslide decals onto the desired areas of the glass surface. Take your time to ensure precise placement, as the decals will adhere upon contact with the glass. Once positioned, use a soft, lint-free cloth or sponge to gently pat the decals, removing any excess water and ensuring a smooth, bubble-free application.
-
Smooth Out Air Bubbles: Carefully smooth out any remaining air bubbles or wrinkles on the surface of the waterslide decals using a soft cloth or sponge. This step is crucial for achieving a seamless and professional-looking application. Pay close attention to the edges of the decals to ensure they are fully adhered to the glass surface.
-
Allow the Decals to Dry: Once the waterslide decals are applied and smoothed out, allow them to dry completely before proceeding to the sealing process. Depending on the ambient temperature and humidity, the drying process may take approximately 30 minutes to an hour. For expedited drying, a hairdryer set to a low, cool setting can be used, ensuring that the decals are completely dry before applying the sealing medium.
By following these meticulous steps, you'll be able to effectively apply waterslide decals onto glass surfaces, achieving a professional and visually captivating result. The careful application of the decals sets the stage for the subsequent sealing process, ensuring that your designs are preserved and protected for the long term.
After applying waterslide decals on glass, seal them with a clear acrylic sealer spray to protect the design and prevent it from peeling or fading. Apply multiple thin coats for best results.
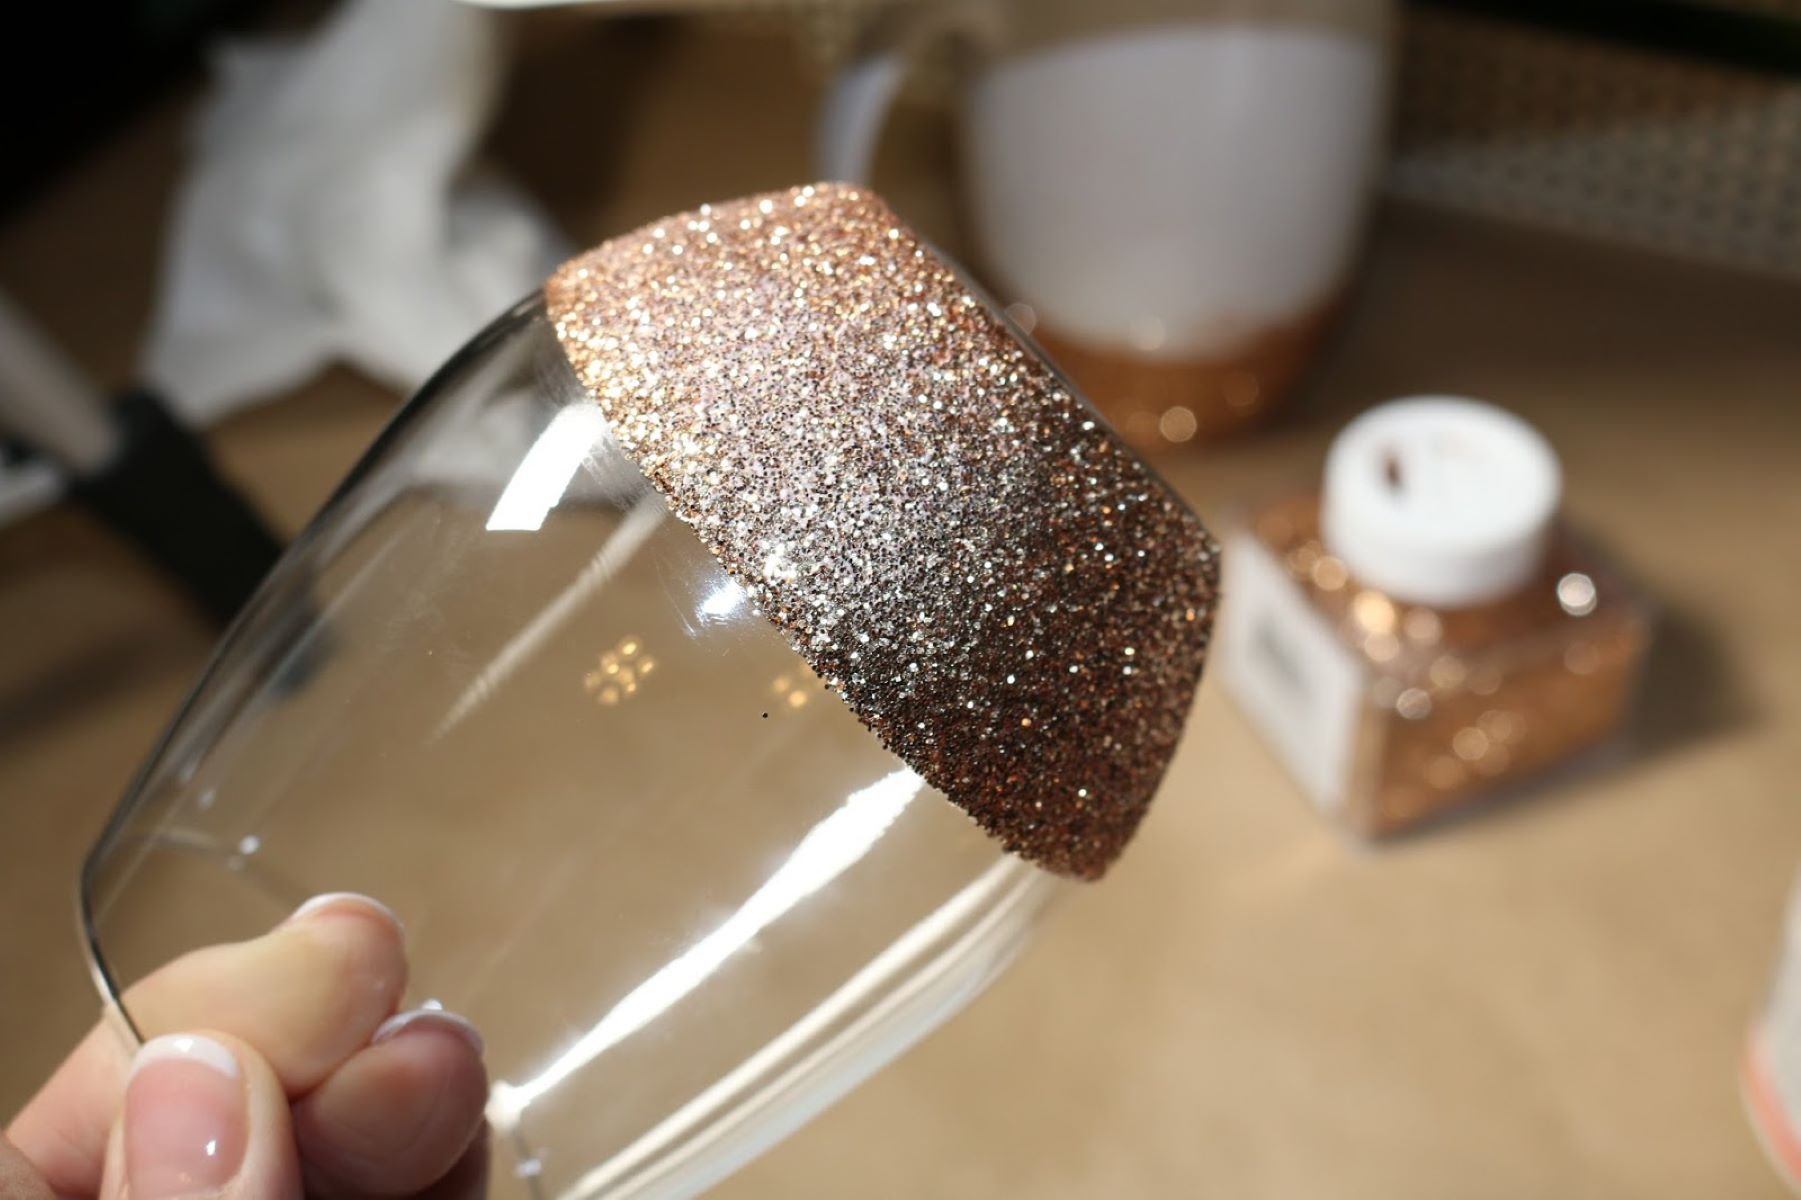
Sealing the Waterslide Decals
Sealing the waterslide decals on glass is a critical step in preserving the integrity and longevity of the applied designs. The sealing process not only enhances the visual impact of the decals but also provides a protective barrier against moisture, scratches, and fading, ensuring that your creations remain vibrant and durable over time. Here's a detailed guide on how to effectively seal waterslide decals on glass:
-
Selecting the Sealing Medium: Choose a high-quality sealing medium specifically formulated for glass applications. Clear gloss sealers or varnishes designed for use on glass surfaces are ideal for this purpose. Ensure that the selected sealing medium is compatible with the type of glass and the specific characteristics of the waterslide decals to achieve optimal results.
-
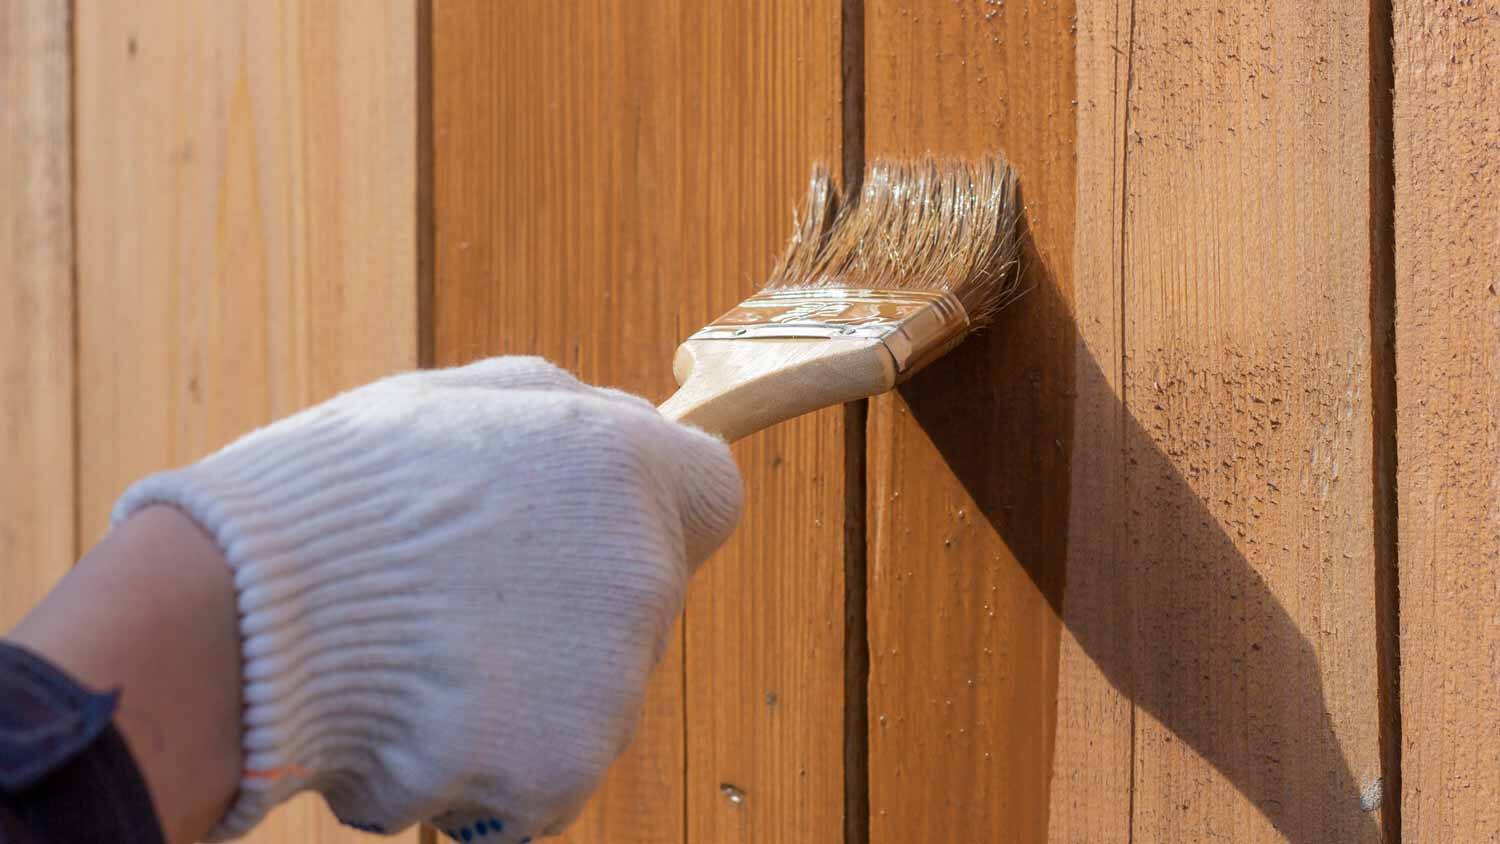
Application of the Sealing Medium: Begin by carefully applying a thin, even layer of the selected sealing medium over the entire surface of the glass, covering the waterslide decals completely. Use a soft brush or foam brush to apply the sealer, ensuring smooth and consistent coverage. Take care to avoid excessive brushing, as this can potentially disturb the position of the decals.
-
Avoiding Overlapping Strokes: When applying the sealing medium, use gentle and deliberate strokes to prevent overlapping. Overlapping strokes can lead to uneven coverage and may affect the clarity and appearance of the sealed decals. Aim for a smooth and uniform application to achieve a professional finish.
-
Drying Time and Additional Coats: Allow the first coat of the sealing medium to dry according to the manufacturer's instructions. Depending on the specific product, this may take approximately 30 minutes to an hour. Once the initial coat is dry, consider applying an additional coat of the sealing medium to further enhance the protection and visual appeal of the waterslide decals. Be mindful of the recommended drying times between coats to ensure optimal results.
-
Curing Process: After applying the final coat of the sealing medium, allow the glass item to cure for the specified duration. The curing process allows the sealing medium to fully bond with the glass surface and the waterslide decals, ensuring maximum adhesion and durability. It's essential to follow the manufacturer's guidelines regarding the curing time to achieve the best possible outcome.
By meticulously following these steps, you'll effectively seal the waterslide decals on glass, safeguarding your designs and ensuring their long-term vibrancy and resilience. The sealing process not only enhances the visual impact of the decals but also provides essential protection, allowing you to showcase your creativity and craftsmanship with confidence.
Read more: How To Remove Decal From Glass
Curing and Finishing Touches
After the meticulous application of the sealing medium, the curing process and finishing touches play a crucial role in ensuring the durability and professional quality of the sealed waterslide decals on glass. This final phase not only enhances the visual appeal of the designs but also contributes to the overall longevity and resilience of the finished product.
Curing Process
Once the final coat of the sealing medium is applied, it's essential to allow for adequate curing time to ensure optimal adhesion and durability. The curing process allows the sealing medium to fully bond with the glass surface and the waterslide decals, creating a robust protective layer that safeguards the designs from environmental elements and wear.
The duration of the curing process can vary depending on the specific sealing medium used. It's imperative to adhere to the manufacturer's guidelines regarding the recommended curing time. Typically, the curing process may range from 24 to 72 hours, during which the sealed glass item should be kept in a controlled environment with stable temperature and minimal disturbance. This allows the sealing medium to fully set and achieve its maximum protective and visual-enhancing properties.
Finishing Touches
Once the curing process is complete, the sealed glass item undergoes a final inspection and any necessary finishing touches to ensure a flawless presentation. Here are some additional considerations for the finishing touches:
-
Inspecting for Imperfections: Carefully examine the sealed glass surface to identify any imperfections, such as air bubbles, streaks, or uneven areas. If any imperfections are detected, they can be addressed by lightly sanding the affected areas and applying a thin, additional coat of the sealing medium to achieve a smooth and uniform finish.
-
Polishing and Buffing: For an added touch of refinement, consider gently polishing the sealed glass surface using a soft, lint-free cloth to enhance its luster and clarity. This step contributes to the overall aesthetic appeal of the finished piece, creating a professional and captivating presentation.
-
Protective Measures: Once the finishing touches are complete, it's advisable to implement protective measures to maintain the integrity of the sealed waterslide decals. This can include using felt pads or silicone bumpers on the bottom of glassware to prevent scratching when placed on surfaces, or applying a transparent adhesive bumper to the back of decorative glass pieces to protect them when displayed.
By meticulously attending to the curing process and implementing the necessary finishing touches, you'll elevate the quality and longevity of the sealed waterslide decals on glass, ensuring that your creations stand the test of time while captivating viewers with their enduring beauty and craftsmanship.
Frequently Asked Questions about How To Seal Waterslide Decals On Glass
Was this page helpful?
At Storables.com, we guarantee accurate and reliable information. Our content, validated by Expert Board Contributors, is crafted following stringent Editorial Policies. We're committed to providing you with well-researched, expert-backed insights for all your informational needs.


0 thoughts on “How To Seal Waterslide Decals On Glass”