Home>Furniture & Design>Interior Design Trends>How To Fix Etched Glass
Interior Design Trends
How To Fix Etched Glass
Modified: August 27, 2024
Learn how to fix etched glass and stay up-to-date with the latest interior design trends. Discover expert tips and techniques for restoring the beauty of your glass surfaces.
(Many of the links in this article redirect to a specific reviewed product. Your purchase of these products through affiliate links helps to generate commission for Storables.com, at no extra cost. Learn more)
Introduction
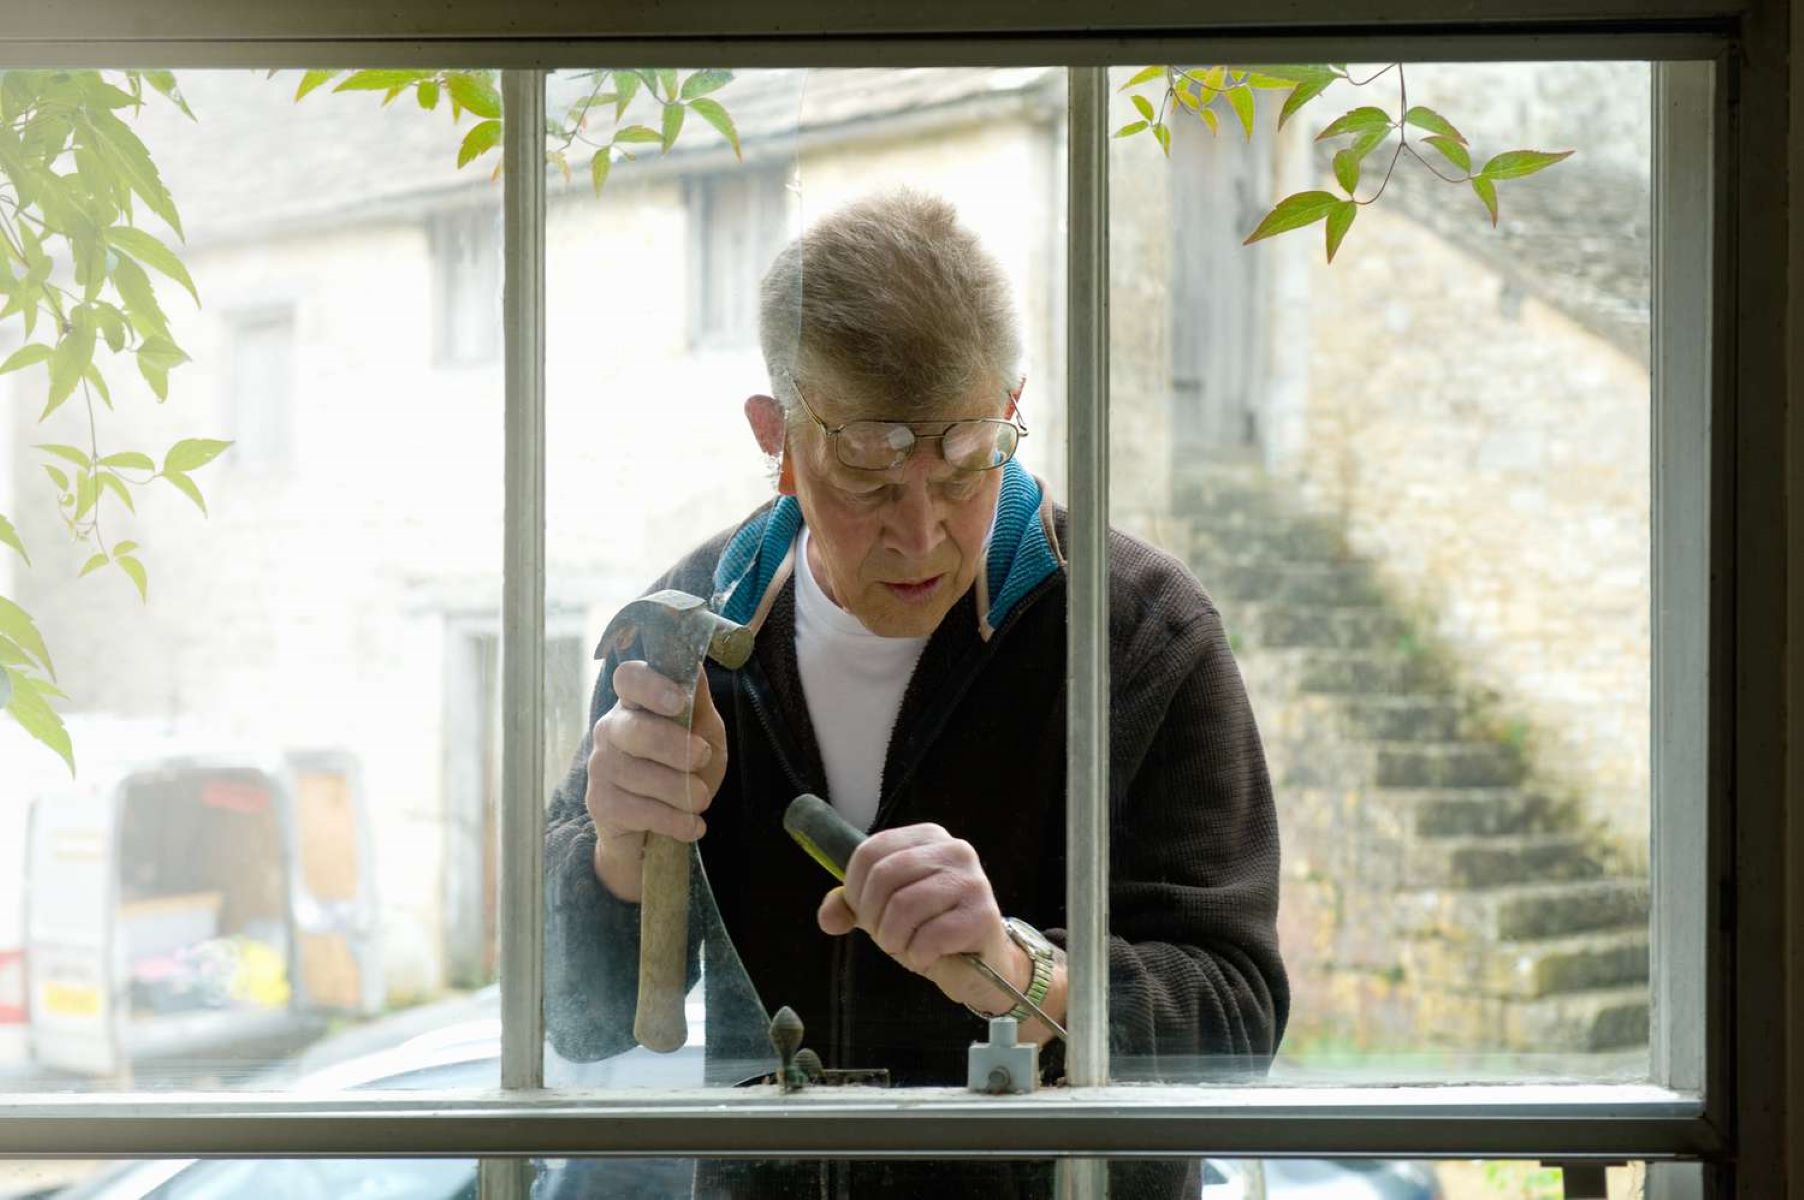
Etched glass can add a touch of elegance and sophistication to any space, but over time, it may lose its luster due to scratches, water stains, or mineral deposits. If you've noticed that your once-pristine glass surfaces now appear dull and marred, fear not! With the right tools and techniques, you can restore the beauty of etched glass and make it look as good as new.
In this comprehensive guide, we will walk you through the step-by-step process of fixing etched glass. Whether it's a cherished antique mirror, a decorative glass tabletop, or a beloved heirloom, learning how to restore etched glass can breathe new life into your treasured possessions. By following these simple yet effective methods, you can revitalize your glass surfaces and bring back their original shine and clarity.
Understanding the nature of etched glass and the factors that contribute to its deterioration is crucial for successful restoration. By gaining insight into the causes of etching and the properties of glass, you'll be better equipped to tackle the restoration process with confidence and precision. Additionally, we'll explore the essential tools and materials you'll need to undertake this project, ensuring that you have everything at your disposal to achieve optimal results.
So, if you're ready to embark on a journey to rejuvenate your etched glass and reclaim its former glory, let's dive into the intricacies of glass restoration. With a little patience and a willingness to learn, you'll soon be on your way to transforming dull, etched surfaces into radiant showcases of beauty and craftsmanship. Let's roll up our sleeves and discover the art of reviving etched glass!
Key Takeaways:
- Restoring etched glass is a meticulous process involving cleaning, applying glass polish, buffing, and sealing. Understanding the art of etched glass and using the right tools can bring back its original beauty and elegance.
- By following the step-by-step restoration process, you can revive etched glass surfaces, preserving their allure for years to come. Patience, precision, and the right materials are essential for successful glass restoration.
Read more: How To Make Etched Glass Stand Out
Understanding Etched Glass
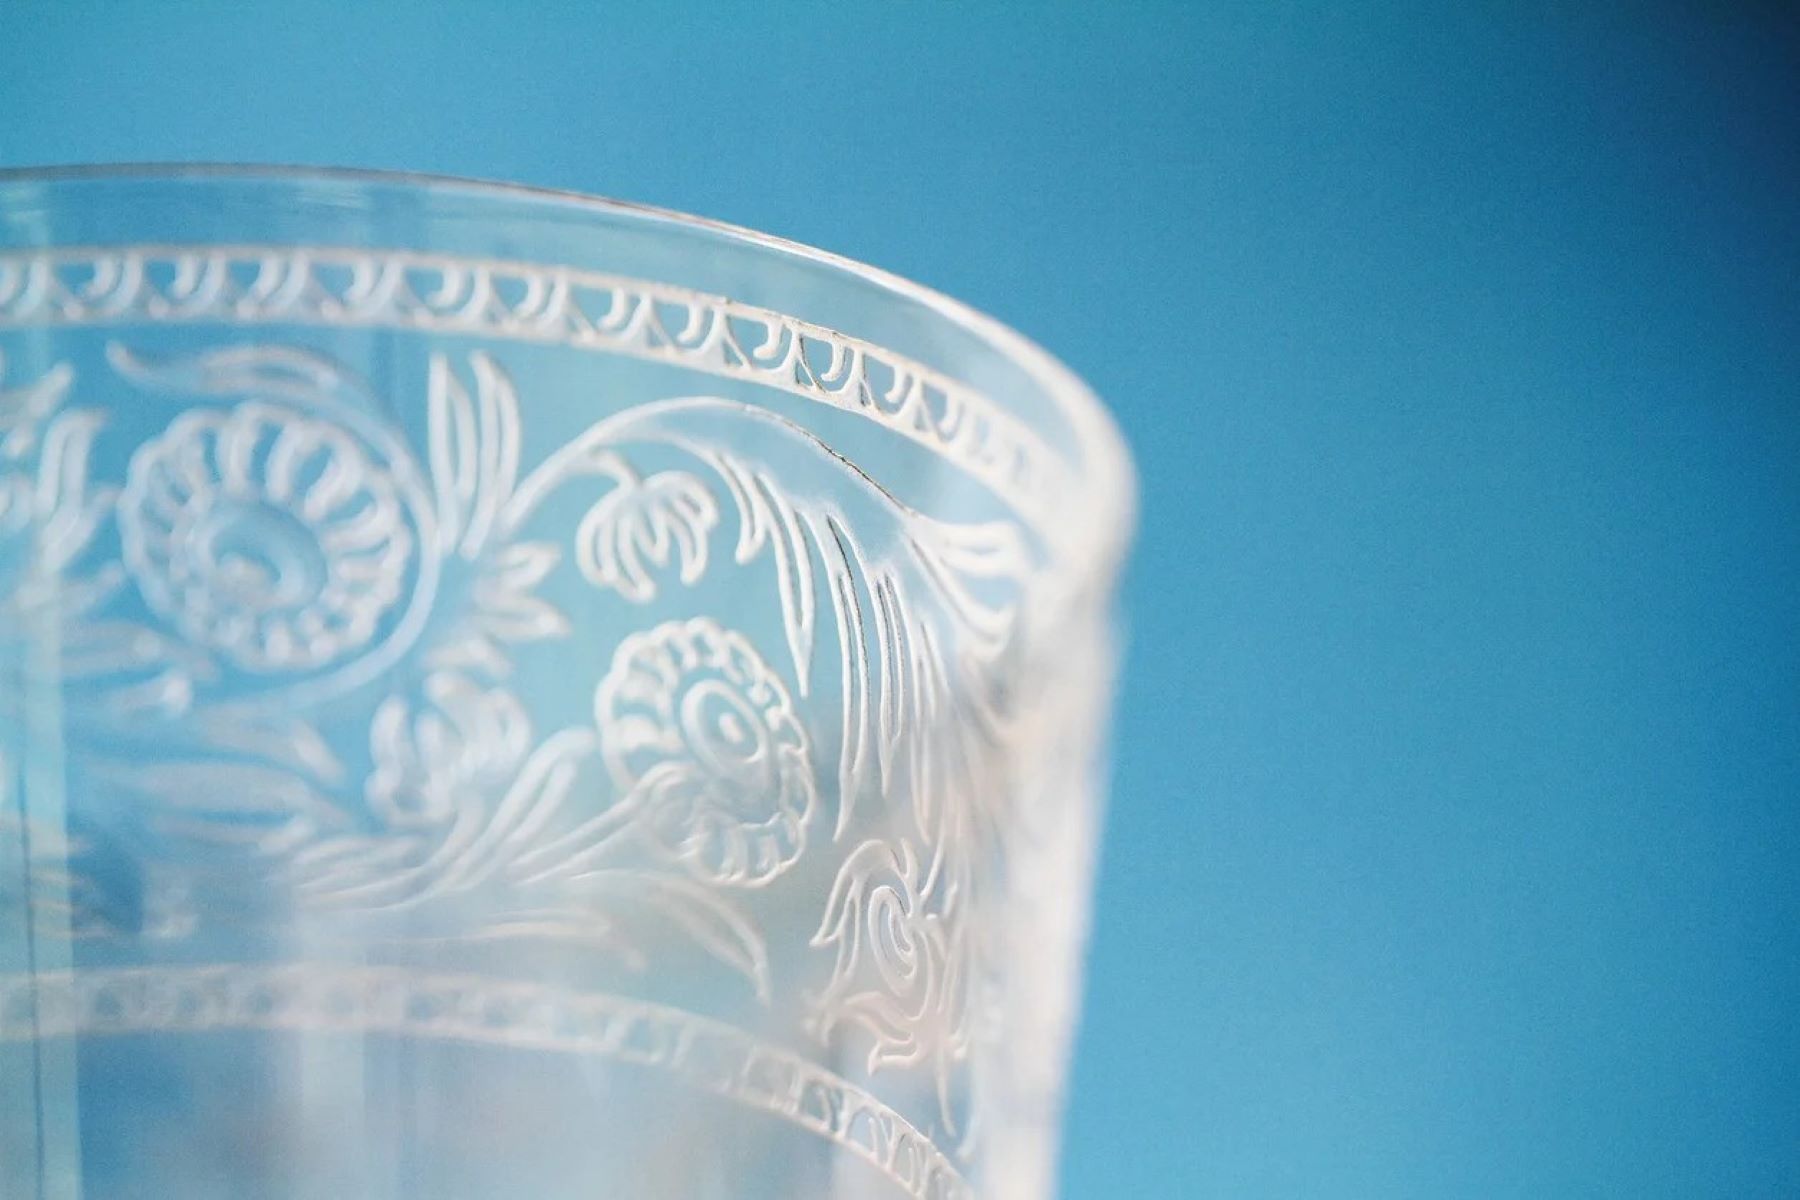
Etched glass is a stunning decorative element that adds a touch of sophistication and allure to various surfaces, including windows, doors, mirrors, and tabletops. This intricate art form involves the use of abrasive or corrosive materials to create delicate designs, patterns, or frosted effects on the glass surface. Whether achieved through traditional sandblasting techniques or modern chemical processes, etching transforms ordinary glass into a canvas for artistic expression and functional embellishment.
The beauty of etched glass lies in its ability to diffuse light, offering a sense of privacy while allowing natural illumination to permeate the space. From ornate floral motifs to geometric abstractions, the designs etched onto glass can range from subtle and understated to bold and captivating. This versatility makes etched glass a popular choice for interior designers, architects, and homeowners seeking to elevate the aesthetic appeal of their living and working environments.
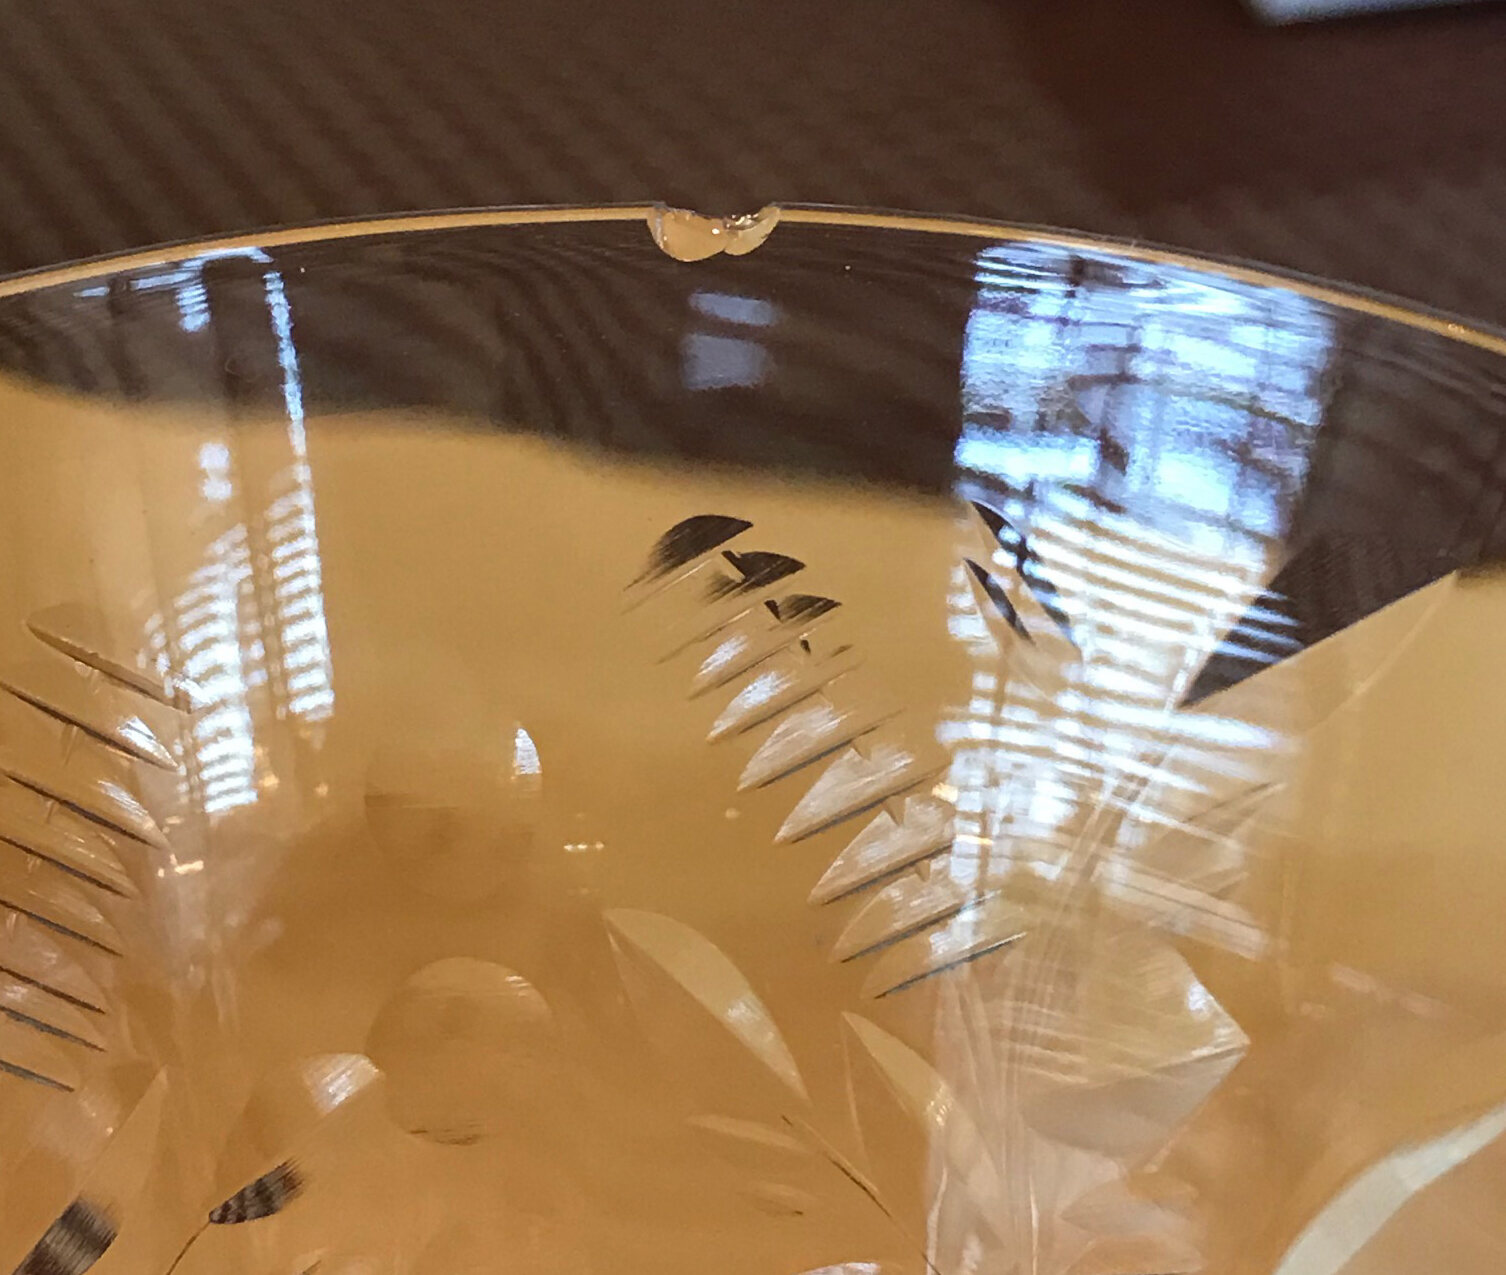
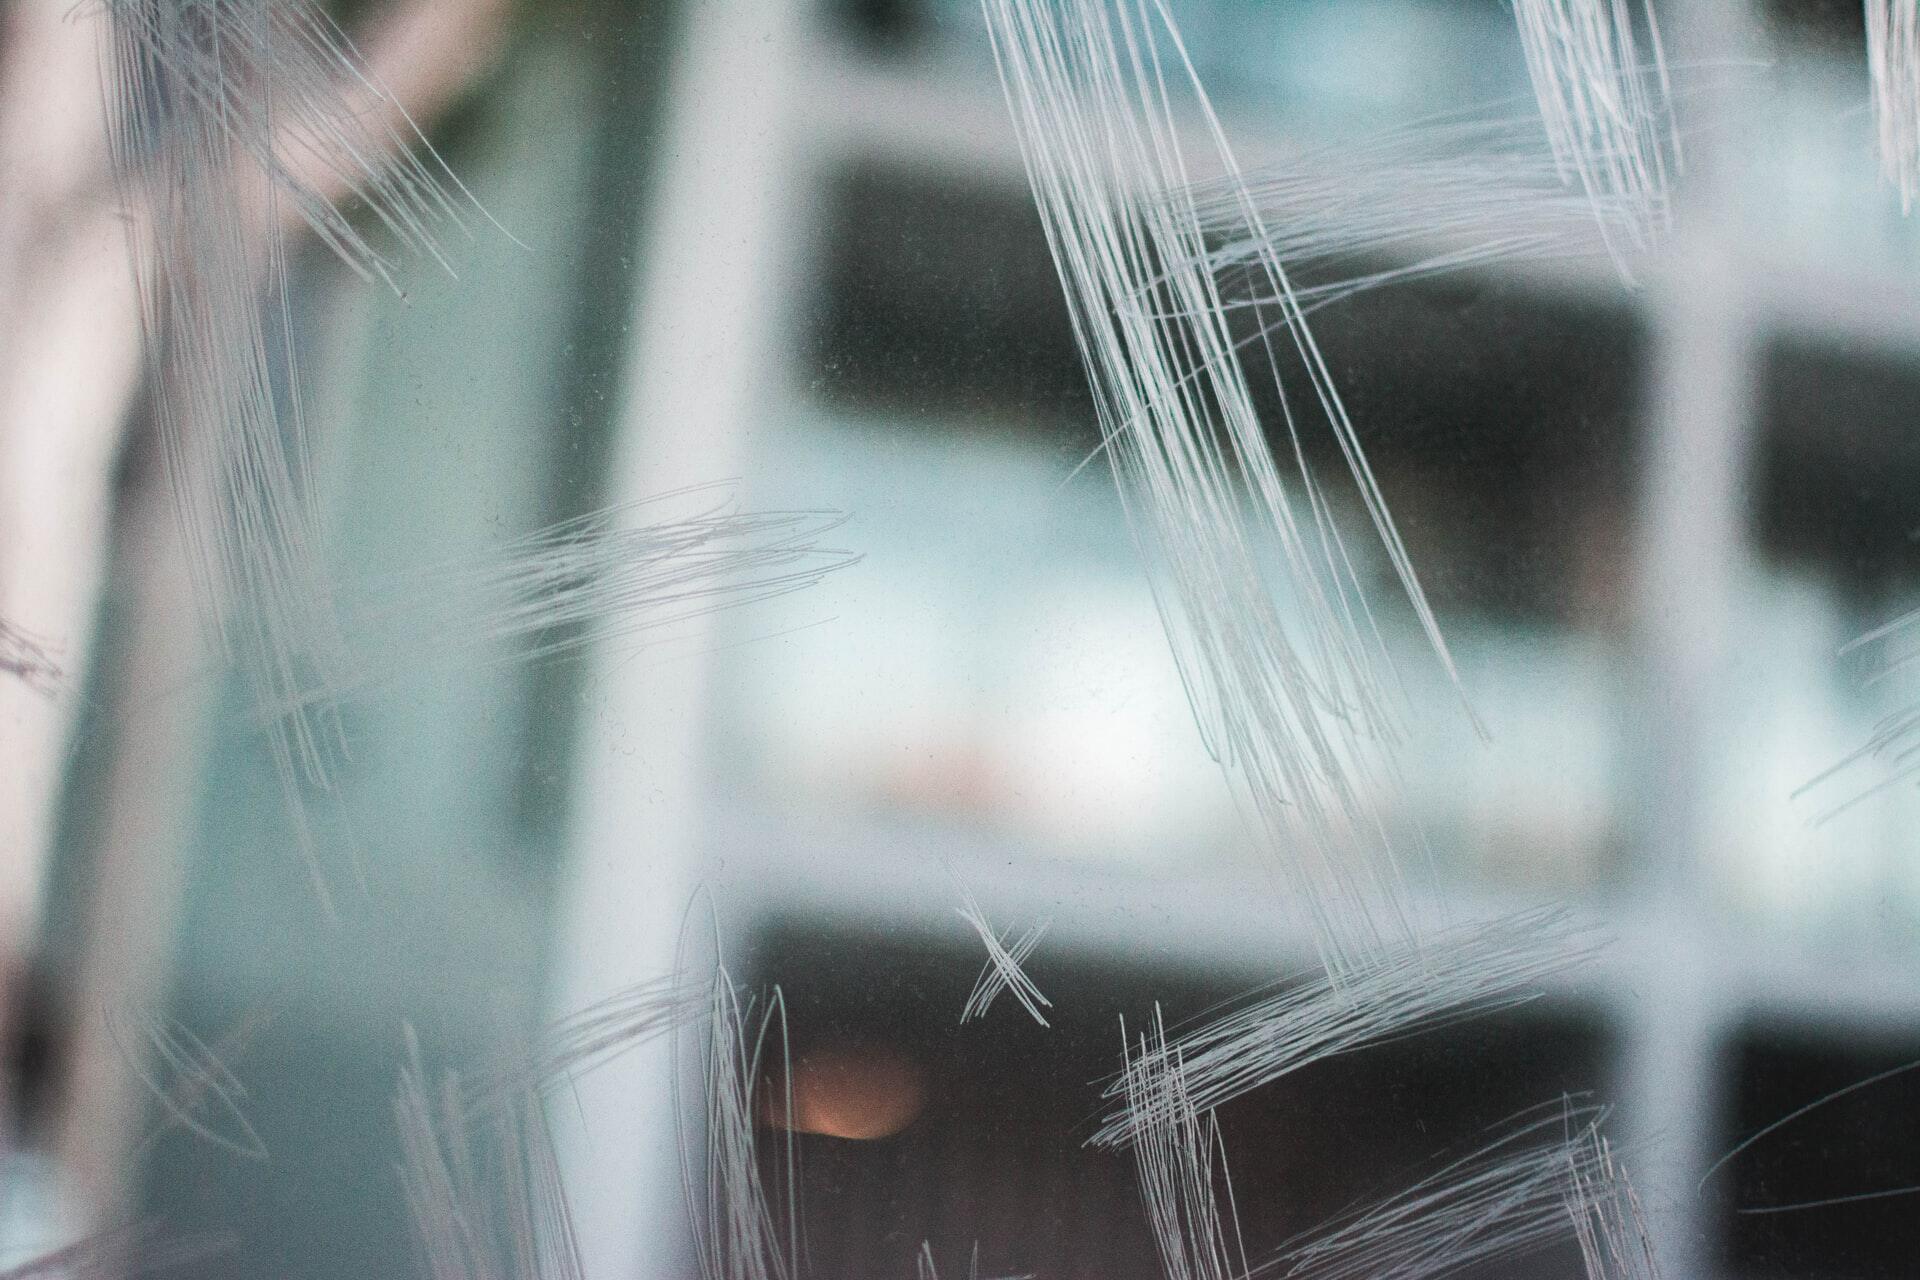
Despite its visual appeal, etched glass is susceptible to various forms of damage and deterioration over time. Scratches, water spots, and mineral deposits can mar the surface, diminishing its clarity and brilliance. Understanding the underlying causes of these imperfections is essential for devising effective restoration strategies. Factors such as environmental exposure, improper cleaning methods, and the quality of the original etching can all contribute to the degradation of etched glass.
Moreover, the composition of glass itself plays a significant role in its susceptibility to etching and damage. Different types of glass, such as soda-lime glass, borosilicate glass, and tempered glass, exhibit varying degrees of resistance to etching and abrasion. Understanding the specific characteristics of the glass surface you are working with is crucial for selecting the appropriate restoration techniques and products.
By delving into the intricacies of etched glass and its inherent vulnerabilities, you can gain a deeper appreciation for the artistry and craftsmanship involved in its creation. This understanding will serve as the foundation for the subsequent steps in the restoration process, empowering you to approach the task with insight and expertise.
In the following sections, we will explore the practical steps and techniques for restoring etched glass to its former glory. Armed with a comprehensive understanding of etched glass and its nuances, you'll be well-prepared to embark on the journey of revitalizing and preserving these exquisite glass surfaces.
Tools and Materials Needed
Restoring etched glass to its pristine condition requires a selection of specialized tools and high-quality materials. By assembling the following items, you'll be equipped to execute the restoration process with precision and efficiency:
Tools:
-
Microfiber Cloths: These lint-free cloths are essential for gentle cleaning and polishing without leaving behind streaks or lint particles that could detract from the glass's clarity.
-
Glass Cleaner: Choose a non-abrasive, ammonia-free glass cleaner to remove dirt, grime, and any residual substances from the glass surface without causing damage.
-
Glass Polish: A high-quality glass polish formulated specifically for restoring etched glass is crucial for effectively removing scratches, water spots, and mineral deposits.
-
Buffing Wheel or Pad: Utilize a soft buffing wheel or pad designed for glass polishing to achieve a smooth and uniform finish without causing further damage to the etched surface.
-
Sealant: Opt for a specialized glass sealant to provide long-lasting protection against future etching, water spots, and environmental contaminants.
-
Protective Gloves: Wear protective gloves to shield your hands from any chemicals or abrasive substances used during the restoration process.
Materials:
-
Rubbing Alcohol: This versatile solvent is ideal for prepping the glass surface before applying the glass polish, ensuring optimal adhesion and effectiveness.
-
Glass Polishing Compound: A high-quality glass polishing compound is essential for removing fine scratches and restoring the glass's luster and clarity.
-
Lint-Free Applicator Pads: These pads are perfect for applying the glass polish and sealant evenly, minimizing the risk of streaking or uneven coverage.
-
Masking Tape: Use masking tape to protect surrounding surfaces or areas adjacent to the etched glass, preventing accidental damage during the restoration process.
-
Soft Bristle Brush: A soft-bristled brush is useful for gently removing loose debris and dirt from intricate etched designs without causing damage.
-
Lint-Free Towels: These towels are ideal for drying the glass surface after cleaning and polishing, ensuring a pristine, streak-free finish.
By ensuring that you have these essential tools and materials at your disposal, you'll be well-prepared to embark on the journey of restoring etched glass to its original splendor. With the right equipment and a meticulous approach, you can breathe new life into your cherished glass surfaces, preserving their beauty for years to come.
Read more: How Do You Etch Glass
Step 1: Cleaning the Glass
Before embarking on the restoration journey, it's crucial to start with a clean canvas. Cleaning the glass surface thoroughly is the first step in the process of reviving etched glass to its former glory. Here's a detailed guide on how to effectively clean the glass:
-
Prepare the Glass Surface: Begin by preparing the glass surface for cleaning. Remove any decorative items, such as ornaments or accessories, from the vicinity to ensure unobstructed access to the etched glass.
-
Dust Removal: Use a soft-bristled brush or a lint-free cloth to gently remove any loose dust, dirt, or debris from the surface of the glass. Pay special attention to intricate etched designs to ensure that all crevices are free of accumulated particles.
-
Application of Glass Cleaner: Apply a small amount of non-abrasive, ammonia-free glass cleaner to a microfiber cloth. Avoid spraying the cleaner directly onto the glass surface to prevent excess moisture from seeping into the edges of the etched designs.
-
Gentle Cleaning: With the glass cleaner-dampened cloth, gently wipe the entire surface of the glass, ensuring thorough coverage. Focus on areas with visible dirt, fingerprints, or smudges, and continue wiping until the glass appears clean and free of blemishes.
-
Detailing the Etched Designs: For intricate etched designs, use a soft-bristled brush or a cotton swab dipped in glass cleaner to delicately clean the recessed areas. Take care to avoid applying excessive pressure that could potentially damage the delicate etching.
-
Drying the Glass: Once the glass has been cleaned, use a lint-free towel to dry the surface thoroughly. This step is essential to prevent water spots or streaks from forming on the glass, ensuring a pristine finish.
By meticulously following these steps, you can effectively prepare the glass surface for the subsequent stages of the restoration process. A clean and pristine glass surface serves as the foundation for the application of glass polish and the overall revitalization of etched glass. With the glass now free of dirt and impurities, you're ready to proceed to the next phase of restoring the luster and brilliance of the etched designs.
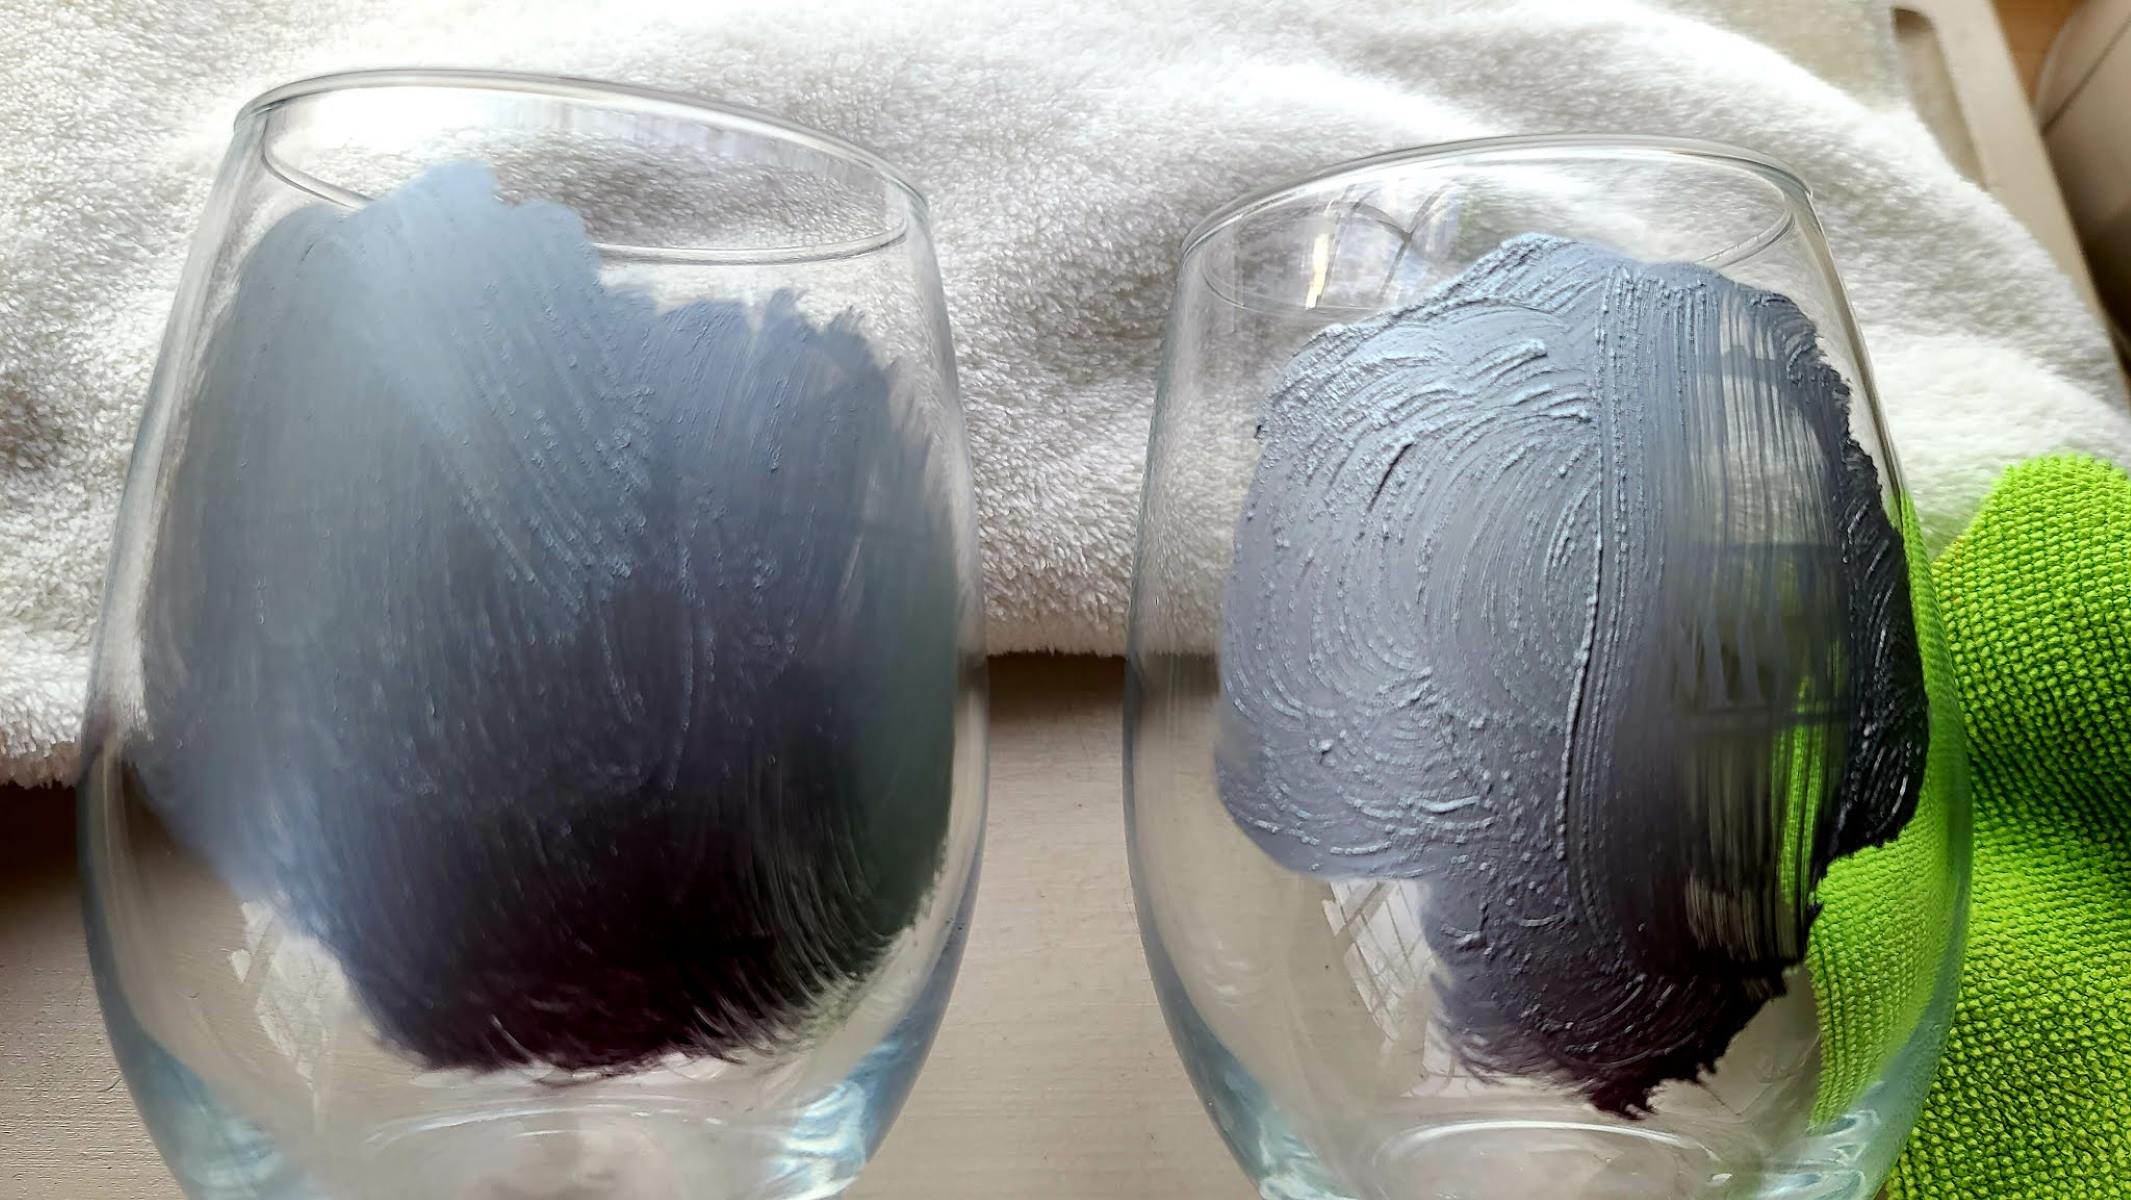
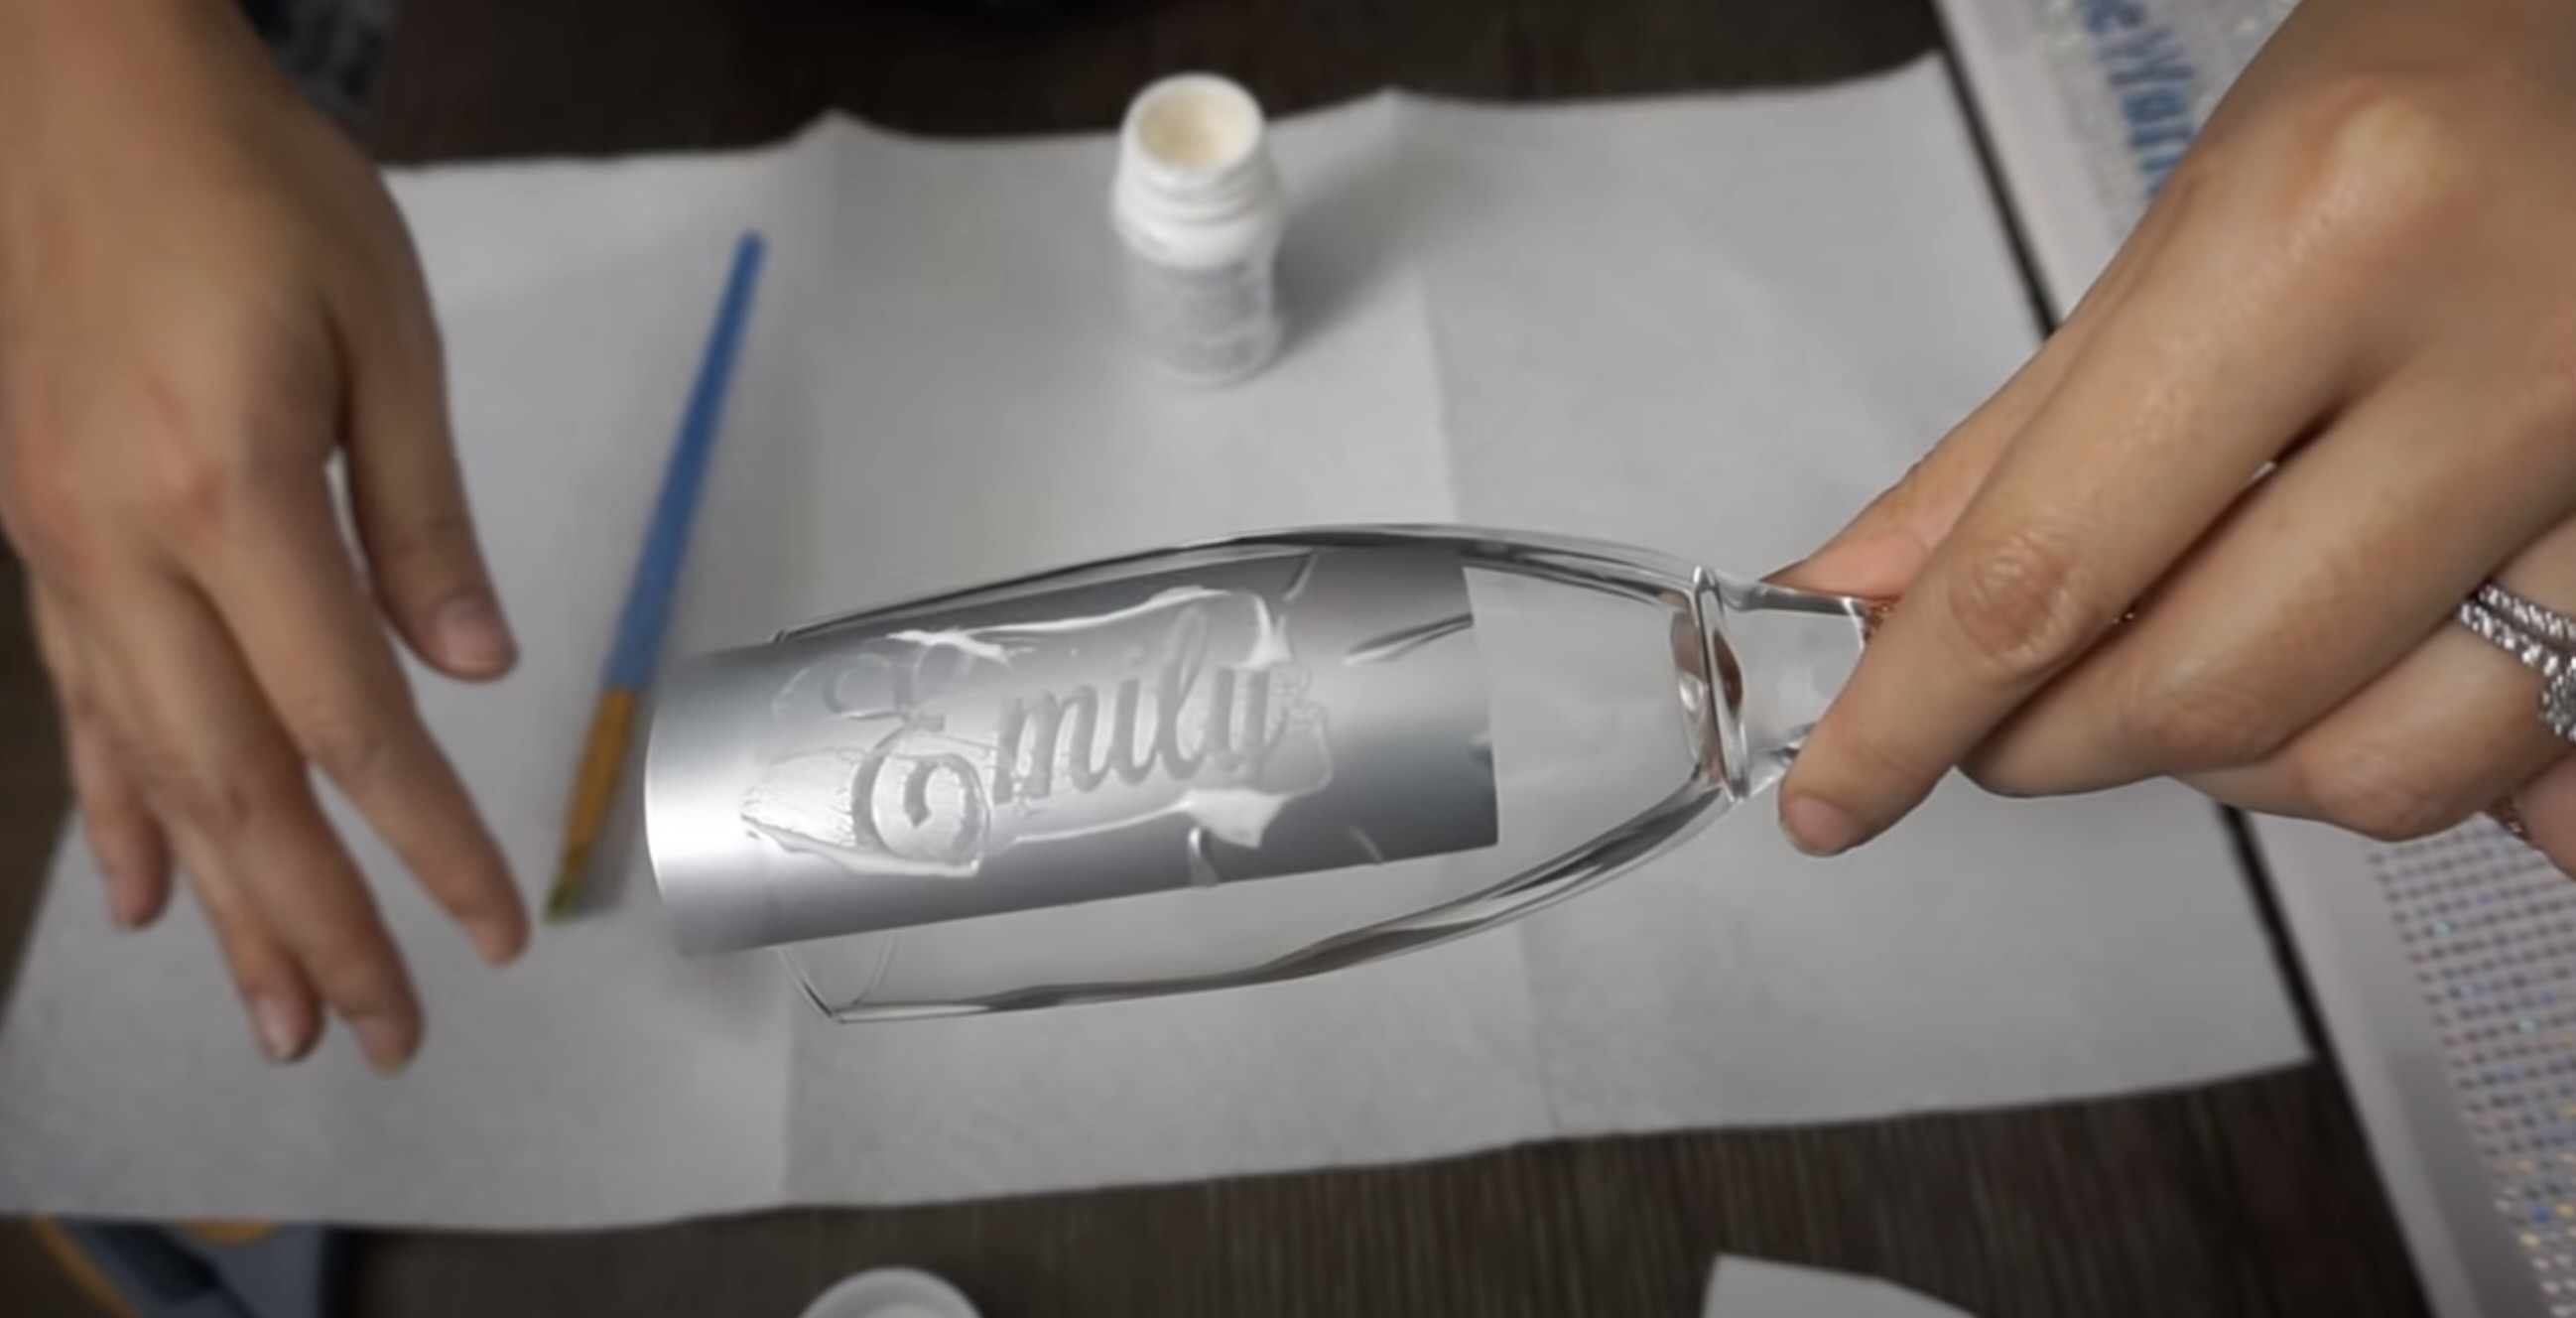
Step 2: Applying a Glass Polish
With the glass surface meticulously cleaned and free of impurities, the next crucial step in the restoration process involves the application of a high-quality glass polish. This specialized polish is designed to effectively remove scratches, water spots, and mineral deposits, restoring the glass's luster and clarity. Here's a detailed guide on how to apply the glass polish with precision and finesse:
-
Selection of Glass Polish: Choose a reputable glass polish specifically formulated for restoring etched glass surfaces. Ensure that the polish is free of abrasive particles that could potentially cause further damage to the delicate etched designs.
-
Preparation of Glass Surface: Before applying the glass polish, ensure that the glass surface is completely dry and free of any residual moisture from the cleaning process. Any lingering moisture could dilute the effectiveness of the glass polish.
-
Application of Glass Polish: Dispense a small amount of the glass polish onto a lint-free applicator pad. Begin applying the polish to the glass surface in gentle, circular motions, focusing on areas with visible scratches or blemishes. Take care to cover the entire etched surface evenly, ensuring uniform coverage.
-
Focusing on Problem Areas: For areas with stubborn scratches or mineral deposits, apply slightly more pressure while buffing with the glass polish. The goal is to gradually diminish the imperfections while preserving the integrity of the etched designs.
-
Monitoring the Progress: As you work the glass polish into the surface, periodically inspect the glass to assess the progress. Keep an eye on the targeted imperfections, ensuring that they are gradually diminishing and the overall clarity of the glass is improving.
-
Adjusting the Application: If certain areas require additional attention, apply a small amount of glass polish directly to those spots and continue buffing with the applicator pad. Exercise patience and precision to achieve optimal results.
-
Ensuring Even Coverage: Throughout the application process, pay attention to achieving even coverage of the glass polish across the entire etched surface. This uniform application is essential for achieving a consistent finish once the restoration process is complete.
By following these meticulous steps, you can effectively apply the glass polish to the etched glass surface, gradually diminishing imperfections and restoring its original brilliance. With the glass polish effectively addressing scratches and blemishes, the next phase of the restoration process involves buffing the glass to achieve a smooth and radiant finish.
To fix etched glass, try using a glass polishing compound and a soft cloth to gently buff out the etching. Be sure to follow the product instructions and test in a small area first.
Step 3: Buffing the Glass
After applying the glass polish to address scratches and imperfections, the next critical step in the restoration process is buffing the glass to achieve a smooth and radiant finish. Buffing plays a pivotal role in refining the surface of the glass, ensuring that the etched designs regain their clarity and brilliance. Here's a detailed guide on how to effectively buff the glass to enhance its visual appeal and restore its luster:
-
Selection of Buffing Wheel or Pad: Choose a soft buffing wheel or pad specifically designed for glass polishing. The soft and non-abrasive nature of the buffing tool is essential for achieving a smooth finish without causing damage to the delicate etched designs.
-
Application of Buffing Compound: Apply a small amount of high-quality glass buffing compound to the buffing wheel or pad. The buffing compound is formulated to further refine the glass surface, removing any residual imperfections and enhancing its overall clarity.
-
Gentle Buffing Motion: With the buffing wheel or pad, gently buff the entire glass surface in circular motions. Focus on maintaining a consistent pressure to ensure uniform buffing across the etched designs, gradually revealing their intricate details and restoring their original radiance.
-
Monitoring the Buffing Process: As you buff the glass, periodically inspect the surface to assess the progress. Keep an eye on the evolving clarity and brilliance of the etched designs, ensuring that the buffing process is effectively refining the glass surface.
-
Adjusting Pressure and Coverage: If certain areas require additional attention, adjust the pressure and coverage of the buffing tool to target specific imperfections. Exercise precision and patience to achieve a balanced and refined finish across the entire glass surface.
-
Ensuring Uniform Finish: Throughout the buffing process, pay close attention to achieving a uniform finish across the etched glass surface. Consistent buffing is essential for ensuring that the restored glass exhibits a seamless and radiant appearance.
By meticulously following these steps, you can effectively buff the glass surface, refining the etched designs and enhancing their visual impact. The buffing process serves as the final touch in the restoration journey, ensuring that the etched glass regains its original allure and becomes a captivating focal point in any space. With the glass now buffed to perfection, the last step involves sealing the surface to preserve its revitalized beauty for the long term.
Step 4: Sealing the Glass
Sealing the glass is the final crucial step in the restoration process, ensuring that the revitalized etched surface remains protected and maintains its newfound brilliance for the long term. By applying a specialized glass sealant, you can safeguard the glass against future etching, water spots, and environmental contaminants, preserving its pristine appearance and extending its longevity.
Here's a detailed guide on how to effectively seal the glass surface to secure its revitalized beauty:
-
Selection of Glass Sealant: Choose a high-quality glass sealant specifically formulated for etched glass surfaces. Opt for a product that offers durable protection and is designed to enhance the clarity and luster of the glass.
-
Preparation of Glass Surface: Before applying the sealant, ensure that the glass surface is completely clean and free of any residual polish or buffing compound. Any lingering residues could compromise the adhesion and effectiveness of the sealant.
-
Application of Sealant: Dispense a small amount of the glass sealant onto a lint-free applicator pad. Begin applying the sealant to the glass surface in smooth, even strokes, ensuring comprehensive coverage across the entire etched area.
-
Uniform Application: Pay close attention to achieving uniform coverage of the sealant, ensuring that it reaches all the intricate details of the etched designs. A consistent application is essential for maximizing the protective benefits of the sealant.
-
Drying and Curing: Allow the applied sealant to dry and cure according to the manufacturer's instructions. This crucial curing process ensures that the sealant forms a durable and resilient barrier, effectively shielding the glass from potential damage.
-
Final Inspection: Once the sealant has fully cured, inspect the glass surface to ensure that the sealant has formed a smooth and transparent layer. Verify that the etched designs exhibit enhanced clarity and brilliance, indicative of the sealant's protective and revitalizing effects.
By meticulously following these steps, you can effectively seal the glass surface, fortifying it against the detrimental effects of etching, moisture, and environmental factors. The application of the sealant serves as the ultimate safeguard for preserving the beauty and integrity of the etched glass, ensuring that it remains a timeless and captivating feature in any setting. With the glass now sealed to perfection, you can revel in the enduring splendor of your revitalized etched surfaces, knowing that they are protected for years to come.
Read more: How To Remove Etching From Glass
Conclusion
In conclusion, the art of restoring etched glass is a meticulous and rewarding process that allows you to breathe new life into cherished glass surfaces, preserving their beauty for generations to come. By understanding the nature of etched glass and the factors that contribute to its deterioration, you gain valuable insight into the artistry and craftsmanship involved in its creation. Armed with this knowledge, you can embark on the journey of reviving etched glass with confidence and precision.
The step-by-step restoration process outlined in this guide empowers you to address scratches, water spots, and mineral deposits, effectively restoring the luster and clarity of etched glass. From the initial cleaning of the glass surface to the application of specialized glass polish and the meticulous buffing process, each step plays a crucial role in revitalizing the intricate designs and enhancing the visual impact of etched glass.
Furthermore, the sealing of the glass surface ensures long-term protection, safeguarding the revitalized etched designs against future etching, water spots, and environmental contaminants. This final step not only preserves the glass's newfound brilliance but also extends its longevity, allowing you to enjoy its captivating allure for years to come.
As you embark on the journey of restoring etched glass, remember that patience and precision are key. Each phase of the restoration process demands careful attention to detail and a commitment to achieving a seamless and radiant finish. Whether you're revitalizing antique mirrors, decorative glass tabletops, or intricate glass doors, the art of restoring etched glass allows you to honor the legacy of these exquisite surfaces while infusing them with renewed splendor.
In the end, the revitalization of etched glass is not merely a restoration of physical beauty but a celebration of craftsmanship, artistry, and the enduring allure of glass as a medium for creative expression. By following the comprehensive techniques outlined in this guide and infusing your restoration journey with passion and dedication, you can transform etched glass into timeless showcases of elegance and refinement. Embrace the art of reviving etched glass, and let its timeless allure illuminate your living spaces with enduring beauty and sophistication.
Frequently Asked Questions about How To Fix Etched Glass
Was this page helpful?
At Storables.com, we guarantee accurate and reliable information. Our content, validated by Expert Board Contributors, is crafted following stringent Editorial Policies. We're committed to providing you with well-researched, expert-backed insights for all your informational needs.


0 thoughts on “How To Fix Etched Glass”