Home>Furniture & Design>Interior Design Trends>How Do You Etch Glass
Interior Design Trends
How Do You Etch Glass
Modified: August 17, 2024
Learn how to etch glass and incorporate it into the latest interior design trends. Discover creative ways to add a touch of elegance to your space. Explore glass etching techniques and ideas.
(Many of the links in this article redirect to a specific reviewed product. Your purchase of these products through affiliate links helps to generate commission for Storables.com, at no extra cost. Learn more)
Introduction
Glass etching is a captivating and versatile art form that allows you to transform ordinary glass surfaces into stunning, personalized masterpieces. Whether you're looking to add a touch of elegance to your glassware, create custom gifts, or elevate the aesthetics of your home decor, glass etching offers a creative and rewarding outlet for self-expression.
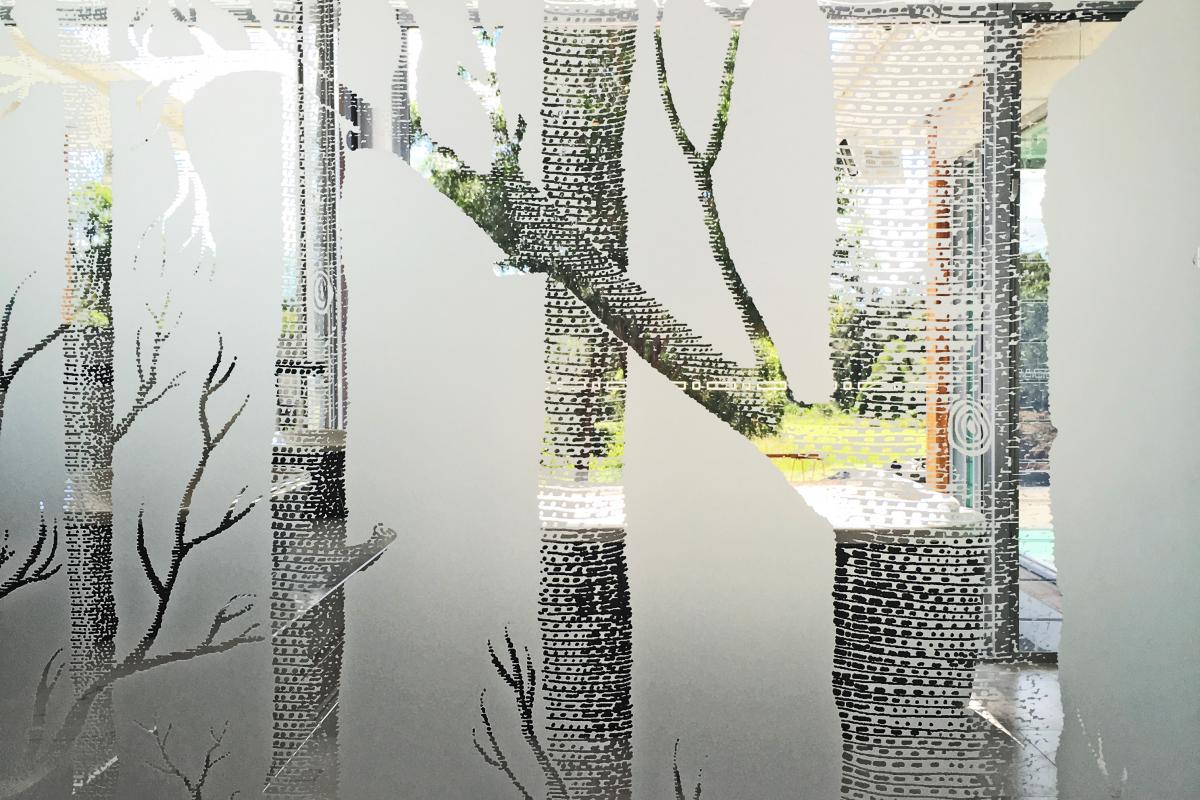
Etching glass involves the use of abrasive or corrosive substances to create intricate designs, patterns, or text on the surface of the glass. This process results in a frosted appearance, adding a touch of sophistication and uniqueness to the glass item. From elegant wine glasses and decorative mirrors to personalized glassware and custom signage, the possibilities for etched glass creations are endless.
One of the most appealing aspects of glass etching is its accessibility. With the right materials and a bit of creativity, individuals of all skill levels can delve into this art form and produce stunning results. Whether you're a seasoned crafter or a novice enthusiast, the art of glass etching invites you to explore your imagination and bring your designs to life on a canvas of glass.
In this comprehensive guide, we will delve into the materials needed, the step-by-step process of etching glass, essential safety precautions, as well as valuable tips and tricks to ensure a successful and enjoyable glass etching experience. By the end of this guide, you'll be equipped with the knowledge and confidence to embark on your glass etching journey, unleashing your creativity and adding a touch of personalized elegance to your surroundings.
Key Takeaways:
- Glass etching is a fun and accessible art form that lets you create personalized designs on glass items. With the right materials and safety precautions, anyone can unleash their creativity and make stunning, frosted masterpieces.
- Safety is crucial when etching glass. Always wear protective gear, work in a well-ventilated area, and follow instructions carefully. By prioritizing safety and exploring different techniques, you can create beautiful, personalized gifts and elevate your home decor with unique, etched glass creations.
Read more: How To Fix Etched Glass
Materials Needed
Before embarking on your glass etching endeavor, it's essential to gather the necessary materials to ensure a smooth and successful process. Here's a comprehensive list of the items you'll need to get started:
-
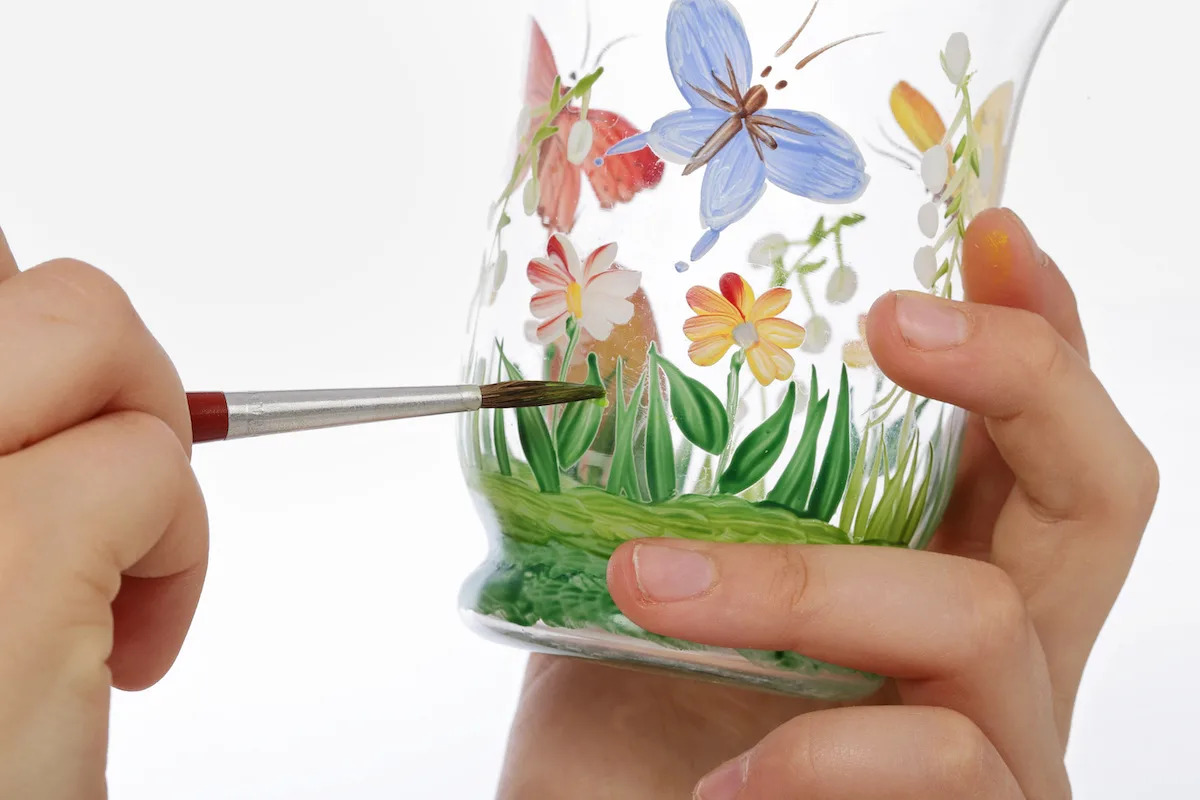
Glass Items: Select the glass items you wish to etch, such as drinking glasses, mirrors, vases, or glass picture frames. Ensure that the glass surface is clean and free of any dust or debris before proceeding with the etching process.
-
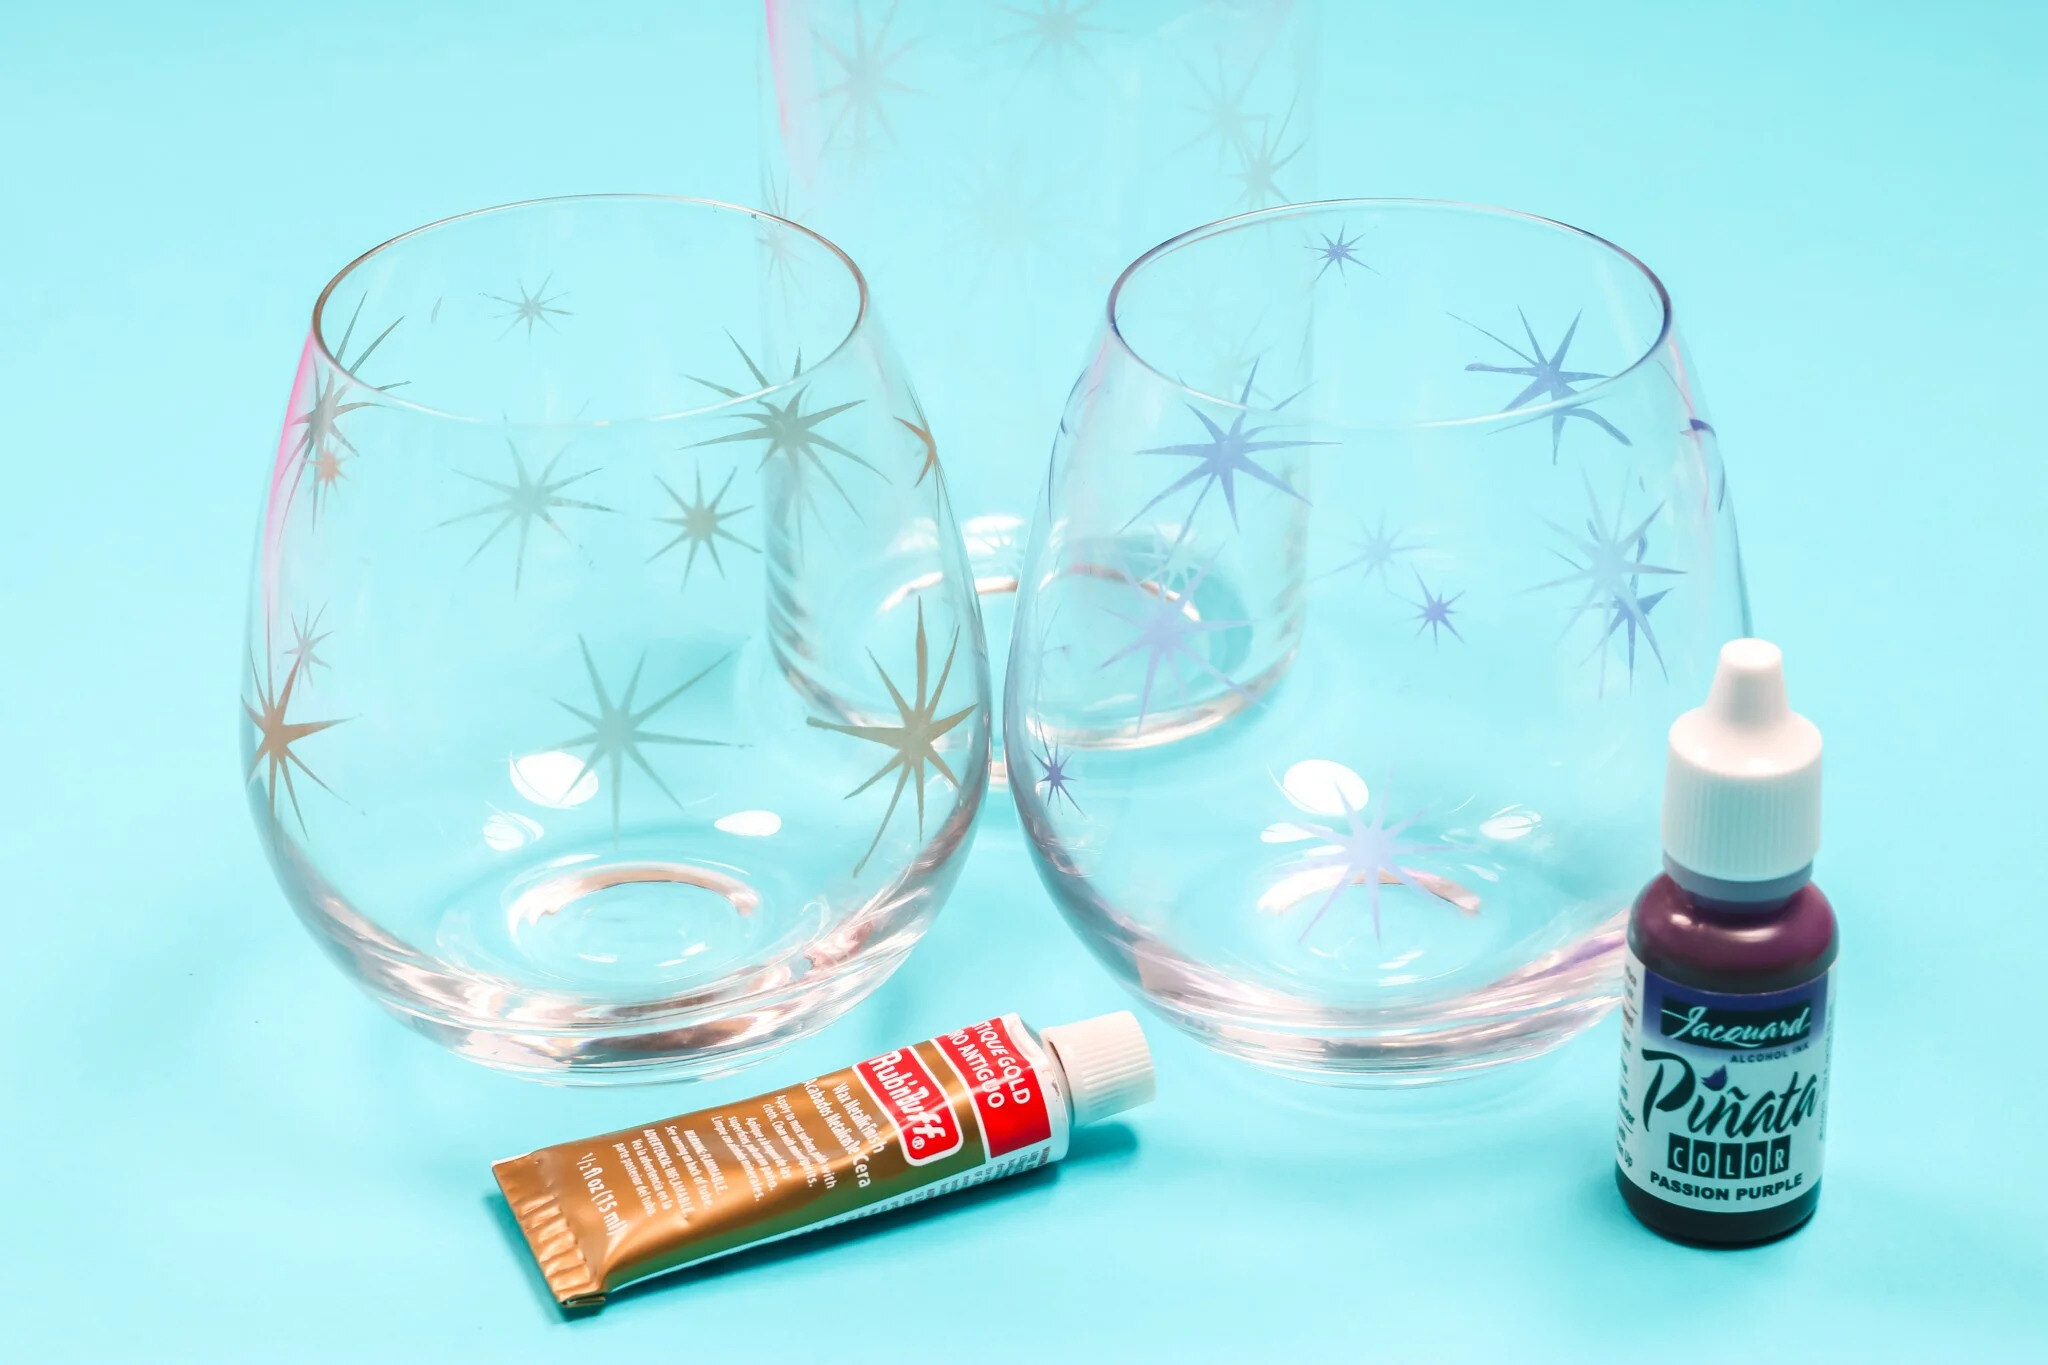
Etching Cream or Solution: Acquire a high-quality etching cream or solution, which contains chemicals that react with the glass surface to create the frosted effect. Popular brands such as Armour Etch and Etchall offer reliable options for achieving professional-looking results.
-
Stencil or Vinyl Mask: Obtain pre-cut stencils or vinyl masks designed for glass etching. These stencils feature intricate designs, patterns, or alphabets, allowing you to effortlessly transfer your desired motif onto the glass surface.
-
Protective Gloves: Invest in a pair of durable, chemical-resistant gloves to shield your hands from direct contact with the etching cream or solution. Safety should always be a top priority when working with potentially hazardous substances.
-
Protective Eyewear: Prioritize your eye safety by wearing protective goggles or glasses to prevent any accidental splashes of etching cream from coming into contact with your eyes.
-
Stencil Adhesive or Transfer Tape: If you're using a stencil or vinyl mask, you'll need stencil adhesive or transfer tape to securely position and adhere the stencil onto the glass surface, ensuring clean and precise etching results.
-
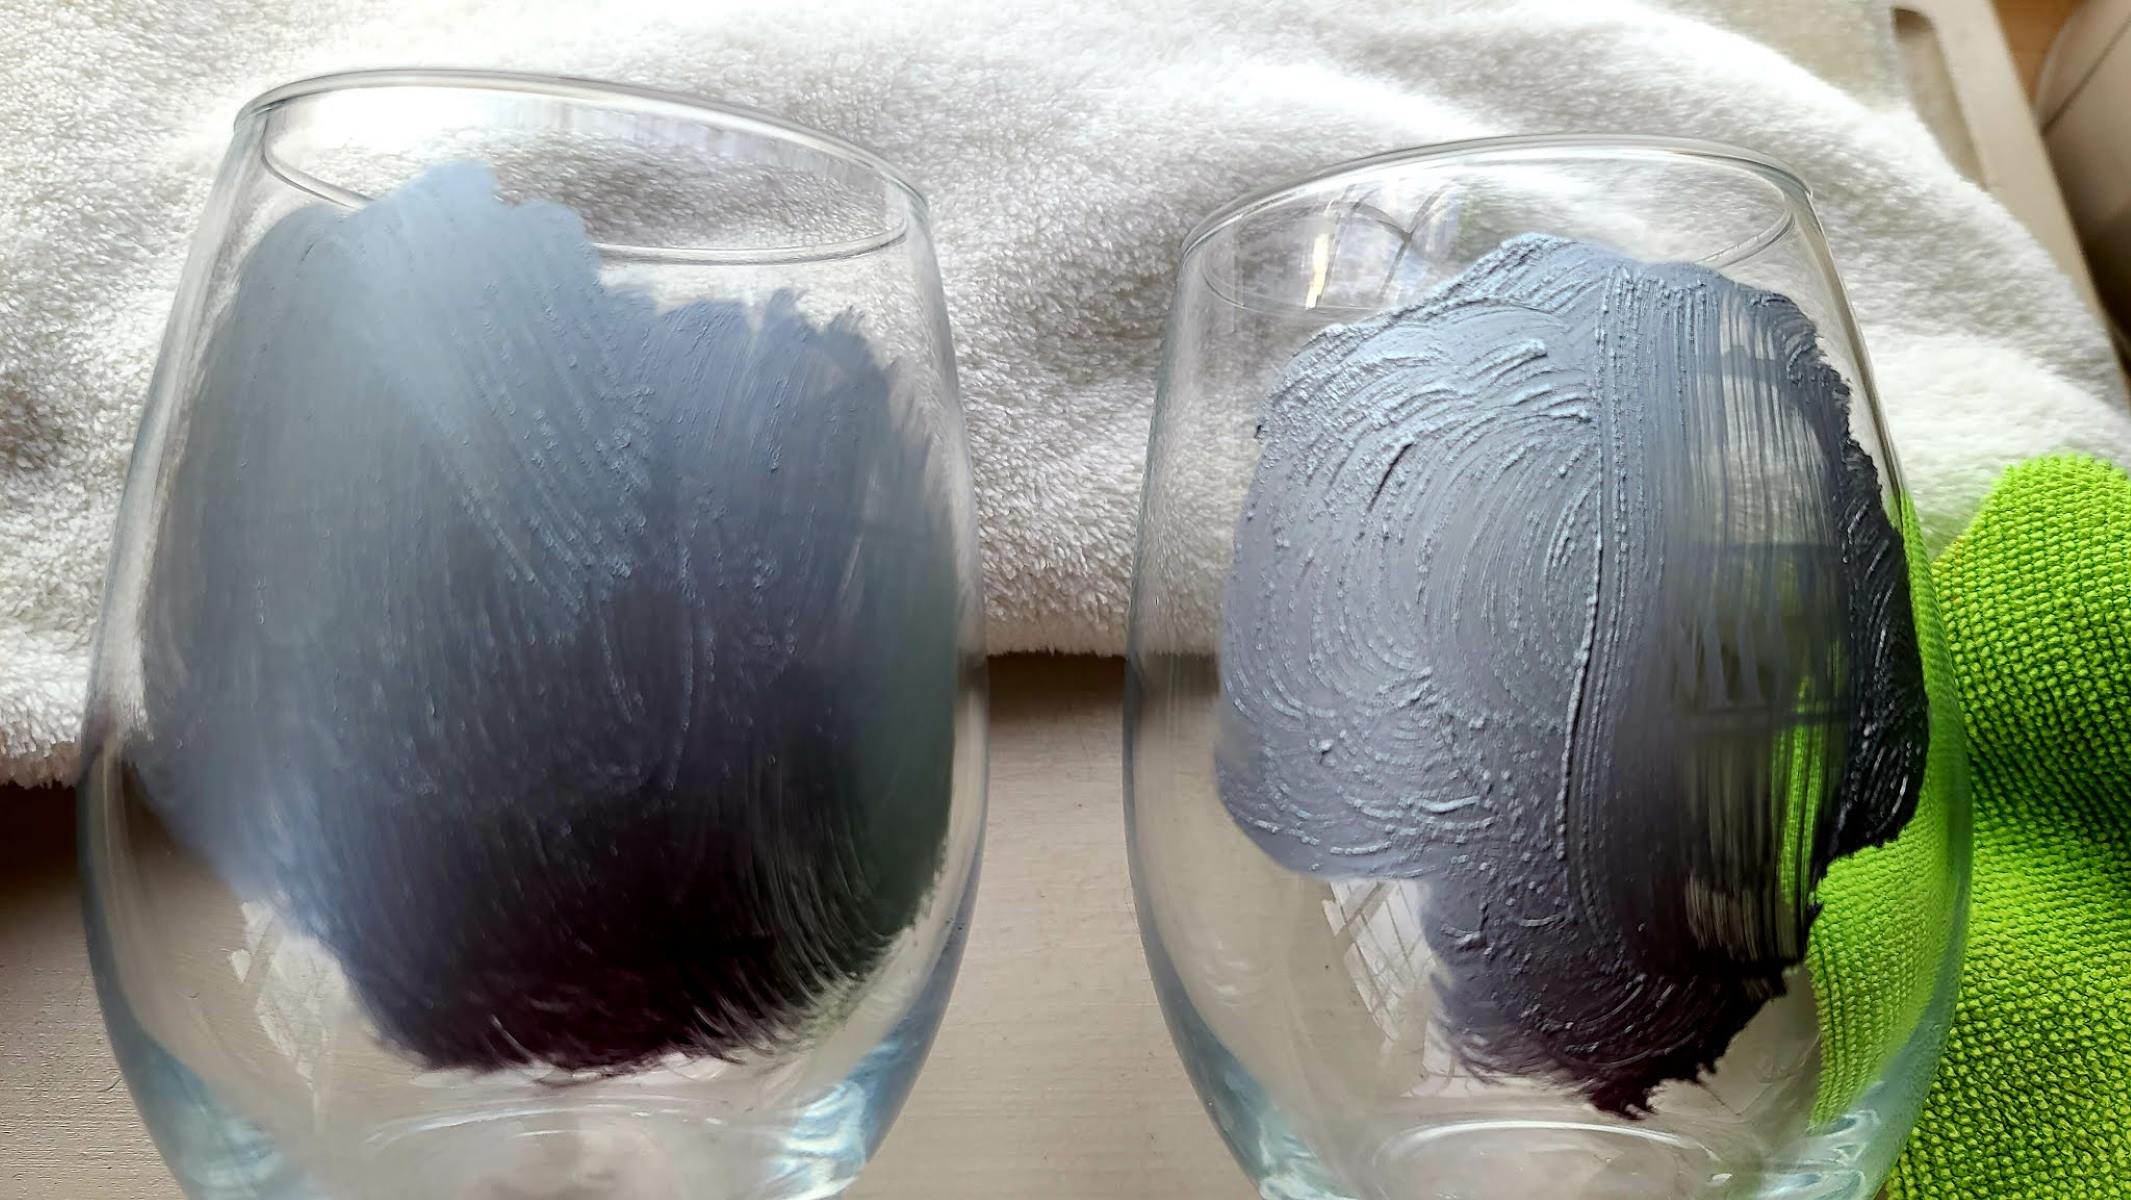
Brush or Spatula: A soft-bristled brush or spatula is essential for applying the etching cream onto the glass surface, ensuring even coverage and precise application within the stencil boundaries.
-
Timer: A timer or stopwatch will help you monitor the etching process, allowing you to achieve the desired level of frosted effect before rinsing off the etching cream.
-
Water and Soap: Have a steady supply of water and mild soap on hand for rinsing and cleaning the glass items after the etching process is complete, ensuring the removal of any residual etching cream.
-
Paper Towels or Cloth: Keep paper towels or a soft cloth nearby to dry the glass items after rinsing, revealing the beautifully etched designs with clarity.
By assembling these essential materials, you'll be well-prepared to embark on your glass etching journey, unlocking the potential to create personalized, visually captivating glass items that reflect your unique style and creativity.
Steps to Etch Glass
-
Prepare the Glass Surface: Begin by thoroughly cleaning the glass item you intend to etch. Use mild soap and water to remove any dirt, grease, or fingerprints from the surface. Ensure that the glass is completely dry before proceeding to the next step.
-
Position the Stencil or Vinyl Mask: If you're using a stencil or vinyl mask, carefully position it onto the glass surface, ensuring that it adheres securely. The stencil will define the areas that will be etched, allowing you to create precise and intricate designs on the glass.
-
Wear Protective Gear: Prioritize safety by donning protective gloves and eyewear before handling the etching cream or solution. These precautions are essential to safeguard your skin and eyes from potential exposure to the corrosive properties of the etching substance.
-
Apply the Etching Cream: Using a brush or spatula, apply a generous layer of the etching cream onto the exposed areas within the stencil or vinyl mask. Ensure that the cream is spread evenly and covers the intended etching areas to achieve consistent results.
-
Set the Etching Time: Once the etching cream is applied, set a timer based on the manufacturer's recommendations or the desired level of etching. The duration can vary depending on the type of glass and the depth of etching desired. It's crucial to monitor the time closely to achieve the desired frosted effect.
-
Rinse and Clean the Glass: When the etching time is complete, carefully rinse off the etching cream under running water. Thoroughly clean the glass item to remove any residual cream, ensuring that all traces of the etching substance are completely eliminated.
-
Peel Off the Stencil or Vinyl Mask: Gently remove the stencil or vinyl mask from the glass surface to reveal the beautifully etched design. Take care to peel off the adhesive material without disturbing the etched areas, allowing the intricate patterns or text to emerge with clarity.
-
Dry and Inspect the Etched Glass: Use a soft cloth or paper towels to dry the glass item, unveiling the stunning frosted designs created through the etching process. Inspect the glass to ensure that the etched patterns are crisp and well-defined, reflecting the precision and artistry of your work.
By following these step-by-step instructions, you can confidently embark on the glass etching process, transforming ordinary glass items into personalized works of art that exude elegance and individuality. Remember to exercise caution, adhere to safety guidelines, and unleash your creativity to achieve remarkable results in your glass etching endeavors.
When etching glass, always wear protective gloves and eyewear to prevent any contact with the etching solution. Work in a well-ventilated area and follow the instructions on the etching cream carefully for best results.
Safety Precautions
When engaging in the art of glass etching, prioritizing safety measures is paramount to safeguarding your well-being and ensuring a secure working environment. The use of etching creams or solutions involves handling potentially corrosive substances, making it essential to adhere to stringent safety precautions throughout the etching process.
First and foremost, always wear protective gloves designed to resist chemical exposure. These gloves act as a barrier between your skin and the etching cream, preventing direct contact and minimizing the risk of skin irritation or chemical burns. Additionally, don protective eyewear, such as safety goggles or glasses, to shield your eyes from accidental splashes or fumes emanating from the etching solution. Prioritizing eye safety is crucial, as even a small amount of the etching substance coming into contact with your eyes can lead to severe injury.
Furthermore, ensure adequate ventilation in the workspace to mitigate the inhalation of fumes generated during the etching process. Working in a well-ventilated area, preferably near an open window or with the assistance of a fume extractor, helps disperse any potentially harmful vapors, promoting a safer environment for the etching procedure.
It is imperative to handle the etching cream or solution with caution, adhering to the manufacturer's guidelines regarding application, exposure duration, and proper storage. Always read and follow the instructions provided with the etching product, as different formulations may have specific safety recommendations and usage protocols.
In the event of accidental skin contact with the etching cream, promptly rinse the affected area with copious amounts of water and seek medical attention if irritation persists. Similarly, if the etching solution comes into contact with your eyes, immediately flush them with water for at least 15 minutes and seek immediate medical assistance to prevent potential eye damage.
After completing the etching process, ensure thorough cleaning of the work area and disposal of any used materials in accordance with local regulations. Properly store the remaining etching cream or solution in a secure location, away from the reach of children or pets, and in its original container to prevent accidental exposure.
By diligently adhering to these safety precautions, you can embark on your glass etching endeavors with confidence, knowing that you have taken the necessary steps to protect yourself and create a secure working environment. Prioritizing safety not only enhances the overall experience of glass etching but also ensures the well-being of all individuals involved in the creative process.
Tips and Tricks
Embarking on a glass etching project opens the door to a world of creative possibilities, and incorporating a few tips and tricks can elevate your etching endeavors to new heights. Whether you're a novice enthusiast or a seasoned crafter, these insights will enhance your glass etching experience and empower you to achieve stunning results.
-
Experiment with Different Glass Items: Explore the versatility of glass etching by working on various glass items, such as drinking glasses, mirrors, vases, or glass picture frames. Each surface presents unique characteristics and challenges, allowing you to hone your skills and expand your creative repertoire.
-
Precision Application: When applying the etching cream onto the glass surface, strive for precision and even coverage within the stencil boundaries. A steady hand and meticulous application ensure that the etched designs emerge with clarity and definition, enhancing the overall visual impact of your creations.
-
Custom Stencil Designs: Embrace the freedom of customizing your stencil designs to reflect your personal style and artistic vision. Consider creating your own stencils using adhesive vinyl or stencil material, allowing you to etch intricate patterns, monograms, or custom motifs that resonate with your individuality.
-
Layering Effects: Experiment with layering multiple stencil designs to achieve complex and visually captivating compositions. By strategically layering stencils and selectively etching specific areas, you can create depth and dimension within your designs, adding a touch of sophistication to your etched glass items.
-
Accentuate Text and Typography: Utilize stencils featuring elegant fonts and typography to etch meaningful quotes, names, or dates onto glassware. The juxtaposition of frosted text against the transparent glass surface creates a striking visual contrast, making your etched designs both visually appealing and emotionally resonant.
-
Incorporate Masking Techniques: Explore masking techniques to create unique etched patterns and effects. Masking off certain areas of the glass before applying the etching cream can result in intricate negative space designs, adding an element of intrigue and complexity to your etched creations.
-
Practice on Scrap Glass: Before etching your desired glass items, practice on scrap glass to familiarize yourself with the etching process and refine your technique. This allows you to experiment with different etching durations, stencil placements, and design concepts, ultimately enhancing your confidence and proficiency in glass etching.
-
Personalized Gift Ideas: Harness the power of glass etching to create personalized gifts for special occasions. From custom wine glasses for weddings to etched glassware for housewarmings, infusing your creations with personal touches elevates the sentiment and significance of the gifts, leaving a lasting impression on the recipients.
-
Maintenance and Care: After completing the etching process, educate yourself on the proper maintenance and care of etched glass items. Advise recipients of your etched creations to hand wash the glassware to preserve the integrity of the etched designs, ensuring long-lasting beauty and durability.
By integrating these tips and tricks into your glass etching endeavors, you'll unlock the full potential of this captivating art form, infusing your creations with precision, creativity, and personal flair. Embrace the journey of glass etching as a canvas for self-expression, and let your imagination flourish as you craft visually stunning and meaningful works of art on glass.
Read more: How To Make Etched Glass Stand Out
Conclusion
In conclusion, glass etching stands as a timeless art form that offers a myriad of creative opportunities for individuals seeking to infuse elegance, personalization, and artistic expression into their surroundings. Through the meticulous process of etching, ordinary glass items are transformed into bespoke pieces of functional art, each bearing the unique imprint of the creator's vision and craftsmanship.
As we've explored the essential materials, step-by-step procedures, safety precautions, and valuable tips and tricks for glass etching, it becomes evident that this art form transcends mere decoration. It serves as a medium for self-expression, allowing individuals to imprint their creativity onto everyday objects, elevating them from mundane to extraordinary.
The versatility of glass etching extends beyond the realm of personal enjoyment and creative fulfillment. It presents an avenue for crafting heartfelt, personalized gifts that resonate with sentiment and meaning. Whether it's etched glassware for a wedding, custom mirrors for a home, or intricately designed vases for special occasions, the art of glass etching enables the creation of enduring mementos that capture the essence of cherished moments.
Furthermore, the journey of glass etching fosters a sense of exploration and discovery, encouraging enthusiasts to experiment with diverse techniques, designs, and applications. It invites individuals to push the boundaries of their creativity, embrace the beauty of precision, and revel in the satisfaction of bringing their artistic visions to life on the transparent canvas of glass.
As we partake in the art of glass etching, it is essential to uphold the principles of safety, mindfulness, and continuous learning. By prioritizing safety measures, respecting the potency of etching substances, and honing our skills through practice and experimentation, we can cultivate a fulfilling and enriching glass etching experience.
In essence, glass etching transcends the act of embellishing glass surfaces; it embodies a fusion of artistry, craftsmanship, and personalization. It invites individuals to leave an indelible mark on the transparent medium, creating enduring pieces that reflect their unique identity and resonate with those who encounter them.
So, as you embark on your glass etching journey, may you embrace the boundless possibilities it offers, infuse your creations with passion and purpose, and revel in the transformative power of turning ordinary glass into extraordinary works of art. Let the frosted designs and intricate patterns etched onto glass serve as testaments to your creativity, leaving a lasting impression on all who behold them.
Frequently Asked Questions about How Do You Etch Glass
Was this page helpful?
At Storables.com, we guarantee accurate and reliable information. Our content, validated by Expert Board Contributors, is crafted following stringent Editorial Policies. We're committed to providing you with well-researched, expert-backed insights for all your informational needs.


0 thoughts on “How Do You Etch Glass”