Home>Dining>Tableware>How To Make A Fitted Ruffled Tablecloth
Tableware
How To Make A Fitted Ruffled Tablecloth
Modified: February 24, 2024
Learn how to make a beautiful and stylish fitted ruffled tablecloth that will add a touch of elegance to your tableware. Discover the step-by-step process now!
(Many of the links in this article redirect to a specific reviewed product. Your purchase of these products through affiliate links helps to generate commission for Storables.com, at no extra cost. Learn more)
Introduction
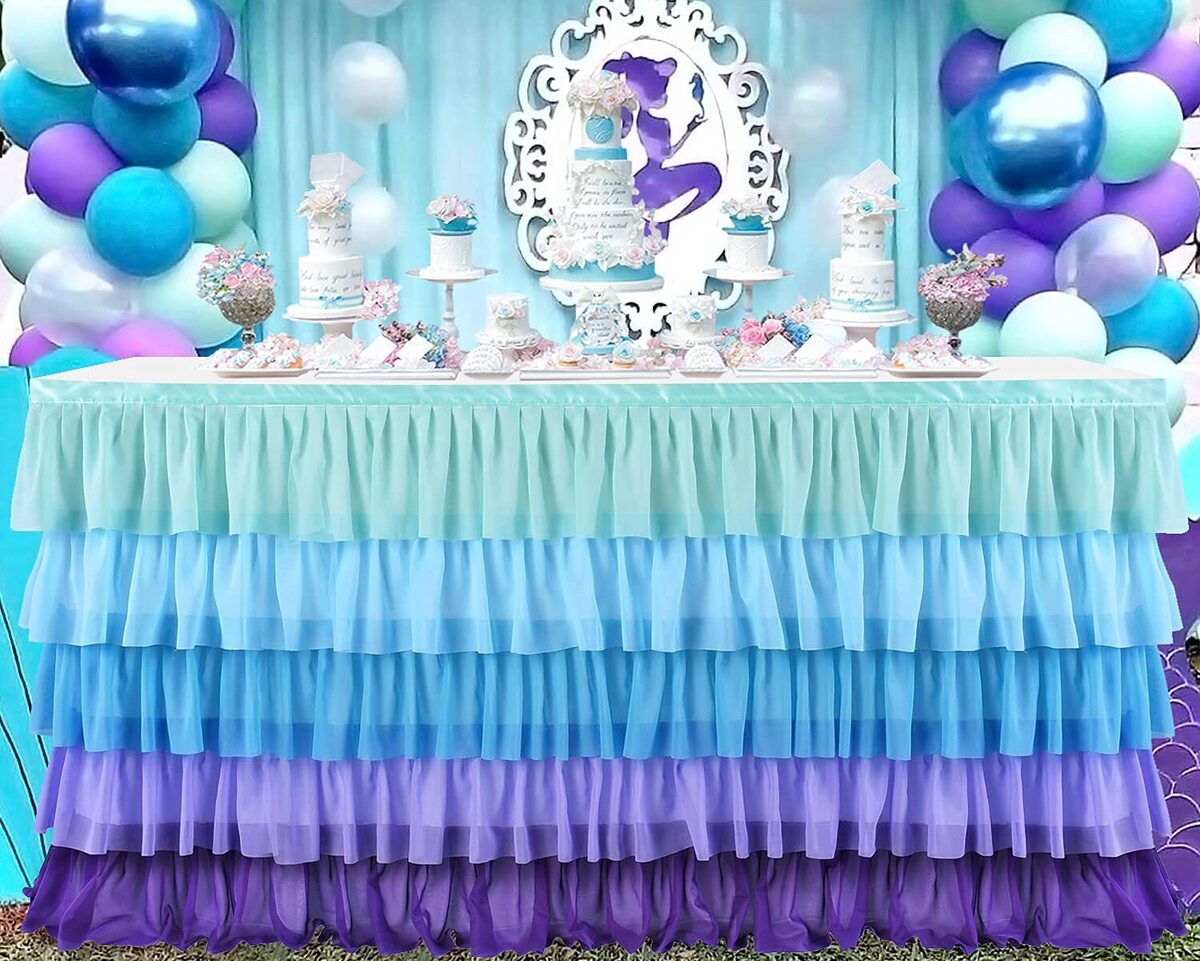
Welcome to our step-by-step guide on how to make a fitted ruffled tablecloth! Adding a ruffled tablecloth to your dining table or any other surface instantly transforms the space and adds a touch of elegance. Whether you’re hosting a special event, having guests over, or simply want to give your home a visually appealing upgrade, a fitted ruffled tablecloth is a fantastic choice.
In this article, we’ll walk you through the process of making your own fitted ruffled tablecloth from scratch. You don’t need to be an expert seamstress or have extensive sewing knowledge to successfully complete this project. With a few basic materials and a little bit of time, you’ll have a beautiful ruffled tablecloth that will leave your guests in awe.
The beauty of making your own tablecloth is that you have full control over the design, fabric choice, and measurements. You can customize it to perfectly fit your table and match your existing décor. So let’s dive into the materials you’ll need for this project!
Key Takeaways:
- Transform your dining table with a personalized touch of elegance by crafting a fitted ruffled tablecloth. Unleash your creativity and sewing skills to create a unique piece that suits your style and event.
- Enjoy the process of making your own tablecloth and elevate your dining experience. Experiment with fabrics, colors, and ruffle sizes to create a charming and visually appealing table setting.
Read more: How To Make Fitted Tablecloths
Materials Needed
Before you begin crafting your fitted ruffled tablecloth, make sure you have gathered all the necessary materials. Here’s a list of what you’ll need:
- Fabric: Choose a fabric that suits your style and purpose. Consider the size of your table and the overall look you want to achieve. Cotton, linen, or polyester blends are popular choices for tablecloths.
- Thread: Select a thread color that matches or complements the fabric.
- Measuring Tape: A measuring tape is essential to accurately measure your table and fabric.
- Scissors: You’ll need a good pair of fabric scissors for cutting the fabric.
- Sewing Machine: While it’s possible to hand-sew the tablecloth, using a sewing machine will save you time and ensure more precise stitching.
- Elastic: Choose a sturdy elastic band that will fit snugly around the edges of your table.
- Pins: Use pins to hold the fabric in place while sewing.
- Ruler or Straight Edge: This will come in handy for measuring and drawing straight lines on the fabric.
- Iron: An iron is essential for pressing and ironing the fabric, giving it a crisp finish.
- Optional: Trim or ribbon if you want to add additional decorative elements to your ruffled tablecloth.
Once you have gathered all these materials, you’re ready to move on to the next step: measuring and cutting the fabric.
Step 1: Measuring and Cutting the Fabric
The first step in creating your fitted ruffled tablecloth is to measure and cut the fabric to the appropriate size. Follow these steps:
- Measure your table: Use a measuring tape to determine the length, width, and height of your table. Add a few inches to each measurement to account for the drop and any additional length required for tucking in the tablecloth.
- Lay out the fabric: Find a clean and spacious area where you can lay out the fabric. Make sure it is flat and free from wrinkles.
- Mark the measurements: Using a ruler or straight edge, mark the measurements of your table onto the fabric. Use a fabric pen or chalk to make the markings clearly visible.
- Cut the fabric: Carefully cut along the marked lines to create the main piece of your tablecloth.
- Optional: If you plan to add trim or ribbon to your tablecloth, now is the time to cut those pieces to the desired length and width.
Remember to double-check your measurements before cutting the fabric to ensure accuracy. It’s always better to have a slightly larger piece of fabric that can be trimmed down later than to end up with a tablecloth that is too small.
Once you’ve successfully measured and cut the fabric, you’re ready to move on to the next step: hemming the edges of the tablecloth.
Step 2: Hemming the Edges
After cutting the fabric to the desired size, it’s time to hem the edges of the tablecloth. Hemming will not only give your tablecloth a polished and professional look but also help prevent fraying. Follow these steps:
- Prepare your sewing machine: Set up your sewing machine with a thread color that matches or complements the fabric.
- Fold and press the edges: Take one edge of the fabric and fold it over approximately ¼ inch. Use an iron to press the fold in place. This will create a clean and crisp edge.
- Fold and press again: Once the edge is folded and pressed, fold it over again, this time approximately 1 inch. Again, use the iron to press the fold in place.
- Pin the folded edge: To keep the folded edge in place while sewing, use pins to secure it. Place the pins evenly along the edge, ensuring that they are perpendicular to the edge for easy removal as you sew.
- Repeat for all edges: Repeat the folding, pressing, and pinning process for all remaining edges of the tablecloth. Take your time to ensure that the folds are even and straight.
Once you have pinned all the edges, it’s time to sew the hems. Using a straight stitch, sew along the folded edge, removing the pins as you go. Start and end the stitching with a few backstitches to secure it in place. Repeat for all edges of the tablecloth.
With the edges hemmed, your tablecloth will have a neat and finished appearance. Now, it’s time to move on to the fun part: adding ruffles!
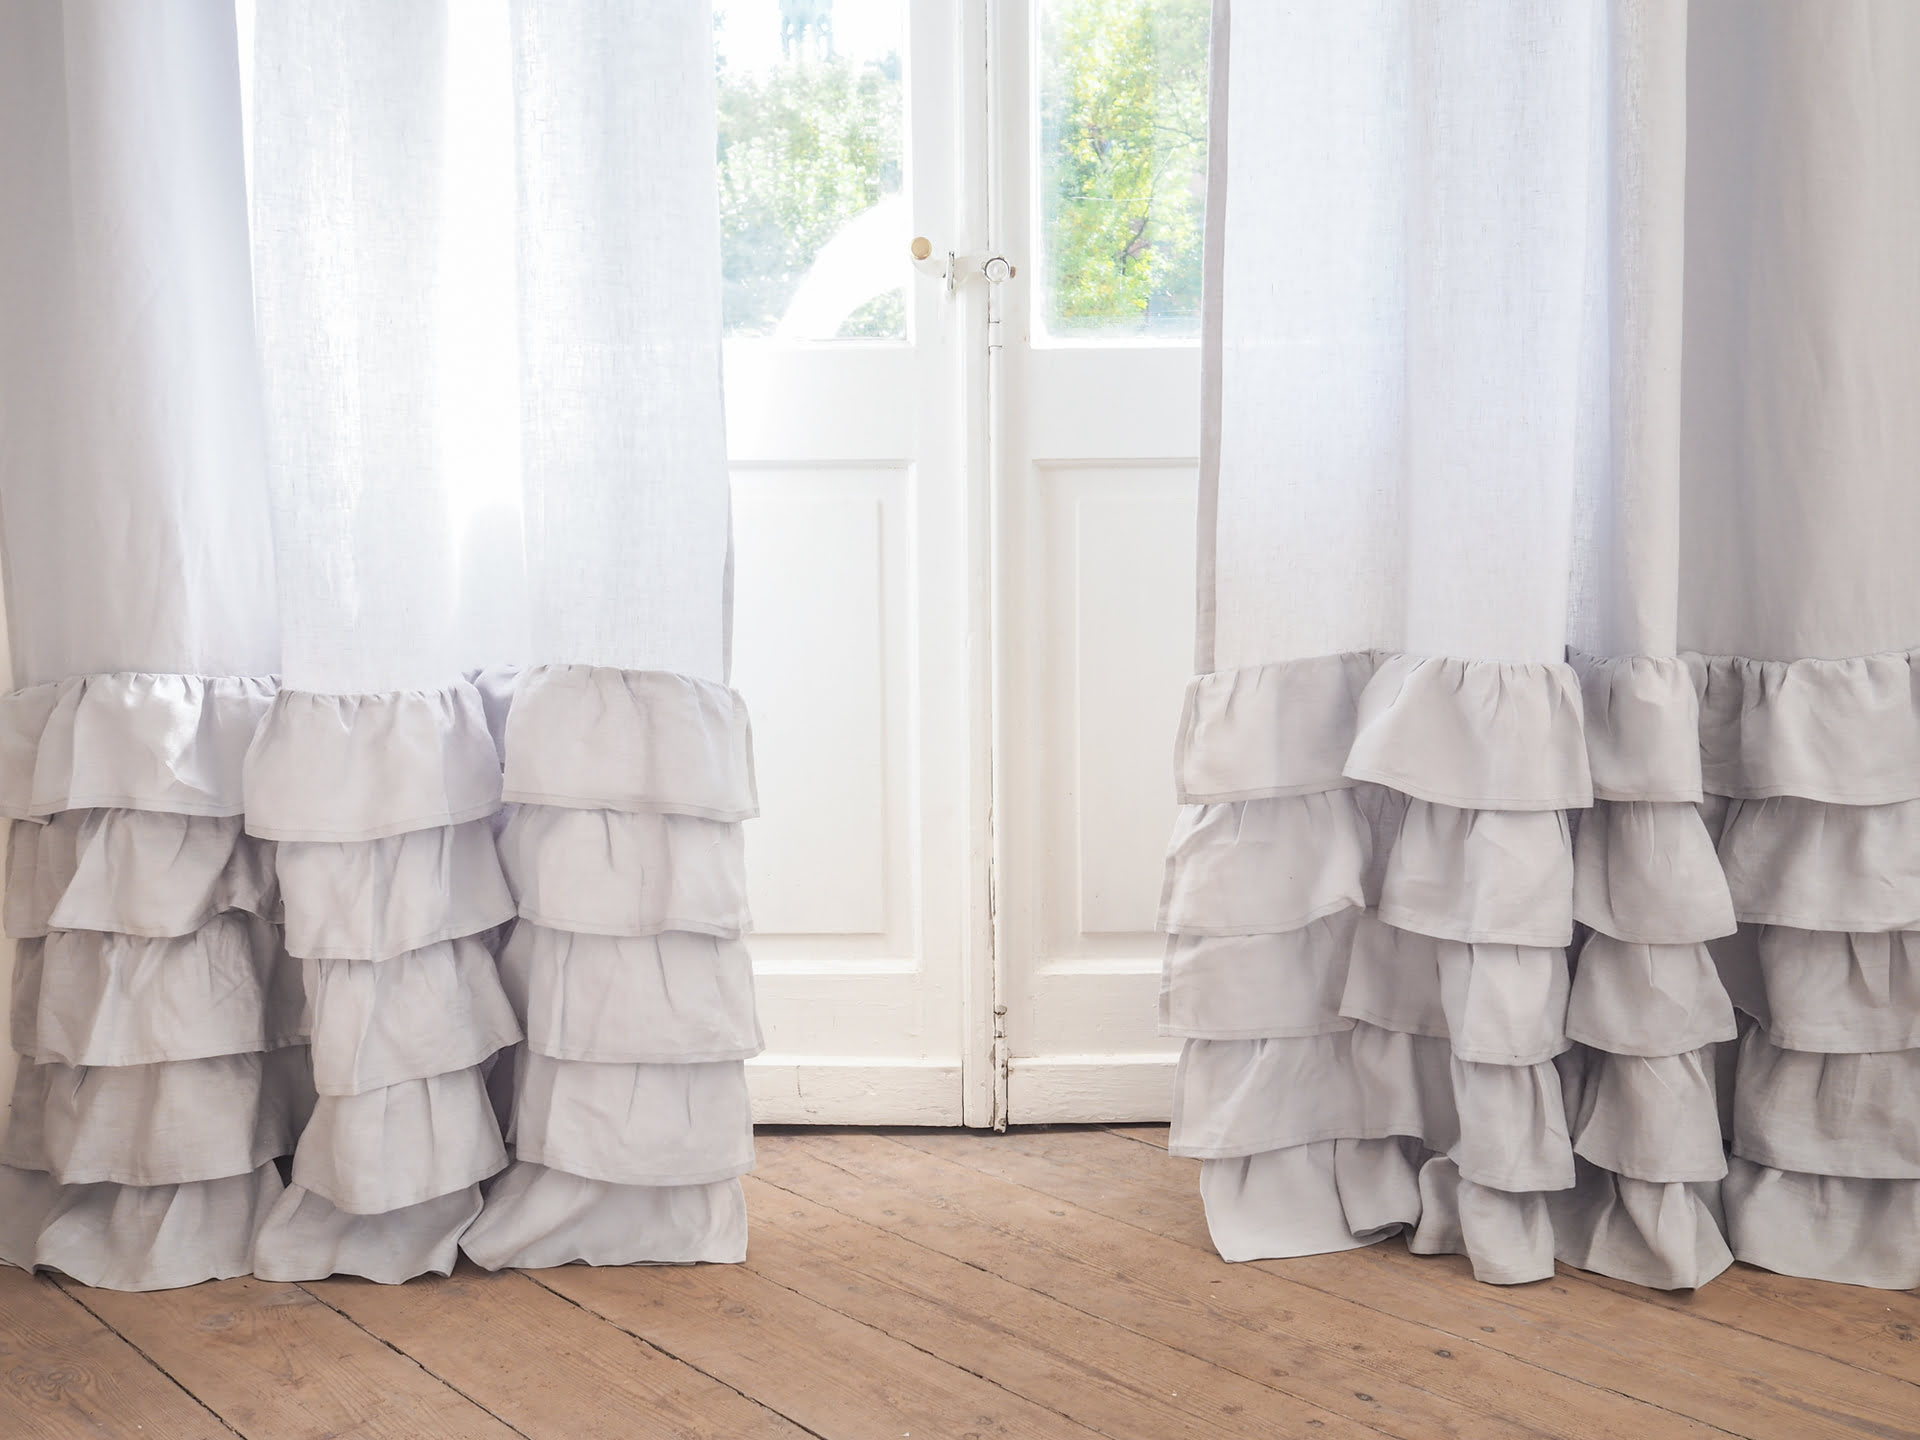
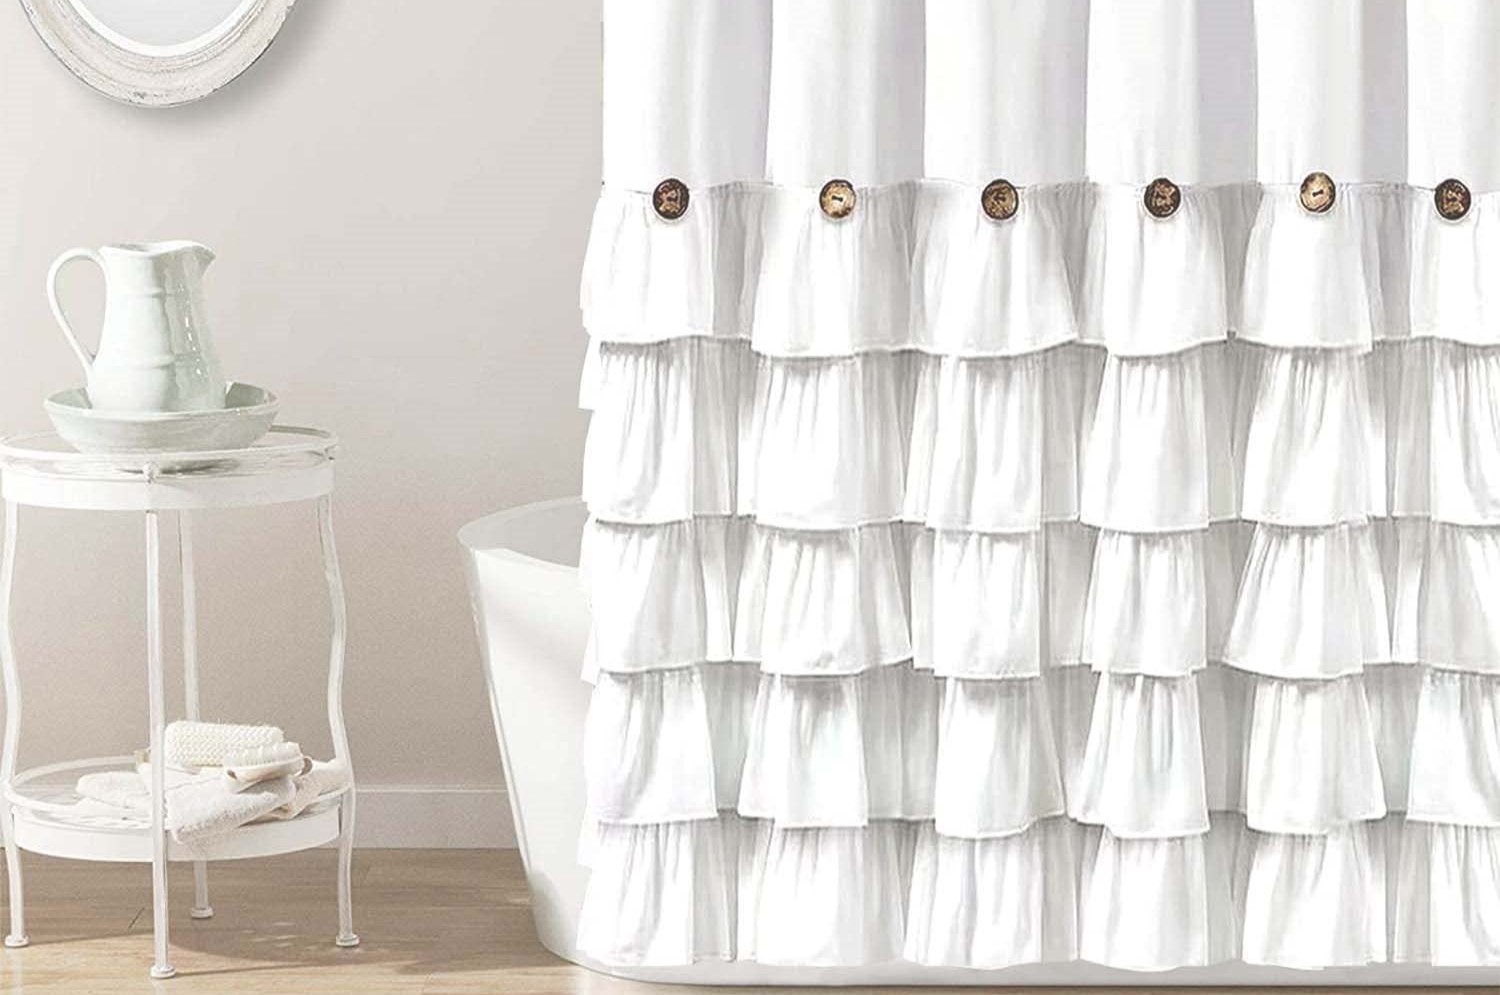
Step 3: Gathering the Ruffles
Adding ruffles to your fitted tablecloth will give it a charming and elegant look. Follow these steps to gather the fabric and create beautiful ruffles:
- Prepare the fabric: Lay the tablecloth with the wrong side facing up on a flat and clean surface.
- Set your machine: Adjust your sewing machine to a longer stitch length. This will make it easier to gather the fabric.
- Start gathering: Sew a straight stitch along one long edge of the fabric, about ⅜ inch from the raw edge. Do not backstitch at the beginning or end of the stitch. Leave long thread tails of about 4-5 inches at both ends.
- Gently pull the threads: Holding the long thread tails, gently pull them at one end. Keep pulling until the fabric starts to gather and create ruffles. You can adjust the tightness of the ruffles by pulling the threads more or less.
- Distribute the ruffles: Once you have gathered the fabric to your desired ruffle length, distribute the ruffles evenly along the edge.
- Secure the gather: To ensure the ruffles stay in place, stitch over the gathered area, backstitching at the beginning and end of the stitch. This will prevent the gathers from unraveling.
- Repeat for remaining edges: Repeat the gathering process for all remaining edges of the tablecloth that you want to have ruffles.
Take your time while gathering the fabric to ensure that the ruffles are evenly distributed. Once you’re satisfied with the ruffles, it’s time to move on to the next step: sewing the ruffles onto the tablecloth.
When making a fitted ruffled tablecloth, be sure to measure your table accurately to ensure a snug fit. Use a sewing machine to create the ruffles for a professional finish.
Step 4: Sewing the Ruffles onto the Tablecloth
Now that you have gathered the fabric to create beautiful ruffles, it’s time to sew them onto the tablecloth itself. Follow these steps to attach the ruffles:
- Prepare your sewing machine: Set up your sewing machine with a thread that matches the fabric or the ruffles.
- Pinning the ruffles: Lay the tablecloth with the right side facing up on a flat surface. Take the gathered ruffle and align the raw edge with the edge of the tablecloth, keeping the right sides together. Pin the ruffle in place, starting from one edge and working your way to the other. Make sure the ruffles are evenly distributed along the edge.
- Sewing the ruffle: Using a straight stitch, sew along the pinned edge, securing the ruffle to the tablecloth. Remove the pins as you sew, being careful not to catch them with the needle. Take your time to sew slowly and ensure the seam is straight and secure.
- Repeat for remaining ruffled edges: Repeat the pinning and sewing process for all remaining edges of the tablecloth that have ruffles. Take care to align the ruffles properly and sew them securely.
As you sew the ruffles onto the tablecloth, keep an eye on the stitch tension and stitch length. Adjust them as needed to ensure the stitches are even and the ruffles are securely attached.
Once you have sewn all the ruffles onto the tablecloth, it’s time to move on to the next step: attaching elastic to the tablecloth.
Step 5: Attaching Elastic to the Tablecloth
Attaching elastic to your fitted ruffled tablecloth will ensure a snug and secure fit on your table. Follow these steps to attach the elastic:
- Measure and cut the elastic: Take a measuring tape and measure the circumference of your table. Add a few inches to allow for stretching and seam allowance. Cut the elastic to this measurement.
- Pin the elastic: Lay the tablecloth with the wrong side facing up. Take the cut elastic and align it with the edge of the tablecloth along the bottom edge. Pin the elastic in place at intervals around the tablecloth to keep it secure.
- Sew the elastic: Using a zigzag stitch, sew the elastic to the tablecloth, stretching the elastic as you sew. Keep the edge of the elastic aligned with the edge of the tablecloth. This will create a gathered effect, ensuring a snug fit.
- Secure the elastic: After sewing the elastic all the way around the tablecloth, sew a few backstitches to secure the elastic in place. Trim any excess thread.
- Optional: If desired, you can sew a second row of stitches close to the first row for additional reinforcement.
- Repeat for top edges (if needed): If you prefer a completely fitted look, you can repeat the process of attaching elastic to the top edges of the tablecloth. However, this step is optional and depends on your personal preference.
Once you have attached the elastic to the tablecloth, you’re almost done! The next step is to fit the tablecloth onto the table. Let’s move on to the final step!
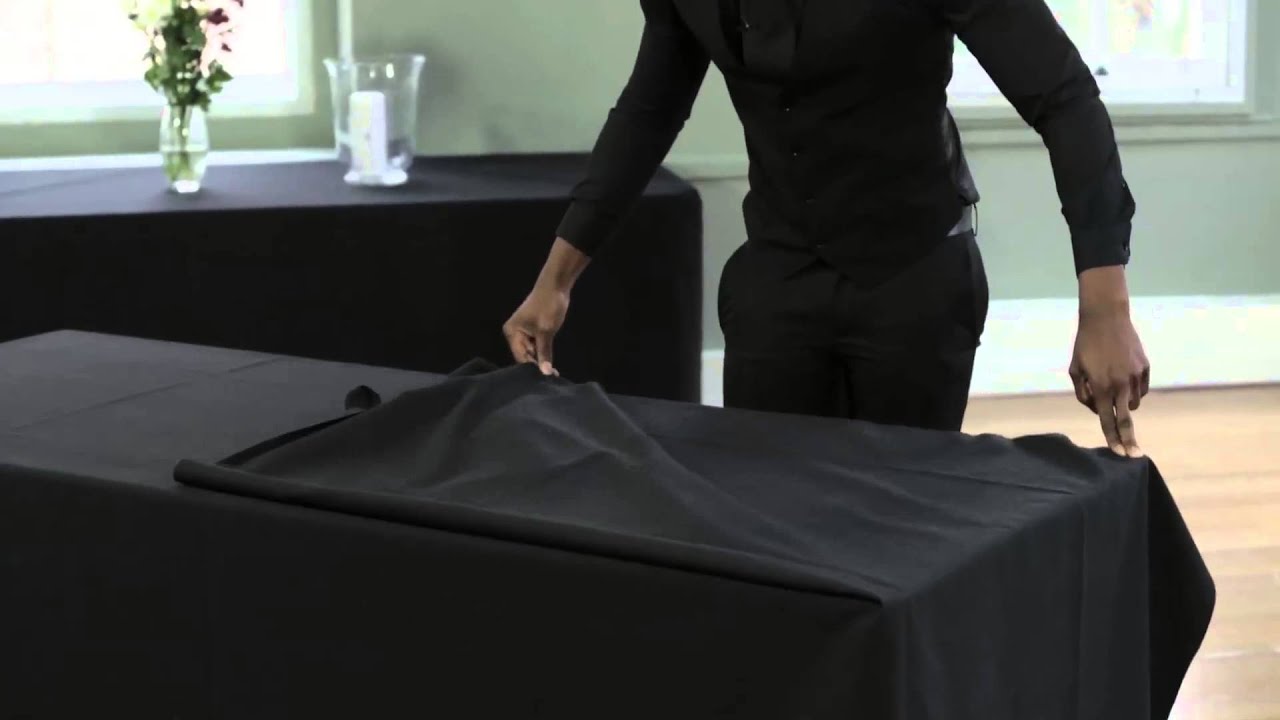
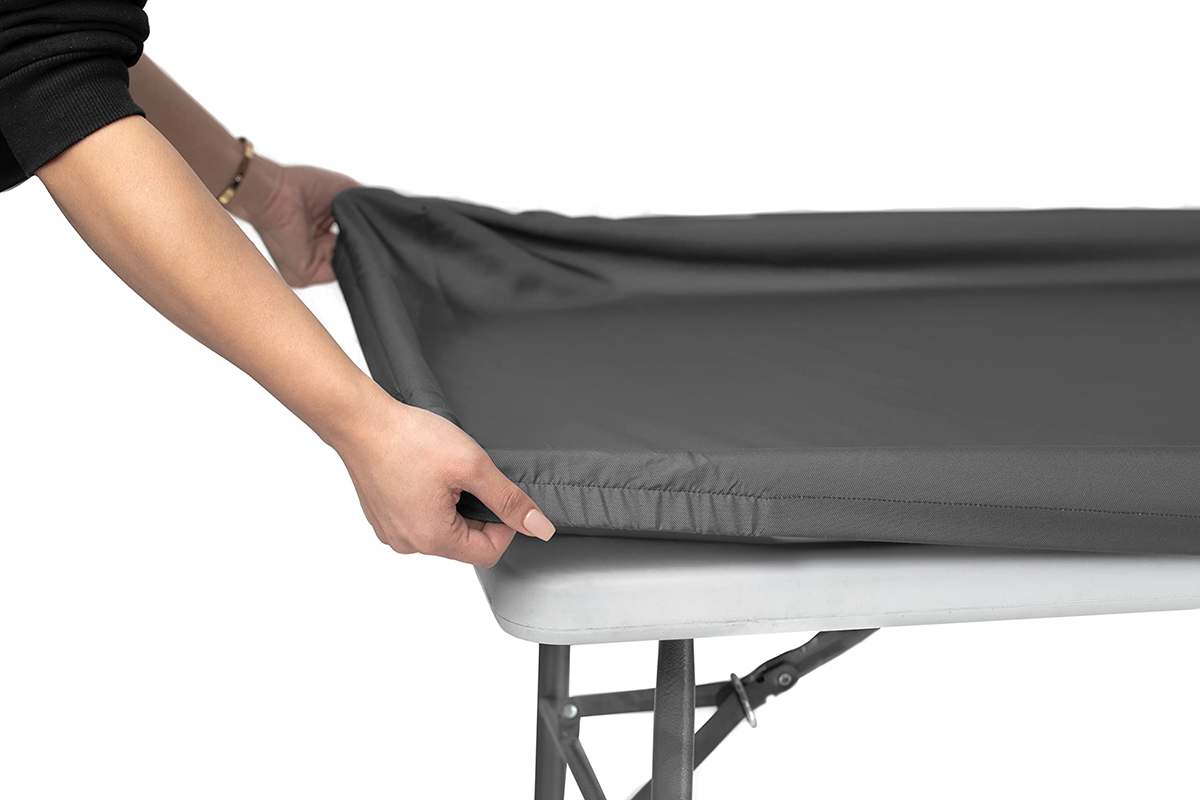
Step 6: Fitting the Tablecloth onto the Table
Now that you have successfully attached the elastic to your fitted ruffled tablecloth, it’s time to fit it onto your table. Follow these steps:
- Place the tablecloth on the table: Start by placing the tablecloth onto the table, making sure it is centered.
- Stretch the elastic: Gently stretch the elastic as you guide it over the edges of the table. The elastic will allow the tablecloth to fit snugly and securely on the table.
- Adjust the ruffles: Once the tablecloth is in place, take a moment to adjust the ruffles evenly around the table edges. Ensure the ruffles fall gracefully and create the desired aesthetic.
- Tuck in excess fabric (if needed): If there is excess fabric hanging down from the table, tuck it under the table or secure it with tablecloth clips for a neat and tidy look.
- Make final adjustments: Step back and observe the fit and overall appearance of the tablecloth. Make any final adjustments to ensure it looks symmetrical and visually appealing.
With the tablecloth fitted and the ruffles beautifully arranged, your DIY fitted ruffled tablecloth is complete! Take a moment to admire your handiwork and appreciate the personalized touch it adds to your home or event.
Remember, you can experiment with different fabrics, colors, and ruffle sizes to create tablecloths that suit your style and occasion. Don’t be afraid to get creative and customize your tablecloths to match your unique aesthetic.
Now it’s time to enjoy your beautifully decorated table and create memorable moments with your loved ones.
We hope you found this step-by-step guide helpful and inspiring. Happy crafting!
Conclusion
Congratulations on crafting your own fitted ruffled tablecloth! You have added a touch of elegance and personalization to your dining table or any other surface. By following our step-by-step guide, you have successfully created a beautiful tablecloth that fits snugly and showcases charming ruffles.
Making your own tablecloth allows you to unleash your creativity and create a unique piece that suits your style and event. Whether you’re hosting a special gathering, celebrating a holiday, or simply want to elevate your everyday meals, a fitted ruffled tablecloth instantly transforms the ambiance of the space.
Through the process, you have learned essential sewing skills such as measuring and cutting fabric, hemming edges, gathering ruffles, sewing them onto the tablecloth, and attaching elastic for a secure fit. These skills can be applied to other sewing projects as well, allowing you to explore more DIY creations in the future.
Remember, customization is key when it comes to making your own tablecloth. You can choose fabrics that align with your home’s style, play with colors and patterns, and even add decorative elements like trim or ribbon for an extra touch of elegance.
Now that you have a fitted ruffled tablecloth, all that’s left to do is enjoy it. Whether you’re hosting a dinner party, having a family meal, or indulging in a moment of tranquility, your beautifully crafted tablecloth sets the stage for special moments and adds a sense of charm to your space.
We hope this guide has been informative and inspiring, guiding you through the process of creating your fitted ruffled tablecloth. Remember, the possibilities are endless, so don’t hesitate to try new fabrics and techniques to create tablecloths that are uniquely yours.
Thank you for joining us on this creative journey, and happy decorating!
Frequently Asked Questions about How To Make A Fitted Ruffled Tablecloth
Was this page helpful?
At Storables.com, we guarantee accurate and reliable information. Our content, validated by Expert Board Contributors, is crafted following stringent Editorial Policies. We're committed to providing you with well-researched, expert-backed insights for all your informational needs.
0 thoughts on “How To Make A Fitted Ruffled Tablecloth”