Tableware
How To Make Silverware Wind Chimes
Modified: May 6, 2024
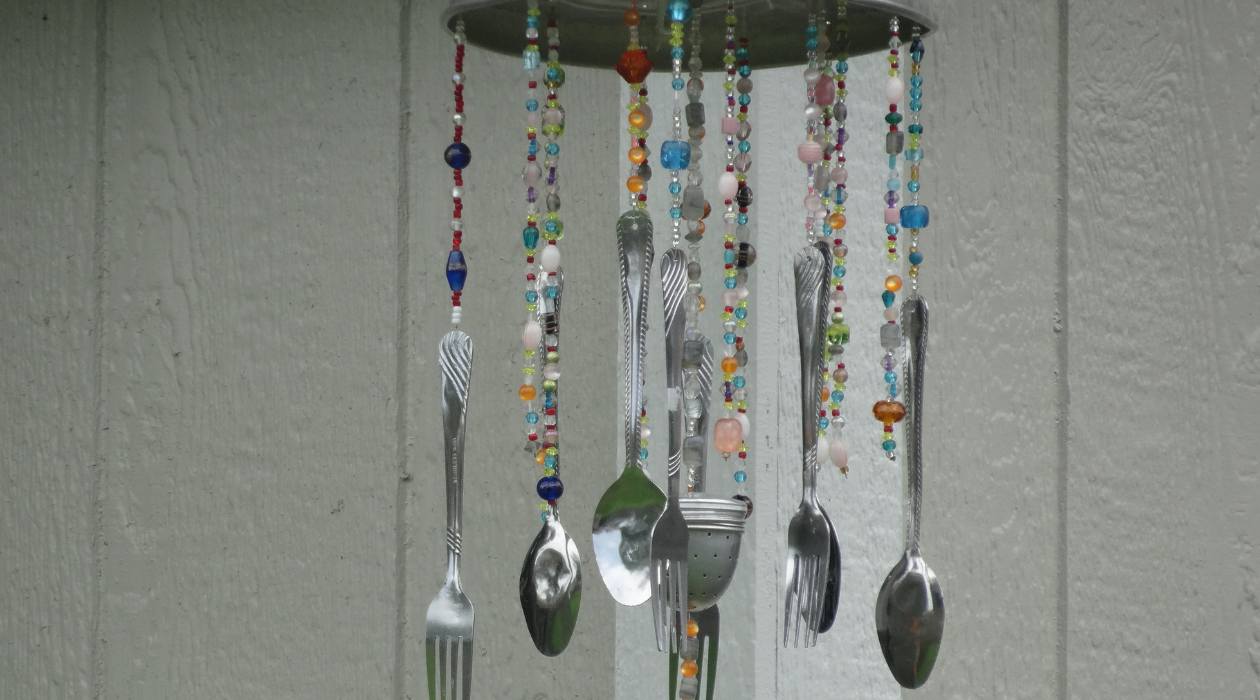
Discover the unique art of creating wind chimes from tableware with our simple step-by-step guide. Add elegance and charm to your outdoor space with silverware wind chimes.
(Many of the links in this article redirect to a specific reviewed product. Your purchase of these products through affiliate links helps to generate commission for Storables.com, at no extra cost. Learn more)
Introduction
Welcome to the fascinating world of silverware wind chimes! If you’re looking for a unique and creative way to repurpose old silverware, making wind chimes is the perfect project for you. Not only will you be able to enjoy the soothing sounds of tinkling silverware in the breeze, but you’ll also have a beautiful piece of homemade decor to display in your garden or patio.
Creating silverware wind chimes is not only a fun and rewarding DIY activity, but it also gives you the opportunity to add a personal touch to your outdoor space. Each wind chime you make will be a one-of-a-kind piece, reflecting your own taste and style.
In this article, we will guide you through the step-by-step process of making silverware wind chimes. From gathering the necessary materials to hanging the final product, we will cover all the details to ensure your wind chimes turn out beautifully.
So, let’s gather our tools and get ready to unleash our creativity with this delightful DIY project!
Key Takeaways:
- Repurpose old silverware into unique wind chimes for a personalized touch to your outdoor space. Enjoy the soothing sounds and visual appeal while contributing to sustainable practices.
- Showcase your creativity and craftsmanship by crafting one-of-a-kind silverware wind chimes. Embrace the symbolism of good luck and positivity while adding charm to your garden or patio.
Read more: How To Make DIY Wind Chimes At Home
Materials Needed
Before diving into the steps of making silverware wind chimes, it’s essential to gather all the necessary materials. Here’s a list of what you’ll need:
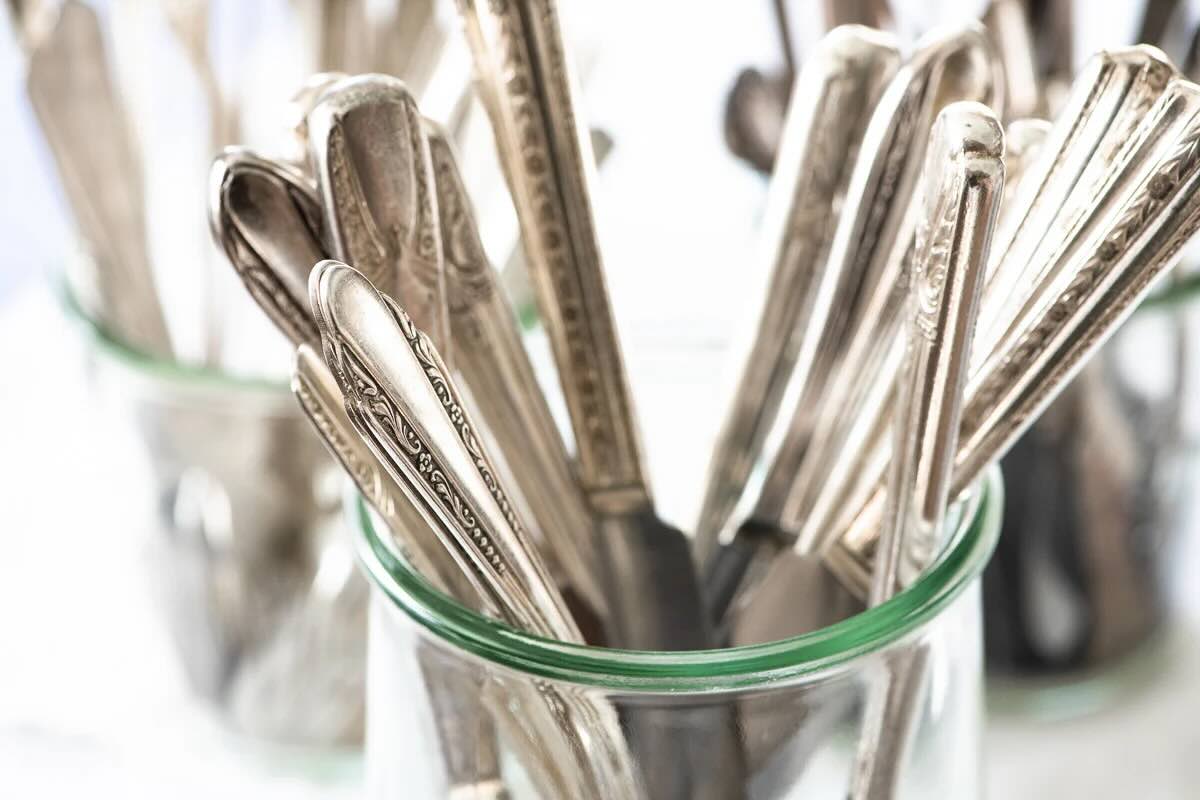
- Silverware: Look for old, unused silverware that you’re willing to repurpose. Forks, spoons, and butter knives work well for this project.
- Drill or Dremel tool: You’ll need a drill or a Dremel tool with a metal cutting disc to create holes in the silverware for hanging.
- Drill bits: Make sure to have a variety of drill bits suitable for metal to create different-sized holes.
- String or wire: Choose a sturdy string or wire that can withstand outdoor conditions. Nylon fishing line or stainless steel wire are good options.
- Beads or decorative elements: Optional, but you can add beads or other decorative items to enhance the visual appeal of your wind chimes.
- Wooden or metal base: You’ll need a base to hang your silverware from. This can be a wooden disc, a metal hoop, or any other creative base you prefer.
- Hooks or rings: To attach the silverware to the base, you’ll need small hooks or rings that can be screwed or glued onto the base.
- Glue or adhesive: If you’re using hooks or rings that require adhesive, make sure to have a strong glue suitable for attaching them securely.
- Paint or sealant: Optional, but if you want to add a splash of color or protect the wooden base, consider having some paint or sealant on hand.
Once you have gathered all these materials, you’re ready to proceed to the next step of preparing the silverware.
Step 1: Gathering the Silverware
The first step in making silverware wind chimes is to gather the silverware you’ll be using for your project. Look for old or unused silverware that you’re willing to repurpose. This could be forks, spoons, butter knives, or any other type of silverware you find interesting.
Visit local thrift stores, garage sales, or even ask friends and family if they have any spare silverware they no longer need. You can also check online marketplaces for affordable options. Keep in mind that the condition of the silverware doesn’t have to be perfect since you’ll be transforming it into a decorative piece.
When selecting the silverware, think about the desired sound and visual aesthetic you want to achieve. Different shapes and sizes will produce different sounds when they clink together in the wind. Consider choosing a variety of silverware pieces to add depth and variety to your wind chimes.
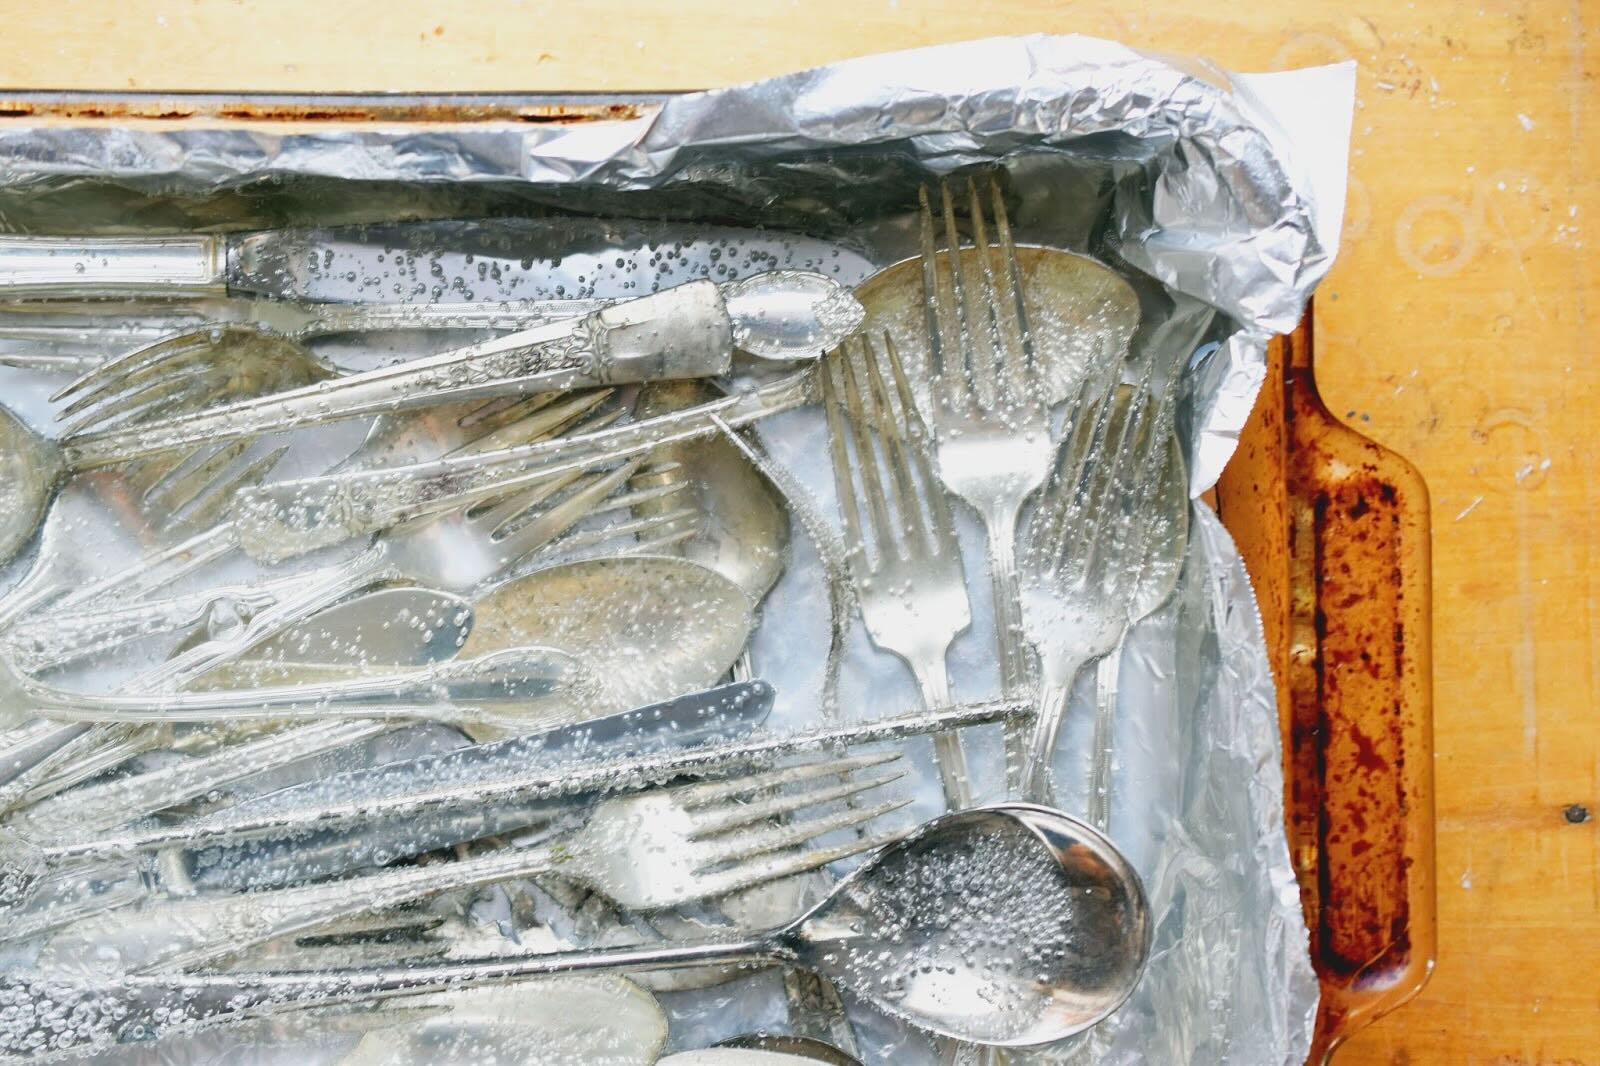
Once you’ve gathered the silverware, give it a thorough cleaning to remove any dirt, grease, or tarnish. You can use warm soapy water and a soft brush to scrub away any grime. If the silverware is heavily tarnished, you may consider using a silver polish to restore its shine. Rinse the silverware well and dry it completely before proceeding to the next step.
Now that you have a selection of clean and ready silverware, it’s time to move on to preparing them for the wind chime assembly. Get your drill or Dremel tool and let’s dive into the next step of the process.
Step 2: Preparing the Silverware
Now that you have gathered the silverware for your wind chimes, it’s time to prepare them for the assembly process. This step involves creating holes in the silverware pieces to thread the string or wire through.
Begin by choosing the desired location for the hole on each silverware piece. This will depend on the design you have in mind and the specific sound you want each piece to produce. You can mark the spot with a small dot using a permanent marker or a center punch to ensure accuracy.
Next, secure the silverware piece using clamps or a vise to hold it in place while you drill. This will provide stability and prevent the piece from moving around during the drilling process.
Using a drill or a Dremel tool with a metal cutting disc, start drilling the marked spot on the silverware. Make sure to use the appropriate-sized drill bit for the hole you need. Start with a smaller drill bit and gradually increase the size if needed. Take your time and apply gentle pressure to avoid damaging the silverware.
Once the hole is drilled, remove any metal filings or sharp edges by using a file or sandpaper. Smooth out the edges to ensure safe handling and to prevent any damage to the string or wire you’ll be using.
Repeat this process for each silverware piece you plan to use in your wind chimes, creating a hole in each piece. Take note of the different sizes and shapes of the silverware to add variety and create a visually appealing arrangement.
After preparing the silverware, it’s time to move on to creating the base for your wind chimes. Stay tuned for step 3, where we’ll guide you through the process of crafting a base that complements your silverware pieces.
Step 3: Creating the Base
Now that you have prepared the silverware by drilling holes in them, it’s time to create the base for your silverware wind chimes. The base will serve as the foundation for hanging and arranging the silverware pieces.
There are various options for the base, and you can get creative based on your personal preference and the materials you have available. Here are a few ideas:
- Wooden disc: You can use a wooden disc as a base for your wind chimes. Choose a size that suits the length of the silverware pieces you’ll be hanging. Sand the wooden disc to smooth any rough edges and apply a coat of paint or sealant to protect it from weathering.
- Metal hoop: Another option is to use a metal hoop as the base. This can be a metal embroidery hoop, a wire wreath frame, or any circular metal structure you can find or repurpose. Ensure that the hoop is sturdy and secure.
- Driftwood or branch: For a natural and rustic look, consider using a piece of driftwood or a sturdy branch as the base. Look for a branch with interesting shapes and textures, and sand it down if necessary.
- Repurposed object: If you’re feeling adventurous, consider repurposing an old object as the base. It could be an old ceiling fan blade, a metal grate, or any other item that you can transform into a suitable base for your wind chimes.
Once you have selected the base material, decide on the arrangement of the silverware pieces. Lay them out on the base to get an idea of the spacing and overall design. Take note of the different lengths and sizes of the silverware to create an aesthetically pleasing arrangement.
Once you’re satisfied with the arrangement, mark the positions where the silverware will hang from the base. You can use a pencil or a small dot of paint to guide you during the assembly process.
Now, it’s time to attach hooks or rings to the base. Depending on the material of the base and the size of the silverware holes, you can use small screw-in hooks, adhesive-backed hooks, or small metal rings. Make sure the hooks or rings are securely attached to the base, allowing for the weight of the silverware and the movements caused by wind.
With the base prepared and the hooks or rings in place, you’re one step closer to completing your silverware wind chimes. In the next step, we’ll guide you through the process of stringing the silverware pieces. Stay tuned!
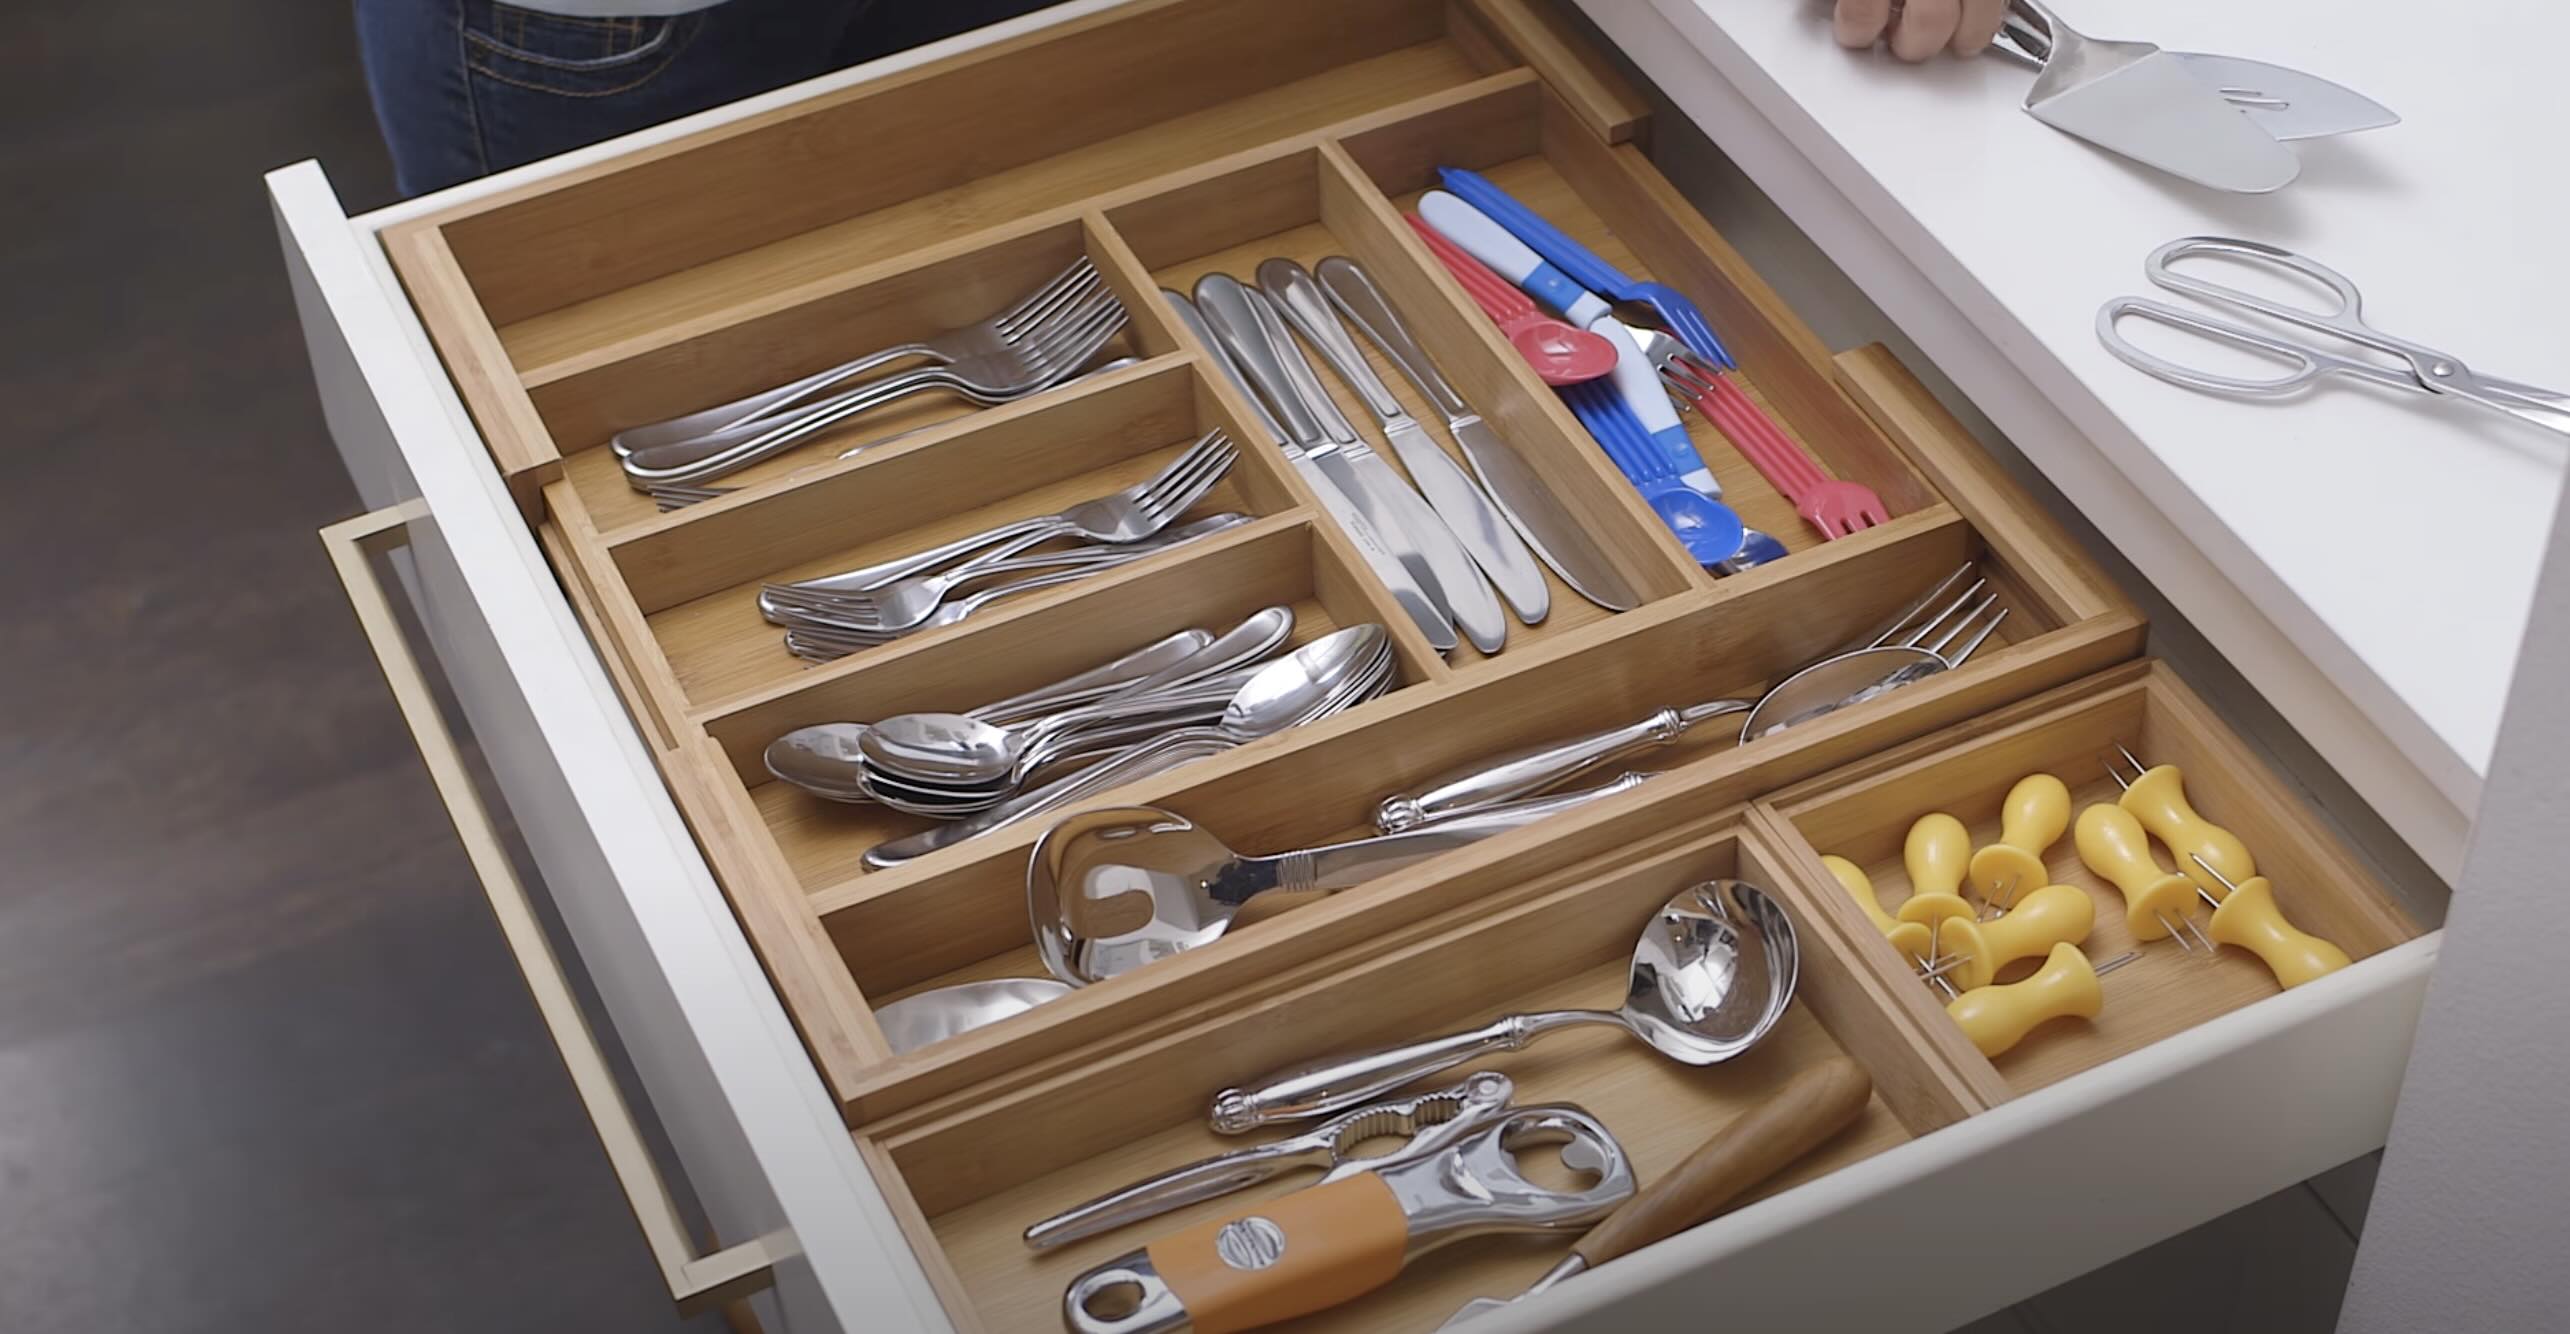
When making silverware wind chimes, choose a variety of utensils with different shapes and sizes to create a more interesting and harmonious sound.
Read more: How To Hang Wind Chimes On Porch
Step 4: Stringing the Silverware
With the base prepared and the hooks or rings securely attached, it’s time to move on to the exciting step of stringing the silverware pieces. This step involves threading the string or wire through the holes in the silverware and attaching them to the hooks or rings on the base.
Start by cutting a piece of string or wire to the desired length for each silverware piece. Make sure to add some extra length to allow for tying knots and adjustments. Cut the strings or wires at different lengths to create a visually appealing arrangement and varied sounds when the silverware clinks together in the wind.
Take one piece of silverware and thread one end of the string or wire through the hole you drilled. Leave a small tail to secure it later. Pull the string or wire through until it’s halfway, leaving an equal length on each side of the silverware. You can add a bead or decorative element to the bottom of the string to add visual interest, if desired.
Next, tie a secure knot just above the hole on the silverware to prevent it from sliding off the string or wire. You can use a double knot or a knot that you find most secure. Repeat this process for each silverware piece, adjusting the length of the string or wire as desired to create a balanced arrangement.
Once all the silverware pieces are threaded and secured with knots, it’s time to attach them to the hooks or rings on the base. Take each piece of silverware and hook it onto the corresponding hook or ring. Ensure that they are securely attached, allowing for movement and the clinking of silverware in the wind.
Check the arrangement of the silverware pieces and make any adjustments as needed. You can move them around to create a balanced and visually pleasing design. Step back and visualize how the wind chimes will look and sound once they are hanging.
Now that you have successfully threaded and attached the silverware pieces to the base, it’s time to move on to the final steps of assembling and hanging the wind chimes. In the next step, we’ll guide you through the assembly process, so let’s not waste any time!
Step 5: Assembling the Wind Chimes
Now that the silverware pieces are securely attached to the base, it’s time to assemble the rest of the wind chimes and bring everything together. This step involves adding any final decorative elements and ensuring that the wind chimes are properly balanced and aligned.
If you’d like to add additional visual interest, you can incorporate beads, charms, or other decorative elements onto the strings or wires between the silverware pieces. Simply slide them onto the strings or wires and position them where you want them to be. Be mindful of the weight and balance of the wind chimes to ensure they will hang evenly.
Take a step back and assess the overall balance and alignment of the wind chimes. Ensure that the silverware pieces are evenly spaced and that the base hangs level when held up. Make any necessary adjustments by sliding the silverware pieces along the strings or wires or adjusting the length of the strings or wires as needed.
Once you are satisfied with the arrangement and balance, give the wind chimes a gentle shake to hear the delightful sound they produce. Listen for any clashing or unpleasant sounds that might need adjustment. You can experiment with different arrangements and lengths to achieve the desired sound.
In addition to checking the sound, make sure the wind chimes are sturdy and can withstand outdoor conditions. Give each silverware piece a gentle tug to ensure they are secure and won’t come loose easily. Make any necessary adjustments or reinforce the attachments if needed.
Now that your wind chimes are fully assembled, it’s time to move on to the final step of hanging them in your desired location. In the next step, we’ll guide you through the process of hanging your beautiful silverware wind chimes. Almost there!
Step 6: Hanging the Wind Chimes
Congratulations! You’ve reached the final step in creating your silverware wind chimes. Now it’s time to hang them in your desired location and enjoy the soothing sounds they will create in the breeze.
To hang the wind chimes, find a suitable spot in your garden, patio, or any outdoor area where you want them to be displayed. Consider factors such as wind direction and the availability of hooks or hangers to ensure they will be properly supported and able to move freely in the wind.
If you have a tree branch, pergola, or any overhead structure, you can use hooks or hangers to suspend the wind chimes. Alternatively, you can attach them to a shepherd’s hook or install a dedicated stand for the wind chimes. Make sure the hangers or hooks are strong enough to support the weight of the wind chimes and allow for movement.
Once you have the hanging mechanism in place, carefully lift the wind chimes and hang them from the hooks or hangers. Step back and admire the delightful sight of your homemade silverware wind chimes gracefully swaying in the wind.
Take a moment to observe how the silverware catches the light and creates beautiful reflections as it moves. Listen to the gentle sounds they produce and appreciate the unique charm they bring to your outdoor space.
Keep in mind that wind chimes are best enjoyed in areas with a breeze or where wind is common. If you live in a particularly windy area, you might need to adjust the length of the strings or wires to prevent the wind chimes from becoming too noisy or overwhelming.
Remember to periodically inspect and maintain your wind chimes. Check for any signs of wear or loose attachments, and make any necessary repairs or adjustments. With proper care, your silverware wind chimes can bring joy and tranquility for years to come.
Now that your wind chimes are hanging beautifully, it’s time to sit back, relax, and enjoy the enchanting melodies they create. It’s a testament to your creativity and craftsmanship, and it’s sure to be a conversation starter among your friends and family.
Thank you for joining us on this journey of creating silverware wind chimes. We hope you had a wonderful time and that your wind chimes bring a touch of whimsy and serenity to your outdoor space. Happy crafting!
Conclusion
Congratulations on completing your silverware wind chimes! You have successfully repurposed old silverware into a unique and decorative piece that adds charm and tranquility to your outdoor space.
Throughout this DIY project, you learned how to gather the necessary materials, prepare the silverware, create a base, string the silverware pieces, assemble the wind chimes, and finally, hang them in your desired location. Each step allowed you to showcase your creativity and craftsmanship.
By making your own silverware wind chimes, you not only saved money but also contributed to sustainable practices by repurposing items that might have otherwise been discarded. The result is a one-of-a-kind wind chime that adds a personalized touch to your garden or patio.
As you enjoy the gentle tinkling sound of your wind chimes, take a moment to appreciate the beauty of the silverware catching the sunlight and the way the pieces move gracefully in the wind. Enjoy the soothing melodies that they create, bringing a sense of calm and relaxation to your outdoor space.
Remember, wind chimes are not only decorative but also symbolic. Throughout various cultures, wind chimes are believed to bring good luck, positive energy, and ward off negative spirits. Embrace these beliefs and let your wind chimes bring harmony and positivity into your life.
Don’t hesitate to share your creation with others. Display your silverware wind chimes proudly, and it’s sure to be a conversation starter among your friends and family. You might even inspire others to embark on their own creative projects!
Remember to periodically inspect and maintain your wind chimes. Check for any signs of wear or loose attachments, and make any necessary repairs or adjustments. With a little care, they will continue to bring joy and beauty for years to come.
Thank you for joining us on this DIY journey of making silverware wind chimes. We hope you had a great time and that your wind chimes bring a sense of serenity and wonder to your outdoor space. Happy crafting!
If you've enjoyed crafting with your hands and bringing a dash of creativity to your surroundings, why not dive into more seasonal projects? Our collection of Easter craft ideas offers an array of elegant DIY options to decorate your space or gift to loved ones. From simple decorations to more intricate designs, these crafts will surely add a festive touch to your Easter celebrations.
Frequently Asked Questions about How To Make Silverware Wind Chimes
Was this page helpful?
At Storables.com, we guarantee accurate and reliable information. Our content, validated by Expert Board Contributors, is crafted following stringent Editorial Policies. We're committed to providing you with well-researched, expert-backed insights for all your informational needs.


0 thoughts on “How To Make Silverware Wind Chimes”