Articles
How To Replace A Doorbell Chime
Modified: August 16, 2024
Looking for articles on how to replace a doorbell chime? Discover step-by-step guides, tips, and tricks to easily replace your doorbell chime.
(Many of the links in this article redirect to a specific reviewed product. Your purchase of these products through affiliate links helps to generate commission for Storables.com, at no extra cost. Learn more)
Introduction
Welcome to this guide on how to replace a doorbell chime. Doorbell chimes are an essential component of any home, allowing visitors to announce their arrival. Over time, these chimes can wear out or become outdated, requiring replacement. Fortunately, replacing a doorbell chime can be a straightforward process when you have the right tools and know-how.
In this article, we will take you through the step-by-step process of replacing a doorbell chime. We will cover everything from gathering the necessary tools to testing the new chime to ensure it is functioning correctly. So, whether you are looking to upgrade your existing chime or replace a faulty one, this guide is here to help.
Before we dive into the steps, it’s important to note that safety should always be a top priority when working with electrical components. If you are uncomfortable working with electricity or unsure of your abilities, it is advised to seek professional assistance. Now, let’s get started on replacing your doorbell chime!
Key Takeaways:
- Replacing a doorbell chime is a manageable DIY project with the right tools and safety precautions. From gathering tools to testing the new chime, this guide provides a step-by-step process for a successful replacement.
- Prioritize safety by turning off the power and testing wires for voltage before installing the new doorbell chime. Enjoy the satisfaction of a functioning and aesthetically pleasing chime that reflects your personal style.
Read more: What Is Chime Doorbell
Step 1: Gather the necessary tools and equipment
Before you begin replacing your doorbell chime, it’s important to gather all the necessary tools and equipment. Here is a list of items you will need:
- Screwdriver: A screwdriver will be required to remove the old chime and install the new one. Make sure you have the appropriate screwdriver size for your chime’s mounting screws.
- Wire strippers: Wire strippers are essential for safely removing the insulation from the wires, allowing for proper connection to the new chime.
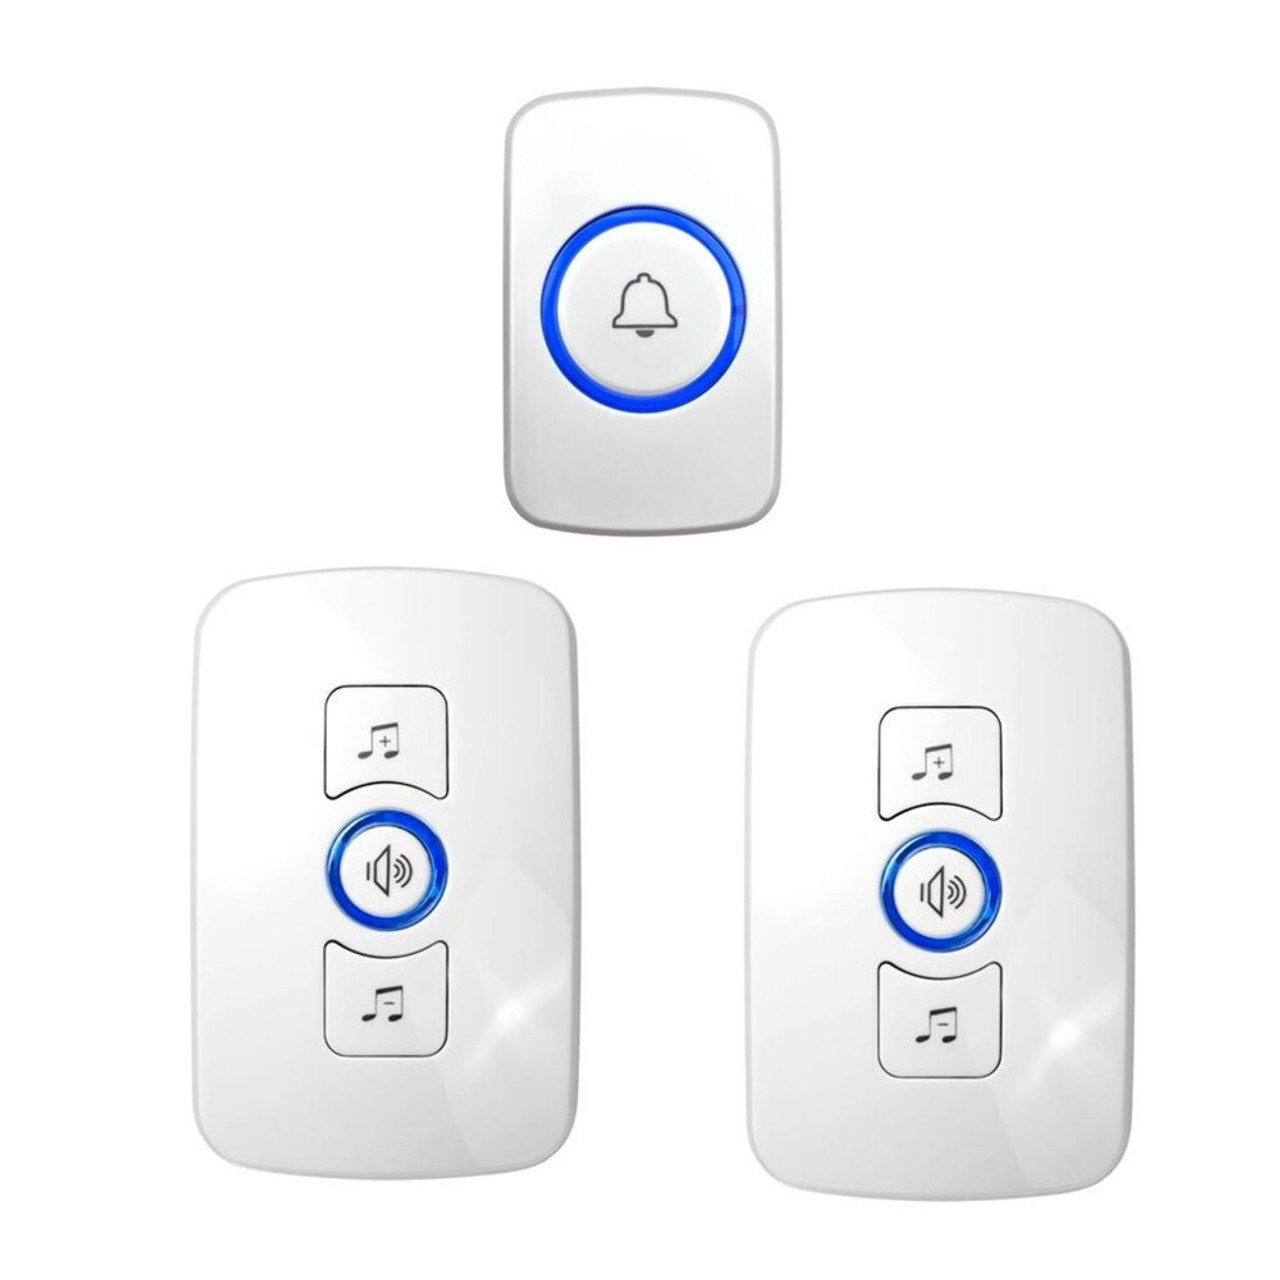
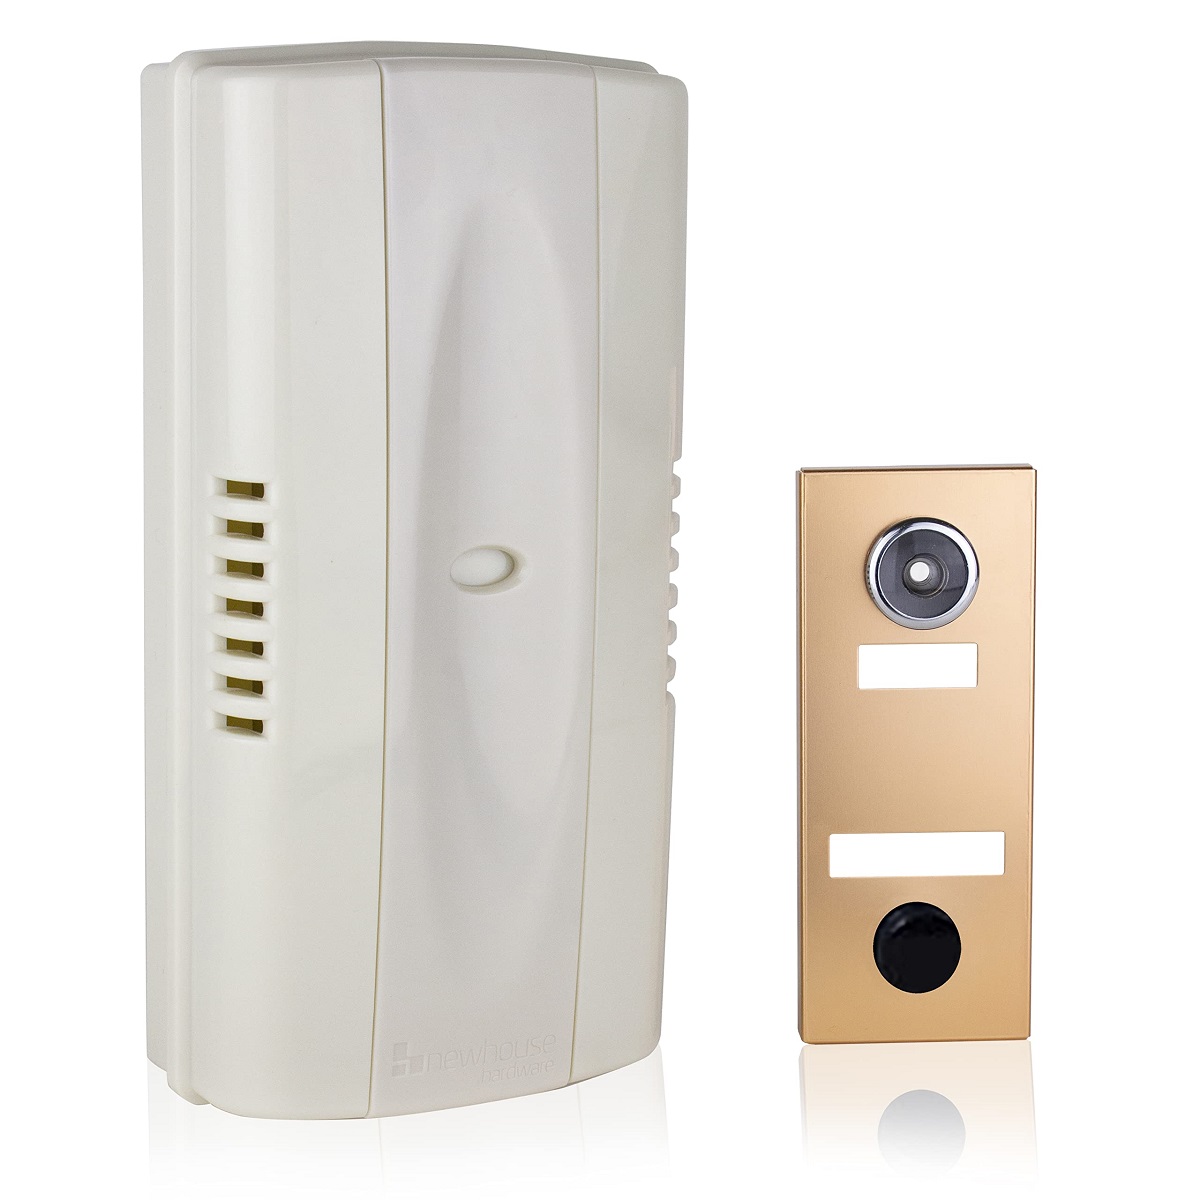
- New doorbell chime unit: Purchase a new doorbell chime unit that suits your preferences and meets your home’s electrical requirements. There are various types available, including wireless options.
- Electrical tape: Electrical tape is used to securely insulate wire connections, preventing any chances of electrical shock or short circuits.
- Voltage tester: A voltage tester is crucial for ensuring that there is no electrical current flowing through the wiring before you begin working on the chime. This tool will help keep you safe throughout the process.
Make sure all these tools and equipment are readily available before you proceed with replacing the doorbell chime. It’s always best to be prepared in order to avoid any unnecessary delays or complications.
Now that you have all the necessary tools, let’s move on to the next step of the doorbell chime replacement process.
Step 2: Turn off the power
The next step in replacing a doorbell chime is to turn off the power to ensure your safety. Follow these simple steps to do so:
- Locate the circuit breaker for the doorbell: The circuit breaker panel is usually located in your basement, garage, or utility room. Look for the breaker labeled “doorbell” or “chime”. If you’re unsure which breaker it is, you can turn off the main power to be extra cautious.
- Switch off the power to avoid any accidents: Once you have identified the correct circuit breaker, switch it off by flipping the corresponding switch to the “off” position. This will cut off the power supply to the doorbell chime, ensuring your safety during the replacement process.
Turning off the power is a crucial step that should not be skipped. It prevents any electrical shocks or accidents from occurring while you work on replacing the doorbell chime. Additionally, if you’re unsure about which circuit breaker controls the doorbell, cutting off the main power to your home is a precautionary measure that can provide added safety.
Now that you have turned off the power, you can proceed to the next step of removing the old doorbell chime.
Step 3: Remove the old doorbell chime
Now that the power is turned off, we can move on to removing the old doorbell chime. Follow these steps carefully:
- Open the doorbell cover: Locate the cover of the doorbell chime. It is usually attached with screws and may require a screwdriver to remove them. Once the screws are removed, gently lift the cover to expose the inner components.
- Unscrew the mounting screws: Inside the doorbell chime, you will find screws that hold it in place. Use a screwdriver to unscrew these mounting screws and carefully set them aside. Make sure to keep track of all the screws as you will need them later for the new chime.
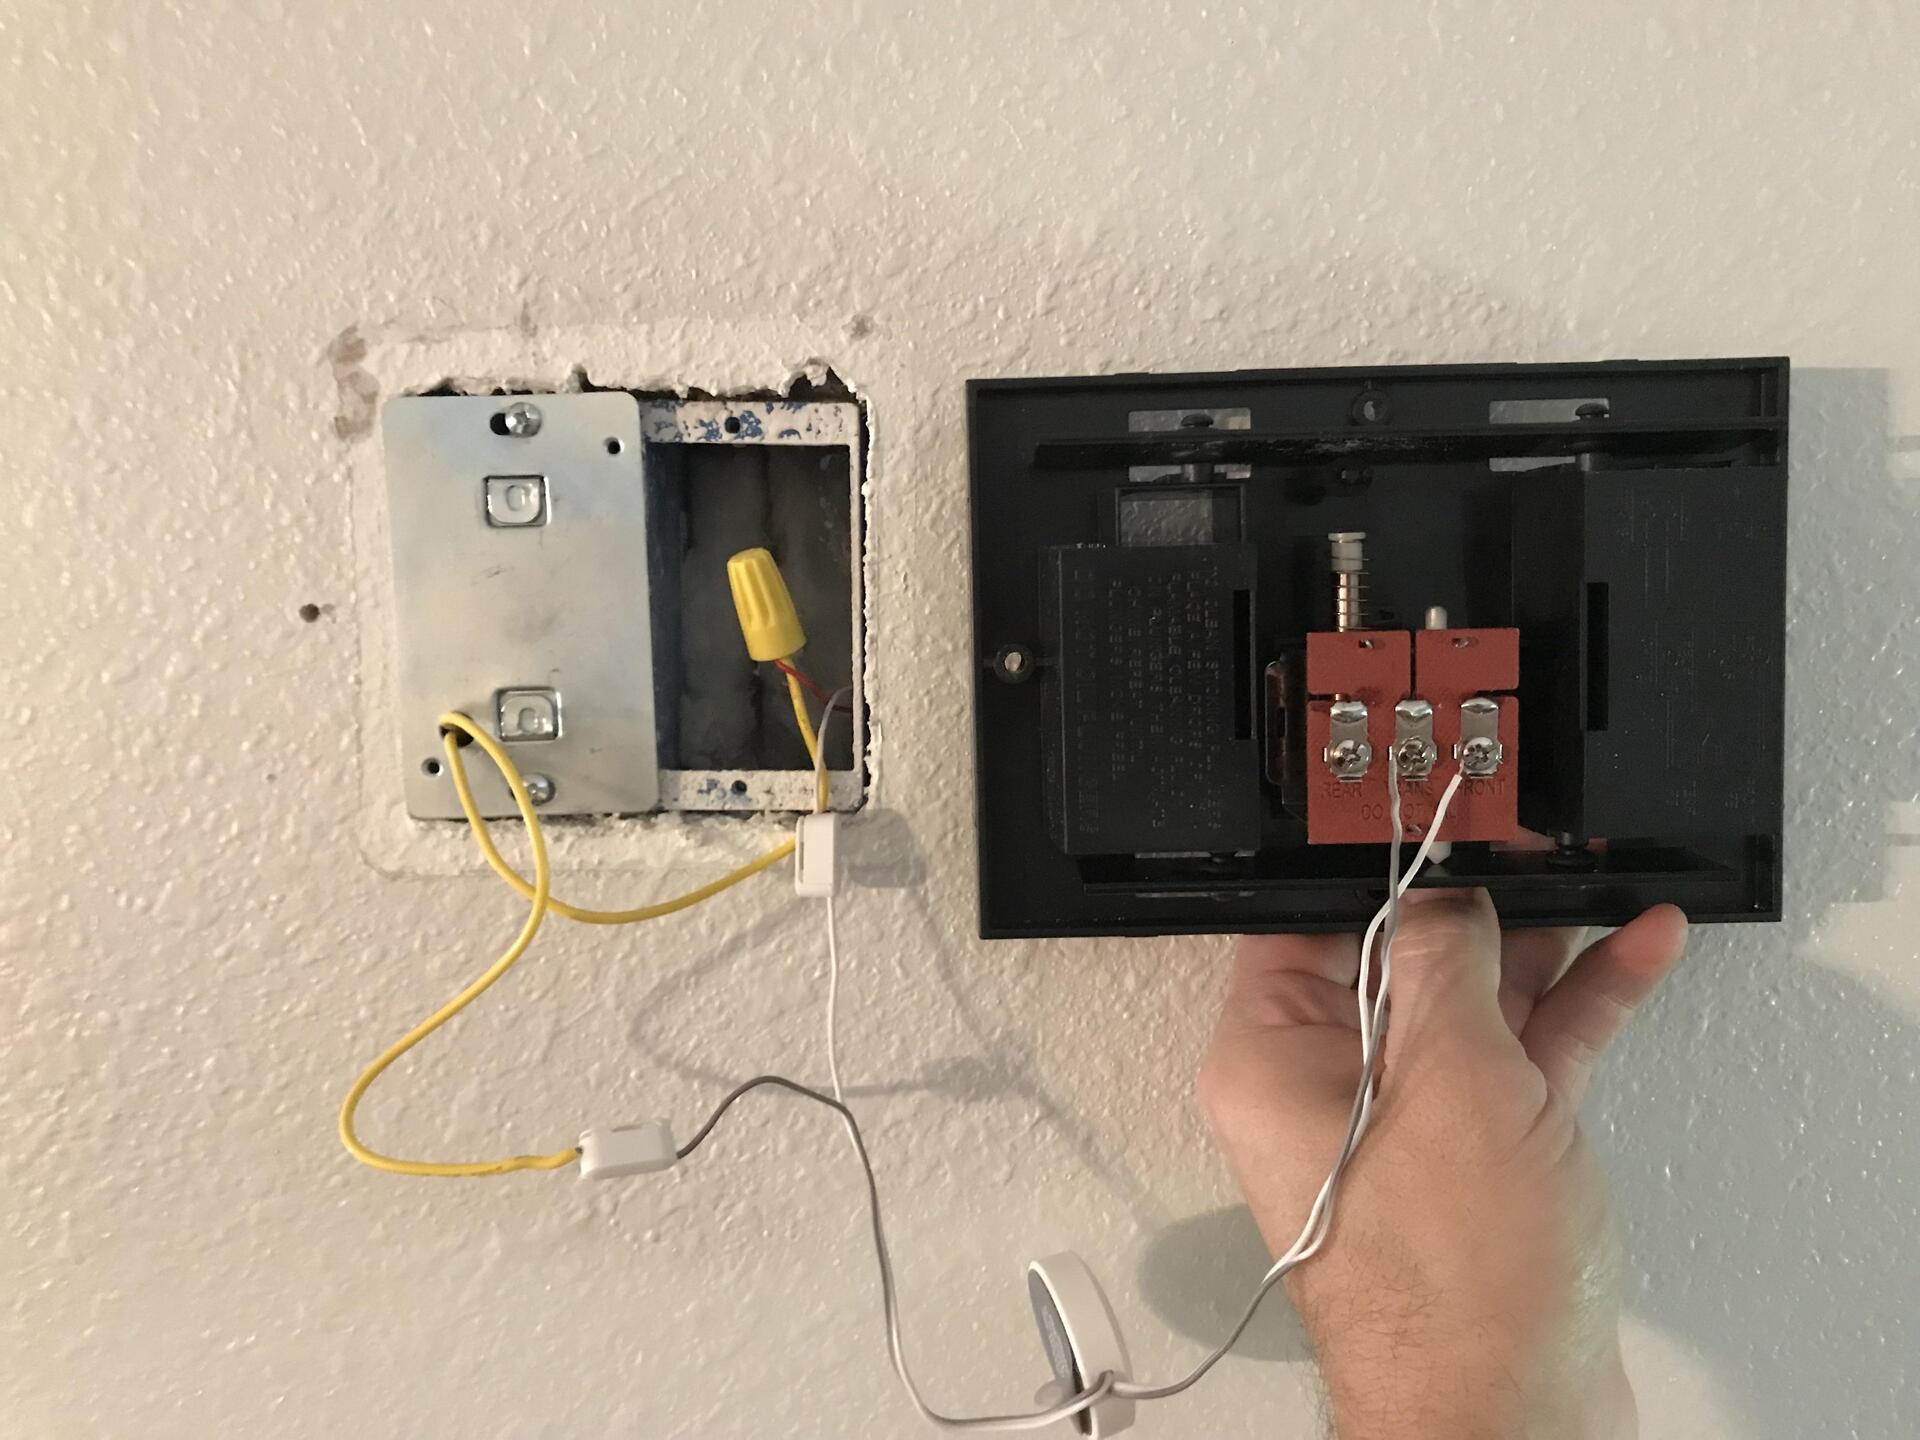
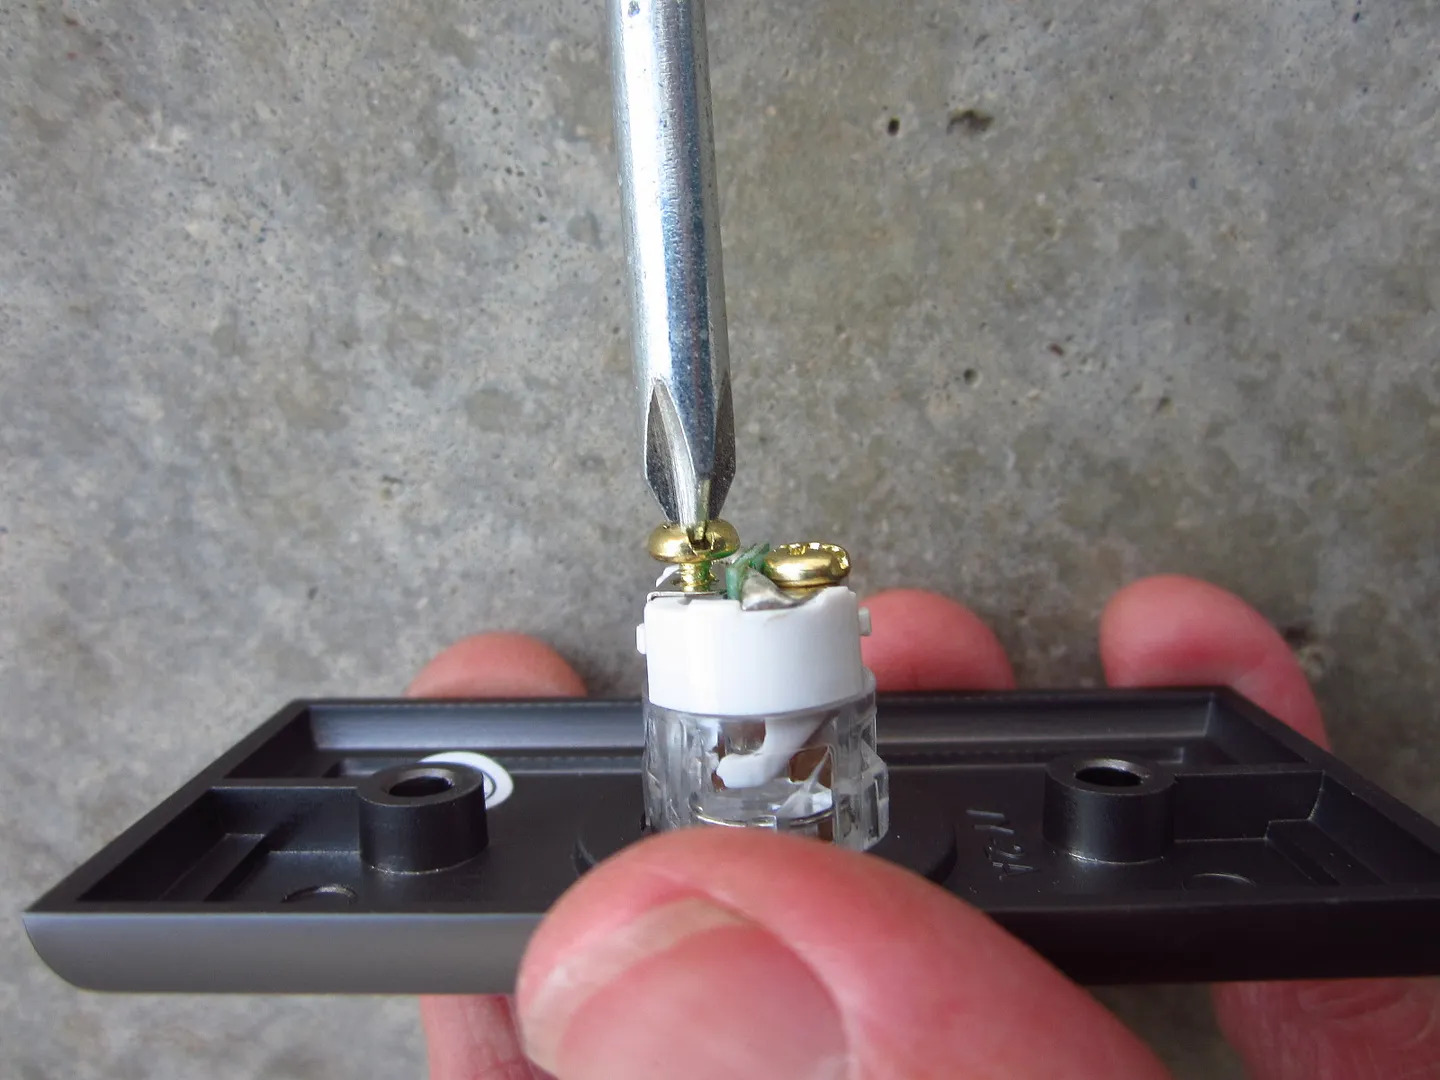
- Disconnect the wires from the old chime: With the mounting screws removed, you can now disconnect the wires connected to the old chime. Take note of how the wires are connected before removing them. It’s a good idea to take a picture or make a diagram for reference later. Use a screwdriver or pliers to loosen the screws or terminals holding the wires and gently pull them out. Be careful not to damage the wires during this process.
By following these steps, you have successfully removed the old doorbell chime. Now it’s time to move on to the next step – testing the wires for voltage – to ensure it’s safe to proceed with the installation of the new chime.
When replacing a doorbell chime, always turn off the power at the circuit breaker to avoid any electrical accidents. Test the wires with a voltage tester to ensure the power is off before proceeding with the replacement.
Step 4: Test the wires for voltage
Before proceeding with the installation of the new doorbell chime, it’s crucial to test the wires for voltage. This step ensures your safety and prevents any accidents from occurring. Follow these steps to test the wires:
- Use a voltage tester: Grab your voltage tester and carefully touch the probes to the exposed ends of the wires that were connected to the old doorbell chime. Make sure to avoid touching the metal parts of the probes with your hands to prevent any electrical shocks.
- Ensure there is no current running through the wires: If the voltage tester doesn’t show any readings or if it shows zero voltage, it means there is no current running through the wires. This indicates that the power has been properly turned off.
If the voltage tester shows any readings, it means that there is still current flowing through the wires. In such a case, go back and double-check that you have turned off the correct circuit breaker or the main power supply. It’s essential to ensure a safe working environment before proceeding with the installation.
Once you have confirmed that there is no voltage running through the wires, you can proceed to the next step: installing the new doorbell chime.
Read more: How To Remove Doorbell Chime Box
Step 5: Install the new doorbell chime
With the old doorbell chime removed and the wires tested for voltage, it’s time to proceed with installing the new doorbell chime. Follow these steps to ensure a successful installation:
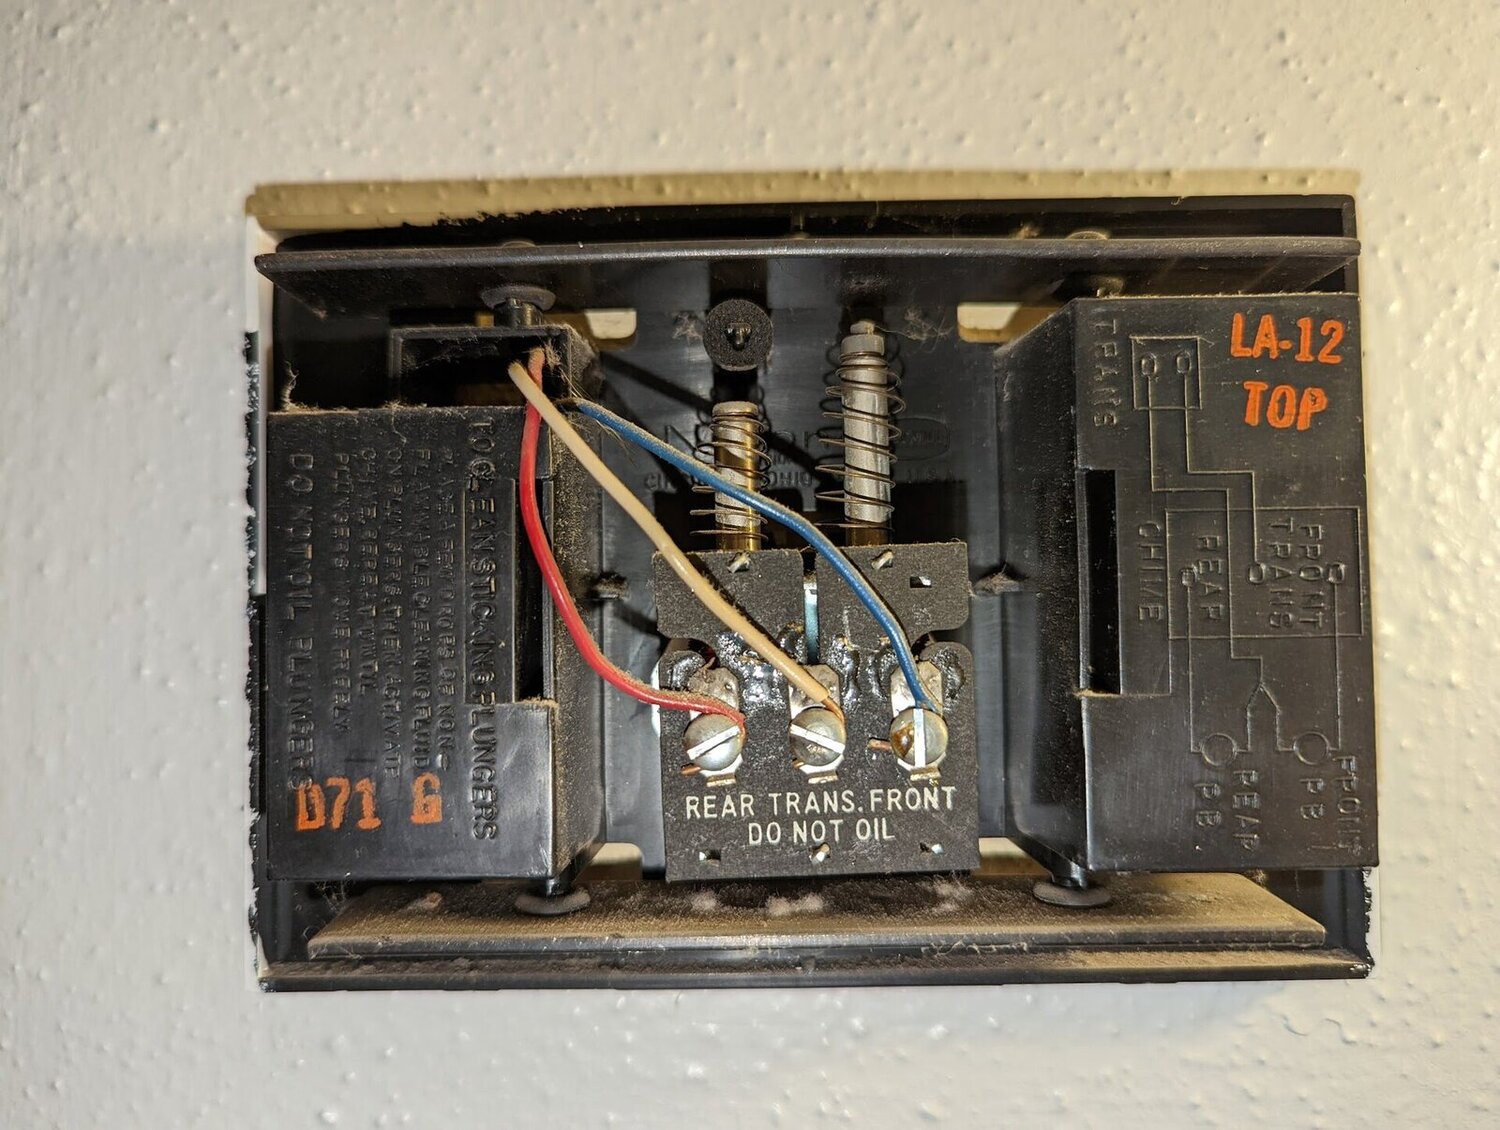
- Connect the wires to the appropriate terminals on the new chime: Take a close look at the new doorbell chime and identify the terminal screws or connection points. Match the wires with the corresponding terminals based on the notes or diagram you made earlier. Use a screwdriver or pliers to secure the wires into place. Ensure that the connections are tight and secure.
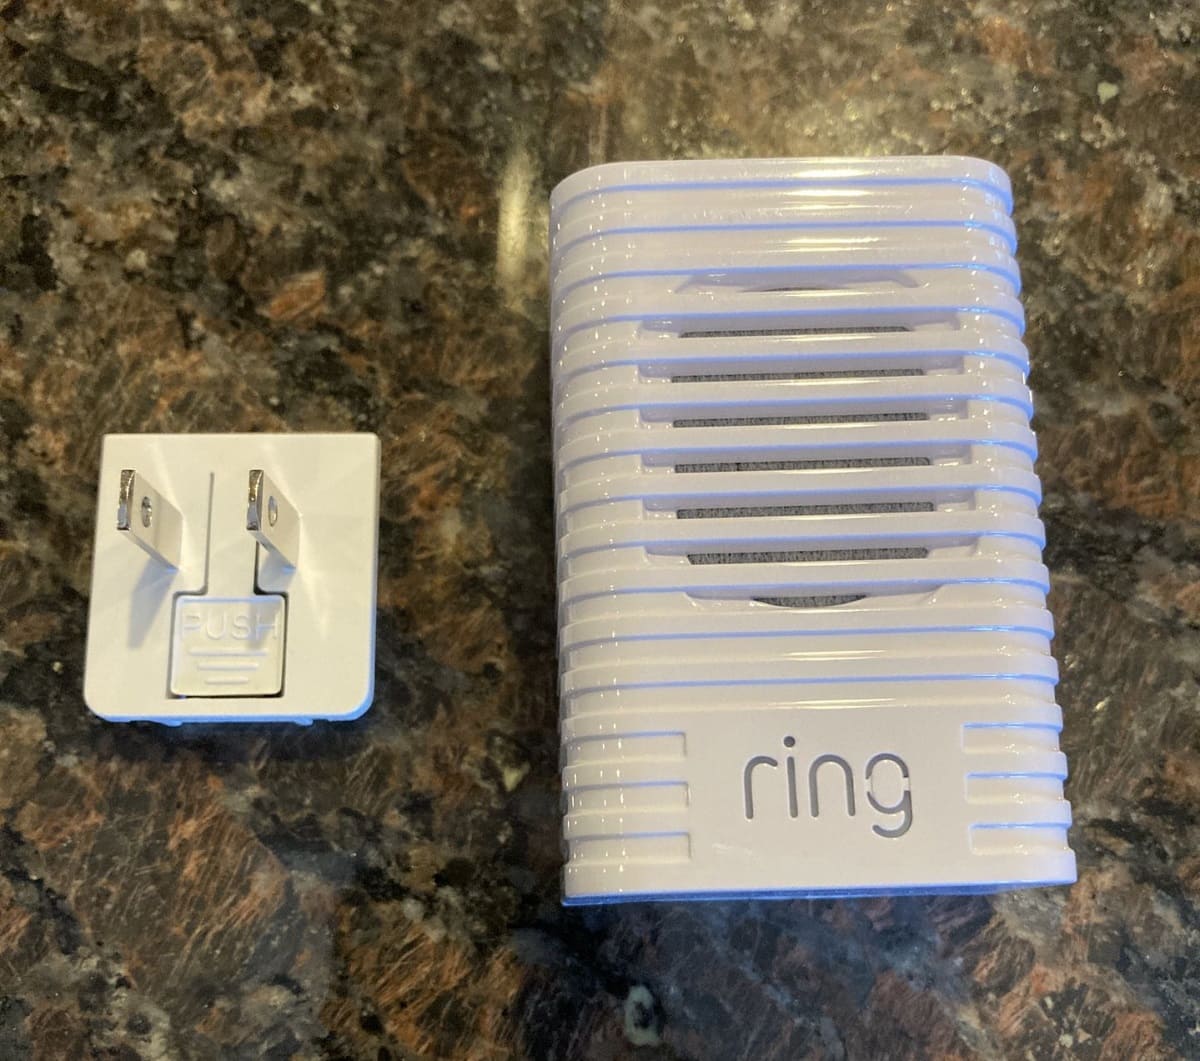
- Secure the chime to the wall using the mounting screws: Position the new doorbell chime in the desired location on the wall. Align the mounting holes on the chime with the holes on the wall. Insert and tighten the mounting screws using a screwdriver. Make sure the chime is securely attached to the wall to prevent any movement or vibrations.
- Place the cover back on the chime unit: Once the chime is mounted, reattach the cover by aligning it with the chime and using the screws you had set aside earlier. Tighten the screws until the cover is firmly in place. The cover not only provides a finished look but also protects the internal components of the chime.
By following these steps, you have successfully installed the new doorbell chime. Now, it’s time to test the functionality of the chime and ensure it is working properly.
Step 6: Test the new doorbell chime
Now that you have installed the new doorbell chime, it’s time to test its functionality. Follow these steps to ensure that the chime is working properly:
- Turn the power back on at the circuit breaker: Go back to the circuit breaker panel and switch on the power to the doorbell chime by flipping the corresponding switch to the “on” position. This will restore electrical power to the chime.
- Test the doorbell to make sure it is working properly: With the power restored, press the doorbell button or ask someone to press it for you. Listen for the sound of the new chime and check if it is working as expected. If you can hear the chime ringing loud and clear, then congratulations – you have successfully replaced the doorbell chime!
If the new chime does not produce any sound or if the sound is distorted or weak, double-check the wiring connections and ensure they are secure. You may need to reattach or tighten any loose connections. If the issue persists, refer to the installation instructions provided with the new chime or seek the assistance of a professional electrician.
It’s important to note that if the chime is working properly but the sound is not to your liking, many models offer adjustable sound options or melody choices. Consult the manufacturer’s instructions to customize the chime sound to your preference.
Congratulations on successfully testing and installing your new doorbell chime! Enjoy the pleasant sound it brings to your home, signaling the arrival of visitors.
Conclusion
Replacing a doorbell chime may seem like a daunting task, but with proper guidance and the right tools, it can be a relatively simple process. By following the steps outlined in this guide, you can successfully replace your old doorbell chime with a new one that suits your preferences and adds a touch of charm to your home.
Throughout this guide, we covered the essential steps, from gathering the necessary tools to testing the functionality of the new chime. We emphasized the importance of safety by turning off the power and testing the wires for voltage before beginning the installation process.
Remember, if you are uncertain or uncomfortable working with electrical components, it is always best to seek the assistance of a professional electrician. Your safety should be the top priority.
Now that you are equipped with the knowledge and steps required to replace a doorbell chime, feel confident in taking on this project. Enhance the functionality and aesthetics of your home by installing a new doorbell chime that reflects your personal style.
Thank you for reading this guide. We hope it has been helpful in guiding you through the process of replacing a doorbell chime. Enjoy the satisfaction of a successfully installed and functioning doorbell chime!
Frequently Asked Questions about How To Replace A Doorbell Chime
Was this page helpful?
At Storables.com, we guarantee accurate and reliable information. Our content, validated by Expert Board Contributors, is crafted following stringent Editorial Policies. We're committed to providing you with well-researched, expert-backed insights for all your informational needs.


0 thoughts on “How To Replace A Doorbell Chime”