Articles
How To Melt Candles Down
Modified: February 25, 2024
Learn how to melt candles down and create beautiful new articles with this step-by-step guide. Discover the art of candle recycling
(Many of the links in this article redirect to a specific reviewed product. Your purchase of these products through affiliate links helps to generate commission for Storables.com, at no extra cost. Learn more)
Introduction
Welcome to the world of candle recycling! Have you ever wondered what to do with those leftover bits of wax from burned candles? Instead of throwing them away, why not melt them down and create brand new candles? It’s a satisfying and eco-friendly way to make use of every last ounce of candle goodness.
Candle melting and recycling has gained popularity in recent years as people seek to reduce waste and find creative ways to repurpose materials. It’s a fun and practical activity that allows you to customize your candle creations and save money on buying new ones. In this article, we will guide you through the process of melting candles down and transforming them into beautiful new creations.
But before we dive into the melting pot, let’s talk about safety precautions. Handling hot wax requires caution and careful attention, so let’s make sure you’re prepared to handle the task at hand.
Key Takeaways:
- Embrace the art of candle recycling by safely melting down leftover wax to create unique, eco-friendly, and cost-effective candles. Enjoy the process, ignite your creativity, and illuminate your surroundings with your newly recycled candles!
- Prioritize safety, gather materials, prepare your workspace, and follow the melting and filtering process to transform leftover candles into beautiful new creations. Maximize the value of your candle making materials and reduce waste by storing and reusing leftover wax for future projects.
Read more: How To Melt Candles In Glass Jars
Safety Precautions
Before you begin melting candles, it’s crucial to prioritize safety. Here are some essential safety precautions to keep in mind:
- Use appropriate heat-resistant containers: When melting candles, always use containers specifically designed for candle making or heat-resistant glass jars. Avoid using plastic or flammable containers, as they can melt or catch fire.
- Work in a well-ventilated area: Melting wax can produce fumes, so it’s important to work in a well-ventilated space. Open windows or use fans to ensure proper air circulation.
- Protect your work surface: Place a heat-resistant mat or tray underneath your melting area to protect your countertop or table from heat damage.
- Use heat-resistant gloves: To protect your hands from burns, wear heat-resistant gloves when handling hot wax or containers.
- Keep flammable objects away: Ensure that there are no flammable materials or objects near your workspace, such as paper, fabric, or curtains. This will help prevent accidents and potential fires.
- Never leave melting wax unattended: While melting wax, it’s crucial to never leave it unattended. Keep a close eye on the process to prevent any accidents or unexpected mishaps.
- Keep water away from hot wax: Water and hot wax do not mix well. Avoid any contact between water and the melting wax to prevent splattering or explosions.
- Use a designated melting pot: It’s best to use a dedicated melting pot or a double boiler system to melt your candles. This helps ensure even heat distribution and reduces the risk of overheating or burning the wax.
- Follow the manufacturer’s instructions: Each candle brand may have specific instructions for melting and handling their candles. Always read and follow the manufacturer’s guidelines to ensure safe and consistent results.
By following these safety precautions, you can enjoy the candle melting process with peace of mind. Now that you’re well-equipped with safety knowledge, let’s gather the necessary materials for your candle recycling journey.
Gather Materials
Before you begin the candle melting process, it’s important to gather all the necessary materials. Here’s a list of items you’ll need:
- Leftover candles: Collect all the leftover candles that you want to recycle. These can be old, burned-down candles or wax remnants from melted tapers.
- Heat-resistant container: Choose a heat-resistant container to melt your candles in. This can be a specifically designed candle melting pot, a metal or glass container, or a double boiler system.
- Candle wicks: For your new candles, you’ll need candle wicks. These can be pre-waxed or unwaxed cotton wicks based on your preference. Make sure they’re long enough to fit your chosen container.
- Wick holders: Wick holders are essential for keeping the wick centered and straight while the melted wax cools and solidifies.
- Fragrance oils or essential oils (optional): If you want your candles to have a pleasant scent, consider adding fragrance oils or essential oils. Choose scents that complement each other or create unique combinations.
- Coloring agents (optional): If you want to add color to your candles, gather coloring agents, such as candle dyes or natural alternatives like dried flower petals or herbs.
- Metal spoon or stirrer: A metal spoon or stirrer will be handy for mixing and stirring the melted wax.
- Scissors: You’ll need a pair of scissors for trimming the wicks to the desired length.
- Thermometer (optional): For precise temperature control, you can use a thermometer to monitor the temperature of the melting wax.
- Workspace essentials: Ensure you have a designated workspace with a heat-resistant mat, paper towels, and cleaning supplies for any spills or drips.
By gathering these materials beforehand, you’ll have everything you need to embark on your candle recycling adventure. Now that you’re all set, let’s move on to preparing your workspace.
Prepare Workspace
Creating a suitable workspace is essential for a smooth and enjoyable candle melting experience. Follow these steps to prepare your workspace:
- Clean and organize: Start by cleaning your chosen workspace and removing any clutter. This will provide you with a clean and organized area to work in.
- Lay down a heat-resistant mat: Place a heat-resistant mat, like a silicone mat or a tray covered with aluminum foil, on your workspace. This will protect the surface from any accidental wax spills or heat damage.
- Gather necessary tools: Ensure that all the tools and materials you gathered earlier are easily accessible and within reach.
- Set up your melting pot: If you’re using a candle melting pot or a double boiler system, set it up according to the manufacturer’s instructions. Place it on the heat-resistant mat or tray.
- Organize your containers: If you’re using different containers for your melted wax, such as glass jars or molds, arrange them on the heat-resistant mat. Make sure they’re clean and ready for use.
- Have a towel or paper towels nearby: Keep a towel or a stack of paper towels nearby to clean any spills or drips immediately. This will help maintain a clean workspace and prevent any accidents.
- Ensure good lighting: Adequate lighting is essential to safely operate in your workspace. Make sure you have sufficient light, whether through natural daylight or artificial lighting.
- Position a fan or open a window: As mentioned earlier, melting wax can produce fumes. To maintain air circulation and minimize any strong odors, position a fan near your workspace or open a window.
By preparing your workspace properly, you’ll create an environment that is conducive to candle melting. Now that your workspace is all set, it’s time to prepare the candles for the melting process.
Prepare Candle
Before you start melting down your candles, it’s important to properly prepare them. Follow these steps to ensure a smooth melting process:
- Remove any non-wax elements: Inspect your candles and remove any non-wax elements such as wicks, metal bases, or decorations. These elements can interfere with the melting process and create impurities in the new candles.
- Break larger candles into smaller pieces: If you have large candles, it’s best to break them into smaller pieces. This will help them melt evenly and quicken the melting process.
- Separate wax by color or scent (optional): If you’re using candles of different colors or scents, you may want to separate them into different groups. This will allow you to create new candles with specific color combinations or scent profiles.
- Trim or remove excess wick: If there are any wicks sticking out above the candle’s surface, trim them down to a shorter length. This will prevent the wicks from interfering with the melting process or causing uneven burn in the new candles.
- Pulverize or grate the wax (optional): For candles that are harder or have tougher outer layers, consider pulverizing or grating the wax before melting. This will facilitate faster and more efficient melting.
- Weigh or measure the wax: If you want precise proportions for your new candles, you can weigh or measure the amount of wax you’re using. This will help you maintain consistent ratios and create candles of equal size.
By properly preparing your candles, you’ll ensure a smoother melting process and increase the quality of your new candles. With your candles prepped and ready, it’s time to move on to the exciting part – melting the candle wax!
To melt candles down, place them in a heat-safe container and heat in a double boiler or microwave in short intervals, stirring occasionally until fully melted. Be cautious of the hot wax and always use heat-safe equipment.
Read more: How To Melt Wax To Make Candles
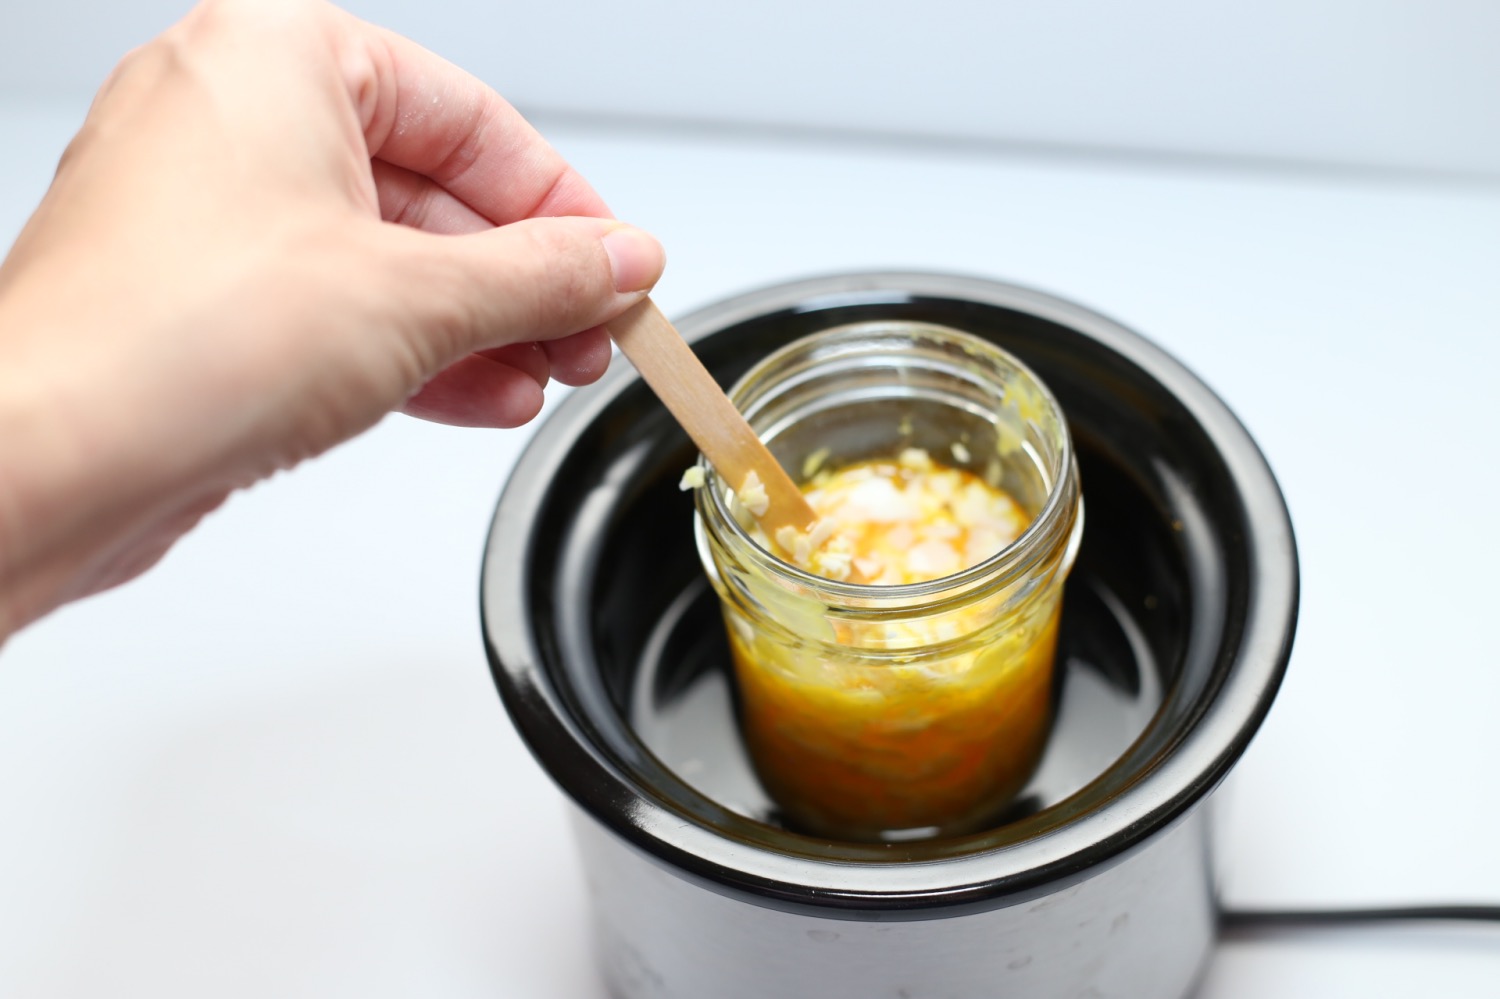
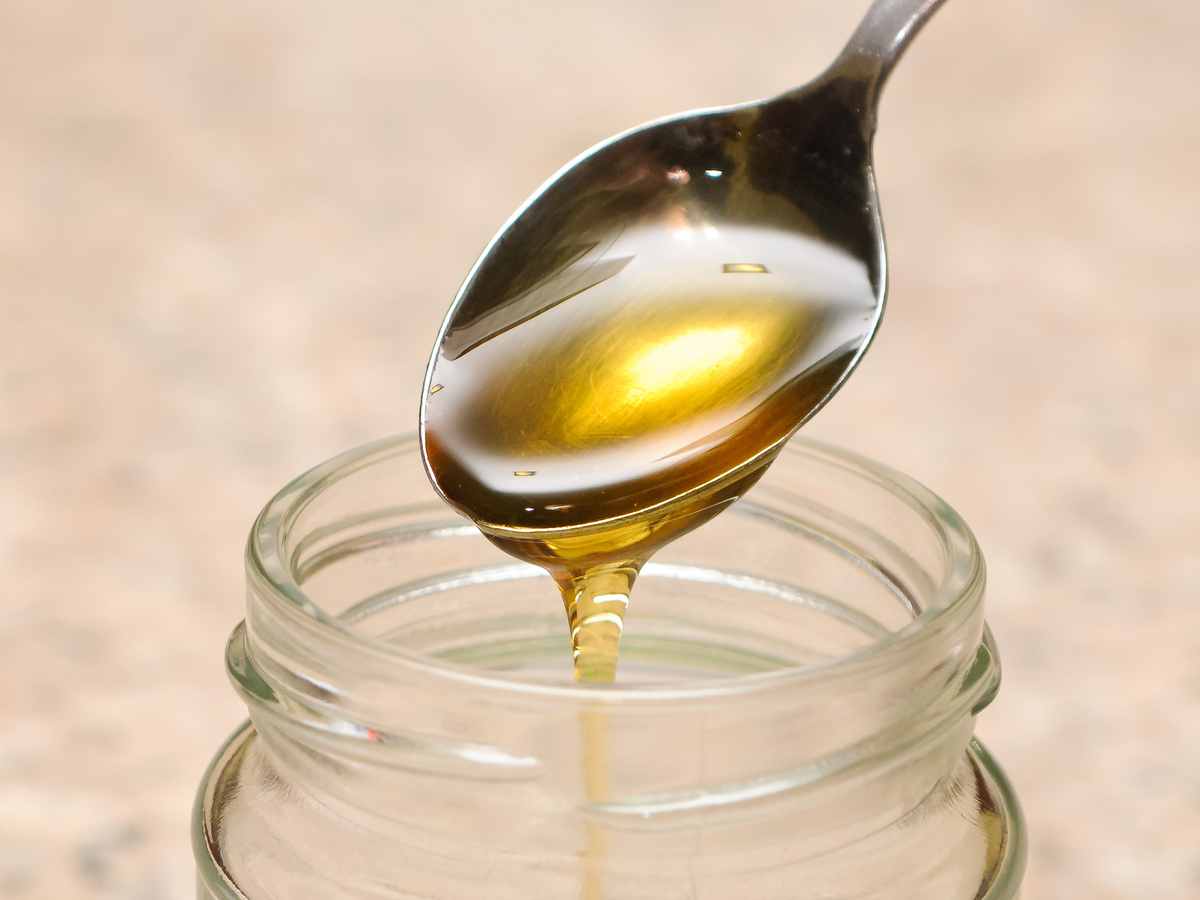
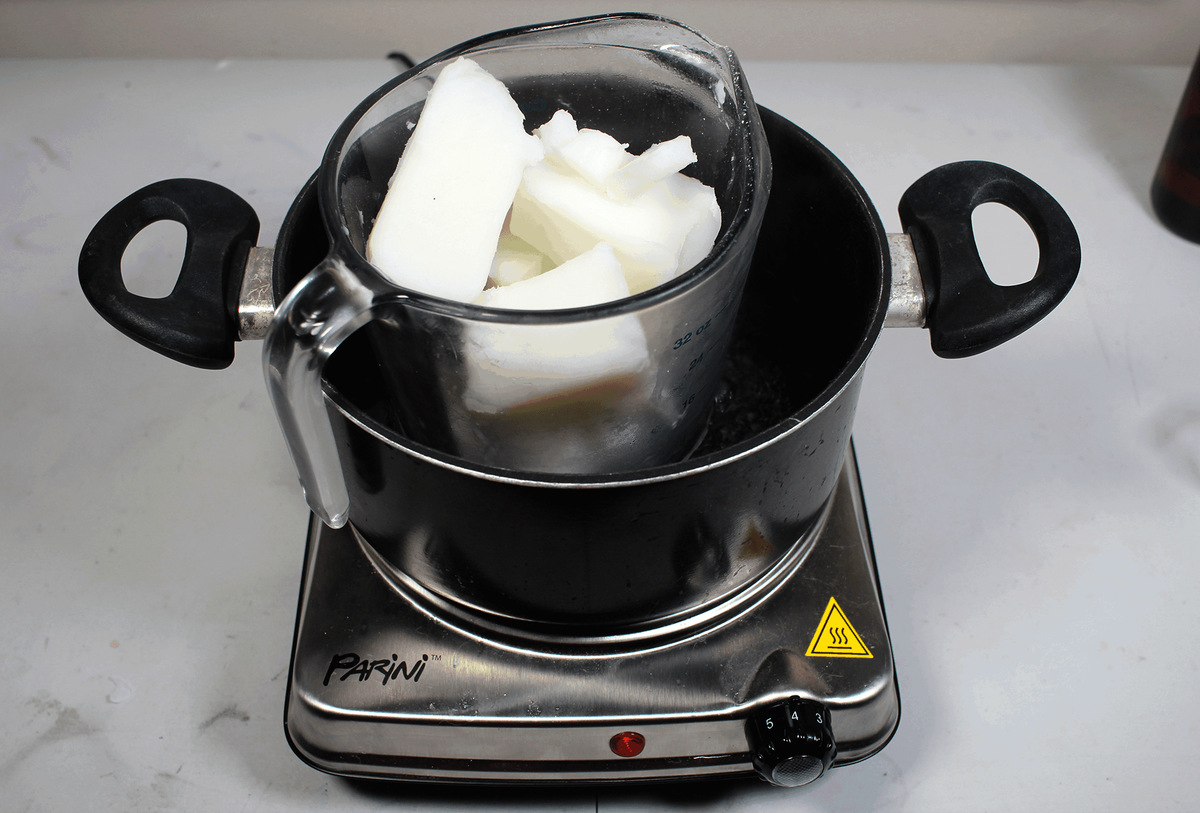
Melting the Candle
Now that you have prepared your candles, it’s time to start melting them down. Follow these steps to effectively melt your candles:
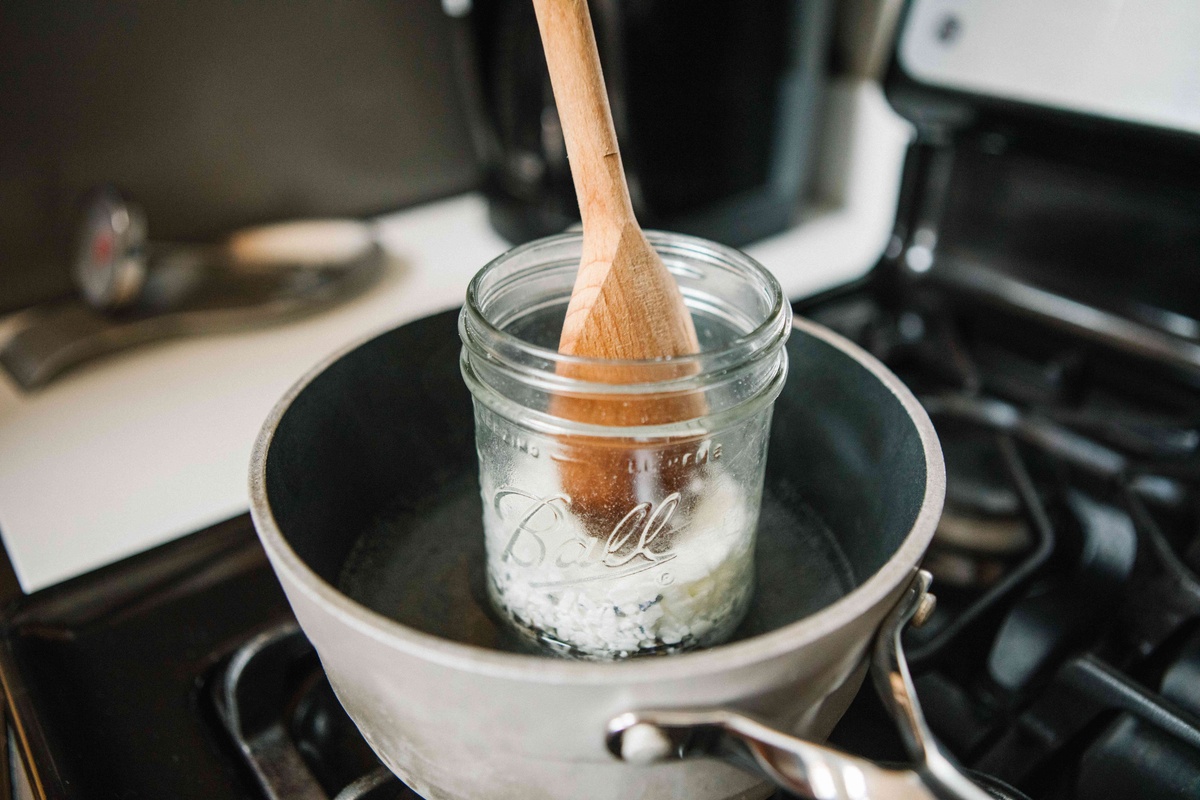
- Add the broken or grated candle wax to your melting pot: Place the pieces of wax or the grated wax into your melting pot. Make sure not to overfill the pot. Leave some space at the top to avoid overflowing when the wax melts.
- Heat the melting pot: Turn on your heat source and begin heating the melting pot. If you’re using a double boiler system, fill the bottom pot with water and place the melting pot on top. Heat the water to a gentle simmer to gradually melt the wax. If using a dedicated melting pot, follow the manufacturer’s instructions for heating.
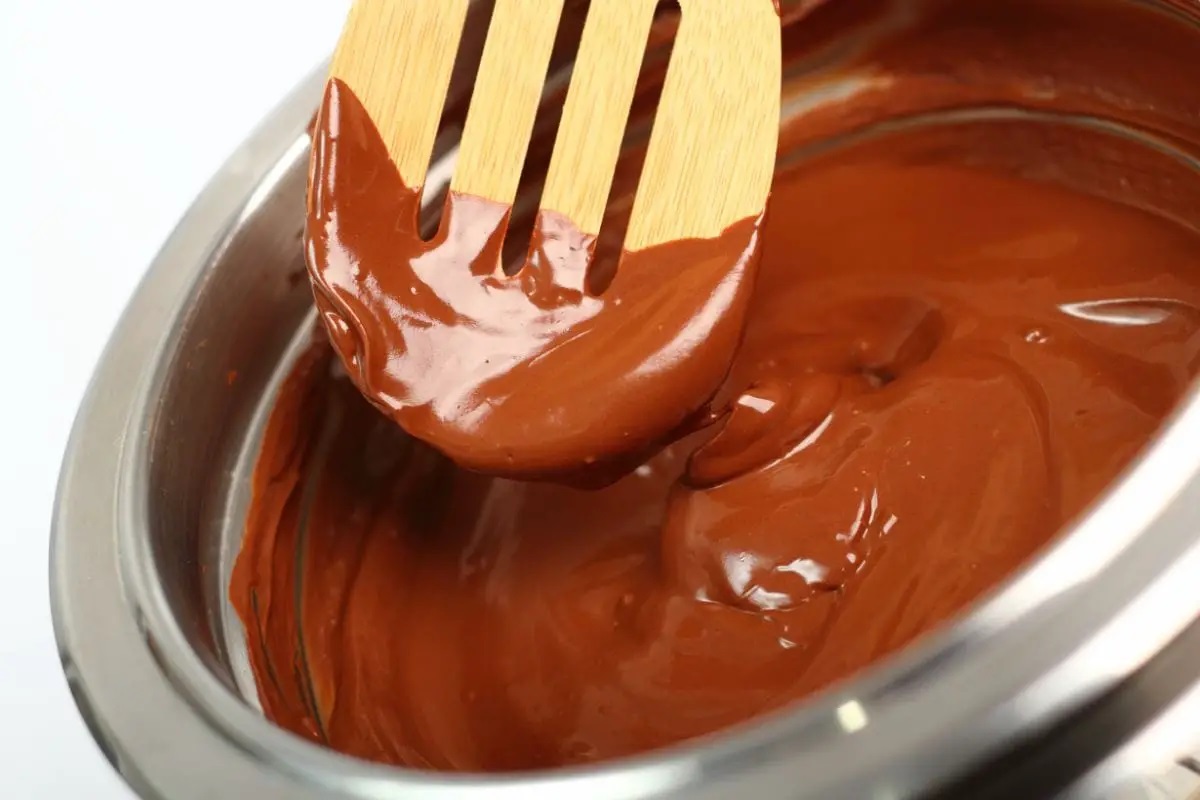
- Stir the wax occasionally: As the wax melts, gently stir it with a metal spoon or stirrer regularly. This will help distribute the heat evenly and ensure that all the wax is melting at a consistent rate.
- Monitor the temperature: If you have a thermometer, monitor the temperature of the melting wax. The ideal temperature for most candle waxes ranges between 160 to 180 degrees Fahrenheit (71 to 82 degrees Celsius). Be cautious not to overheat the wax, as it can become flammable or lose its desirable properties.
- Melt until completely liquefied: Continue heating and stirring the wax until it is completely liquefied. This process may take some time depending on the amount of wax you’re melting. Patience is key during this step.
- Add fragrance oils or coloring agents (optional): If you want scented or colored candles, this is the time to add fragrance oils or coloring agents to the melted wax. Be mindful of the recommended usage rates for fragrance oils and follow the instructions provided by your chosen coloring agents.
- Stir the mixture thoroughly: After adding any additional elements, stir the mixture thoroughly to ensure that the fragrance or color is evenly distributed throughout the wax.
Remember, always exercise caution when working with hot wax and heat sources. Once your wax is completely liquefied and any desired additions have been made, you’re ready to move on to the next step – straining and filtering the wax.
Straining and Filtering
After melting the candle wax and potentially adding fragrance oils or coloring agents, it’s important to strain and filter the wax to remove any impurities or debris. Follow these steps for effective straining and filtering:
- Prepare a clean container: Get a clean container or another heat-resistant vessel to strain and filter the melted wax into. This container should be able to accommodate the entire volume of melted wax.
- Place a mesh strainer or cheesecloth over the container: Position a mesh strainer or a doubled-up cheesecloth over the opening of the container. Make sure the strainer or cloth is securely in place, leaving no gaps for debris to pass through.
- Pour the melted wax through the strainer: Slowly and carefully pour the melted wax from the melting pot into the strainer or cheesecloth. The strainer will catch any solid particles or impurities, ensuring a clean and pure base for your new candles.
- Allow the wax to strain completely: Let the wax strain completely through the strainer or cheesecloth into the container. This may take a few minutes, depending on the viscosity of the wax. Avoid pressing or forcing the wax through the strainer, as this can introduce impurities into the filtered wax.
- Discard the debris: Once the wax has strained completely, remove the strainer or cheesecloth and discard the collected debris. Empty it into a trash bag or bin, ensuring proper disposal.
- Optional additional filtering: If you desire an even cleaner and smoother wax, you can repeat the straining process using a finer mesh or a fresh piece of cheesecloth. This will help remove any smaller particles or impurities that might be present in the wax.
After straining and filtering the melted wax, you now have a clarified and purified base for creating your new candles. But before you begin pouring the wax into containers, let’s take a moment to discuss how to store the leftover wax and reuse it for future candle-making projects.
Storing and Reusing
After completing the straining and filtering process, you may find yourself with leftover wax that is too small to make a new candle. Here are some tips on how to store and reuse the leftover wax:
- Store in airtight containers: Transfer the leftover wax into airtight containers to prevent dust, debris, and moisture from contaminating it. Mason jars or resealable plastic bags work well for storing wax.
- Label and date: To keep track of the different types of wax and their age, label each container with the type of wax, color (if applicable), and the date it was melted.
- Keep in a cool, dry place: Store the containers of wax in a cool, dry area away from direct sunlight. Extreme temperatures or exposure to sunlight can cause the wax to degrade or melt.
- Reuse for future candle making: When you’re ready to make new candles, take out the stored wax, assess its quality, and determine if it’s suitable for reuse. If the wax is clean and free of debris, it can be melted down again and used to create new candles.
- Combine different wax types: If you have various types of wax in storage, consider combining them to create unique candle blends. This allows you to experiment with different textures, colors, and scents. Remember to melt the different waxes together to ensure proper fusion.
- Test the quality: Before using the stored wax, conduct a quick test burn to ensure that it burns evenly and without any issues. This helps confirm that the quality of the stored wax is still suitable for candle making.
- Dispose of old or degraded wax: If you come across any stored wax that has degraded in quality or has been stored for an extended period, it’s best to dispose of it properly. Avoid using wax that has a foul odor, visible mold, or discoloration.
By storing and reusing leftover wax, you can maximize the value of your candle making materials and reduce waste. Now that you’re familiar with storing and reusing wax, it’s time to reflect on your candle melting journey.
Conclusion
Congratulations! You have successfully learned how to melt candles down and transform them into brand new creations. By recycling and repurposing leftover wax, you have not only reduced waste but also created unique and personalized candles to enjoy.
We began by emphasizing the importance of safety precautions when working with hot wax. Remember to work in a well-ventilated area, use appropriate containers, and always prioritize fire safety.
Next, we discussed the materials needed for candle melting, including leftover candles, heat-resistant containers, wicks, and various optional additives like fragrance oils or coloring agents.
We then moved on to preparing the workspace, emphasizing the need for organization, proper lighting, and good ventilation. A clean and well-prepared workspace ensures a smoother and enjoyable candle melting experience.
After preparing the candles and gathering the necessary equipment, we delved into the melting process. From heating the wax in a melting pot to stirring and maintaining the ideal temperature, we guided you through each step to ensure that the wax was completely liquefied.
Once the wax was melted, we discussed the importance of straining and filtering to remove any impurities or debris. This step ensures a clean and high-quality base for your new candles.
Finally, we explored the process of storing and reusing leftover wax. By properly storing the wax in airtight containers and assessing its quality before reuse, you can continue to create beautiful new candles in the future.
Remember, candle melting is not only a practical way to repurpose leftover wax but also a fun and creative activity. Feel free to experiment with different colors, scents, and molds to customize your candles to your liking.
So, why let those leftover candles go to waste? Embrace the art of melting candles down and discover the joy of creating unique, eco-friendly, and cost-effective candles. Enjoy the process, ignite your creativity, and illuminate your surroundings with your newly recycled candles!
Frequently Asked Questions about How To Melt Candles Down
Was this page helpful?
At Storables.com, we guarantee accurate and reliable information. Our content, validated by Expert Board Contributors, is crafted following stringent Editorial Policies. We're committed to providing you with well-researched, expert-backed insights for all your informational needs.