Tableware
How To Make Custom Wine Glasses
Modified: January 23, 2024
Discover how to create unique and personalized wine glasses with our step-by-step guide. Elevate your tableware collection and impress your guests with these custom creations.
(Many of the links in this article redirect to a specific reviewed product. Your purchase of these products through affiliate links helps to generate commission for Storables.com, at no extra cost. Learn more)
Introduction
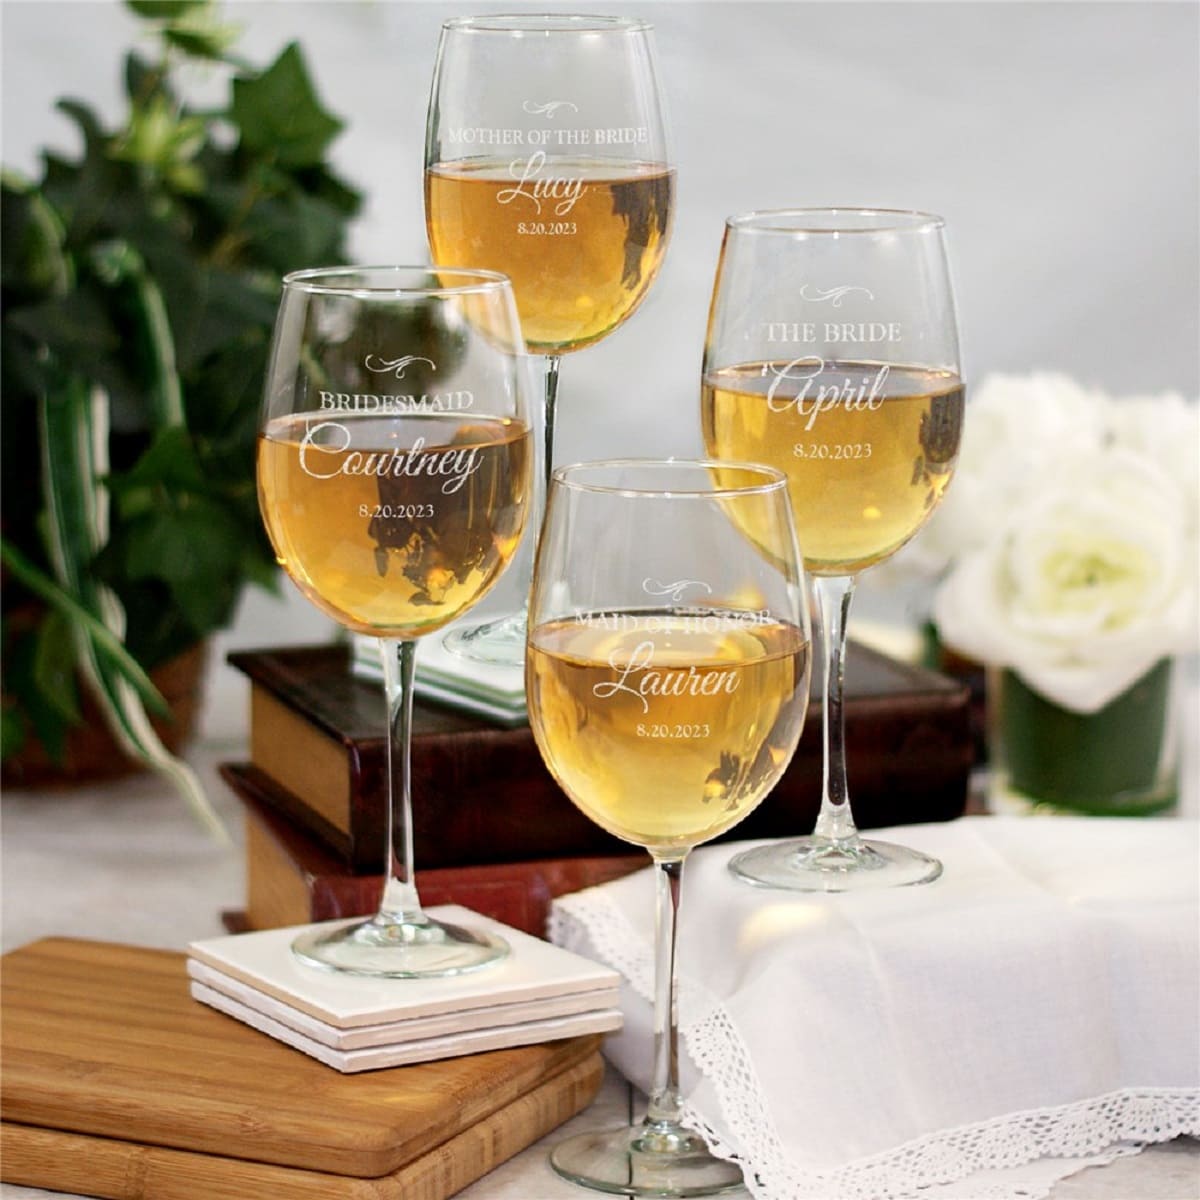
Welcome to our guide on how to make custom wine glasses and set your table with a unique flair! Adding a personal touch to your tableware not only elevates your dining experience but also allows you to showcase your creativity and style. Custom wine glasses are perfect for special occasions, thoughtful gifts, or simply as a charming addition to your kitchen or dining area.
In this article, we will walk you through the step-by-step process of creating your own customized wine glasses. We will discuss the materials you need, the preparation steps, designing options, and the application process. So let’s uncork our creativity and dive into the world of personalized wine glasses!
Before we get started, it’s essential to ensure that you have all the necessary materials. Let’s take a look at what you’ll need:
Key Takeaways:
- Elevate your dining experience and showcase your creativity by making custom wine glasses. Follow the step-by-step guide to create personalized tableware for special occasions or as thoughtful gifts.
- Choose high-quality materials, unleash your creativity, and enjoy the satisfaction of crafting a unique and cherished piece of tableware. Let your imagination run wild and uncork your creativity!
Read more: How To Make Teacup Wine Glasses
Materials Needed
Before you begin making your custom wine glasses, gather the following materials:
- A set of wine glasses: Choose high-quality wine glasses that are suitable for customization. Ensure they are clean and free from any residue.
- Glass cleaner: Use a glass cleaner to thoroughly clean the wine glasses before starting the customization process.
- Masking tape: This will be used to create crisp lines and protect certain areas of the glass during the customization process.
- Paint brushes: Select a variety of small paint brushes to apply the paint or other design elements to the wine glass. Make sure the brushes are clean and in good condition.
- Acrylic paints or glass paints: Choose paint specifically designed for glass surfaces. Acrylic paints are widely available and work well for this project.
- Paint palette or disposable plate: Use a palette or plate to mix and hold the different colors of paint for wine glasses.
- Stencils or stickers: If you prefer to use stencils or stickers to create your design, make sure you have a variety of shapes and sizes available.
- Sealant or varnish: A sealant or varnish will protect the design and add a glossy finish to the wine glass. Choose a product that is safe for use on glass surfaces.
- Protective gloves: It’s important to wear protective gloves when working with paints and chemicals to avoid any skin irritation.
- Newspapers or a drop cloth: Place newspapers or a drop cloth on your work surface to protect it from any spills or paint splatters.
Make sure you have all these materials ready before you start creating your custom wine glasses. Once you have gathered everything you need, you’re ready to move on to the next step: choosing the wine glass for customization.
Step 1: Choosing the Wine Glass
The first step in making custom wine glasses is selecting the right glass for your design. Consider the following factors when choosing your wine glass:
- Glass style: There are various types of wine glasses available, such as stemmed glasses, stemless glasses, or even novelty-shaped glasses. Select a style that suits your preferences and the occasion.
- Glass material: Opt for high-quality glass that is durable and sturdy. This will ensure that your custom design lasts longer and withstands regular use.
- Glass size: Choose the appropriate wine glass size based on your design. Consider the available surface area for customization and how intricate you want your design to be.
Once you have selected your wine glass, it’s essential to clean it thoroughly before proceeding with the customization process. Use a glass cleaner to remove any dirt, fingerprints, or residue from the surface of the glass. This will ensure that the paint or other design elements adhere properly to the glass.
Now that you have your clean wine glass, you can move on to the next step: preparing the glass for customization.
Step 2: Preparing the Glass
Before applying your custom design to the wine glass, it’s important to properly prepare the glass surface. Follow these steps to ensure optimal adhesion of the paint or other design elements:
- Wash the glass: Thoroughly wash the wine glass with mild dish soap and warm water. Rinse it well to remove any soap residue. Pat it dry with a lint-free cloth.
- Masking tape application: If you plan to create designs with clean lines or protect specific areas of the glass, apply masking tape to those areas. This will prevent paint from spreading or overlapping where it’s not intended.
- Surface cleaning: Wipe down the glass surface with rubbing alcohol. This step helps remove any remaining oils, fingerprints, or other impurities that may interfere with paint adhesion.
- Drying time: Allow the glass to completely dry before moving on to the next step. This is crucial to ensure a smooth and flawless application of your custom design.
By properly preparing the glass, you are ensuring that the paint adheres correctly and your design lasts longer. Now that the wine glass is prepped and ready, it’s time to move on to the exciting part – designing your custom masterpiece!
When making custom wine glasses, be sure to use glass paint or markers specifically designed for glassware. This will ensure that your designs stay vibrant and durable, even after washing.
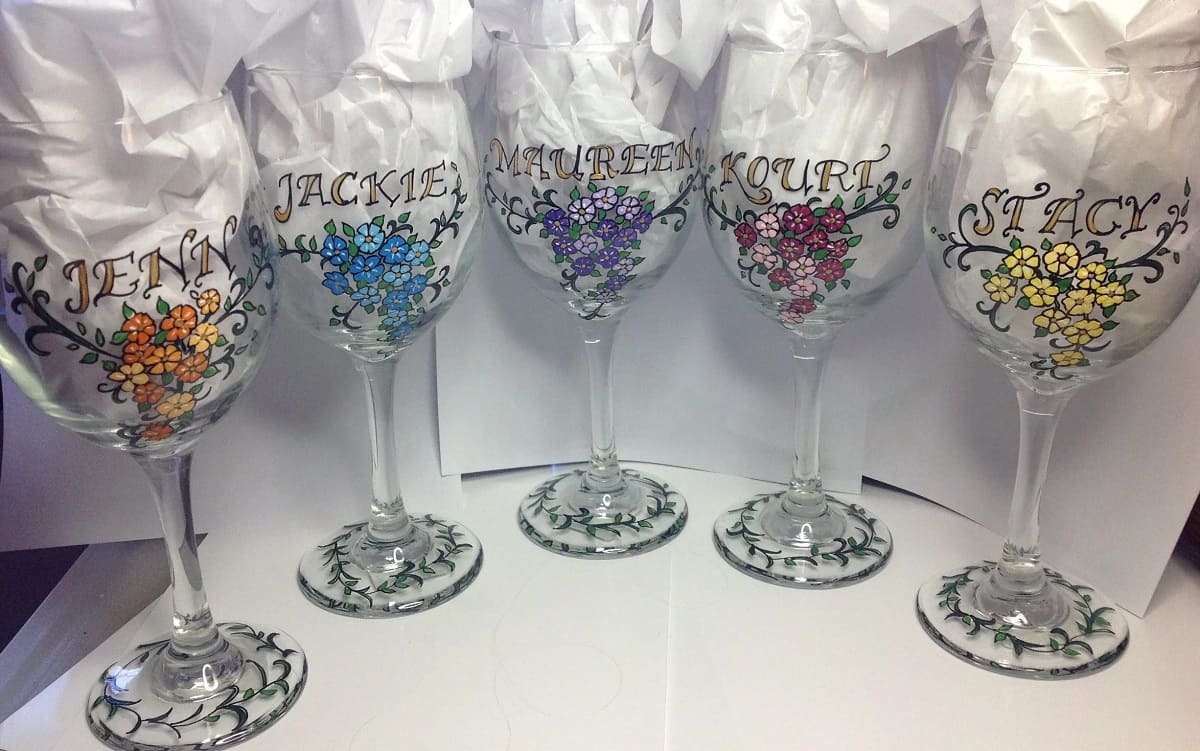
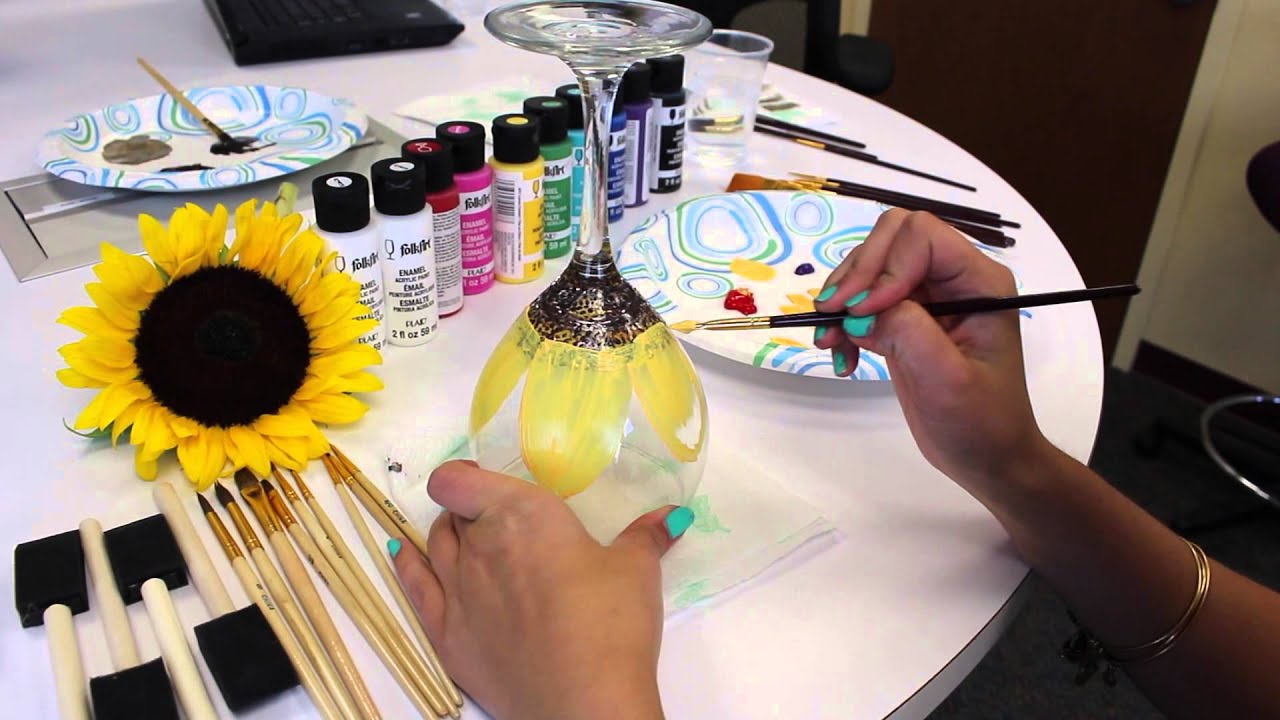
Step 3: Designing the Customization
Designing your custom wine glass allows you to express your creativity and personal style. There are several techniques you can use to achieve your desired design:
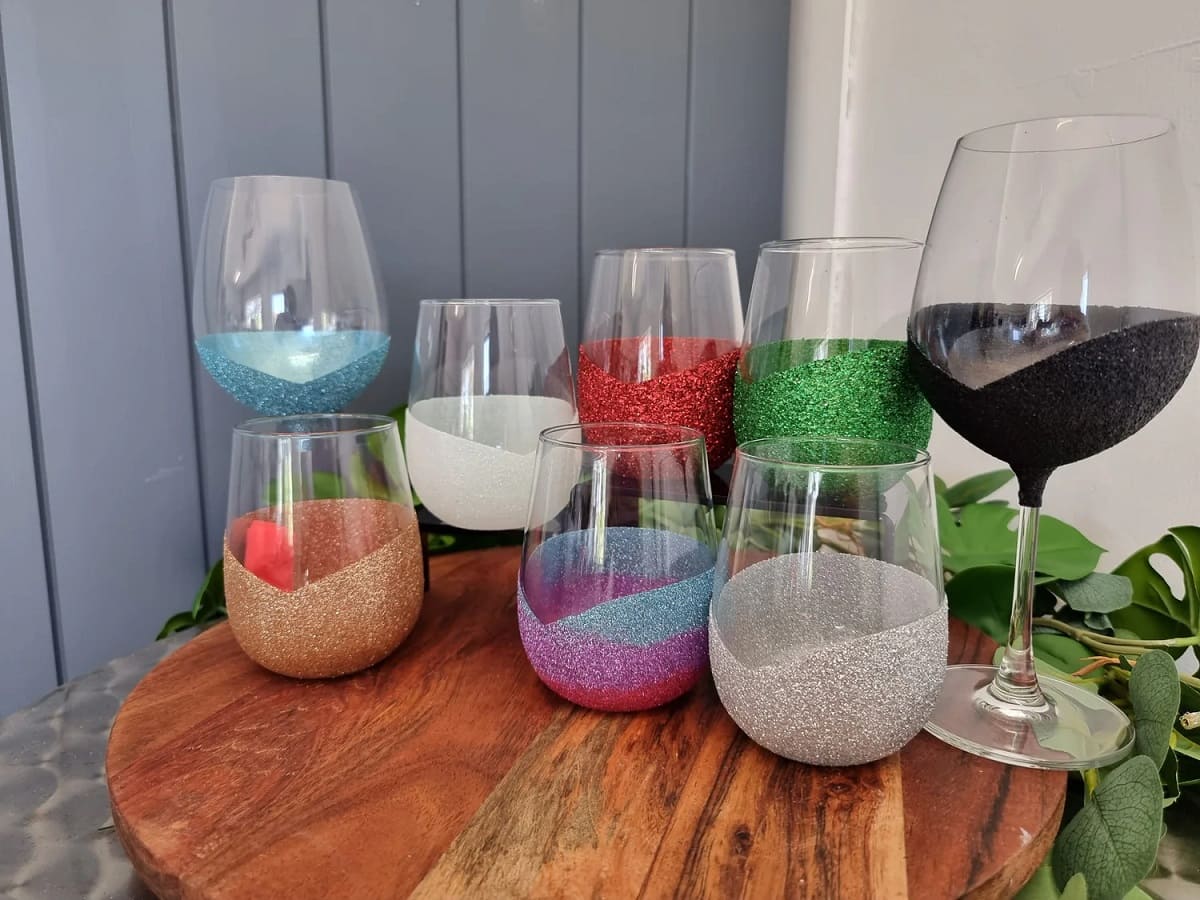
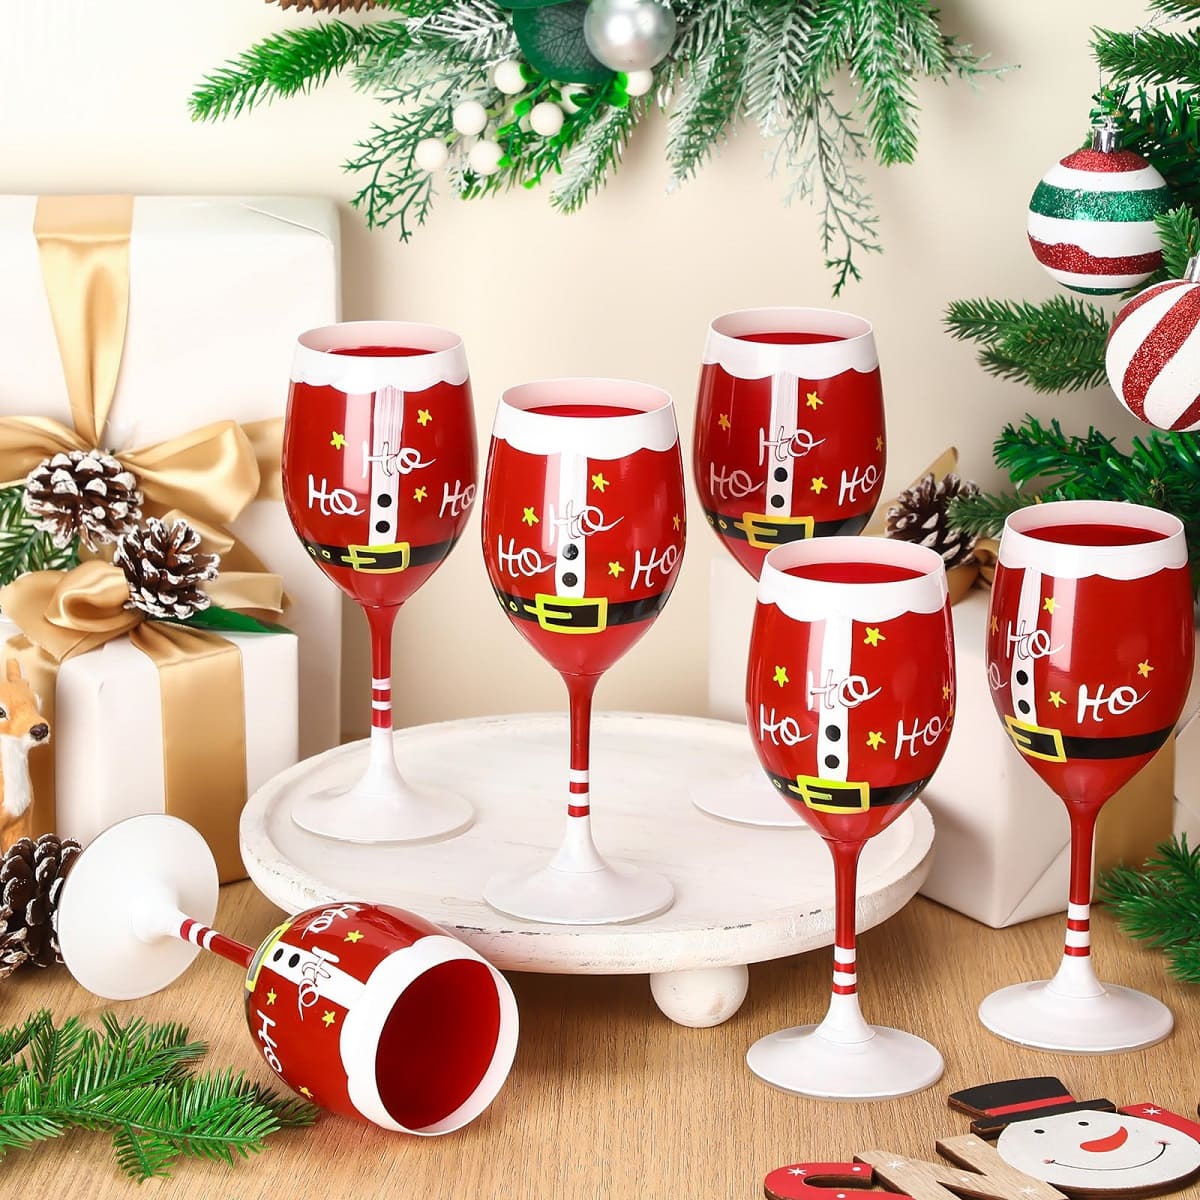
- Freehand painting: If you have a steady hand and artistic flair, you can paint directly onto the glass using acrylic or glass paints. Use small brushes to create intricate designs, patterns, or images. You can also mix and blend colors to add depth and dimension.
- Stencils: Stencils are a great option if you want precise and consistent designs. Choose a stencil that complements your theme or personal taste. Secure the stencil onto the glass and use a brush or sponge to apply paint within the stencil’s boundaries.
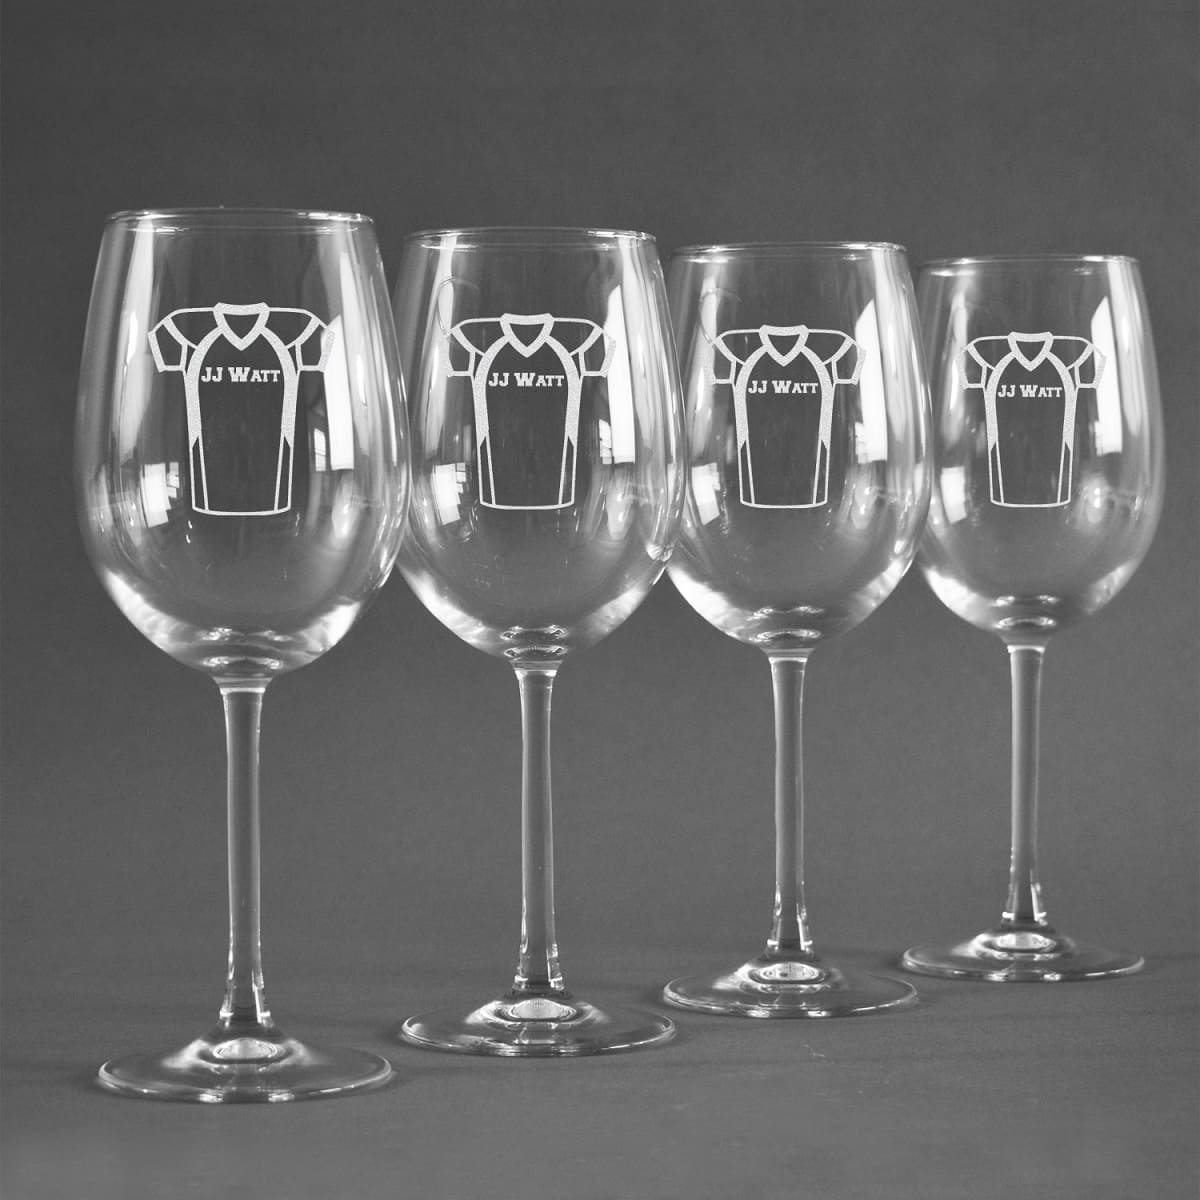
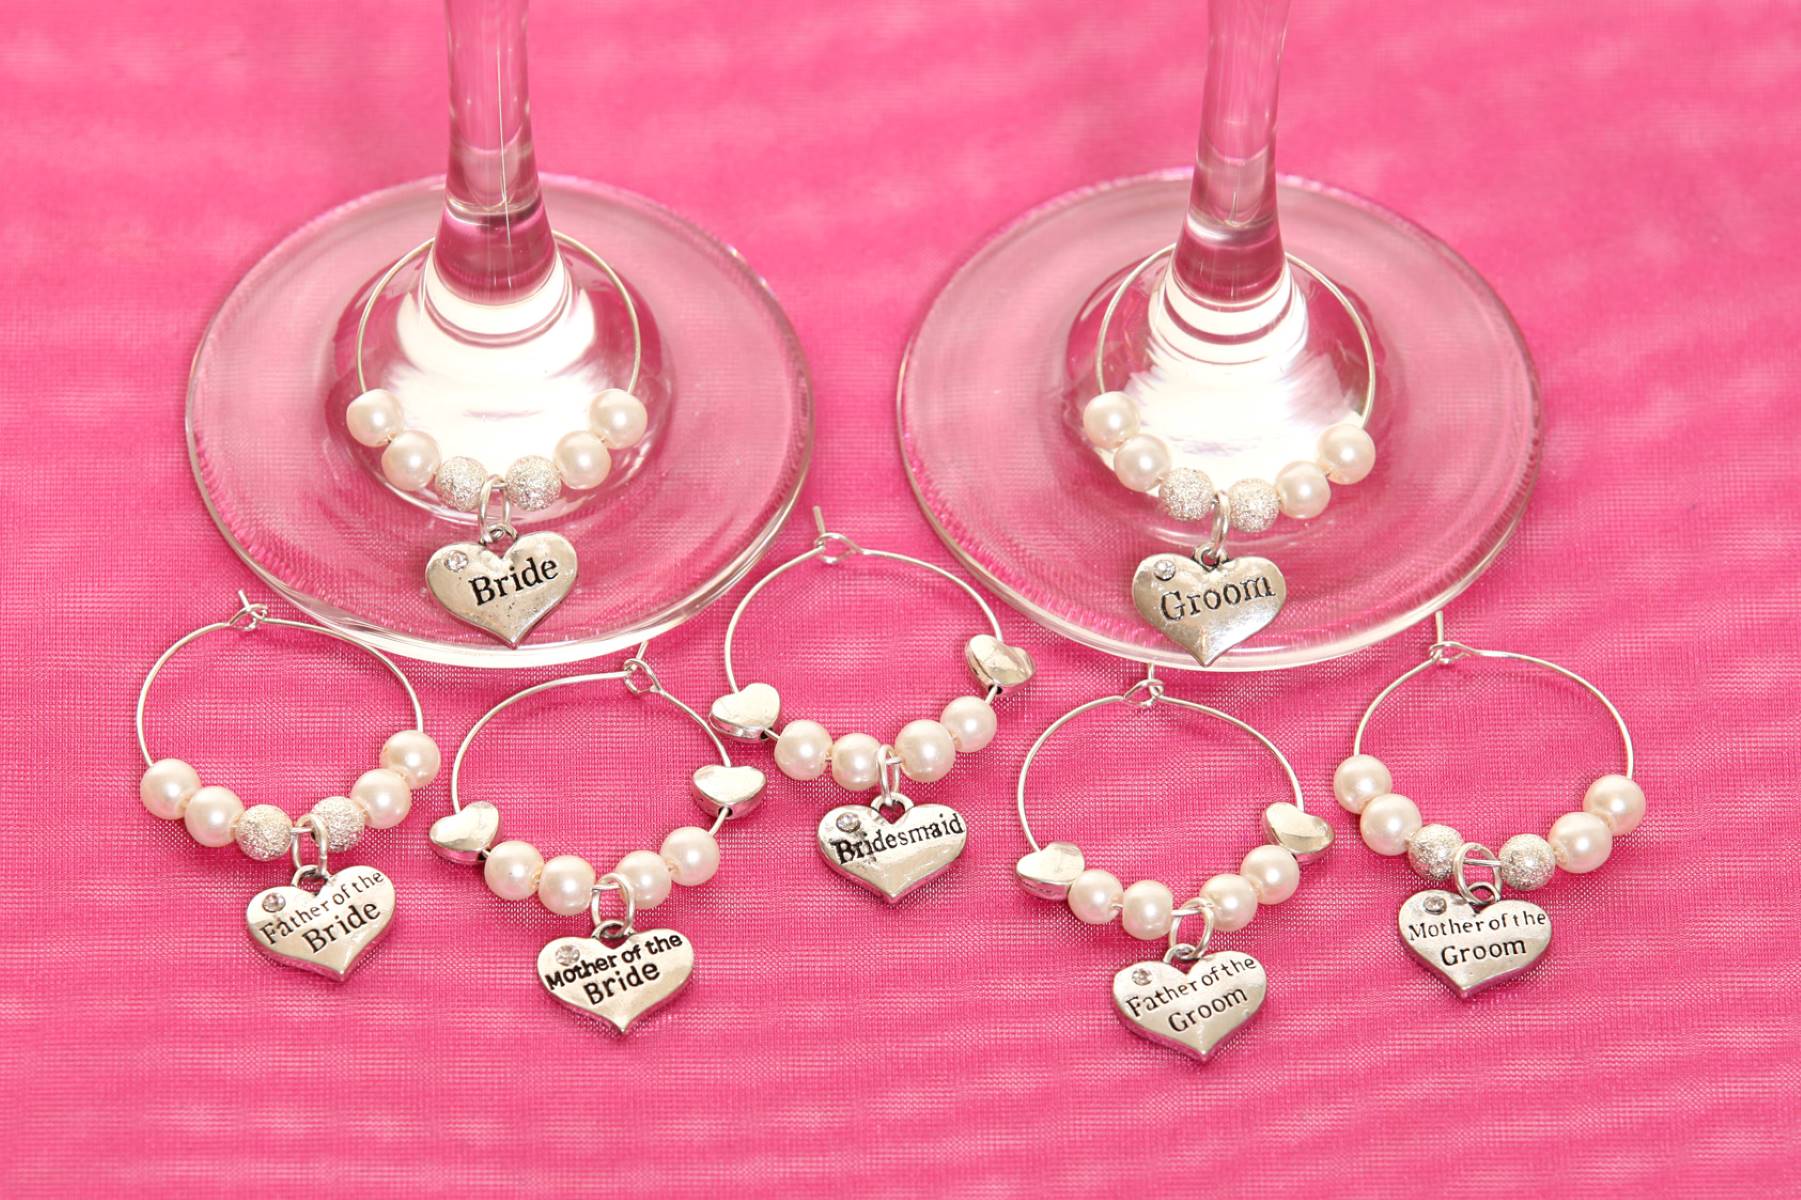
- Decals or stickers: If you’re not confident in your artistic abilities, decals or stickers can provide a quick and easy solution. There are numerous options available, including pre-designed motifs, monograms, or quotes. Simply peel and stick them onto the glass surface.
- Etching: Etching creates an elegant and permanent design on the glass. You can use etching creams or solutions to achieve this effect. Apply the cream or solution onto the glass following the manufacturer’s instructions, and then rinse it off to reveal the etched design.
Whatever technique you choose, take your time and experiment with different ideas. Sketch your design on paper beforehand to plan out the placement and composition. Remember to consider the shape and curvature of the glass while designing. Allow the paint or other design elements to dry completely before moving on to the next step.
Now that your custom design is complete, let’s move on to the next step: applying the design to the wine glass.
Read more: How To Make A Wine Glass Chandelier
Step 4: Applying the Custom Design
Now that you have designed your custom wine glass, it’s time to apply the design onto the glass surface. Follow these steps for a successful application:
- Acrylic paint application: If you have chosen to paint your design, dip a small paintbrush into the acrylic paint and carefully apply it to the glass surface. Use gentle and even strokes to ensure smooth coverage. Allow the paint to dry between layers if needed.
- Stencil or sticker application: If you opted for stencils or stickers, carefully position them on the glass surface. Press them firmly to ensure proper adherence. If using paint with stencils, apply the paint with a sponge or brush, making sure to keep the stencil securely in place to prevent smudging.
- Etching process: If you decided to etch the glass, apply the etching cream or solution according to the manufacturer’s instructions. Use a brush to spread the cream evenly over the design area. Wait for the recommended amount of time before rinsing off the cream with water.
Once you have applied your custom design, take a step back and assess the result. If you’re satisfied with the design, proceed to the next step. Otherwise, if you want to make any adjustments or add more details to your design, now is the ideal time to do so.
After applying the custom design, it’s crucial to let the paint or etching cream dry or set completely before moving on to the next step of the process. Patience is key to ensure a long-lasting and beautiful custom wine glass.
Now that your custom design is applied to the wine glass, let’s move on to the final step: curing and finishing the glass.
Step 5: Curing and Finishing the Glass
After applying your custom design to the wine glass, it’s important to properly cure and finish the glass to ensure the longevity of your design. Follow these steps:
- Curing the paint: If you used acrylic paint, curing is an important step to make the design more durable. Check the instructions on your paint bottle for specific curing requirements. Some paints may need to air dry for several hours, while others may require baking in the oven at a low temperature. Follow the manufacturer’s recommendations for the best results.
- Sealing the design: Once the paint is fully cured, apply a sealant or varnish to protect the design from scratches and fading. Select a sealant that is suitable for glass surfaces. Follow the instructions on the sealant bottle for application and drying time.
- Drying time: Allow the sealant or varnish to dry completely before handling or using the wine glass. This will ensure that the finish is smooth and durable.
Once the curing and finishing processes are complete, it’s time to carefully wrap wine glasses for protection. Your custom wine glass is now ready to be enjoyed, whether you’re using it for a special occasion or displaying it as a decorative piece. This personalized wine glass will be a unique and cherished item.
Remember to handle your custom wine glass with care. Hand-wash it gently using mild dish soap and warm water to maintain the integrity of the design. Avoid scrubbing or using abrasive materials that could damage the paint or etching.
With these steps completed, you’ve successfully made your own custom wine glass! Enjoy the satisfaction of creating a beautiful and personalized piece of tableware that reflects your unique style and creativity.
Now that you have learned how to make custom wine glasses, you can explore different design techniques, experiment with colors and patterns, and continue to create more personalized pieces for yourself or as thoughtful gifts.
We hope you’ve enjoyed this guide and have found it helpful in your customization journey. Cheers to your creativity and the joy of sipping from your very own custom wine glass!
Conclusion
Congratulations on completing your journey to creating custom wine glasses! By following the steps outlined in this guide, you have learned how to choose the right glass, prepare it for customization, design your own unique artwork, apply the design, and properly cure and finish the glass. The end result is a beautiful and personalized wine glass that adds a touch of elegance and creativity to your tableware collection.
Custom wine glasses are an elegant way to set your table and enhance your dining experience. Not only do they add a personal touch to your meals, but they also make wonderful gifts for friends and loved ones. Imagine their joy when they receive a wine glass that was handcrafted with love and attention to detail.
Remember to explore different techniques such as freehand painting, stenciling, using decals or stickers, or even etching to create distinct and personalized designs. Let your imagination run wild and bring your ideas to life on the canvas of a wine glass.
While you enjoy using your custom wine glass, make sure to care for it properly. Hand-wash it with gentle dish soap and water, avoiding any harsh scrubbing or abrasive materials that could damage the design. Treat your custom wine glass with the respect it deserves, and it will continue to bring you joy for years to come.
Thank you for joining us on this creative journey. We hope you had fun learning how to make custom wine glasses and that it has inspired you to unleash your inner artist. Cheers to the beauty of handmade creations and the joy they bring to our lives!
Frequently Asked Questions about How To Make Custom Wine Glasses
Was this page helpful?
At Storables.com, we guarantee accurate and reliable information. Our content, validated by Expert Board Contributors, is crafted following stringent Editorial Policies. We're committed to providing you with well-researched, expert-backed insights for all your informational needs.


0 thoughts on “How To Make Custom Wine Glasses”