Home>diy>Building & Construction>How To Fix Lawn After Construction
Building & Construction
How To Fix Lawn After Construction
Modified: October 19, 2024
Learn how to restore your lawn after building construction with our step-by-step guide. Fix the damage caused by building construction and get your lawn looking healthy again.
(Many of the links in this article redirect to a specific reviewed product. Your purchase of these products through affiliate links helps to generate commission for Storables.com, at no extra cost. Learn more)
Introduction
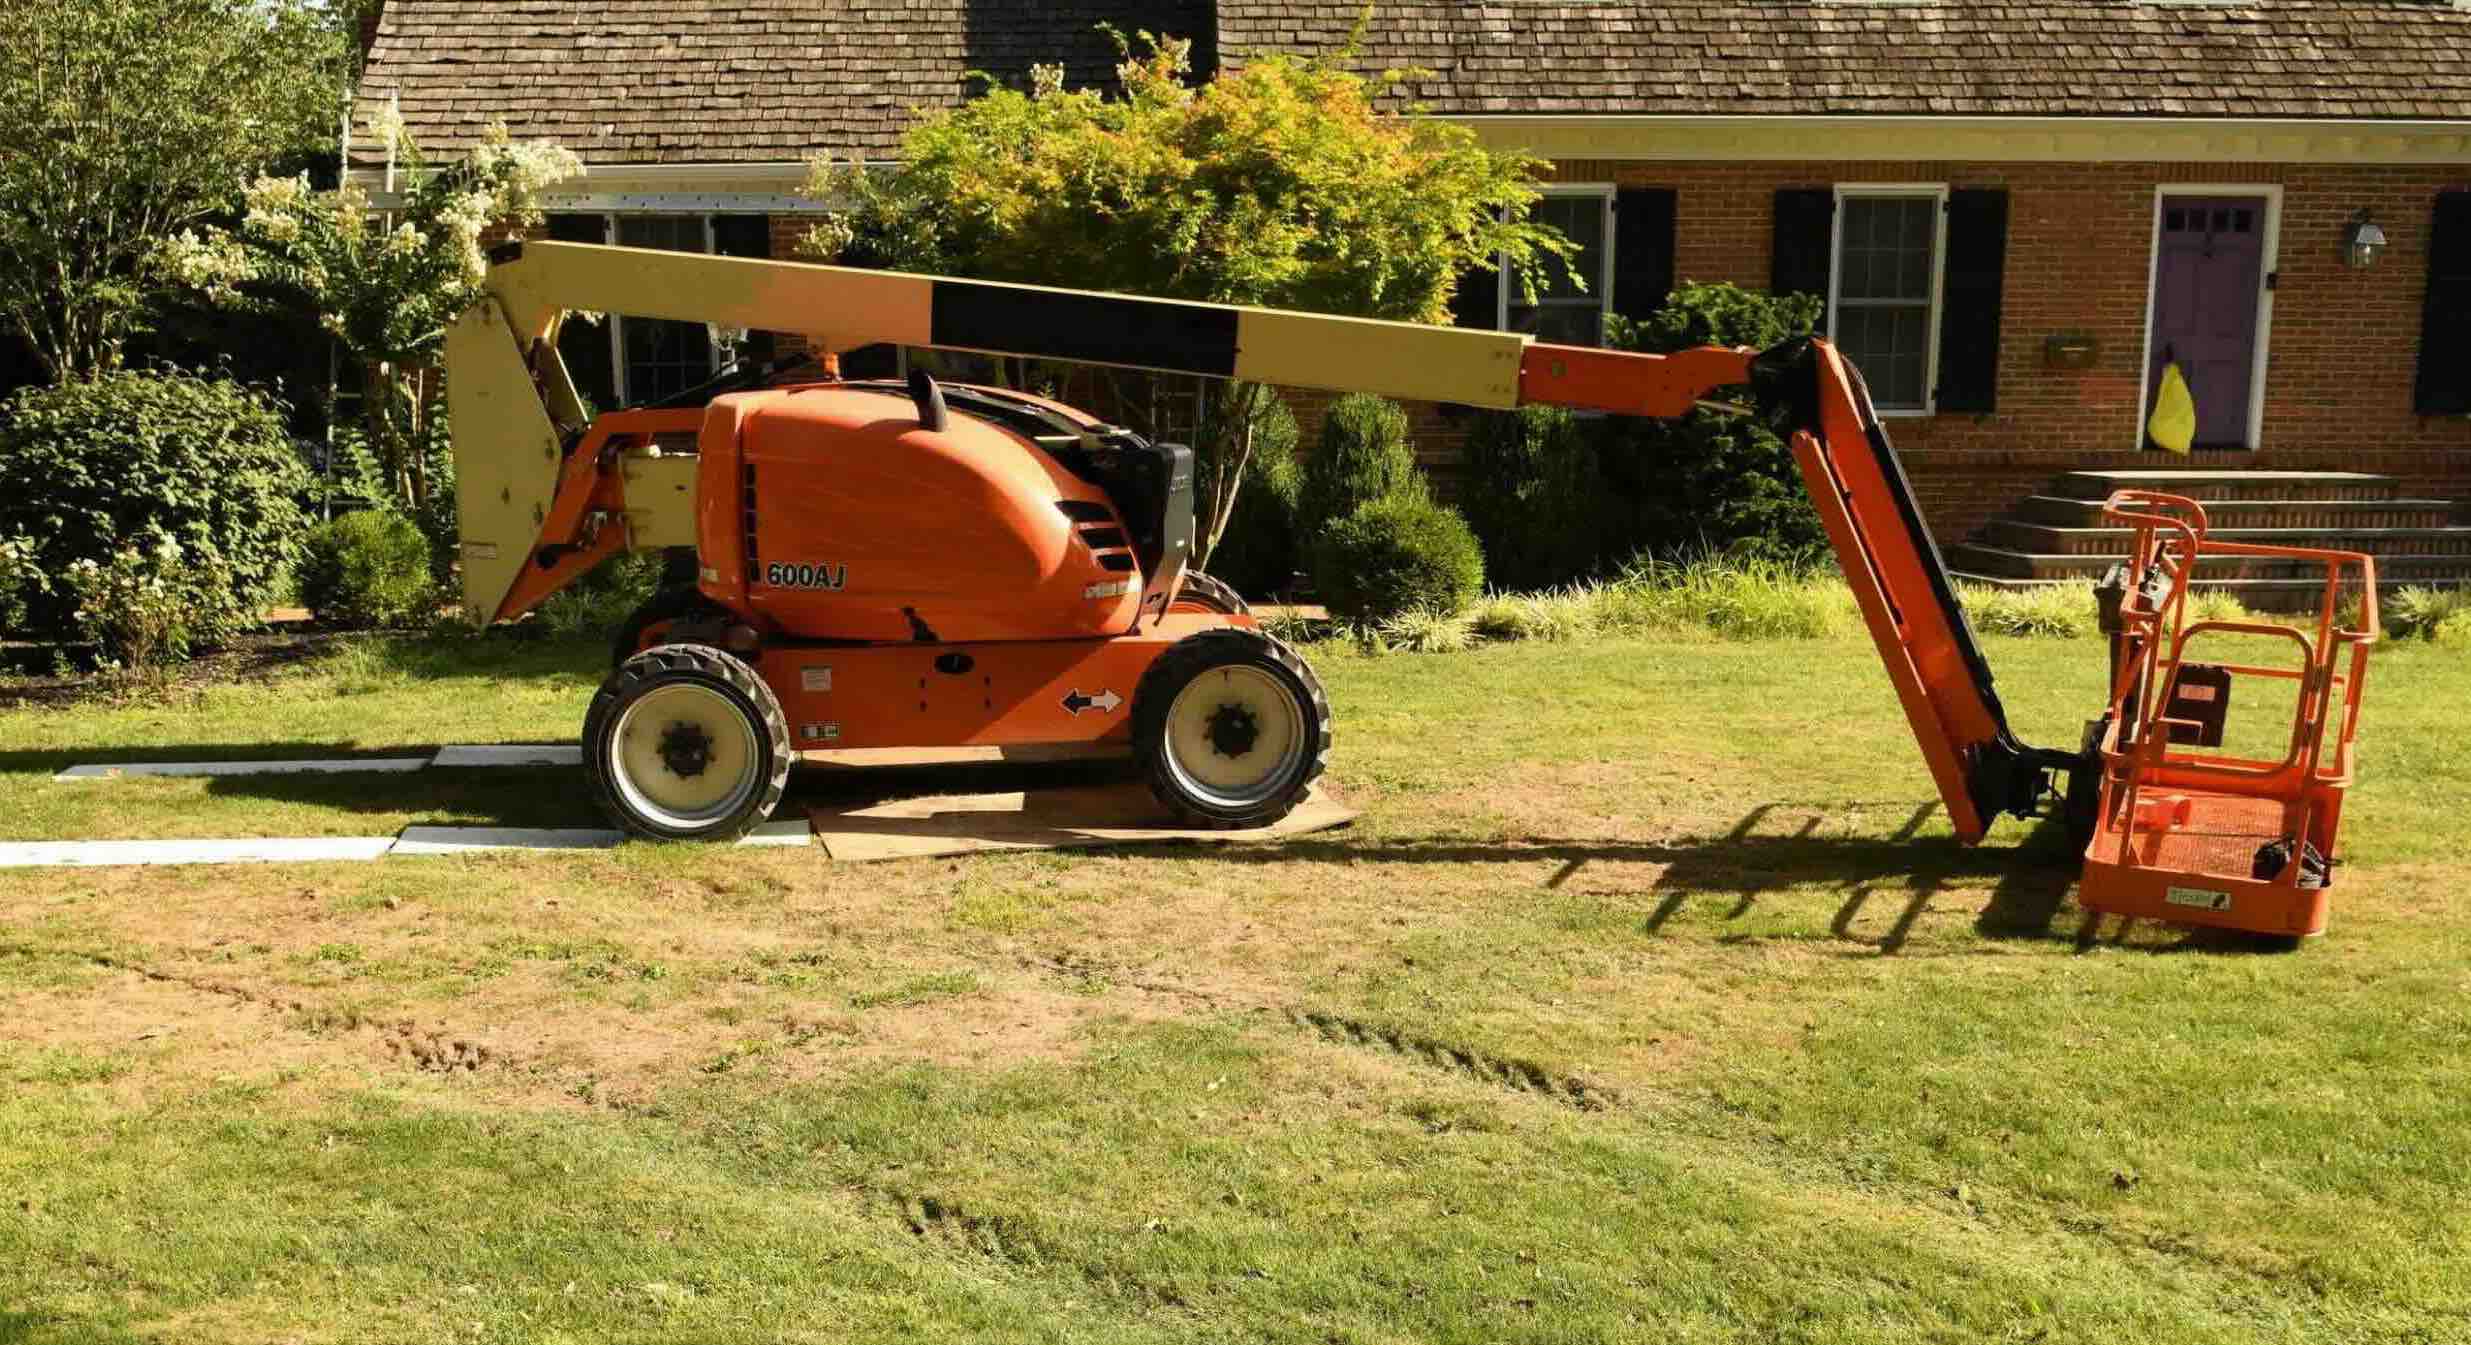
When it comes to construction projects, whether it’s building a new house or adding an extension, the impact on your lawn can be significant. Heavy machinery, foot traffic, and materials can leave your once luscious green grass looking damaged and bare. But fear not, with the right steps and a little bit of effort, you can bring your lawn back to life and have it looking even better than before.
Restoring a lawn after construction requires a systematic approach, from assessing the damage to implementing proper soil preparation techniques. By following a step-by-step process, you can ensure that your lawn regains its health and vitality in no time.
In this article, we will guide you through the process of fixing your lawn after construction. We will provide you with the necessary steps to assess the damage, clear and level the ground, prepare the soil, and finally, seed or sod your lawn for optimal growth. Additionally, we will offer tips on watering, maintenance, and dealing with weeds and pests.
So, let’s embark on this journey of lawn restoration and turn your post-construction eyesore into a lush green oasis.
Key Takeaways:
- Proper assessment, clearing, leveling, and soil preparation are crucial for restoring a lawn after construction. These steps create the foundation for healthy grass growth and a vibrant, lush lawn.
- Whether seeding or sodding, proper watering, maintenance, and proactive weed and pest control are essential for the long-term success of a newly restored lawn. Consistent care ensures a healthy and thriving outdoor space.
Read more: How To Clean Floors After Construction
Assessing the Damage
The first step in fixing your lawn after construction is to assess the extent of the damage. Take a thorough walk around your property and identify areas that have been affected by the construction work. Look for signs of compaction, soil erosion, bare patches, and damage to the grass blades.
Compacted soil is a common issue after construction, as heavy machinery can compress the soil, limiting water and air flow to the roots. To check for compaction, gently push a garden fork into the soil. If it is difficult to penetrate, this indicates compaction.
Soil erosion is another concern, especially if the construction work has disrupted the natural drainage patterns on your property. Look for areas where rainwater flows and collects, as this can indicate erosion problems.
Bare patches and damaged grass blades are also key indicators of the damage caused by construction. These areas might be uneven, with exposed roots and damaged grass plants. Take note of areas that require additional attention and repair.
Make a comprehensive assessment of the damage to your lawn and create a plan of action to address each specific area. This will help you prioritize tasks and ensure that you tackle the most urgent issues first.
Additionally, consider other factors that may impact lawn recovery, such as sunlight availability and soil type. Take note of areas that receive more or less sunlight, as this will affect the type of grass you choose to reseed or resod.
By carefully assessing the damage, you’ll have a clear understanding of what needs to be done to restore your lawn and can move forward with confidence in the next steps of the process.
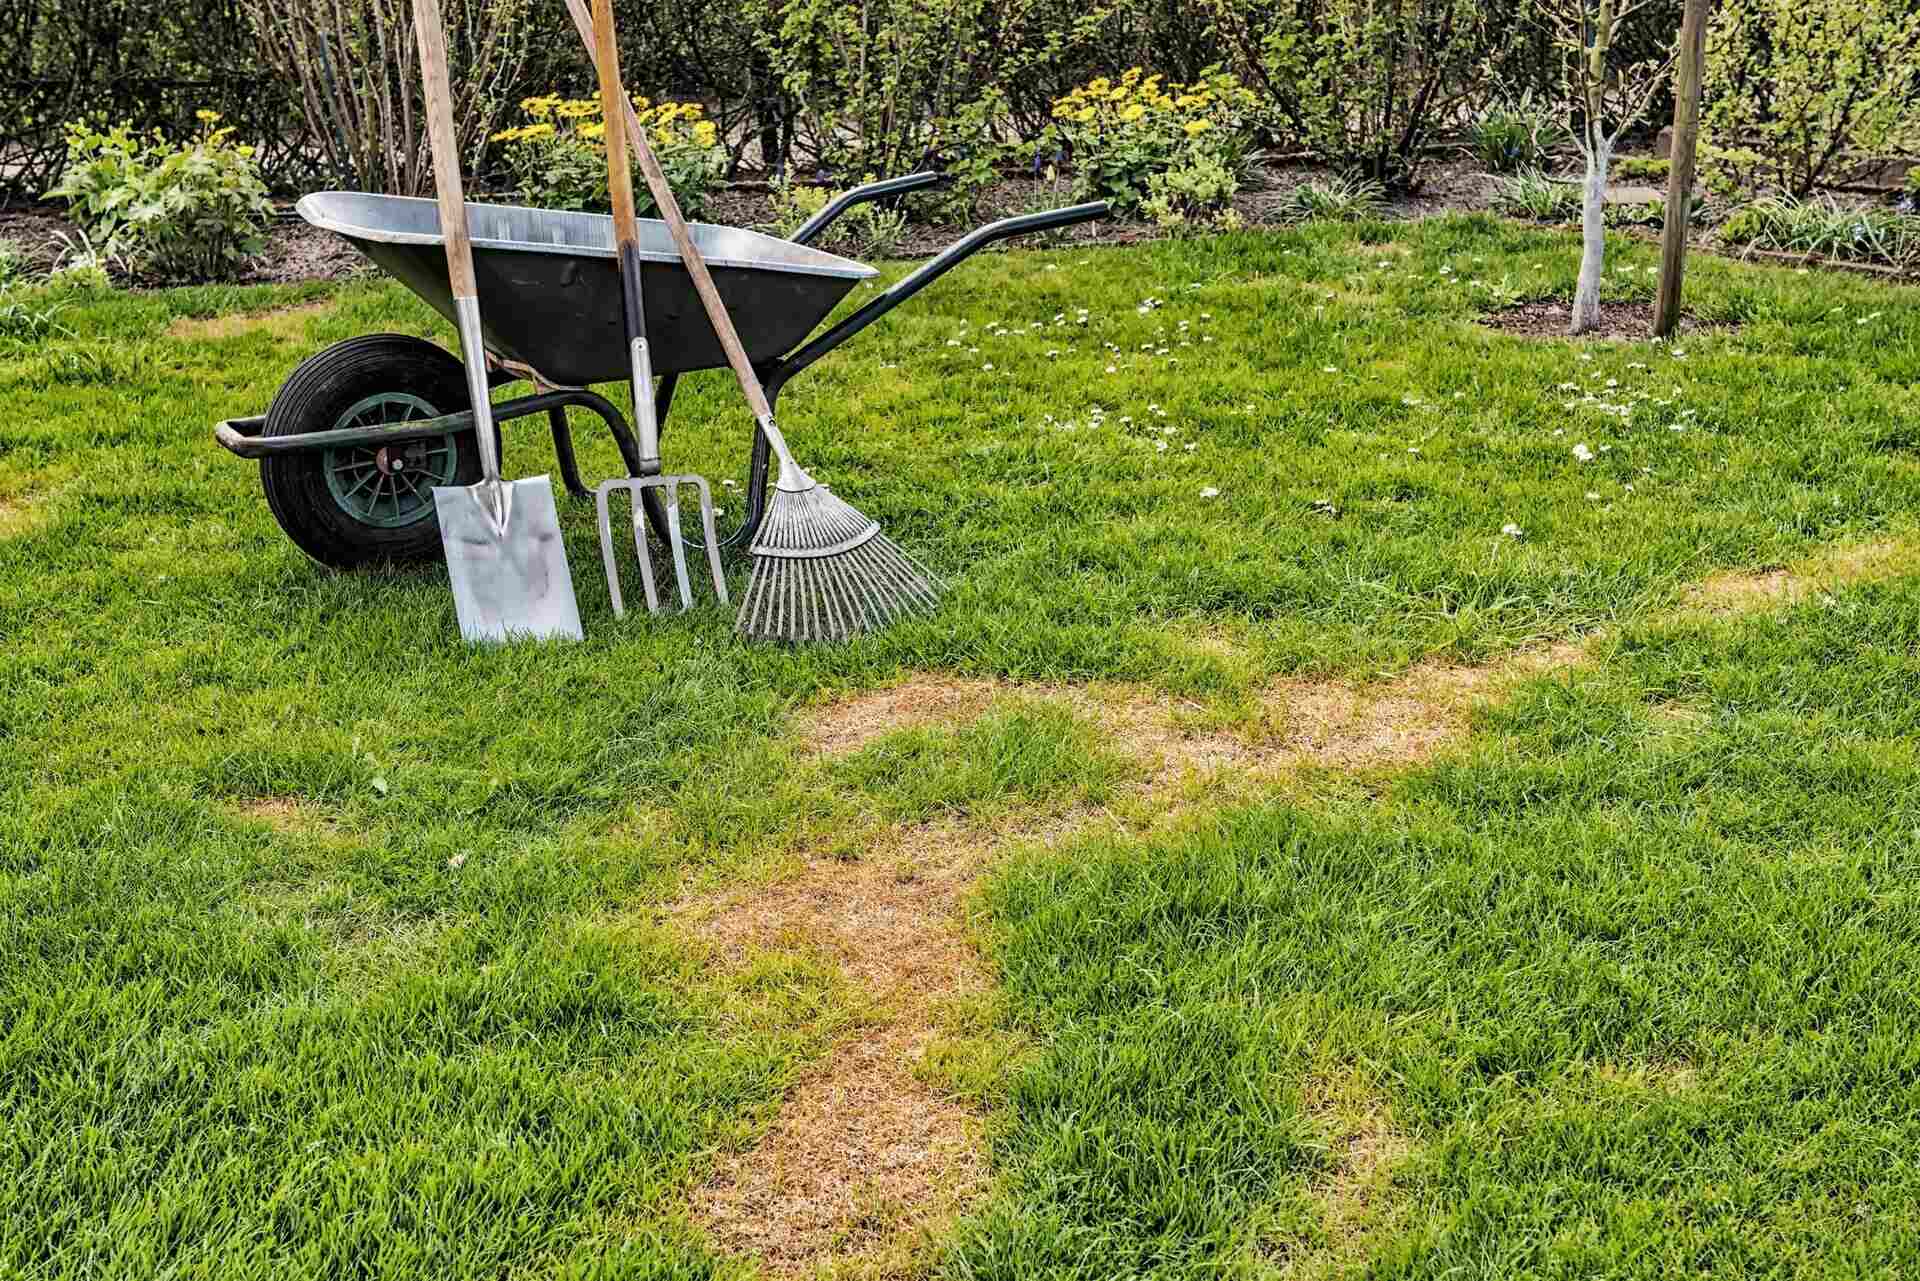
Clearing and Leveling the Ground
After assessing the damage to your lawn, the next step is to clear and level the ground. This is crucial to ensure proper drainage and a smooth surface for your new grass to grow on.
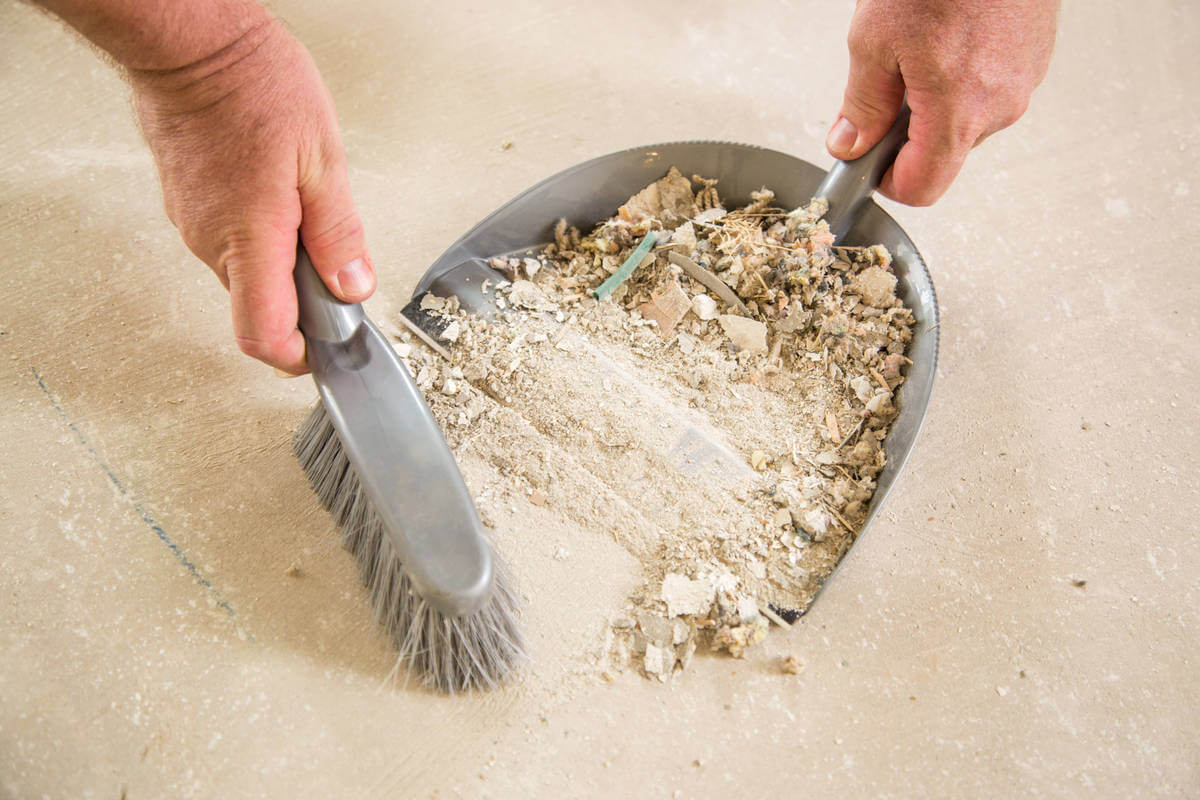
Start by removing any debris, construction materials, or rocks that may have been left behind. Use a rake or a shovel to gather and dispose of these items properly. Be thorough in your clearing process to ensure that the surface is clean and free from any obstructions.
Next, address any uneven or bumpy areas on the ground. Use a garden rake to loosen and level the soil. Gradually work your way across the lawn, smoothing out any high spots and filling in any low areas. This will create a more even surface and reduce the risk of water pooling or runoff.
If the ground is severely uneven or compacted, you may need to use a roller or a lawn leveling tool to further level the surface. This will help to break up compacted soil and create a more uniform base for your grass to grow.
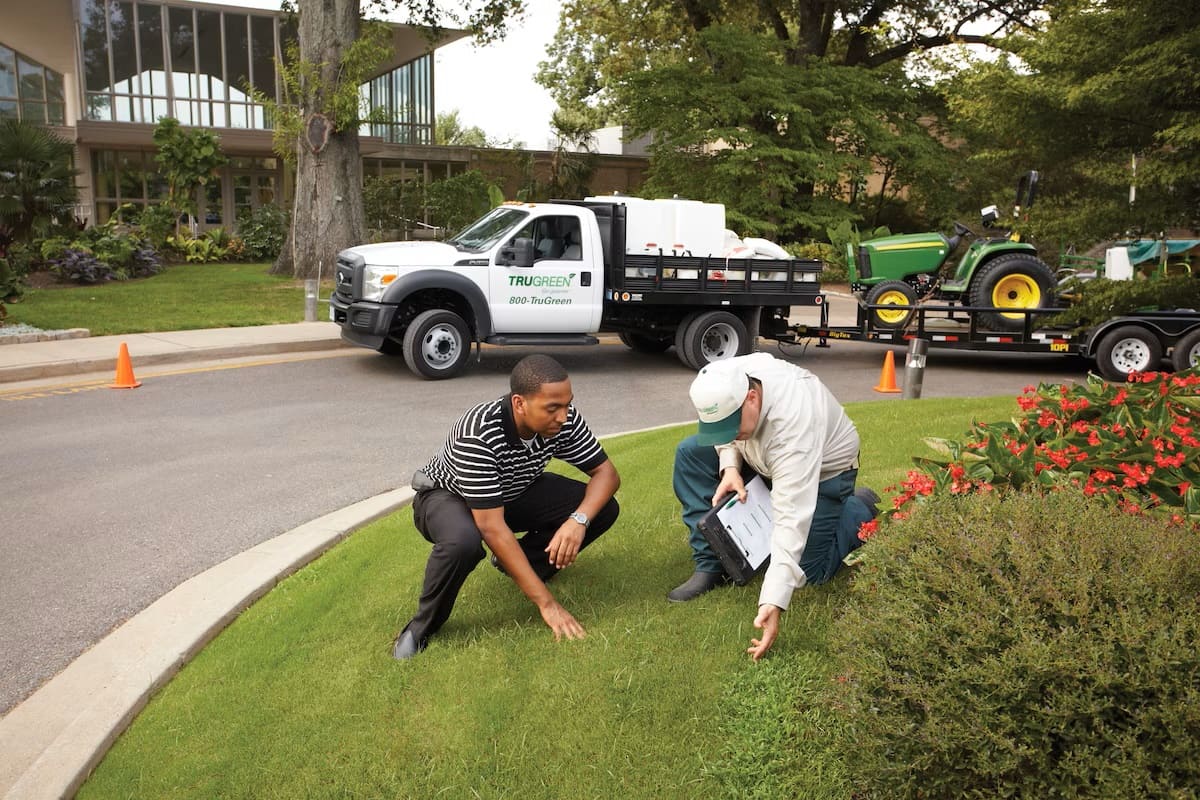
Once the ground is cleared and level, it is recommended to conduct a soil test. pH levels, nutrient deficiencies, and other soil properties can greatly impact the health of your grass. A soil test will provide valuable insights and enable you to address any soil issues before proceeding with the next steps.
Overall, clearing and leveling the ground sets the foundation for a successful lawn restoration. By creating a clean, even surface, you are ensuring that your new grass will have the best chance to establish roots and grow healthily.
Soil Preparation
Proper soil preparation is essential for the success of your lawn restoration project. It ensures that the soil is ready to provide the necessary nutrients, water retention, and drainage capabilities to support healthy grass growth.
Start by aerating the soil. This process helps to alleviate compaction and improve airflow to the roots. You can use a garden fork or a mechanical aerator to create small holes in the soil. This will break up compacted areas and allow water and nutrients to reach the roots more effectively.
Next, consider adding organic matter to the soil. This can be in the form of compost, peat moss, or well-rotted manure. Organic matter improves soil structure, enhances water retention, and provides essential nutrients for the grass. Spread a 1-2 inch layer of organic matter over the entire area, then use a rake or a tiller to incorporate it into the top layer of soil.
Once the organic matter is incorporated, it’s time to address any nutrient deficiencies in the soil. Conduct a soil test to determine the nutrient levels and pH balance. Based on the test results, you may need to add fertilizers or soil amendments to correct any imbalances. Follow the recommended application rates and timing for the specific type of grass you plan to grow.
After adding amendments or fertilizers, it’s important to thoroughly mix them into the soil to ensure even distribution. Use a rake or a garden tiller to blend the amendments with the soil, aiming for a uniform composition throughout the area.
Lastly, consider applying a layer of topsoil to improve the overall quality of the soil. This is particularly important if the existing soil is poor or lacks nutrients. Spread a layer of high-quality topsoil over the area and rake it evenly to create a smooth surface.
By taking the time to properly prepare the soil, you are setting the stage for healthy grass growth. Nutrient-rich soil with good water retention and drainage capabilities will provide the optimal environment for your new lawn to thrive.
After construction, aerate the soil to improve air and water circulation. Then, overseed the lawn to fill in any bare spots and water regularly for new growth.
Seeding or Sodding
Once the ground has been cleared, leveled, and prepared, it’s time to decide whether you want to seed or sod your lawn. Both methods have their advantages and it’s important to choose the option that best suits your needs and preferences.
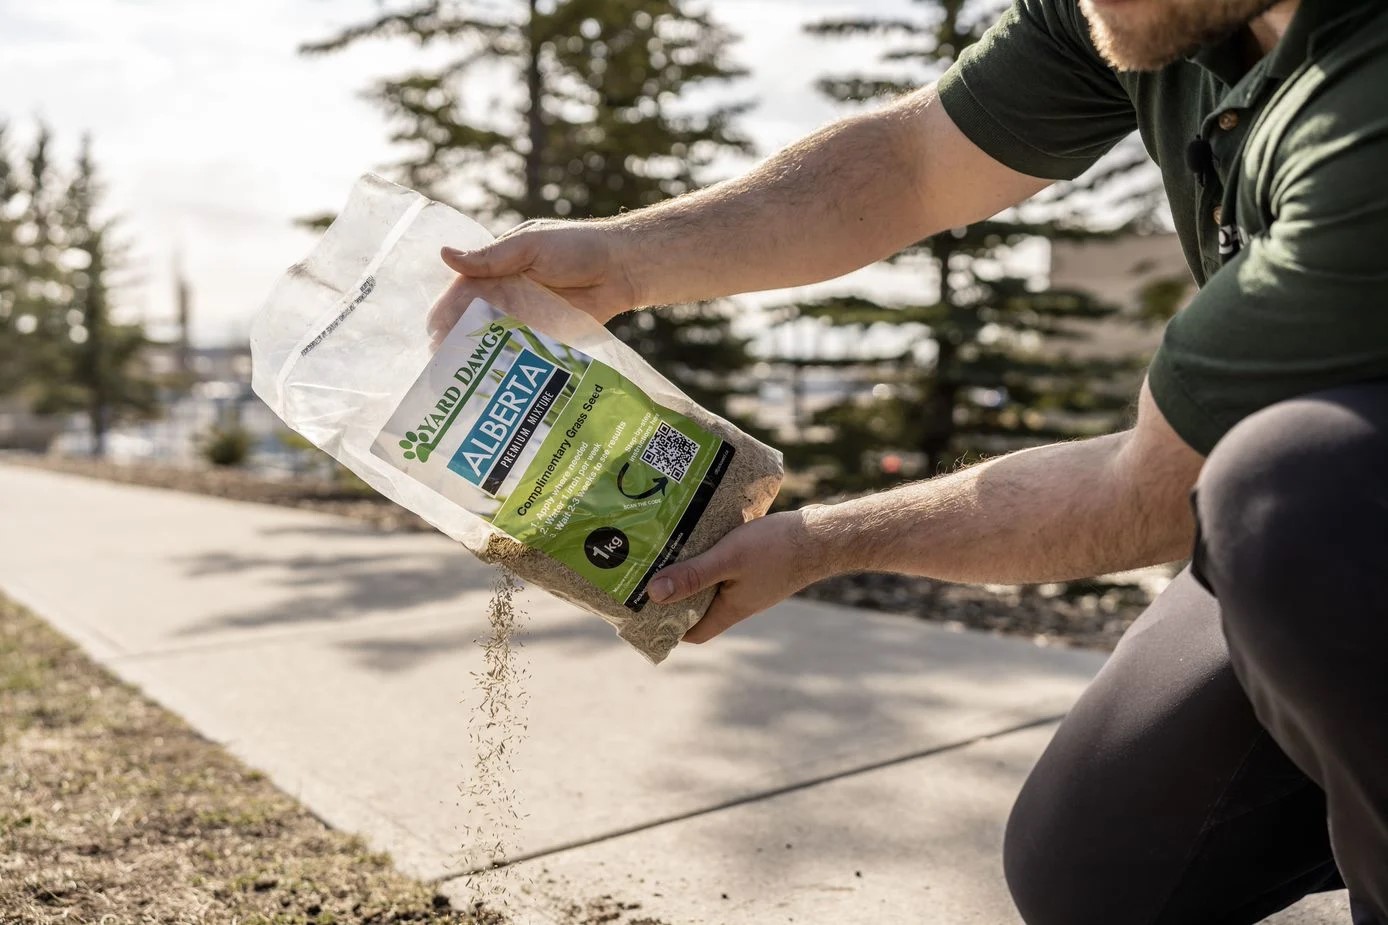
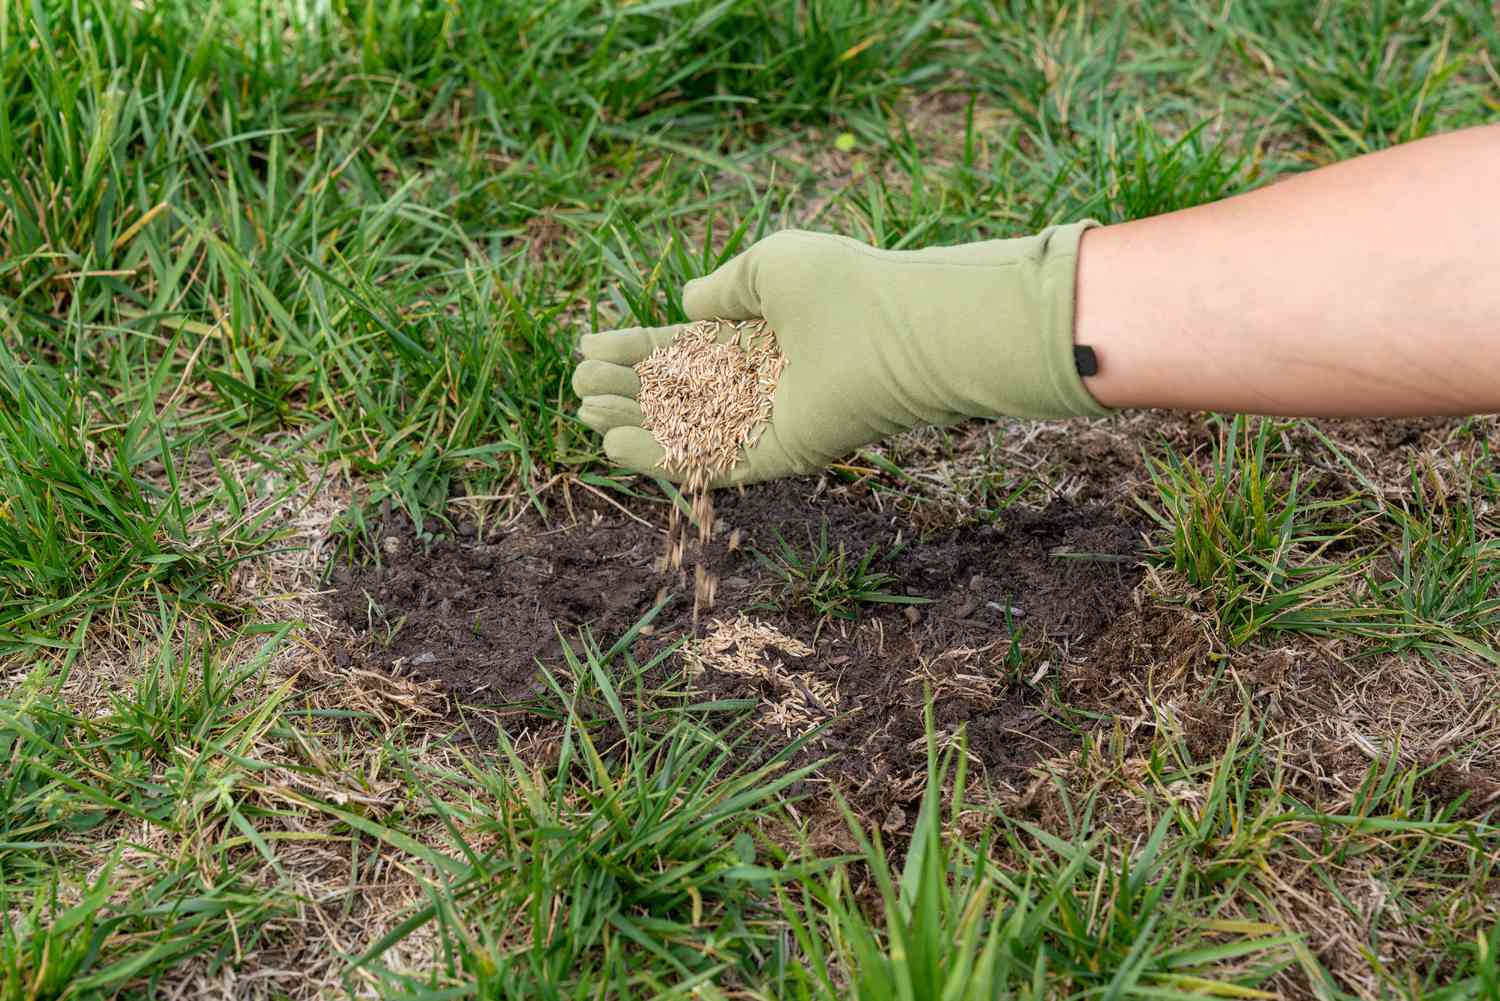
Seeding: Seeding is the traditional and cost-effective method of establishing a new lawn. It allows for a wide variety of grass types to be chosen, depending on your specific climate and lawn usage. Here’s how to proceed with seeding:
- Choose the right grass seed for your region and lawn conditions. Consider factors such as sunlight exposure, soil type, and foot traffic.
- Prepare the area for seeding by raking the soil to create a smooth surface and remove any debris.
- Spread the grass seed evenly over the area using a seed spreader. Follow the recommended seeding rates provided on the seed packaging.
- Rake the seed lightly to ensure good seed-to-soil contact.
- Water the seeded area thoroughly, and continue to water regularly to keep the soil consistently moist until the grass seeds germinate and establish roots.
- Maintain proper watering and mowing practices to encourage healthy growth.
- Measure the area of your lawn to determine the amount of sod you’ll need. Consider ordering a little extra to account for any cuts or patches.
- Prepare the area by clearing any debris and ensuring that the soil is moist and level.
- Start laying the sod along the longest straight edge of the lawn.
- Firmly press the sod pieces against each other, making sure there are no gaps.
- Slightly overlap the edges of the sod pieces to create a seamless appearance.
- Water the newly laid sod immediately and continue to water it regularly for the next few weeks, making sure not to drown the grass.
- Avoid heavy foot traffic on the sod until it has rooted firmly into the soil.
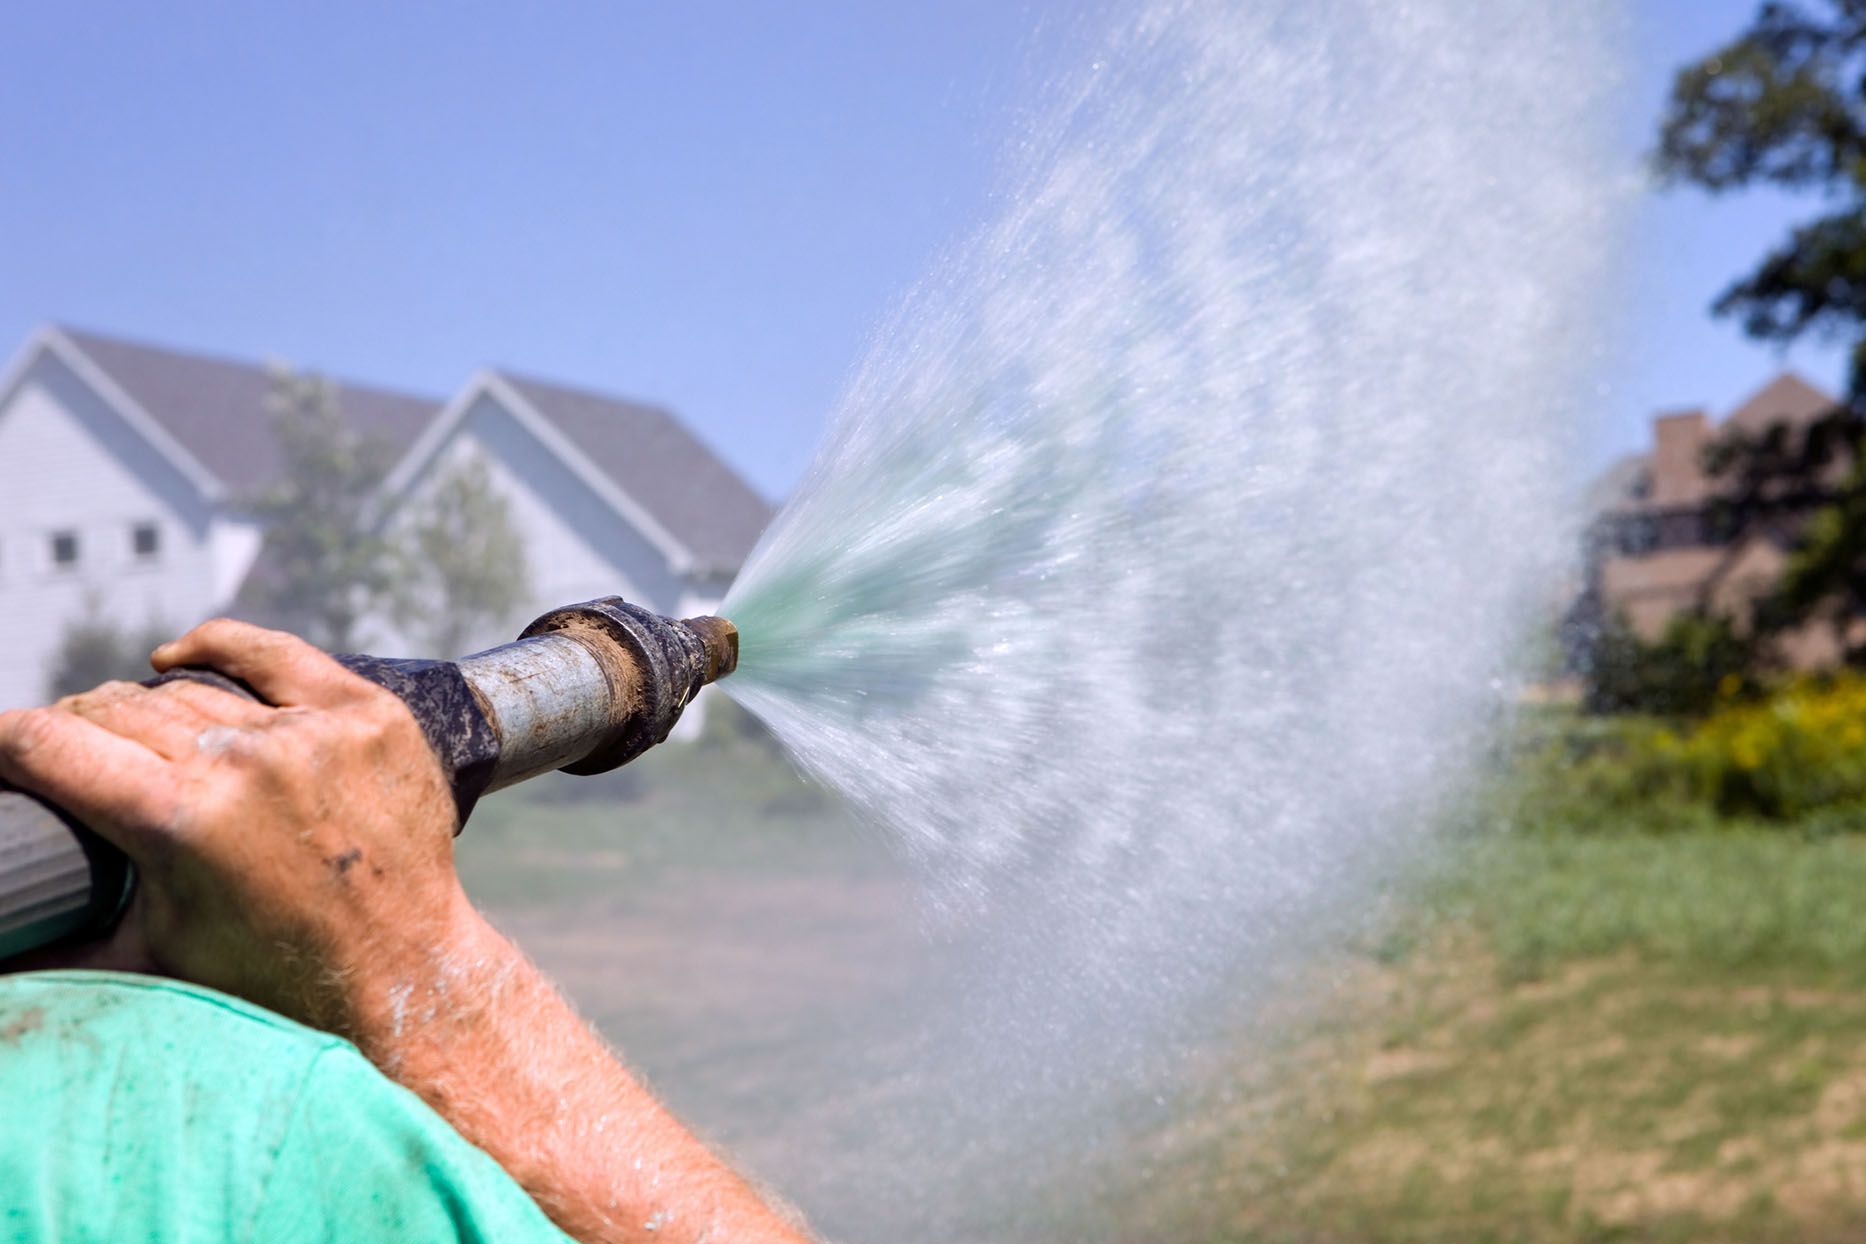
- Water your lawn deeply and infrequently to encourage deep root growth. Shallow watering can result in weak roots.
- Water your lawn early in the morning or in the evening to minimize water loss due to evaporation.
- Avoid overwatering, as it can lead to shallow root development, standing water, and fungal diseases.
- Monitor the moisture level of your soil. Stick your finger into the ground to check if it’s dry below the surface before watering.
- Consider using a sprinkler system or soaker hoses to ensure even water distribution.
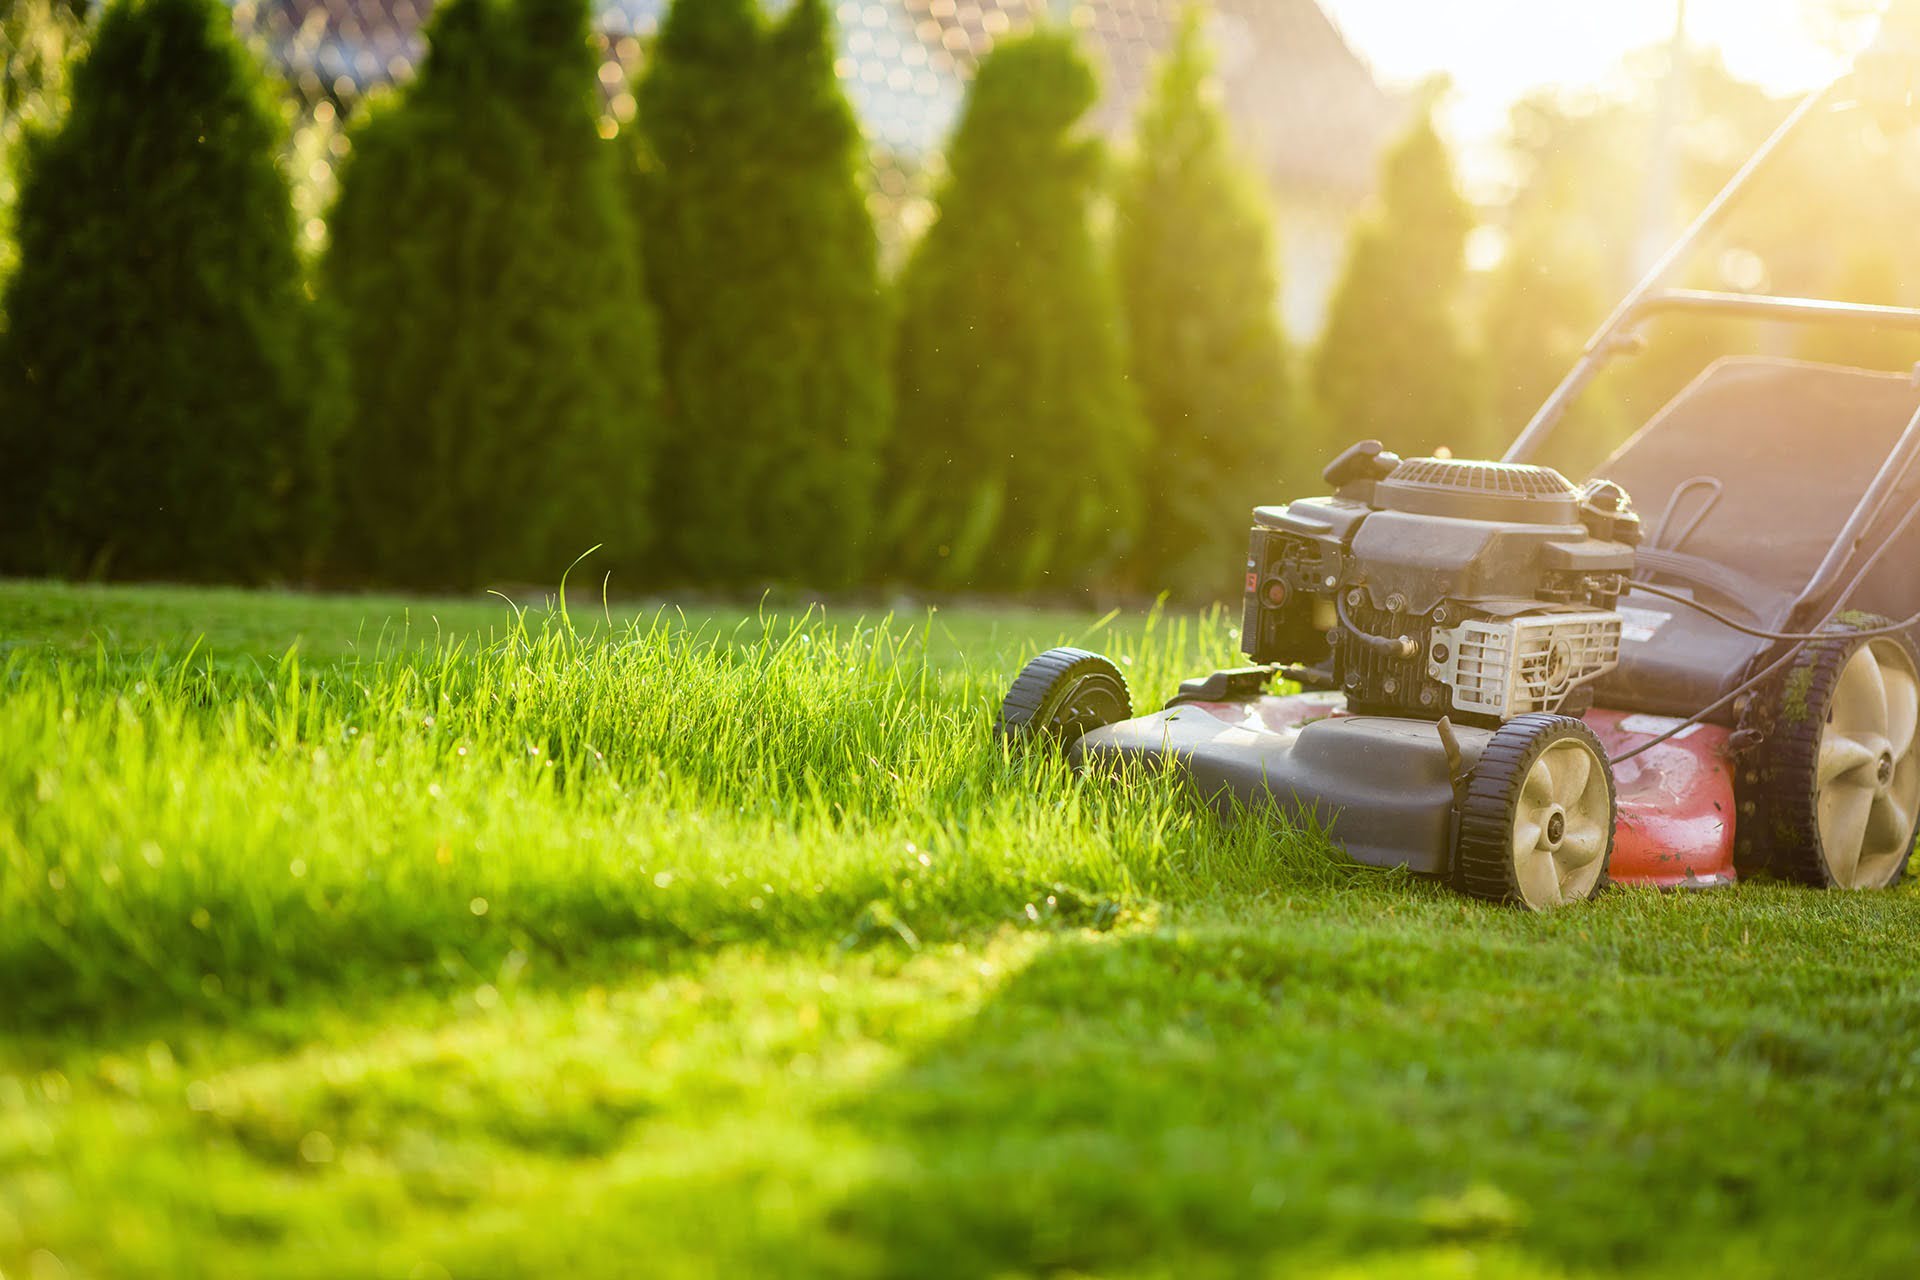
- Mow your lawn regularly, following the ONE-THIRD rule. Never remove more than one-third of the grass blade height in a single mowing session.
- Keep your mower blades sharp to ensure clean cuts and prevent damage to the grass.
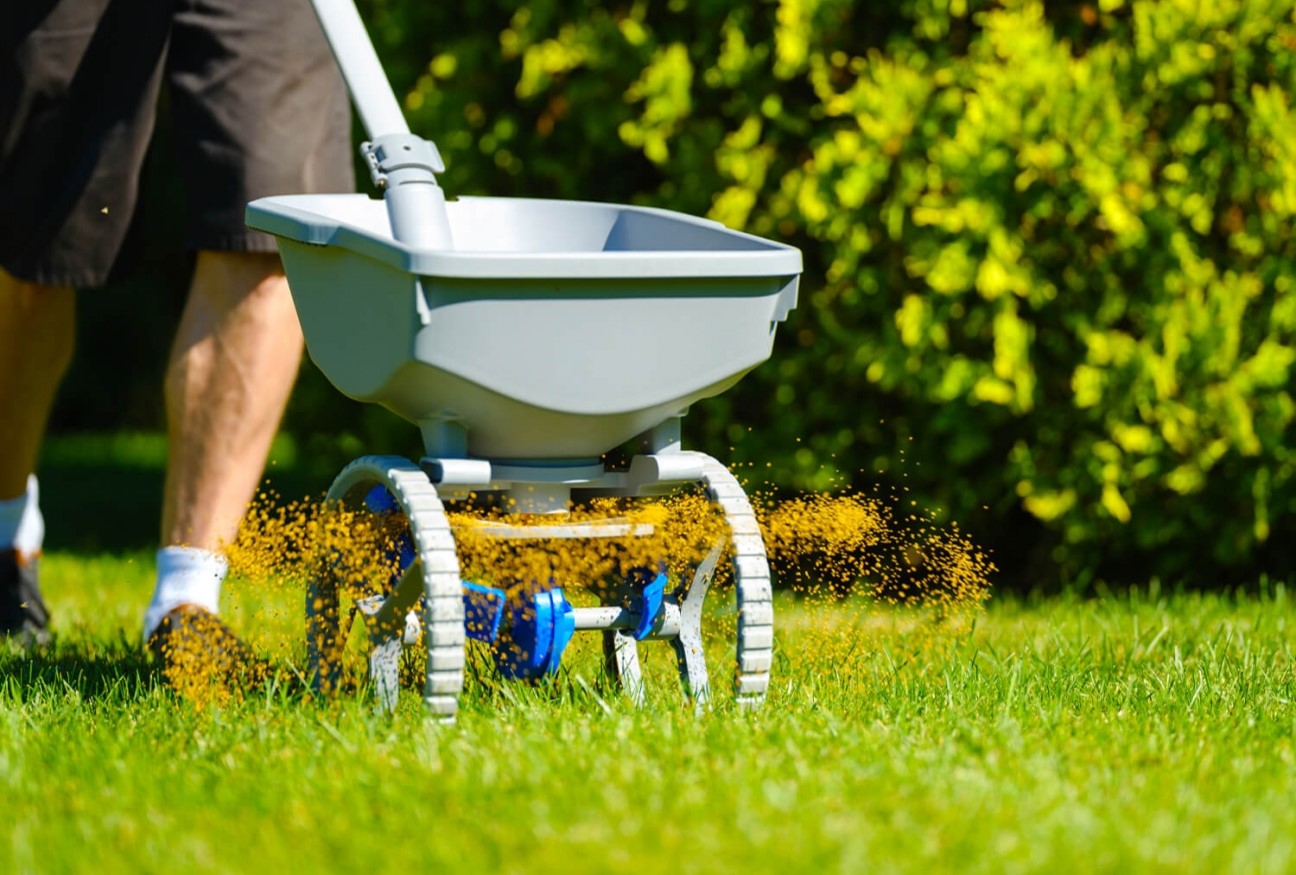
- Fertilize your lawn according to the needs of the grass type and the recommendations of a soil test. Choose a slow-release, balanced fertilizer for even nutrient distribution.
- Aerate your lawn every year or as needed to prevent soil compaction and improve airflow to the roots.
- Remove weeds promptly by hand or with targeted treatments to prevent them from taking over your lawn.
- Monitor your lawn for signs of pests or diseases, and take appropriate action if necessary.
- Address any bare patches or thin areas by overseeding or patching with grass seed or sod.
- Avoid heavy foot traffic on newly restored areas until the grass has fully established.
- Regularly inspect your lawn for weeds and remove them by hand as soon as you spot them. Be sure to remove the entire weed, including the roots.
- Use a pre-emergent herbicide before seeding or sodding to prevent weed seeds from germinating. Follow the manufacturer’s instructions carefully.
- Avoid overwatering and over-fertilizing your lawn, as this can promote weed growth. Instead, maintain a consistent watering and fertilizing schedule recommended for your grass type.
- Maintain a healthy lawn through proper mowing techniques, adequate fertilization, and regular aeration to create strong competition for weeds.
- If weed infestations become severe, consider using a targeted herbicide designed to control the specific weeds you’re dealing with. Follow the instructions and precautions provided by the manufacturer.
- Monitor your lawn for signs of pests, such as brown patches, chewed grass blades, or unusual holes in the ground.
- Identify the specific pest you’re dealing with, as different pests require different control measures.
- Consider using natural or organic pest control methods, such as beneficial insects, nematodes, or insecticidal soaps, to minimize the use of chemical pesticides.
- If chemical pesticides are necessary, choose products that are labeled for lawn pests and follow the instructions and safety precautions provided.
- Avoid overusing pesticides, as this can harm beneficial insects and create pesticide resistance in pests.
- Regularly inspect and maintain your lawn equipment to ensure it’s in good working condition, as damaged or dull equipment can contribute to pest problems.
Sodding: Sodding offers instant results and a uniform appearance. It involves laying rolls or pieces of pre-grown turf onto the prepared soil. Here’s how to proceed with sodding:
Both seeding and sodding methods require proper care and maintenance to encourage healthy establishment and growth. Regular watering, mowing, and fertilizing will help your new lawn flourish.
Choose the method that best suits your preferences and budget, and enjoy the process of watching your newly restored lawn come to life!
Read more: How To Clean Tiles After Construction
Watering and Maintenance
Watering and maintenance are crucial for the success of your newly restored lawn. Proper watering ensures that the grass establishes strong root systems, while maintenance practices help keep your lawn healthy and vibrant. Here are some tips to follow:
Watering:
Maintenance:
Regular watering and proper maintenance practices will help your lawn stay healthy and lush. Pay attention to the specific needs of your grass type and adjust your watering and maintenance routine accordingly. With consistent care, your newly restored lawn will continue to thrive and provide enjoyment for years to come.
Dealing with Weeds and Pests
While restoring your lawn after construction, it’s important to be proactive in dealing with weeds and pests. Weeds can quickly invade bare areas, while pests can damage or destroy your newly established grass. Here are some strategies to help you effectively manage weeds and pests:
Weed Control:
Pest Control:
By being proactive in weed and pest control, you can help your newly restored lawn thrive without interference from unwanted elements. Regular inspections and prompt action will help maintain a healthy environment for your grass to grow and flourish.
Conclusion
Restoring your lawn after construction is a rewarding process that requires careful planning and execution. By following the necessary steps and maintaining a proactive approach, you can transform your post-construction lawn into a vibrant and healthy green space.
Assessing the damage caused by construction is the first step. Identifying areas of compaction, soil erosion, and damage to the grass will guide your restoration efforts.
Clearing and leveling the ground create a clean and even surface for your new grass to establish itself. Removing debris, addressing uneven areas, and ensuring proper drainage set the stage for a successful lawn restoration.
Proper soil preparation is crucial for providing the necessary nutrients and water-retention capabilities for your grass. Aerating the soil, adding organic matter, and addressing nutrient deficiencies through soil testing and amendment are key steps in this process.
The next step is to choose between seeding or sodding your lawn. Seeding offers variety and cost-effectiveness, while sodding provides instant results and a uniform appearance. Following the recommended techniques for each method will ensure successful establishment and growth.
Watering and maintenance are essential for the health and longevity of your newly restored lawn. Proper watering practices, regular mowing, fertilizing, and addressing any weed or pest issues will help your lawn thrive and maintain its vibrancy.
By being proactive in dealing with weeds and pests, you can protect your lawn from invasion and damage. Regular inspections, manual removal, and targeted control measures will help you create a healthy environment for your grass to flourish.
In conclusion, restoring your lawn after construction requires attention to detail, patience, and persistence. By following the step-by-step process outlined in this article and maintaining proper care and maintenance, you can rejuvenate your lawn and create a beautiful outdoor space for years to come.
Frequently Asked Questions about How To Fix Lawn After Construction
Was this page helpful?
At Storables.com, we guarantee accurate and reliable information. Our content, validated by Expert Board Contributors, is crafted following stringent Editorial Policies. We're committed to providing you with well-researched, expert-backed insights for all your informational needs.


0 thoughts on “How To Fix Lawn After Construction”