Home>Articles>How To DIY Fix A Kegerator That Won’t Run After A Power Surge
Articles
How To DIY Fix A Kegerator That Won’t Run After A Power Surge
Modified: March 1, 2024
Learn how to fix a kegerator that won't run after a power surge with our step-by-step DIY guide. Read articles on troubleshooting and repairing kegerator issues.
(Many of the links in this article redirect to a specific reviewed product. Your purchase of these products through affiliate links helps to generate commission for Storables.com, at no extra cost. Learn more)
Introduction
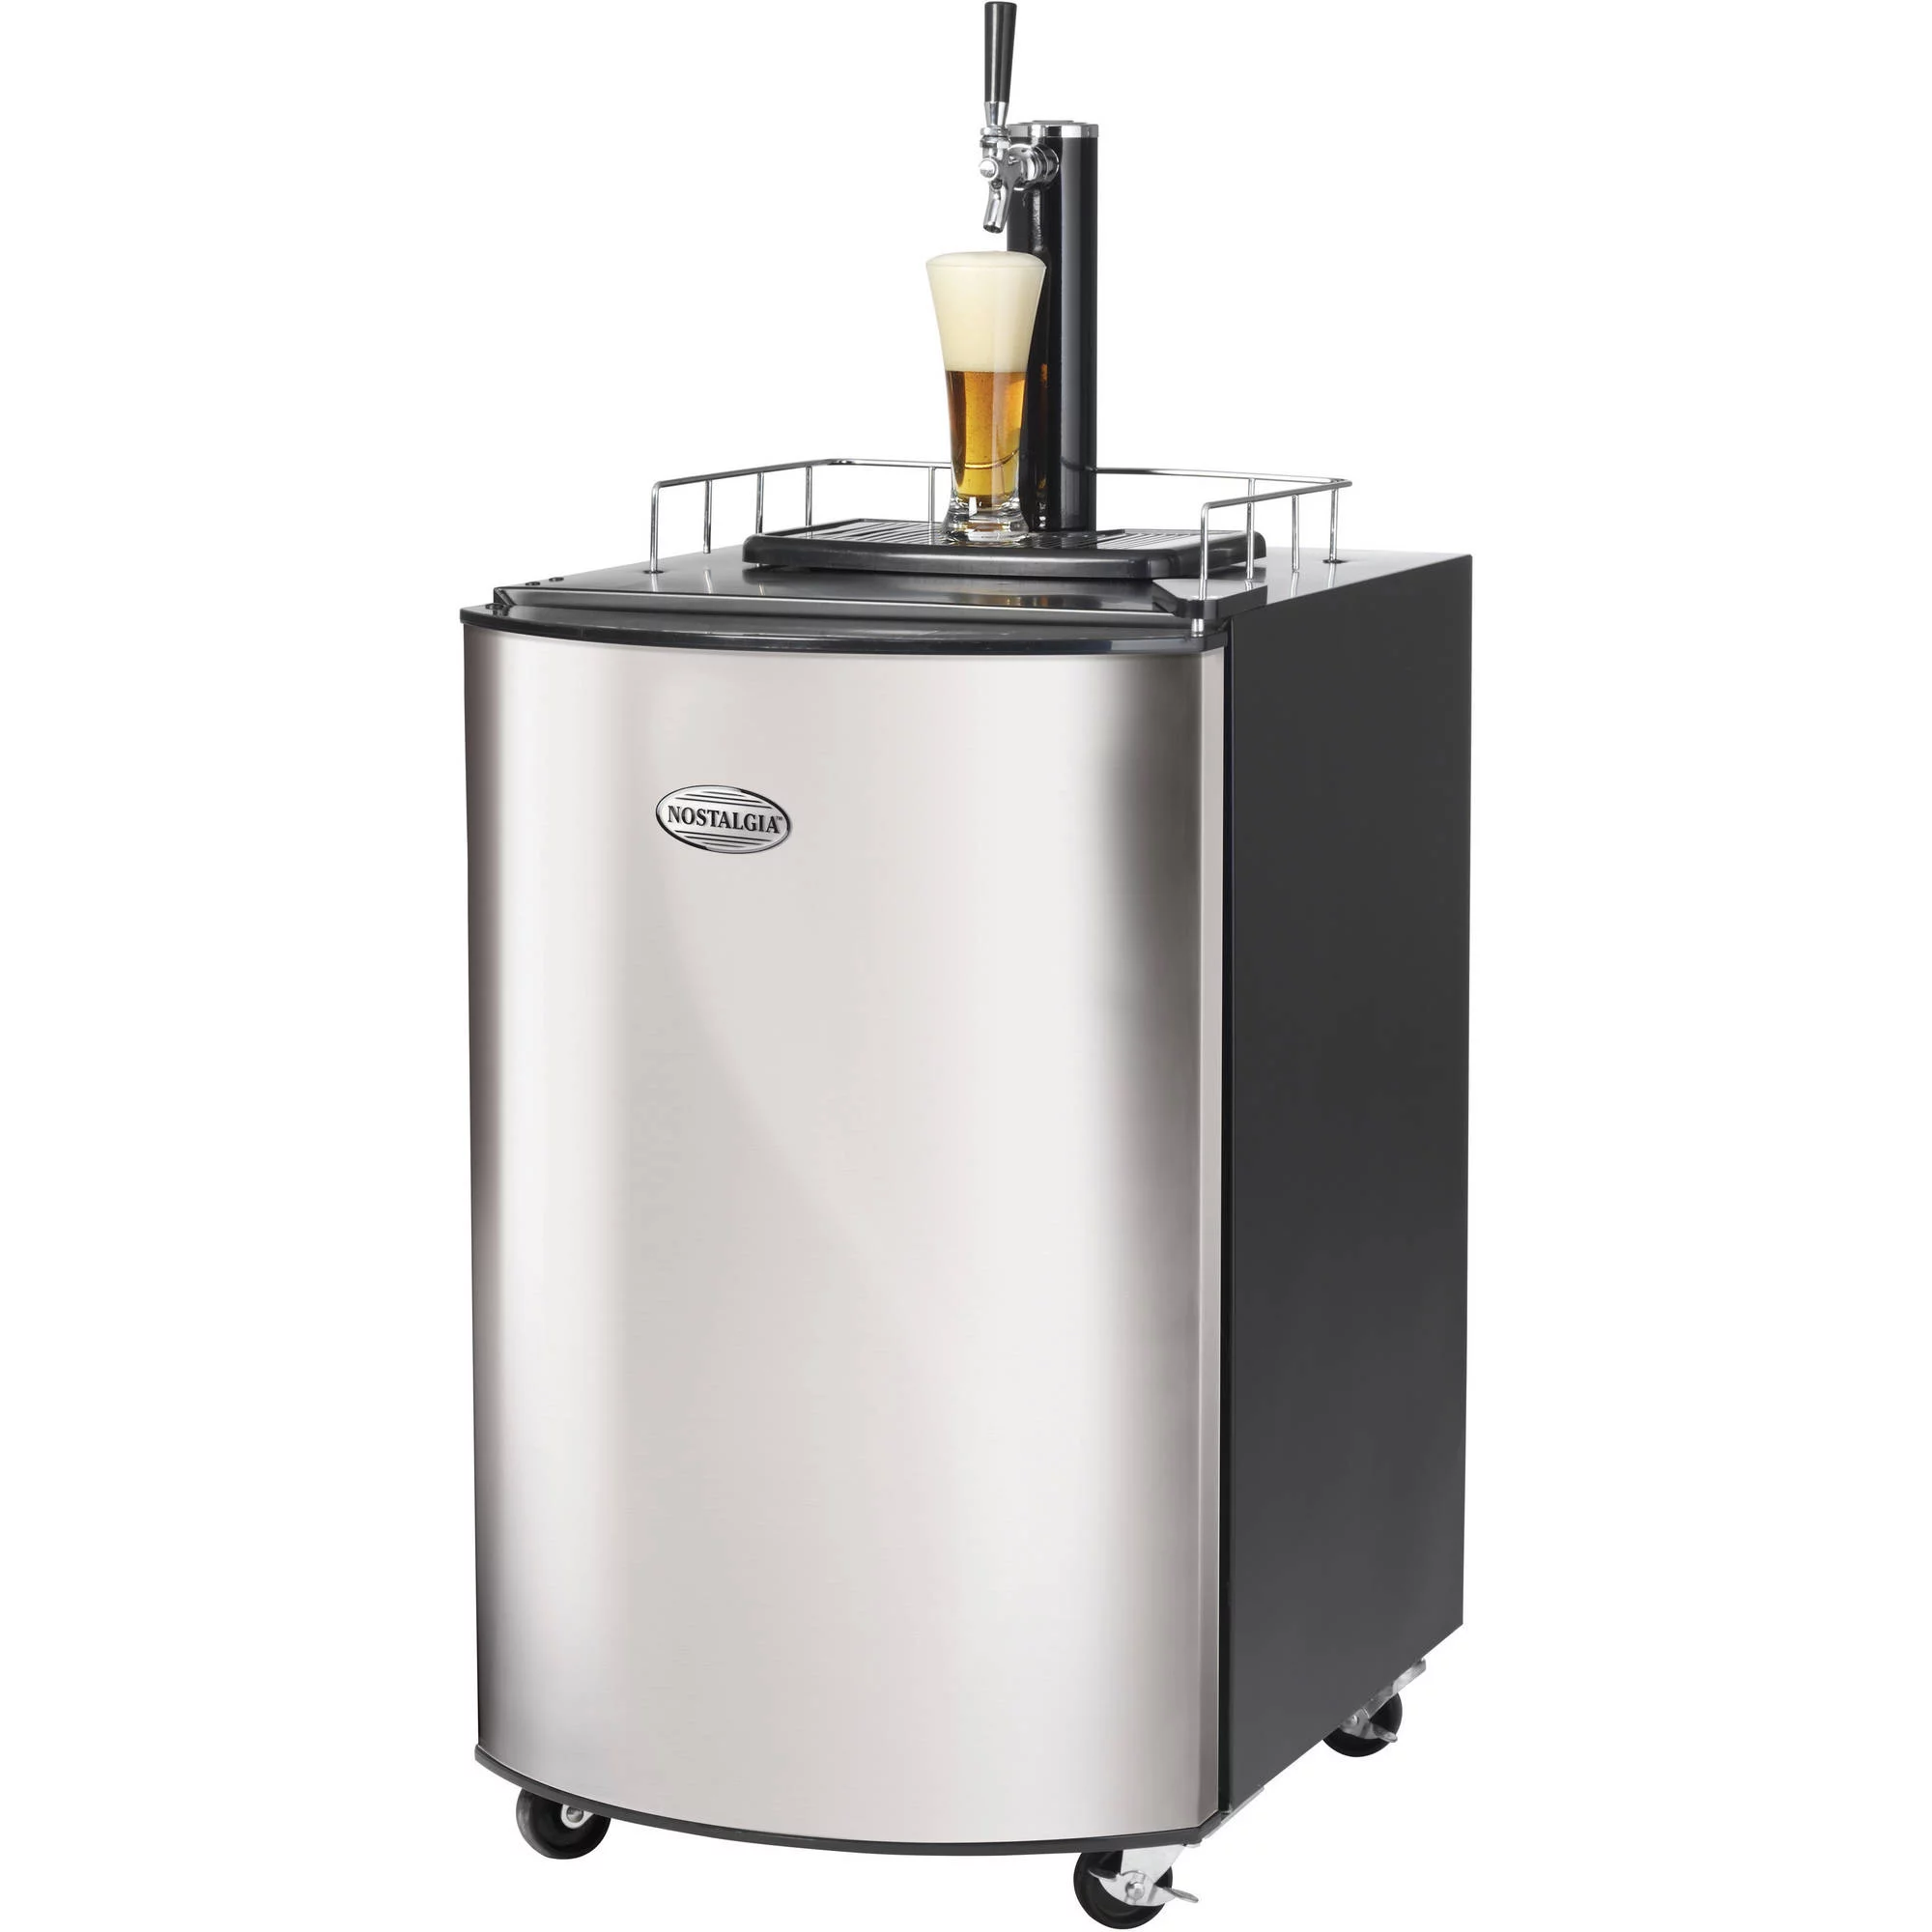
Power surges can be a real headache, especially when they cause damage to our beloved appliances. One such appliance that can be affected by power surges is a kegerator. A kegerator is not only a convenient way to store and enjoy your favorite draft beers at home, but it also adds a touch of sophistication to any gathering or party.
When a kegerator refuses to run after a power surge, it can be frustrating. However, fear not! In this article, we will guide you through the process of fixing a kegerator that won’t run after a power surge. With some basic DIY skills and the right troubleshooting steps, you can get your kegerator up and running again in no time.
Before we dive into the steps of repairing a kegerator, let’s first understand some of the common causes of kegerator malfunction after a power surge. Typically, power surges can damage electrical components such as the control board, fuses, compressor, and motor. Faulty wiring or a sudden spike in electric current can harm these components and cause the kegerator to stop working.
Now, you might be wondering why it’s important to take matters into your own hands and attempt DIY repairs. Well, for starters, calling a technician can be costly and time-consuming. By fixing the kegerator yourself, you not only save money but also gain a sense of accomplishment. Additionally, troubleshooting and repairing appliances can be a valuable skill to have, as it allows you to tackle similar issues in the future.
However, before you start fixing your kegerator, it’s crucial to prioritize safety. Remember, dealing with electrical devices can be dangerous if not approached correctly. Always begin by unplugging the kegerator and ensuring that it is disconnected from the power source. This simple step will eliminate the risk of electrical shocks or injuries.
In the following sections, we will provide a step-by-step guide to help you troubleshoot and fix a kegerator that won’t run after a power surge. By following these instructions and exercising caution, you can restore your kegerator back to its full glory. Remember, patience and attention to detail are key when tackling a DIY project like this. So, grab your tools and let’s get started on repairing your kegerator!
Key Takeaways:
- DIY Repair Empowers and Saves Money
Taking on the challenge of fixing a kegerator after a power surge through DIY methods not only saves money but also empowers individuals with valuable skills and independence. - Preventive Maintenance is Key
Implementing preventive measures such as surge protection, regular cleaning, and monitoring temperature can help avoid future issues and ensure the longevity of the kegerator.
Read more: How To Fix Surge Protector
Common Causes of Kegerator Malfunction after a Power Surge
Power surges can wreak havoc on delicate electrical components within a kegerator, leading to malfunctions and rendering the appliance unusable. Understanding the common causes of kegerator malfunction after a power surge can help you identify the problem and take appropriate steps to fix it. Here are some of the most frequent culprits:
1. Control Board Damage: The control board is the brain of the kegerator, responsible for regulating temperature, monitoring settings, and managing the cooling system. During a power surge, the control board can suffer electrical damage, leading to a loss of functionality. This can manifest as a complete failure to start or display error codes.
2. Fuse Blowouts: Kegerators are equipped with fuses to protect the electrical components from power fluctuations. However, a power surge can cause these fuses to blow, interrupting the power supply to critical components. When the fuses blow, the kegerator may not turn on or cool properly.
3. Compressor and Motor Issues: The compressor and motor are essential components for maintaining the proper temperature inside the kegerator. A power surge can cause the compressor or motor to malfunction, resulting in temperature fluctuations or a complete inability to cool the keg. Strange noises or a lack of vibration from the kegerator can indicate a problem with the compressor or motor.
4. Electrical Wiring Damage: Faulty or damaged electrical wiring can also contribute to kegerator malfunction after a power surge. Wiring that is frayed, melted, or shorted can lead to power supply issues, affecting the overall operation of the kegerator. It’s important to inspect the wiring and look for any signs of damage before attempting any repairs.
5. Control Panel Malfunction: The control panel is where you set the temperature and make adjustments to the kegerator’s settings. A power surge can cause the control panel to malfunction, making it difficult or impossible to change temperature settings or access other functions. This can lead to inconsistent cooling or an inability to control the kegerator properly.
Identifying the specific cause of kegerator malfunction after a power surge is the first step towards troubleshooting and resolving the issue. By understanding which component is affected, you can focus your repair efforts on that area. In the next section, we will provide a step-by-step guide to help you fix a kegerator that won’t run after a power surge.
Importance of DIY Repairs
When faced with a kegerator malfunction after a power surge, you may be tempted to immediately call a professional technician to fix the issue. While seeking professional help is a valid option, there are several compelling reasons to consider tackling the repair yourself through DIY (Do-It-Yourself) methods.
1. Cost Savings: One of the primary advantages of DIY repairs is the potential for significant cost savings. Hiring a technician can come with hefty service fees and parts replacement costs. By fixing the kegerator yourself, you can avoid these expenses and put that money back into your pocket.
2. Learning Opportunity: Engaging in a DIY repair project offers a valuable learning opportunity. By taking the time to understand how your kegerator works and troubleshooting the issue, you can expand your knowledge and develop new skills. This newfound expertise can serve you well in future appliance repairs and maintenance.
3. Convenience and Flexibility: DIY repairs offer the convenience and flexibility of working on your own time. Instead of scheduling an appointment and waiting for the technician to arrive, you can start the repair process immediately. This allows for a quicker resolution and the restoration of your kegerator’s functionality without unnecessary delays.
4. Empowerment and Independence: There’s a sense of empowerment that comes with successfully repairing a broken appliance. DIY repairs give you the opportunity to take control of the situation and find a solution on your own. It boosts your confidence and fosters a sense of independence, showing that you are capable of handling unexpected challenges.
5. Customization and Personalization: DIY repairs allow for customization and personalization options that may not be available through a professional service. You can choose specific replacement parts or implement modifications to enhance the performance or aesthetic appeal of your kegerator. This personal touch adds a sense of pride and satisfaction in your repaired appliance.
It’s important to note that not all repairs should be attempted as DIY projects. For complex or potentially hazardous situations, it’s always best to consult a professional. However, fixing a kegerator that won’t run after a power surge is a task that can often be safely and successfully accomplished through DIY methods.
By taking the initiative to repair your kegerator, you not only save money but also gain valuable skills and independence. With a little patience, research, and the right guidance, you can restore your kegerator to its optimal functioning state and continue enjoying your favorite draft beers at home. So, gather your tools and let’s dive into the step-by-step process of fixing a kegerator that won’t run after a power surge.
Safety Precautions Before Starting
Before you embark on the journey of fixing your kegerator that won’t run after a power surge, it’s essential to prioritize safety. Dealing with electrical devices can pose certain risks, so it’s important to take the necessary precautions to protect yourself and prevent accidents. Here are some safety measures to keep in mind:
1. Unplug the Kegerator: Before starting any repairs, ensure that the kegerator is unplugged from the power source. This will eliminate the risk of electrical shocks or other accidents while working on the appliance.
2. Wear Protective Gear: It’s always a good idea to wear protective gear when working with electrical appliances. This includes safety goggles to protect your eyes from any flying debris, gloves to prevent injuries, and closed-toe shoes to provide proper foot protection.
3. Work in a Well-Ventilated Area: Repairing a kegerator may involve using cleaning agents or coming into contact with dust and debris. Make sure to work in a well-ventilated area to avoid inhaling any harmful fumes or particles. If necessary, use a mask to protect your respiratory system.
4. Use Proper Tools and Equipment: Ensure that you have the necessary tools and equipment for the repair job. Using the correct tools not only makes the process easier but also reduces the risk of accidents. Follow the manufacturer’s instructions and guidelines when using any specialized tools.
5. Take Precautions with Electricity: Even when unplugged, some electrical components within the kegerator can still hold a charge. Use caution when handling any electrical connections or components. Avoid touching any bare wires or terminals and handle connectors by the insulated part.
6. Read the User Manual: Familiarize yourself with the kegerator’s user manual before attempting any repairs. The manual will provide you with valuable information about the appliance’s inner workings and any specific precautions or warnings to be aware of.
By following these safety precautions, you can minimize the risks associated with repairing a kegerator and proceed confidently with the troubleshooting process. Now let’s move on to the step-by-step guide to fixing a kegerator that won’t run after a power surge.
Step-by-Step Guide to Fixing a Kegerator That Won’t Run
Now that you’re aware of the importance of safety and have taken the necessary precautions, let’s delve into the step-by-step process of fixing a kegerator that won’t run after a power surge. These troubleshooting steps will help you identify and resolve the underlying issues with your kegerator. It’s important to note that the exact steps may vary depending on your kegerator model, so refer to your user manual for additional guidance if needed.
Before starting, gather the following tools:
– Screwdriver set
– Multimeter (for electrical testing)
– Cleaning materials (such as a soft cloth and mild cleaner)
– Replacement parts (if necessary)
Now, let’s begin:
Step 1: Unplugging and Assessing the Damage
– Ensure the kegerator is unplugged from the power source.
– Inspect the exterior for any visible damage and take note of any unusual sounds or smells.
Step 2: Checking the Power Source and Connections
– Check that the power outlet is functioning properly by plugging in another device.
– Inspect the kegerator’s power cord for any visible damage.
– Ensure the power cord is securely connected to the kegerator and the power outlet.
Step 3: Inspecting the Control Board and Fuses
– Locate the control board, typically found behind the front panel or inside the kegerator.
– Visually inspect the control board for any signs of burnt or damaged components.
– Check the fuses on the control board for any signs of blown fuses.
– Replace any blown fuses with new ones of the correct rating.
Step 4: Troubleshooting the Compressor and Motor
– Locate the compressor and motor at the back of the kegerator.
– Listen for any unusual noises coming from the compressor or motor.
– Use a multimeter to test the continuity of the compressor and motor windings.
– If either the compressor or motor is determined to be faulty, consult a professional for repair or replacement.
Step 5: Cleaning and Replacing Damaged Components
– Thoroughly clean the interior and exterior of the kegerator using a mild cleaner and a soft cloth.
– Inspect any wiring connections for damage and replace as necessary.
– Check the temperature sensor and thermostat for proper functioning. Replace if faulty.
Step 6: Testing the Kegerator’s Functionality
– Plug the kegerator back into the power source.
– Set the kegerator to the desired temperature and monitor for proper cooling.
– Check that all functions, such as the control panel settings, interior light, and fan (if applicable), are working correctly.
– Keep an eye on the kegerator for the next few days to ensure that it continues to run smoothly.
By following these step-by-step troubleshooting guidelines, you can effectively diagnose and fix a kegerator that won’t run after a power surge. However, if you encounter any difficulties or if the problem persists, it is advisable to seek professional assistance to ensure a safe and proper repair.
In the next section, we will conclude with some final tips and recommendations for preventing future issues with your kegerator.
Read more: How To Fix A Running Toilet
Step 1: Unplugging and Assessing the Damage
The first step in fixing a kegerator that won’t run after a power surge is to unplug the appliance and assess the damage. By disconnecting it from the power source, you eliminate the risk of electric shock and ensure your safety during the repair process. Here’s how to proceed:
1. Unplug the Kegerator: Locate the power cord at the back of the kegerator and unplug it from the wall outlet. Alternatively, you can switch off the power at the circuit breaker to ensure a complete disconnection from the electricity supply.
2. Inspect the Exterior: Take a close look at the exterior of the kegerator for any visible damage. Check if there are any dents, cracks, or signs of physical impact that could have resulted from the power surge. Document and make note of any damages for reference during the repair process.
3. Observe Unusual Sounds or Smells: Power surges can sometimes cause internal issues that manifest as strange noises or unusual smells. Pay attention to any humming, buzzing, or grinding sounds coming from the kegerator. Additionally, note if you detect any burnt or strong odors, as these could indicate damage to electrical components.
4. Check for Power Indicators: Some kegerators have power indicator lights or displays. Verify if these are functioning properly or if they are completely unresponsive after the power surge. This information will give you an initial indication of the severity of the damage.
5. Assess Digital Displays: If your kegerator has a digital display, take note of whether it is showing any error codes or if it remains blank. This information can help pinpoint specific issues related to the control panel or other electronic components.
By unplugging the kegerator and assessing the damage, you establish a starting point for the repair process. This initial inspection allows you to gather valuable information about the condition of the appliance and the potential areas that need attention.
It’s important to be thorough in your assessment, documenting any visible damage and noting any abnormal sounds or smells. This information will guide you as you move forward with troubleshooting and repairing the kegerator. Remember to exercise caution when examining the kegerator and avoid touching any internal components to prevent further damage or injury.
Once you’ve conducted a careful assessment of the kegerator, you’re ready to move on to the next step: checking the power source and connections. This will help determine if the issue lies with the electrical supply or if there are any loose connections causing the kegerator to malfunction.
Step 2: Checking the Power Source and Connections
After assessing the damage and unplugging the kegerator, the next step in fixing a kegerator that won’t run after a power surge is to check the power source and connections. This step will help you identify and resolve any issues related to the electrical supply or loose connections. Follow these steps to proceed:
1. Inspect the Power Outlet: Check the power outlet that the kegerator was plugged into prior to the power surge. Plug in another device, such as a lamp or phone charger, to ensure that the outlet is functioning properly. If the other device works, you can rule out an issue with the power supply.
2. Examine the Power Cord: Inspect the kegerator’s power cord for any visible damage, such as frayed wires or exposed metal. If you notice any damage, it is crucial to replace the power cord before proceeding with the repair. Damaged cords can present a safety hazard and may cause the kegerator to malfunction.
3. Ensure Secure Connections: Check that the power cord is securely connected to both the kegerator and the power outlet. Give the cord a gentle tug to ensure it is not loose. Loose connections can result in a loss of power or intermittent electrical supply, causing the kegerator to fail.
4. Reset the GFCI Outlet: If your kegerator is connected to a GFCI (Ground Fault Circuit Interrupter) outlet, check if the GFCI has been tripped due to the power surge. The GFCI outlet usually has a test button and a reset button. Press the reset button to restore power to the outlet and see if the kegerator starts functioning again.
5. Extension Cords and Power Strips: If your kegerator is connected to an extension cord or power strip, inspect these components as well. Check for any damage or loose connections on the extension cord or power strip and ensure they are rated to handle the power requirements of the kegerator.
By thoroughly checking the power source and connections, you can address any issues related to faulty electrical supply or loose connections. Problems with the power source or connections may prevent the kegerator from running properly, even after a power surge. It is important to fix these issues before proceeding to diagnose other internal components.
Remember to always exercise caution when working with electricity. If you are unsure or uncomfortable handling electrical components, it is advisable to seek assistance from a professional technician. Safety should always be a top priority during any DIY repair process.
Once you have determined that the power source and connections are not responsible for the kegerator malfunction, you can move on to inspecting the control board and fuses. This step will help identify any internal electrical damage caused by the power surge and guide you in the subsequent repair process.
Check the power supply and make sure it is properly connected. If the kegerator still won’t run, the power surge may have damaged the compressor or other internal components. It’s best to consult a professional for repair.
Step 3: Inspecting the Control Board and Fuses
Now that you have checked the power source and connections, the next step in fixing a kegerator that won’t run after a power surge is to inspect the control board and fuses. A power surge can cause damage to these electrical components, leading to a loss of functionality in the kegerator. Follow these steps to proceed:
1. Locate the Control Board: The control board is typically located behind the front panel of the kegerator or inside the appliance. Refer to your kegerator’s user manual to identify the location of the control board in your specific model.
2. Visually Inspect the Control Board: Carefully examine the control board for any visible signs of damage, such as burned or melted components. Look for discoloration, charred areas, or broken connections. These indicators suggest that the control board has been compromised by the power surge.
3. Check the Fuses: The control board may have one or more fuses that protect the electrical components from power surges. Inspect the fuses for any signs of damage, such as blackened or blown fuses. If the fuses appear damaged, they will need to be replaced.
4. Replace Blown Fuses: If you find any blown fuses, replace them with new fuses of the same rating. Use the appropriate replacement fuses recommended by the manufacturer to ensure proper electrical protection. Avoid using fuses with higher or lower ratings, as they can pose risks to the kegerator’s operation.
5. Test the Control Board: After replacing any blown fuses, carefully reconnect the power and test the control board. Look for any error codes or indicators that suggest the control board is functioning properly. Note any changes in the kegerator’s operation or any error messages displayed on the control panel.
6. Seek Professional Help if Needed: If you are unsure about inspecting or repairing the control board and fuses, or if you notice extensive damage, it is advisable to seek assistance from a professional technician. They have the expertise and knowledge to handle intricate electrical components and ensure a safe and effective repair.
Inspecting the control board and fuses is crucial in identifying electrical damage caused by the power surge. By replacing any blown fuses and ensuring the control board is functioning properly, you can restore the kegerator’s functionality and resolve any issues related to the electrical components.
Remember, each kegerator model may have slight differences in the control board and fuse location. Consult your user manual for specific instructions and guidelines related to your kegerator’s control board and fuse replacement.
Once you have completed the inspection of the control board and fuses, you can proceed to the next step: troubleshooting the compressor and motor. This step will help you identify potential issues with these critical components and take the necessary steps to resolve them.
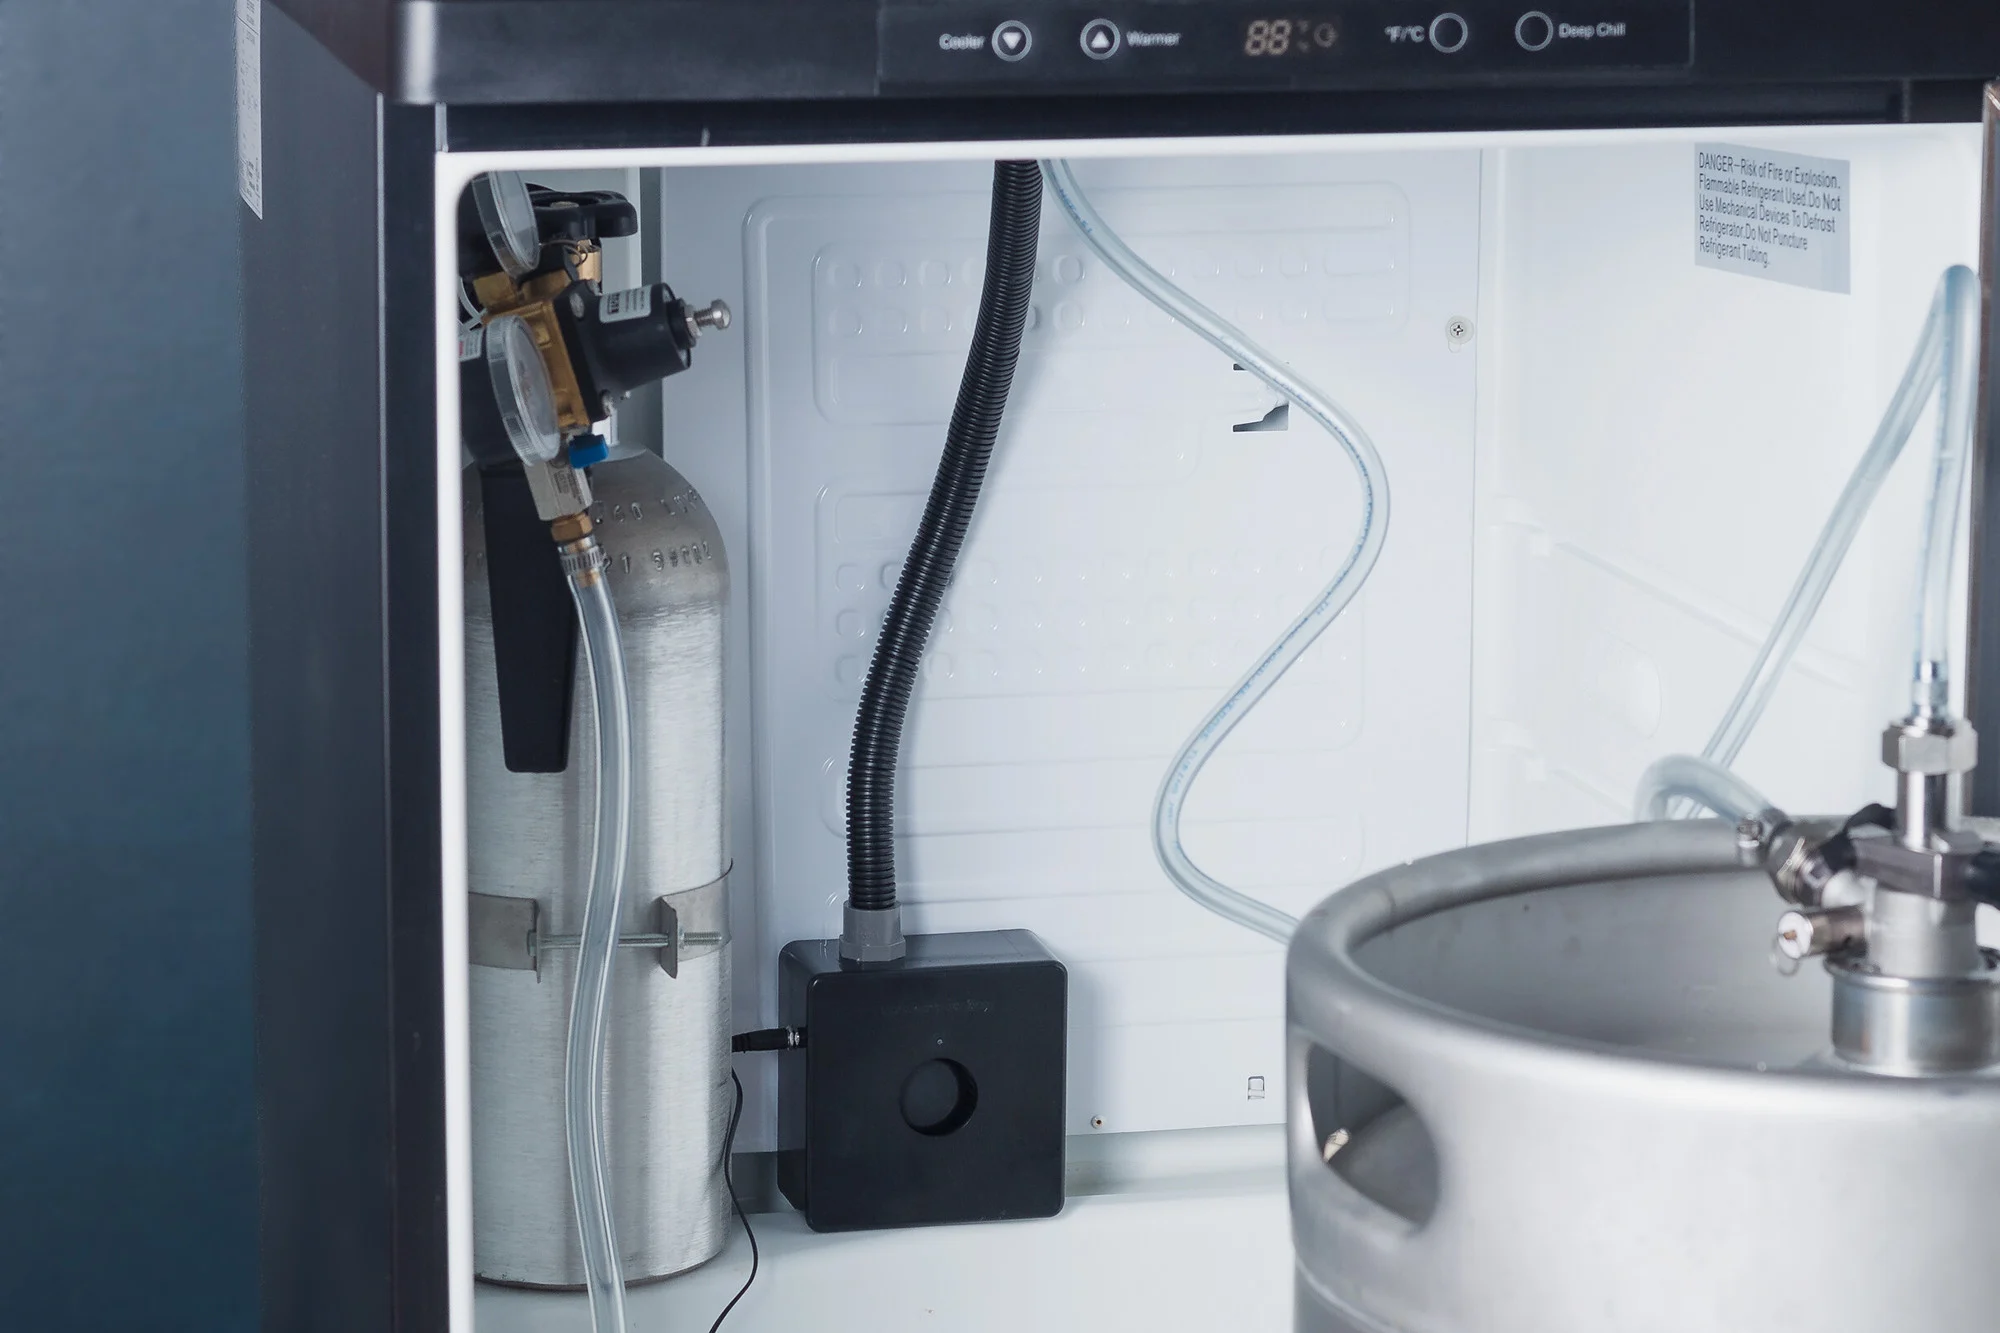
Step 4: Troubleshooting the Compressor and Motor
After inspecting the control board and fuses, the next step in fixing a kegerator that won’t run after a power surge is to troubleshoot the compressor and motor. These components are crucial for maintaining the proper temperature inside the kegerator. Follow these steps to proceed:
1. Locate the Compressor and Motor: The compressor and motor are typically located at the back of the kegerator, usually behind a protective panel. Refer to your kegerator’s user manual for specific instructions on locating these components in your model.
2. Listen for Unusual Noises: Power surges can sometimes cause damage to the compressor or motor, resulting in strange noises. Power on the kegerator and listen carefully for any unusual or loud noises coming from these components. Grinding, humming, or buzzing sounds may indicate a problem.
3. Check for Vibration: While the kegerator is running, check for any vibrations in the compressor and motor. Excessive vibrations could imply a malfunction or misalignment. If the compressor or motor is not running smoothly, it may need professional repair or replacement.
4. Use a Multimeter for Testing: If you have a multimeter (a device used to measure electrical current, resistance, and voltage), you can proceed with more advanced testing. Check the continuity of the compressor and motor windings by following the specific instructions in your kegerator’s user manual.
5. Consult a Professional if Necessary: If you hear unusual noises, detect excessive vibrations, or if the multimeter readings indicate a problem with the compressor or motor, it is advisable to seek assistance from a professional technician. These components require specialized knowledge and tools for repair or replacement.
The compressor and motor are critical components in maintaining the proper cooling temperature inside the kegerator. If they are not functioning correctly, the kegerator may fail to cool the kegs or maintain the desired temperature. Troubleshooting these components will help identify any issues that arose due to the power surge.
Remember, dealing with electrical components can be hazardous, especially if you are unsure of the specific repair procedures. If you are not confident in your abilities to troubleshoot the compressor and motor, it is always safer to consult a professional technician.
Once you have completed troubleshooting the compressor and motor, you can proceed to the next step: cleaning and replacing damaged components. This step will ensure optimal performance and address any potential issues caused by the power surge.
Read more: How To Fix Leaky Kegerator
Step 5: Cleaning and Replacing Damaged Components
After troubleshooting the compressor and motor, the next step in fixing a kegerator that won’t run after a power surge is to clean and replace any damaged components. Cleaning and maintaining the kegerator’s interior is crucial for optimal performance and preventing future issues. Here’s how to proceed:
1. Thoroughly Clean the Interior: Start by emptying the kegerator and removing any kegs, beer lines, and other accessories. Use a mild cleaner and a soft cloth to clean the interior surfaces, including shelves, walls, and the cooling plate. Wipe away any dirt, spills, or residue that may have accumulated.
2. Inspect Wiring Connections: Examine the wiring connections inside the kegerator for any signs of damage. Look for loose or frayed wires, melted insulation, or corrosion. Damaged wiring can cause electrical issues and impact the kegerator’s functionality. Replace any damaged wiring following proper electrical safety guidelines.
3. Check the Temperature Sensor and Thermostat: Locate the kegerator’s temperature sensor and thermostat. Inspect these components for proper functioning. If the temperature sensor is not accurately reading the temperature or the thermostat is unresponsive, consider replacing them with new ones compatible with your kegerator model.
4. Replace Damaged or Faulty Parts: If you identified any damaged components during the inspection, such as a malfunctioning cooling plate, fan, or light bulb, replace them with compatible replacement parts. Refer to your kegerator’s user manual or consult with the manufacturer to ensure you choose the correct replacement parts.
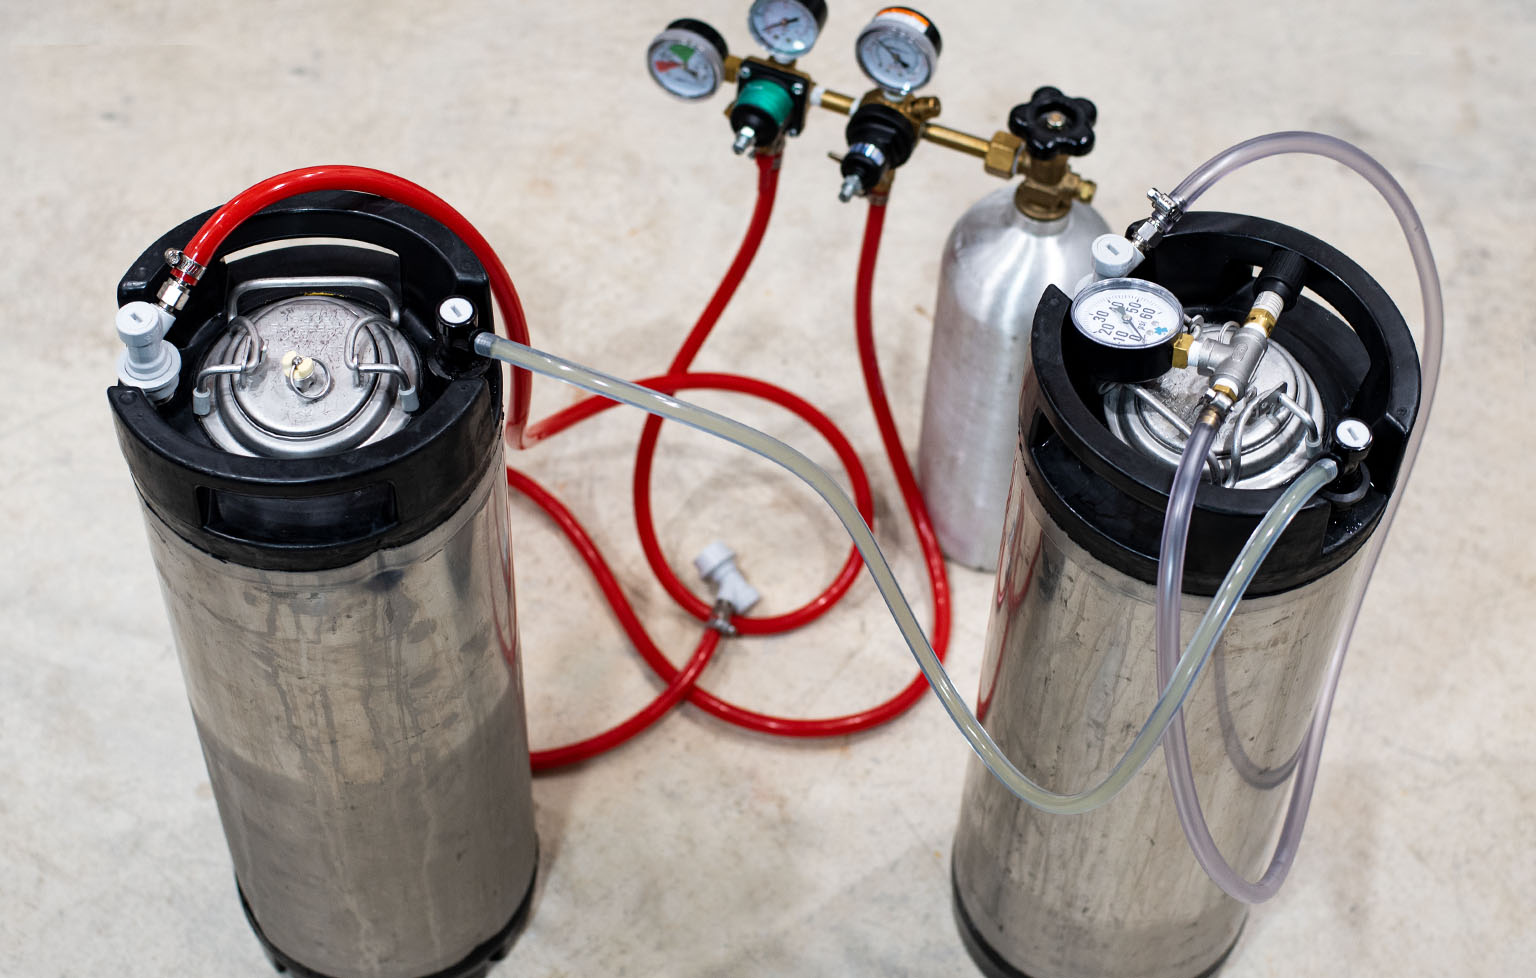
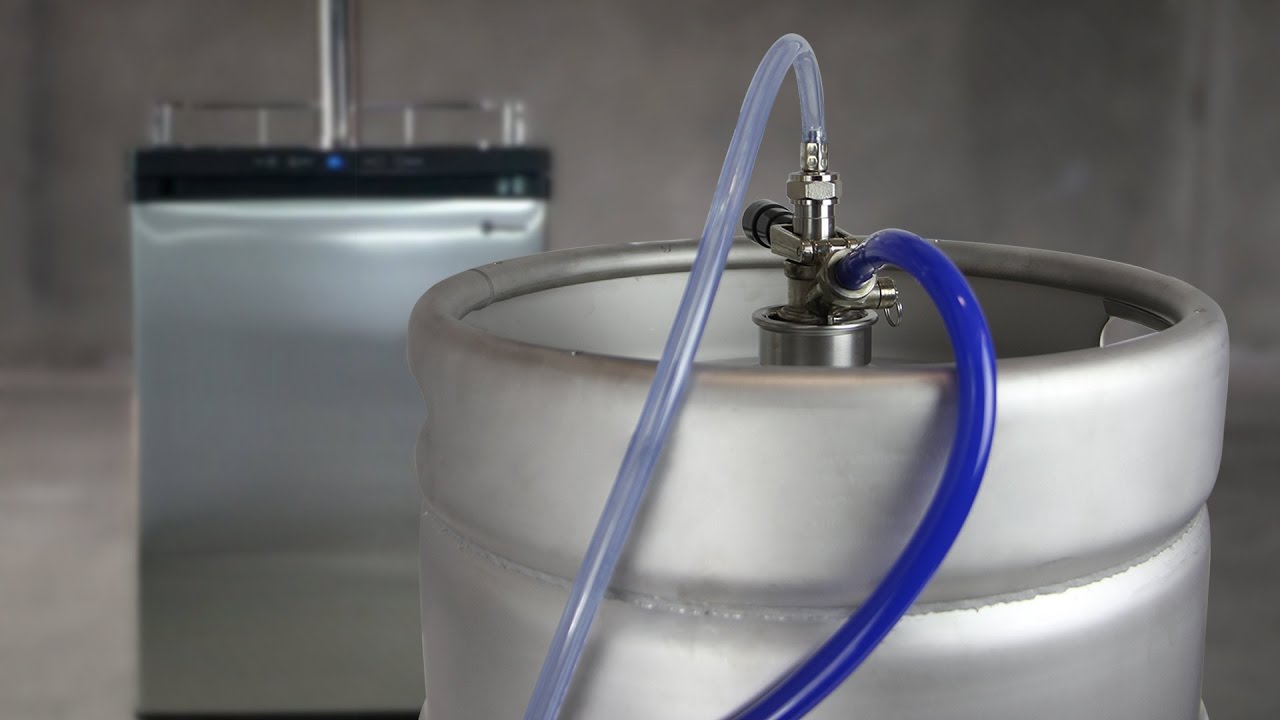
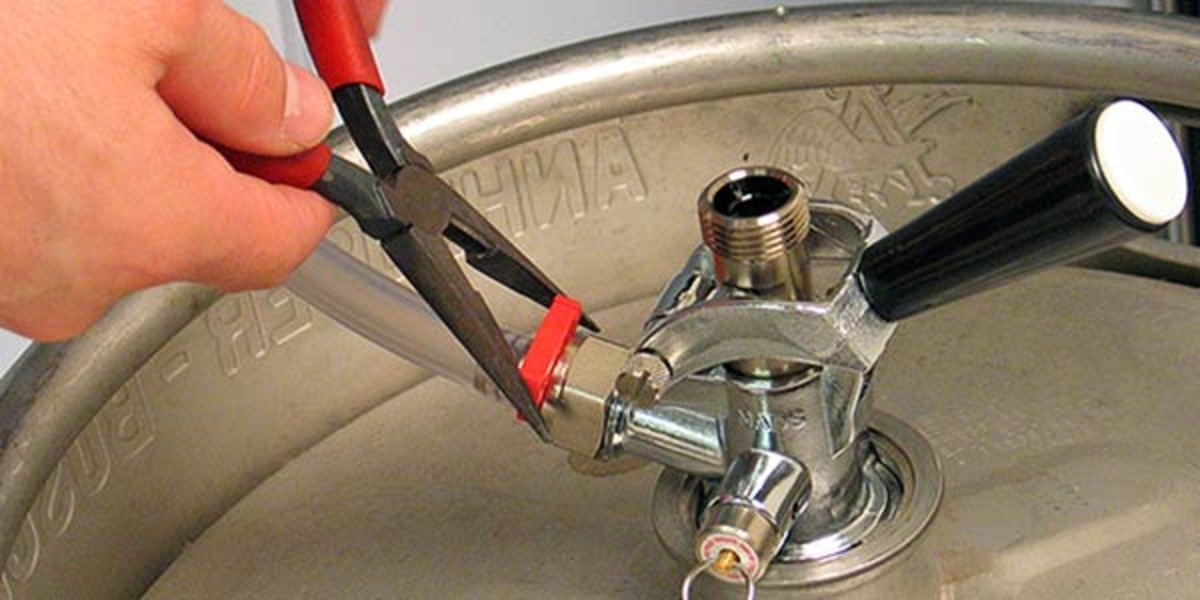
5. Clean Beer Lines and Faucets: While not directly related to the power surge, it’s a good opportunity to clean the beer lines and faucets. Use a cleaning solution specifically designed for beer lines and follow the manufacturer’s instructions. Properly cleaned lines and faucets will help maintain the quality and taste of your draft beer.
By cleaning the kegerator’s interior and replacing any damaged or faulty components, you ensure optimal performance and prevent potential issues that might have been caused by the power surge. Regular maintenance and cleaning are essential to extend the lifespan of your kegerator and ensure the best possible beer-drinking experience.
Remember to always follow appropriate safety guidelines when cleaning or working with electrical components. Disconnect the kegerator from the power source before cleaning or replacing any parts to prevent electric shock or injury.
Once you have completed cleaning and replacing damaged components, you can move on to the final step: testing the kegerator’s functionality. This step will confirm if the repairs have been successful and if the kegerator is operating as expected after the power surge.
Step 6: Testing the Kegerator’s Functionality
After cleaning and replacing damaged components, the final step in fixing a kegerator that won’t run after a power surge is to test its functionality. This step ensures that the repairs have been successful and that the kegerator is operating as expected. Here’s how to proceed:
1. Plug in the Kegerator: Reconnect the kegerator to the power source by plugging in the power cord to the wall outlet. Ensure that the kegerator is properly positioned and aligned.
2. Set the Desired Temperature: Adjust the temperature settings on the control panel to your desired cooling level. Allow the kegerator to run for a few minutes to begin cooling.
3. Monitor Temperature and Cooling Performance: Check the temperature inside the kegerator using a separate thermometer to verify that it is reaching and maintaining the desired level. Keep an eye on the cooling performance over a period of time to ensure it remains consistent.
4. Test Control Panel Functions: Check the functionality of the control panel by adjusting settings, such as temperature and other available options. Ensure that the control panel responds correctly and displays the appropriate information.
5. Verify Proper Operation of Other Features: Test any additional features of the kegerator, such as interior lighting, fan operation (if applicable), and any other functions specific to your model. Verify that these features are working as expected.
6. Observe for Inconsistent Operation: During the testing process, pay attention to any signs of inconsistent operation, unusual noises, or irregularities. If you notice any issues or the kegerator does not function properly, refer back to the troubleshooting steps or consider seeking professional assistance.
By thoroughly testing the kegerator’s functionality, you can ensure that the repairs have been successful and that the appliance is operating as it should. This step is crucial to confirm that the kegerator is ready to be used and that it can provide the desired cooling and dispensing of draft beer.
Remember, continue monitoring the kegerator’s performance in the days following the repair to ensure it continues to run smoothly. If any new issues arise or if the power surge-related problem persists, it may be necessary to seek professional help for further diagnostics and repair.
Now that you have followed through the step-by-step guide to fixing a kegerator that won’t run after a power surge, you should be able to enjoy your favorite draft beers once again. However, it’s also important to consider implementing preventive measures to avoid future issues.
## Conclusion
Fixing a kegerator that won’t run after a power surge may seem like a daunting task, but with the right guidance and steps, it is achievable through DIY repairs. By following safety precautions, checking the power source and connections, inspecting the control board and fuses, troubleshooting the compressor and motor, cleaning and replacing damaged components, and testing the kegerator’s functionality, you have taken significant strides toward restoring your kegerator to proper working condition.
Remember, each kegerator model may have slight variations in design and troubleshooting methods. Always refer to the user manual provided by the manufacturer for specific guidance tailored to your kegerator.
Maintaining your kegerator’s electrical components and performing regular cleaning and maintenance will help prevent issues in the future. Be mindful of power surges and consider using surge protectors or uninterruptible power supplies (UPS) to safeguard your kegerator from electrical fluctuations.
With your kegerator up and running again, you can enjoy your favorite draft beers, entertain guests, and create unforgettable experiences. Cheers to DIY repairs and a fully functional kegerator!
Final Tips and Recommendations for Preventing Future Issues
Now that your kegerator is back up and running after fixing it following a power surge, it’s important to take measures to prevent future issues. By implementing the following tips and recommendations, you can help ensure the longevity and optimal performance of your kegerator:
1. Use Surge Protection: Invest in a surge protector or an uninterruptible power supply (UPS) to protect your kegerator from power surges. These devices help regulate voltage and offer additional protection against electrical fluctuations that can damage sensitive components.
2. Regularly Clean and Maintain: Keep your kegerator clean and well-maintained to prevent dust and dirt from accumulating on the cooling system and other parts. Regularly clean the beer lines, faucets, and keg connections to maintain the quality and taste of your draft beer.
3. Check the Power Source: Periodically inspect the power outlet and power cord of the kegerator for any signs of damage or wear. Replace frayed cords or damaged outlets promptly to avoid electrical problems that can affect the kegerator’s operation.
4. Monitor Temperature: Keep an eye on the temperature inside the kegerator to ensure it remains consistent and within the desired range. Use an external thermometer to verify the accuracy of the built-in temperature control.
5. Perform Routine Maintenance: Follow the manufacturer’s recommendations for routine maintenance tasks, such as cleaning the condenser coils and checking refrigerant levels. Regular maintenance helps prolong the lifespan of your kegerator and ensures optimal performance.
6. Avoid Overloading: Be mindful of the kegerator’s capacity and avoid overloading it with too many kegs or other items. Overloading can strain the compressor and cooling system, leading to inefficiency or malfunction.
7. Keep the Area Well-Ventilated: Ensure that the area around the kegerator is well-ventilated to facilitate proper airflow and prevent overheating. Avoid blocking ventilation openings or placing the kegerator in an enclosed space.
8. Handle Kegs with Care: When handling kegs, be gentle and cautious to avoid damaging connections or causing leaks. Mishandling kegs can lead to unnecessary pressure on the kegerator’s components and potential malfunctions.
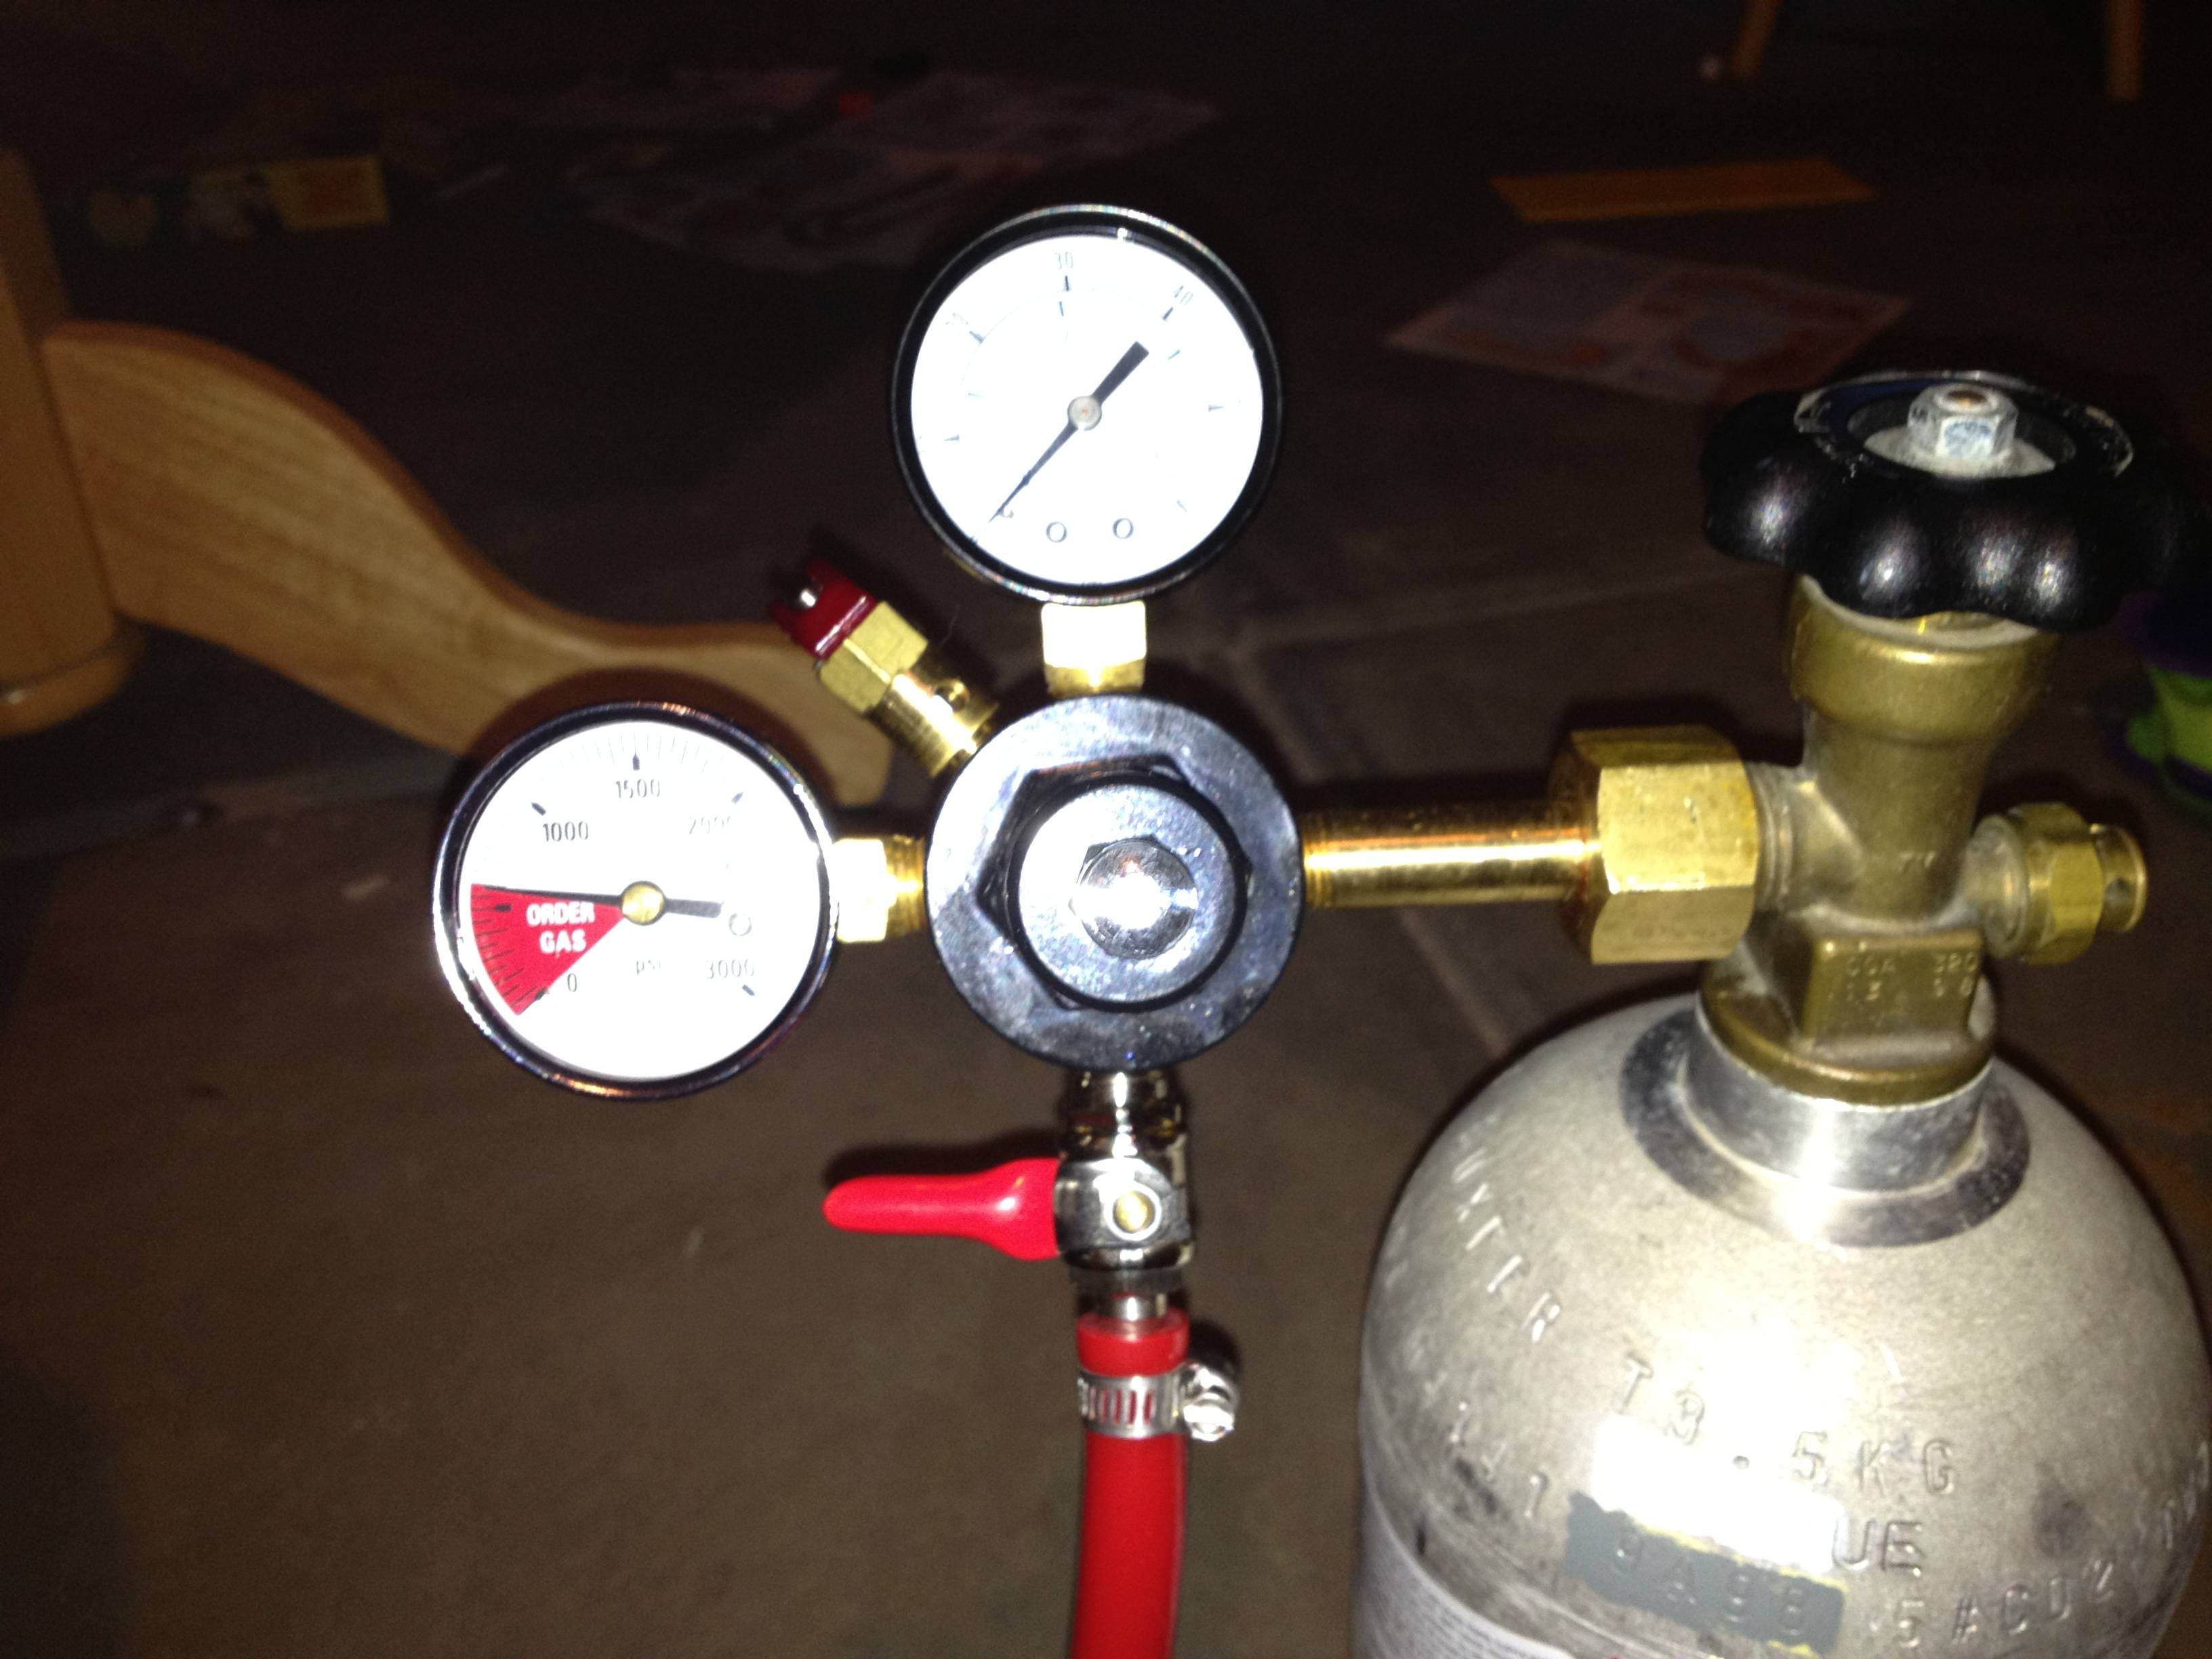
9. Regularly Check for Leaks: Periodically inspect the beer lines, connections, and CO2 lines for any signs of leaks. Leaks can affect the kegerator’s functionality and lead to insufficient cooling or carbonation.
10. Promptly Address Issues: If you notice any unusual noises, fluctuations in temperature, or other issues with your kegerator, address them promptly. Ignoring or delaying repairs can lead to more significant problems down the line.
By following these tips and recommendations, you can minimize the risk of future issues with your kegerator and enjoy uninterrupted draft beer enjoyment for years to come. Remember, preventive maintenance is key in ensuring the ongoing performance and longevity of your appliance.
Cheers to a fully functional kegerator and many delightful pints of draft beer!
Summary of the Steps to Fix a Kegerator After a Power Surge
Fixing a kegerator that won’t run after a power surge requires a systematic approach to troubleshooting and repair. To recap, here is a summary of the steps to fix a kegerator after a power surge:
1. Step 1: Unplugging and Assessing the Damage
– Unplug the kegerator from the power source.
– Inspect the exterior for visible damage and make note of any unusual sounds or smells.
2. Step 2: Checking the Power Source and Connections
– Check the power outlet to ensure it is functioning properly.
– Inspect the power cord for any visible damage and ensure secure connections to the kegerator and power outlet.
3. Step 3: Inspecting the Control Board and Fuses
– Locate the control board and inspect it for any visible damage.
– Check the fuses on the control board for signs of blown fuses and replace them if necessary.
4. Step 4: Troubleshooting the Compressor and Motor
– Listen for unusual noises and check for any vibrations coming from the compressor and motor.
– Use a multimeter for continuity testing of the compressor and motor windings.
5. Step 5: Cleaning and Replacing Damaged Components
– Thoroughly clean the interior of the kegerator.
– Inspect wiring connections and replace any damaged components, such as the temperature sensor or thermostat.
6. Step 6: Testing the Kegerator’s Functionality
– Plug the kegerator back in and set the desired temperature.
– Monitor the temperature, check control panel functions, and verify the operation of other features.
Finally, implement preventive measures to avoid future issues, such as using surge protection, performing regular maintenance, and monitoring the power source and temperature.
It’s crucial to prioritize safety throughout the repair process by following safety precautions, wearing protective gear, and seeking professional assistance if needed. Remember to consult your kegerator’s user manual and manufacturer’s guidelines for specific instructions tailored to your model.
By following these steps and taking proper care of your kegerator, you can restore its functionality and continue enjoying your favorite draft beers at home.
Frequently Asked Questions about How To DIY Fix A Kegerator That Won't Run After A Power Surge
Was this page helpful?
At Storables.com, we guarantee accurate and reliable information. Our content, validated by Expert Board Contributors, is crafted following stringent Editorial Policies. We're committed to providing you with well-researched, expert-backed insights for all your informational needs.


0 thoughts on “How To DIY Fix A Kegerator That Won’t Run After A Power Surge”