Home>diy>Building & Construction>How To Repair Crumbling Foundation

Building & Construction
How To Repair Crumbling Foundation
Modified: October 18, 2024
Learn the step-by-step process of repairing a crumbling foundation in your building construction. Fix the structural issues before they become a major problem.
(Many of the links in this article redirect to a specific reviewed product. Your purchase of these products through affiliate links helps to generate commission for Storables.com, at no extra cost. Learn more)
Introduction
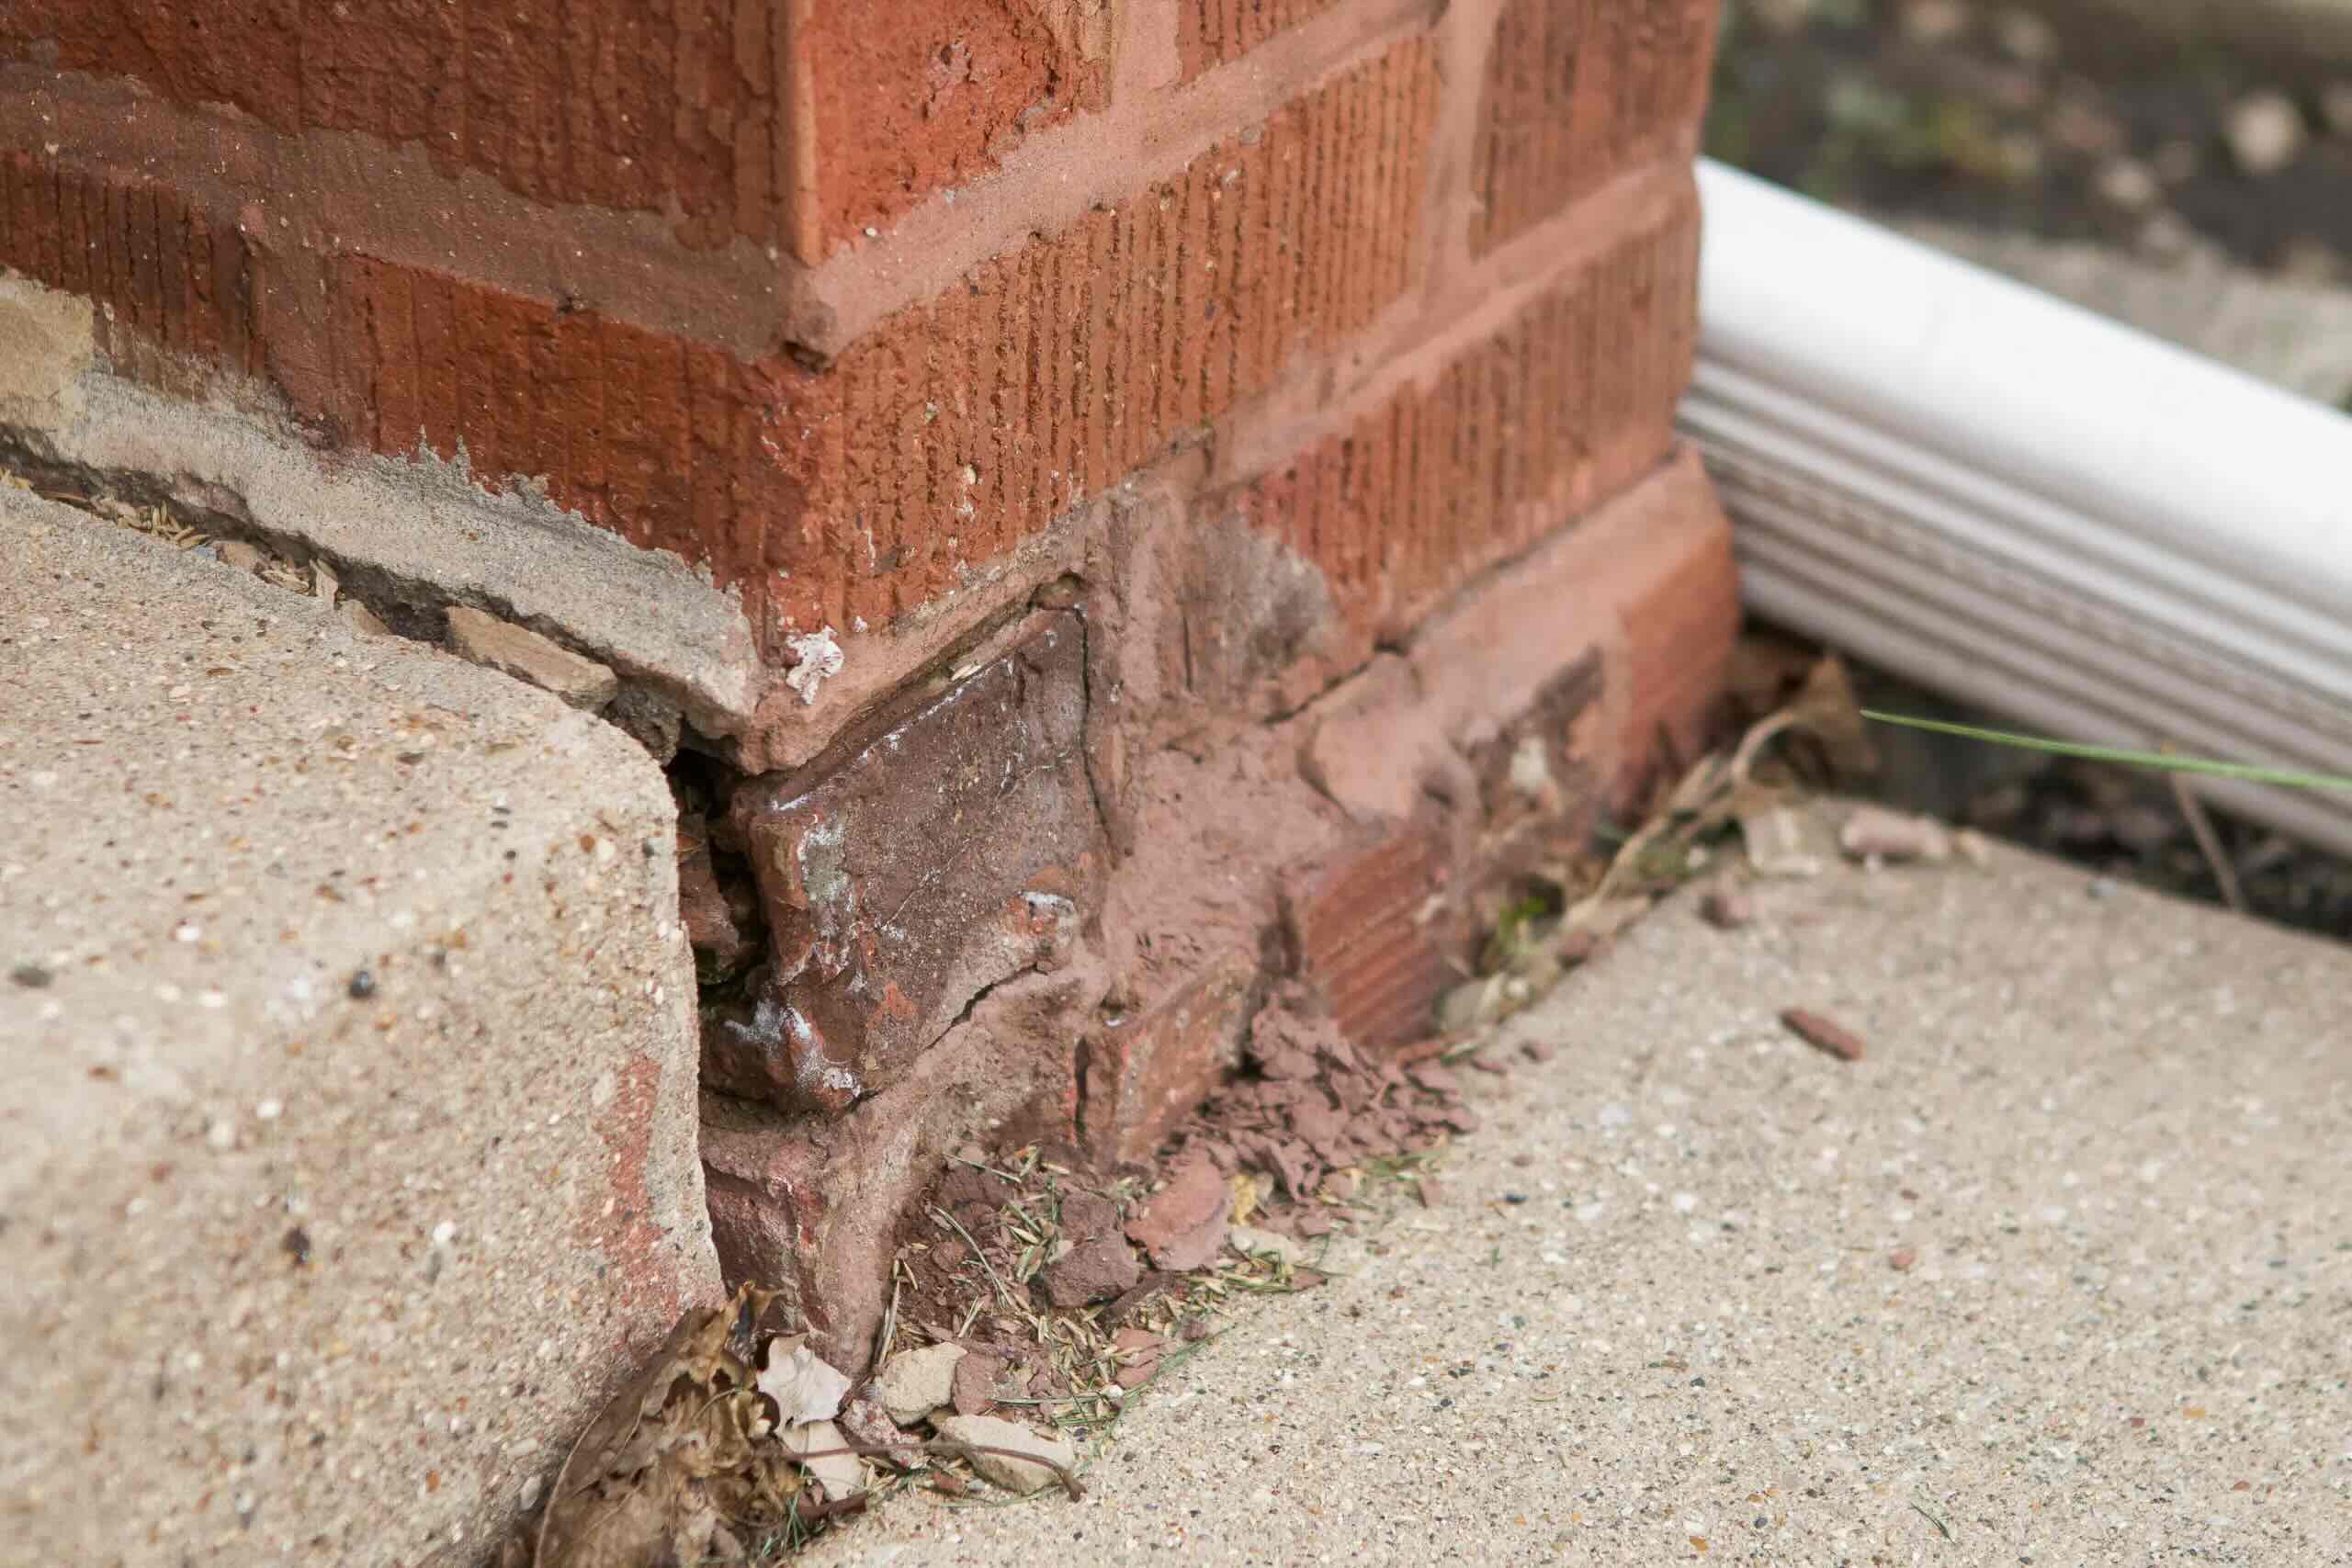
Welcome to the comprehensive guide on how to repair a crumbling foundation. Your home’s foundation is crucial to its stability and safety, providing a solid base for the entire structure. However, over time, foundations can deteriorate and begin to crumble, leading to significant structural issues.
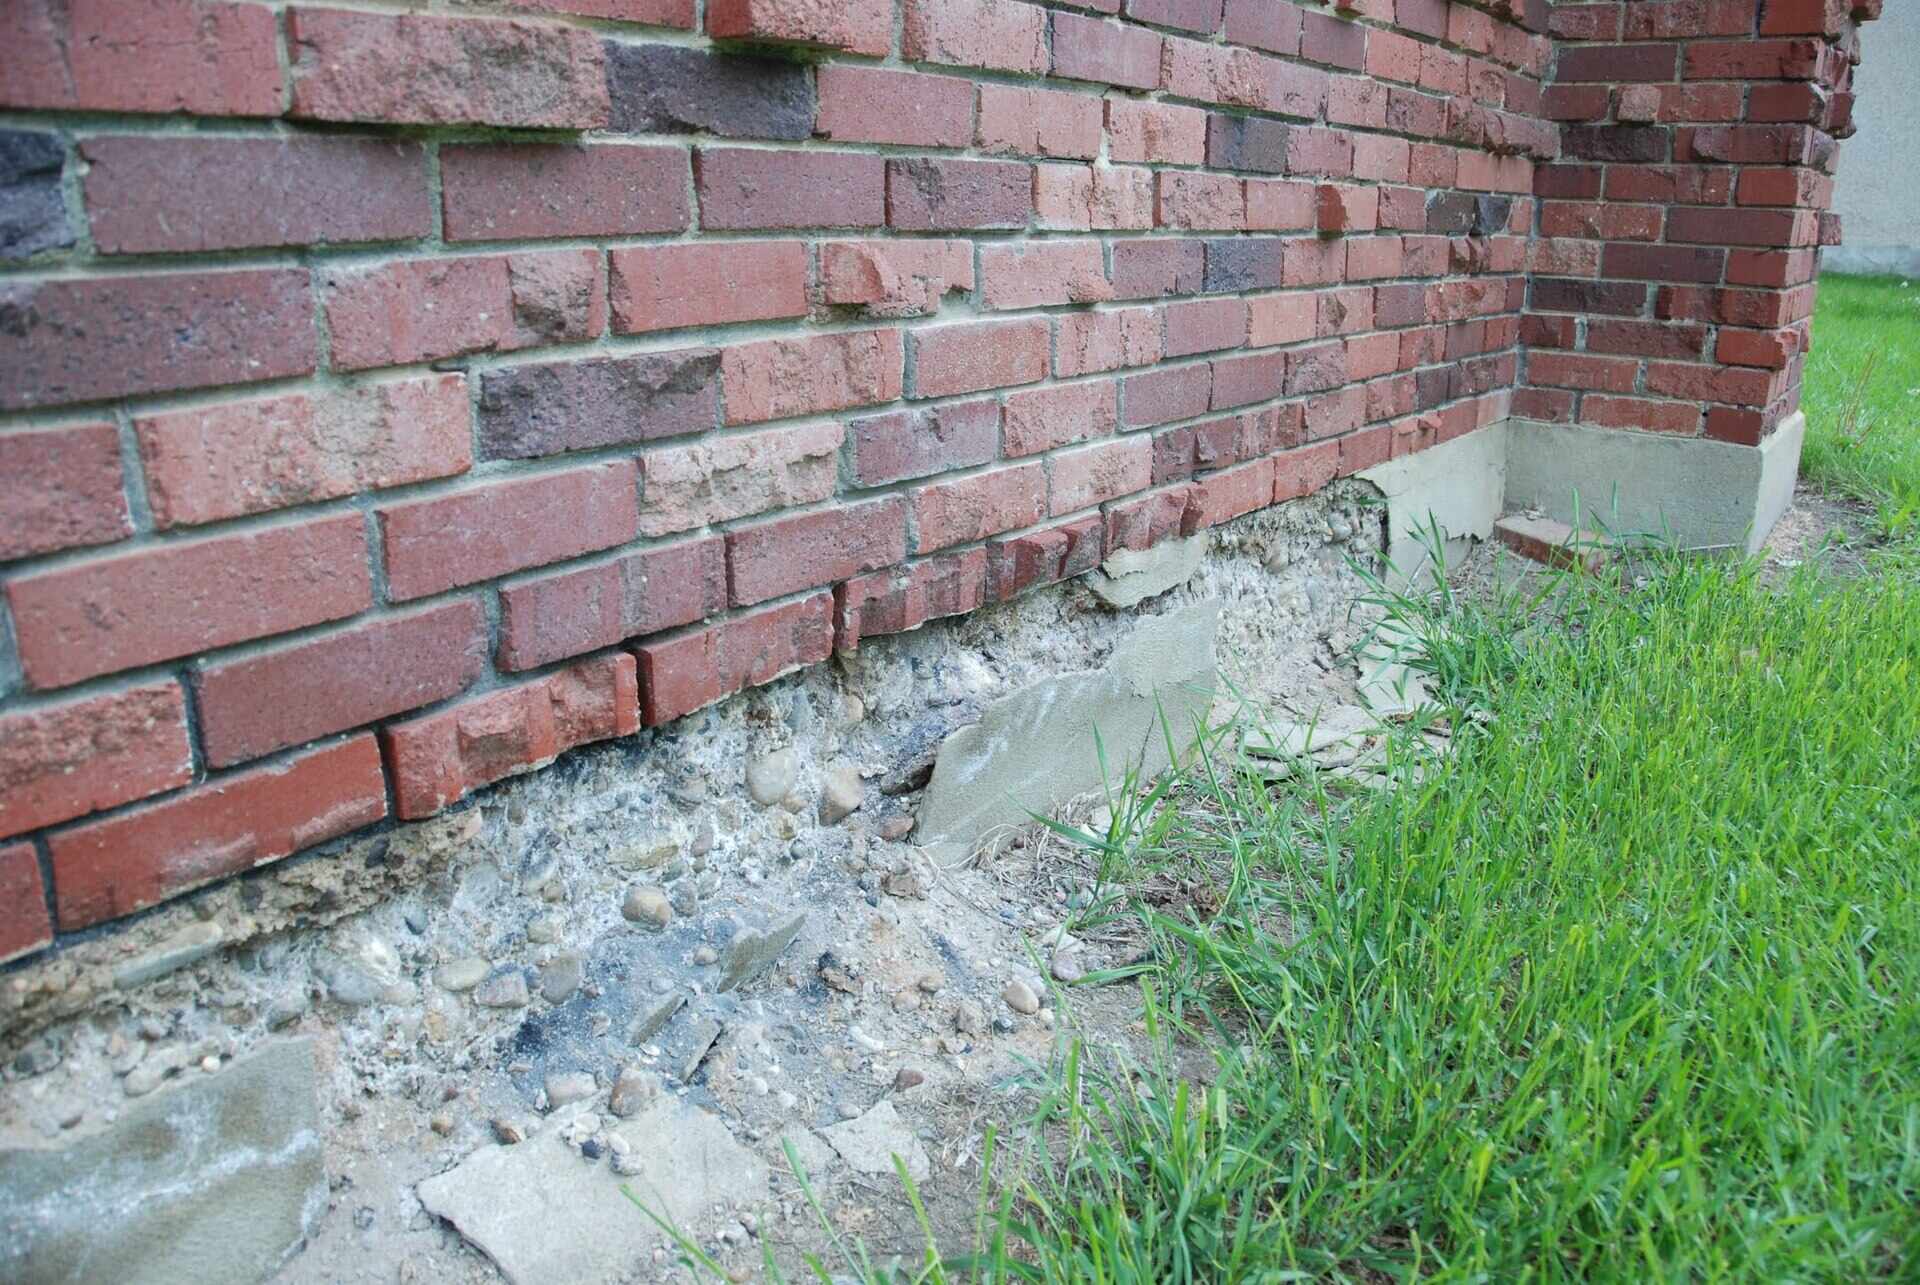
A crumbling foundation can be caused by a variety of factors, including soil settlement, water damage, poor construction practices, or even natural disasters such as earthquakes. The damage may manifest as cracks in the walls, uneven floors, or doors and windows that don’t open or close properly.
Repairing a crumbling foundation is a complex and specialized task that requires professional expertise. However, understanding the causes, assessing the severity of the damage, and being knowledgeable about the repair options available can help you make informed decisions and ensure the stability of your home.
In this guide, we will explore the different factors that can lead to a crumbling foundation, ways to assess the severity of the damage, and the steps to take to repair it effectively. We will also discuss the importance of hiring a professional foundation inspector and common mistakes to avoid during the repair process.
By following this guide, you will be equipped with the knowledge and information needed to address the issue of a crumbling foundation and restore the stability and safety of your home.
Key Takeaways:
- Addressing a crumbling foundation requires professional expertise, understanding the causes, and assessing severity. Choosing the right repair method and ongoing maintenance are crucial for restoring stability and safeguarding your home’s value.
- Hiring a professional foundation inspector, avoiding common repair mistakes, and prioritizing ongoing maintenance are essential for successful foundation repair. Understanding the causes and choosing the right repair method are key to restoring stability.
Read more: How To Store Apple Crumble
Understanding the Causes of a Crumbling Foundation
A crumbling foundation can occur due to various factors, each of which can have a significant impact on the structural integrity of your home. It’s essential to identify the causes to determine the appropriate repair method and prevent future damage. Let’s take a closer look at some common causes of a crumbling foundation:
- Soil Settlement: One of the primary causes of foundation issues is soil settlement. Over time, the soil beneath your home can naturally shift and settle. This can happen due to factors like changes in moisture content, soil compaction, or even the natural movement of the earth’s crust. As the soil settles unevenly, it can exert pressure on the foundation, leading to cracks and structural damage.
- Water Damage: Water is a major enemy of foundations. Excess moisture from heavy rainfall, leaking pipes, improper drainage, or flooding can seep into the soil around the foundation. When the soil becomes saturated with water, it expands, putting pressure on the foundation walls. Conversely, during dry periods, the soil can shrink and create voids beneath the foundation. This constant cycle of expansion and contraction weakens the foundation and causes it to crumble over time.
- Poor Construction Practices: In some cases, a crumbling foundation can be attributed to poor construction practices. This could include inadequate reinforcing of concrete, the use of low-quality materials, or improper compacting of the soil during construction. These deficiencies can lead to weaker foundations that are more prone to crumbling and structural damage.
- Natural Disasters: Natural disasters such as earthquakes, hurricanes, or floods can cause severe damage to foundations. The extreme forces and vibrations generated by these events can result in foundation cracks or even complete collapse. It’s crucial to consider the geographic location of your home and take appropriate measures to reinforce the foundation against potential natural disasters.
- Poor Drainage and Grading: Improper drainage and grading around the perimeter of your home can direct water towards the foundation, leading to moisture buildup and subsequent damage. If the soil around the foundation is not properly graded to direct water away, or if the gutters and downspouts are not functioning correctly, water can accumulate and exert pressure on the foundation walls, causing them to crumble.
By understanding the various causes of a crumbling foundation, you can assess the specific factors contributing to the damage in your home. This knowledge will help you make informed decisions regarding the repair methods and preventive measures necessary to restore the stability and strength of your foundation.
Assessing the Severity of the Damage
Before embarking on any foundation repair project, it is essential to assess the severity of the damage. This evaluation will help you determine the appropriate repair methods, prioritize repairs, and estimate the associated costs. Here are some key steps to follow when assessing the severity of the damage to your foundation:
- Visual Inspection: Start by conducting a thorough visual inspection of your home’s foundation. Look for any visible cracks or signs of damage, both on the exterior and interior walls. Pay attention to doors and windows that are sticking or no longer align correctly. These are often indicators of foundation movement and should be noted for further evaluation.
- Measuring Cracks: Measure any cracks or fissures you observe using a ruler or measuring tape. Make note of the length, width, and depth of the cracks. Document these measurements and take photos for reference. This information will help professionals analyze the severity of the damage and determine the appropriate repair methods.
- Monitor Changes: Keep a close eye on the cracks and assess if they worsen over time. Take regular measurements and compare them to previously recorded data. If you notice significant increases in crack size or new cracks forming, this could indicate ongoing foundation movement and the need for immediate attention.
- Persistent Issues: Evaluate any ongoing issues in your home that may be related to foundation problems. These can include uneven floors, doors and windows that are difficult to open or close, or recurring water intrusion. These issues may signify underlying foundation issues that need to be addressed.
- Seek Professional Inspection: It is highly recommended to engage the services of a professional foundation inspector. These experts have the expertise and tools necessary to conduct a detailed assessment of your foundation. They can provide a comprehensive evaluation of the damage, diagnose underlying issues, and recommend appropriate repair solutions.
Assessing the severity of foundation damage requires a combination of visual inspection, measurements, monitoring changes over time, and seeking professional expertise. By following these steps, you will gain a clear understanding of the extent of the damage and be better equipped to proceed with the necessary repairs to restore the stability of your foundation.
Hiring a Professional Foundation Inspector
When it comes to assessing and repairing a crumbling foundation, hiring a professional foundation inspector is crucial. These experts have the knowledge, experience, and specialized equipment required to accurately assess the condition of your foundation and recommend the appropriate course of action. Here are some important factors to consider when hiring a professional foundation inspector:
- Experience and Expertise: Look for a foundation inspector with a solid track record and extensive experience in the field. Check their credentials, certifications, and affiliations with professional organizations. A knowledgeable and experienced inspector will be familiar with a wide range of foundation issues and the best repair methods for each situation.
- Reputation: Do your research and read reviews or testimonials from previous clients. A reputable inspector will have positive feedback and a good reputation in the industry. Seek recommendations from friends, family, or professionals in the construction or real estate industry who have had successful experiences with foundation inspectors.
- Comprehensive Inspection Process: Ensure that the foundation inspector follows a thorough and comprehensive inspection process. This should include a visual examination of the foundation, measurement of cracks, evaluation of structural issues, analysis of the surrounding soil conditions, and assessment of any potential causes of the damage. A detailed inspection report should be provided, outlining the findings and recommended repair methods.
- Equipment and Technology: Foundation inspection often requires specialized equipment such as laser levels, moisture meters, or ground-penetrating radar. Make sure the inspector has access to advanced tools and technology to accurately assess the foundation. This will enable them to detect hidden issues or potential risks that may not be visible to the naked eye.
- Transparent and Clear Communication: Choose an inspector who communicates effectively and provides clear explanations of the inspection findings and repair recommendations. They should be able to answer all your questions and address any concerns you may have. A reliable inspector will keep you informed throughout the process and ensure you understand the steps involved in repairing your foundation.
- Timely and Detailed Inspection Report: Ask about the turnaround time for receiving the inspection report. The report should be comprehensive, detailing all the issues identified, the severity of the damage, and the recommended repair solutions. It should include photographs, measurements, and a clear assessment of the overall condition of the foundation.
Investing in a professional foundation inspector is essential to ensure an accurate assessment of the damage and the most suitable repair approach. Their expertise will help you make informed decisions and avoid costly mistakes in the foundation repair process. Take the time to research and choose a reputable foundation inspector who will prioritize the stability and safety of your home.
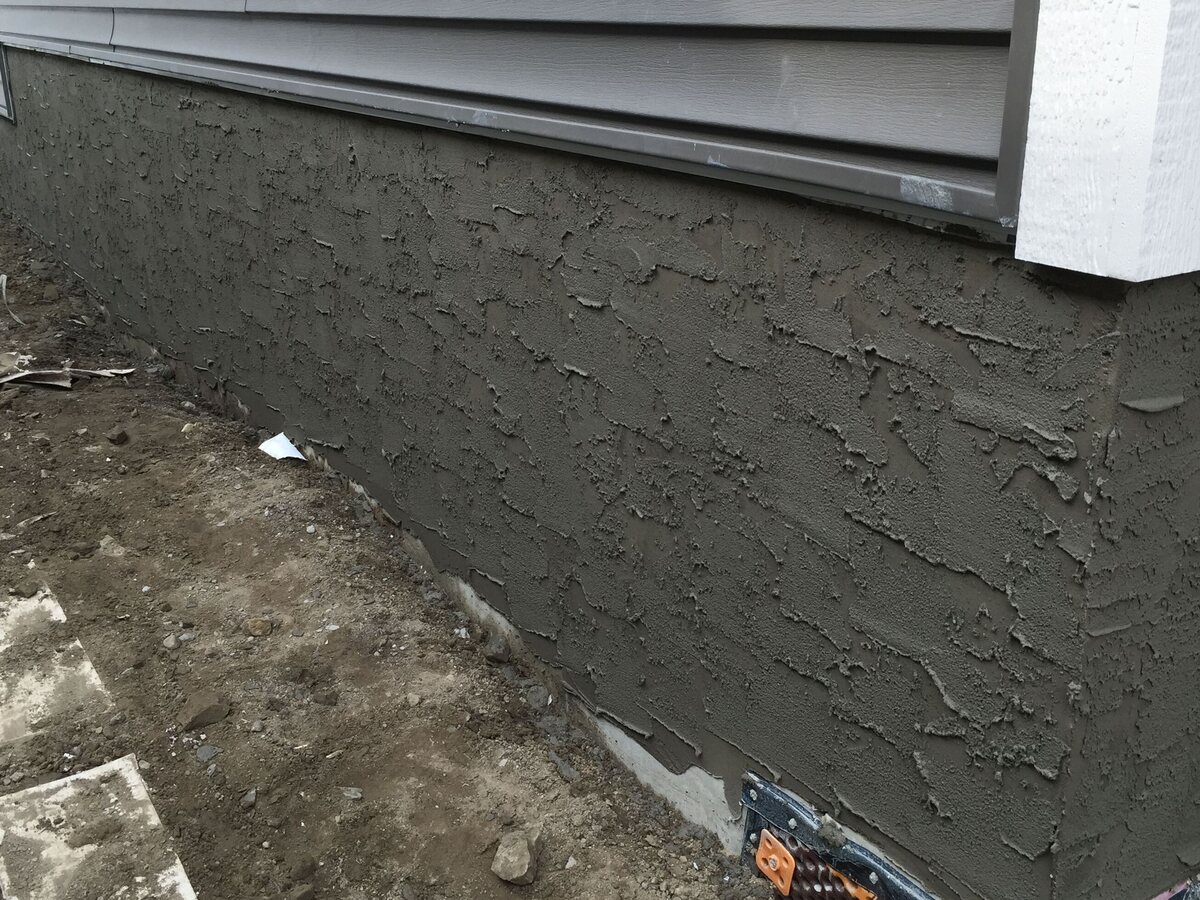
Repair Options for a Crumbling Foundation
When dealing with a crumbling foundation, there are various repair options available, depending on the severity of the damage and the underlying causes. It is essential to consult with a professional foundation contractor to determine the most appropriate repair method for your specific situation. Here are some common repair options for a crumbling foundation:
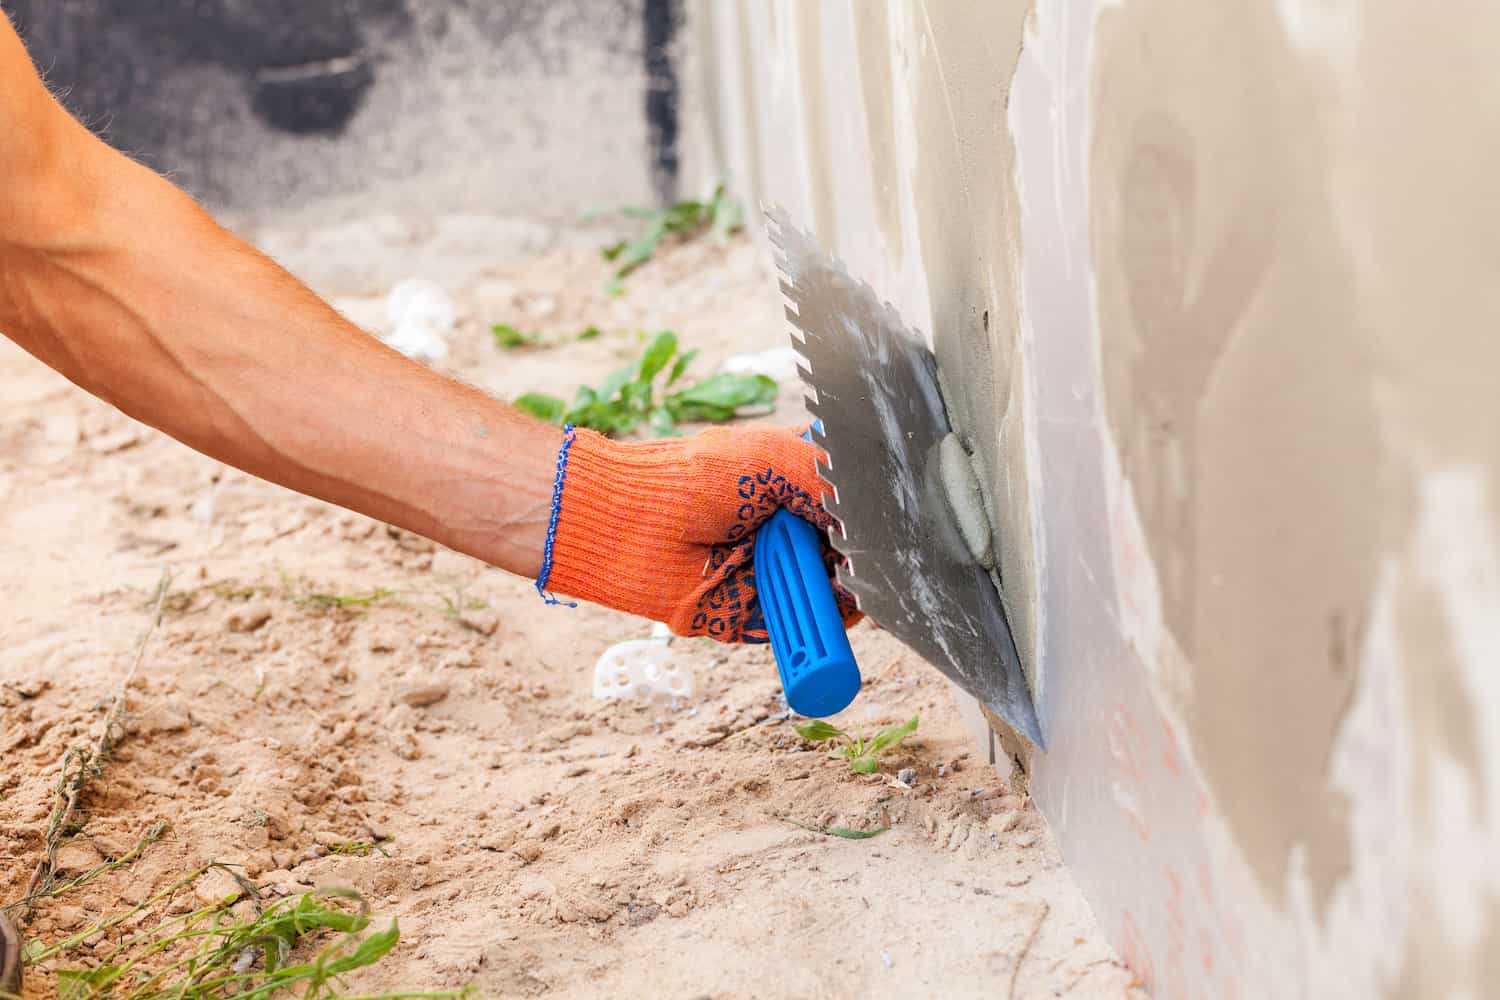
- Epoxy Injection: Epoxy injection is a common method used to repair foundation cracks. This process involves injecting an epoxy resin into the cracks, which fills and bonds the fissures, restoring the structural integrity of the foundation. Epoxy injection is suitable for small to moderate cracks and can prevent further water infiltration and damage.
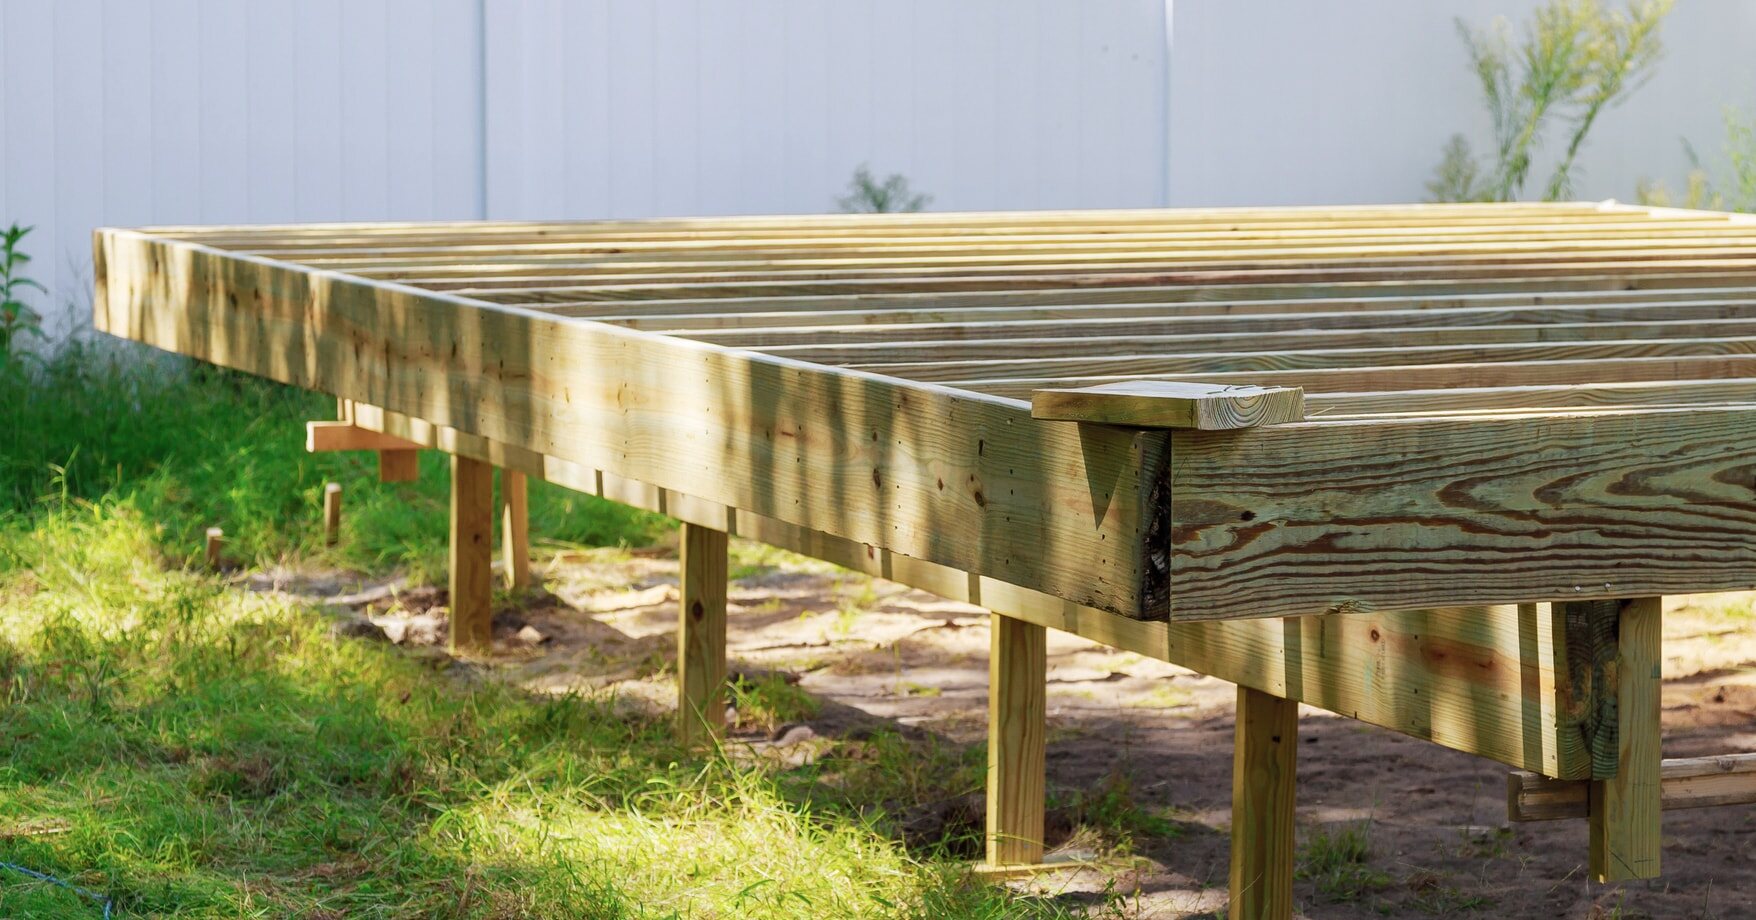
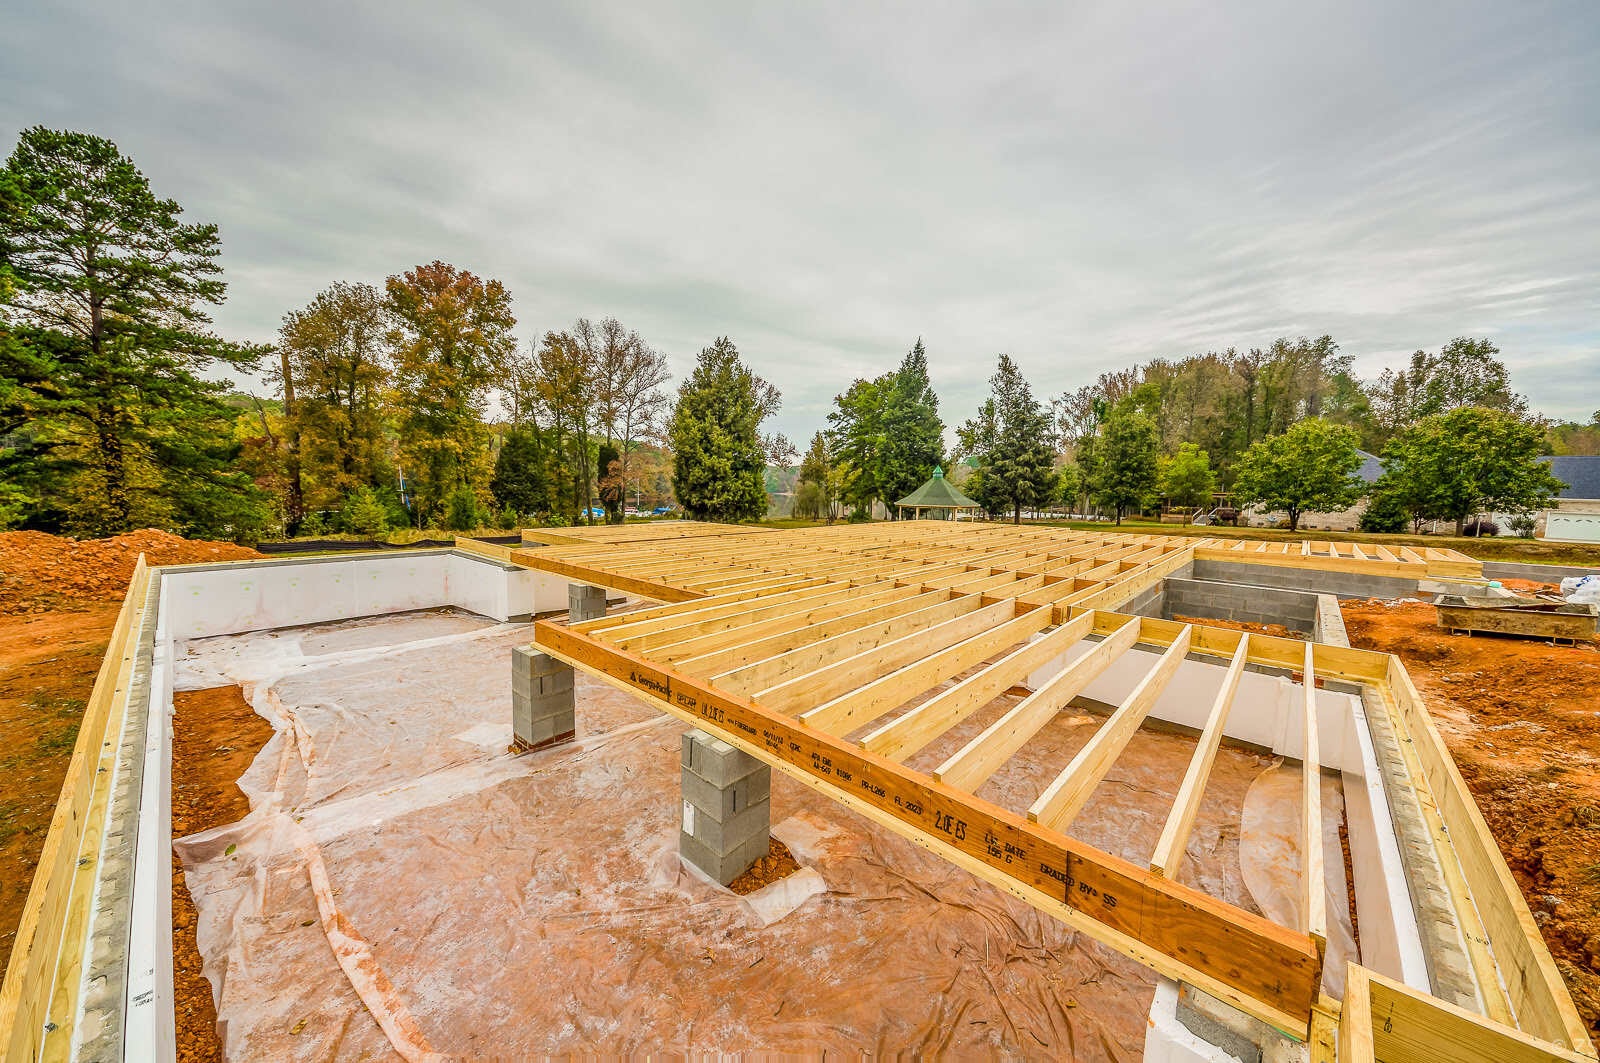
- Foundation Underpinning: Foundation underpinning is a technique used to stabilize and reinforce a foundation that has experienced significant settlement or movement. It involves installing additional supports, such as helical piers or steel push piers, deep into the ground beneath the foundation. These supports transfer the weight of the structure to more stable soil layers, preventing further settlement and providing added stability.
- Carbon Fiber Reinforcement: Carbon fiber reinforcement is an option for repairing and strengthening foundation walls that have suffered from horizontal or diagonal cracking. Strips of carbon fiber fabric or carbon fiber sheets are applied to the affected areas and bonded with a high-strength epoxy. This reinforcement helps redistribute the stress on the foundation walls and prevents further cracking.
- Grouting: Grouting is a technique used to fill voids or stabilize loose or shifting soil beneath the foundation. The process involves injecting a cement-based grout mixture into the voids, which solidifies and provides increased support to the foundation. Grouting is often used in combination with other repair methods to address soil settlement or uneven foundation settling.
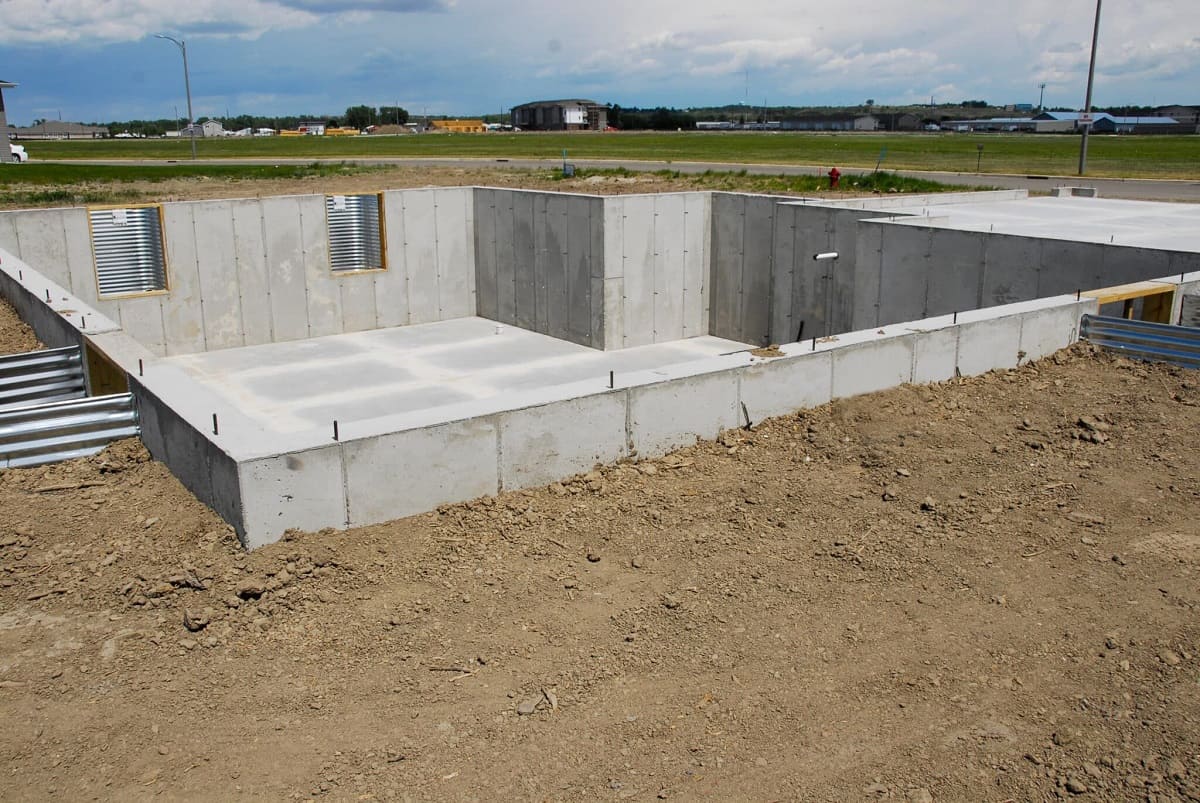
- Foundation Replacement: In extreme cases where the foundation damage is extensive and beyond repair, foundation replacement may be the only option. This involves removing the existing foundation and constructing a new one using more robust materials and following proper construction practices. Foundation replacement is a significant undertaking that requires careful planning and expert craftsmanship.
The choice of repair method will depend on factors such as the severity of the damage, the underlying causes, and the recommendations of a professional foundation contractor. Each repair option has its advantages and limitations, and it’s crucial to choose the approach that will best address the specific issues affecting your foundation.
Remember, timely intervention and proactive repair are vital to prevent further damage and maintain the structural integrity of your home. Consult with a qualified foundation contractor to determine the most suitable repair option and proceed with the necessary repairs to restore the stability and safety of your foundation.
Read more: How To Stop Brick From Crumbling
Choosing the Right Repair Method
When it comes to repairing a crumbling foundation, it is crucial to select the right repair method that effectively addresses the specific issues causing the damage. The choice of repair method will depend on several factors, including the severity of the damage, the underlying causes, and the recommendations of a professional foundation contractor. Here are some key considerations to help you choose the right repair method:
- Professional Assessment: Start by consulting with a reputable foundation contractor who can assess the condition of your foundation and provide expert recommendations. They will conduct a detailed inspection, analyze the causes of the damage, and propose the most suitable repair method based on their findings. Trusting the expertise of a professional will ensure a thorough and accurate assessment.
- Severity of the Damage: Consider the extent and severity of the damage to determine the most appropriate repair method. For superficial cracks or minor issues, simple measures like epoxy injection may be sufficient. However, in cases of significant settlement or structural instability, more extensive measures such as foundation underpinning may be necessary to provide adequate support and stability.
- Underlying Causes: Identify and address the underlying causes of the foundation damage. For example, if the damage is primarily due to poor drainage, it is crucial to address the drainage issues alongside the foundation repair. Treating the root causes will ensure that the repair is effective and prevent future damage from occurring.
- Budget Considerations: Evaluate your budget and determine the financial resources available for the foundation repair. While it’s important not to compromise on the quality of the repair, discuss budget constraints with your foundation contractor. They may be able to suggest alternative repair methods or phased approaches that align with your financial capabilities.
- Long-Term Durability: Consider the long-term durability of the chosen repair method. Assess factors such as the expected lifespan of the repair, its ability to withstand future environmental pressures, and the level of ongoing maintenance required. Opting for a repair method that offers long-term stability and durability will provide peace of mind and avoid future repair expenses.
- Timeframe: Evaluate the timeframe for the repair and any associated inconveniences. Some repair methods may require more time and may necessitate temporary relocation during the construction process. Discuss the timeline with your foundation contractor and consider your personal circumstances when selecting the appropriate repair method.
Choosing the right repair method for your crumbling foundation is a decision that should be based on careful evaluation and expert advice. Taking the time to thoroughly understand the issues affecting your foundation and considering the various factors involved will ensure that you make an informed decision and undertake the most effective repair approach.
Remember, a solid and stable foundation is essential for the overall structural integrity of your home. By choosing the right repair method, you can restore the stability of your foundation and safeguard the long-term safety and value of your property.
Inspect the foundation for cracks and signs of deterioration. Use a concrete patching compound to fill in any cracks and reinforce the foundation with steel rebar if necessary. Consult a professional for extensive damage.
Preparing for Foundation Repair Work
Preparing for foundation repair work is crucial to ensure a smooth and successful repair process. Proper preparation will help minimize disruption, ensure the safety of your home, and facilitate the efficient completion of the repairs. Here are some important steps to take when preparing for foundation repair work:
- Consult with a Foundation Contractor: Before undertaking any preparations, consult with a professional foundation contractor who will guide you through the specific requirements for your repair project. They will provide you with a detailed plan and outline any necessary steps or precautions you need to take.
- Secure Valuables and Possessions: Prior to the start of the repair work, secure and remove any valuable or fragile items from the affected areas. Clear the surrounding spaces, including furniture, decorations, and personal belongings, to prevent damage or interference during the construction process.
- Plan for Temporary Relocation: Depending on the extent of the repair work, you may need to consider temporary relocation during the construction process. Discuss this with your foundation contractor and plan accordingly. Make arrangements for your accommodation and ensure that you have all essential items and necessities accessible during this time.
- Clear Access to the Work Area: Ensure that there is clear access to the area where the foundation repair work will take place. Trim any vegetation, remove obstacles, and provide ample space for the workers and equipment to move freely. This will facilitate efficiency and minimize any potential safety hazards.
- Communicate with Neighbors: Inform your neighbors about the upcoming repair work, especially if it may cause noise or temporary disruption. Maintaining good communication will help manage any concerns and foster a positive relationship within the community.
- Arrange for Utility Marking: Contact your local utility companies to mark the location of any underground utilities prior to the commencement of the repair work. This will help prevent accidental damages and ensure the safety of the workers and utilities.
- Clean Out the Work Area: Clear out any debris, clutter, or stored items in the work area. Keeping the area clean and organized will facilitate the efficiency of the repair work and reduce the risk of accidents or damage to personal belongings.
- Follow Safety Precautions: It is essential to prioritize safety during the repair process. Follow any safety guidelines provided by your foundation contractor, such as wearing appropriate safety gear, keeping children and pets away from the work zone, and adhering to any temporary safety barriers or restrictions.
- Communicate with the Contractor: Maintain open and clear communication with your foundation contractor throughout the preparation process. Address any questions or concerns you may have and ensure that all necessary permits, documentation, and agreements are in place before work begins.
Taking the time to adequately prepare for foundation repair work will ultimately contribute to a successful and efficient repair project. By following these steps and collaborating closely with your foundation contractor, you can ensure that the repair process is carried out smoothly, with minimal disruption, and provides a long-lasting solution for your crumbling foundation.
Step-by-Step Guide to Repairing a Crumbling Foundation
Repairing a crumbling foundation is a complex process that requires careful planning, professional expertise, and adherence to best practices. Here is a step-by-step guide to help you understand the general process of addressing a crumbling foundation:
- Hire a Professional Foundation Contractor: Start by hiring a reputable and experienced foundation contractor who specializes in foundation repair. They will assess the condition of your foundation, recommend the appropriate repair method, and provide a detailed plan for the repair process.
- Prepare the Work Area: Clear the work area of any obstacles, debris, or personal belongings. Ensure there is sufficient space for the workers and equipment to maneuver freely. Follow any specific guidelines provided by the contractor to ensure the safety and efficiency of the repair work.
- Address Water Issues: If your foundation damage is due to water-related issues, such as poor drainage or water seepage, it is essential to address these underlying problems before commencing the foundation repair. Install proper drainage systems or waterproofing measures to prevent further water damage.
- Stabilize the Foundation: Depending on the severity of the damage and the recommended repair method, the contractor will employ techniques such as underpinning, epoxy injection, or carbon fiber reinforcement to stabilize the foundation. These methods provide added support and strength to prevent further movement or cracking.
- Repair Foundation Cracks: Cracks in the foundation can be repaired using various methods, such as epoxy injection. The contractor will identify the appropriate repair technique based on the size and type of cracks. The chosen method will involve injecting epoxy or other suitable materials into the cracks to fill and seal them, ensuring structural integrity.
- Address Structural Issues: In some cases, a crumbling foundation may result in structural issues throughout the home. The contractor will address these issues by implementing appropriate measures, such as installing support beams, repairing damaged walls or floors, or stabilizing the structure through additional reinforcement.
- Complete Foundation Restoration: Once the foundation repair work is complete, the contractor will ensure that the foundation is restored to its original condition or better. This may involve filling any trenches or excavated areas, applying sealants or coatings, and conducting final inspections to verify the success of the repair work.
- Maintain the Foundation: After the repair process is complete, it is crucial to prioritize ongoing maintenance to prevent future foundation issues. Follow any maintenance guidelines provided by the contractor and address any drainage or water-related issues promptly. Periodically inspect the foundation for signs of damage or settling and take action as needed.
It is important to note that every foundation repair project is unique, and the specific steps may vary based on the condition of the foundation and the chosen repair method. Working closely with a professional foundation contractor will ensure that the repair process is carried out effectively, providing a stable and durable foundation for your home.
Common Mistakes to Avoid during Foundation Repair
When it comes to repairing a crumbling foundation, avoiding common mistakes is crucial to ensure the success and longevity of the repair. Here are some common mistakes to avoid during the foundation repair process:
- DIY Repair: Attempting to repair a crumbling foundation as a DIY project is risky and can lead to costly mistakes. Foundation repair requires specialized knowledge, experience, and equipment. It is best to leave it to professionals who are trained to handle the complexities of foundation repair.
- Ignoring Early Signs of Damage: Ignoring early signs of foundation damage, such as cracks or uneven floors, is a mistake that can lead to further deterioration. It is important to address these issues promptly to prevent extensive damage and costly repairs down the line.
- Not Addressing Underlying Issues: Foundation damage is often caused by underlying issues such as poor drainage, improper grading, or water intrusion. Merely fixing the visible damage without addressing these underlying issues can result in recurrence of the problem. Ensure that all contributing factors are addressed to prevent future foundation issues.
- Choosing Inexperienced Contractors: Hiring inexperienced or unqualified contractors for foundation repairs can lead to poor workmanship and further damage to your foundation. Always choose reputable and experienced contractors who have a track record of successfully handling foundation repair projects.
- Ignoring Proper Permits and Inspections: Failing to obtain the necessary permits and inspections for foundation repair can result in legal complications and potential safety hazards. Ensure that all required permits are obtained, and inspections are conducted to comply with local building codes and regulations.
- Skipping Professional Evaluation: Skipping a professional evaluation of your foundation can lead to misdiagnosis or inadequate repair solutions. A qualified foundation professional can accurately assess the extent of the damage and recommend the most appropriate repair methods for your specific situation.
- Using Low-Quality Materials: Opting for low-quality materials in an attempt to save costs can compromise the quality and longevity of the repair. It is important to invest in high-quality materials that are specifically designed for foundation repair to ensure durability and long-term stability.
- Neglecting Post-Repair Maintenance: After completing the foundation repair, neglecting ongoing maintenance can lead to future issues. Regularly inspect your foundation, address any maintenance concerns promptly, and follow any maintenance guidelines provided by the foundation contractor to ensure the longevity of the repair.
- Not Communicating with Your Contractor: Lack of communication with your foundation contractor can result in misunderstandings, delays, and unsatisfactory results. Maintain open and clear communication throughout the repair process, discussing any concerns or questions you may have and ensuring all expectations are met.
- Rushing the Repair Process: Foundation repairs require adequate time for planning, evaluation, and implementation. Rushing the process can lead to subpar workmanship and compromised results. Allow sufficient time for the foundation repair project to ensure that all necessary steps are carried out correctly.
By avoiding these common mistakes, you can maximize the success of your foundation repair project and ensure the long-term stability and safety of your home. It is important to work closely with qualified professionals, address underlying issues, and prioritize proper maintenance to protect your investment and maintain a solid foundation.
Read more: How To Store Crumbl Cookies At Home
Maintaining a Stable Foundation after Repair
After completing the repair of a crumbling foundation, it is essential to prioritize ongoing maintenance to ensure the stability and longevity of your foundation. Proper maintenance can help prevent future issues and protect your investment. Here are some important steps to consider for maintaining a stable foundation:
- Monitor the Foundation: Regularly inspect your foundation for any signs of new cracks, shifting, or settlement. Look for changes in the walls, floors, or doors and windows. By monitoring the foundation, you can detect potential issues early and address them promptly.
- Address Drainage Issues: Proper drainage is crucial for maintaining a stable foundation. Ensure that your property has a well-designed and functioning drainage system to redirect water away from the foundation. Clean gutters and downspouts regularly to prevent clogs and ensure proper water flow.
- Maintain Consistent Moisture Levels: Fluctuations in moisture levels can affect the stability of your foundation. Avoid excessively wet or dry conditions around your foundation. Use soaker hoses during dry periods to maintain consistent moisture levels in the soil around the foundation.
- Keep the Soil Stable: Properly maintain the soil around your foundation by avoiding excessive landscaping changes. Avoid planting trees or shrubs too close to the foundation, as their roots can cause soil displacement and damage. Maintain a consistent moisture level in the soil to prevent shrinkage and expansion.
- Fix Plumbing Leaks Promptly: Plumbing leaks can contribute to increased moisture levels around the foundation, leading to potential damage. Regularly inspect your plumbing system for leaks and address them promptly to prevent water accumulation and potential foundation problems.
- Consult with a Professional: Periodically consult with a professional foundation contractor to conduct inspections and evaluate the condition of your foundation. Their expertise can help detect any potential issues and address them before they escalate into significant problems.
- Revisit Existing Repairs: Regularly revisit the areas that were repaired to ensure that they continue to function properly. Check for signs of cracking or shifting and consult with a foundation professional if you notice any changes or concerns.
- Educate Yourself: Take the time to educate yourself about foundation maintenance practices. Understand the specific needs and requirements of your foundation type and any specialized maintenance recommendations provided by your foundation contractor. Knowledge is key to effective maintenance.
- Stay Proactive: Foundation maintenance requires proactive measures and a commitment to regular inspections and upkeep. Stay committed to implementing preventive measures and addressing any issues promptly to prevent potential foundation problems.
- Follow Manufacturer Recommendations: If any specific products or treatments were used during the repair process, follow the manufacturer’s recommendations for maintenance. This may include periodic inspections or the application of protective coatings to maintain the integrity of the repair work.
By following these maintenance tips and staying vigilant, you can help ensure the stability and longevity of your foundation after repair. Remember that a well-maintained foundation is a crucial aspect of a strong and resilient home.
Conclusion
A crumbling foundation is a serious issue that requires immediate attention to ensure the stability and safety of your home. Understanding the causes of foundation damage, assessing the severity of the damage, and undertaking the right repair methods are crucial steps in addressing this problem effectively.
Hiring a professional foundation inspector is essential to accurately evaluate the condition of your foundation and recommend the most suitable repair options. Avoiding common mistakes, such as DIY repairs or ignoring underlying issues, is vital to the success of the repair process.
Choosing the right repair method, preparing for the repair work, and maintaining a stable foundation after repair are all critical aspects of this process. By following a step-by-step guide and making informed decisions alongside a reputable foundation contractor, you can restore the stability and strength of your foundation.
Remember to monitor your foundation, address drainage issues, and maintain consistent moisture levels in the soil. Promptly fix any plumbing leaks and regularly consult with professionals to ensure ongoing foundation stability.
A solid foundation is the cornerstone of a safe and secure home. By prioritizing foundation repair and maintenance, you can protect your property’s long-term value and enjoy peace of mind knowing that your home is built on a strong and stable base.
Take action today to address any foundation issues and embark on the journey to repair your crumbling foundation. With the right knowledge, professionals by your side, and a commitment to ongoing maintenance, you can overcome this challenge and maintain a strong foundation for years to come.
Frequently Asked Questions about How To Repair Crumbling Foundation
Was this page helpful?
At Storables.com, we guarantee accurate and reliable information. Our content, validated by Expert Board Contributors, is crafted following stringent Editorial Policies. We're committed to providing you with well-researched, expert-backed insights for all your informational needs.


0 thoughts on “How To Repair Crumbling Foundation”