Home>diy>Building & Construction>How To Level A Shed Foundation
Building & Construction
How To Level A Shed Foundation
Modified: October 31, 2024
Learn the step-by-step process of leveling a shed foundation with our expert guide. Get tips and techniques for building construction to ensure a stable and durable base.
(Many of the links in this article redirect to a specific reviewed product. Your purchase of these products through affiliate links helps to generate commission for Storables.com, at no extra cost. Learn more)
Introduction
Building a shed can be an exciting and practical addition to your property. Whether you plan to use it for storage, as a workshop, or as a cozy outdoor retreat, it’s essential to start with a solid and level foundation. A properly leveled shed foundation not only ensures the stability and durability of the structure but also helps to prevent issues such as moisture buildup and structural damage over time.
In this article, we will guide you through the process of leveling a shed foundation. We will discuss the necessary preparations, clearing the area, building a basic foundation, checking for level, adjusting the foundation if needed, securing the foundation, and performing a final check and cleanup. By following these steps, you can create a sturdy and level base for your shed, ensuring its longevity and functionality.
Key Takeaways:
- Ensure a sturdy and durable shed by preparing the site, building a solid foundation, and securing it properly. Regular maintenance will prolong the shed’s longevity and functionality.
- Leveling a shed foundation is crucial for stability. Clear the area, build a solid foundation, and secure it to withstand external forces. Regular maintenance ensures long-term performance.
Read more: How To Make A Foundation For A Shed
Step 1: Preparation
Before you begin leveling a shed foundation, it’s important to gather the necessary tools and materials. Here are some items you’ll need:
- Measuring tape
- Shovel
- Level
- Pressure-treated lumber or concrete blocks
- Gravel or crushed stone
- Treated plywood or concrete slabs
- Screws or nails
Once you have your tools and materials ready, it’s time to choose the location for your shed. Consider factors such as access to utilities, sunlight exposure, and proximity to other structures or trees. Ensure that you comply with local building codes and obtain any necessary permits before starting the construction process.
Additionally, it’s important to check the ground for any potential obstacles such as tree roots, rocks, or uneven terrain. Clearing the area of debris and leveling the ground as much as possible will make the foundation-building process smoother.
If you plan to construct a permanent foundation, consult a professional for guidance on the best design and materials to use. They can help you determine if a concrete slab or deep concrete footings are necessary for your shed’s intended use and local soil conditions.
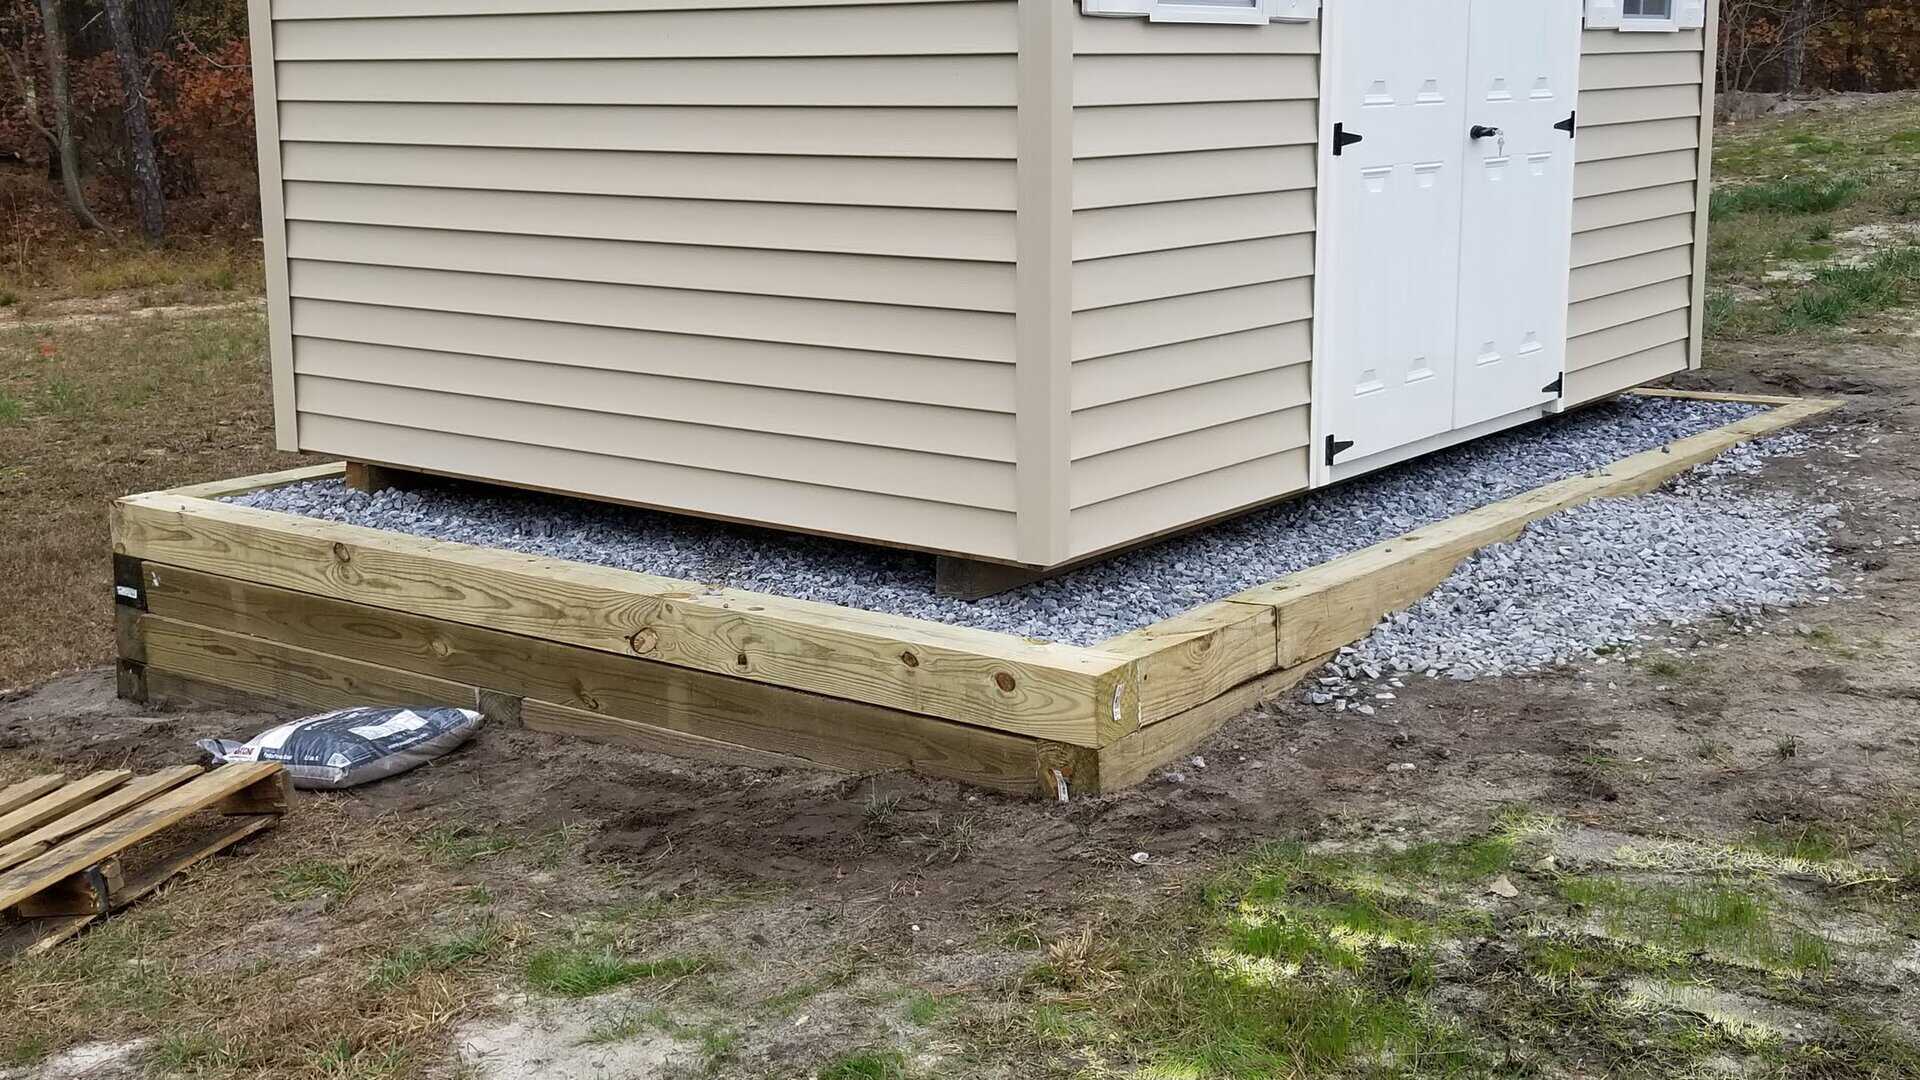
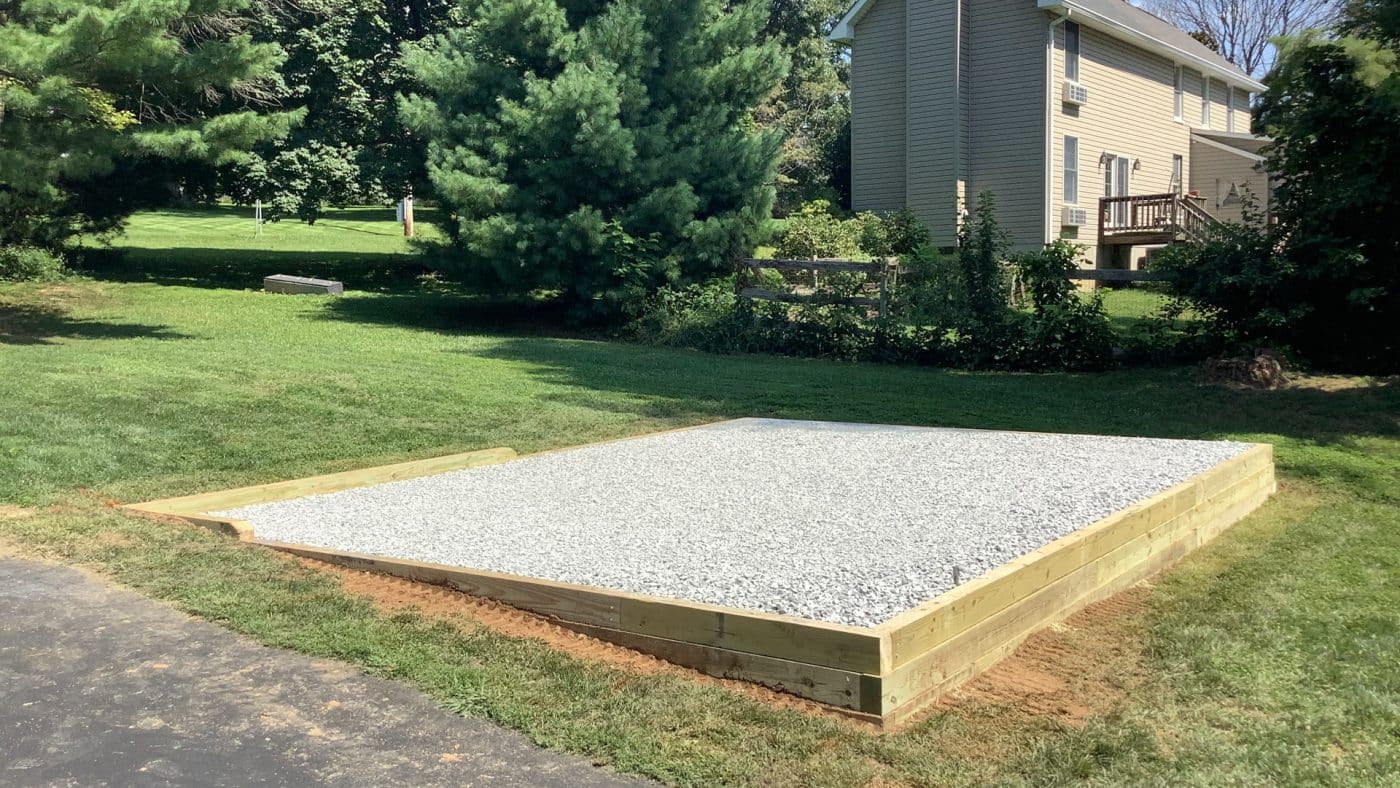
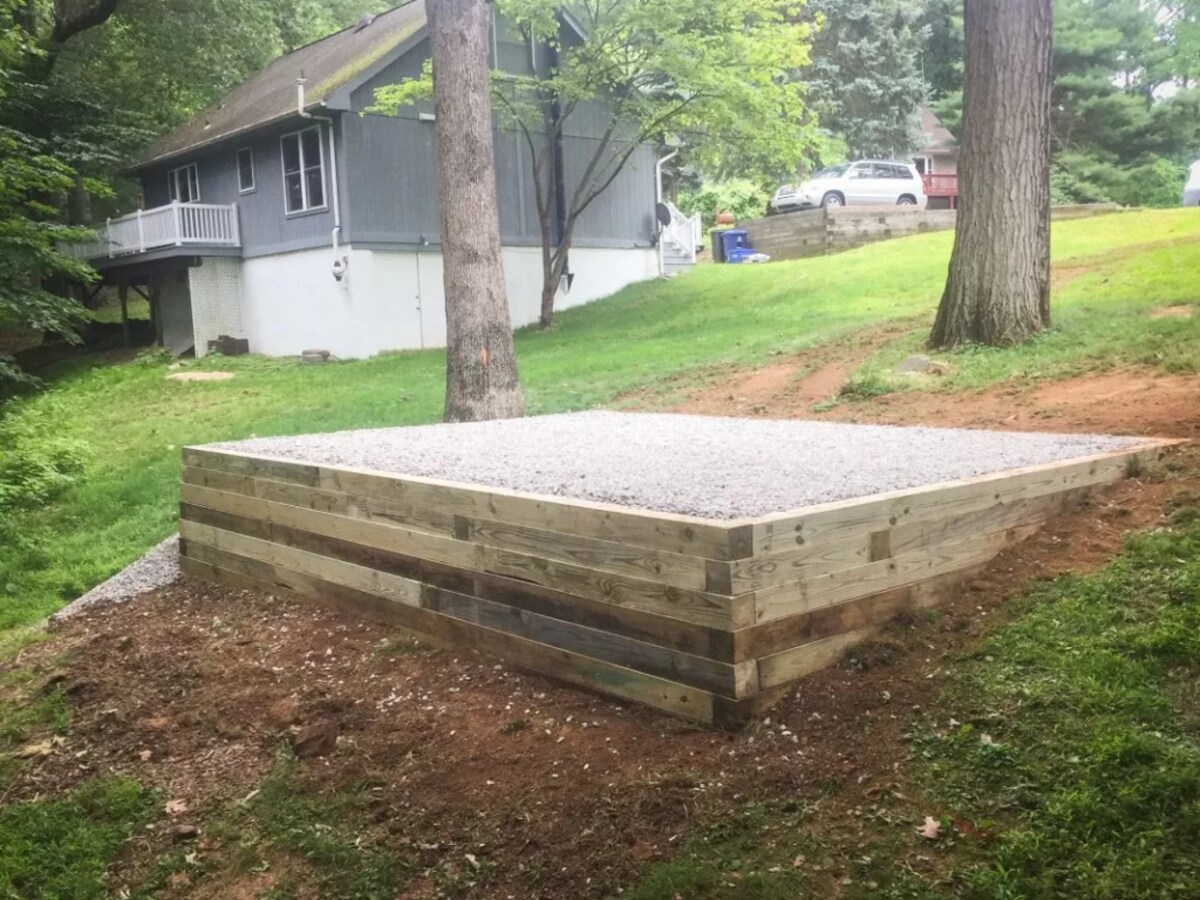
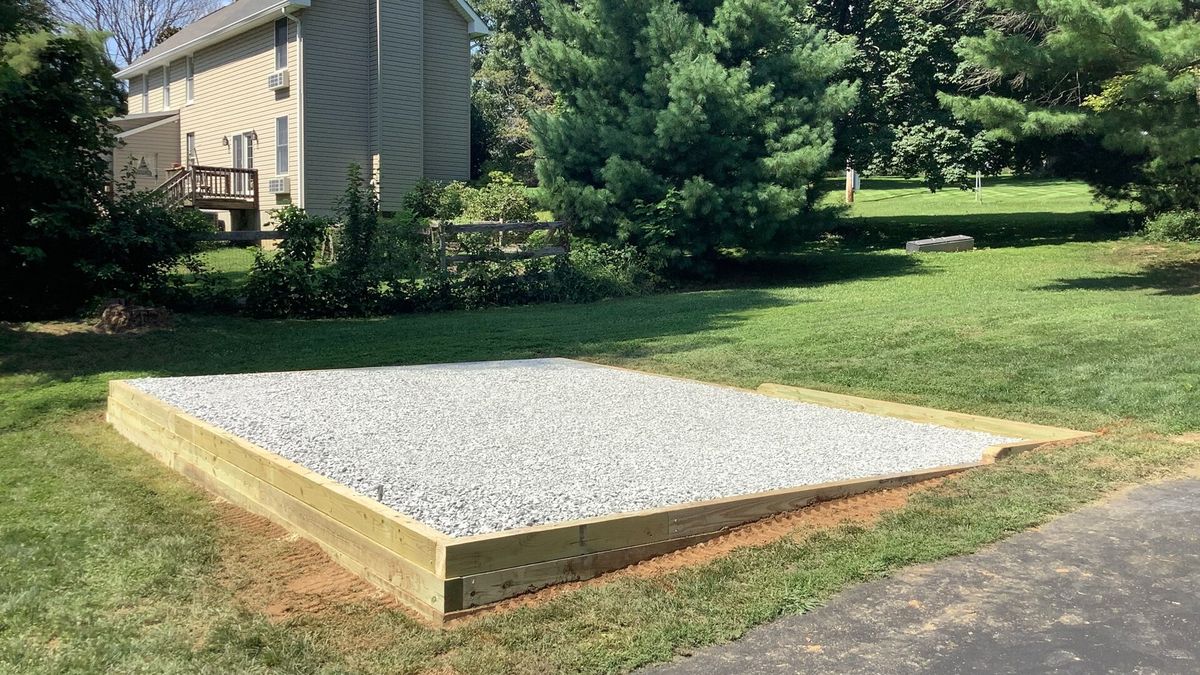
For a simpler and more cost-effective solution, you can opt for a skid foundation. This involves placing pressure-treated lumber or concrete blocks on a bed of compacted gravel or crushed stone. This type of foundation allows for easier relocation of the shed if needed.
By properly preparing the site and gathering the necessary tools and materials, you’ll set yourself up for success and ensure a smooth and efficient leveling process for your shed foundation.
Step 2: Clearing the Area
Once you have selected the location for your shed and gathered the necessary tools and materials, it’s time to clear the area before you start building the foundation.
Begin by removing any vegetation, such as grass, weeds, or bushes, within the perimeter of the shed. Use a shovel or a garden rake to scrape away the top layer of soil, ensuring a clean and level surface for your foundation.
If there are any large rocks, tree roots, or other obstacles in the area, remove them to prevent interference with the construction process. Pay attention to any underground utilities, such as water or electrical lines, and ensure there are no safety hazards before proceeding.
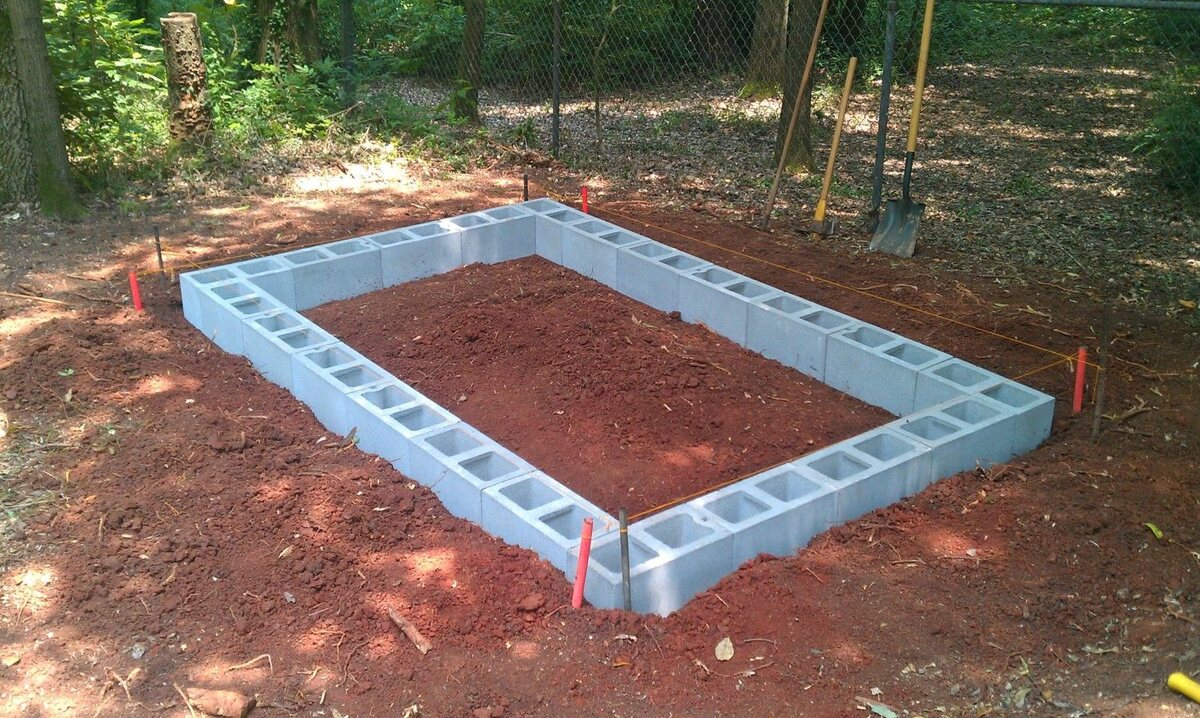
While clearing the area, it’s a good idea to mark the layout of your shed’s foundation. Use stakes and twine or spray paint to define the perimeter, ensuring that it is square and level. This will serve as a reference point when building the foundation.
Once the area is cleared and marked, it’s time to assess the ground’s natural slope. Ideally, you want the shed to be positioned on a level surface to prevent water runoff and potential structural issues. Use a laser level or a long straight board with a level to check the slope across the area. If you notice any significant slope, you may need to adjust your foundation plans or consider adding additional materials to level the ground.
Clearing the area and ensuring a level surface will provide a solid foundation for your shed and help to prevent future stability issues. It’s an important step that shouldn’t be overlooked before proceeding with the construction process.
Step 3: Building a Basic Foundation
With the area cleared and level, it’s time to start building the basic foundation for your shed. The type of foundation you choose will depend on your shed’s design, local building codes, and personal preferences.
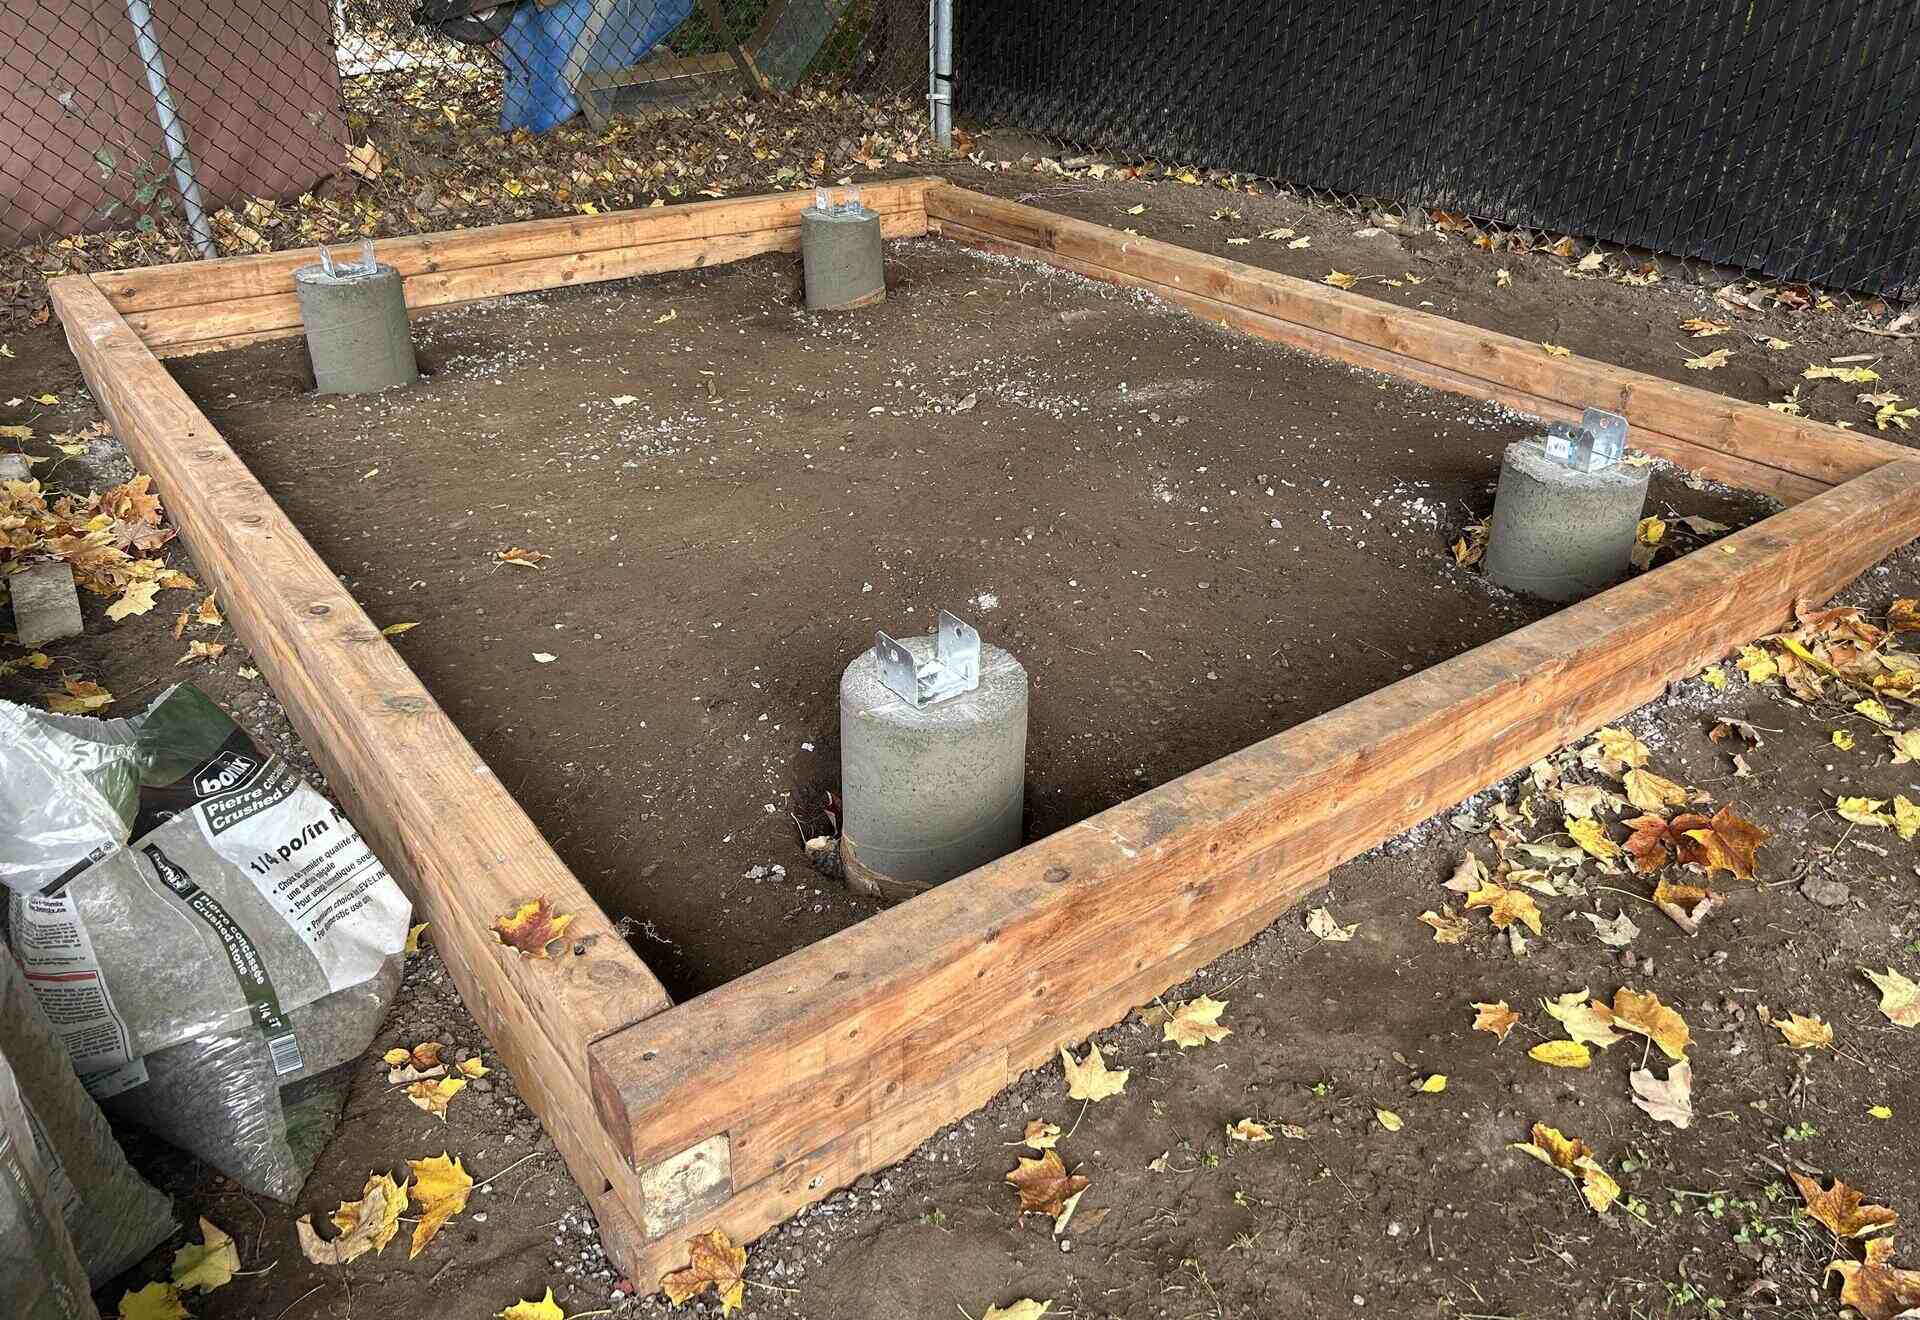
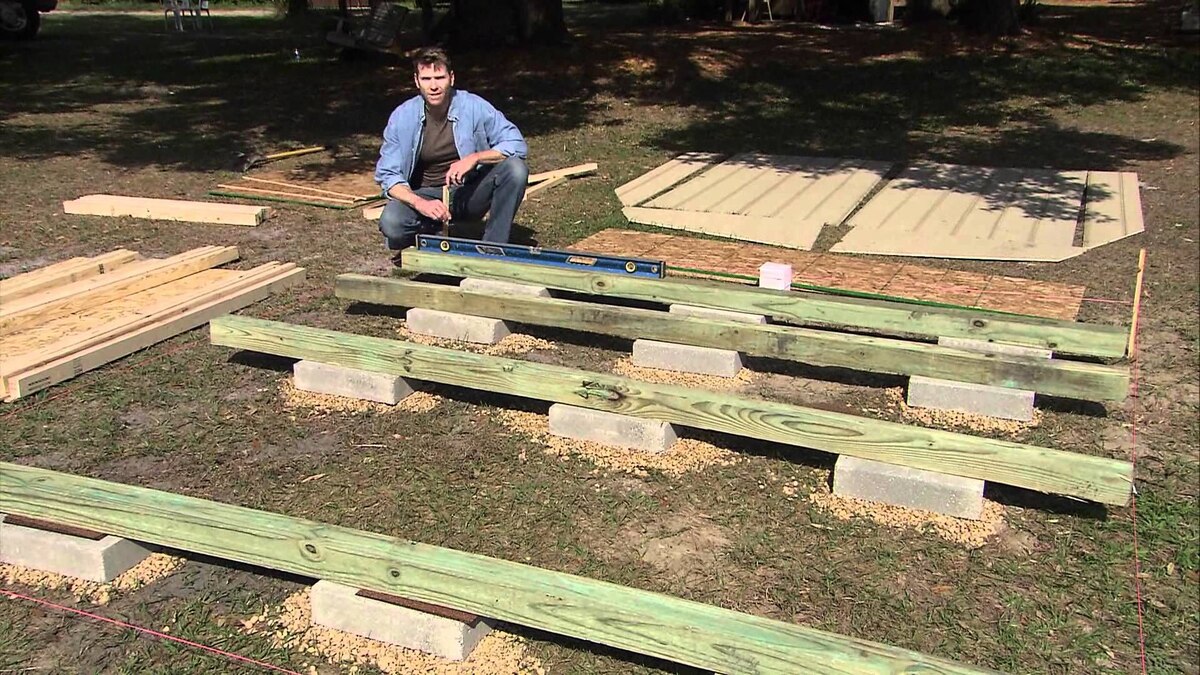
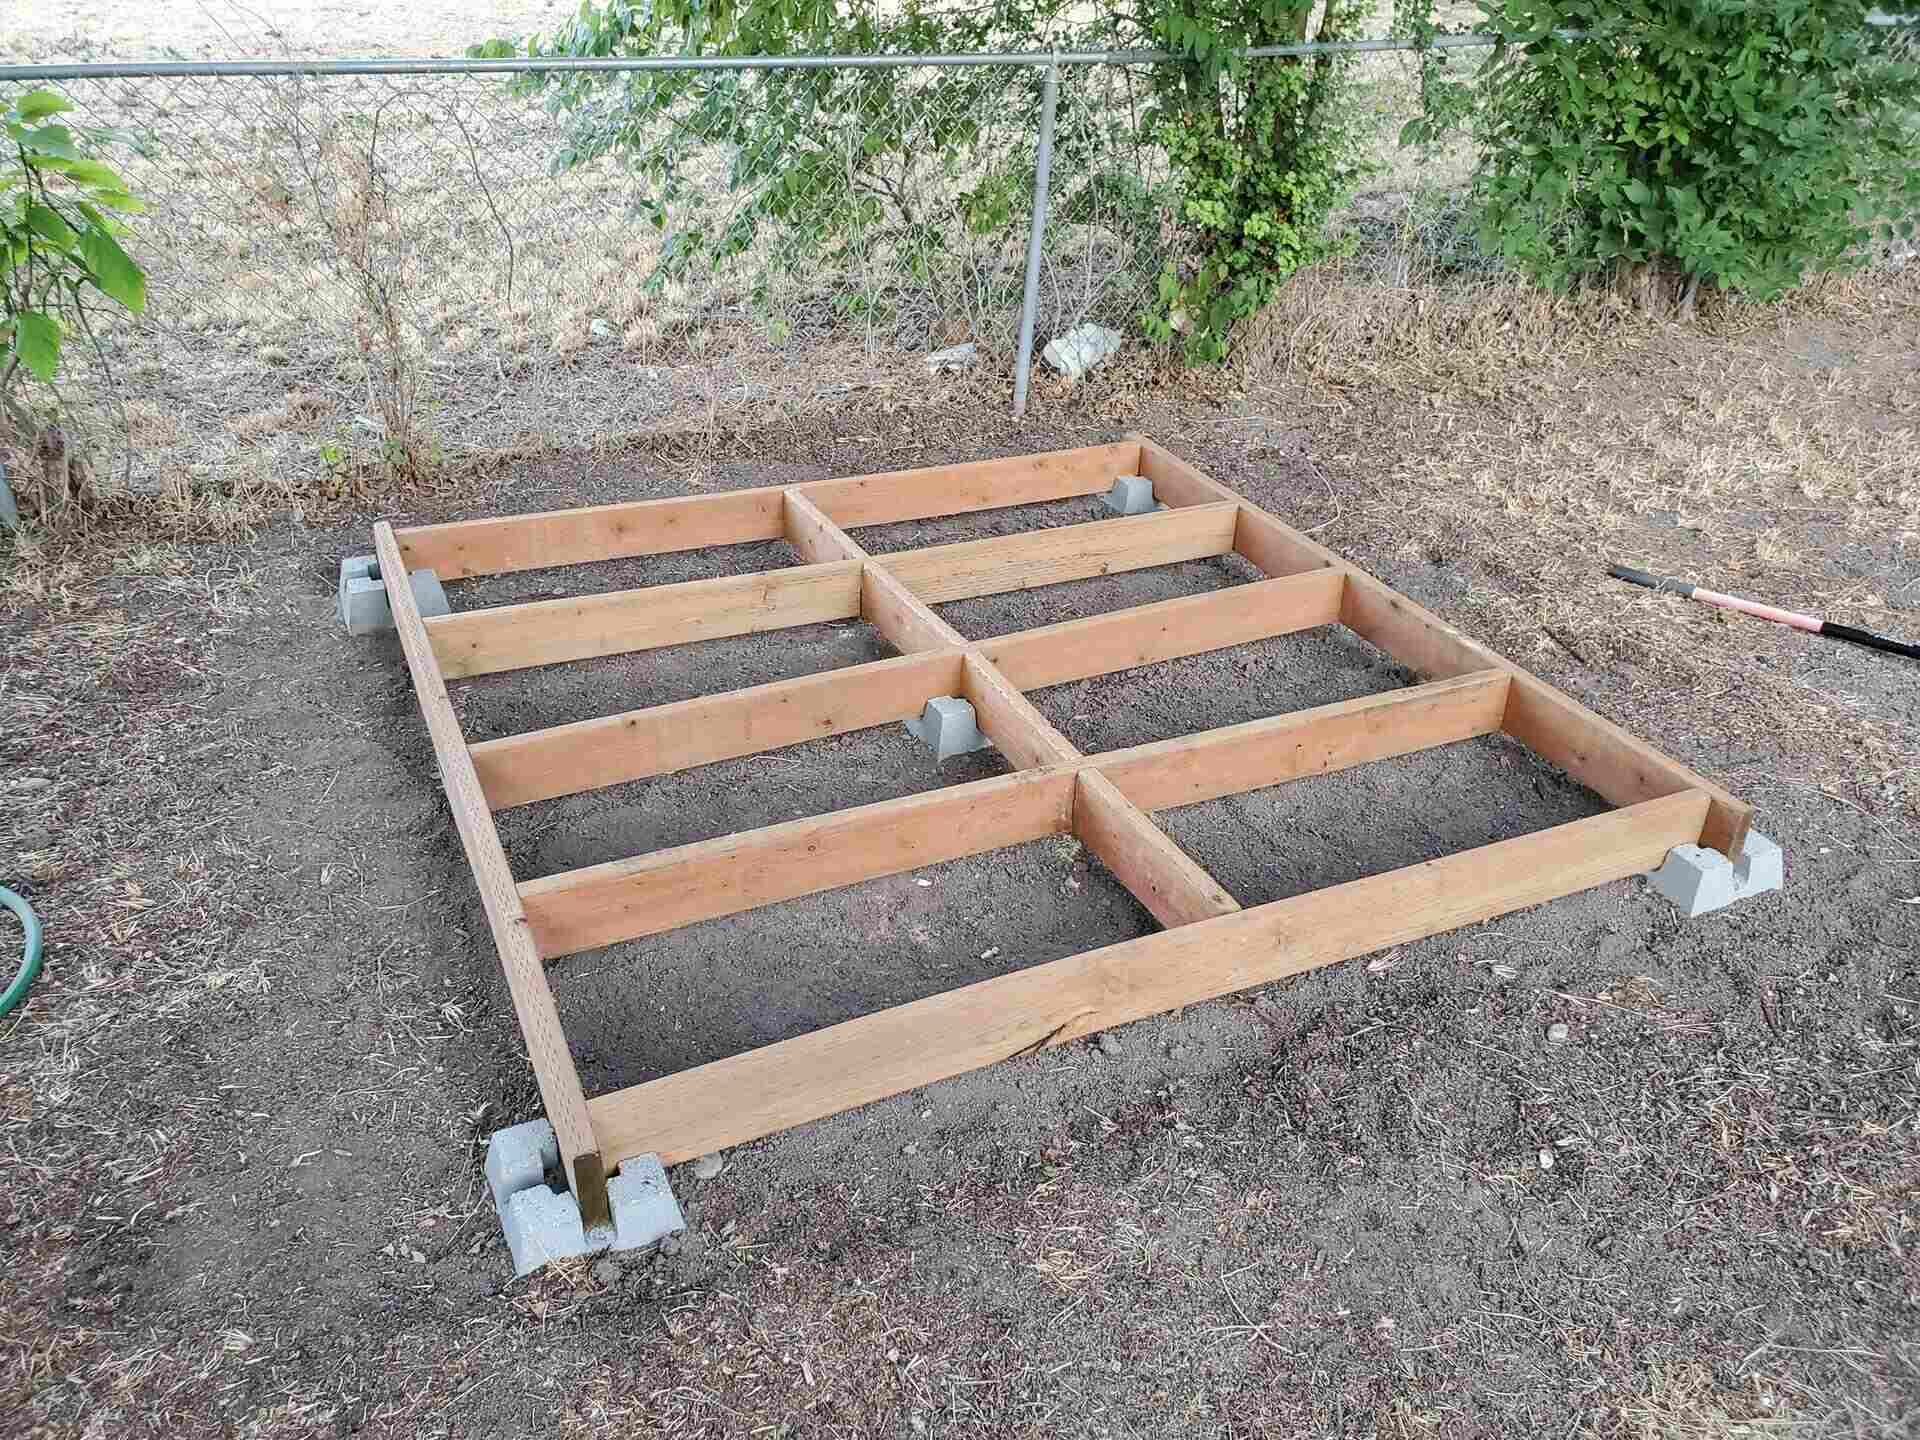
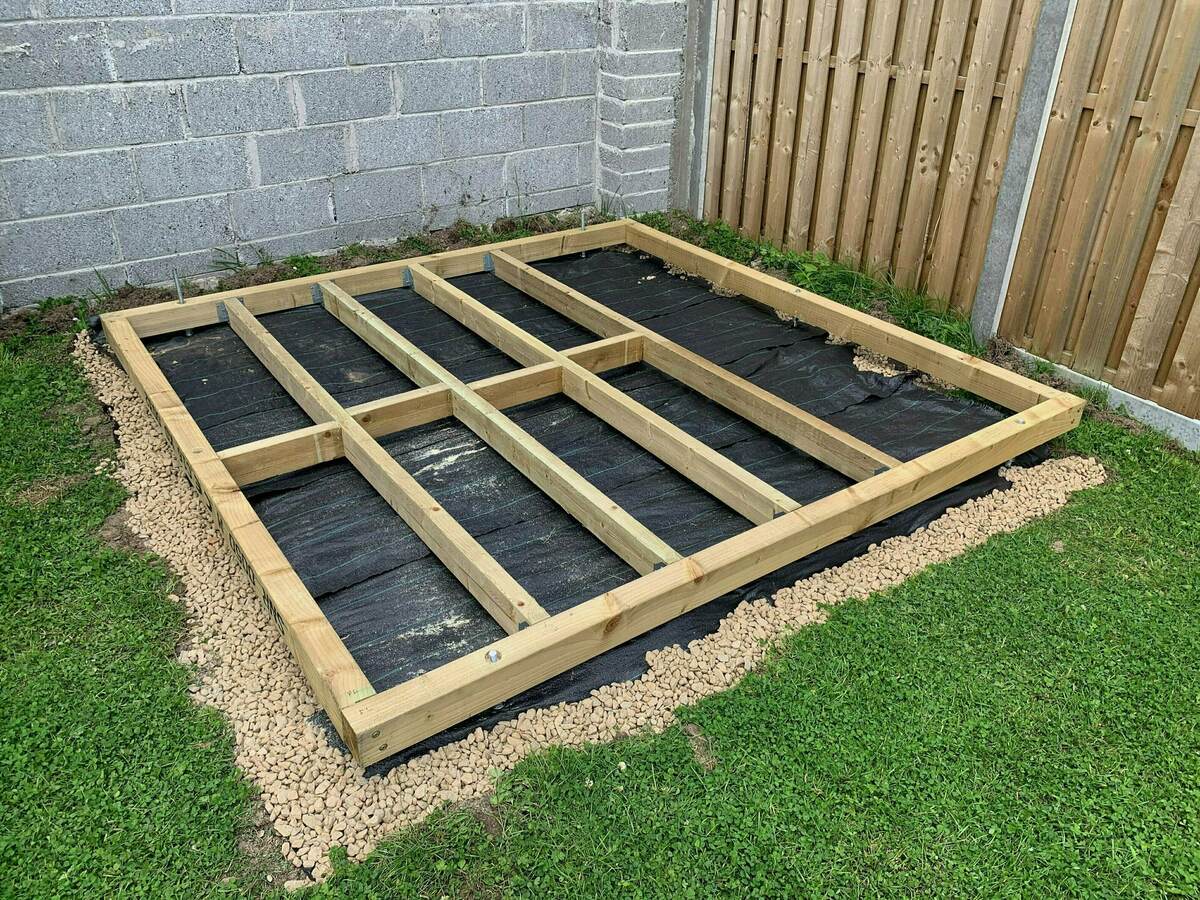
If you are using a skid foundation, begin by placing pressure-treated lumber or concrete blocks in the area marked out for your shed. Make sure to space them properly, following the shed’s floor joist layout. For added stability, consider adding additional blocks or supports in the center of the foundation.
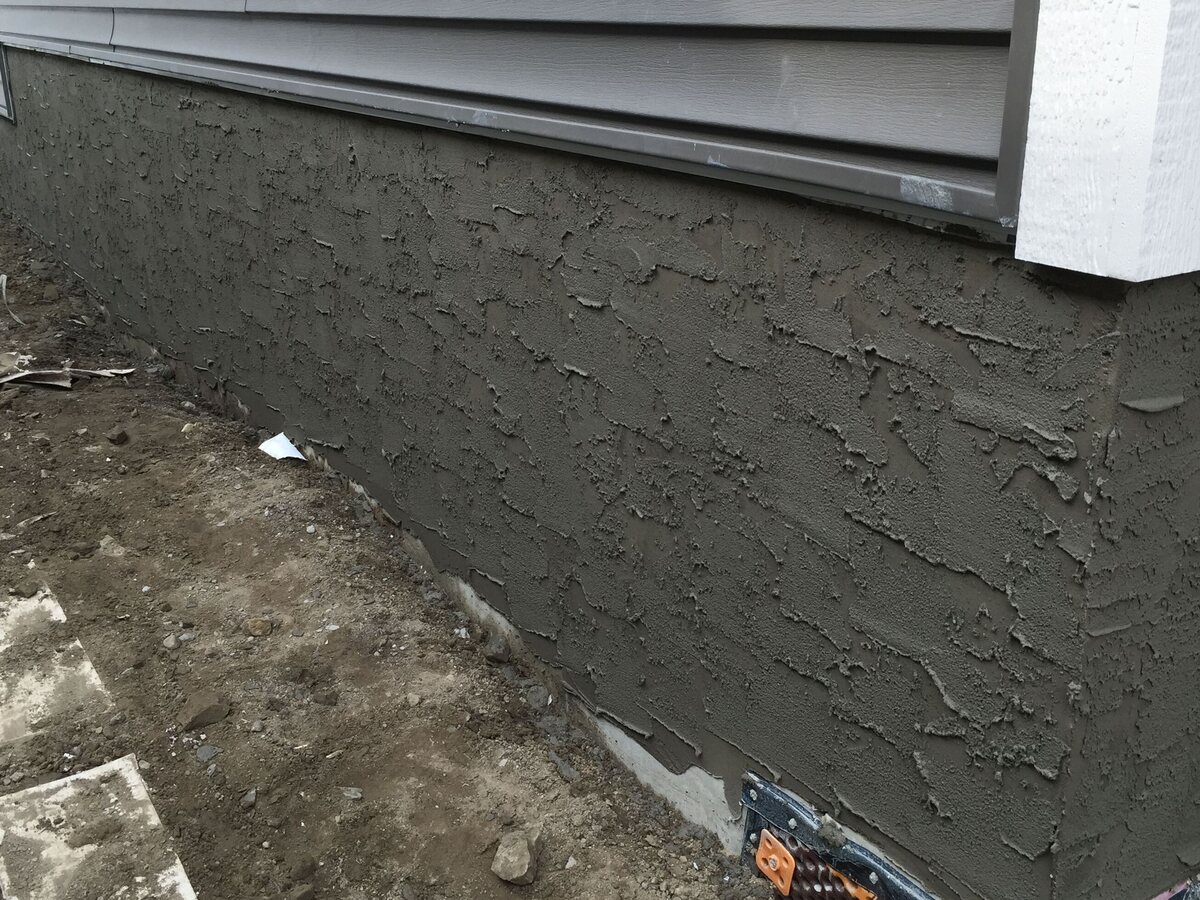
If you have opted for a concrete slab or footings, consult a professional or follow local building codes for guidance on the specific dimensions and reinforcement requirements. Excavate the area to the required depth, ensuring proper drainage. Install formwork to contain the concrete and reinforce it with rebar if necessary. Finally, pour and level the concrete to create a solid foundation for your shed.
For both skid and concrete foundations, it’s essential to add a layer of gravel or crushed stone. This will help with drainage and prevent moisture buildup, which can lead to rot and mold. Spread the gravel evenly across the foundation area and compact it using a tamper or compactor to ensure a stable base.
If you are using a skid foundation, you can then place treated plywood or concrete slabs on top of the pressure-treated lumber or concrete blocks. Secure them with screws or nails, making sure they are flush with the edges of the foundation.
Building a solid and sturdy foundation is crucial for the stability and longevity of your shed. Take the time to ensure proper construction and follow local building codes to create a foundation that will support your shed for years to come.
Step 4: Checking for Level
Once you have built the basic foundation for your shed, it’s important to check for levelness before proceeding with the construction. A level shed will ensure proper weight distribution and help prevent issues such as doors and windows not functioning properly or water pooling on the roof.
To check for level, place a long, straight board or a level across the foundation in different directions. Look for any gaps or areas where the board or level does not sit flush with the foundation. If you notice any unevenness, this may indicate that certain areas of the foundation need adjustment.
Use a measuring tape or a ruler to determine the difference in height between the highest and lowest points of the foundation. This will give you an idea of how much adjustment is needed to achieve a level surface.
If you are working with a skid foundation, you can adjust the level by adding or removing gravel or shims under the pressure-treated lumber or concrete blocks. Start by adding or removing small amounts of material and recheck the level until you achieve a level surface across the entire foundation.
For a concrete foundation, leveling may require additional steps. In some cases, you may need to use a concrete grinder or a chisel to remove small portions of concrete to achieve a level surface. It’s essential to consult a professional if significant adjustments are needed to ensure the structural integrity of the foundation.
Remember to check for levelness along both the length and width of the foundation. It’s important to take your time during this step to ensure that the foundation is level in all directions.
Checking for level before continuing with the construction of the shed will save you time and potential issues in the long run. It’s an important step in creating a stable and well-functioning structure.
Before starting to level a shed foundation, make sure to clear the area of any debris and use a long, straight board and a level to check for any high or low spots. This will ensure a more stable and even foundation for your shed.
Read more: What Is The Best Foundation For A Shed
Step 5: Adjusting the Foundation
After checking for levelness in the previous step, you may need to make adjustments to the foundation to ensure it is completely level. This step is crucial for the overall stability and functionality of your shed.
If you find that certain areas of the foundation are not level, you can use a variety of methods to make the necessary adjustments:
- Adding or removing material: Depending on the type of foundation you are working with, you can add or remove gravel, shims, or additional blocks to achieve a level surface. Start with small adjustments and recheck the level until you reach the desired balance.
- Using a pry bar or jack: For a skid foundation, you can use a pry bar or a hydraulic jack to lift and level individual sections. Insert the pry bar or jack under the low side of the foundation and apply gentle pressure until the desired level is reached. Use shims or additional material to support the newly leveled section.
- Shaving concrete: If you have a concrete foundation and notice unevenness, you may need to shave off small portions of the concrete using a concrete grinder or chisel. Be cautious and make small, controlled adjustments to avoid weakening the overall structure.
As you make adjustments to the foundation, be sure to recheck the levelness periodically to ensure that you are progressing in the right direction. Take your time during this step, as achieving a level foundation is crucial for the proper installation and functionality of your shed.
If you find that the adjustments required are beyond your capabilities, it’s best to consult a professional. They can provide guidance and ensure that the necessary adjustments are made safely and effectively.
Remember that a level foundation is essential for the stability and durability of your shed. Taking the time to make the necessary adjustments will result in a well-balanced structure that will stand the test of time.
Step 6: Securing the Foundation
Once you have achieved a level foundation for your shed, it’s time to secure it in place. This step is essential to prevent shifting or movement, especially in areas prone to high winds or seismic activity.
There are several methods you can use to secure the foundation, depending on the type and design of your shed:
- Anchor bolts: If you have a concrete foundation, you can install anchor bolts before pouring the concrete. These bolts will provide a secure connection between the foundation and the shed. Make sure to follow local building codes and manufacturer recommendations for the installation of anchor bolts.
- Ground anchors: For a skid foundation, you can use ground anchors, also known as earth augers, to secure the foundation. These anchors are driven into the ground next to the foundation and attached to the skids using metal straps or cables. This method provides stability and prevents the shed from being lifted by strong winds.
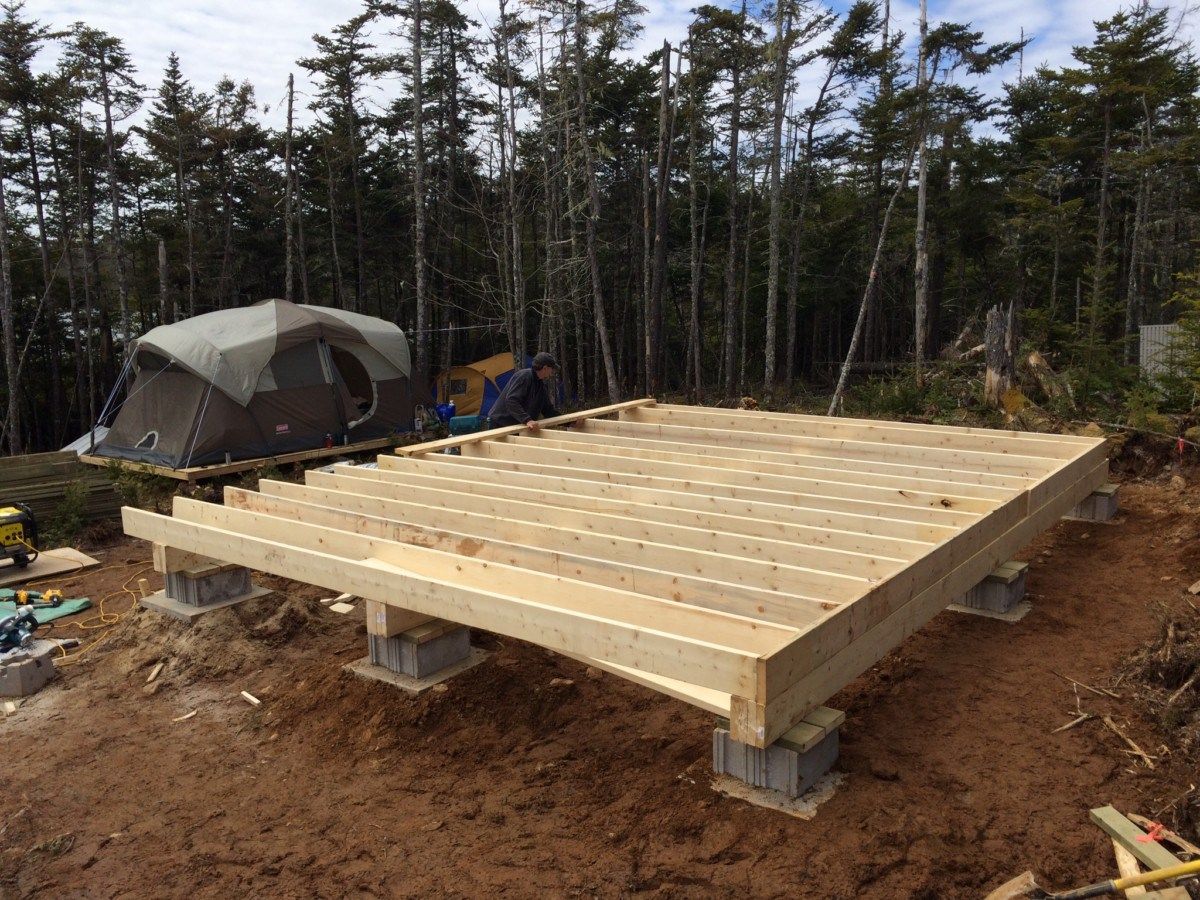
- Concrete footings: In some cases, you may need to dig deep concrete footings to secure the foundation. This method is commonly used for larger sheds or in areas with unstable soil conditions. Consult a professional to determine if concrete footings are necessary for your specific situation.
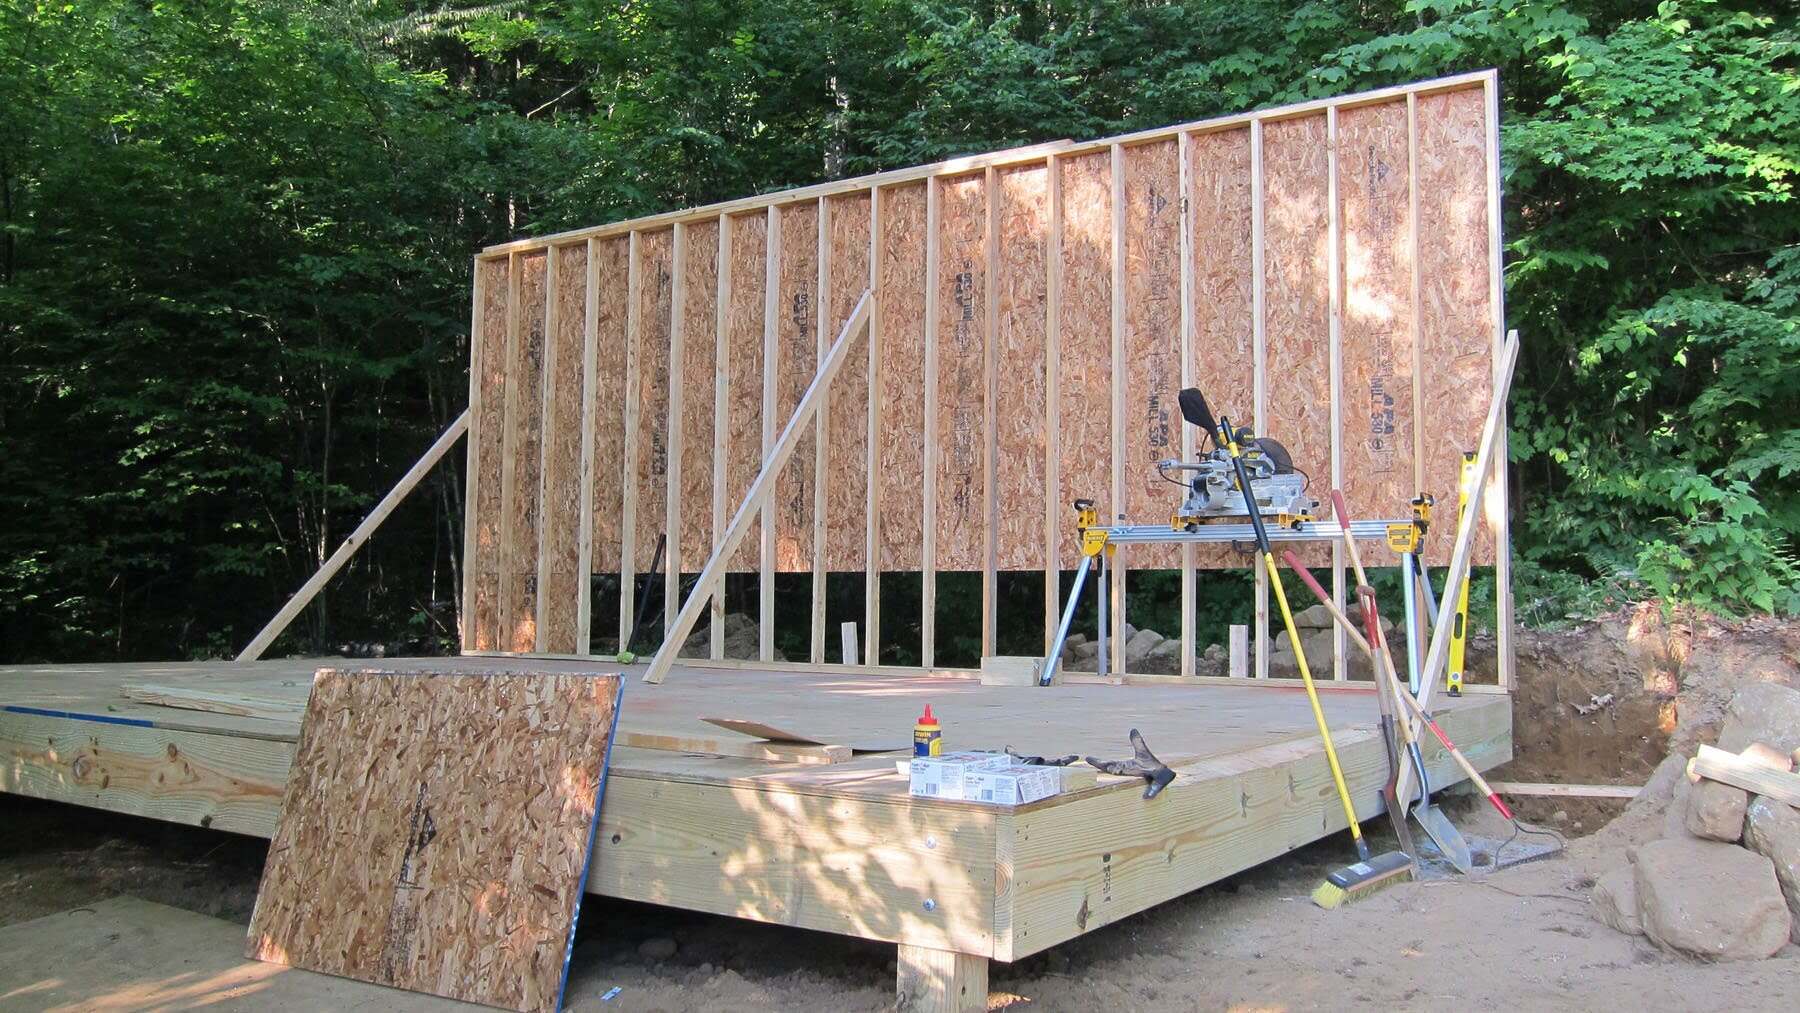
- Additional supports: Depending on the size and weight of your shed, you may need to add additional supports, such as bracing or cross beams, to enhance stability. These supports can be installed between the foundation and the shed’s floor joists.
When securing the foundation, it’s important to follow the manufacturer’s instructions and local building codes to ensure proper installation. Use high-quality materials and hardware to create a strong and durable connection between the foundation and the shed.
Securing the foundation will provide peace of mind knowing that your shed is well-protected against external forces. It’s a crucial step in the construction process that should not be overlooked.
Step 7: Final Check and Cleanup
With the foundation secured in place, it’s time for the final check and cleanup before your shed construction is complete.
First, perform a thorough inspection of the entire foundation and shed. Check for any loose screws, nails, or other fasteners that may need tightening. Ensure that all components are securely attached and aligned properly.
Next, take a final measurement to verify that the shed is level and plumb. Use a level to check the walls and roof for any signs of unevenness or sagging. Adjust as needed to ensure a visually appealing and structurally sound final result.
Once the construction is complete and the shed is leveled and secure, it’s time to clean up the construction site. Remove any debris, excess materials, and tools from the area. Properly dispose of or store them for future use.
Consider landscaping around the shed to enhance its appearance and provide better drainage. You can add a layer of gravel or mulch around the perimeter of the shed to help prevent weed growth and improve aesthetics.
Finally, take a step back and admire your finished shed. The hard work and attention to detail that went into leveling the foundation will pay off in the long run through a stable and functional structure.
Regularly inspect and maintain your shed to ensure its longevity and optimal performance over time. This may include checking for any signs of water leakage, inspecting the foundation for any cracks or shifting, and addressing any necessary repairs promptly.
By following these steps and conducting regular maintenance, you can enjoy your shed for many years to come, knowing that its foundation is solid and level.
With the completion of the final check and cleanup, your shed foundation is now ready for you to start utilizing it for storage, hobbies, or any other purpose you intended. Enjoy the benefits of a sturdy and level foundation in your shed’s overall performance and longevity.
Conclusion
Building a shed with a properly leveled foundation is crucial for its stability, durability, and overall performance. By following the steps outlined in this guide, you can ensure that your shed is built on a solid and level base that will stand the test of time.
Preparation is key before embarking on the foundation-building process. Gather the necessary tools and materials, choose the right location, and clear the area of any obstacles. Taking these initial steps will set the stage for a successful construction project.
Building a basic foundation involves careful consideration of the type of foundation that suits your shed design and local building codes. Whether you opt for a skid foundation or a concrete slab, ensure it is level and properly supported with the right materials.
Checking for levelness is a critical step that should not be overlooked. Use a level to assess the foundation and make any necessary adjustments to achieve a level surface. This will ensure that your shed is properly aligned and prevents future stability issues.
Securing the foundation is essential to prevent shifting or movement, particularly in areas prone to high winds or seismic activity. Use anchor bolts, ground anchors, or additional supports to create a strong connection between the foundation and the shed.
Finally, perform a final check and cleanup to ensure that everything is in order. Inspect the foundation and shed for any loose components and take measurements to confirm that everything is level and plumb. Clean up the construction site and consider landscaping around the shed for a polished appearance.
Remember to regularly maintain and inspect your shed to address any potential issues promptly. With a solid and level foundation, your shed will provide you with years of functionality and enjoyment.
Thank you for following this guide on how to level a shed foundation. Best of luck with your shed construction project!
Once your shed foundation is level, why stop there? Extend your skills to enhancing your outdoor space with unique and charming structures. Whether you're aiming to add a gazebo, arbor, or any other eye-catching addition, our guide on outdoor structures ensures you have all the necessary know-how to create an inviting atmosphere. Dive into our detailed instructions and start transforming your yard today!
Frequently Asked Questions about How To Level A Shed Foundation
Was this page helpful?
At Storables.com, we guarantee accurate and reliable information. Our content, validated by Expert Board Contributors, is crafted following stringent Editorial Policies. We're committed to providing you with well-researched, expert-backed insights for all your informational needs.


0 thoughts on “How To Level A Shed Foundation”