Home>Energy>Home Insulation & Ventilation>How To Remove Paint From Weather Stripping
Home Insulation & Ventilation
How To Remove Paint From Weather Stripping
Modified: August 30, 2024
Learn how to effectively remove paint from weather stripping for better home insulation and ventilation. Follow our step-by-step guide for a quick and easy solution.
(Many of the links in this article redirect to a specific reviewed product. Your purchase of these products through affiliate links helps to generate commission for Storables.com, at no extra cost. Learn more)
Introduction
Welcome to our comprehensive guide on removing paint from weather stripping. Whether you're a seasoned DIY enthusiast or a homeowner seeking practical solutions, understanding the intricacies of this process can save you time, effort, and potential frustration. Weather stripping plays a crucial role in maintaining the energy efficiency and structural integrity of your home. However, when paint inadvertently finds its way onto these essential components, it can compromise their functionality and aesthetic appeal. Fear not, as we're here to equip you with the knowledge and techniques necessary to restore your weather stripping to its former glory.
In the upcoming sections, we'll delve into the various methods for removing paint from weather stripping, providing detailed insights and step-by-step instructions. From utilizing chemical paint strippers to employing heat guns, sandpaper, paint thinners, and razor blades, we'll explore the pros and cons of each approach, empowering you to make informed decisions based on your specific needs and preferences.
By the end of this guide, you'll be well-versed in the art of paint removal from weather stripping, enabling you to tackle this common household challenge with confidence and finesse. So, let's embark on this enlightening journey and unravel the secrets of restoring your weather stripping to its pristine condition.
Key Takeaways:
- Safely and effectively remove paint from weather stripping using methods such as chemical paint strippers, heat guns, sandpaper, paint thinners, and razor blades, restoring functionality and aesthetic appeal.
- Understanding the significance of weather stripping and the role it plays in maintaining energy efficiency and structural integrity is crucial for preserving its functionality and aesthetic appeal.
Read more: How To Remove Old Weather Stripping
Understanding Weather Stripping
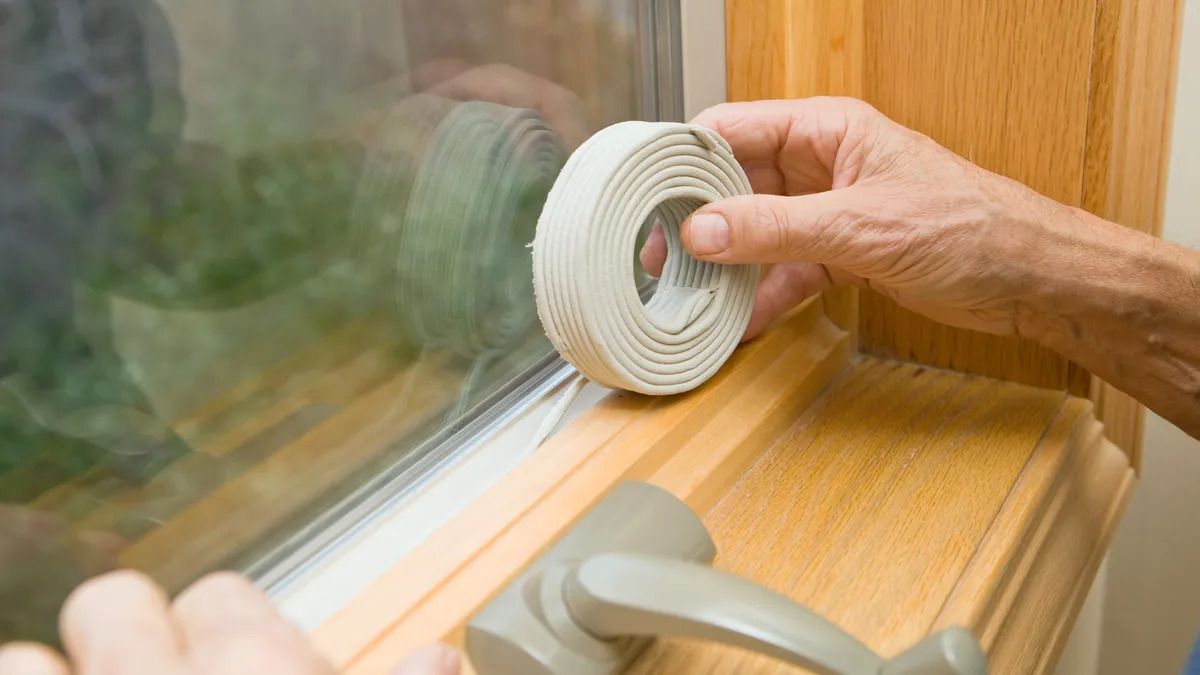
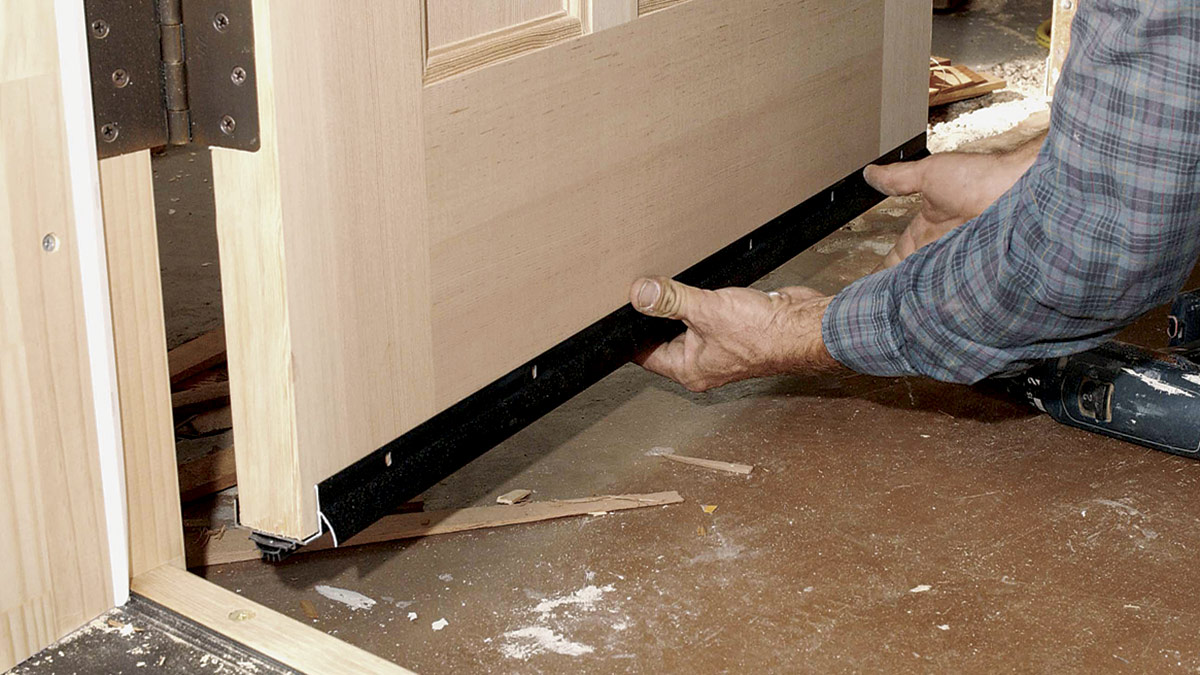
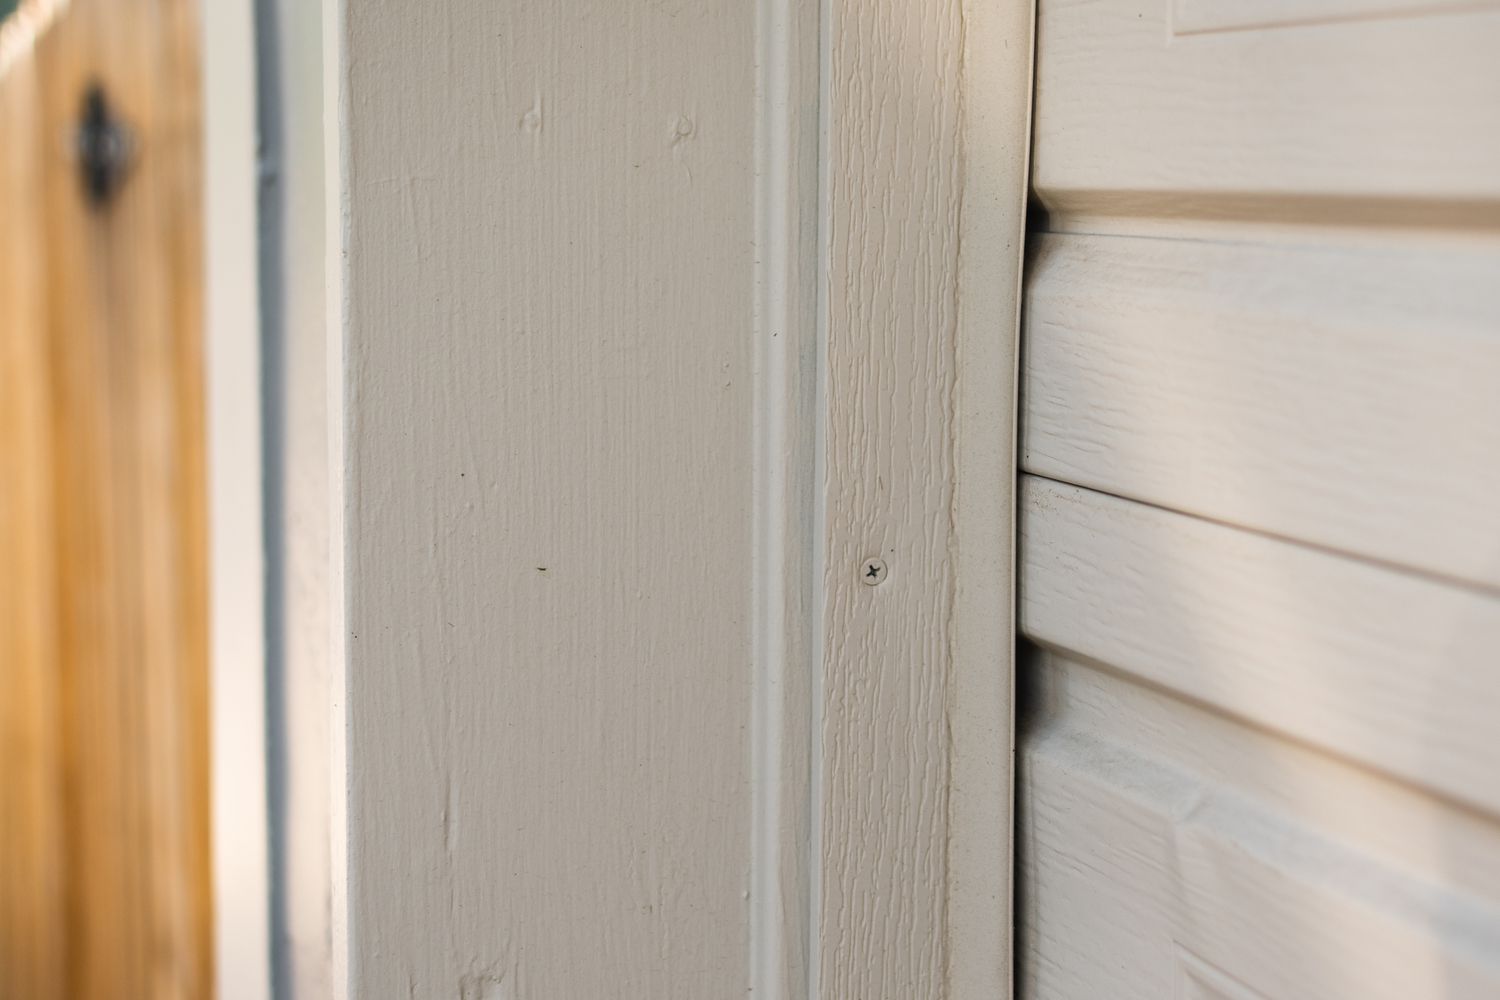
Before delving into the methods for removing paint from weather stripping, it’s essential to grasp the significance of this often-overlooked component. Weather stripping serves as a protective barrier, sealing the gaps around doors and windows to prevent air and moisture infiltration. By creating a tight seal, weather stripping contributes to energy efficiency, insulation, and overall comfort within your home.
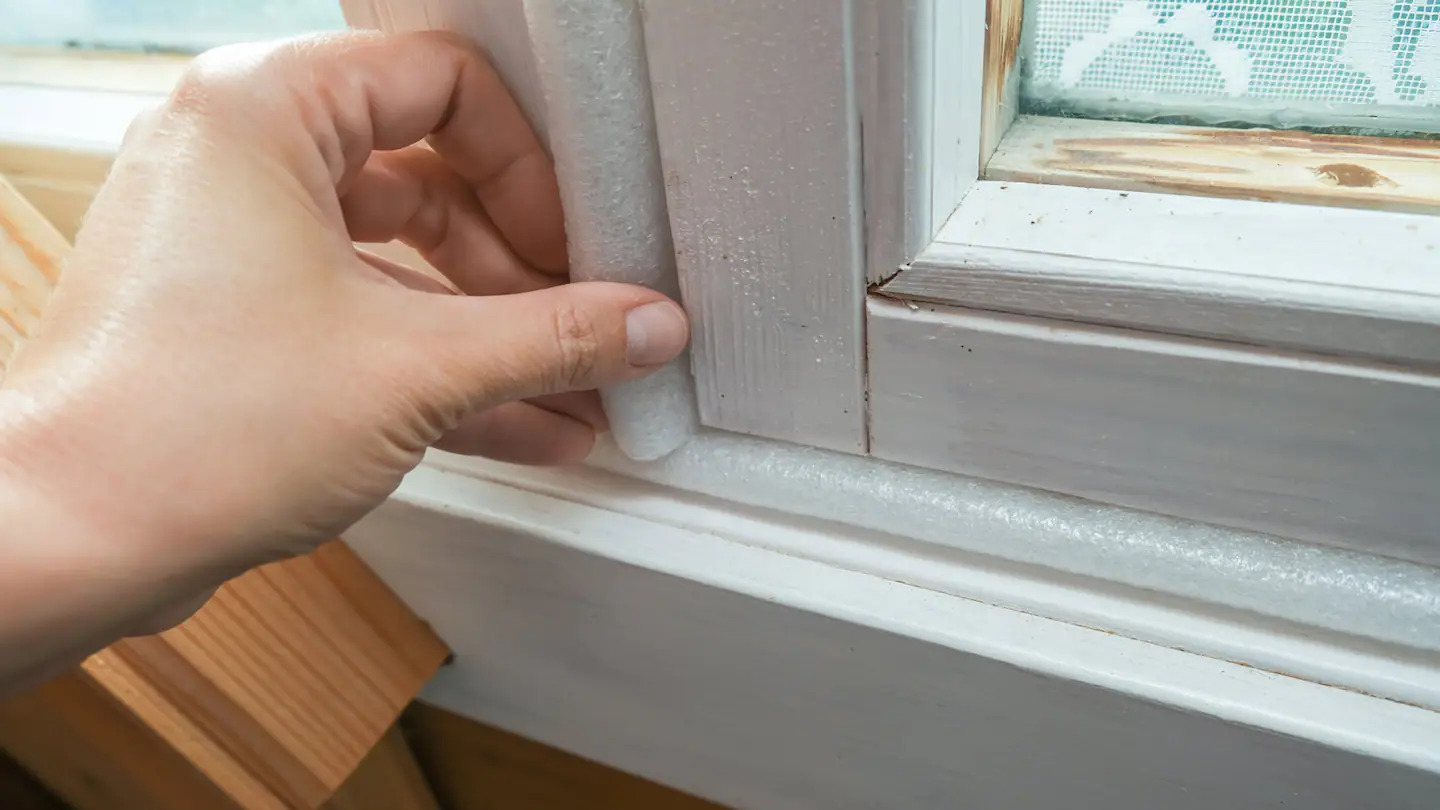
Commonly made from materials such as rubber, vinyl, or foam, weather stripping comes in various forms, including adhesive-backed foam tape, V-seal weather stripping, and felt weather stripping. Each type is designed to accommodate different surfaces and gap sizes, providing a tailored solution for effectively sealing potential entry points for air and water.
When paint adheres to weather stripping, it can compromise its flexibility and sealing properties. This can lead to air leaks, drafts, and reduced insulation, ultimately impacting your home’s energy efficiency and comfort. Furthermore, the accumulation of paint can detract from the aesthetic appeal of your doors and windows, diminishing the overall visual appeal of your living space.
Understanding the role and composition of weather stripping underscores the importance of maintaining its integrity. By learning how to effectively remove paint from weather stripping, you can ensure that these vital components continue to fulfill their purpose, safeguarding your home against the elements and enhancing its overall functionality.
Now that we’ve established the significance of weather stripping, let’s explore the methods for safely and efficiently removing paint from these essential elements.
Methods for Removing Paint from Weather Stripping
When faced with the task of removing paint from weather stripping, several methods can be employed, each offering its own set of advantages and considerations. From chemical paint strippers to heat guns, sandpaper, paint thinners, and razor blades, the following techniques cater to a range of preferences and requirements. Let’s explore each approach in detail to provide you with a comprehensive understanding of the options available.
It’s important to approach paint removal from weather stripping with care, as these components are often delicate and can be easily damaged if not handled properly. Assessing the type of paint, the material of the weather stripping, and the extent of the paint accumulation will help determine the most suitable method for achieving optimal results.
By familiarizing yourself with the following methods, you’ll be equipped to tackle the challenge of removing paint from weather stripping effectively, restoring these crucial elements to their original condition and preserving their functionality.
Now, let’s delve into the specifics of each method, providing insights into their application and the considerations to keep in mind when employing them. Whether you prefer a chemical-based approach, the precision of a razor blade, or the controlled heat of a heat gun, there’s a method suited to your needs and comfort level. Let’s embark on this enlightening exploration of paint removal from weather stripping, empowering you to make informed decisions and achieve remarkable results.
Using Chemical Paint Strippers
Chemical paint strippers are a popular choice for removing paint from weather stripping, offering an effective and relatively straightforward method for achieving clean and restored surfaces. These products typically contain strong solvents or chemicals designed to break down and dissolve paint, facilitating its removal from various surfaces, including weather stripping.
Before using a chemical paint stripper, it’s crucial to ensure adequate ventilation in the work area and to wear appropriate personal protective equipment, such as gloves and a respirator, to minimize exposure to the chemicals. Additionally, carefully read and follow the manufacturer’s instructions and safety guidelines provided with the product.
To begin the process, apply the chemical paint stripper to the affected areas of the weather stripping, ensuring complete coverage of the paint. Allow the stripper to penetrate and soften the paint as per the manufacturer’s recommended duration. This dwell time allows the chemicals to effectively loosen the paint, making it easier to remove.
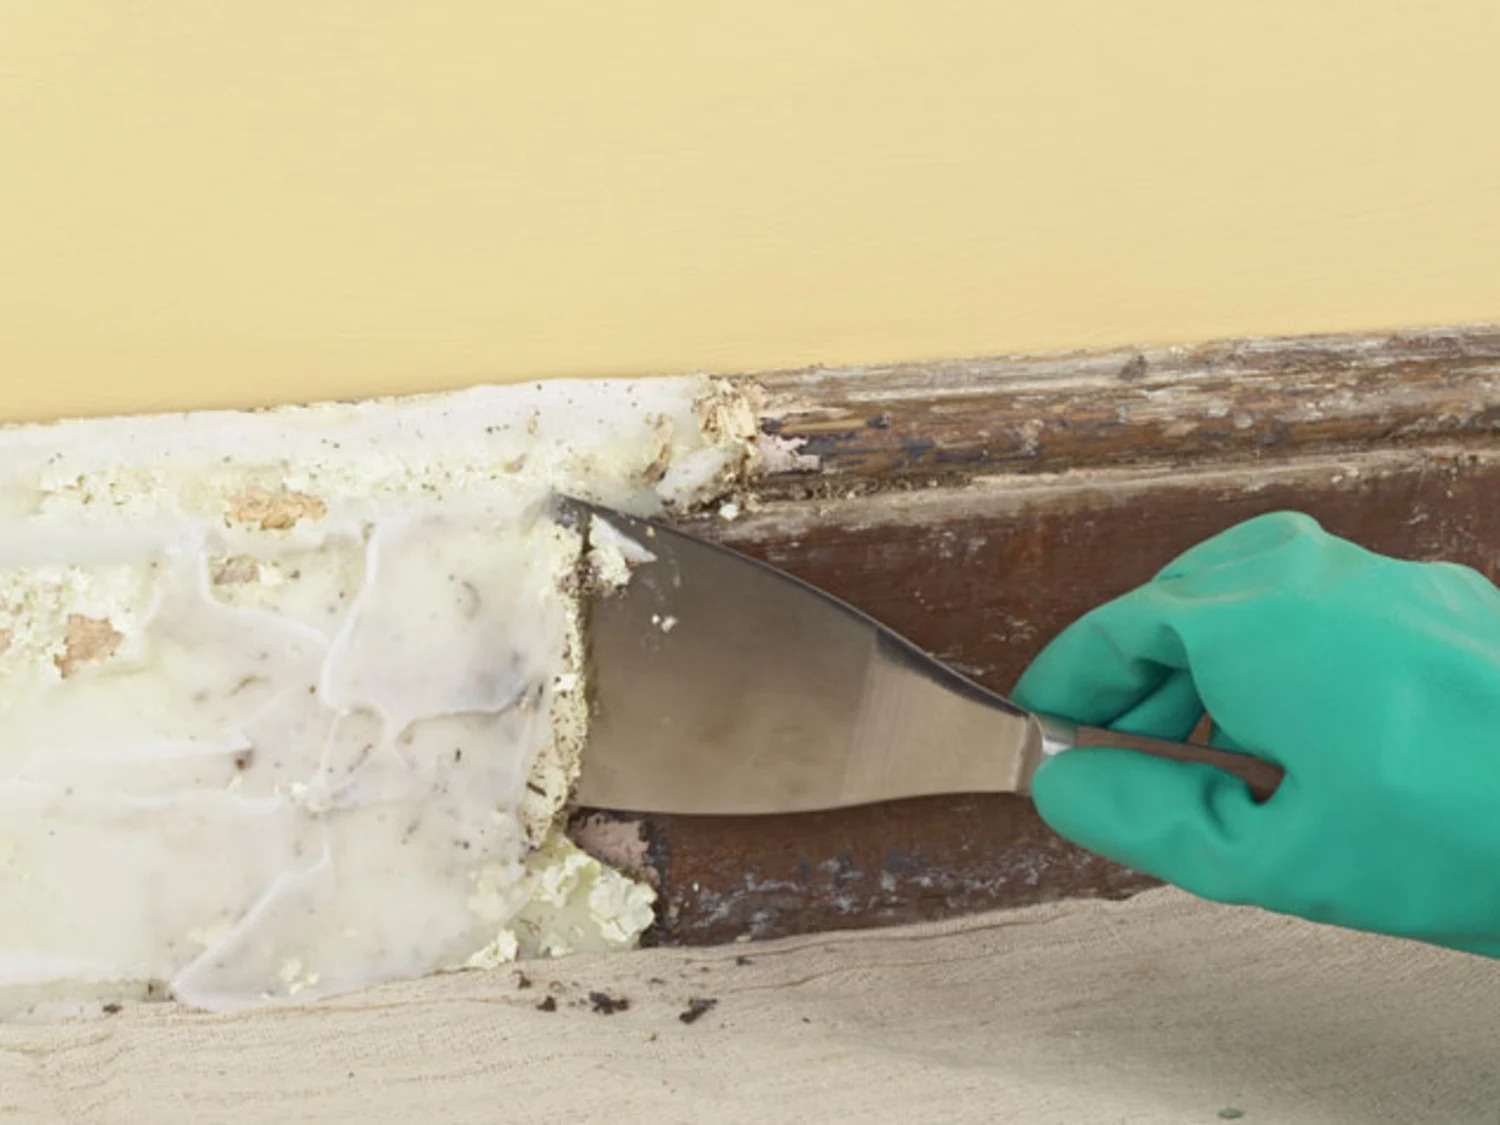
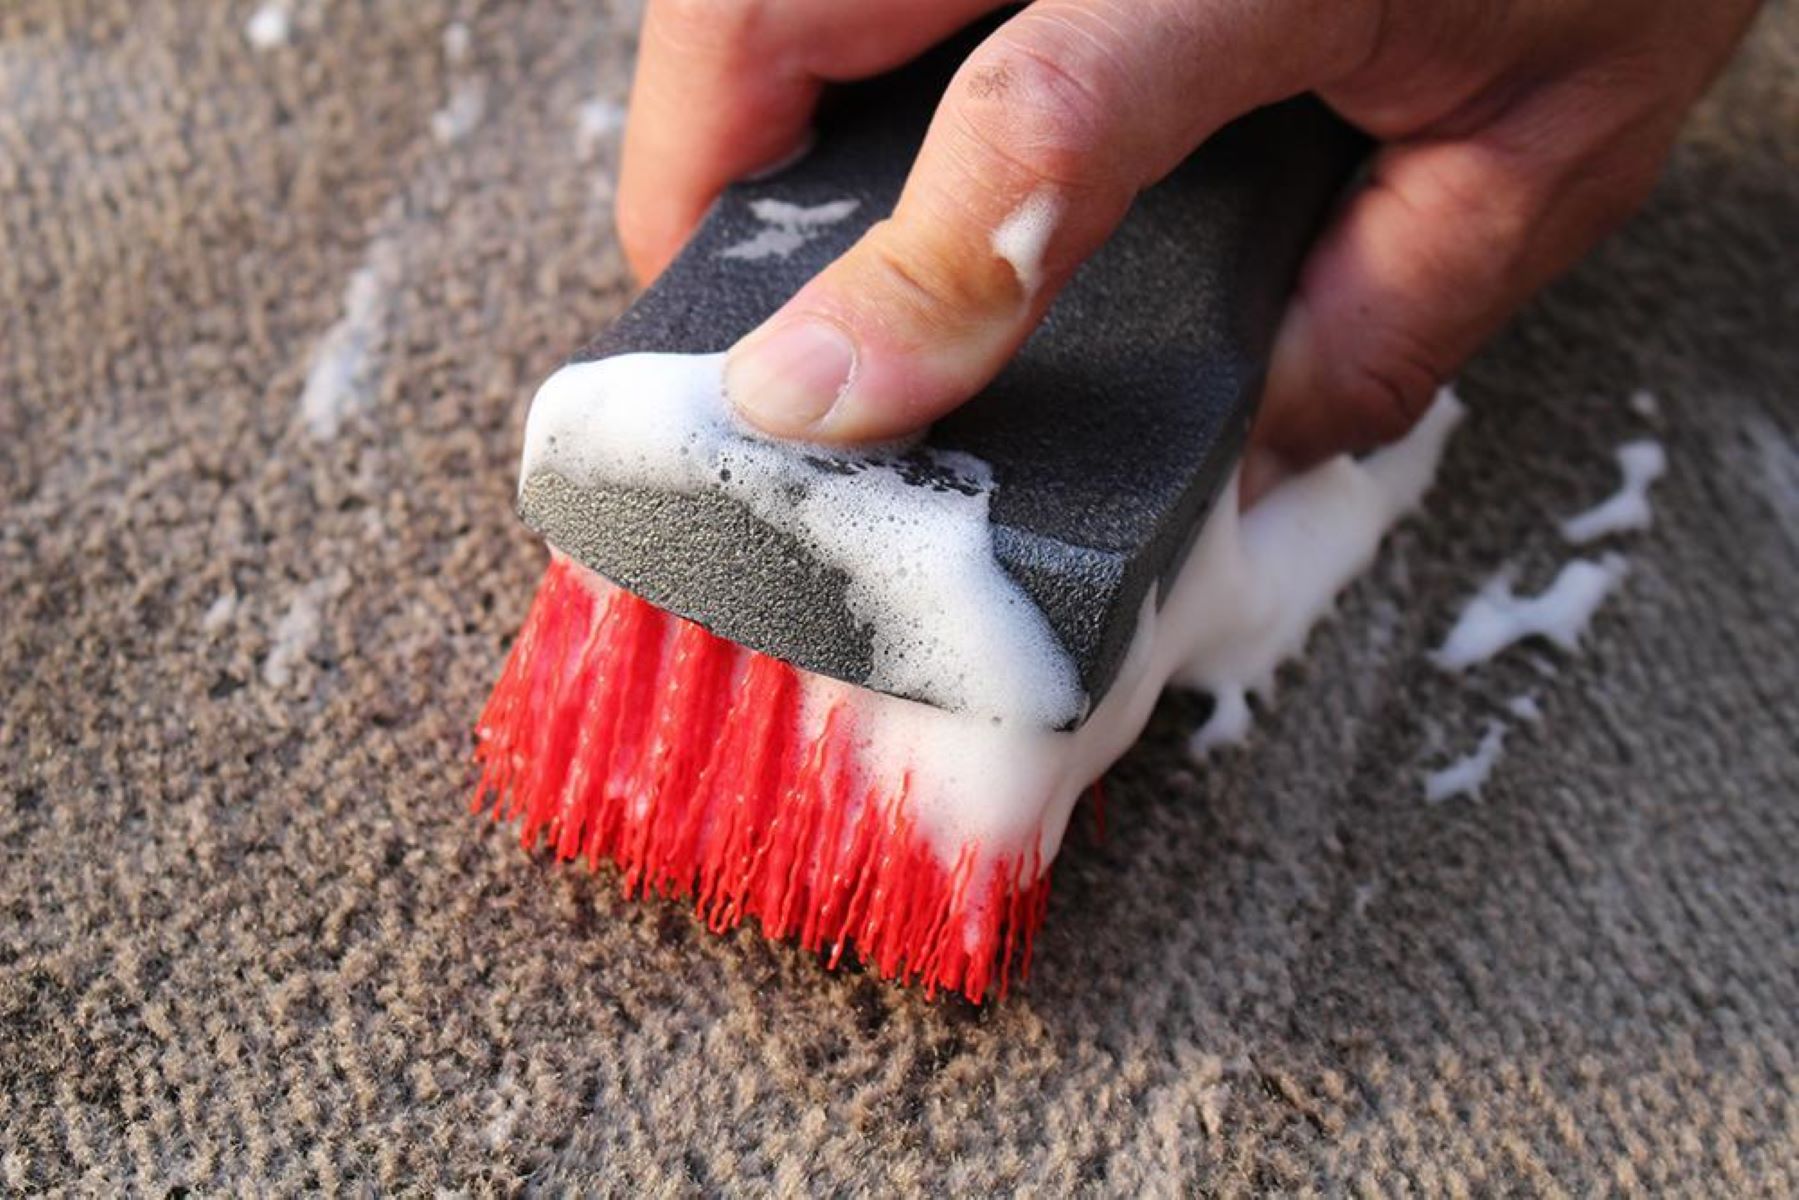
Once the paint has been sufficiently softened, use a non-abrasive tool, such as a plastic scraper or a soft-bristled brush, to gently lift and remove the softened paint from the weather stripping. Take care to avoid damaging the stripping during this process, as excessive force or abrasive tools can cause unintended harm.
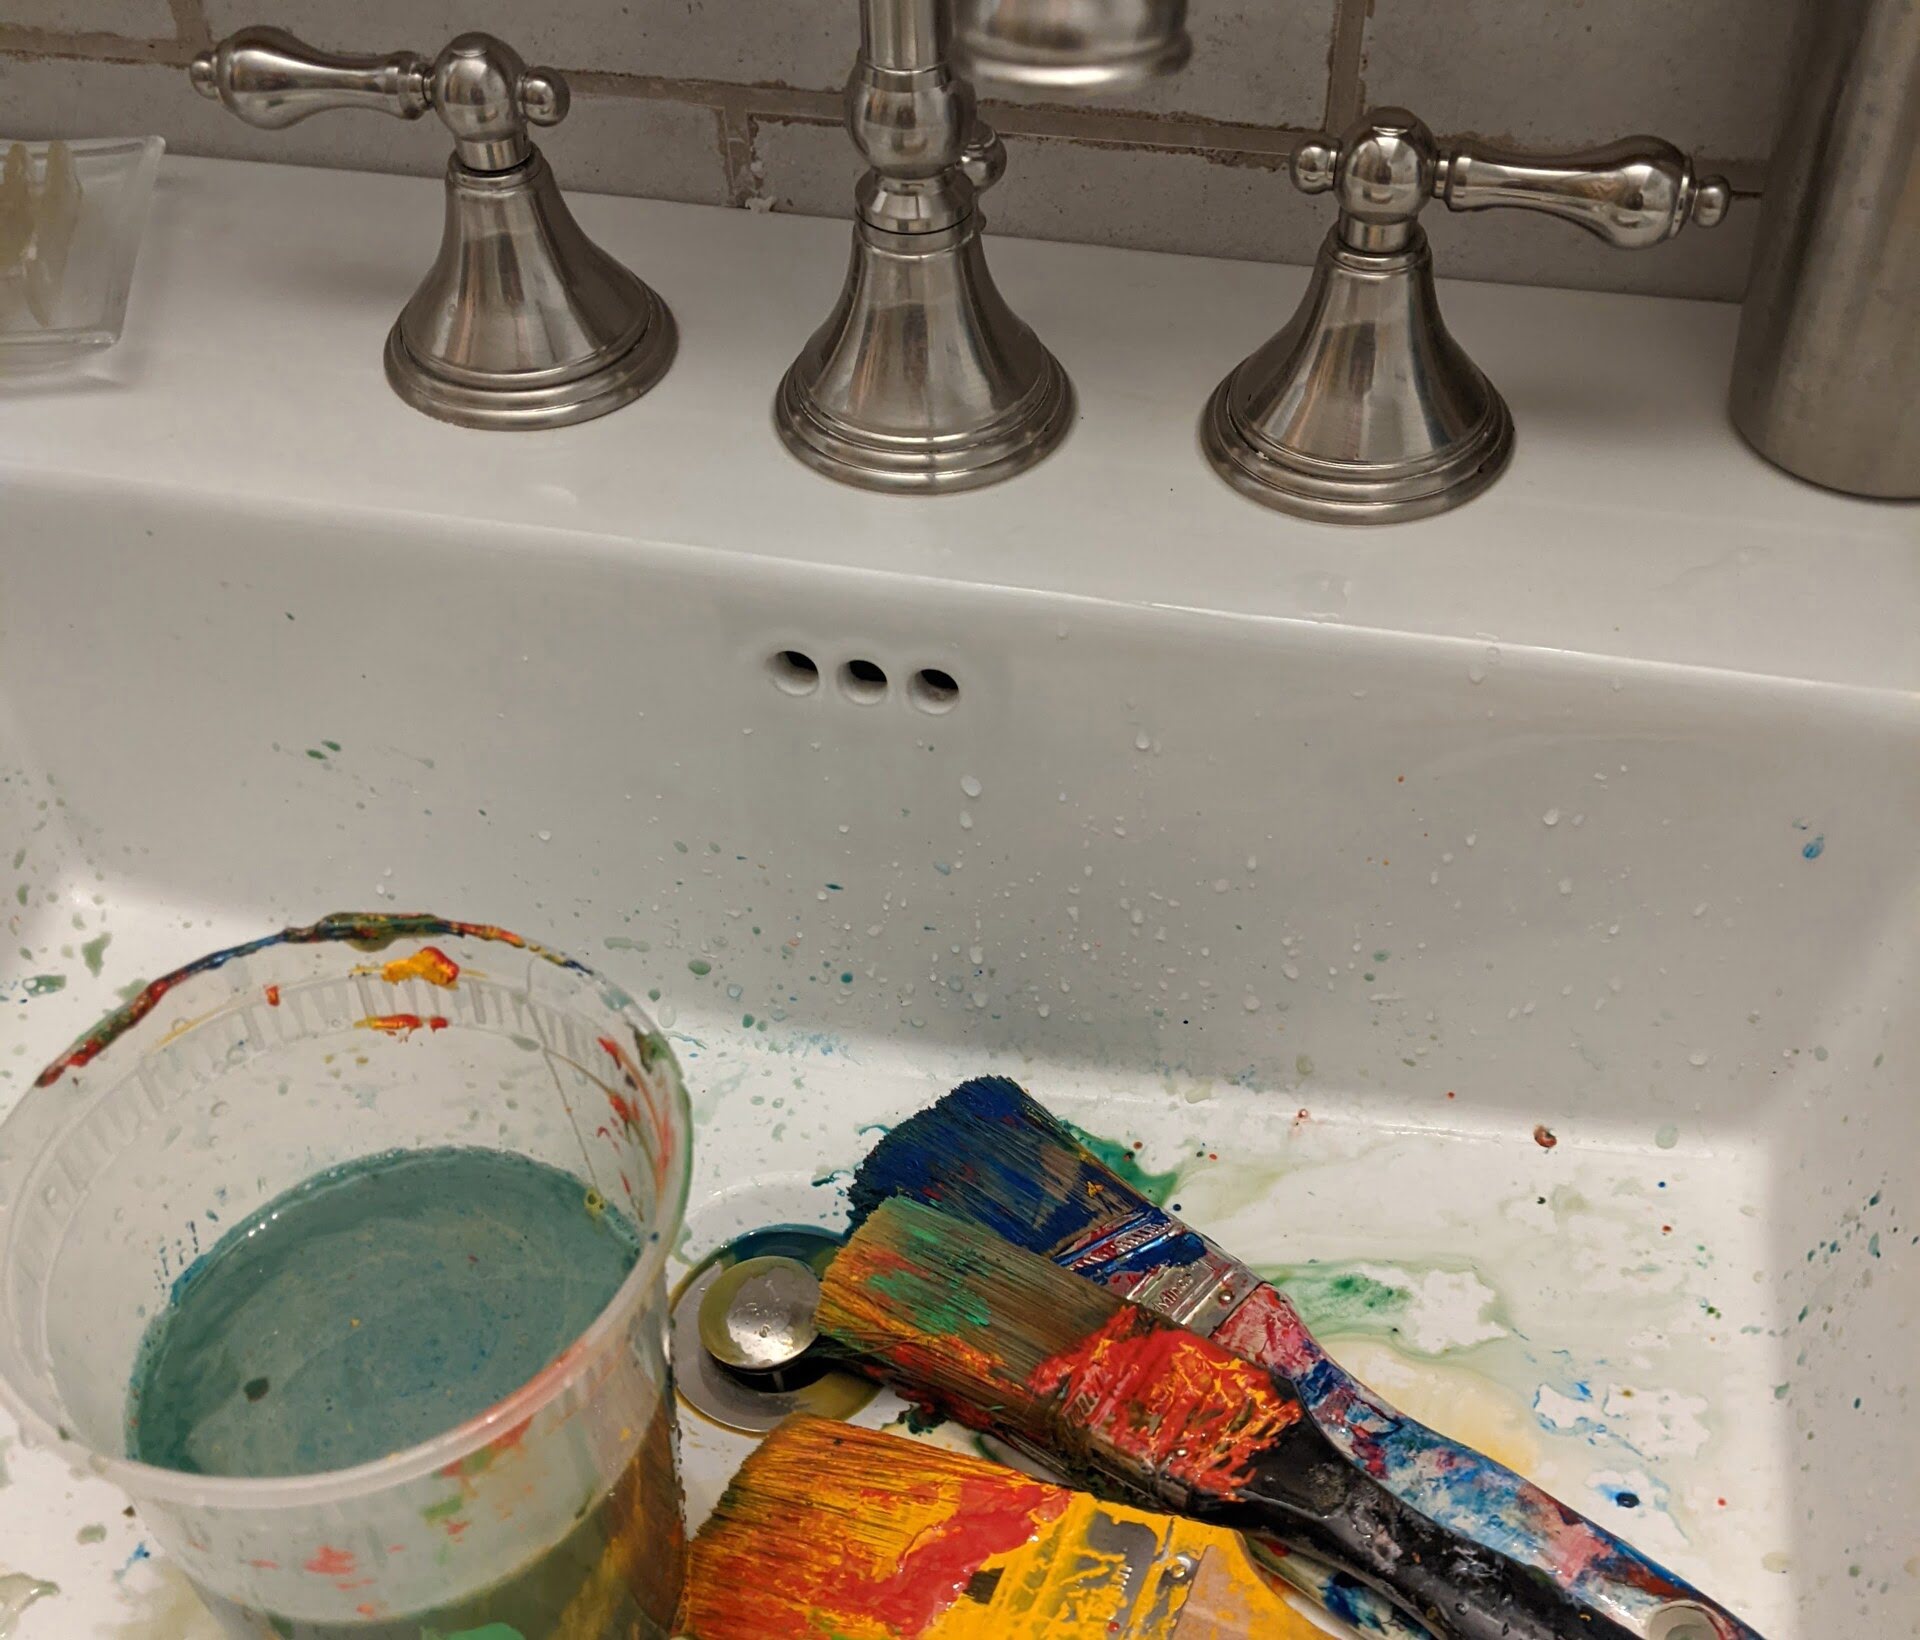
After the paint has been removed, thoroughly clean the weather stripping with a mild detergent and water to remove any residual paint stripper and ensure the surface is free from any remaining traces of paint. Finally, dry the weather stripping completely before re-installing it to ensure a proper seal and optimal performance.
While chemical paint strippers can be effective, it’s important to note that some formulations may not be suitable for certain types of weather stripping materials, such as rubber or certain plastics. Always test the stripper on a small, inconspicuous area first to ensure compatibility and to assess any potential adverse reactions.
By following these guidelines and exercising caution when using chemical paint strippers, you can effectively remove paint from weather stripping, restoring its functionality and aesthetic appeal with precision and care.
Using a Heat Gun
Employing a heat gun is a versatile and effective method for removing paint from weather stripping, particularly when dealing with stubborn or layered paint. A heat gun works by directing a stream of hot air onto the painted surface, softening the paint and making it easier to remove without the use of harsh chemicals.
Before using a heat gun, it’s crucial to prioritize safety by wearing heat-resistant gloves and eye protection to shield yourself from potential heat and paint splatters. Additionally, ensure that the work area is well-ventilated to prevent the accumulation of fumes and to dissipate any odors resulting from the paint removal process.
To begin, set the heat gun to a low to medium heat setting, as excessive heat can damage the weather stripping or cause the paint to emit hazardous fumes. Hold the heat gun several inches away from the painted area and move it continuously to evenly distribute the heat and avoid scorching the surface.
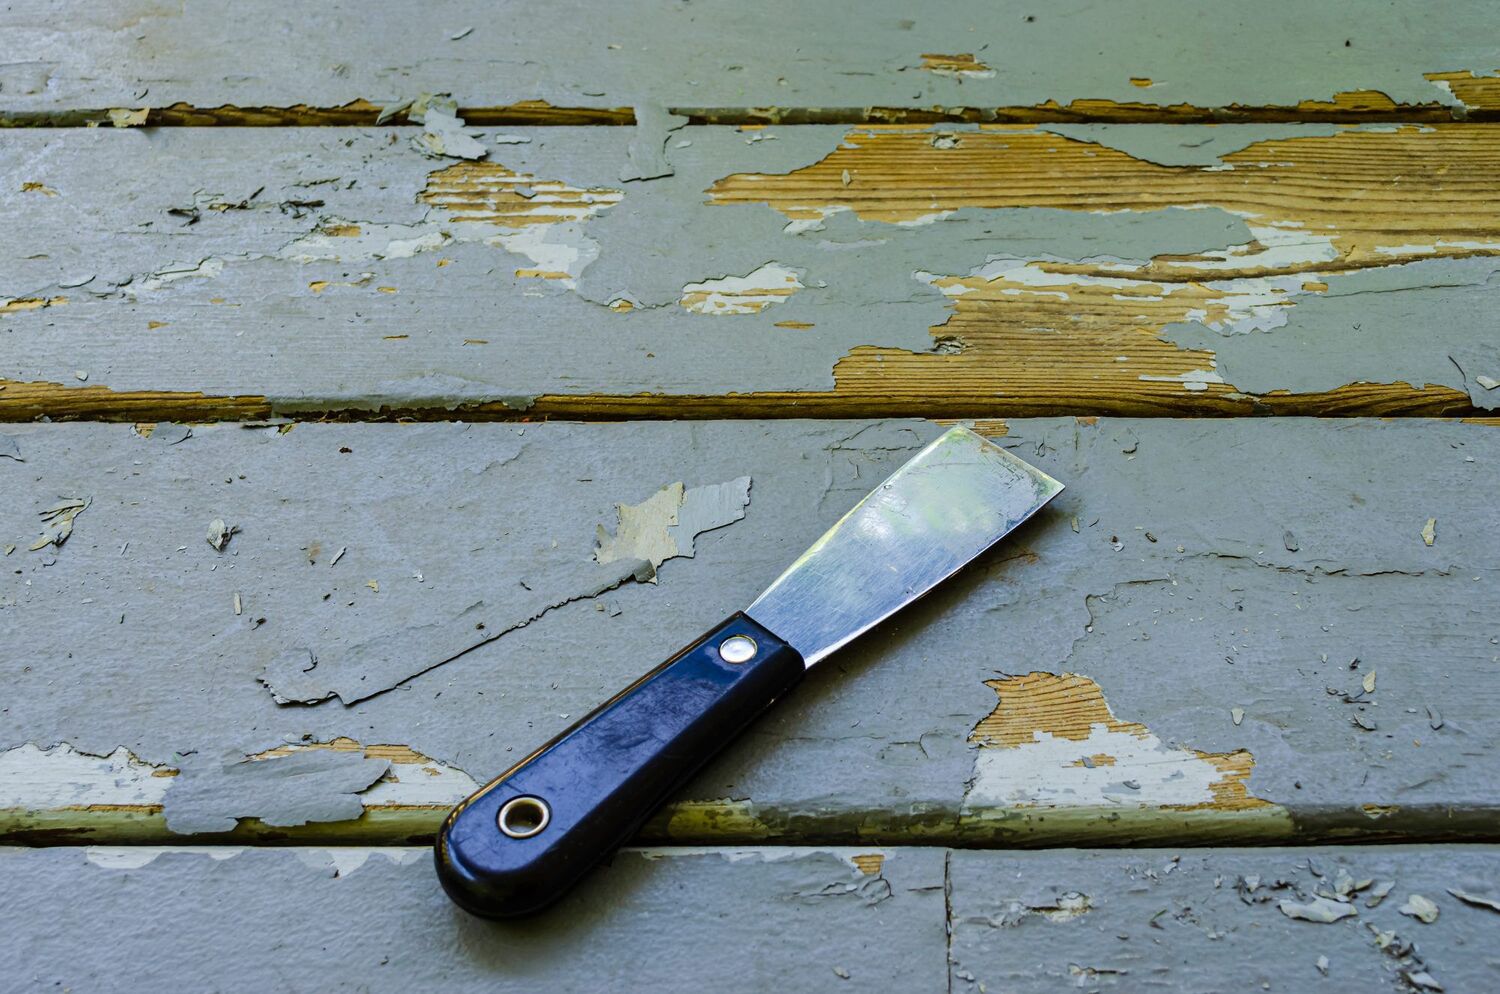
As the paint softens under the heat, gently scrape it off using a non-abrasive tool, such as a plastic scraper or a putty knife. Take care to apply gentle pressure to avoid damaging the weather stripping, and periodically check the paint’s softness to ensure it is pliable and easy to remove.
Once the majority of the paint has been lifted, use a clean, dry cloth to wipe away any residual softened paint, ensuring that the weather stripping surface is free from any remaining traces of paint. If necessary, repeat the heating and scraping process to address any stubborn or lingering paint remnants.
After removing the paint, clean the weather stripping with a mild detergent and water to eliminate any residual debris or traces of paint. Thoroughly dry the weather stripping before re-installing it to ensure a proper seal and optimal performance.
Using a heat gun for paint removal offers a non-toxic and efficient approach, particularly for individuals who prefer to avoid the use of chemical paint strippers. By exercising caution and attentiveness throughout the process, you can successfully restore your weather stripping to its original condition, free from unwanted paint.
Use a plastic putty knife to gently scrape off the paint from the weather stripping. Avoid using metal tools to prevent damage. Apply a paint remover if necessary, and wipe clean with a damp cloth.
Using Sandpaper
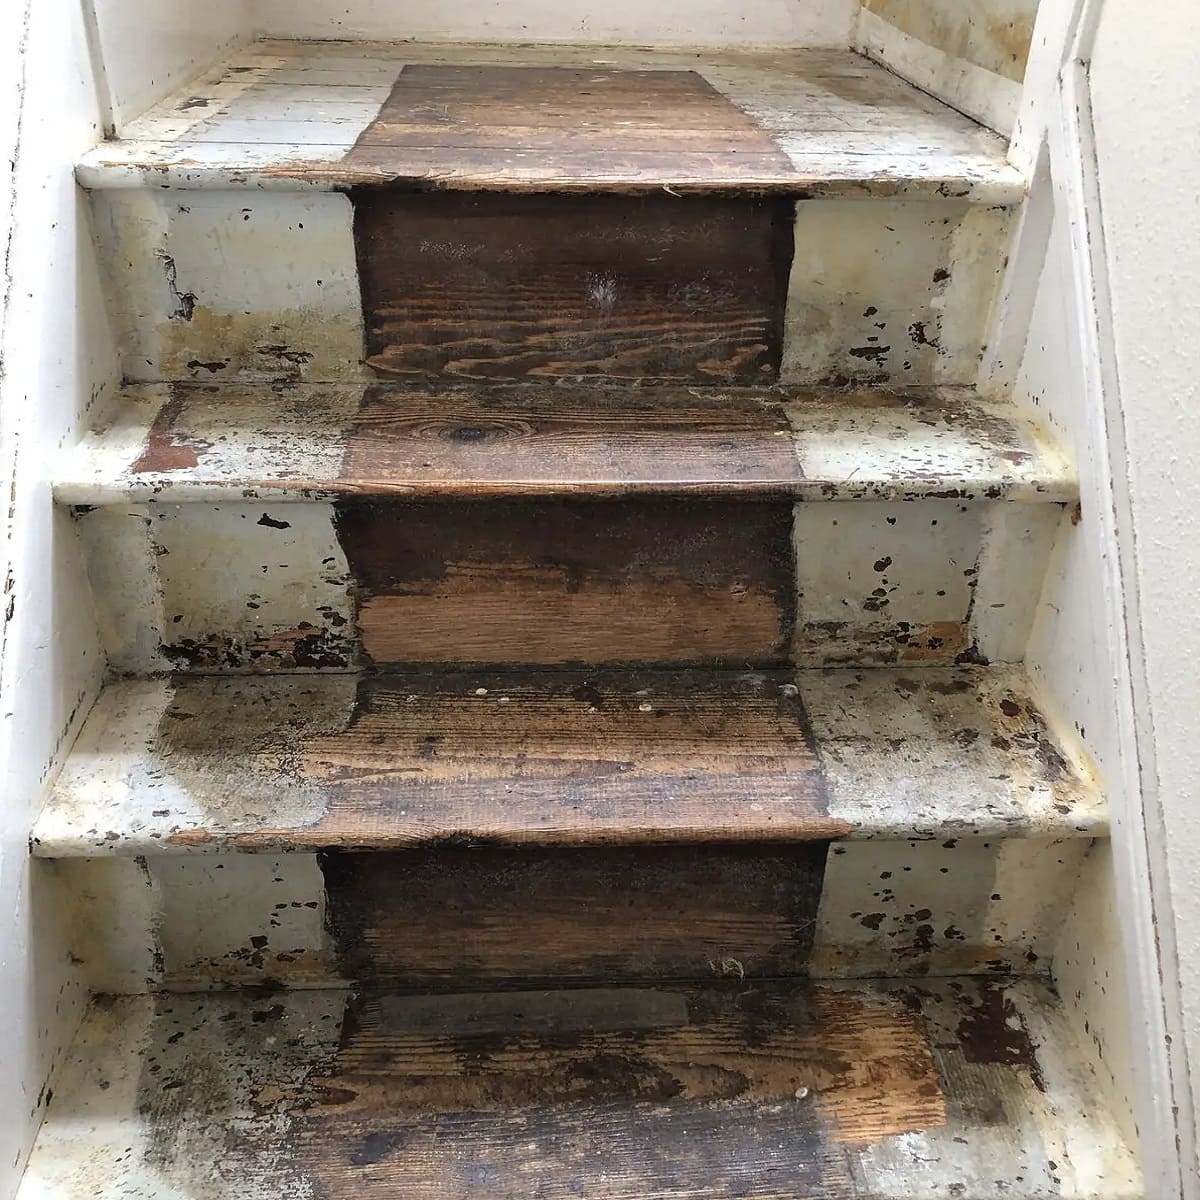
When faced with the task of removing paint from weather stripping, the traditional method of using sandpaper remains a viable option, particularly for smaller areas or intricate details where precision is paramount. This approach requires patience and attention to detail, as it involves manually abrading the paint from the surface of the weather stripping using fine-grit sandpaper.
To begin, select a fine-grit sandpaper, such as 220-grit or higher, to avoid causing unnecessary damage to the weather stripping. Gently sand the painted areas, applying light pressure and using smooth, even strokes to gradually wear away the paint without compromising the integrity of the stripping.
It’s important to periodically check the sandpaper for any buildup of paint residue, as this can hinder its effectiveness. Replace the sandpaper as needed to maintain optimal abrasiveness and ensure a consistent removal process.
As you continue sanding, the paint will gradually diminish, revealing the underlying surface of the weather stripping. Take care to avoid excessive abrasion, as this can compromise the texture and functionality of the stripping. Exercise patience and precision, focusing on the targeted areas until the paint has been effectively removed.
Following the paint removal, thoroughly clean the weather stripping with a mild detergent and water to eliminate any residual paint particles and restore the surface to its original condition. Once cleaned, ensure that the weather stripping is completely dry before re-installing it to maintain a proper seal and optimal performance.
While using sandpaper for paint removal requires manual effort and attention to detail, it offers a controlled and non-invasive approach, particularly for individuals who prefer to avoid the use of chemicals or heat-based methods. By employing this method with care and diligence, you can effectively restore your weather stripping to its pristine state, free from the remnants of unwanted paint.
Using Paint Thinner
Utilizing paint thinner is a common and effective method for removing paint from weather stripping, particularly when dealing with stubborn or dried-on paint. Paint thinner, also known as mineral spirits or white spirits, is a solvent that effectively breaks down and dissolves paint, making it easier to remove from various surfaces, including weather stripping.
Before using paint thinner, it’s essential to work in a well-ventilated area and wear appropriate personal protective equipment, such as gloves and a respirator, to minimize exposure to the fumes and chemicals. Additionally, carefully read and follow the manufacturer’s instructions and safety guidelines provided with the paint thinner product.
To begin the process, apply a small amount of paint thinner to a clean, lint-free cloth or rag. Gently dab the affected areas of the weather stripping with the paint thinner-soaked cloth, ensuring even coverage over the painted surface. Allow the paint thinner to penetrate and soften the paint for the recommended duration, as specified by the manufacturer.
As the paint begins to soften under the influence of the paint thinner, use a non-abrasive tool, such as a plastic scraper or a soft-bristled brush, to gently lift and remove the softened paint from the weather stripping. Take care to avoid damaging the stripping during this process, as excessive force or abrasive tools can cause unintended harm.
After the paint has been successfully removed, clean the weather stripping with a mild detergent and water to eliminate any residual paint thinner and ensure the surface is free from any remaining traces of paint. Thoroughly dry the weather stripping before re-installing it to ensure a proper seal and optimal performance.
While paint thinner can be highly effective in removing paint from weather stripping, it’s important to exercise caution and adhere to safety protocols to minimize exposure and ensure a successful paint removal process. By following these guidelines and using paint thinner responsibly, you can restore your weather stripping to its original condition, free from the remnants of unwanted paint.
Using a Razor Blade
Employing a razor blade is a precise and targeted method for removing paint from weather stripping, particularly in situations where the paint has adhered firmly to the surface. This approach requires careful attention and a steady hand to avoid damaging the weather stripping while effectively removing the paint.
Before using a razor blade, it’s crucial to prioritize safety by wearing cut-resistant gloves to protect your hands from potential injuries. Additionally, ensure that the razor blade is sharp and free from any nicks or imperfections that could compromise its effectiveness.
To begin, hold the razor blade at a shallow angle to the surface of the weather stripping, ensuring that it makes gentle contact with the painted areas. With controlled and deliberate motions, carefully scrape the paint from the surface, taking care to avoid applying excessive pressure that could cause damage to the stripping.
Periodically inspect the razor blade for any accumulation of paint residue, and use a clean, dry cloth to wipe it clean, ensuring that it remains sharp and effective throughout the paint removal process. Exercise patience and precision, focusing on targeted areas until the paint has been successfully removed.
After removing the paint, clean the weather stripping with a mild detergent and water to eliminate any residual paint particles and restore the surface to its original condition. Thoroughly dry the weather stripping before re-installing it to maintain a proper seal and optimal performance.
Using a razor blade for paint removal offers a hands-on and meticulous approach, particularly for individuals who prefer to avoid the use of chemicals or heat-based methods. By exercising caution and attentiveness throughout the process, you can successfully restore your weather stripping to its original condition, free from the remnants of unwanted paint.
Conclusion
As we conclude our exploration of removing paint from weather stripping, it’s evident that this process requires careful consideration and the application of suitable methods to achieve optimal results. Whether you opt for chemical paint strippers, heat guns, sandpaper, paint thinners, or razor blades, each approach offers unique benefits and considerations, catering to a range of preferences and requirements.
Understanding the significance of weather stripping and its role in maintaining energy efficiency and structural integrity underscores the importance of preserving its functionality and aesthetic appeal. When paint inadvertently finds its way onto these essential components, it can compromise their sealing properties and visual appeal, necessitating effective paint removal techniques.
By familiarizing yourself with the various methods and techniques outlined in this guide, you’re equipped to address the challenge of removing paint from weather stripping with confidence and finesse. Whether you prioritize non-toxic solutions, meticulous precision, or the use of traditional tools, there’s a method suited to your needs and comfort level.
It’s essential to approach paint removal from weather stripping with care, considering the type of paint, the material of the stripping, and the extent of the paint accumulation. By exercising caution and adhering to safety protocols, you can ensure that the paint removal process is conducted effectively and without causing unintended damage to the weather stripping.
Ultimately, the successful removal of paint from weather stripping restores these vital components to their original condition, safeguarding your home against air and moisture infiltration while enhancing its overall energy efficiency and comfort. By following the guidelines and techniques outlined in this guide, you can navigate this common household challenge with skill and precision, achieving remarkable results that contribute to the well-being and functionality of your living space.
We hope that this comprehensive guide has provided you with valuable insights and practical strategies for tackling the task of removing paint from weather stripping, empowering you to preserve the integrity and performance of these essential components within your home.
Frequently Asked Questions about How To Remove Paint From Weather Stripping
Was this page helpful?
At Storables.com, we guarantee accurate and reliable information. Our content, validated by Expert Board Contributors, is crafted following stringent Editorial Policies. We're committed to providing you with well-researched, expert-backed insights for all your informational needs.


0 thoughts on “How To Remove Paint From Weather Stripping”