Home>Energy>Home Insulation & Ventilation>How To Replace Weather Stripping On A Car Door
Home Insulation & Ventilation
How To Replace Weather Stripping On A Car Door
Modified: October 19, 2024
Learn how to replace weather stripping on a car door with our step-by-step guide. Ensure proper home insulation and ventilation for your vehicle.
(Many of the links in this article redirect to a specific reviewed product. Your purchase of these products through affiliate links helps to generate commission for Storables.com, at no extra cost. Learn more)
Introduction
Welcome to our guide on replacing weather stripping on a car door! Weather stripping plays a crucial role in keeping your vehicle's interior protected from the elements. Over time, weather stripping can wear out, leading to air and water leaks, which can compromise the comfort and safety of your car. By learning how to replace weather stripping, you can maintain a snug and secure seal around your car door, effectively shielding the interior from external elements.
In this comprehensive guide, we will walk you through the step-by-step process of replacing weather stripping on a car door. Whether you're a seasoned DIY enthusiast or a novice looking to tackle your first automotive project, we've got you covered. By following our instructions and using the right tools and materials, you can restore your car's weather stripping to optimal condition, ensuring a quieter, more comfortable ride while safeguarding your vehicle's interior from the elements.
So, grab your tools and let's get started on this hands-on journey to enhance the weatherproofing of your car door!
Key Takeaways:
- Keep your car cozy and dry by replacing worn weather stripping. It’s an easy DIY project that enhances comfort and protects your car’s interior from the elements.
- With the right tools and careful installation, you can ensure a snug and effective seal, making your car quieter and more weather-resistant.
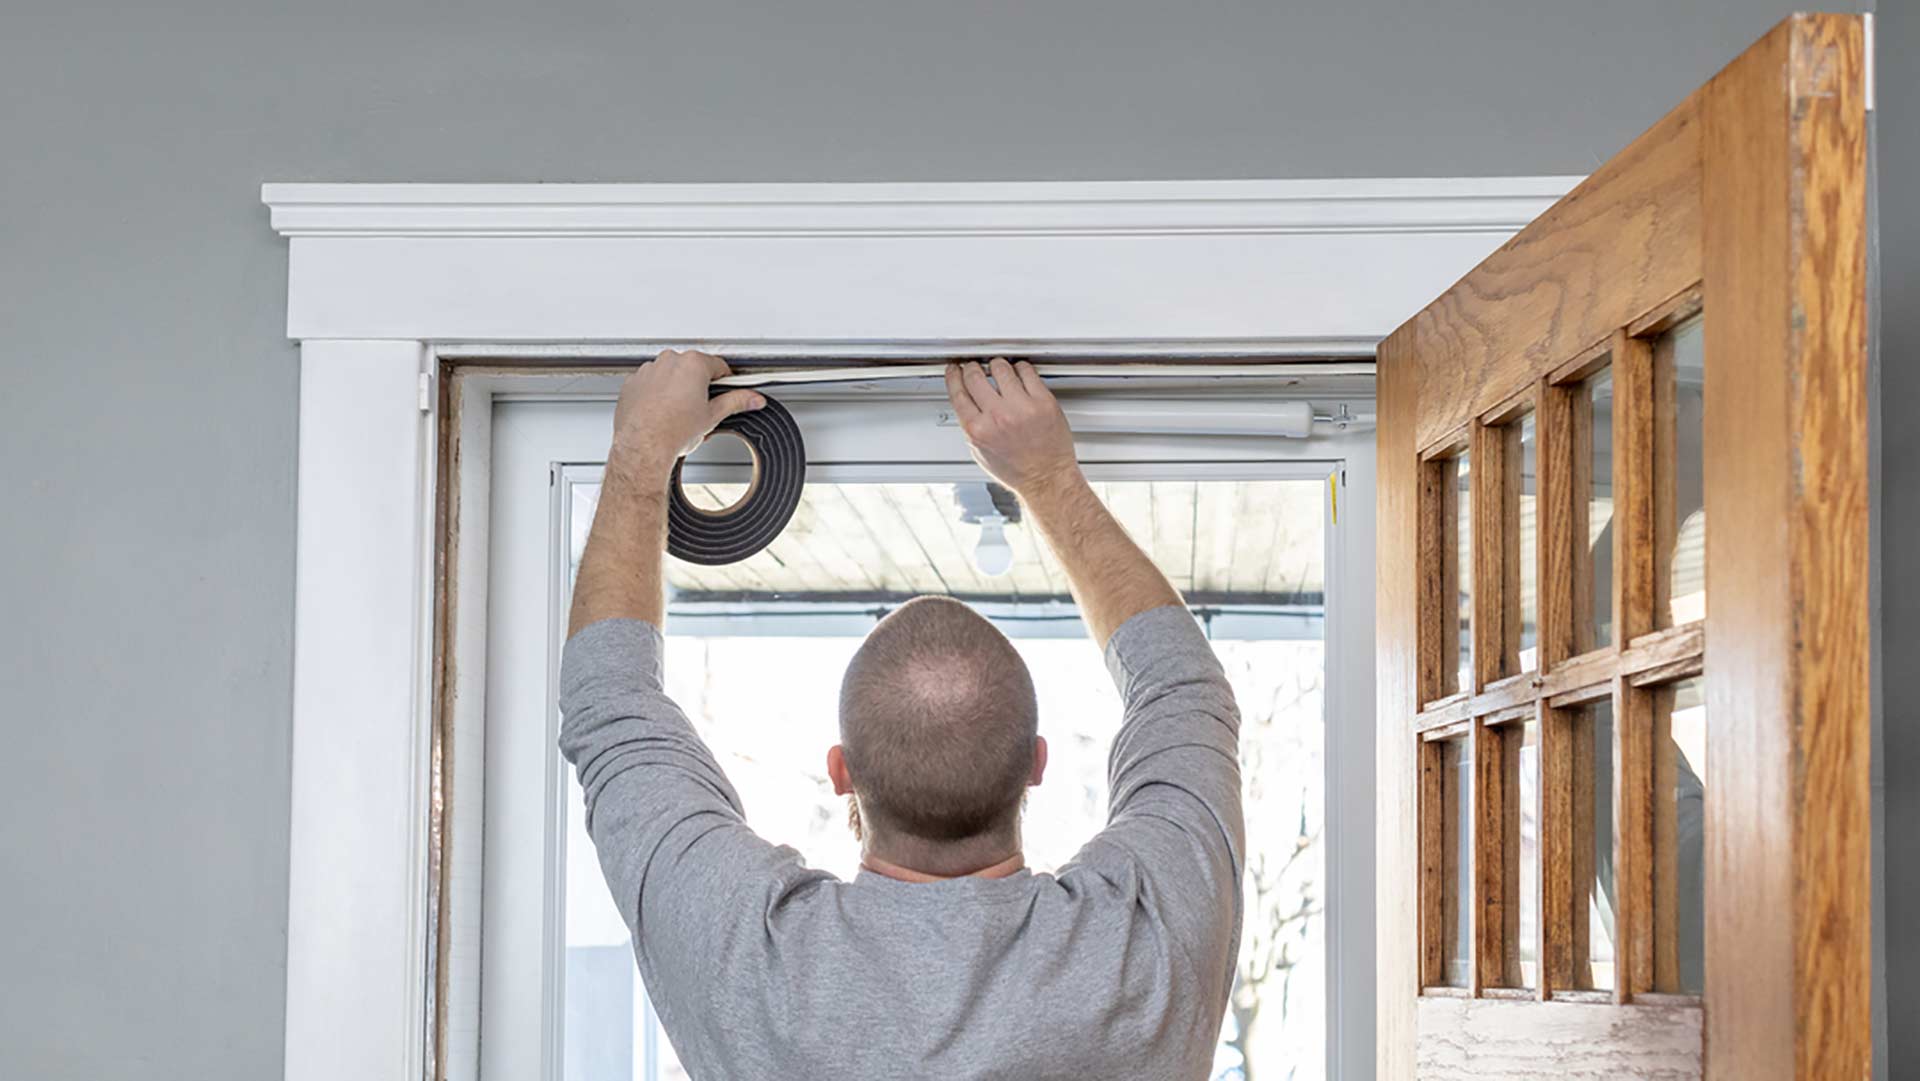
Tools and Materials Needed
Before embarking on the weather stripping replacement process, it’s essential to gather the necessary tools and materials. Having the right equipment at your disposal will streamline the task and ensure a successful outcome. Here’s a list of the items you’ll need:
Tools:
- Flathead screwdriver
- Trim removal tool
- Utility knife
- Needle-nose pliers
- Heat gun or hairdryer (optional, for stubborn weather stripping)
- Clean cloth
Materials:
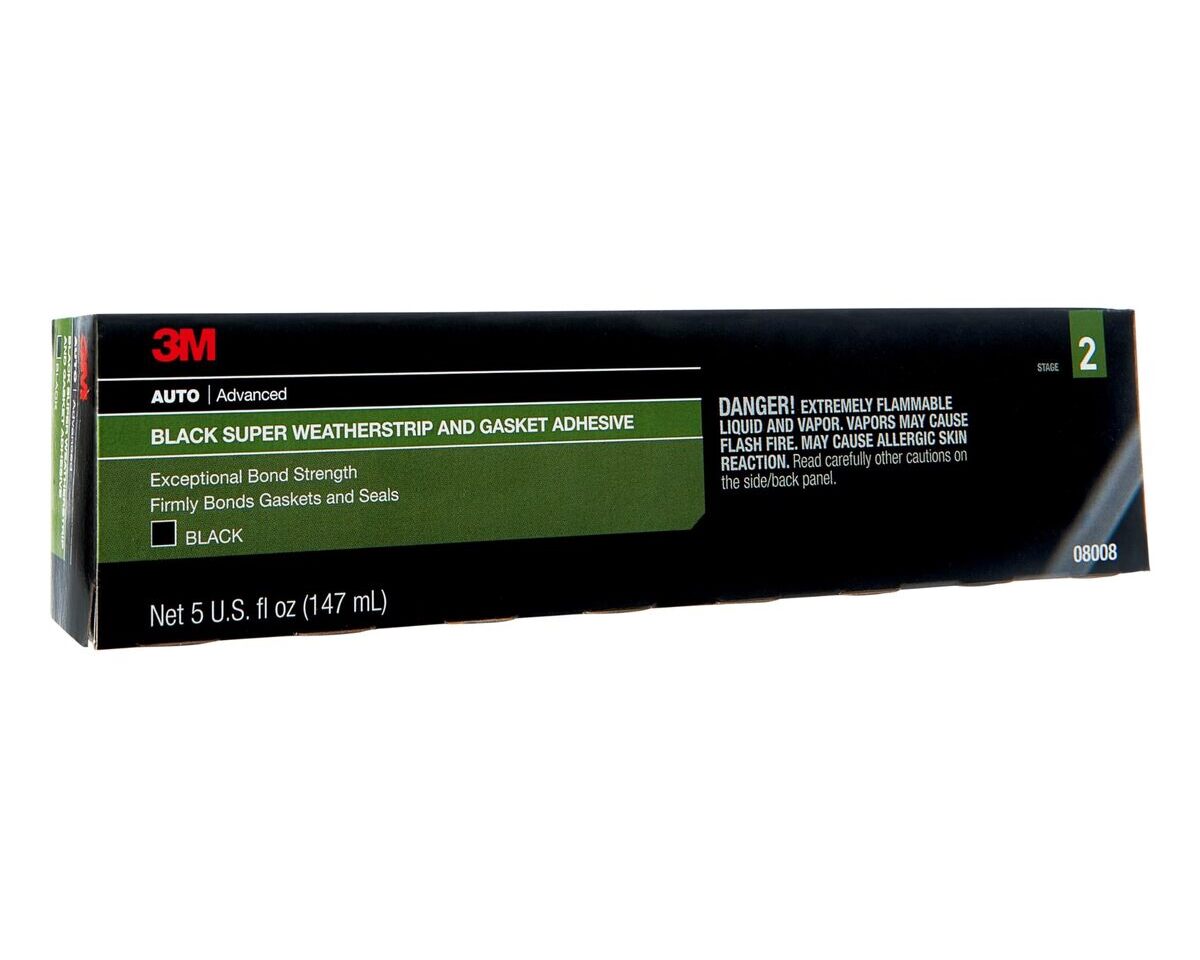
- New weather stripping (ensure it matches the specifications of your car's make and model)
- Adhesive remover
- Cleaner or degreaser
- Adhesive promoter (if not included with the new weather stripping)
- Protective gloves
By having these tools and materials on hand, you’ll be well-prepared to tackle the weather stripping replacement process with confidence. Now that you’re equipped with everything you need, let’s move on to the next steps of this project.
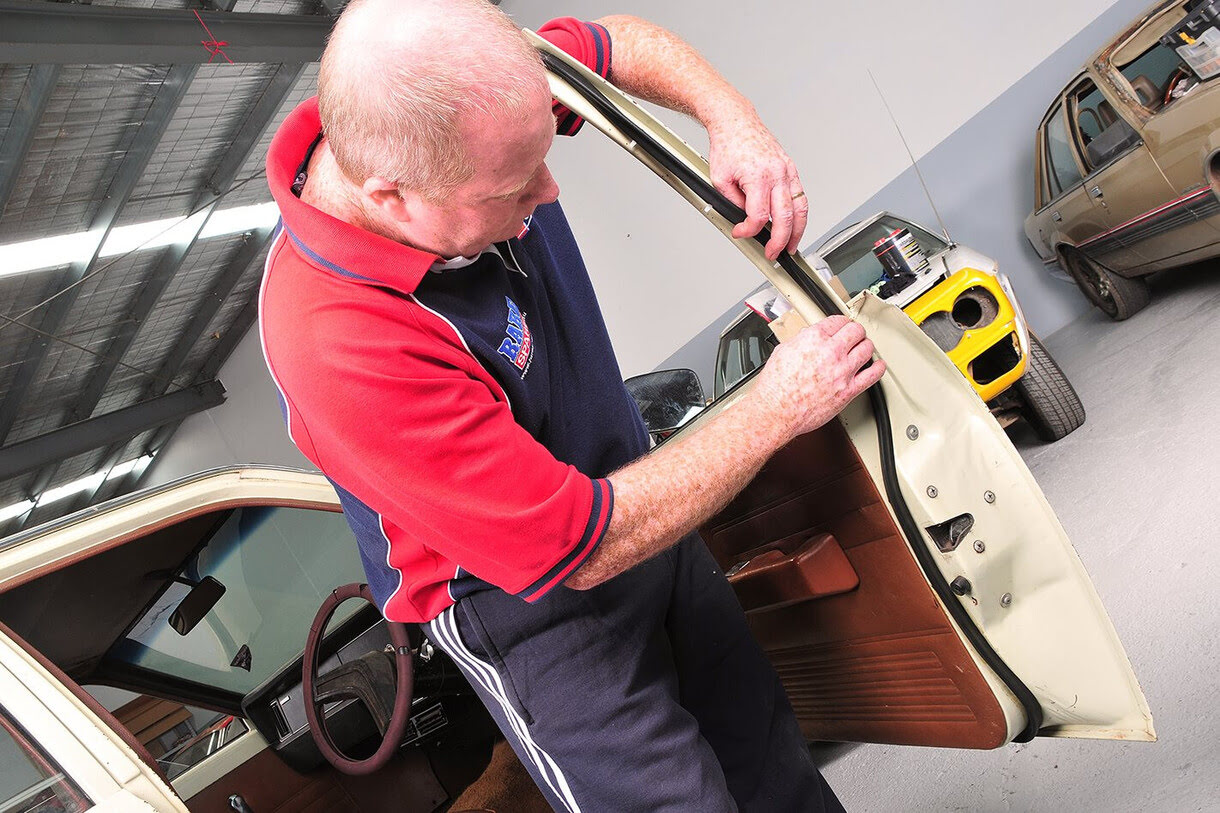
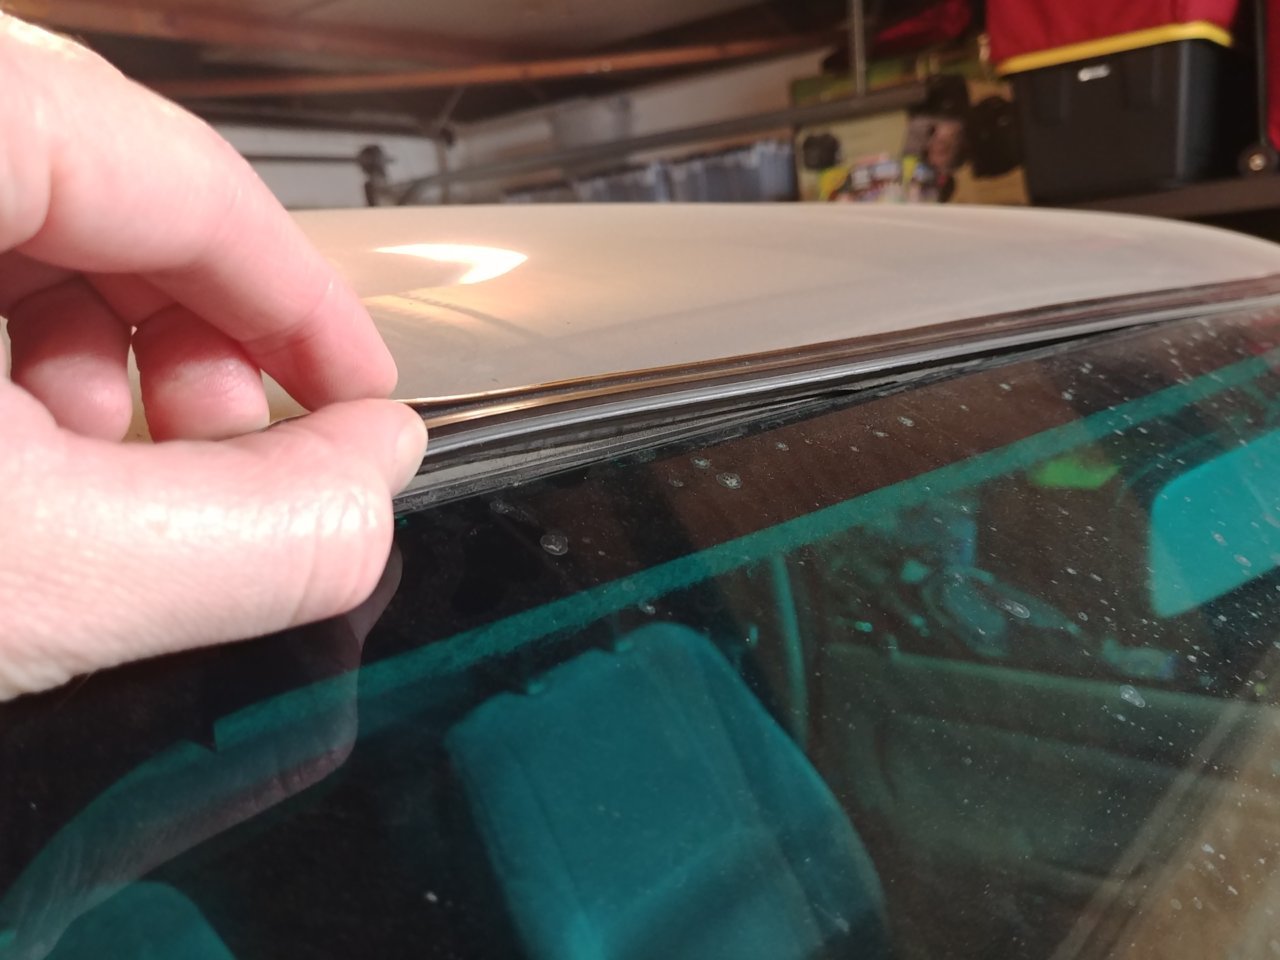
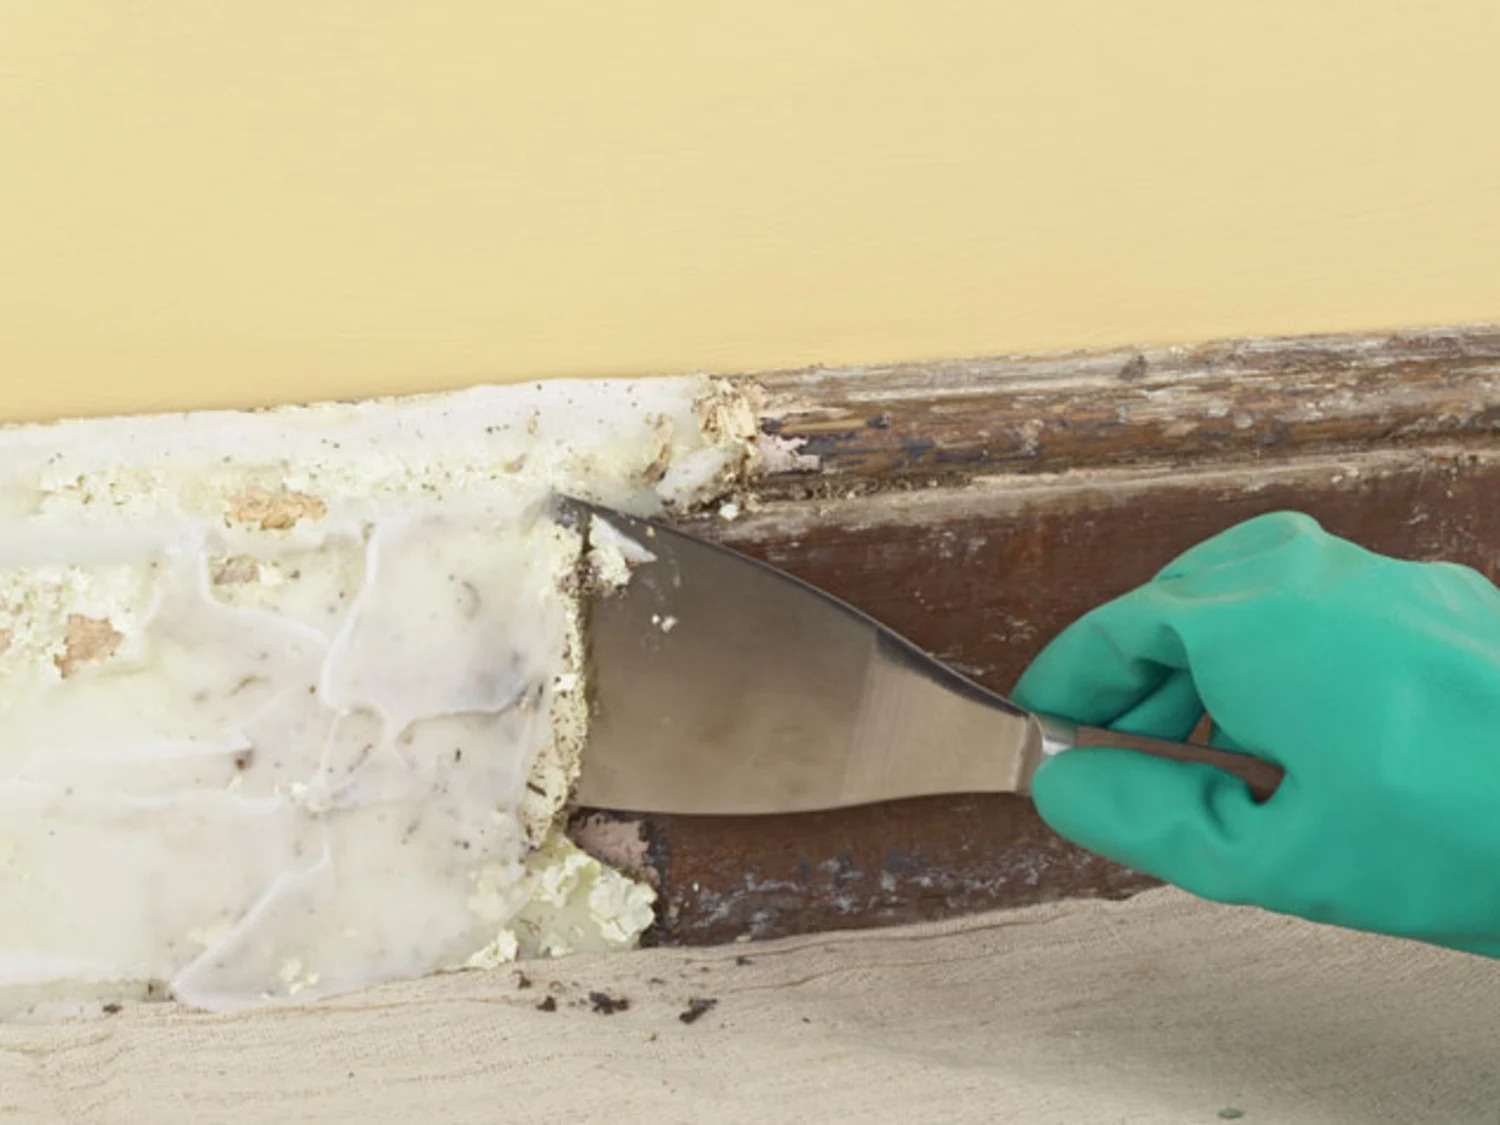
Removing the Old Weather Stripping
Before installing new weather stripping, it’s crucial to remove the old, worn-out weather stripping from the car door. Follow these steps to complete this essential preparatory phase:
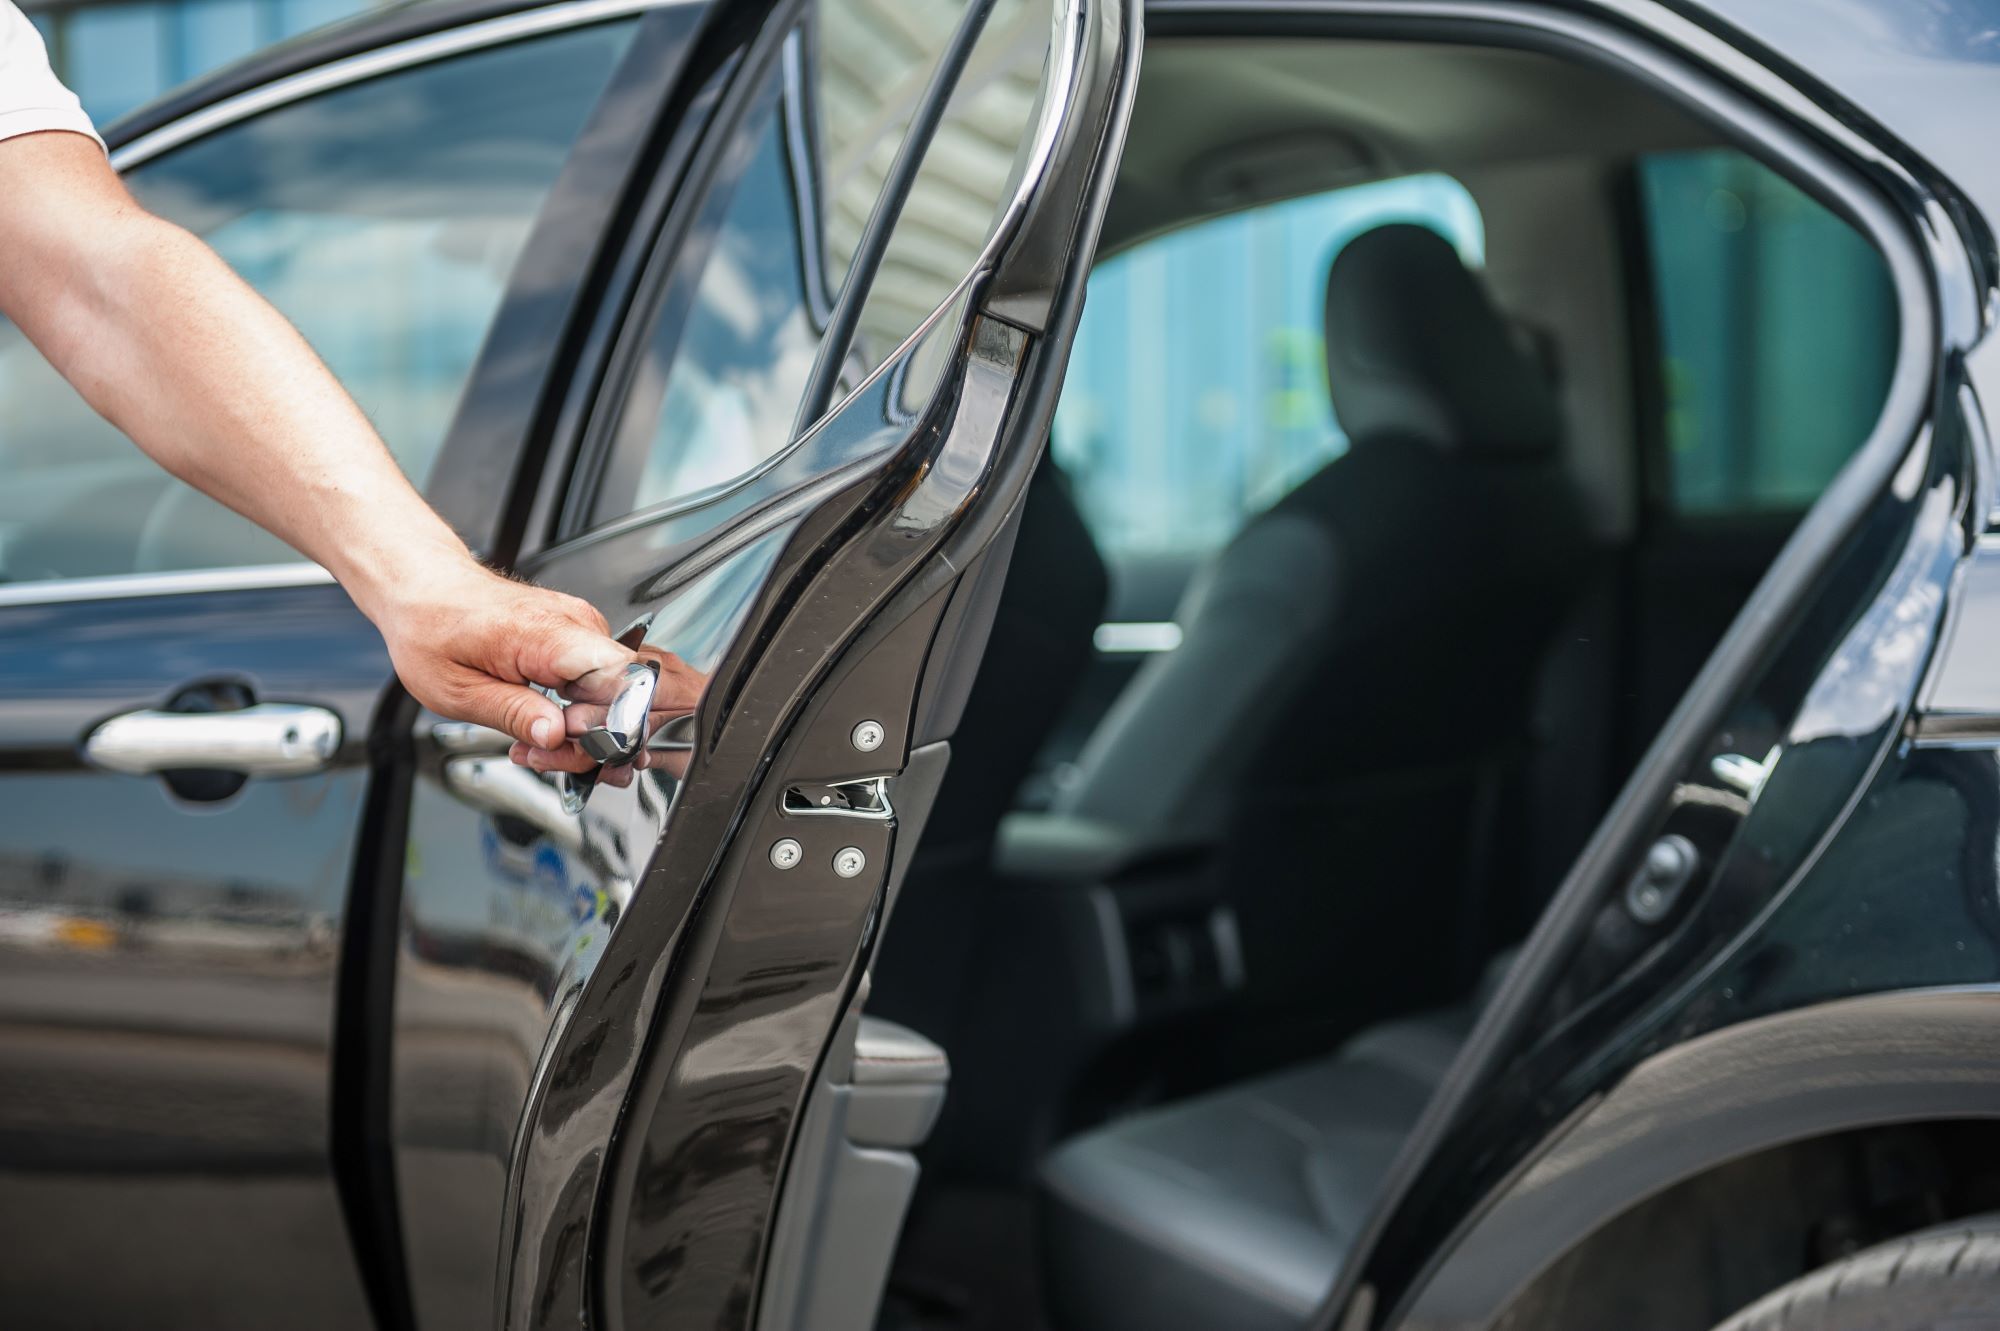
- Open the Car Door: Begin by opening the car door to access the weather stripping effectively.
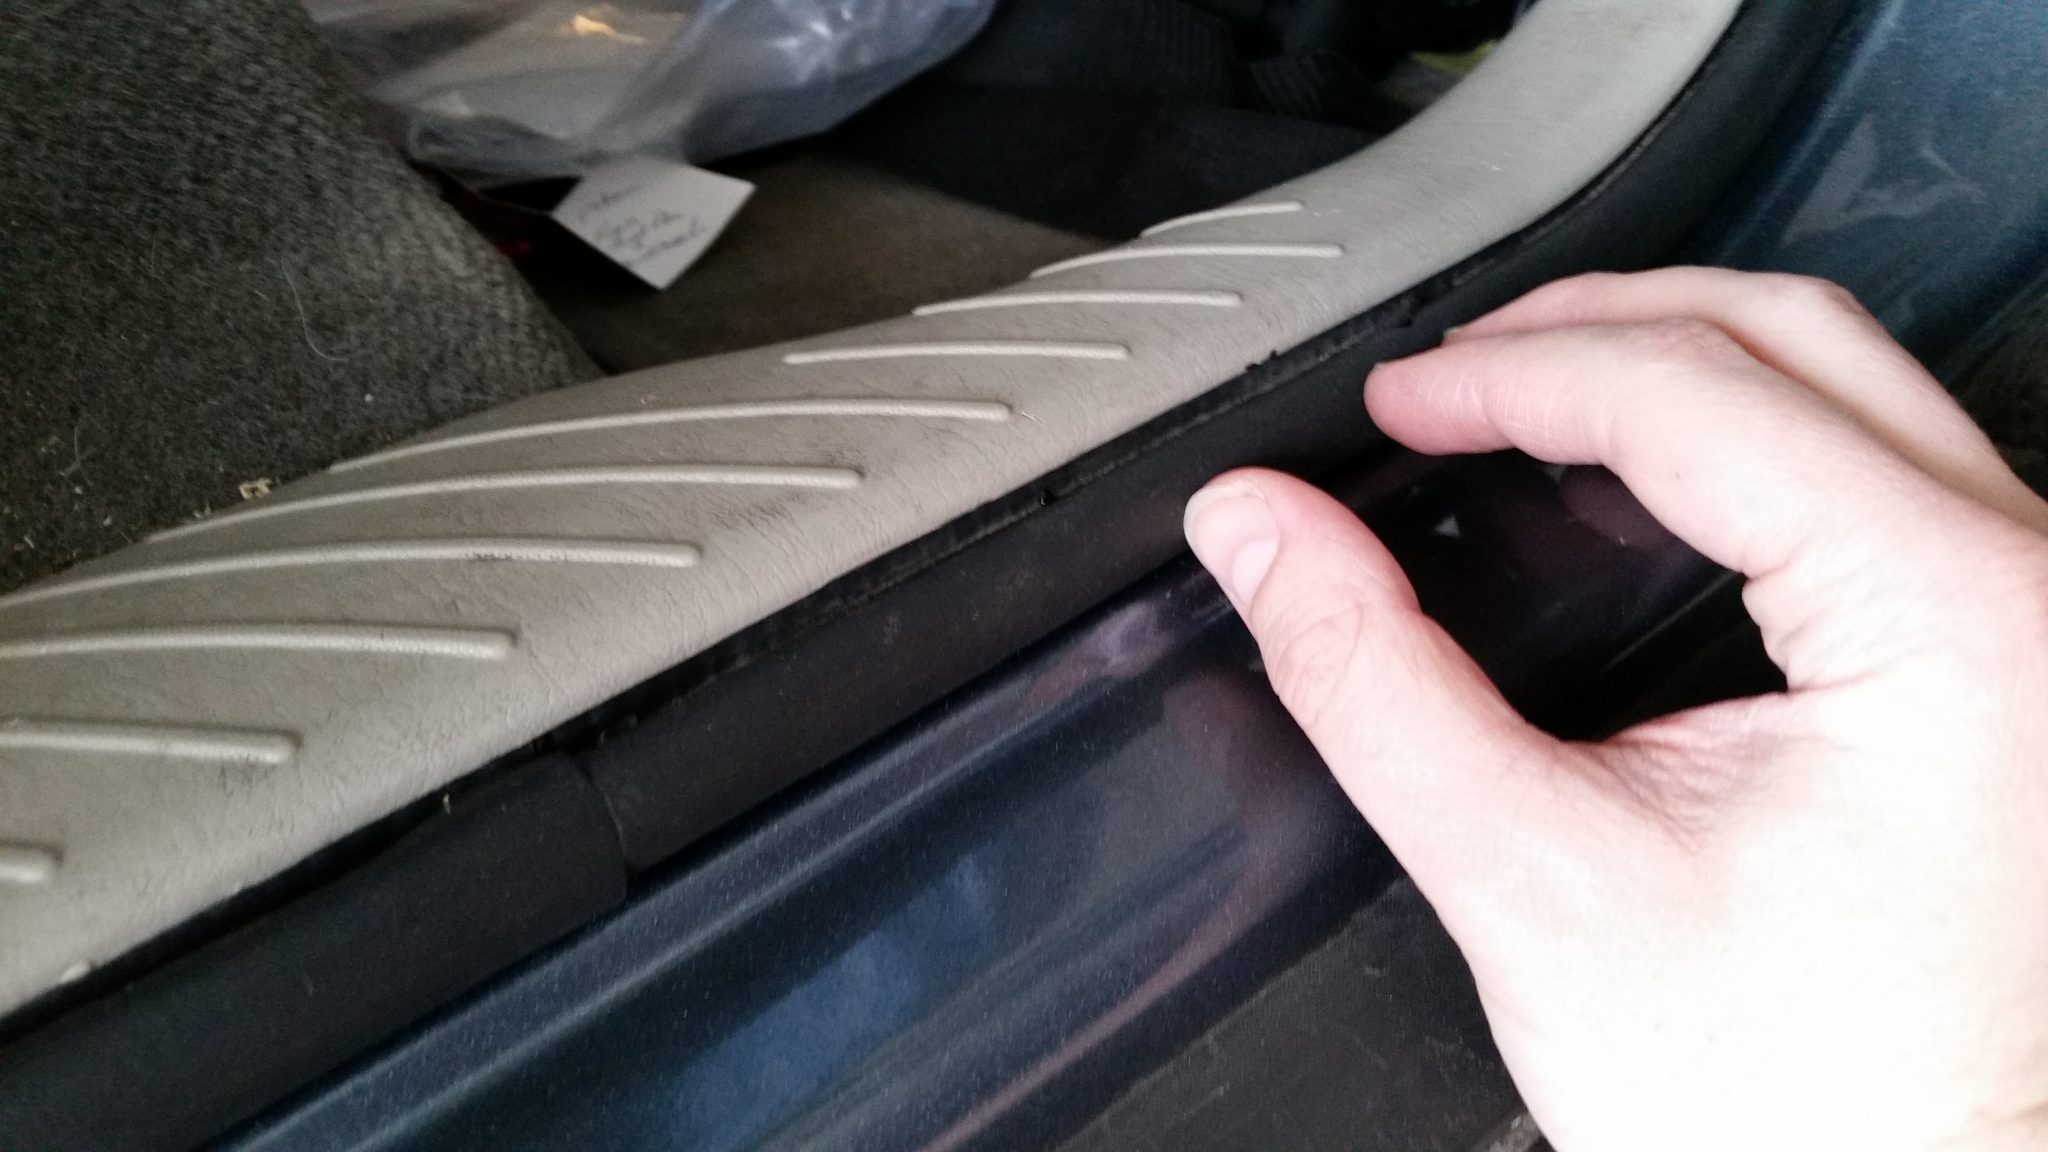
- Inspect the Weather Stripping: Carefully examine the condition of the old weather stripping. Look for signs of wear, damage, or adhesive residue that may need to be addressed during removal.
- Use the Flathead Screwdriver: Gently insert a flathead screwdriver between the weather stripping and the door frame. Apply light pressure to pry the weather stripping away from the frame. Take your time to avoid damaging the door’s paint or trim.
- Employ the Trim Removal Tool: For stubborn or adhesive-bound weather stripping, utilize a trim removal tool to carefully detach it from the door frame. Exercise caution to prevent any scratches or dents on the door’s surface.
- Peel off the Weather Stripping: Slowly peel off the old weather stripping, ensuring that any remaining adhesive is also removed. Use needle-nose pliers to grip and pull out any stubborn remnants.
- Clean the Door Frame: Once the old weather stripping is removed, clean the door frame thoroughly. Use an adhesive remover, cleaner, or degreaser to eliminate any adhesive residue or grime, ensuring a smooth surface for the new weather stripping to adhere to.
By diligently following these steps, you’ll effectively remove the old weather stripping, preparing the door for the installation of fresh, high-performance weather stripping. With the old weather stripping out of the way, you’re now ready to move on to the next phase of the replacement process.
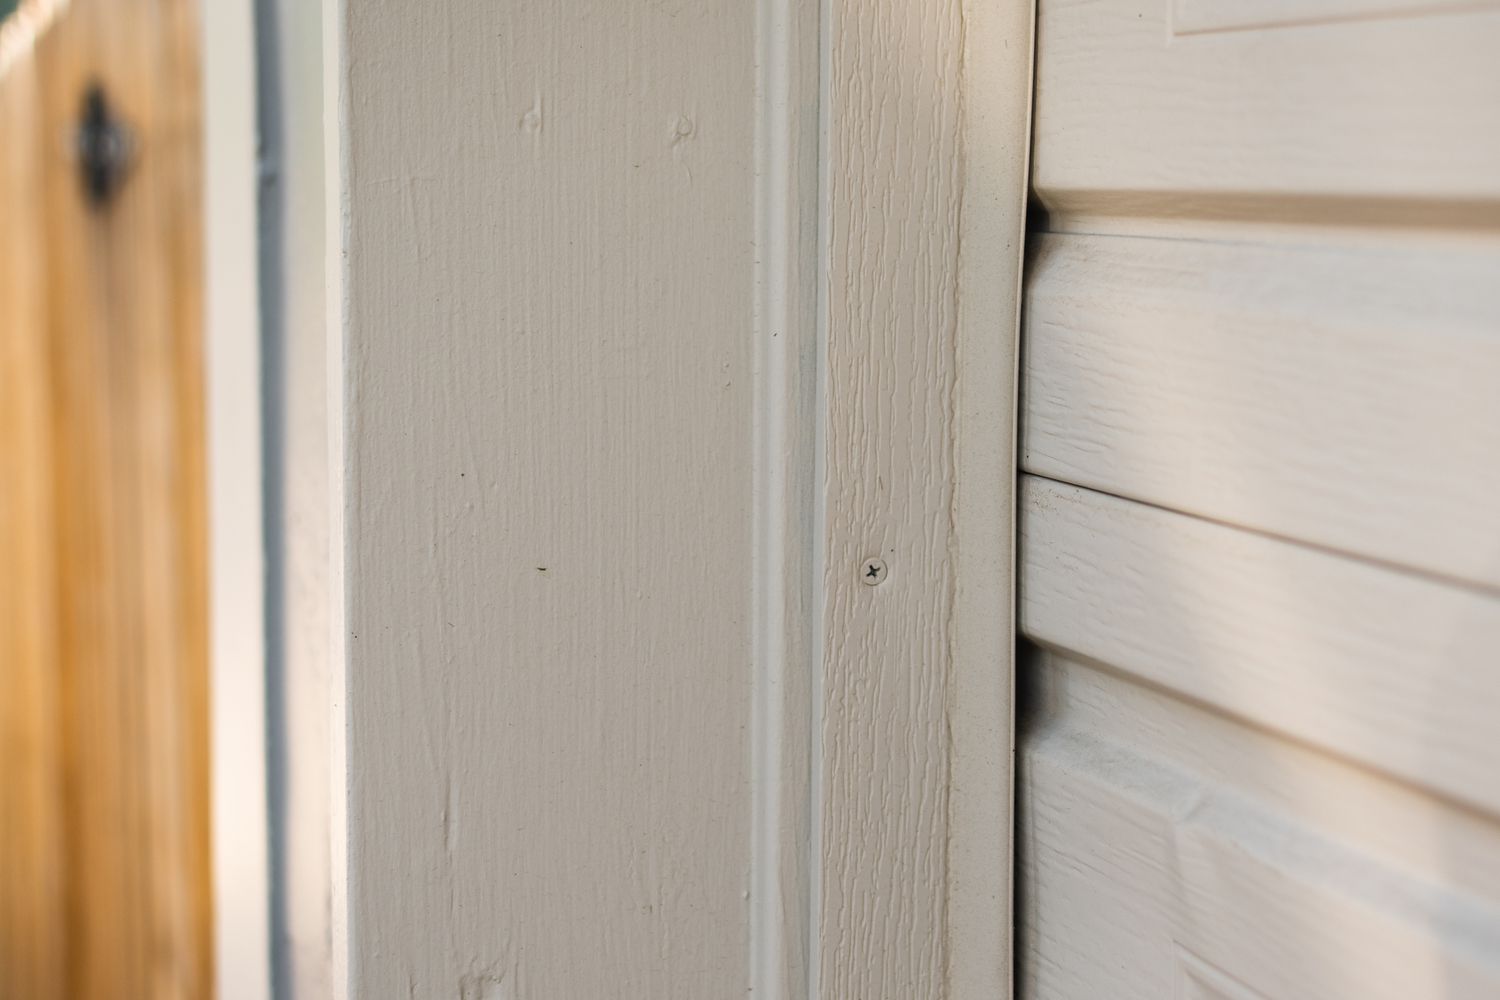
Preparing the Door for Installation
With the old weather stripping successfully removed, it’s time to prepare the door for the seamless installation of the new weather stripping. This preparatory phase is crucial for ensuring a secure and durable fit. Follow these steps to ready the door for the installation process:
- Inspect the Door Frame: Thoroughly examine the door frame to ensure it is clean, dry, and free of any residual adhesive or debris from the old weather stripping removal. Use a clean cloth and adhesive remover to eliminate any remaining traces of adhesive or grime.
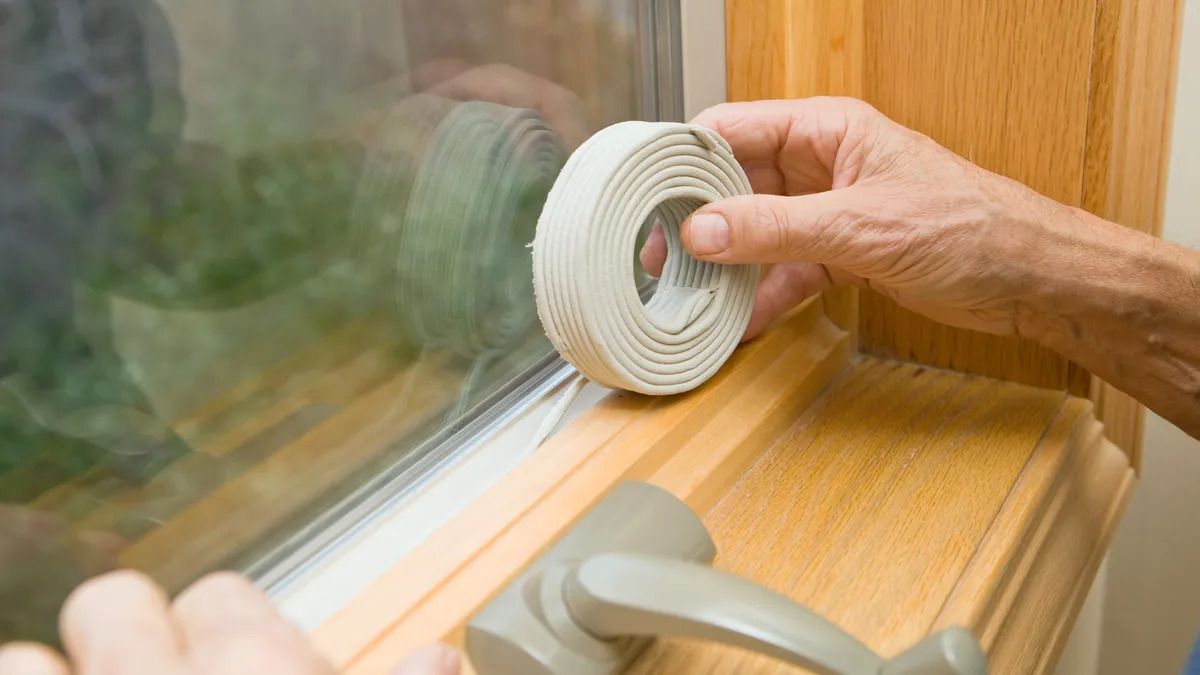
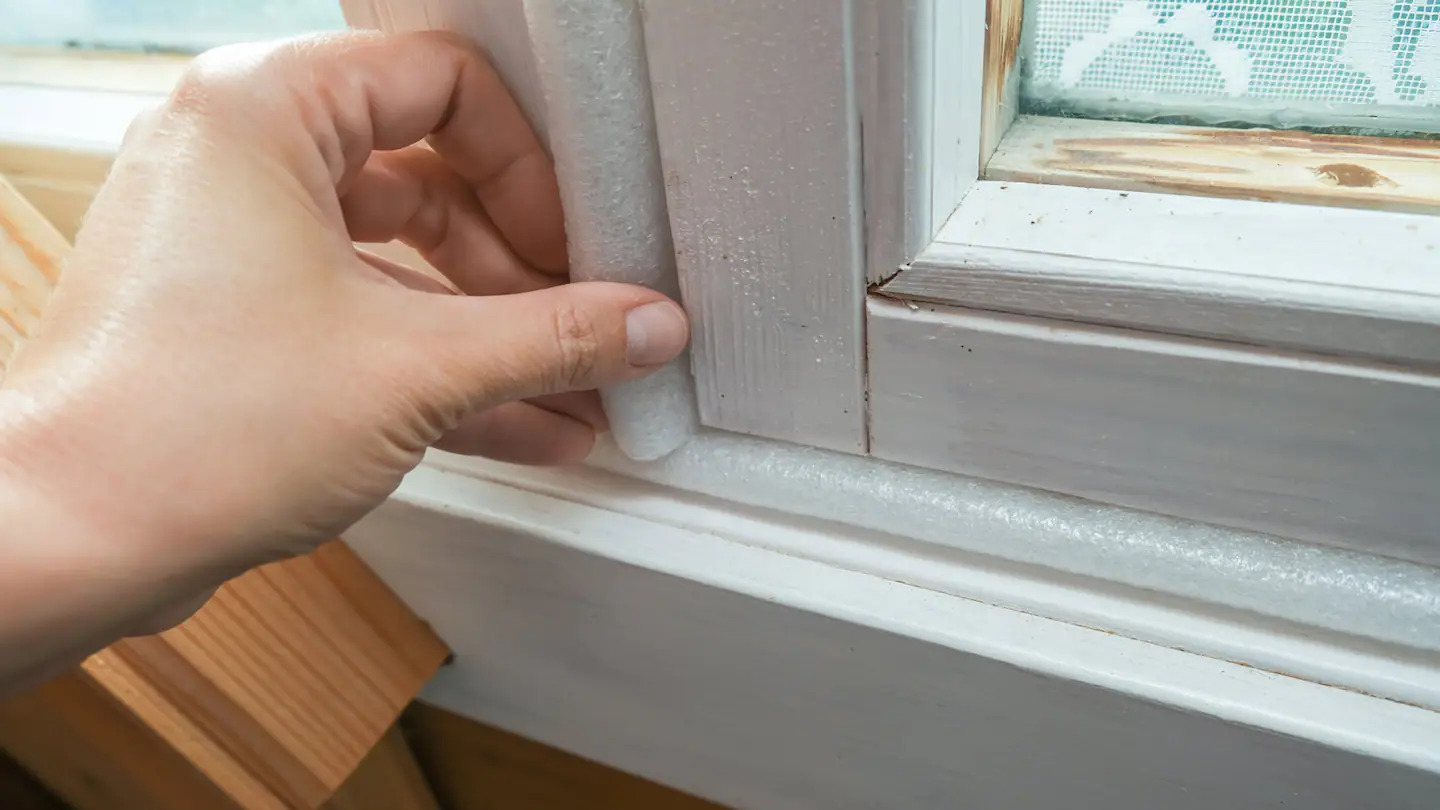
- Measure and Cut the New Weather Stripping: Carefully measure the length of the door frame to determine the required size of the new weather stripping. Use a utility knife to trim the new weather stripping to the precise dimensions, ensuring a custom fit for your car door.
- Apply Adhesive Promoter: If the new weather stripping does not include an adhesive promoter, apply a suitable adhesive promoter to the door frame according to the manufacturer’s instructions. This step is vital for enhancing the bonding strength between the door frame and the new weather stripping.
- Warm the Adhesive and Weather Stripping: If the ambient temperature is cold, use a heat gun or hairdryer to gently warm the adhesive on the new weather stripping and the door frame. This will improve the adhesive’s effectiveness and flexibility, facilitating a more secure bond.
- Position the New Weather Stripping: Carefully position the new weather stripping along the door frame, ensuring a snug and uniform fit. Take your time to align the weather stripping accurately, paying attention to the corners and curves for a seamless installation.
By meticulously preparing the door for the installation of new weather stripping, you’re laying the foundation for a durable and effective seal that will enhance the weatherproofing of your car door. With the door primed and the new weather stripping ready for installation, you’re now poised to proceed to the next pivotal phase of this project.
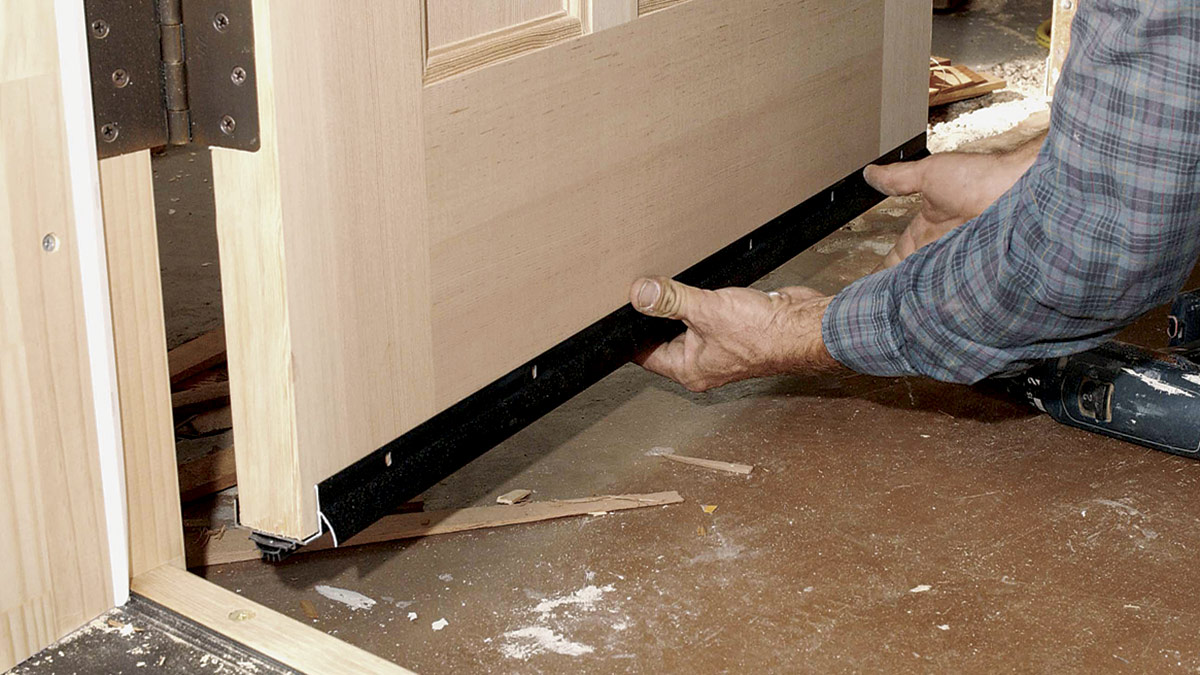
Installing the New Weather Stripping
Now that the door is primed and the new weather stripping is prepared, it’s time to proceed with the installation process. Follow these steps to ensure a precise and secure fit for the new weather stripping:
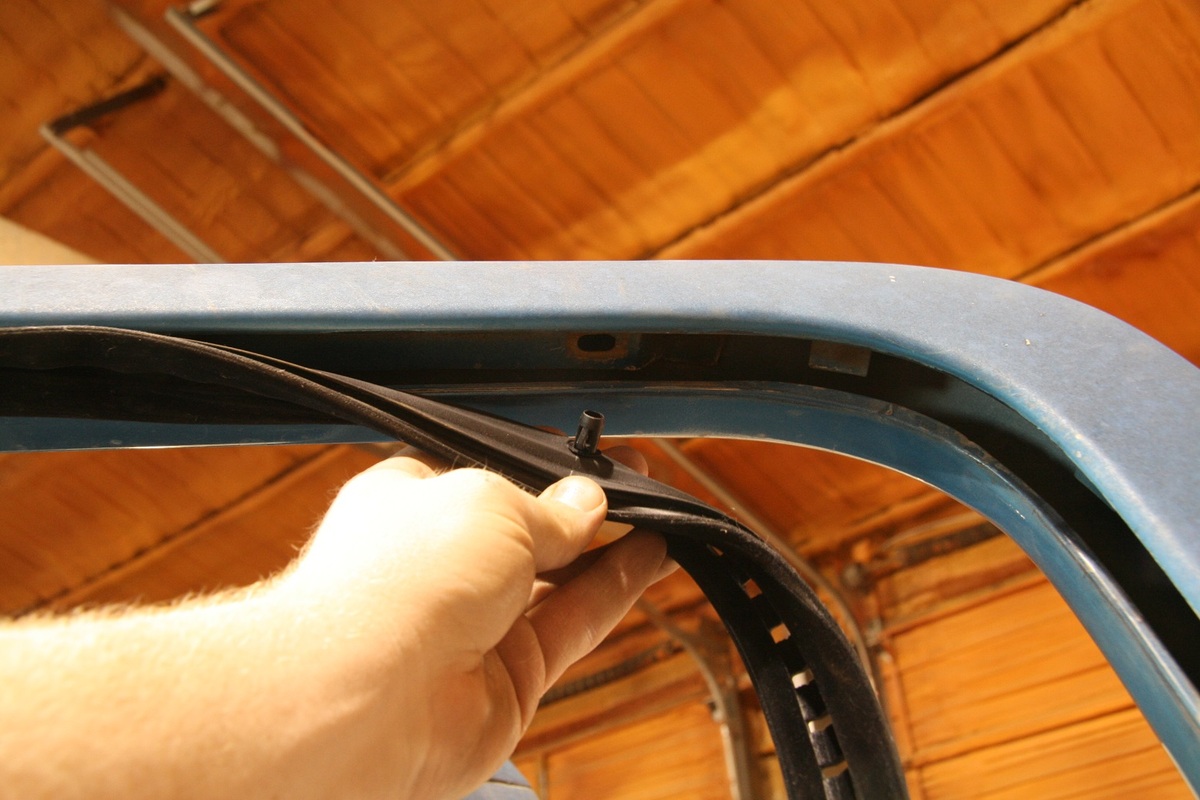
- Begin at a Corner: Start the installation at a corner of the door frame, carefully pressing the new weather stripping into place. Ensure that the weather stripping is aligned flush with the edge of the door frame, maintaining a consistent level of pressure as you work along the frame.
- Work in Sections: Divide the installation into manageable sections, gradually pressing the weather stripping along the frame’s perimeter. Take care to maintain even pressure and alignment, ensuring a uniform and snug fit throughout the installation process.
- Address Corners and Curves: When navigating corners or curves, gently stretch and position the weather stripping to conform to the door frame’s contours. Pay close attention to these areas to achieve a seamless and secure installation.
- Secure End Points: Once the weather stripping is fully installed along the door frame, secure the end points firmly to ensure a tight seal. Trim any excess weather stripping with a utility knife, maintaining a clean and precise finish.
- Apply Firm Pressure: After completing the installation, apply firm pressure along the entire length of the weather stripping to enhance adhesion and ensure a secure bond with the door frame.
By following these steps with precision and care, you’ll successfully install the new weather stripping, fortifying your car door against the elements and restoring optimal weatherproofing. With the installation phase completed, it’s time to verify the effectiveness of the new weather stripping through a thorough testing process.
When replacing weather stripping on a car door, make sure to clean the door frame thoroughly before installing the new stripping. This will ensure a proper seal and prevent any leaks.
Testing the New Weather Stripping
After completing the installation of the new weather stripping, it’s essential to conduct a comprehensive testing process to ensure its effectiveness in sealing the car door against external elements. Follow these steps to verify the performance of the new weather stripping:
- Visual Inspection: Begin by visually inspecting the installed weather stripping, paying close attention to its alignment, adhesion, and overall fit along the door frame. Look for any areas that may require additional attention or adjustment.
- Close the Door: Close the car door gently and observe the contact points between the weather stripping and the door frame. Check for uniform compression and a secure seal along the entire perimeter of the door.
- Test for Air Leaks: While inside the car, pay attention to any signs of air leaks around the door. Listen for unusual whistling or rushing sounds that may indicate air seepage, especially when driving at higher speeds or in windy conditions.
- Check for Water Resistance: Perform a water test by spraying a gentle stream of water along the exterior of the door, focusing on the areas where the weather stripping meets the frame. Observe for any water infiltration or leaks into the interior of the car.
- Assess Noise Reduction: Take note of any reduction in external noise levels when the car door is closed, indicating the effectiveness of the new weather stripping in minimizing sound transmission from outside the vehicle.
By conducting a thorough testing process, you can confidently evaluate the performance of the new weather stripping and address any potential issues or adjustments. A successful testing phase ensures that your car door is effectively sealed against air and water infiltration, contributing to a quieter, more comfortable driving experience while safeguarding the interior from external elements.
Conclusion
Congratulations on successfully completing the process of replacing the weather stripping on your car door! By following the step-by-step instructions outlined in this guide, you’ve taken a proactive approach to enhancing the weatherproofing and comfort of your vehicle. The new weather stripping is now in place, providing a secure seal against air and water infiltration, while contributing to a quieter and more enjoyable driving experience.
Throughout this project, you’ve demonstrated the determination and skill required to tackle automotive maintenance tasks with confidence. By meticulously removing the old weather stripping, preparing the door, and installing the new weather stripping, you’ve revitalized a vital component of your car’s protective barrier against the elements.
Remember, regular maintenance and attention to detail can significantly extend the lifespan and performance of your vehicle’s weather stripping. Periodically inspect the weather stripping for signs of wear, damage, or adhesive failure, and address any issues promptly to maintain optimal weatherproofing.
By mastering the process of weather stripping replacement, you’ve not only improved the functionality of your car door but also gained valuable hands-on experience in automotive maintenance. Your commitment to maintaining your vehicle in top condition is commendable and contributes to the longevity and reliability of your car.
As you embark on future automotive projects, whether for maintenance, repairs, or enhancements, remember that your dedication and resourcefulness are valuable assets. With the knowledge and skills you’ve acquired, you’re well-equipped to tackle a wide range of automotive tasks, ensuring that your vehicle remains a dependable and comfortable companion on the road.
Thank you for joining us on this journey to elevate the performance and protection of your car door through the replacement of weather stripping. We hope this guide has empowered you to take charge of your vehicle’s maintenance and enjoy the satisfaction of a job well done.
Frequently Asked Questions about How To Replace Weather Stripping On A Car Door
Was this page helpful?
At Storables.com, we guarantee accurate and reliable information. Our content, validated by Expert Board Contributors, is crafted following stringent Editorial Policies. We're committed to providing you with well-researched, expert-backed insights for all your informational needs.
0 thoughts on “How To Replace Weather Stripping On A Car Door”