Home>Energy>Home Insulation & Ventilation>How To Repair A Car With Weather Stripping
Home Insulation & Ventilation
How To Repair A Car With Weather Stripping
Modified: October 19, 2024
Learn how to repair your car's weather stripping and improve home insulation and ventilation. Find expert tips and techniques for a more efficient and comfortable environment.
(Many of the links in this article redirect to a specific reviewed product. Your purchase of these products through affiliate links helps to generate commission for Storables.com, at no extra cost. Learn more)
Introduction
Welcome to the ultimate guide on repairing a car with weather stripping. Your car’s weather stripping plays a crucial role in maintaining a comfortable and well-protected interior. Over time, weather stripping can wear out, leading to air and water leaks that compromise the integrity of your vehicle. In this comprehensive guide, we will explore the ins and outs of weather stripping, equip you with the necessary tools and materials, and walk you through the step-by-step process of removing old weather stripping and installing new weather stripping. By the end of this journey, you will have the knowledge and confidence to tackle this essential repair, ensuring that your car remains a safe and cozy haven on the road.
Key Takeaways:
- Weather stripping is crucial for keeping your car cozy and protected. Regular inspection and timely repair can prevent leaks and discomfort, ensuring a safe and comfortable driving experience.
- Gather the right tools and materials before repairing your car’s weather stripping. Carefully remove the old stripping and expertly install the new one to fortify your vehicle against external elements.
Understanding Weather Stripping
Weather stripping is a vital component of your car’s construction, serving as a barrier against external elements such as rain, wind, and dust. It is typically made of rubber or a similar flexible material that can effectively seal the gaps between various parts of the car, including doors, windows, and the trunk. The primary functions of weather stripping are to prevent water from entering the vehicle, reduce noise from outside, and maintain the internal temperature by sealing in heating or cooling air.
Over time, weather stripping can deteriorate due to exposure to the elements, temperature changes, and general wear and tear. When the weather stripping becomes cracked, brittle, or loose, it can no longer perform its sealing functions effectively, leading to potential leaks and discomfort inside the car.
It’s important to regularly inspect the condition of your car’s weather stripping and promptly address any signs of damage. By understanding the role of weather stripping and recognizing the impact of its condition on your driving experience, you can take proactive steps to maintain and repair this critical component of your vehicle.
Tools and Materials Needed
Before embarking on the repair of your car’s weather stripping, it’s essential to gather the necessary tools and materials. Having the right equipment at your disposal will streamline the repair process and ensure a successful outcome. Here’s a comprehensive list of tools and materials you will need:
- Flathead screwdriver
- Trim removal tool
- Adhesive remover
- Clean cloth or rag
- New weather stripping (specific to your car’s make and model)
- Adhesive (if the new weather stripping does not come with pre-applied adhesive)
- Rubbing alcohol
- Utility knife or scissors
These tools and materials are essential for both removing the old weather stripping and installing the new one. The flathead screwdriver and trim removal tool will assist in carefully prying off the old weather stripping without damaging the surrounding areas of the car. The adhesive remover and clean cloth are crucial for cleaning any residual adhesive and preparing the surface for the new weather stripping. When it comes to installing the new weather stripping, having rubbing alcohol on hand will help ensure a clean and secure bond between the stripping and the car’s surface. Additionally, a utility knife or scissors will be necessary for trimming the new weather stripping to fit the specific dimensions of your car.
By gathering these tools and materials before starting the repair, you can approach the process with confidence and efficiency, setting the stage for a successful restoration of your car’s weather stripping.
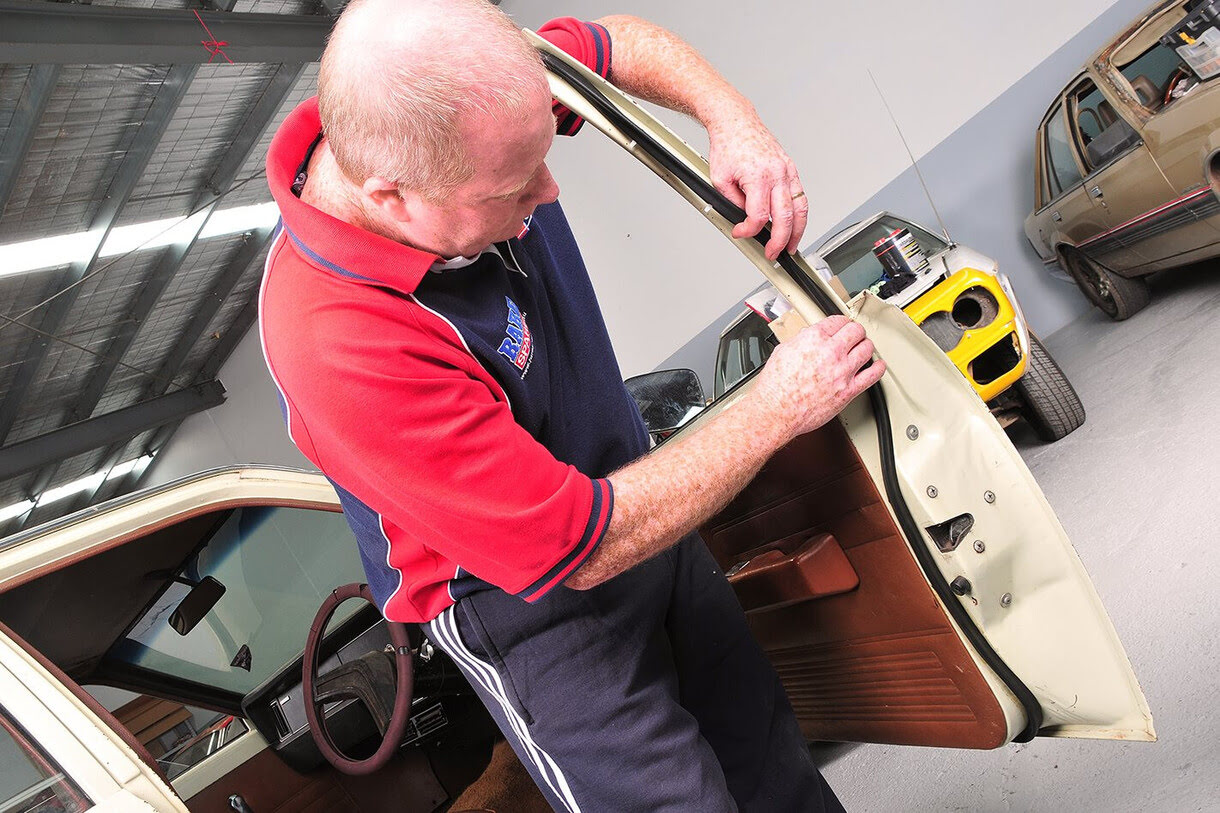
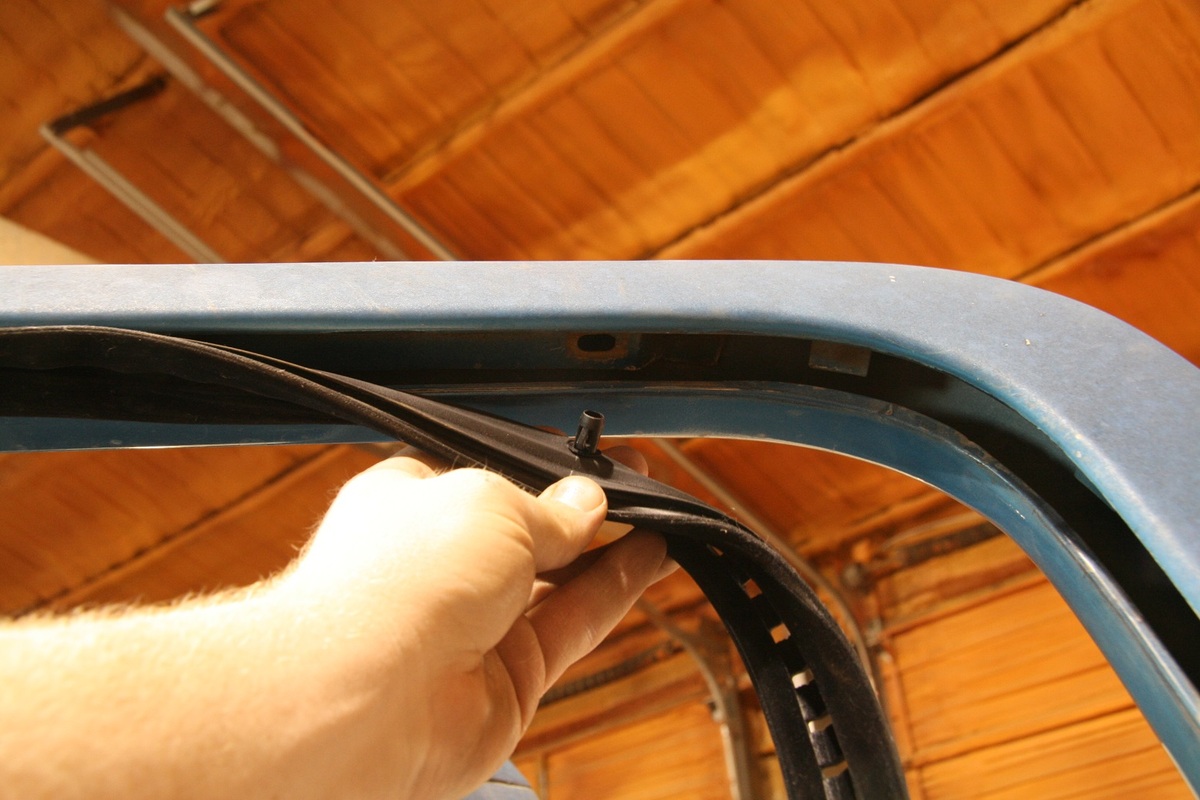
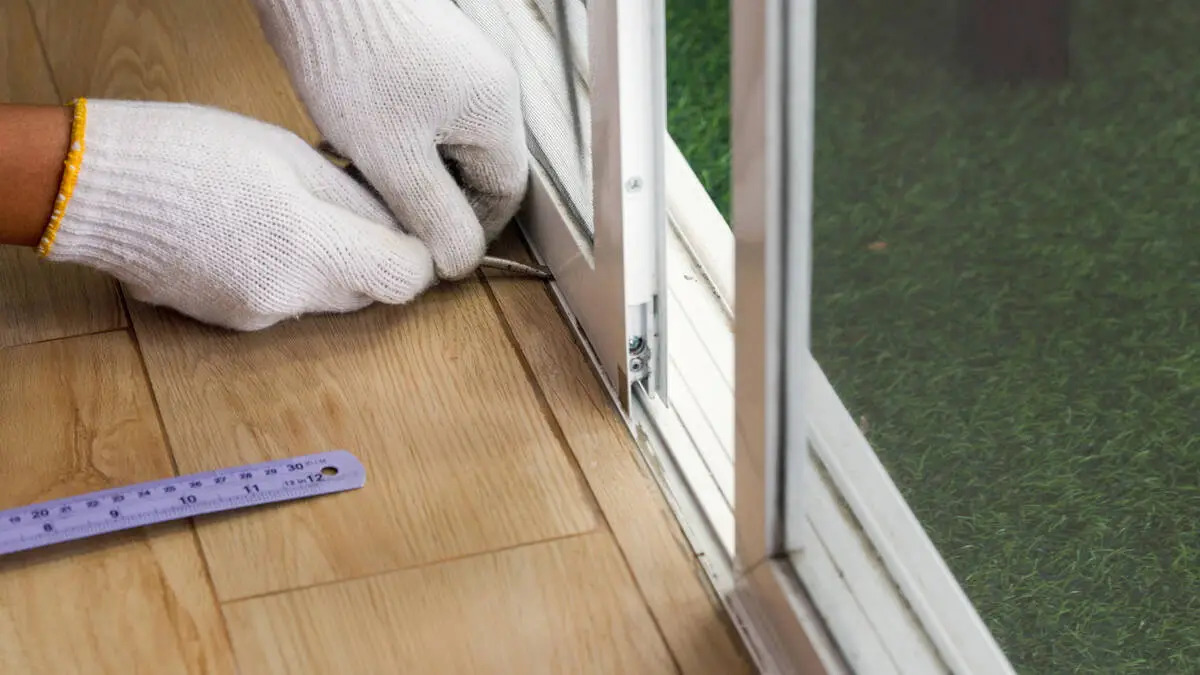
Removing the Old Weather Stripping
Removing the old weather stripping from your car is a crucial first step in the repair process. It’s essential to approach this task with care and precision to avoid causing any damage to the surrounding areas of the vehicle. Here’s a step-by-step guide to effectively removing the old weather stripping:
- Assess the Condition: Before beginning the removal process, carefully inspect the old weather stripping to identify any areas of particular concern, such as excessive wear, damage, or adhesive residue.
- Use the Flathead Screwdriver: Starting at one end of the weather stripping, gently insert the flathead screwdriver between the stripping and the car’s surface. Apply even pressure to pry the stripping away, gradually working along its length. Exercise caution to avoid scratching or denting the vehicle’s exterior.
- Employ the Trim Removal Tool: For areas where the stripping is tightly secured or difficult to access, the trim removal tool can provide leverage and precision. Slide the tool beneath the stripping and carefully work it along the edge to release the adhesive bond.
- Clean the Surface: Once the old weather stripping has been completely removed, use the adhesive remover and a clean cloth to thoroughly clean the surface. Ensure that all residual adhesive and debris are removed, leaving a smooth and clean area for the new weather stripping to adhere to.
- Inspect for Damage: Take this opportunity to inspect the exposed surface for any signs of damage or corrosion. Address any issues promptly to prevent further deterioration and ensure a secure bond with the new weather stripping.
By following these steps, you can safely and effectively remove the old weather stripping from your car, preparing the surface for the installation of the new stripping. Remember to proceed patiently and attentively, as preserving the integrity of the vehicle’s exterior is paramount during this process.
Inspect the weather stripping for any cracks or damage. Clean the area and apply a silicone-based lubricant to keep it flexible. If the stripping is beyond repair, replace it with a new one.
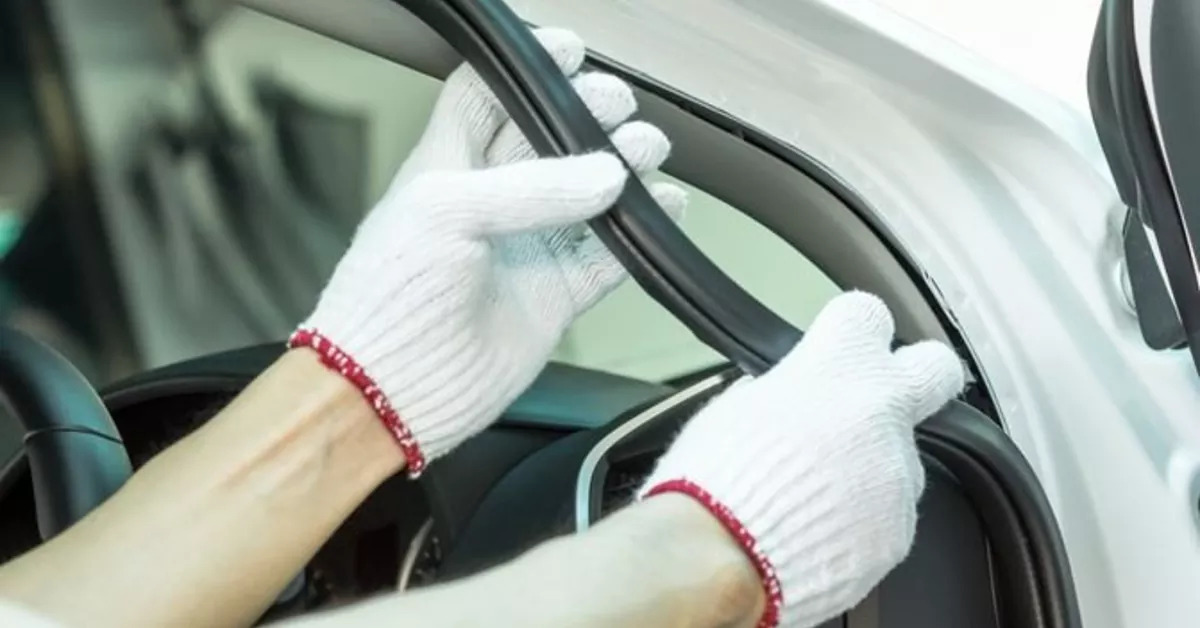
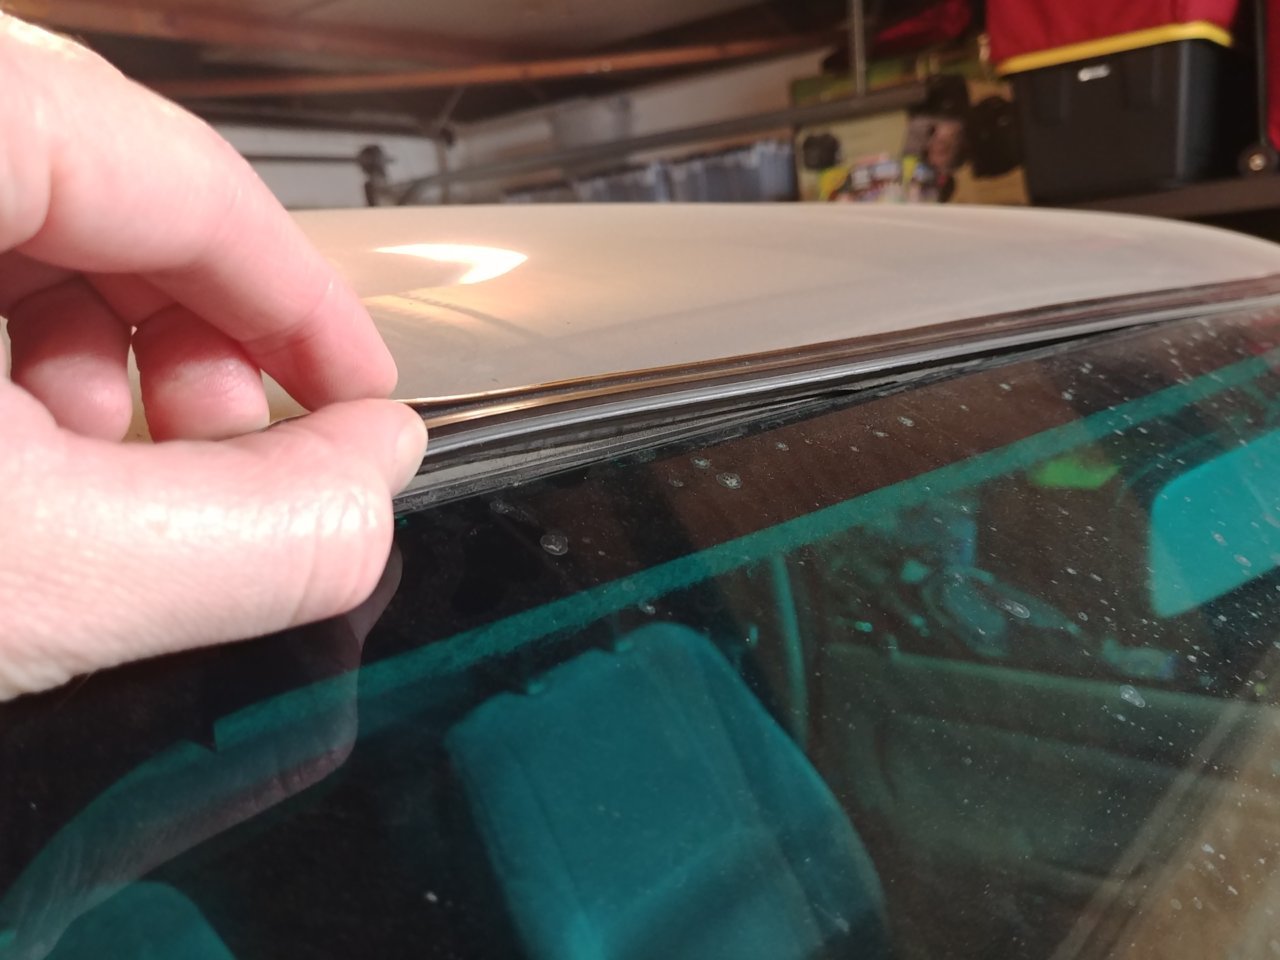
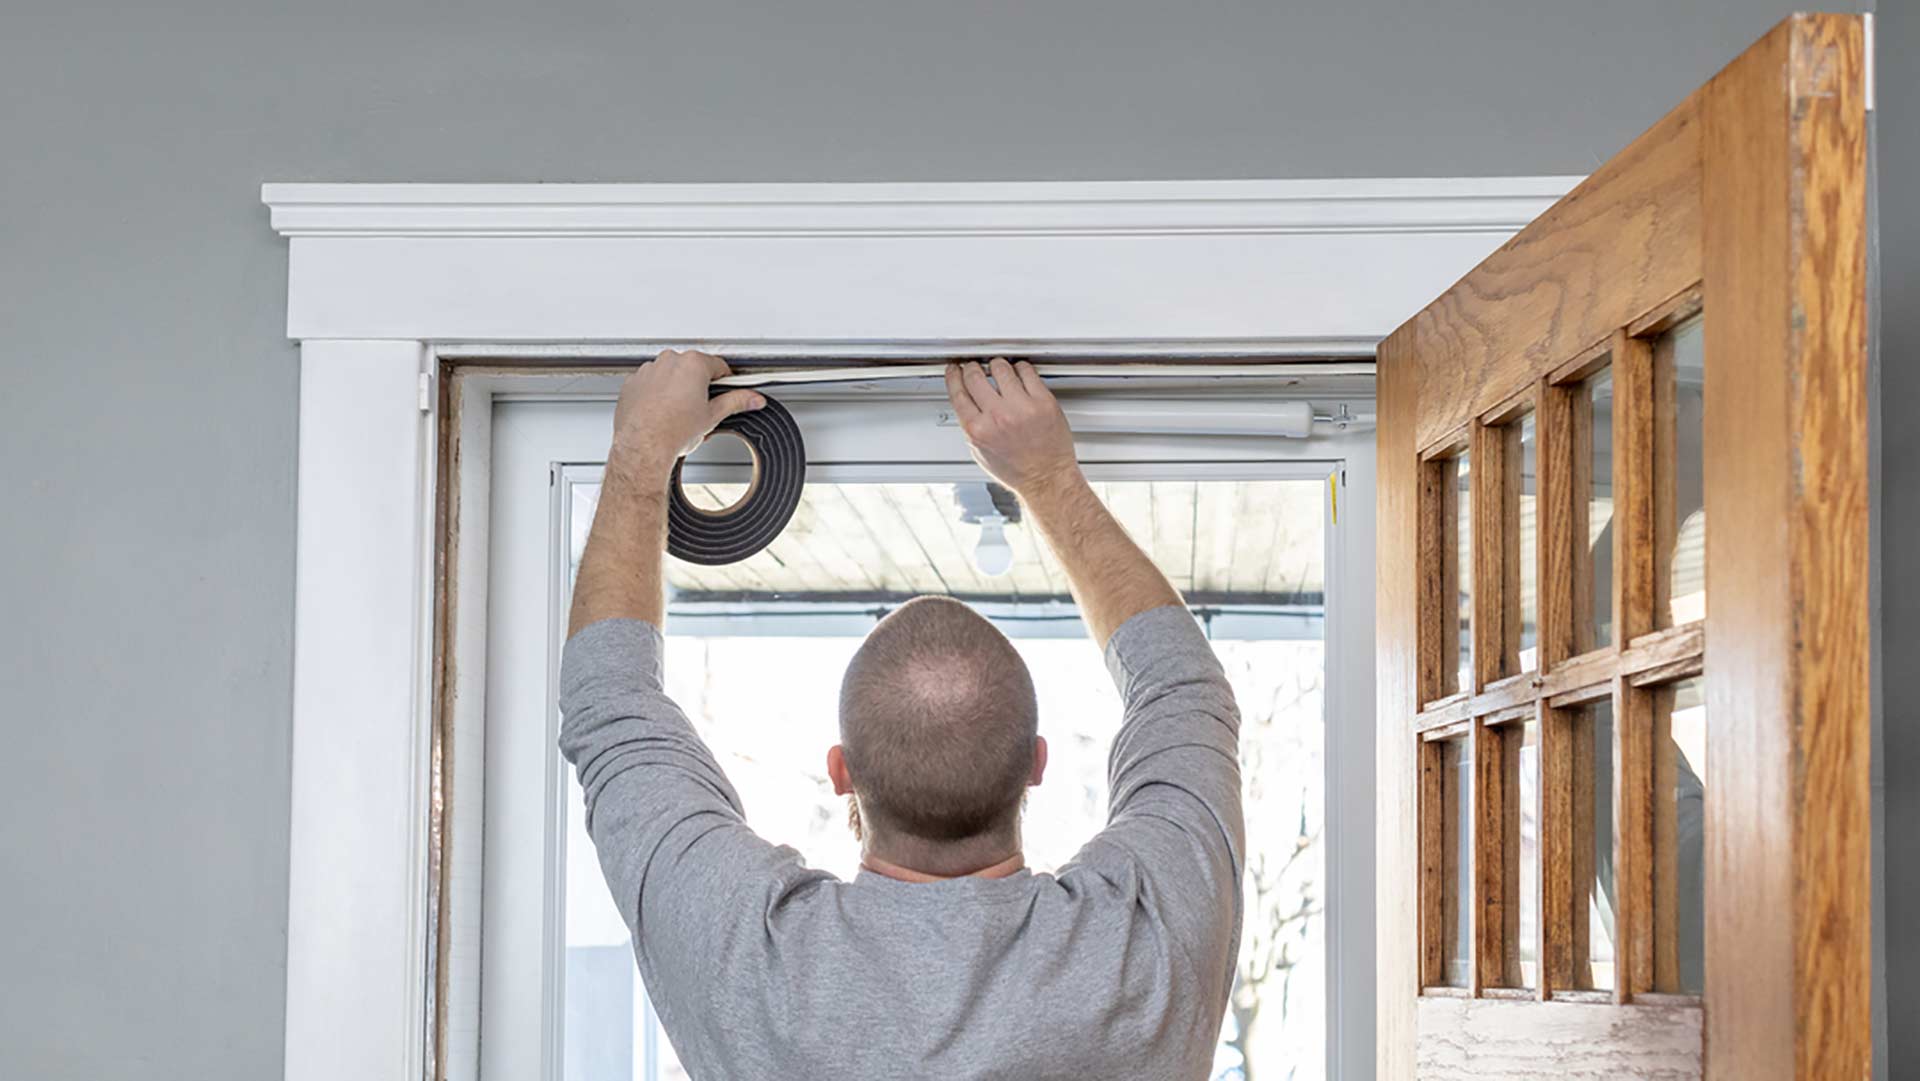
Installing the New Weather Stripping
With the old weather stripping successfully removed and the surface meticulously cleaned, it’s time to embark on the installation of the new weather stripping. This phase of the repair process is critical in ensuring a secure and effective seal for your vehicle. Follow these steps to expertly install the new weather stripping:
- Prepare the Surface: Before applying the new weather stripping, use rubbing alcohol and a clean cloth to thoroughly clean the surface where the stripping will be installed. This step is crucial for removing any remaining debris, oils, or residues that could compromise the adhesive bond.
- Measure and Cut: Carefully measure the length of the new weather stripping against the area of application on your car. Use a utility knife or scissors to trim the stripping to the precise dimensions, ensuring a proper fit without any excess material.
- Apply Adhesive (if necessary): If the new weather stripping does not come with pre-applied adhesive, carefully apply a suitable automotive adhesive to the back of the stripping. Be mindful to follow the manufacturer’s instructions and apply the adhesive evenly to facilitate a strong bond.
- Position and Press: Starting at one end, gently position the new weather stripping along the designated area, ensuring a snug and flush fit. Apply firm and even pressure along the entire length of the stripping to secure it in place. Pay particular attention to any curved or irregular sections, ensuring that the stripping conforms seamlessly to the contours of the car’s surface.
- Allow for Proper Adhesion: Once the new weather stripping is in place, allow sufficient time for the adhesive to fully bond with the surface. Refer to the adhesive manufacturer’s guidelines for the recommended curing time to ensure a durable and long-lasting seal.
By meticulously following these steps, you can expertly install the new weather stripping, fortifying your car against external elements and restoring its interior comfort and protection. With the new stripping securely in place, you are one step closer to completing the repair and revitalizing your vehicle’s sealing capabilities.
Read more: What Glue To Use For Car Weather Stripping
Testing the Repair
After successfully installing the new weather stripping, it’s essential to conduct a thorough examination to ensure that the repair has effectively restored the integrity of your car’s seal. Testing the repair will provide valuable insight into the functionality of the new weather stripping and allow you to address any potential issues before they escalate. Follow these steps to meticulously test the repair:
- Visual Inspection: Begin by visually examining the newly installed weather stripping, paying close attention to its alignment, adhesion, and overall condition. Verify that the stripping sits flush against the car’s surface without any gaps or irregularities.
- Water Test: To evaluate the effectiveness of the new weather stripping in preventing water leaks, conduct a water test. Using a gentle stream of water from a hose, direct the flow along the areas where the stripping has been installed, such as the door frames and windows. Observe the interior for any signs of water infiltration, such as drips or moisture accumulation.
- Wind and Noise Assessment: Take your car for a drive, paying attention to any changes in wind noise and interior sound levels. A successful repair should result in reduced external noise intrusion, indicating that the new weather stripping is effectively sealing the car’s interior.
- Temperature Control: Monitor the interior temperature of your car during varying weather conditions. The new weather stripping should contribute to maintaining a consistent and comfortable temperature inside the vehicle, minimizing the impact of external heat or cold.
By diligently performing these tests, you can evaluate the efficacy of the repair and address any potential concerns or deficiencies. If any issues are identified during the testing phase, take prompt action to rectify them, ensuring that your car’s weather stripping functions optimally and provides the desired protection and comfort.
Conclusion
Congratulations on completing the journey of repairing your car with weather stripping! By delving into the intricacies of weather stripping, gathering the necessary tools and materials, removing the old stripping, installing the new one, and meticulously testing the repair, you have taken proactive steps to safeguard the comfort and integrity of your vehicle.
Throughout this process, you have not only revitalized the sealing capabilities of your car but also gained valuable insights into the importance of maintaining and repairing weather stripping. By understanding the pivotal role of weather stripping in shielding your car from external elements and preserving its interior environment, you have empowered yourself to proactively address any future concerns related to this critical component.
Remember that regular inspection and maintenance of your car’s weather stripping are essential for ensuring its continued effectiveness. By staying attentive to signs of wear and promptly addressing any issues, you can prolong the lifespan of the stripping and uphold the comfort and protection it provides.
As you embark on future automotive endeavors, may the knowledge and skills gained from this repair journey serve you well, instilling confidence and proficiency in maintaining and enhancing your car’s essential components. Your dedication to preserving the quality and resilience of your vehicle reflects a commitment to safe, comfortable, and enjoyable driving experiences.
With the successful repair of your car’s weather stripping, you have not only fortified its defenses against the elements but also demonstrated your capability and resourcefulness in tackling essential automotive maintenance. Your car now stands ready to accompany you on countless adventures, shielded by the steadfast protection of its newly restored weather stripping.
Frequently Asked Questions about How To Repair A Car With Weather Stripping
Was this page helpful?
At Storables.com, we guarantee accurate and reliable information. Our content, validated by Expert Board Contributors, is crafted following stringent Editorial Policies. We're committed to providing you with well-researched, expert-backed insights for all your informational needs.
0 thoughts on “How To Repair A Car With Weather Stripping”