Home>Energy>Home Insulation & Ventilation>How To Replace Weather Stripping On A Garage Door
Home Insulation & Ventilation
How To Replace Weather Stripping On A Garage Door
Modified: January 4, 2024
Learn how to replace weather stripping on your garage door to improve home insulation and ventilation. Follow our step-by-step guide for a more energy-efficient home.
(Many of the links in this article redirect to a specific reviewed product. Your purchase of these products through affiliate links helps to generate commission for Storables.com, at no extra cost. Learn more)
Introduction
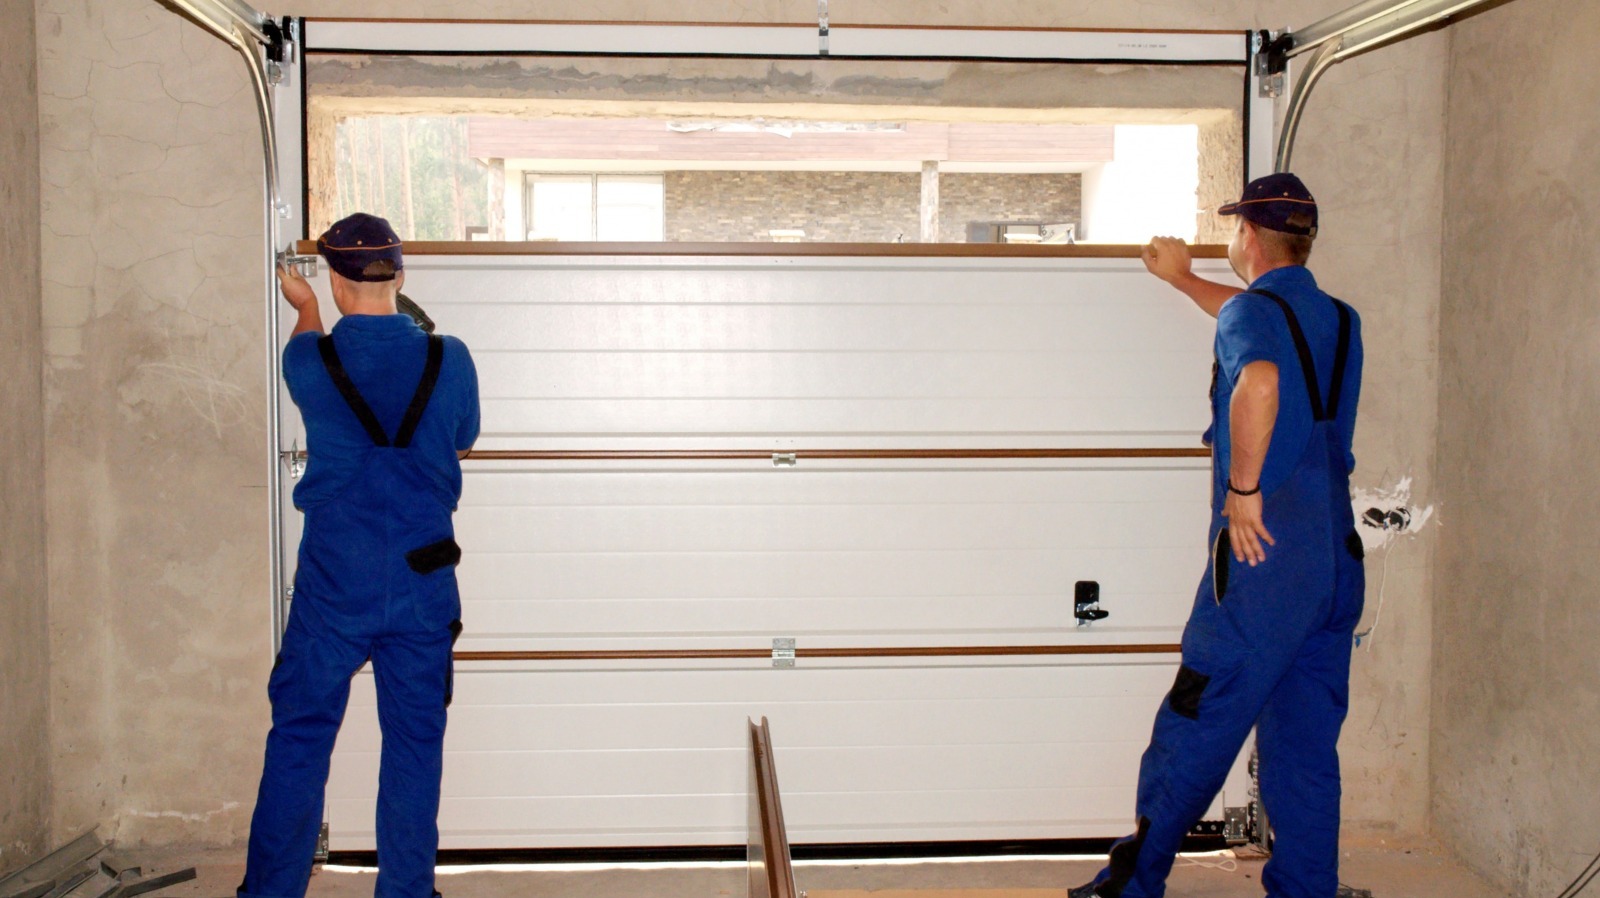
Welcome to the world of home insulation and ventilation, where every detail matters in creating a comfortable and energy-efficient living space. In this guide, we will delve into the essential process of replacing weather stripping on a garage door. As we embark on this journey, you will discover the significance of weather stripping, learn about the tools and materials required for the task, and gain valuable insights into the step-by-step process of removing old weather stripping and installing new weather stripping.
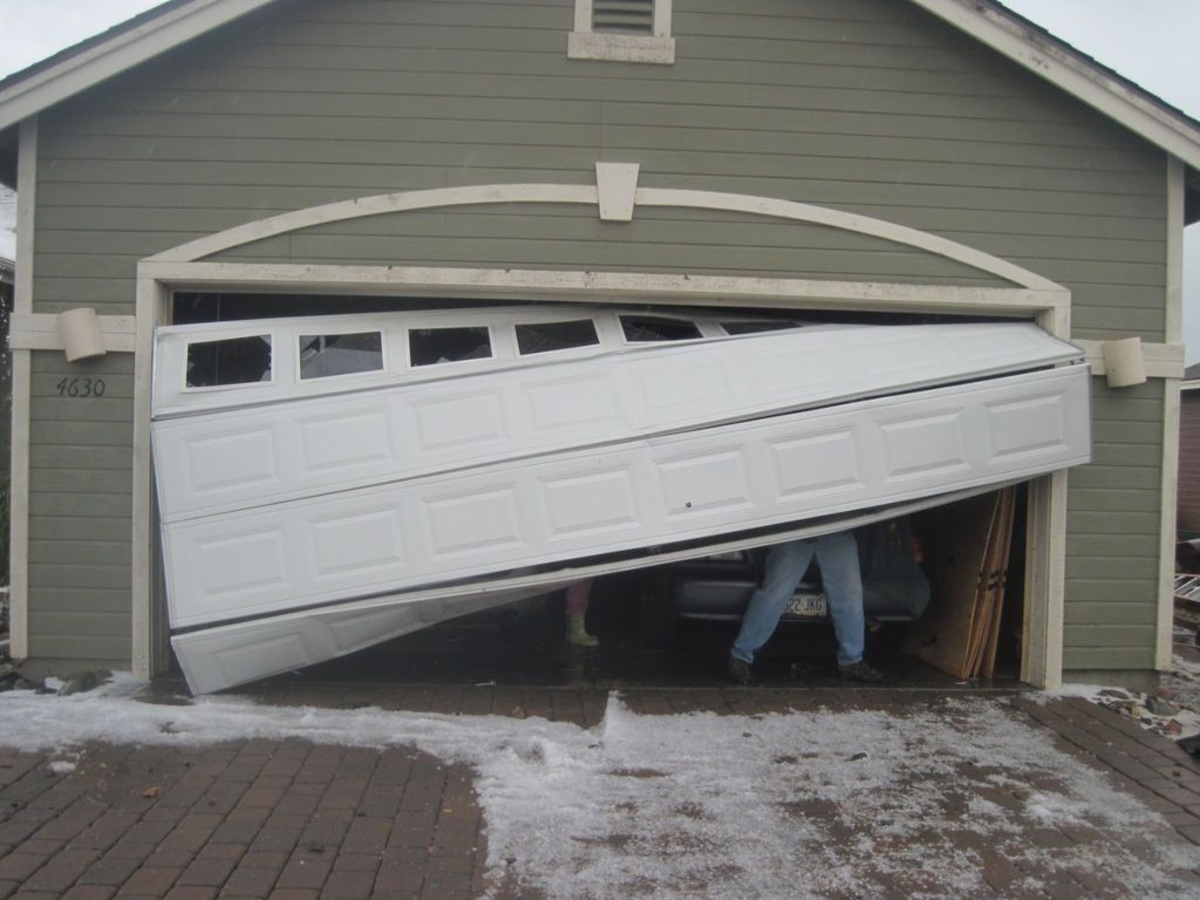
Weather stripping plays a crucial role in maintaining the integrity of your garage, safeguarding it against external elements such as rain, snow, and drafts. Over time, weather stripping can wear out, leading to compromised insulation and potential energy loss. By mastering the art of replacing weather stripping, you can enhance the efficiency of your garage door, bolstering its ability to keep your home comfortable and secure.
Throughout this guide, we will provide practical instructions, insightful tips, and expert recommendations to empower you in this home improvement endeavor. Whether you are a seasoned DIY enthusiast or exploring this task for the first time, our goal is to equip you with the knowledge and confidence to tackle the replacement of weather stripping on your garage door.
So, roll up your sleeves and get ready to elevate the functionality and efficiency of your garage door through the art of weather stripping replacement. Let's dive in and unveil the secrets to a well-insulated and weather-protected garage space.
Key Takeaways:
- Replacing weather stripping on a garage door is crucial for maintaining a secure and energy-efficient home. By understanding its role, gathering the right tools, and following precise steps, you can enhance your garage’s insulation and weather protection.
- By mastering the art of weather stripping replacement, you not only improve your garage door’s functionality but also contribute to a more sustainable and energy-conscious living environment. Embrace the transformative power of this home improvement project!
Understanding Weather Stripping
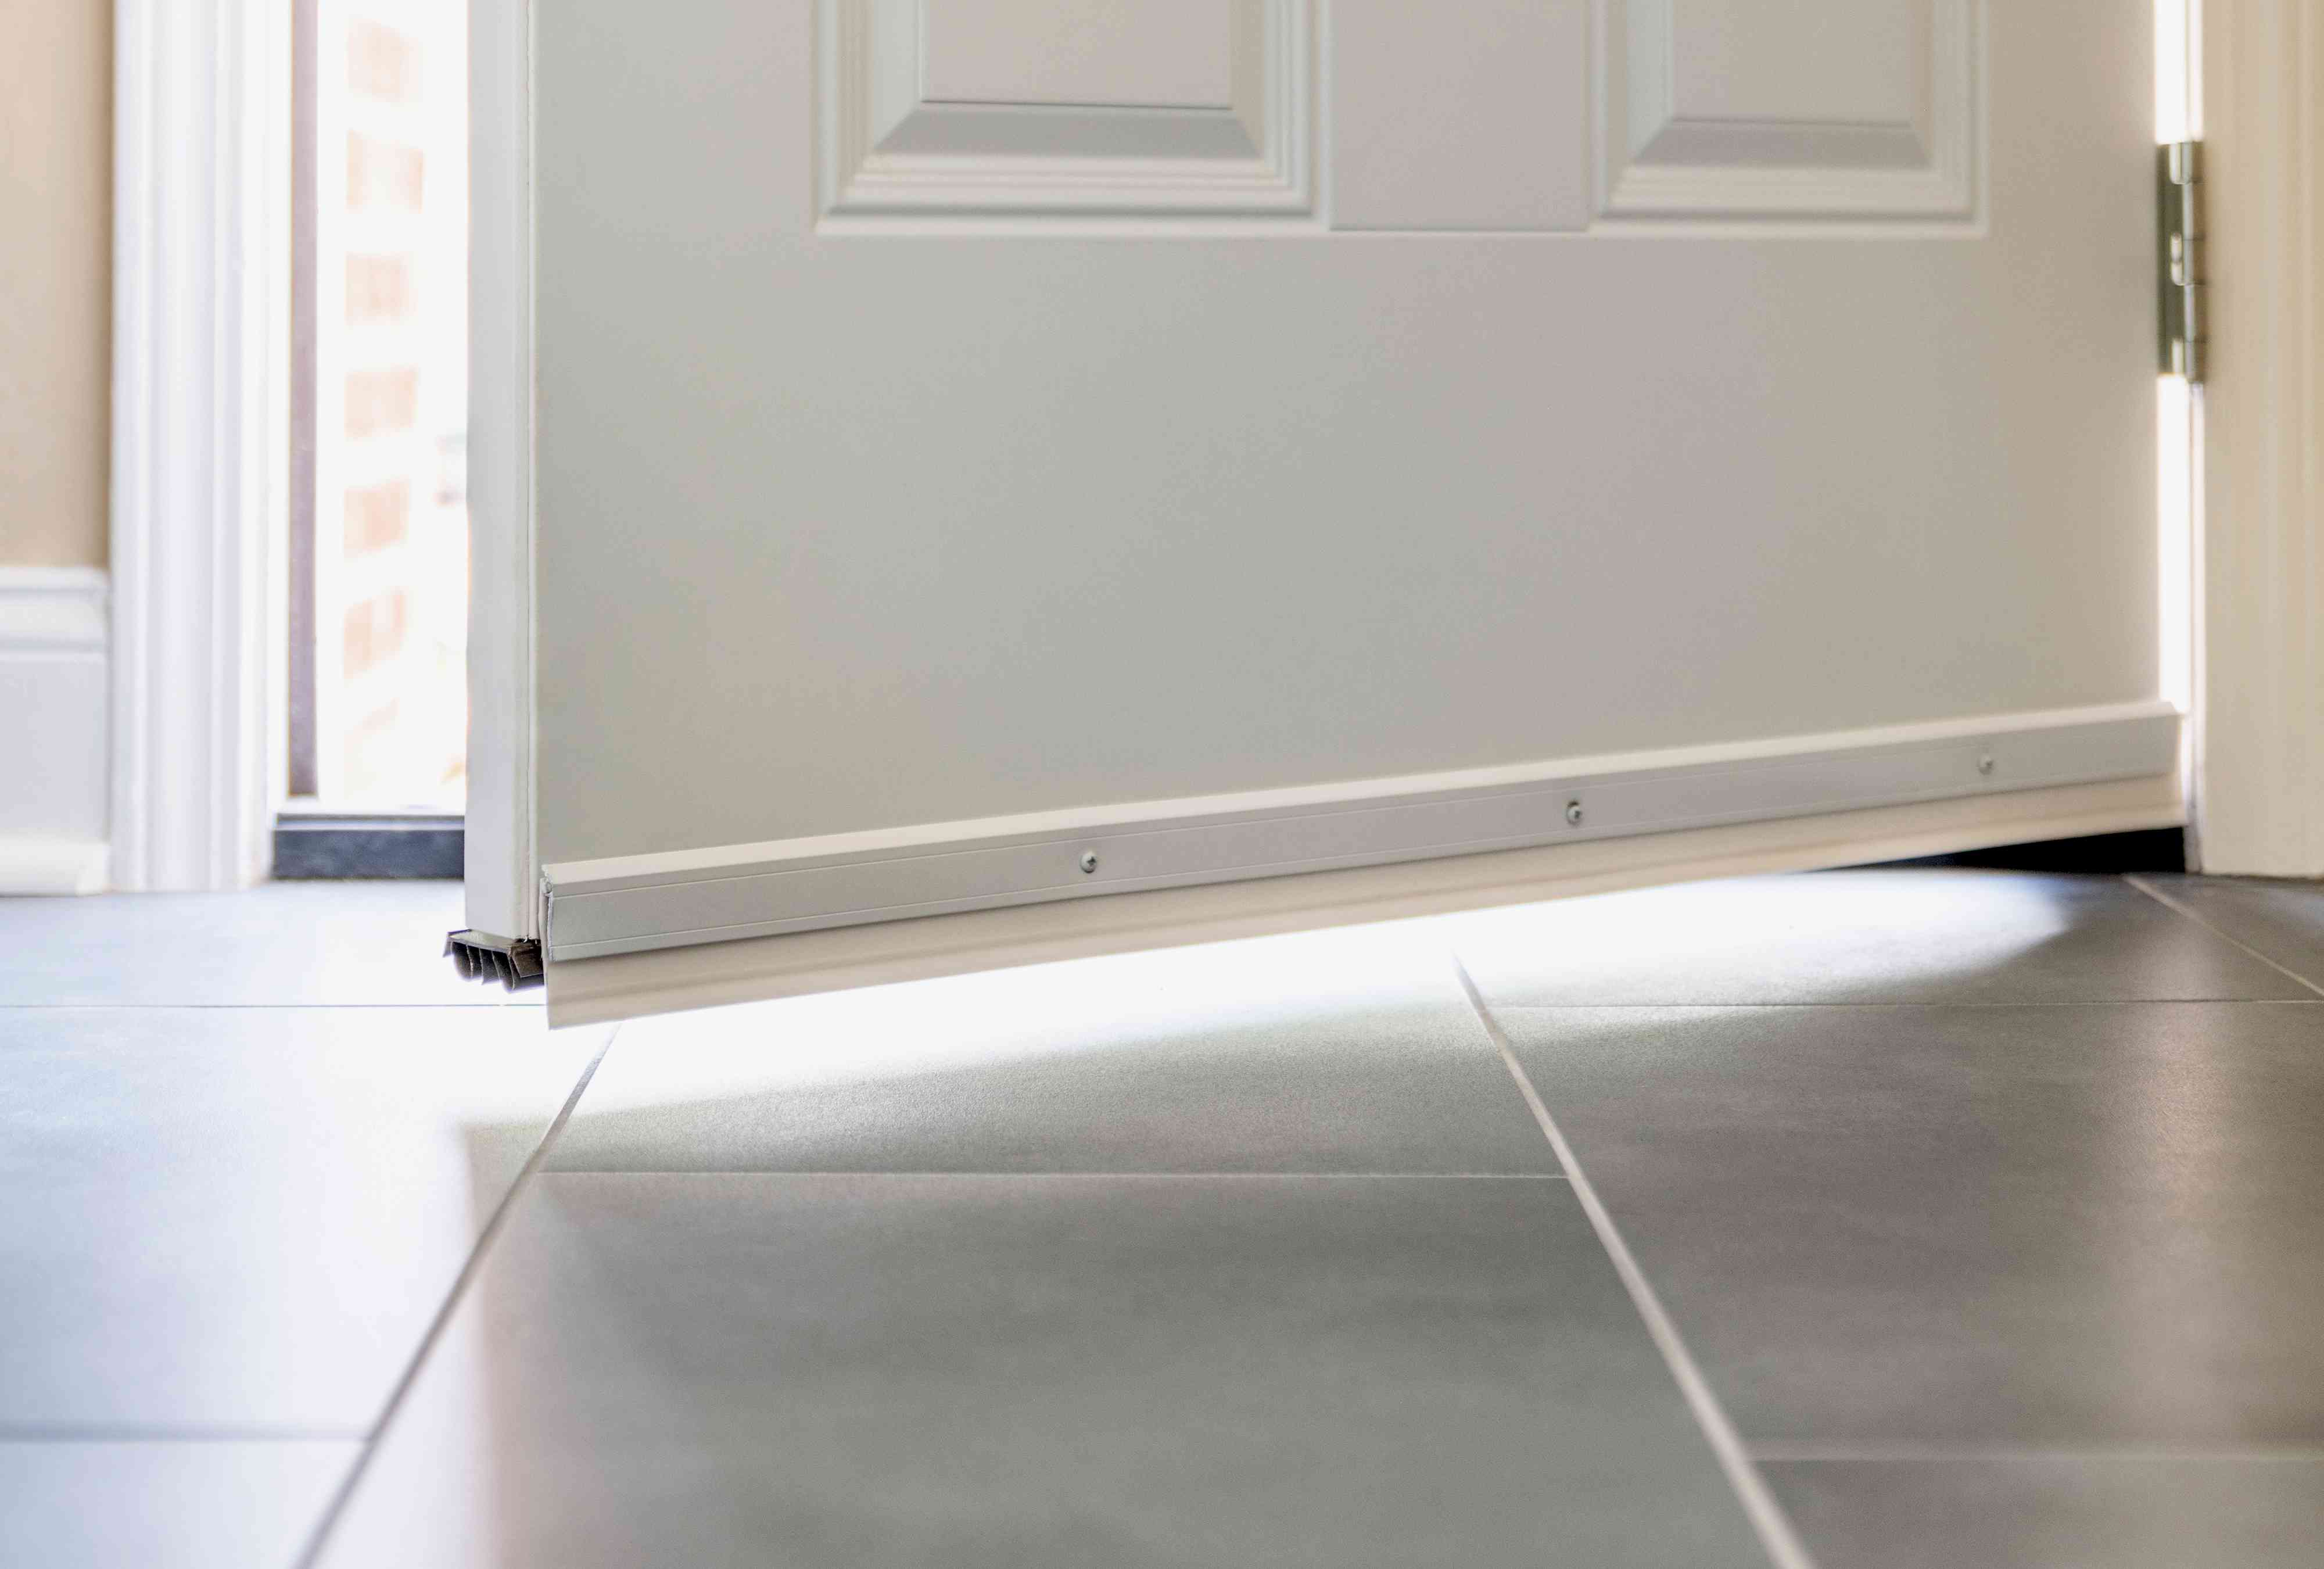
Before delving into the practical aspects of replacing weather stripping on a garage door, it’s essential to grasp the fundamental role that weather stripping plays in maintaining the integrity of your home’s insulation. Weather stripping, typically made of resilient materials such as rubber, vinyl, or foam, is designed to create a tight seal between movable components of your garage door and the door frame. This seal acts as a barrier against external elements, preventing moisture, drafts, and unwanted pests from infiltrating your garage.
When weather stripping is in optimal condition, it effectively seals the gaps around your garage door, contributing to energy efficiency and climate control within your home. However, as with any component exposed to the elements, weather stripping can deteriorate over time due to prolonged exposure to sunlight, fluctuating temperatures, and general wear and tear. When weather stripping becomes brittle, cracked, or compressed, its ability to form a reliable seal diminishes, compromising the insulation and security of your garage space.
By understanding the critical function of weather stripping, you can appreciate its impact on the overall efficiency and comfort of your home. A well-maintained and properly installed weather stripping not only enhances insulation but also reduces the strain on your heating and cooling systems, leading to potential energy savings and a more sustainable living environment.
As we proceed with the process of replacing weather stripping on your garage door, keep in mind the pivotal role that this seemingly modest component plays in fortifying your home against the elements. With this understanding, you are poised to embark on a journey toward a more resilient, energy-efficient, and well-insulated garage space.
Tools and Materials Needed
Before initiating the replacement of weather stripping on your garage door, it’s essential to gather the necessary tools and materials to ensure a smooth and efficient process. Here’s a comprehensive list of the items you will need:
Tools:
- Utility knife: A sharp utility knife will be indispensable for precise cutting and removal of the old weather stripping.
- Screwdriver: Depending on the type of fasteners securing the weather stripping, a screwdriver may be required to loosen and remove them.
- Tape measure: Accurate measurements are crucial for cutting the new weather stripping to the appropriate length, making a tape measure an indispensable tool.
- Pliers: In some cases, pliers may be needed to grip and extract stubborn old weather stripping or fasteners.
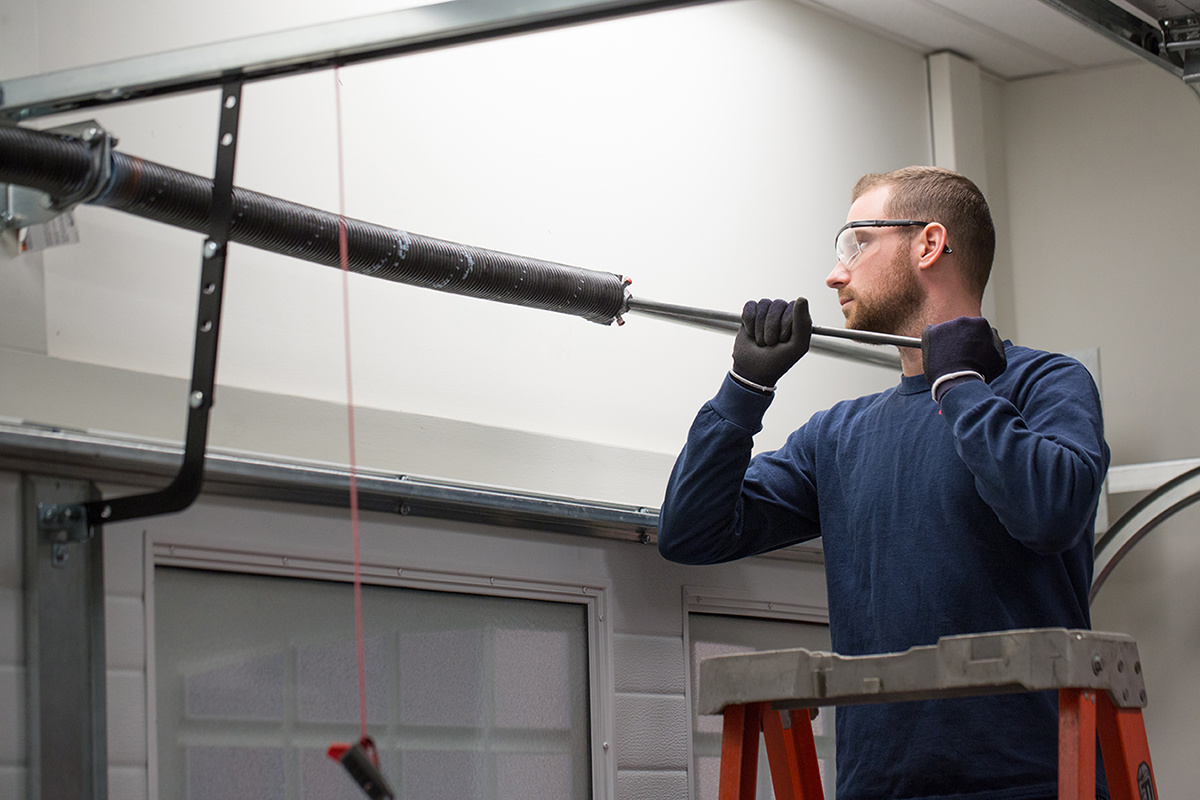
- Work gloves: Protect your hands from sharp edges and potential debris with a sturdy pair of work gloves.
Materials:
- New weather stripping: Select high-quality weather stripping that is compatible with your garage door and climate conditions. The new weather stripping should match the dimensions and profile of the existing stripping for a seamless replacement.
- Cleaner and rag: Before installing the new weather stripping, ensure the surface where it will be applied is clean and free of debris. A suitable cleaner and rag will facilitate this preparatory step.
- Fasteners (if necessary): Depending on the type of weather stripping and your garage door construction, you may need new fasteners to secure the replacement stripping in place.
By assembling these tools and materials, you will be well-equipped to undertake the task of replacing weather stripping on your garage door with confidence and precision. With the right resources at your disposal, you can proceed to the next steps of removing the old weather stripping and installing the new, rejuvenating the insulation and functionality of your garage door.
Removing Old Weather Stripping
As you embark on the journey of replacing weather stripping on your garage door, the initial step involves the careful removal of the old, worn-out weather stripping. This process requires attention to detail and precision to ensure a smooth transition to the new weather stripping. Here’s a step-by-step guide to effectively removing the old weather stripping:
1. Assess the Existing Weather Stripping: Begin by closely examining the current weather stripping on your garage door. Identify the type of fasteners used to secure the stripping in place, as this will dictate the tools required for removal.
2. Loosen and Remove Fasteners: Utilize the appropriate tools, such as a screwdriver or pliers, to loosen and remove any fasteners securing the weather stripping. These fasteners may include screws, nails, or clips, and their removal will facilitate the extraction of the old stripping.
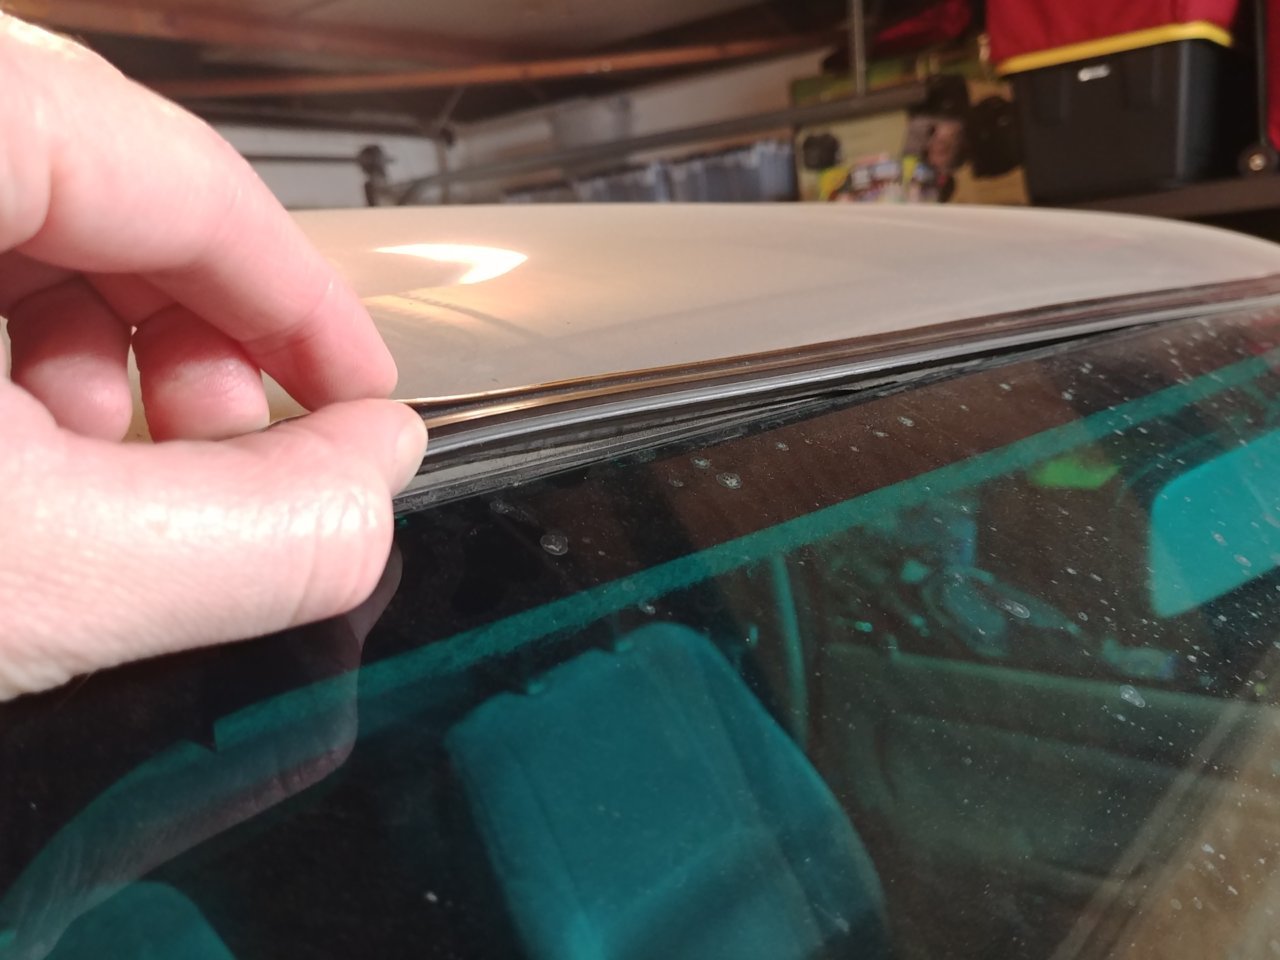
3. Gradually Peel Away the Weather Stripping: With the fasteners removed, carefully begin peeling away the old weather stripping from the edges of the garage door. Exercise caution to avoid damaging the door surface during this process, especially if the stripping has adhered firmly over time.
4. Clean the Surface: Once the old weather stripping has been completely removed, take the opportunity to clean the surface where the new stripping will be installed. Use a suitable cleaner and a rag to remove any residual adhesive, dirt, or debris, ensuring a smooth and clean application area for the new weather stripping.
5. Dispose of the Old Stripping: Properly dispose of the old weather stripping, adhering to any local regulations for the disposal of construction materials. This environmentally conscious step ensures the responsible handling of the removed materials.
By meticulously following these steps, you can effectively and safely remove the old weather stripping from your garage door, setting the stage for the seamless installation of the new weather stripping. With the worn-out stripping out of the way, you are ready to proceed to the next phase of this transformative home improvement project.
Measuring and Cutting New Weather Stripping
With the old weather stripping successfully removed, the next crucial phase in the replacement process involves accurately measuring and cutting the new weather stripping to ensure a precise fit. This step is pivotal in achieving an effective seal and optimal insulation for your garage door. Here’s a detailed guide to measuring and cutting the new weather stripping:
1. Measure the Dimensions: Using a reliable tape measure, carefully assess the dimensions of the areas where the new weather stripping will be installed. Measure the width and length of each section, ensuring accuracy for a snug and effective fit.
2. Account for Corner Cuts: If your garage door features corners or angled sections, take precise measurements to accommodate the necessary corner cuts in the new weather stripping. Accuracy in these measurements is crucial for a seamless and secure installation around corners and edges.
3. Transfer Measurements to the New Stripping: Using a pencil or marker, transfer the measured dimensions onto the new weather stripping. Clearly mark the areas that require cutting, including any corner angles or specialized cuts based on the configuration of your garage door.
4. Cut the Stripping to Size: With the dimensions clearly marked, use a sharp utility knife to carefully cut the new weather stripping to the required lengths and angles. Exercise caution and precision during the cutting process to ensure clean, accurate cuts that align with the measurements taken earlier.
5. Verify the Fit: Once the new weather stripping has been cut to size, verify the fit by holding each section against the corresponding area of the garage door. Confirm that the dimensions and cuts align with the door’s contours and edges, making any necessary adjustments for an optimal fit.
By meticulously following these steps, you can expertly measure and cut the new weather stripping, setting the stage for a seamless and precise installation. The precision and attention to detail applied during this phase will lay the foundation for a durable and effective weather seal, enhancing the insulation and functionality of your garage door.
When replacing weather stripping on a garage door, make sure to measure the length needed accurately before purchasing new stripping. Clean the area thoroughly before installing the new weather stripping to ensure a proper seal.
Installing New Weather Stripping
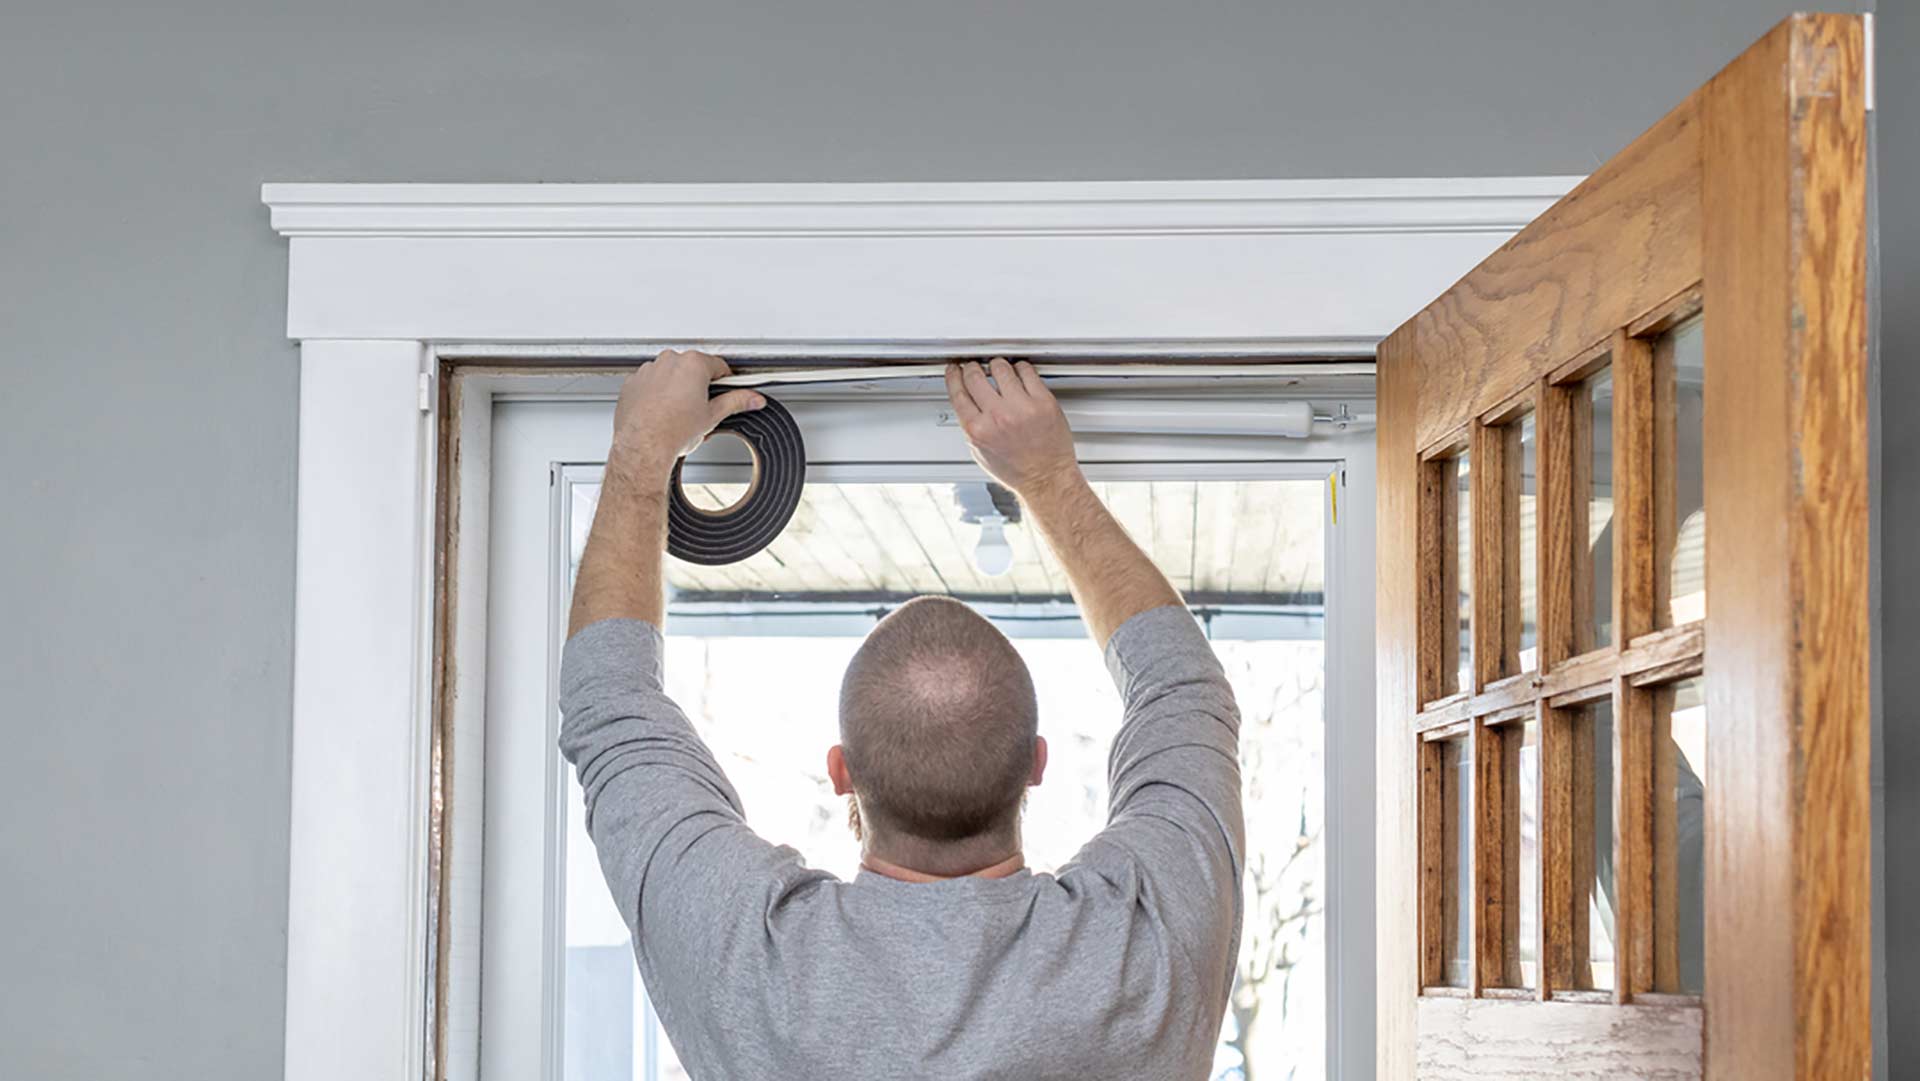
With the new weather stripping measured and cut to perfection, it’s time to embark on the transformative process of installing the fresh stripping on your garage door. This pivotal step will rejuvenate the insulation and seal of your garage, enhancing its efficiency and resilience against external elements. Here’s a comprehensive guide to installing the new weather stripping:
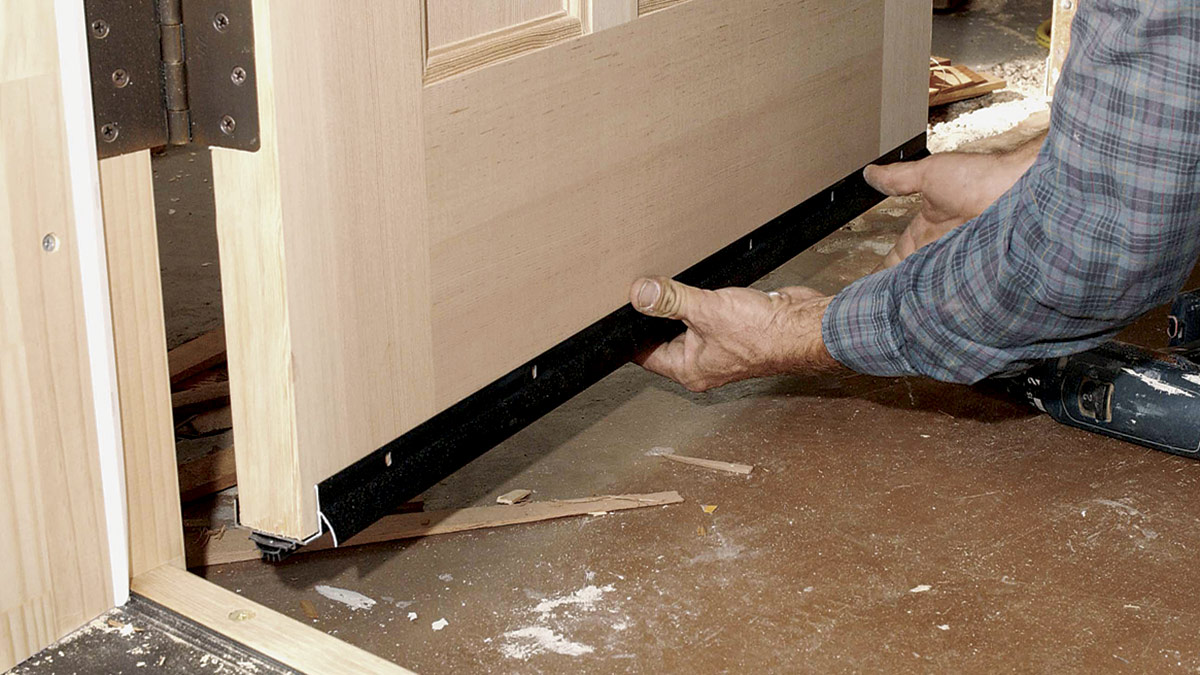
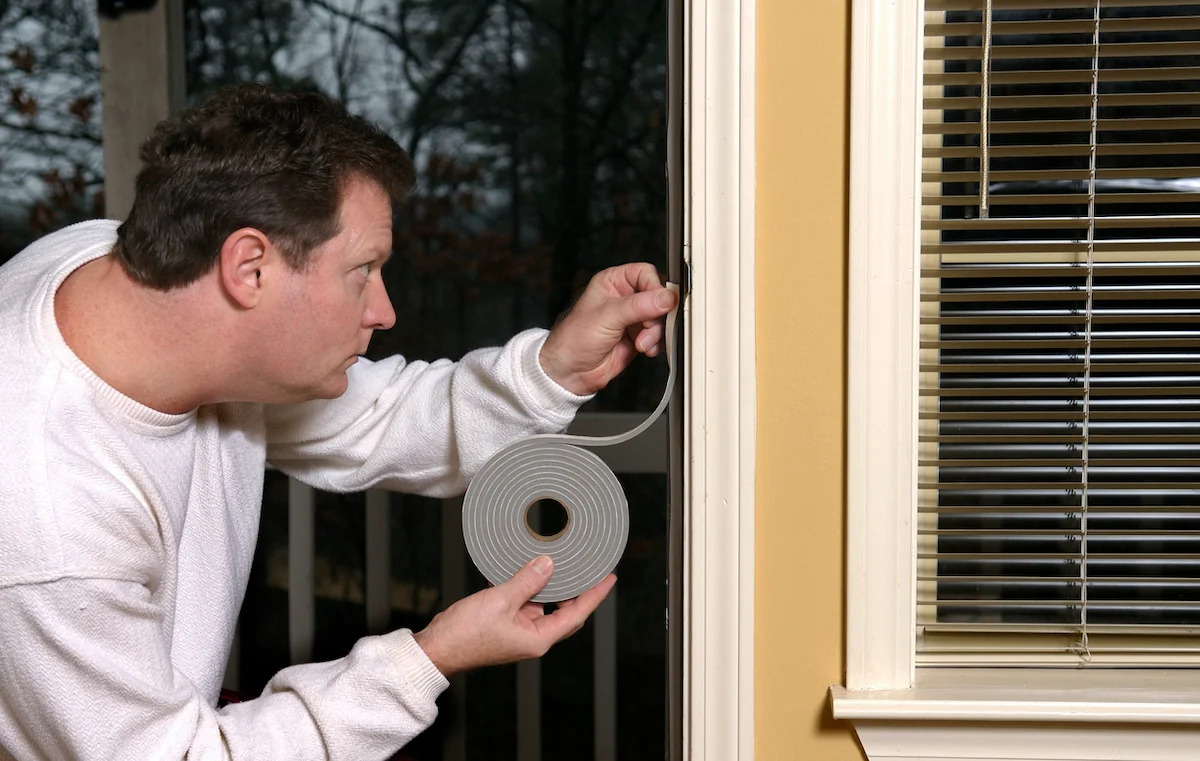
1. Begin at the Bottom: Commence the installation process at the bottom of the garage door, positioning the first section of the new weather stripping with precision. Ensure that it aligns snugly with the edge of the door, forming a secure seal against drafts and moisture.
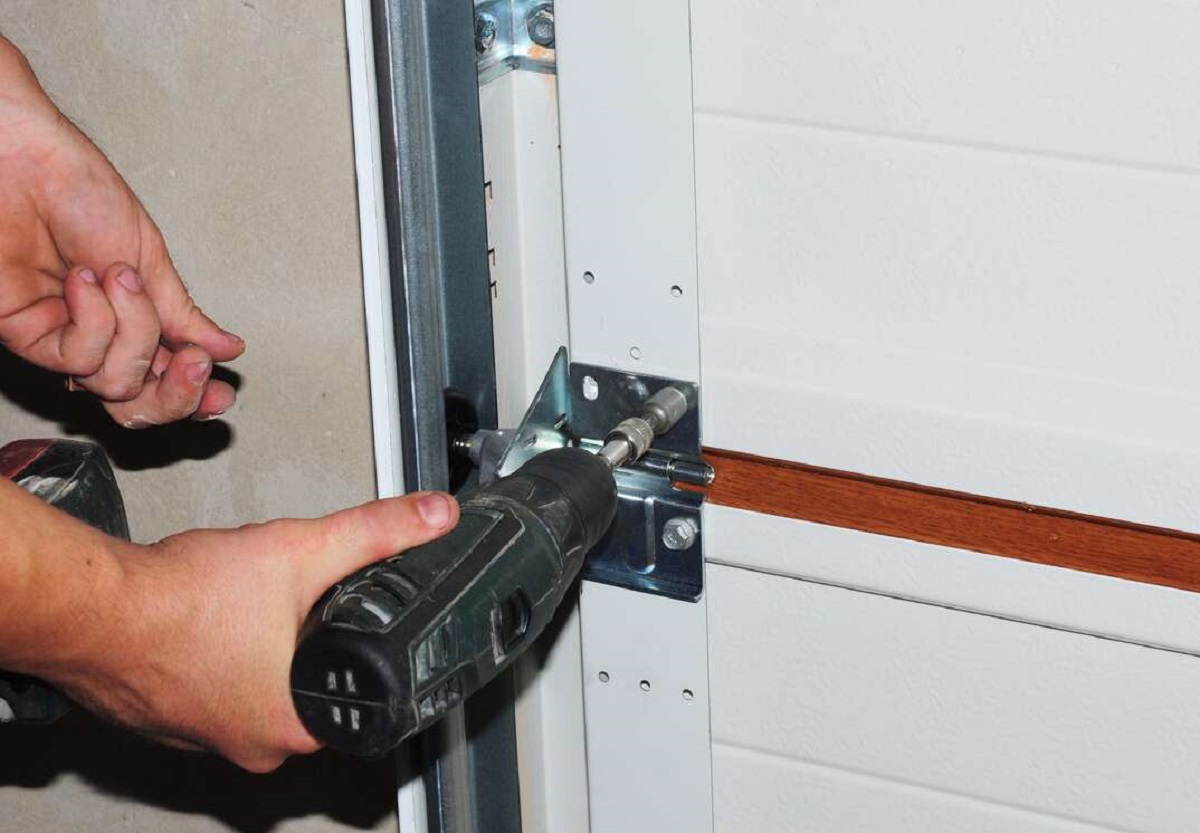
2. Secure with Fasteners: Depending on the design of your garage door and weather stripping, utilize appropriate fasteners to secure the new stripping in place. This may involve screws, nails, or clips, with the method of attachment varying based on the stripping’s profile and the door’s construction.
3. Address Corners and Angles: As you progress along the edges and contours of the garage door, pay special attention to corners and angled sections. Ensure that the new weather stripping accommodates these areas seamlessly, forming a continuous and effective seal throughout the door’s perimeter.
4. Overlap Joints Appropriately: In cases where multiple sections of weather stripping meet, ensure that they overlap with precision, forming a cohesive and impenetrable barrier against external elements. This meticulous approach minimizes gaps and reinforces the insulation properties of the new stripping.
5. Verify the Integrity of the Seal: Upon completing the installation, carefully inspect the entire perimeter of the garage door to verify the integrity of the new weather stripping seal. Confirm that it forms a uniform and secure barrier, effectively safeguarding the interior of the garage from drafts, moisture, and external intrusions.
By following these detailed steps, you can expertly install the new weather stripping on your garage door, elevating its insulation and weather protection capabilities. The precision and care applied during this installation process will yield substantial improvements in energy efficiency, comfort, and the overall resilience of your garage space.
Conclusion
Congratulations on successfully navigating the intricate process of replacing weather stripping on your garage door. By embarking on this transformative journey, you have not only revitalized the insulation and weather protection of your garage space but also contributed to the overall energy efficiency and comfort of your home.
Through the understanding of weather stripping’s crucial role in maintaining a secure and well-insulated environment, you have gained valuable insights into the significance of this seemingly modest component. Your meticulous approach to removing the old weather stripping, measuring and cutting the new stripping with precision, and installing it with care has culminated in a resilient and effective seal for your garage door.
As you stand back and admire the newly installed weather stripping, envision the tangible impact it will have on your daily life. Your home will now be better equipped to withstand inclement weather, maintain consistent temperatures, and minimize energy wastage, ultimately leading to potential cost savings and a reduced environmental footprint.
Furthermore, the knowledge and skills acquired through this endeavor empower you to take proactive steps in safeguarding your living environment and enhancing the sustainability of your home. By embracing the art of weather stripping replacement, you have not only improved the functionality of your garage door but also embarked on a journey toward a more energy-efficient and resilient home.
As you reflect on this accomplishment, remember that your dedication to home improvement and sustainability contributes to a brighter and more sustainable future. Your commitment to maintaining a well-insulated and weather-protected living space sets a commendable example for others, inspiring a collective effort toward a more sustainable and energy-conscious society.
With the successful replacement of the weather stripping, you have taken a significant step toward creating a home that is not only comfortable and secure but also environmentally responsible. Embrace the transformative power of this home improvement project and revel in the positive impact it has on your daily life and the world around you.
Frequently Asked Questions about How To Replace Weather Stripping On A Garage Door
Was this page helpful?
At Storables.com, we guarantee accurate and reliable information. Our content, validated by Expert Board Contributors, is crafted following stringent Editorial Policies. We're committed to providing you with well-researched, expert-backed insights for all your informational needs.

0 thoughts on “How To Replace Weather Stripping On A Garage Door”