Home>Home Appliances>Lighting Appliances>How To Remove LED Strips From The Wall

Lighting Appliances
How To Remove LED Strips From The Wall
Modified: December 21, 2023
Learn how to safely and easily remove LED strips from the wall with our step-by-step guide. Discover the best techniques for handling lighting-appliances and avoid any potential damage or accidents.
(Many of the links in this article redirect to a specific reviewed product. Your purchase of these products through affiliate links helps to generate commission for Storables.com, at no extra cost. Learn more)
Introduction
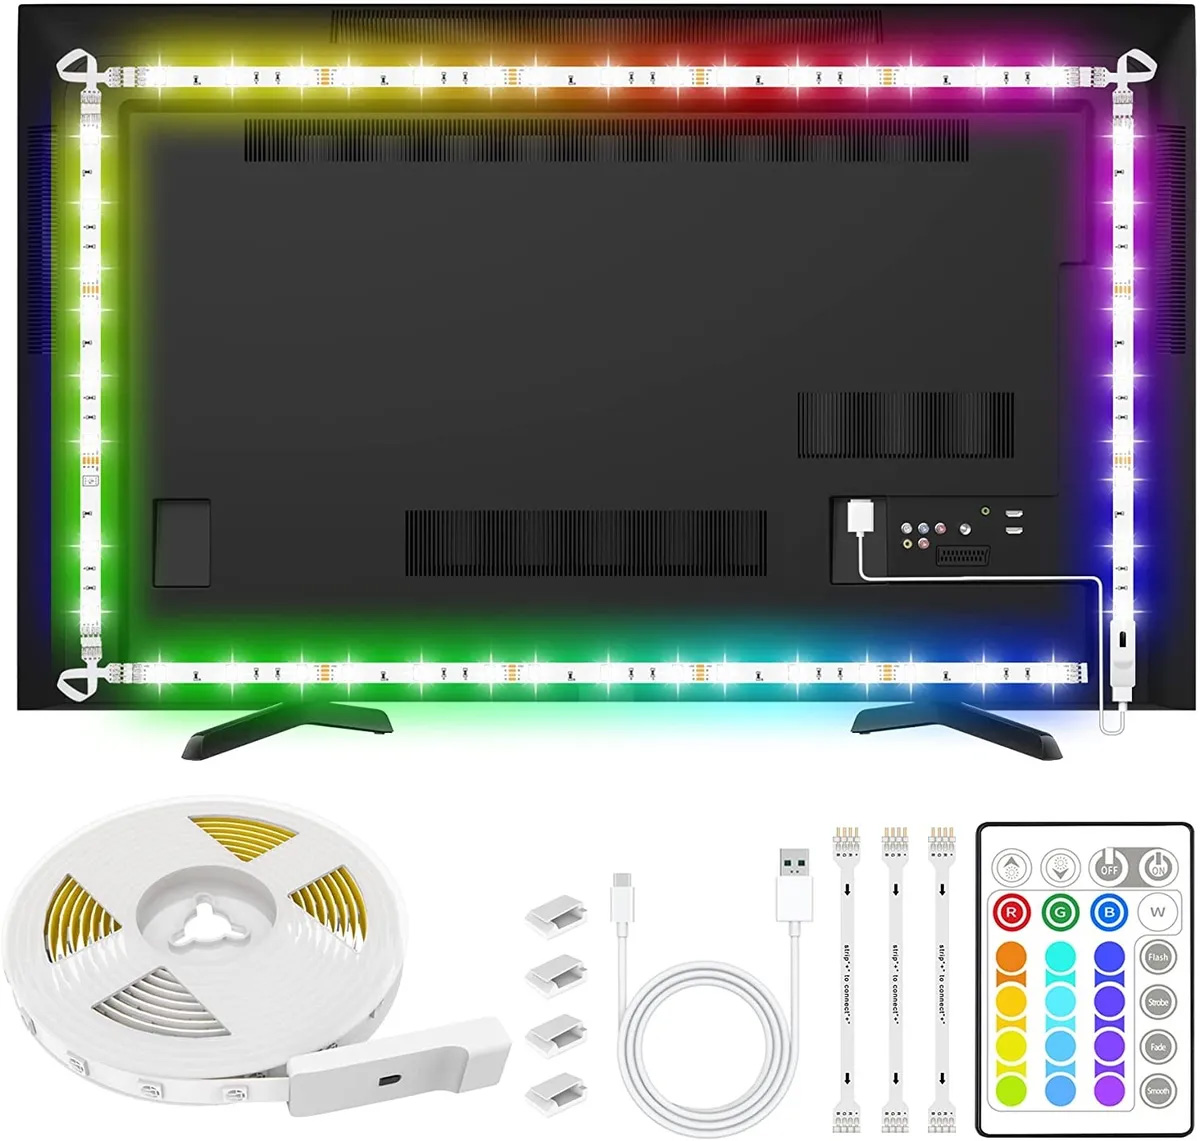
Welcome to our guide on how to remove LED strips from the wall. LED strips, also known as LED tape lights, are a popular lighting solution used for various purposes, from accent lighting to task lighting. However, there may come a time when you need to remove them, either to replace them with new ones, redecorate the space, or simply because you no longer have use for them.
Removing LED strips from the wall may seem like a daunting task, especially if you are not familiar with the process. However, with the right tools and techniques, it can be a relatively straightforward process. In this article, we will provide you with step-by-step instructions on how to safely remove LED strips from the wall, ensuring minimal damage to both the strips and the wall surface.
Before we proceed, it is important to note that if you are unsure or uncomfortable with any step of the process, it is recommended to seek professional assistance. Safety should always be a top priority when working with electrical components and handling tools.
Now, let’s dive into the details of removing LED strips from the wall!
Key Takeaways:
- Safely removing LED strips from the wall requires thorough preparation, systematic disconnection of power supply, gentle removal techniques, and responsible storage or disposal decisions. Prioritize safety and environmental responsibility throughout the process.
- By following step-by-step instructions and essential safety precautions, you can confidently and effectively remove LED strips from the wall, ensuring minimal damage to both the strips and the wall surface. Prepare the workspace, disconnect the power supply, and carefully remove the strips, then clean the wall surface and inspect for any damage. Finally, make informed decisions regarding the storage or disposal of the removed LED strips.
Read more: How To Remove Paint From Weather Stripping
Safety Precautions
Before you begin the process of removing LED strips from the wall, it is vital to take some essential safety precautions to protect yourself and avoid any potential hazards. Here are some important safety measures to keep in mind:
- Turn off the power: Before you start working with any electrical component, ensure that the power supply to the LED strips is turned off. This will prevent the risk of electric shock.
- Wear protective gear: It is always a good idea to wear safety gloves and goggles to protect your hands and eyes while handling the LED strips and any tools you may use during the removal process.
- Work in a well-ventilated area: If you are working with any adhesives or cleaning agents, make sure you have proper ventilation in the area to avoid inhaling any fumes.
- Use the right tools: Ensure that you have the appropriate tools for the job, such as a screwdriver, pliers, and a putty knife. Using the correct tools will not only make the process easier but also minimize the risk of accidents.
- Be mindful of the wall surface: If you are dealing with delicate or painted walls, take extra care to prevent any damage. Use gentle pressure when removing the LED strips and avoid using excessive force.
- Carefully handle the LED strips: LED strips are delicate and sensitive. Handle them with care to avoid bending or damaging the strips, which can affect their functionality.
- Keep children and pets away: To ensure their safety, keep children and pets away from the workspace while you are removing the LED strips. This will reduce the risk of accidents and injuries.
By following these safety precautions, you can ensure a smooth and accident-free process of removing LED strips from the wall. Always prioritize your safety and take the necessary steps to protect yourself and your surroundings.
Tools and Materials Needed
Before you begin the process of removing LED strips from the wall, it is important to gather all the necessary tools and materials. Having everything prepared in advance will make the process more efficient and ensure that you have everything you need. Here are the tools and materials required:
- Screwdriver: A screwdriver will be needed to remove any screws or brackets that may be holding the LED strips in place on the wall.
- Pliers: Pliers can be useful for gripping and removing any connectors or wires that are attached to the LED strips.
- Putty knife: A putty knife will come in handy for gently prying the LED strips off the wall, especially if they are adhered with adhesive tapes or other sticky substances.
- Cleaning agent: Depending on the condition of the wall surface, you may need a cleaning agent to remove any residue left behind after removing the LED strips. This can be a mild detergent mixed with water or a specialized wall cleaner.
- Clean cloth or sponge: To apply the cleaning agent and wipe down the wall surface, you will need a clean cloth or sponge.
- Protective gloves: It is always a good idea to wear protective gloves to protect your hands from any sharp edges or cleaning agents.
- Protective goggles: When working with tools and potentially hazardous substances, protecting your eyes with goggles is important to prevent any injury.
- Trash bag or container: To dispose of any removed LED strips or other waste, have a trash bag or container ready.
By gathering all these tools and materials in advance, you will be well-prepared for the task of removing LED strips from the wall. This will save you time and ensure that you can complete the process smoothly without any interruptions.
Step 1: Turn Off the Power
The first and most important step before you start removing LED strips from the wall is to turn off the power supply. This is crucial to prevent any risk of electric shock or damage to the electrical components.
Here’s how you can turn off the power:
- Locate the circuit breaker or fuse box in your home or workspace. This is usually found in the basement, utility room, or a designated electrical room.
- Open the circuit breaker/fuse box panel and locate the circuit or fuse that powers the LED strips.
- Flip the corresponding circuit breaker switch to the “off” position or remove the fuse that controls the power supply to the LED strips.
- Double-check to ensure that the power is indeed turned off by testing the LED strips with a non-contact voltage tester. This is a handheld device that can detect the presence of electrical current without direct contact.
- If the non-contact voltage tester confirms that there is no electrical current, you can proceed to the next steps with peace of mind.
Remember, safety should always be the top priority. By turning off the power supply, you minimize the risk of electrical accidents and ensure a safe working environment.
Once you have completed this step, you can move on to preparing the workspace and gathering the necessary tools and materials for the LED strip removal process.
Step 2: Prepare the Workspace
Before you start removing the LED strips from the wall, it is essential to prepare the workspace to ensure a smooth and organized process. Taking the time to properly set up the area will make the task easier and help prevent any damage to the wall or the LED strips themselves.
Follow these steps to prepare the workspace:
- Clear the area: Remove any furniture, decorations, or obstacles near the LED strips to create a clear and open workspace. This will give you ample room to work and prevent anything from getting in the way.
- Lay down a protective cover: Place a drop cloth or a large plastic sheet on the floor beneath the LED strips to protect the surface from any debris or potential damage that may occur during the removal process.
- Gather your tools and materials: Ensure that you have all the necessary tools and materials within reach. This includes the screwdriver, pliers, putty knife, cleaning agent, clean cloth or sponge, and any other items specific to your LED strip setup.
- Put on your protective gear: Before you begin, put on your protective gloves and goggles to safeguard yourself against any potential hazards.
By taking the time to prepare the workspace, you can work efficiently and minimize the chances of accidents or damage. Having everything organized and easily accessible will make the LED strip removal process much smoother and more enjoyable.
Now that your workspace is ready, you are fully prepared to proceed with the actual removal of the LED strips from the wall. Let’s move on to the next step!
Read more: How To Remove The Hands From A Wall Clock
Step 3: Locate the Starting Point
Once you have prepared your workspace, it’s time to locate the starting point of the LED strips on the wall. This will help you identify where to begin the removal process and ensure a systematic approach.
Follow these steps to locate the starting point:
- Inspect the LED strip installation: Take a close look at how the LED strips are installed on the wall. Determine if they are mounted using brackets, adhesive tapes, or any other securing method. This will give you an idea of how to remove them effectively.
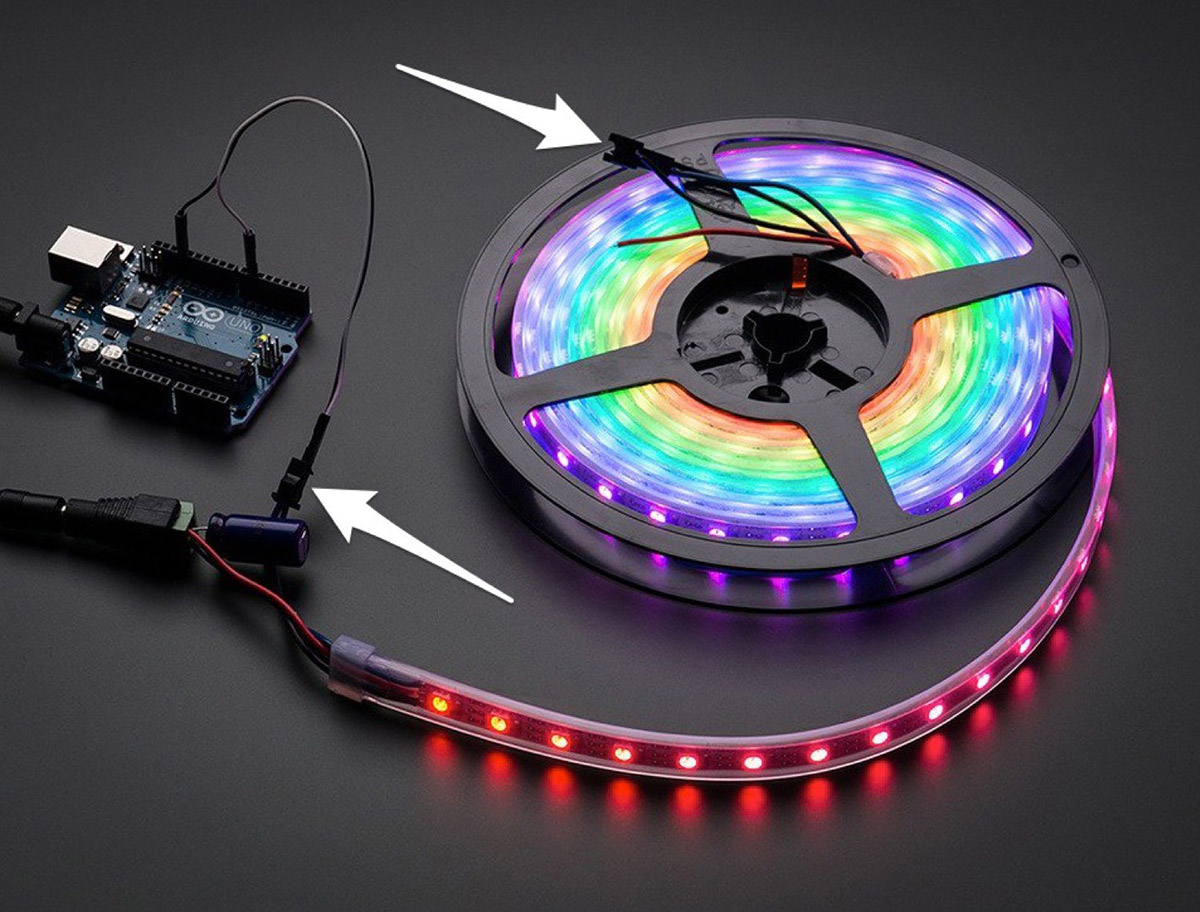
- Look for connectors or power supply: Identify the connectors or power supply that are attached to the LED strips. Sometimes, there may be a central power supply or controller that needs to be disconnected before removing the strips.
- Start from the power source: If there is a central power supply or controller, start by disconnecting the LED strips from it. Follow the wires from the LED strips until you reach the power source. Disconnect any connectors or cables linking the LED strips to the power supply.
- Locate the end of the LED strip: Once you have disconnected the power supply, locate the end of the LED strip. This will be the point where you can start removing the strips from the wall.
- Identify any additional securing elements: Check for any additional screws, brackets, or adhesive tapes that are securing the LED strips to the wall. Take note of their location, as they will need to be removed to detach the strips completely.
By carefully locating the starting point and understanding the installation method of the LED strips, you can ensure a methodical and efficient removal process. Now that you have identified where to begin, you are ready to move on to the next step of disconnecting the power supply.
Before removing LED strips from the wall, make sure to disconnect the power source to avoid any electrical hazards. Use a putty knife or a flat tool to gently pry the strips off the wall, being careful not to damage the wall or the strips.
Step 4: Disconnect the Power Supply
Now that you have located the starting point of the LED strips, it’s time to disconnect the power supply to ensure a safe removal process. This step is crucial to prevent any electrical hazards and allows you to work on removing the strips without the risk of electrical shock or damage.
Follow these steps to disconnect the power supply:
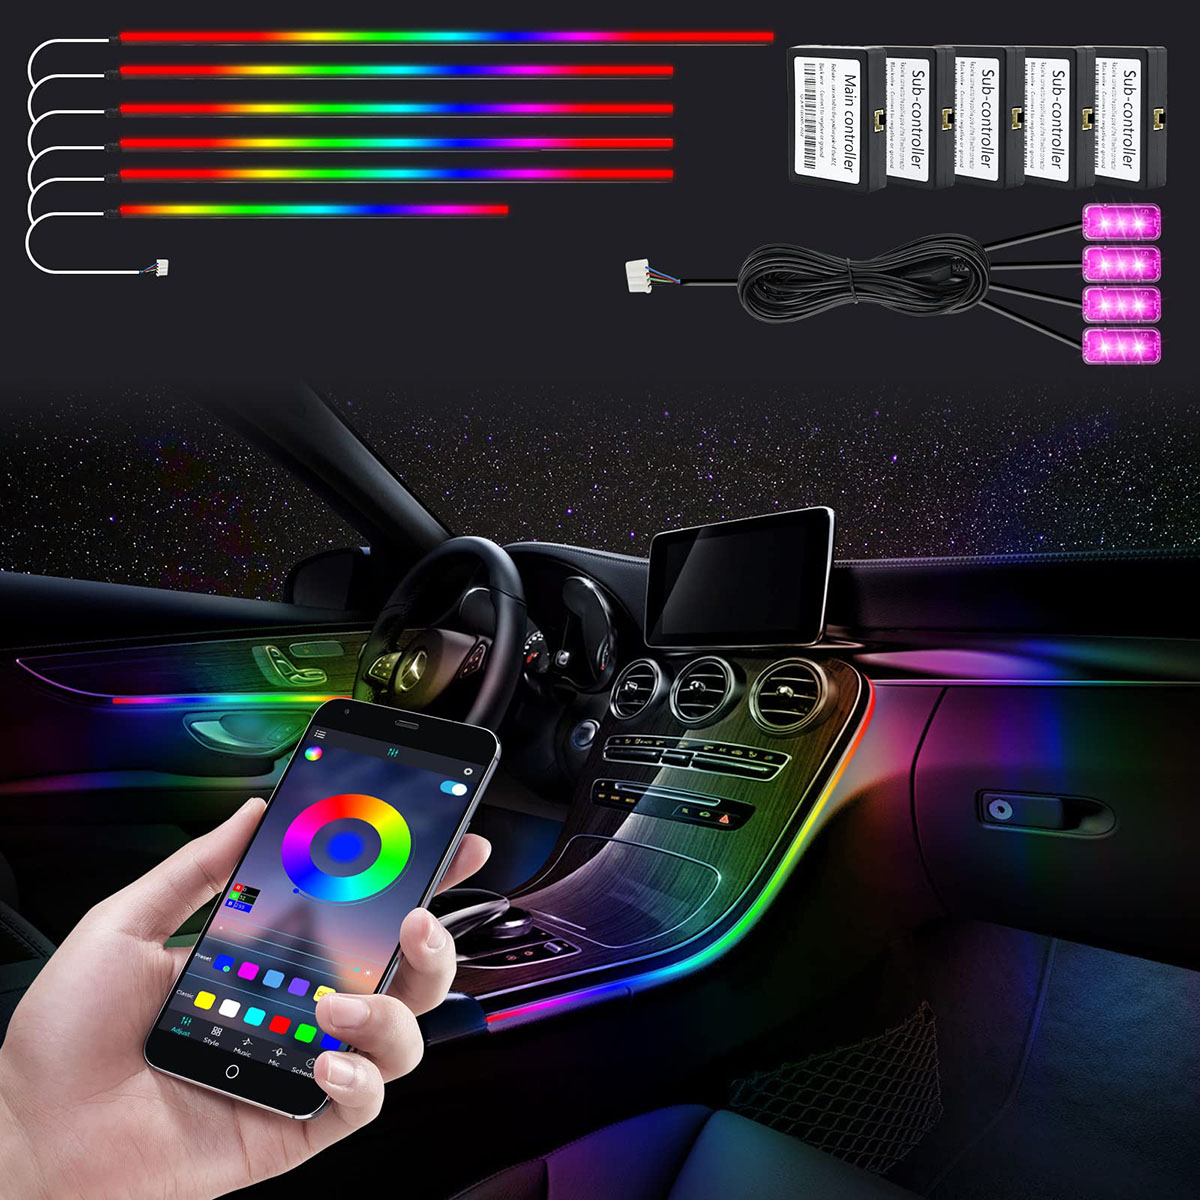
- Trace the power source: Follow the wires from the LED strips until you reach the power source. This could be a transformer, a power adapter, or a central controller.
- Switch off the power supply: Depending on the type of power source, either unplug it from the wall outlet or switch it off using the designated power switch. This will ensure that no electrical current is flowing to the LED strips.
- Disconnect any connectors: Check for any connectors or cables linking the LED strips to the power supply. Carefully disconnect them by gently pulling them apart, ensuring that no unnecessary force is applied.
- Double-check power supply disconnection: Use a non-contact voltage tester to verify that the power supply has been successfully disconnected. This handheld device can detect the presence of electrical current without direct contact. If the tester confirms no current, you can proceed with confidence.
By disconnecting the power supply, you have minimized the risk of electrical accidents and can now focus on safely removing the LED strips from the wall. Remember to always prioritize your safety and proceed with caution.
With the power supply disconnected, you can now move on to the next step of actually removing the LED strips from the wall. We will cover this in detail in the upcoming step.
Step 5: Remove the LED Strips from the Wall
Now that you have disconnected the power supply, it’s time to remove the LED strips from the wall. This step requires a careful and delicate approach to avoid any damage to the LED strips or the wall surface.
Follow these steps to safely remove the LED strips:
- Start at the identified starting point: Begin at the end of the LED strip that you located in Step 3. This will allow you to work in a systematic manner.
- Check for securing elements: Look for any screws, brackets, or adhesive tapes holding the LED strips in place on the wall. Depending on the installation method, you may need to remove these securing elements first.
- Remove screws or brackets: If the LED strips are secured with screws or brackets, use a screwdriver to carefully remove them. Be cautious not to apply excessive force or damage the wall surface while doing so.
- Pry off adhesive tapes: If adhesive tapes were used to mount the LED strips, gently pry them off using a putty knife. Apply gentle pressure and slowly work the putty knife under the tape to avoid damaging the wall paint or finish.
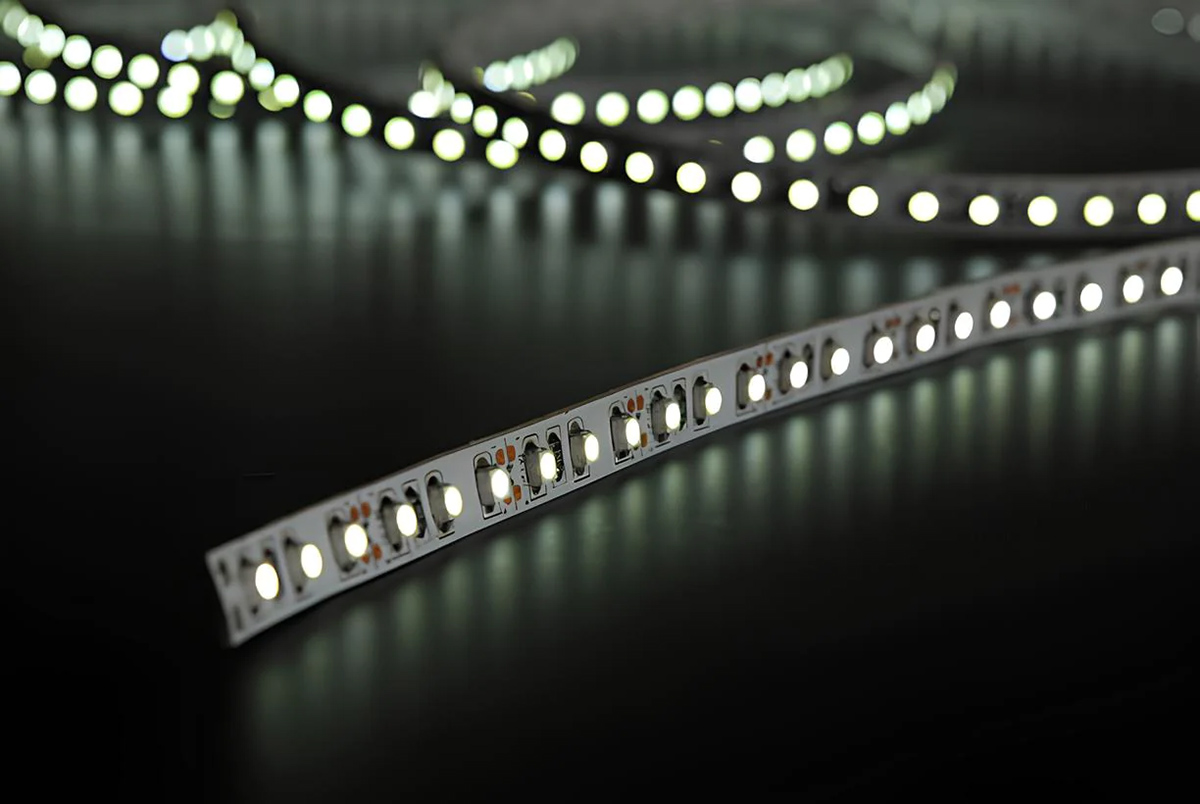
- Peel off the LED strips: Once the securing elements are removed or detached, gently peel off the LED strips from the wall. Start from one end and slowly peel them back, taking care not to bend or damage the strips.
- Continue removing the strips: Work your way along the wall, removing the LED strips section by section until they are all completely detached.
- Store the LED strips: If you plan to reuse the LED strips in the future, store them carefully to prevent any damage. Coil or roll them up and secure them with twist ties or rubber bands. Store them in a dry and safe place.
- Dispose of damaged or unwanted LED strips: If the LED strips are damaged or no longer needed, dispose of them properly according to your local regulations for electronic waste.
By following these steps, you can safely remove the LED strips from the wall without causing any damage. Remember to take your time and be gentle during the process to ensure the best outcome.
Now that you have successfully removed the LED strips, it’s time to move on to the next step of cleaning the wall surface.
Step 6: Clean the Wall Surface
After removing the LED strips from the wall, it’s important to clean the wall surface to remove any residue or dirt left behind. This step will not only ensure a clean aesthetic but also provide a smooth canvas for any future installations or modifications.
Follow these steps to effectively clean the wall surface:
- Assess the condition of the wall: Check the wall surface for any visible dirt, dust, or adhesive residue. Depending on the installation method of the LED strips, there may be leftover adhesive or tape marks.
- Choose a cleaning agent: Select an appropriate cleaning agent based on the type of wall surface. For painted walls, use a mild detergent mixed with water. For tougher stains or residue, consider using a specialized wall cleaner.
- Dampen a clean cloth or sponge: Moisten a clean cloth or sponge with the cleaning agent solution. Wring out any excess liquid to avoid dripping onto the floor or surrounding areas.
- Gently scrub the wall surface: Start scrubbing the wall surface using the damp cloth or sponge. Apply gentle pressure and work in circular motions to effectively remove any dirt or residue. Focus on areas where the LED strips were located.
- Rinse and dry the wall: Once the wall surface is clean, rinse the cloth or sponge with clean water and wring out any excess liquid. Use the damp cloth to wipe down the wall, removing any remaining cleaning agent. Finally, dry the wall surface using a clean, dry cloth or allow it to air dry naturally.
- Inspect the wall for cleanliness: Take a step back and inspect the cleaned wall surface. Look for any remaining residue or marks. If necessary, repeat the cleaning process to ensure a pristine finish.
By following these steps, you can effectively clean the wall surface after removing the LED strips. A clean wall provides a fresh start for any future lighting installations or redecorations.
With the wall surface now clean and ready, the next step is to inspect for any damage that may have occurred during the LED strip removal process.
Read more: How To Remove Bees From A Brick Wall
Step 7: Inspect for Damage
After removing the LED strips and cleaning the wall surface, it is important to inspect the area for any potential damage that may have occurred during the removal process. This step ensures that any issues can be promptly addressed and repaired, preventing further complications down the line.
Follow these steps to inspect for damage:
- Examine the wall surface: Carefully examine the area where the LED strips were installed. Look for any visible signs of damage, such as scratches, dents, or paint chips.
- Check for electrical damage: Inspect the power supply connection points and wires for any signs of damage or fraying. Look for any loose connections or signs of wear that may have occurred during the removal process.
- Test the electrical functionality: Before proceeding with any repairs or further installations, test the electrical functionality of the area. Connect a different light source or use a voltage tester to ensure that the power supply is functioning properly.
- Document any damages: Take photos or make a note of any damages or issues found during the inspection process. This documentation will be helpful for future reference or when seeking professional assistance, if needed.
- Address and repair damages: If you discover any damages or issues, plan and execute the necessary repairs. This might involve patching up paint chips, filling in scratches, or replacing damaged power supply connections or wires. Consult a professional if you are unsure or uncomfortable with any repairs.
By thoroughly inspecting the area for any potential damage, you can address and repair any issues promptly. This ensures that the wall is in optimal condition for any future installations or modifications.
With the inspection completed and any necessary repairs performed, you can now move on to the final step of storing or disposing of the removed LED strips.
Step 8: Store or Dispose of the LED Strips
After successfully removing the LED strips and completing any necessary repairs, it’s time to decide what to do with the removed LED strips. Depending on their condition and your future plans, you may choose to store them for future use or dispose of them in an environmentally-friendly manner.
Follow these steps to store or dispose of the LED strips:
- Assess the condition of the LED strips: Examine the LED strips to determine their overall condition. If they are still in good working order and you plan to reuse them in the future, proceed with storing them. If they are damaged or no longer needed, consider disposing of them.
- Store the LED strips for future use: If you intend to store the LED strips for future use, take the following steps:
- Roll up or coil the LED strips carefully to prevent any damage or bending.
- Secure the rolled-up LED strips using twist ties or rubber bands to keep them neatly organized.
- Place the stored LED strips in a dry and safe location, away from direct sunlight and extreme temperatures.
- Dispose of the LED strips: If the LED strips are damaged or no longer needed, it is important to dispose of them properly. Follow these guidelines for responsible disposal:
- Research local recycling facilities or electronic waste collection centers in your area where you can drop off the LED strips for recycling.
- Follow the specific guidelines provided by the recycling facility for disposing of LED strips or electronic waste.
- Avoid throwing the LED strips in regular household trash or dumping them in landfill, as they contain components that can be harmful to the environment.
By carefully considering whether to store or dispose of the LED strips, you can make an informed decision that aligns with your future plans and environmental responsibility.
With this final step completed, you have successfully removed the LED strips from the wall, cleaned the area, inspected for damage, and made the appropriate decisions regarding storage or disposal. Congratulations on completing the process of removing LED strips!
Remember, safety should always be the top priority when handling electrical components and working with tools. If you are unsure or uncomfortable with any step of the process, it is always recommended to seek professional assistance.
Thank you for following our guide, and we hope this article has been helpful in successfully removing your LED strips from the wall!
Conclusion
Removing LED strips from the wall may seem like a daunting task, but with the right knowledge and approach, it can be a manageable and rewarding process. This comprehensive guide has provided step-by-step instructions on how to safely remove LED strips from the wall while ensuring minimal damage to both the strips and the wall surface.
Throughout the process, we emphasized the importance of safety precautions, such as turning off the power supply, wearing protective gear, and working in a well-ventilated area. By following these precautions, you can ensure a safe working environment and minimize the risk of accidents.
We also discussed the tools and materials needed for the LED strip removal, as well as the importance of preparing the workspace. Having the necessary tools and setting up the workspace in advance will make the task more efficient and organized.
The step-by-step instructions covered important tasks such as locating the starting point of the LED strips, disconnecting the power supply, removing the strips from the wall, cleaning the wall surface, inspecting for damage, and deciding whether to store or dispose of the LED strips.
Lastly, we highlighted the importance of environmental responsibility when disposing of LED strips. By researching local recycling facilities and following proper disposal guidelines, you can ensure that the LED strips are disposed of in an environmentally-friendly manner.
Remember, if you are unsure or uncomfortable with any step of the process, it is always best to seek professional assistance to avoid any potential risks or damage.
We hope this guide has provided you with the knowledge and confidence to successfully remove LED strips from the wall. Whether you are replacing them, redecorating, or simply no longer need them, following these steps will ensure a smooth and efficient removal process.
Thank you for reading, and we wish you success in your LED strip removal endeavor!
Frequently Asked Questions about How To Remove LED Strips From The Wall
Was this page helpful?
At Storables.com, we guarantee accurate and reliable information. Our content, validated by Expert Board Contributors, is crafted following stringent Editorial Policies. We're committed to providing you with well-researched, expert-backed insights for all your informational needs.

0 thoughts on “How To Remove LED Strips From The Wall”