Home>Energy>Home Insulation & Ventilation>How To Install V-Seal Weather Stripping
Home Insulation & Ventilation
How To Install V-Seal Weather Stripping
Modified: October 19, 2024
Learn how to properly install V-Seal weather stripping for effective home insulation and ventilation. Follow our step-by-step guide for a more energy-efficient and comfortable living space.
(Many of the links in this article redirect to a specific reviewed product. Your purchase of these products through affiliate links helps to generate commission for Storables.com, at no extra cost. Learn more)
Introduction
Read also: 11 Amazing V Seal Weather Stripping For 2025
Introduction
Welcome to the world of energy-efficient home solutions! If you're seeking to enhance the insulation of your home and save on energy costs, installing V-Seal weather stripping is a fantastic place to start. This simple yet effective DIY project can significantly improve the energy efficiency of your home by sealing gaps and preventing drafts. By the end of this guide, you'll be equipped with the knowledge and skills to install V-Seal weather stripping like a pro.
Not only does proper weather stripping improve energy efficiency, but it also enhances the comfort of your living space by eliminating drafts and reducing outside noise. Whether it's the chilly winds of winter or the scorching heat of summer, V-Seal weather stripping acts as a barrier, keeping your home's interior climate comfortable year-round.
In this comprehensive guide, we'll walk through the step-by-step process of installing V-Seal weather stripping, from gathering the necessary materials and tools to the final touches and testing. By following these instructions, you'll be taking a proactive step toward creating a more sustainable and comfortable home environment.
So, roll up your sleeves, gather your tools, and let's dive into the world of V-Seal weather stripping installation. Get ready to transform your home into a snug, energy-efficient haven!
Materials and Tools Needed
Key Takeaways:
- Seal gaps and prevent drafts by installing V-Seal weather stripping for a more energy-efficient and comfortable home. Enjoy a snug living space year-round with this simple DIY project.
- Gather materials, measure, cut, and install V-Seal weather stripping to create a tight seal and enhance energy efficiency. Enjoy a more insulated and comfortable home environment.
Materials and Tools Needed
Before embarking on the V-Seal weather stripping installation journey, it's essential to gather the necessary materials and tools. Here's a comprehensive list of what you'll need:
Materials:
- V-Seal weather stripping
- Measuring tape
- Soap and water (for cleaning)
- Rag or towel
- Scissors or utility knife
- Marker or pencil
- Caulk (for sealing larger gaps)
Read more: What Is Weather Stripping
Tools:
- Screwdriver
- Hammer
- Utility knife
- Power drill (if needed for screws)
- Work gloves
- Safety goggles
- Dust mask (if working in a dusty area)
Ensure that you have all the materials and tools readily available before starting the installation process. It’s crucial to work in a well-organized manner, and having everything at hand will streamline the installation and minimize interruptions.
Now that you have all the necessary materials and tools, let’s move on to the next step: preparation.
Preparation
Preparation
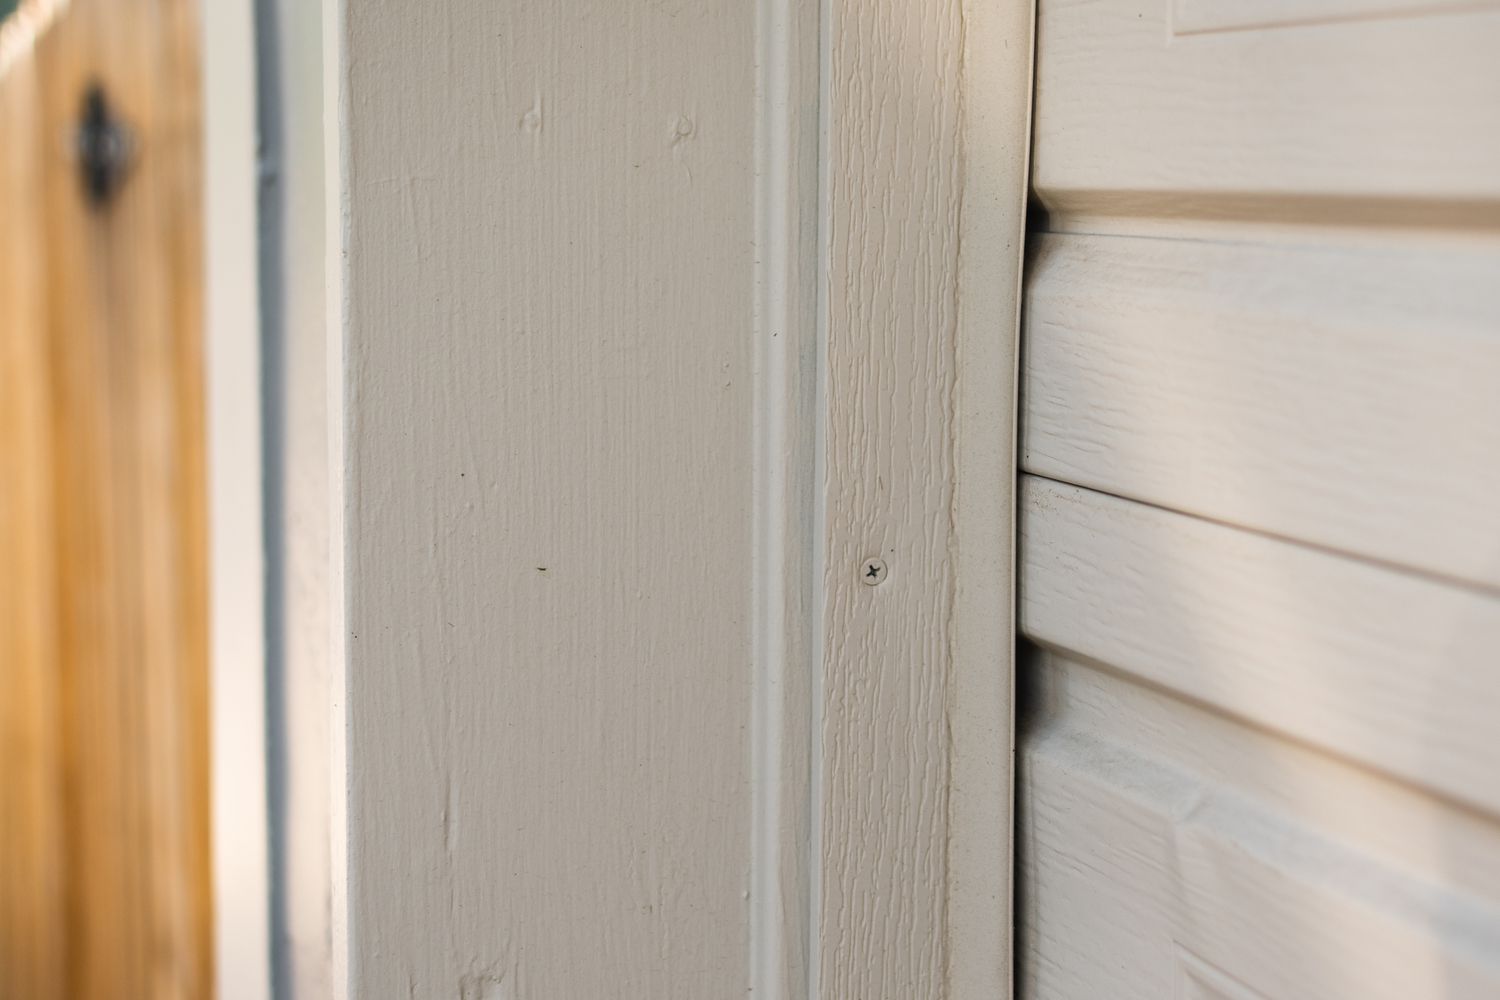
Before diving into the installation process, it’s essential to prepare the surfaces where the V-Seal weather stripping will be applied. Here are the key steps to ensure a smooth and effective installation:
Clean the Surfaces: Begin by thoroughly cleaning the areas where the weather stripping will be installed. Use soap and water to remove any dirt, dust, or debris. A clean surface ensures better adhesion and longevity of the weather stripping.
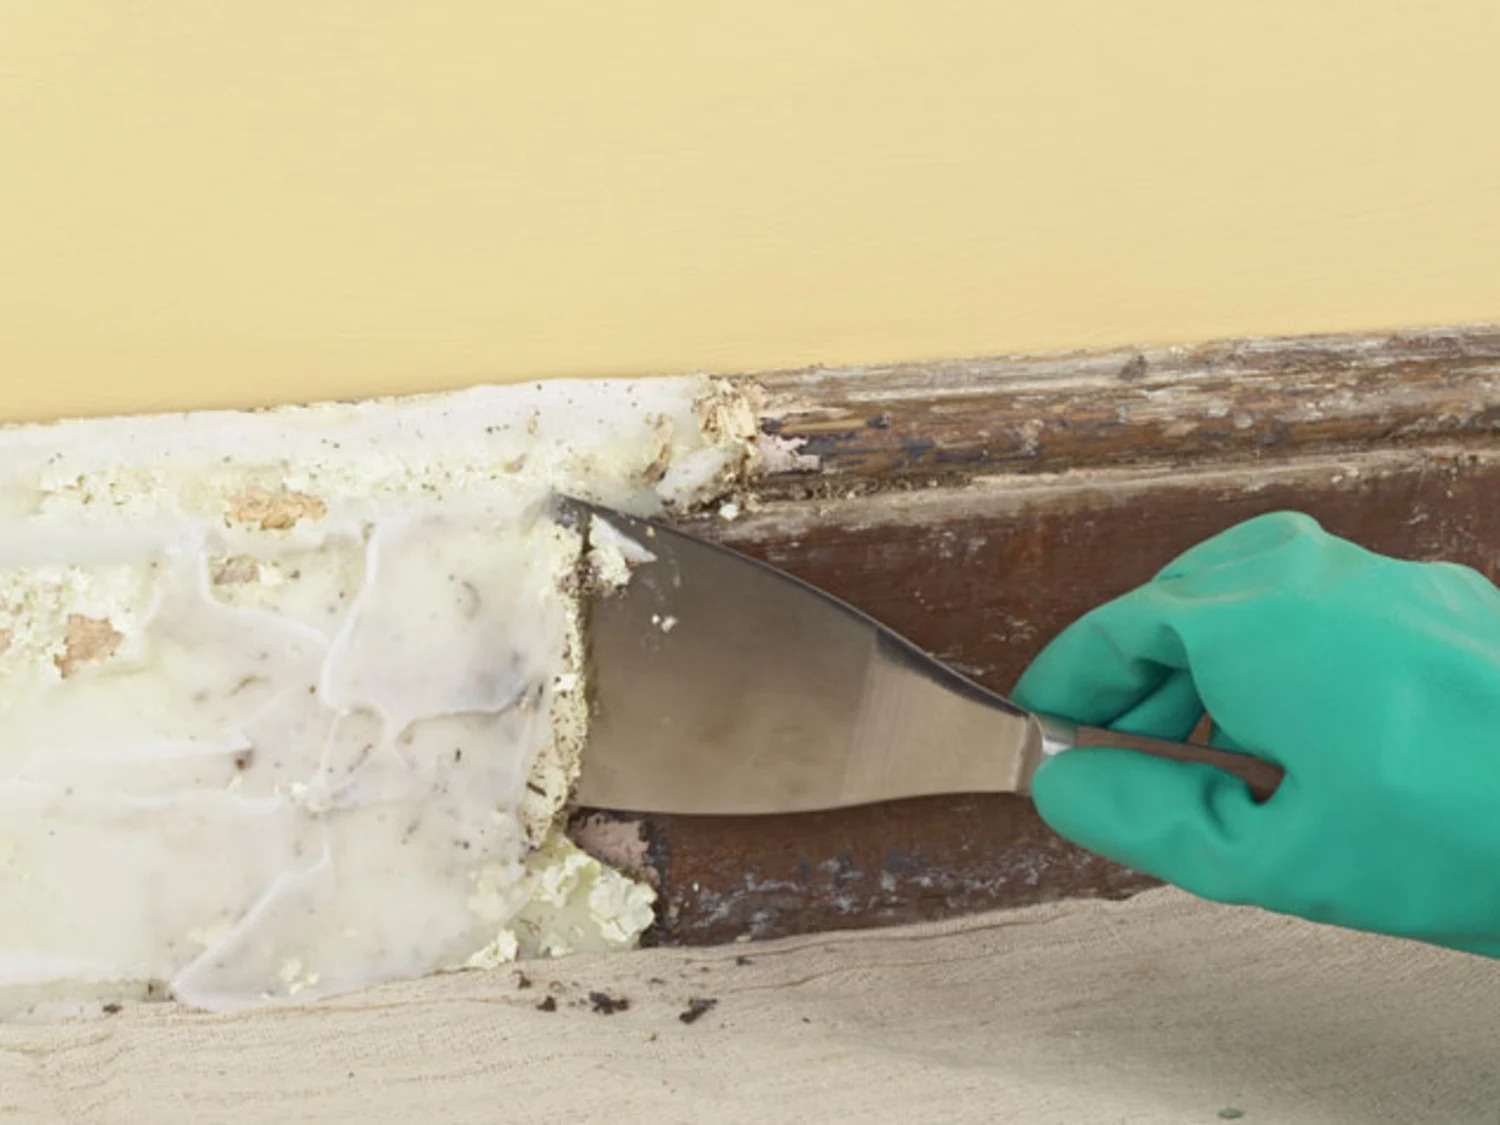
Inspect for Damage: Take a close look at the door or window frames to check for any signs of damage or decay. Repair any issues before proceeding with the installation to ensure that the weather stripping adheres properly and provides a tight seal.
Measure and Plan: Use a measuring tape to determine the length of weather stripping needed for each specific area. It’s crucial to measure accurately to avoid wastage and ensure a precise fit. Plan the installation process, considering any corners, angles, or irregularities that may require special attention.
Ensure Dry Surfaces: Before applying the weather stripping, ensure that the surfaces are completely dry. Moisture can hinder the adhesive properties of the weather stripping, leading to potential issues in the future.
Gather Additional Materials: Depending on the condition of the surfaces and the specific requirements of the installation, you may need additional materials such as caulk for sealing larger gaps or irregularities. Having these materials on hand will allow for a seamless installation process.
By taking these preparatory steps, you’re setting the stage for a successful V-Seal weather stripping installation. The attention to detail during the preparation phase will contribute to the effectiveness and durability of the weather stripping, ensuring long-term energy efficiency and comfort in your home.
With the surfaces prepared and the materials at the ready, it’s time to move on to the next phase: measuring and cutting the V-Seal weather stripping.
Measuring and Cutting
Read more: How Often To Replace Weather Stripping
Measuring and Cutting
Accurate measurement and precise cutting are crucial steps in ensuring the effectiveness of V-Seal weather stripping. Here’s a detailed guide on how to measure and cut the weather stripping for optimal results:
Measure the Length: Use a measuring tape to determine the length of weather stripping needed for each specific area. Measure the top, bottom, and sides of the door or window frame individually, as they may vary in size due to irregularities or settling.
Add Extra Length: When cutting the weather stripping, it’s advisable to add a few extra inches to ensure a snug fit. This additional length allows for slight adjustments during installation and ensures that there are no gaps or exposed areas that could compromise the seal.
Mark and Cut: Using a marker or pencil, mark the measured length on the V-Seal weather stripping. Ensure that the marking is clear and easily visible. Use sharp scissors or a utility knife to make a clean, straight cut along the marked line. Precision is key to achieving a seamless fit.
Consider Corners and Angles: For areas with corners or angles, measure and cut the weather stripping accordingly. When encountering corners, cut the weather stripping at a 45-degree angle to allow for a smooth transition and effective sealing.
Test the Fit: After cutting the weather stripping to the appropriate lengths, perform a test fit by placing the strips along the door or window frame. Ensure that the fit is snug and that the weather stripping covers the entire surface without stretching or overlapping excessively.
By meticulously measuring and cutting the V-Seal weather stripping, you’re laying the groundwork for a precise and effective installation. Taking the time to ensure accurate measurements and clean cuts will contribute to a seamless and durable weather stripping application.
With the weather stripping accurately prepared, it’s time to move on to the next phase: installing the V-Seal weather stripping.
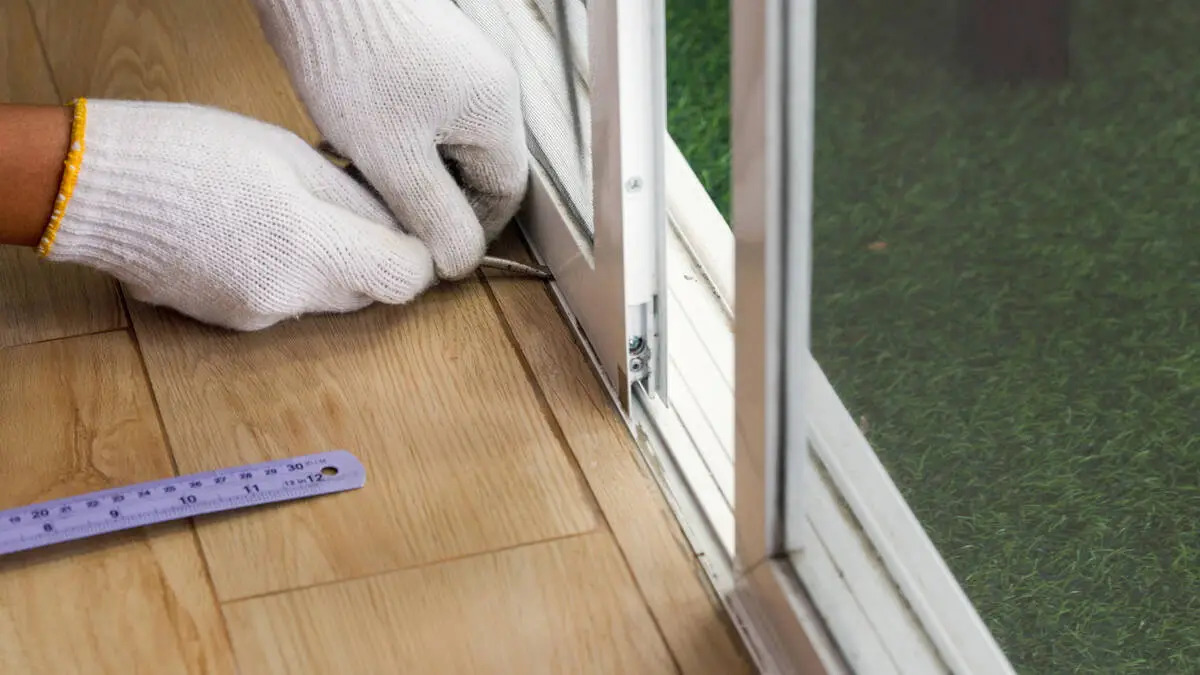
Installing the V-Seal Weather Stripping
Installing the V-Seal Weather Stripping
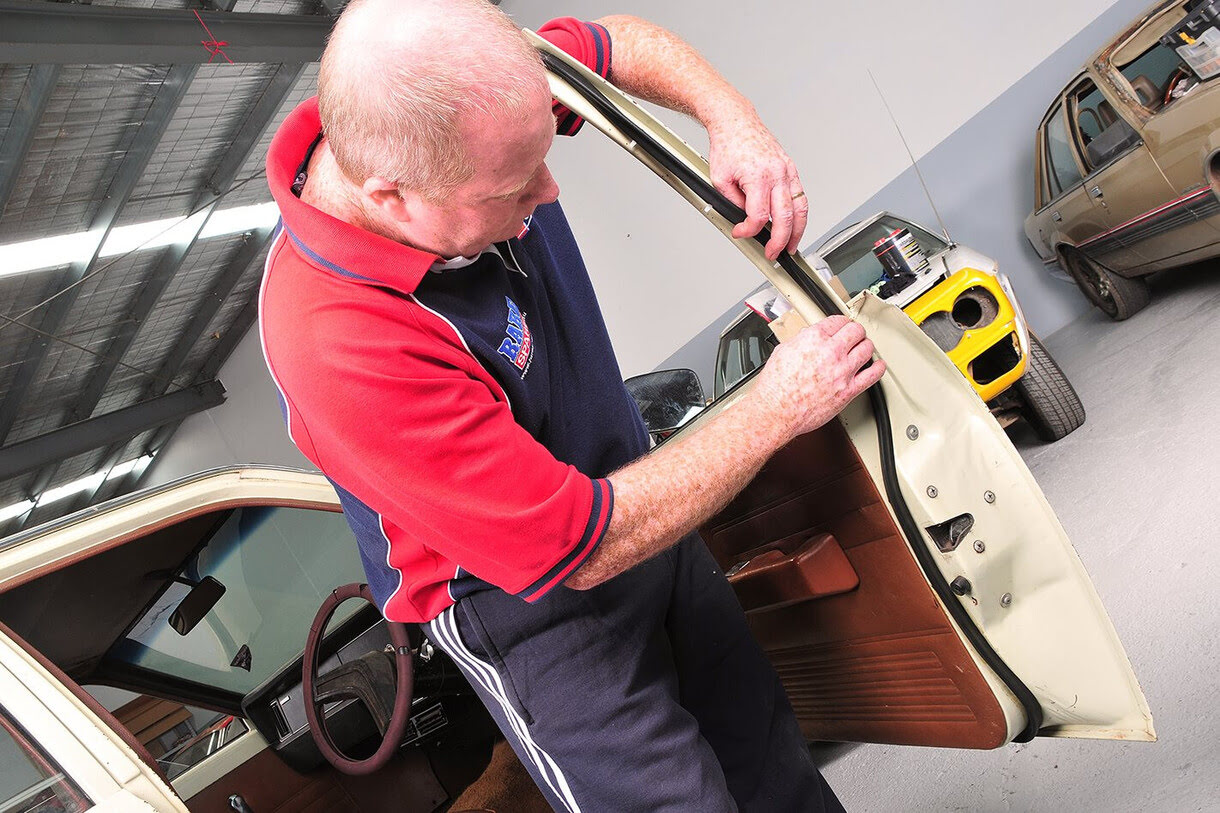
Now that the weather stripping is measured and cut to perfection, it’s time to embark on the installation process. Follow these step-by-step instructions to ensure a seamless and effective application of the V-Seal weather stripping:
Clean the Surface: Before applying the weather stripping, ensure that the surface is clean and free of any dust, dirt, or residue. A clean surface will promote better adhesion and longevity of the weather stripping.
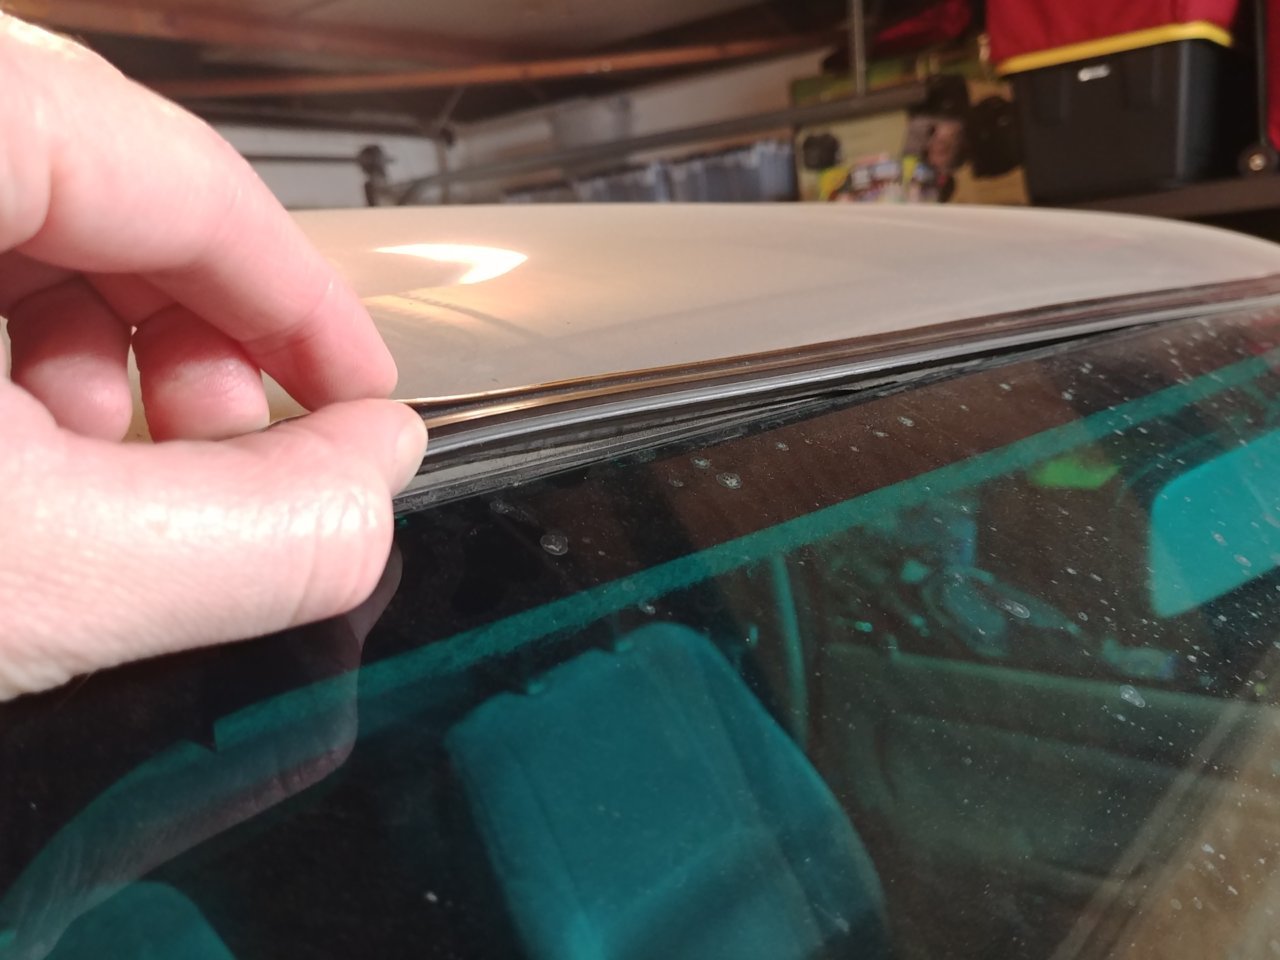
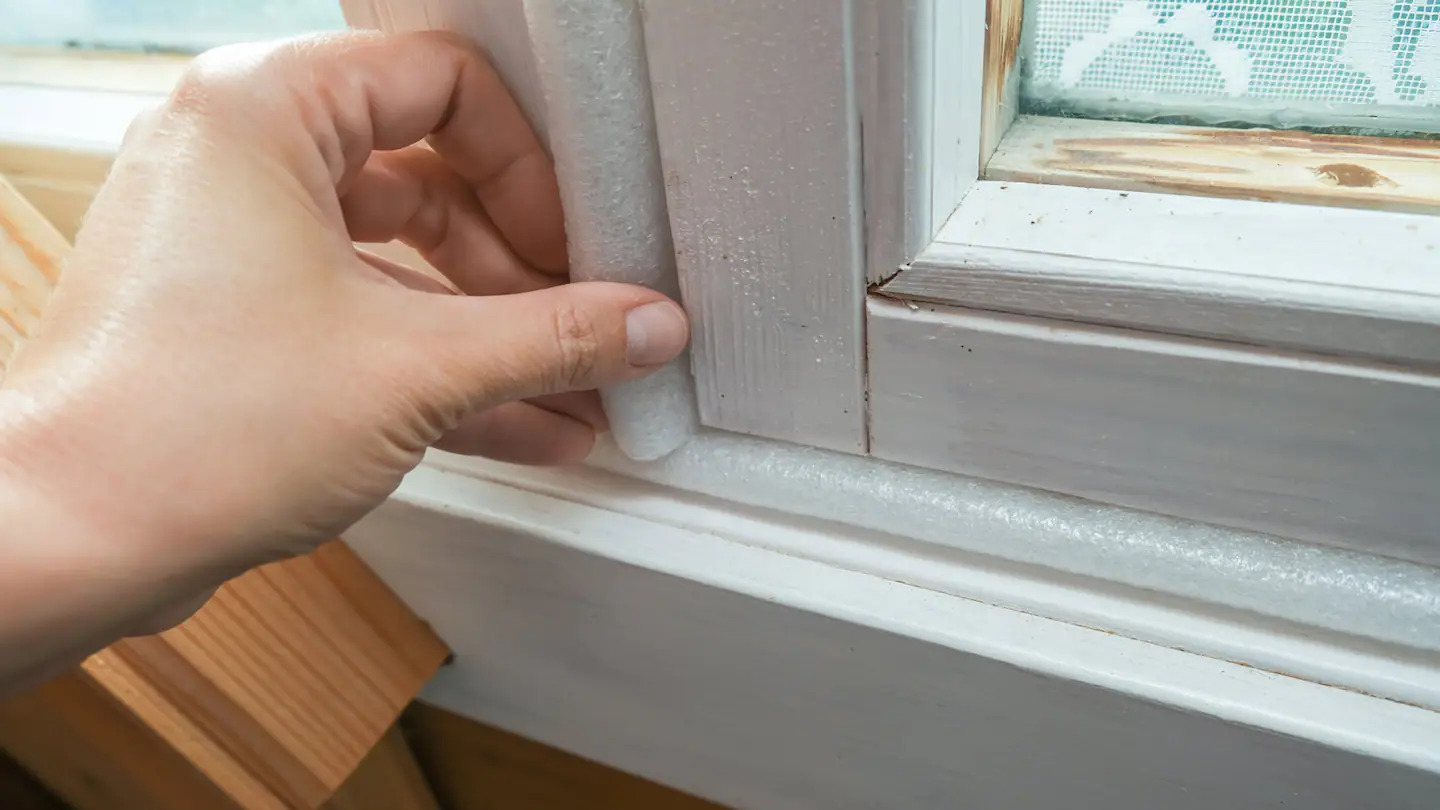
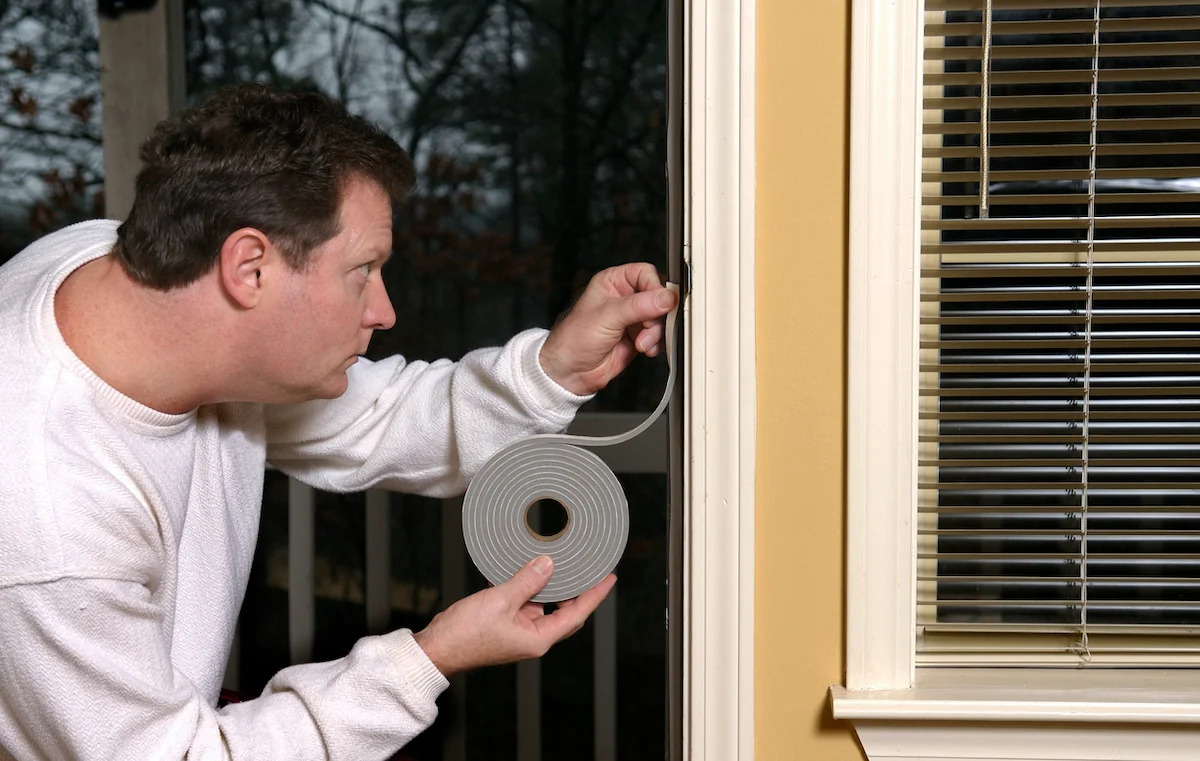
Peel and Position: Begin by peeling off the adhesive backing from the weather stripping. Carefully position the weather stripping along the designated area, starting from one end and gradually pressing it into place. Take your time to ensure that the stripping aligns perfectly with the edge of the door or window frame.
Apply Firm Pressure: Once the weather stripping is positioned, apply firm and even pressure along its entire length. This ensures secure adhesion and creates a tight seal between the stripping and the surface, preventing any gaps or air leaks.
Address Corners and Irregularities: When encountering corners or irregularities, use a utility knife to make precise cuts or adjustments to the weather stripping. For corners, cut the stripping at a 45-degree angle to allow for a seamless transition and effective sealing.
Repeat for All Sides: Follow the same process for each side of the door or window frame, ensuring that the weather stripping is applied uniformly and securely. Pay close attention to any areas that may require additional sealing, such as joints or meeting stiles.
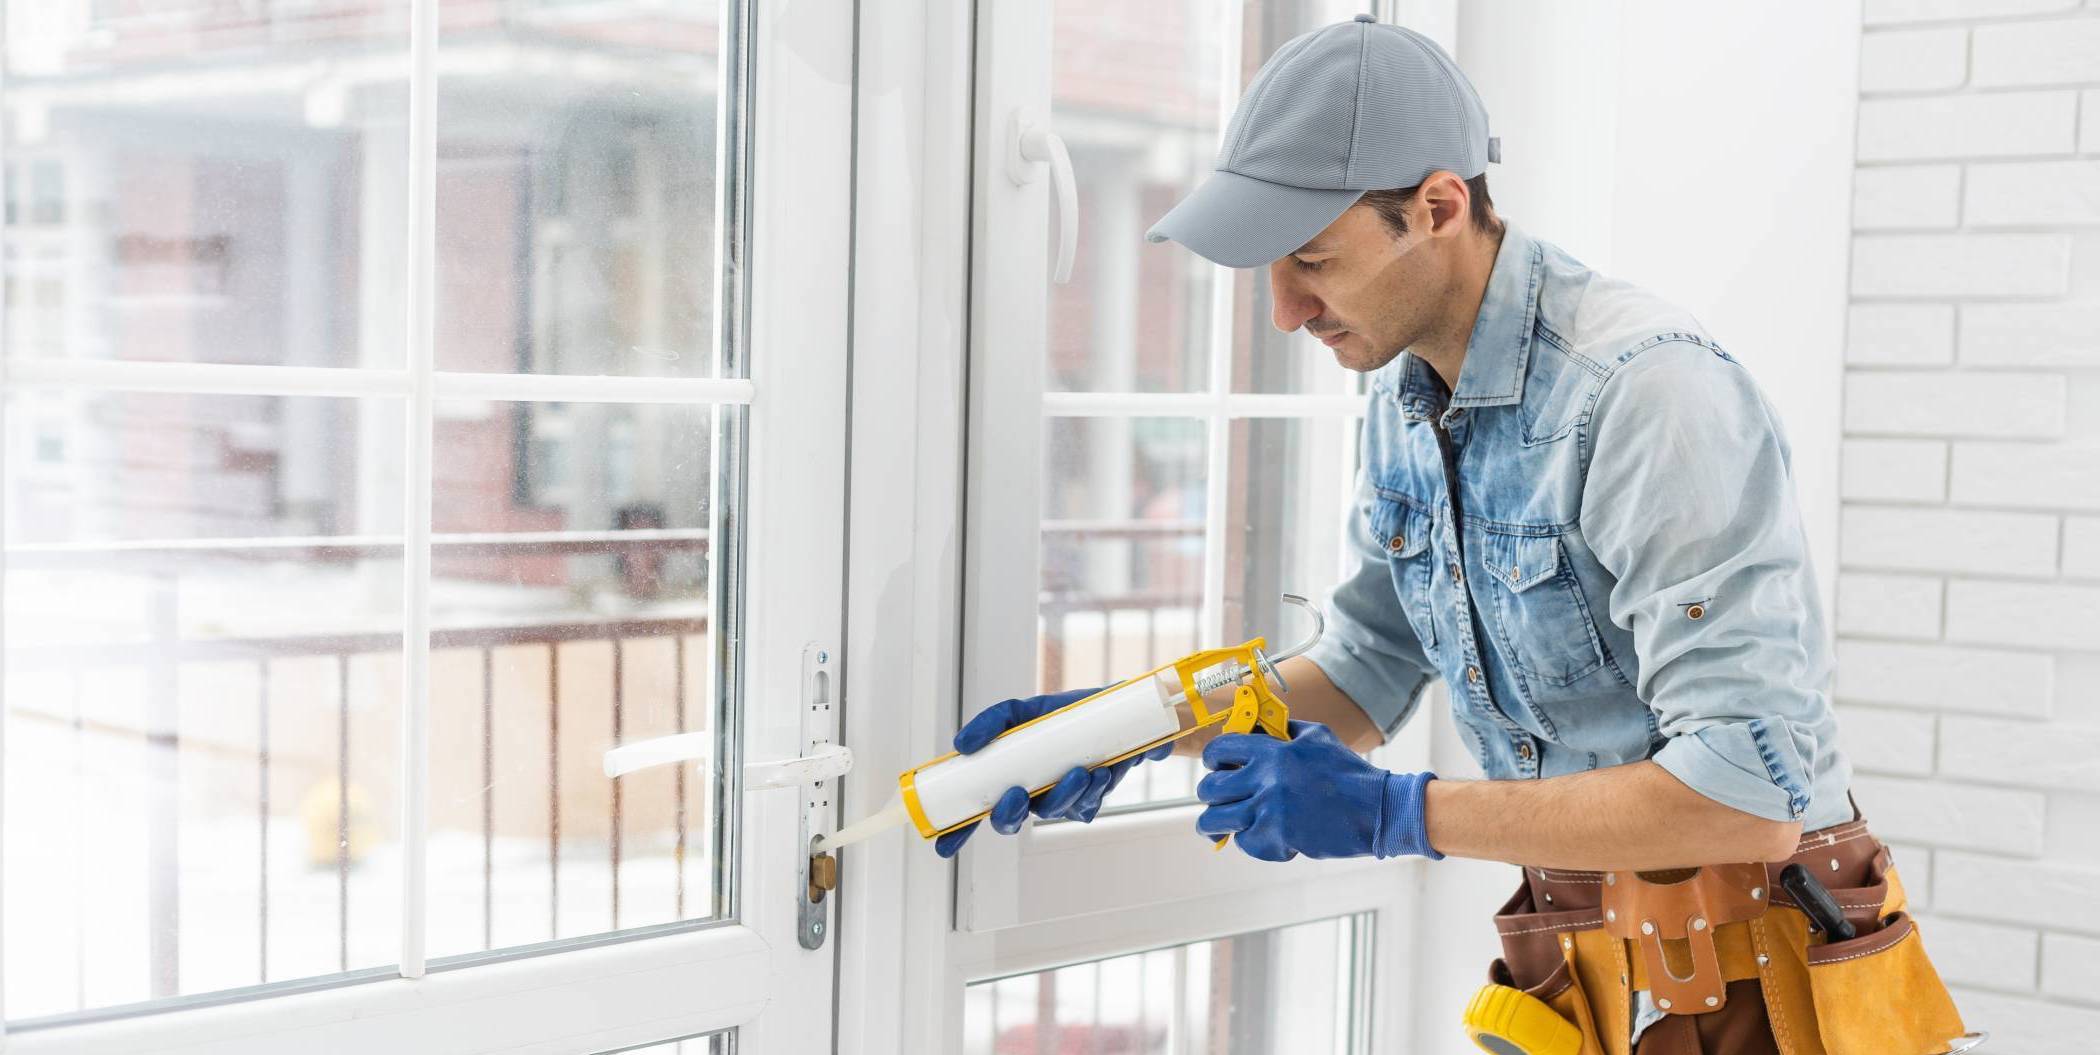
Seal Larger Gaps: If you encounter larger gaps or irregularities that cannot be addressed with the standard weather stripping, consider using caulk to seal these areas effectively. Caulk provides an additional layer of insulation and ensures comprehensive coverage.
By following these steps, you’ll effectively install the V-Seal weather stripping, creating a tight seal that enhances energy efficiency and indoor comfort. With the weather stripping securely in place, it’s time to move on to the final touches and testing to ensure the effectiveness of the installation.
Final Touches and Testing
Read more: How To Remove Old Weather Stripping
Final Touches and Testing
With the V-Seal weather stripping securely installed, it’s time to add the final touches and conduct thorough testing to ensure the effectiveness of the installation. Here’s a comprehensive guide to completing the process and verifying the quality of the weather stripping:
Trim Excess Weather Stripping: After applying the weather stripping along all sides of the door or window frame, use scissors or a utility knife to trim any excess material. Ensure that the stripping fits snugly without any overlapping or loose ends that could compromise the seal.
Smooth Out the Seal: Run your hand along the installed weather stripping to ensure that it adheres smoothly and uniformly to the surface. Any uneven areas or gaps should be addressed by adjusting the stripping or applying additional pressure to secure the seal.
Conduct a Visual Inspection: Carefully inspect the installed weather stripping for any gaps, tears, or areas that may require further attention. Address any issues promptly to guarantee a tight and effective seal.
Test for Drafts: To assess the efficiency of the weather stripping, conduct a draft test by placing your hand near the edges of the door or window. Any noticeable drafts or air movement indicate areas that may require reinforcement or adjustment of the weather stripping.
Verify Ease of Operation: Test the opening and closing of doors and windows to ensure that the weather stripping does not impede their functionality. Smooth operation without any resistance indicates a successful installation.
Monitor Energy Efficiency: Over the following days and weeks, pay attention to any changes in indoor temperature and energy consumption. A noticeable improvement in energy efficiency and a reduction in drafts signify the effectiveness of the V-Seal weather stripping.
By completing these final touches and conducting thorough testing, you ensure that the V-Seal weather stripping is optimally installed and ready to deliver enhanced energy efficiency and comfort to your home. With the installation process successfully completed, you can now enjoy a more insulated and comfortable living space.
Congratulations on completing the installation of V-Seal weather stripping, and may your home be snug and energy-efficient for years to come!
Frequently Asked Questions about How To Install V-Seal Weather Stripping
Was this page helpful?
At Storables.com, we guarantee accurate and reliable information. Our content, validated by Expert Board Contributors, is crafted following stringent Editorial Policies. We're committed to providing you with well-researched, expert-backed insights for all your informational needs.


0 thoughts on “How To Install V-Seal Weather Stripping”