Home>Energy>Home Insulation & Ventilation>How To Replace A Windshield With Weather Stripping
Home Insulation & Ventilation
How To Replace A Windshield With Weather Stripping
Modified: January 9, 2024
Learn how to replace a windshield using weather stripping for better home insulation and ventilation. Follow our step-by-step guide for a seamless installation process.
(Many of the links in this article redirect to a specific reviewed product. Your purchase of these products through affiliate links helps to generate commission for Storables.com, at no extra cost. Learn more)
Introduction
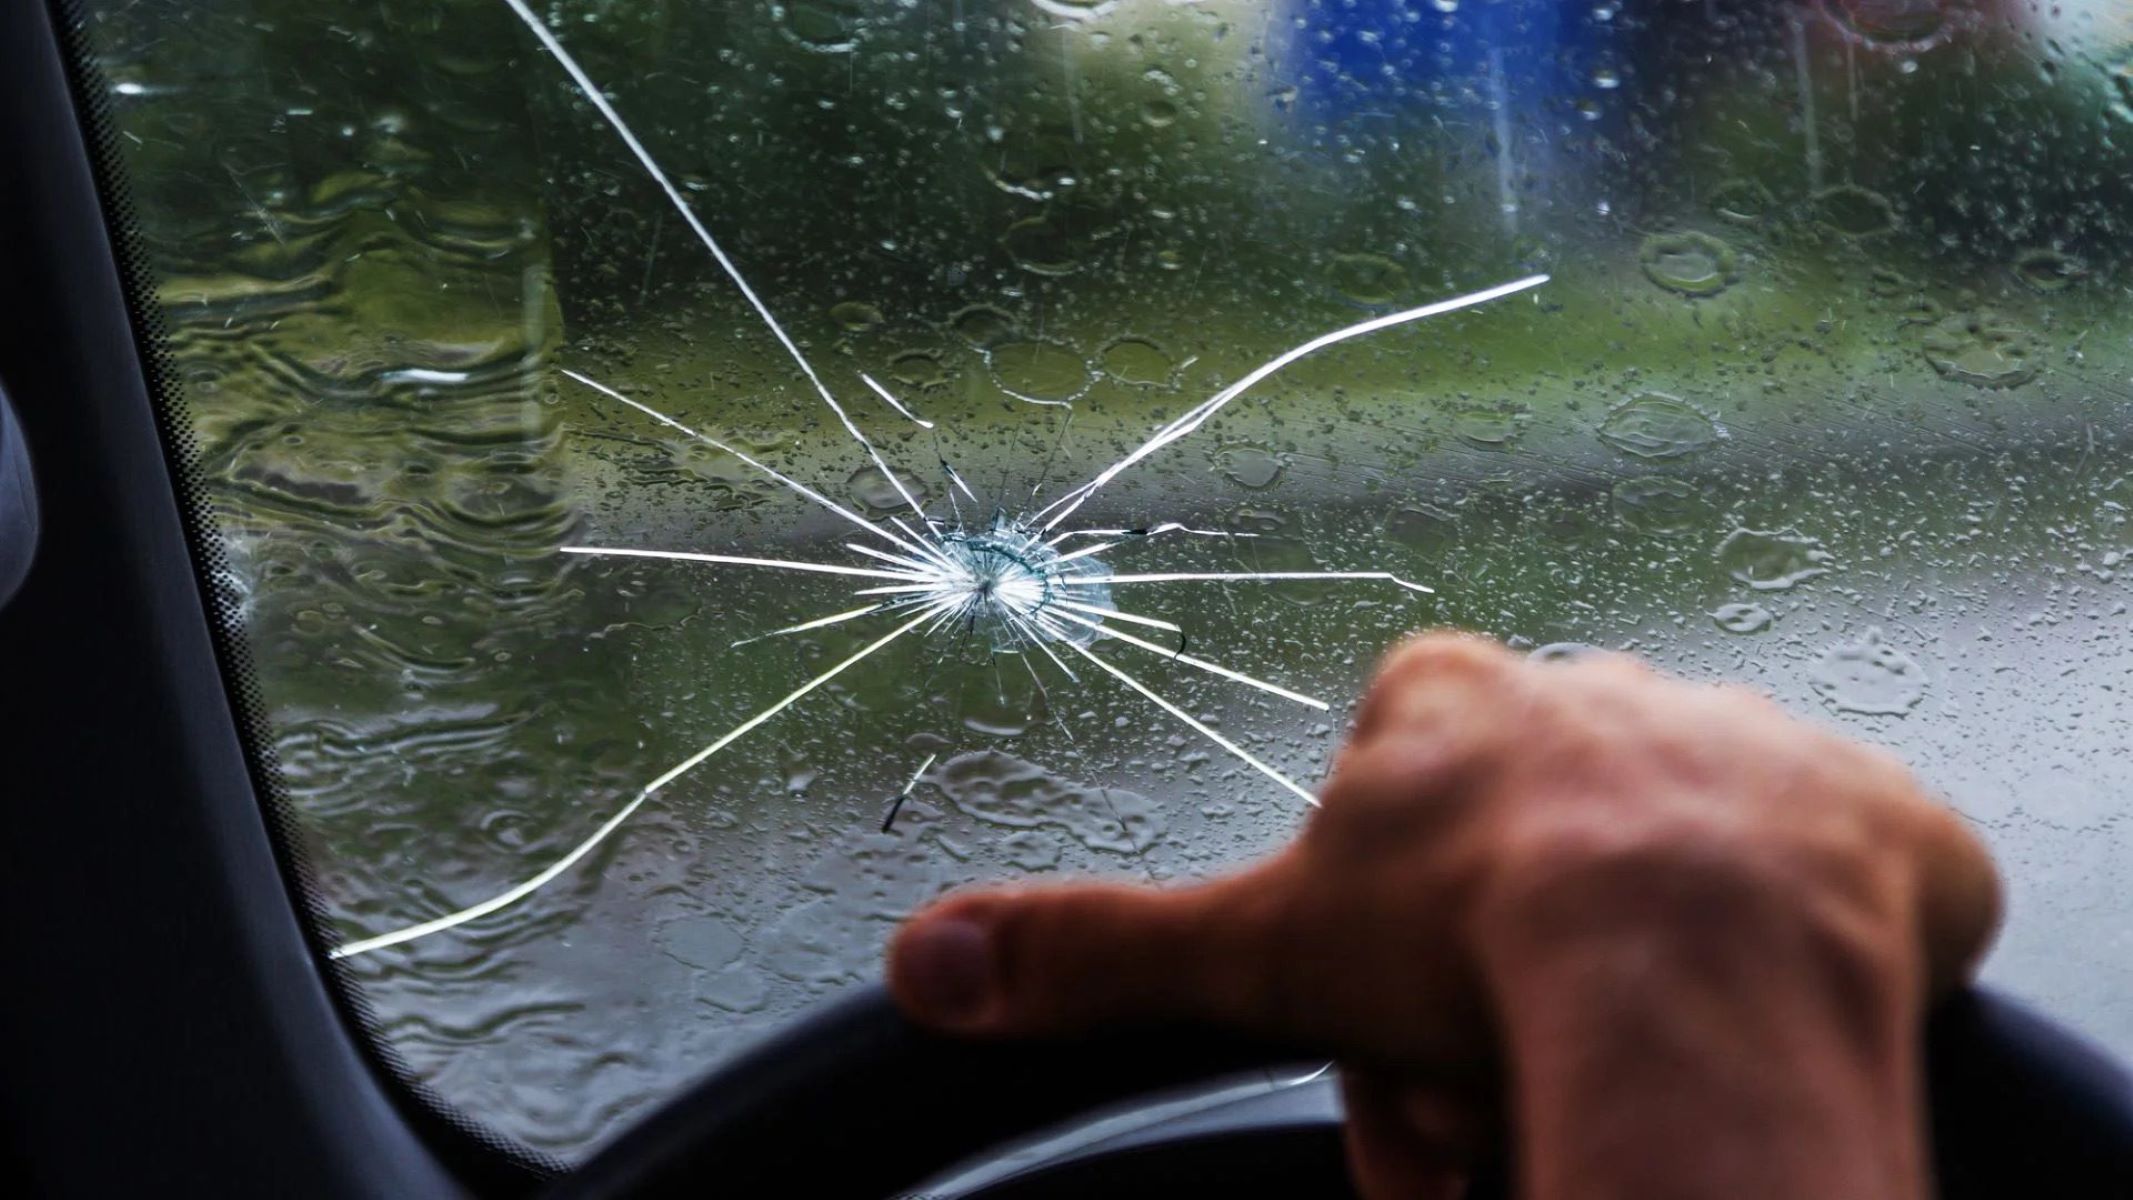
Replacing a windshield with weather stripping is a crucial aspect of maintaining the integrity and functionality of your vehicle. Weather stripping not only ensures a snug fit for the windshield, but it also guards against water leakage and reduces noise from outside sources. This comprehensive guide will walk you through the step-by-step process of replacing your windshield with weather stripping, providing you with the confidence and knowledge to tackle this task effectively.
Whether you're a seasoned DIY enthusiast or a novice looking to expand your skill set, this guide will equip you with the essential information and techniques needed to complete the replacement successfully. By following these instructions, you can enhance the safety and aesthetics of your vehicle while safeguarding against potential damage caused by weather and external elements.
Before embarking on this project, it's essential to gather the necessary tools and materials to ensure a smooth and efficient process. From removing the old windshield to applying the new weather stripping, each stage demands precision and attention to detail. By the end of this guide, you'll be well-versed in the art of windshield replacement and weather stripping application, empowering you to maintain your vehicle with confidence and expertise.
Key Takeaways:
- Replacing a windshield with weather stripping is a meticulous process that demands precision and attention to detail. It ensures a snug fit, guards against water leakage, and reduces outside noise, contributing to a comfortable and secure driving experience.
- Proper testing after installation is crucial to ensure the new windshield is secure, watertight, and structurally sound. It provides peace of mind and verifies the effectiveness of the installation process, ensuring a reliable and durable windshield.
Read more: How Often To Replace Weather Stripping
Tools and Materials Needed
Before you begin the windshield replacement process, it’s crucial to have the right tools and materials at your disposal. Here’s a comprehensive list of what you’ll need:
Tools:
- Protective gloves and eyewear
- Trim pad remover
- Utility knife
- Wire cut-out tool
- Primer application tool
- Urethane sealant cartridge gun
- Gasket sealer
- Glass cleaner
- Tape measure
- Microfiber cloths
- Heat gun
- Sealant finishing tool
Materials:
- New windshield with weather stripping
- Primer
- Urethane sealant
- Butyl tape
- Weather stripping adhesive
- Protective plastic sheeting
- Painter's tape
- Rubbing alcohol
- Masking paper
- Windshield cleaner
Having these tools and materials on hand will ensure that you’re fully equipped to undertake the windshield replacement with weather stripping. Safety should always be a priority, so don’t forget to wear protective gear throughout the process. With these resources at your disposal, you’ll be ready to tackle the task with confidence and precision.
Removing the Old Windshield
Before you can install the new windshield with weather stripping, it’s essential to remove the old windshield carefully. This process requires patience and precision to avoid damaging the vehicle or the windshield itself. Here’s a step-by-step guide to removing the old windshield:
- Prepare the Work Area: Park your vehicle in a well-lit and ventilated space. Ensure that the surrounding area is clear of any obstacles to allow for easy access to the windshield.
- Protective Measures: Wear protective gloves and eyewear to shield yourself from any debris or glass particles during the removal process. Safety should always be a top priority.
- Trim and Sealant Removal: Use a trim pad remover and a utility knife to carefully detach the trim and molding around the windshield. This step requires precision to avoid damaging the vehicle’s body or the windshield itself.
- Release the Seal: Utilize a wire cut-out tool to release the seal holding the windshield in place. Exercise caution and patience during this step to prevent any sudden movements that may lead to damage.
- Remove the Windshield: With the seal released, gently push the windshield from the inside to dislodge it from the frame. Have a helper support the windshield from the outside to prevent it from falling and causing damage.
- Clean the Frame: Once the old windshield is removed, thoroughly clean the frame to remove any remaining sealant, debris, or residue. Use a glass cleaner and a microfiber cloth to ensure that the frame is clean and ready for the new windshield installation.
By following these steps, you can safely and effectively remove the old windshield, preparing the vehicle for the installation of the new windshield with weather stripping. Exercise caution and patience throughout the process to avoid any mishaps and ensure a smooth transition to the next phase of the replacement process.
Preparing the New Windshield
With the old windshield removed, it’s time to prepare the new windshield for installation with weather stripping. This stage of the process is critical in ensuring a secure and effective fit for the new windshield. Here’s a detailed guide on preparing the new windshield:
- Inspect the New Windshield: Thoroughly examine the new windshield to check for any defects or damage. Verify that the weather stripping is intact and in optimal condition before proceeding with the installation.
- Clean the New Windshield: Use a glass cleaner and a lint-free microfiber cloth to clean the new windshield, ensuring that it is free from any dirt, dust, or residues that may affect the installation process.
- Apply Primer: Using a primer application tool, apply a thin and even layer of primer along the perimeter of the new windshield. This step is crucial for promoting adhesion and ensuring a secure bond with the vehicle’s frame.
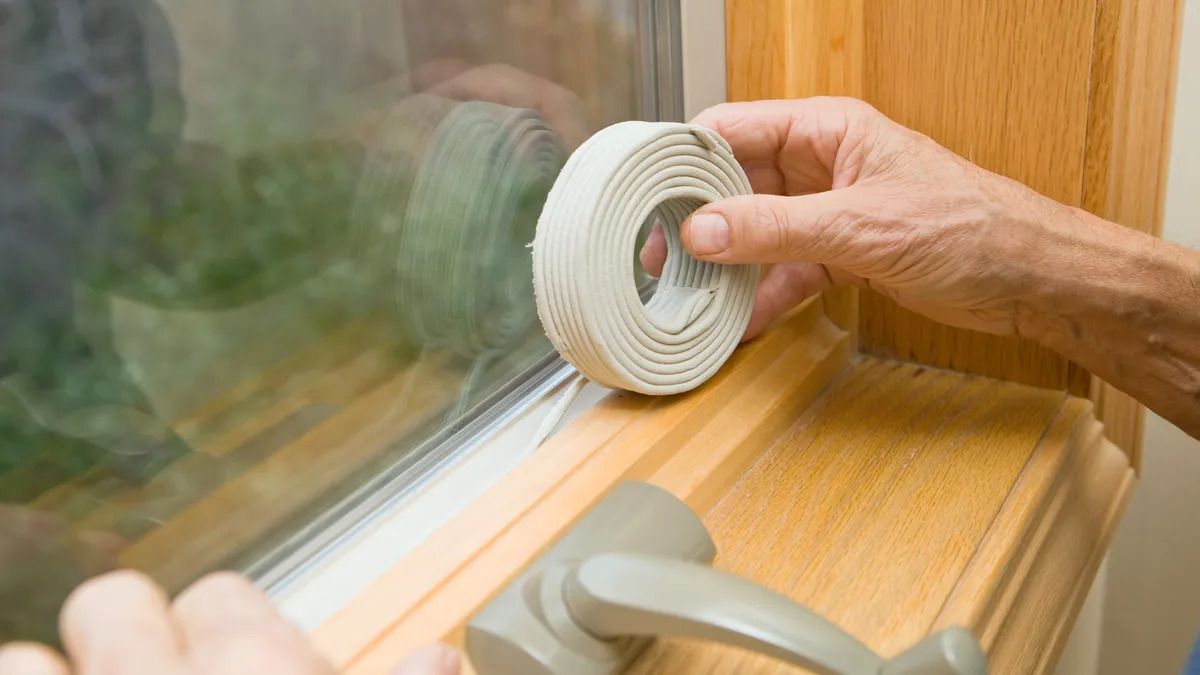
- Prepare the Weather Stripping: Inspect the weather stripping and ensure that it is free from any defects or deformities. Apply a weather stripping adhesive to the designated areas on the windshield where the weather stripping will make contact.
- Measure and Align: Carefully measure and align the weather stripping on the new windshield, ensuring that it fits snugly and uniformly along the perimeter. This step is essential for creating a watertight seal and preventing air or water infiltration.
- Allow for Curing: After applying the primer and weather stripping adhesive, allow an adequate amount of time for the materials to cure and bond effectively. Follow the manufacturer’s guidelines for curing times to ensure optimal results.
By meticulously preparing the new windshield and weather stripping, you can lay the groundwork for a successful installation process. Attention to detail and precision during this stage will contribute to a secure and durable fit, providing your vehicle with the protection and functionality it requires.
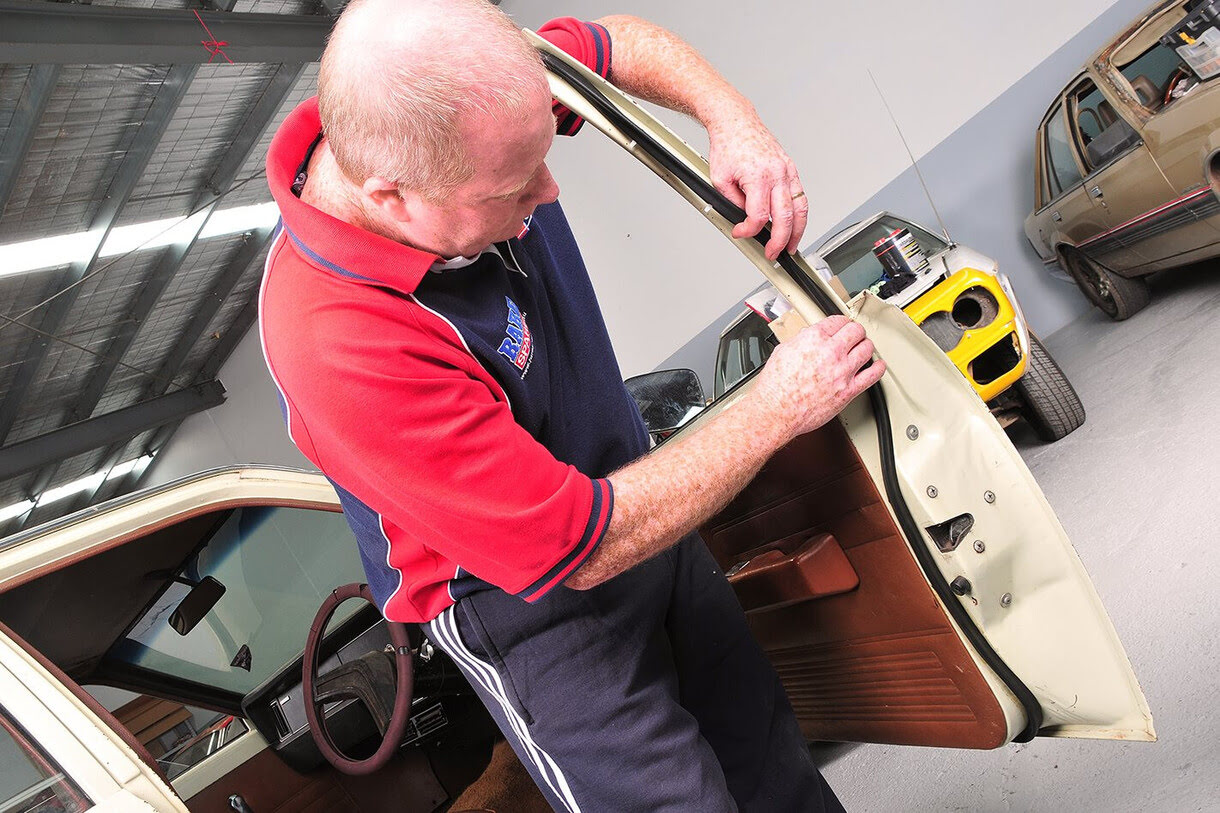
Installing the New Windshield
With the new windshield prepared and the vehicle’s frame cleaned, it’s time to proceed with the installation process. Installing the new windshield with weather stripping demands meticulous attention to detail and a methodical approach to ensure a secure and watertight fit. Here’s a comprehensive guide to installing the new windshield:
- Positioning the Windshield: Carefully position the new windshield with weather stripping at the opening of the vehicle’s frame, ensuring that it aligns uniformly and securely.
- Securing the Windshield: With the help of a partner, gently press the windshield into place, ensuring that the weather stripping makes full contact with the frame. Apply even pressure to promote a snug and secure fit.
- Inspect Alignment: Verify that the windshield is aligned correctly within the frame, ensuring that it sits evenly and without any gaps or misalignments that may compromise the seal.
- Apply Urethane Sealant: Using a urethane sealant cartridge gun, apply a continuous and even bead of urethane sealant along the perimeter of the windshield where it meets the frame. This sealant is essential for creating a watertight bond and preventing leaks.
- Smooth the Sealant: Utilize a sealant finishing tool to smooth and shape the applied urethane sealant, ensuring that it forms a uniform seal and adheres securely to both the windshield and the frame.
- Allow for Curing: After applying the urethane sealant, allow sufficient time for it to cure and bond effectively. Follow the manufacturer’s recommendations for curing times to ensure a durable and long-lasting seal.
By following these steps with precision and care, you can successfully install the new windshield with weather stripping, providing your vehicle with enhanced protection and structural integrity. The installation process sets the stage for the final crucial step of applying weather stripping to further fortify the seal and safeguard against external elements.
When replacing a windshield with weather stripping, make sure to clean the frame thoroughly before installing the new weather stripping to ensure a proper seal and prevent leaks.
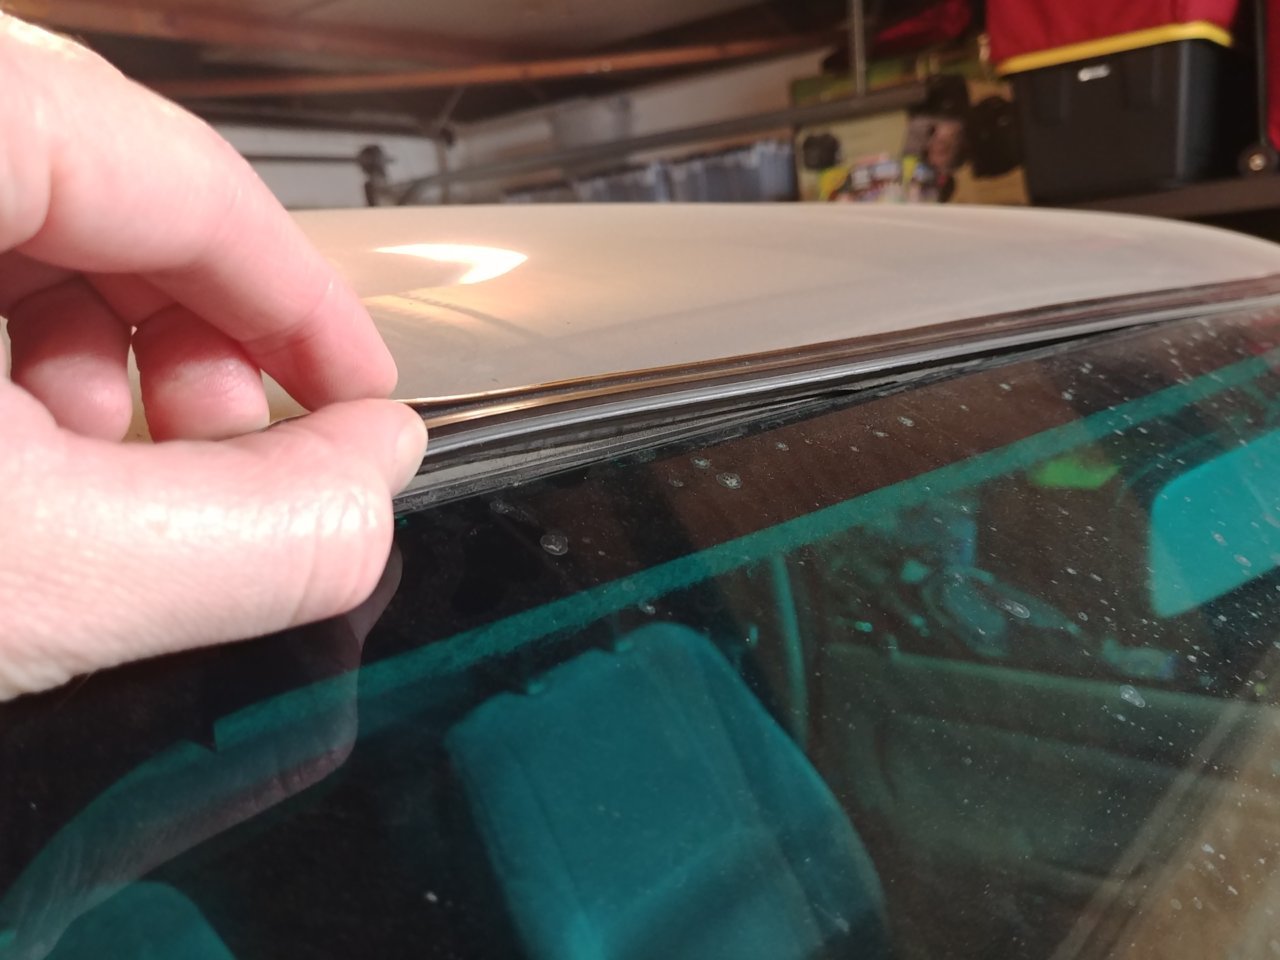
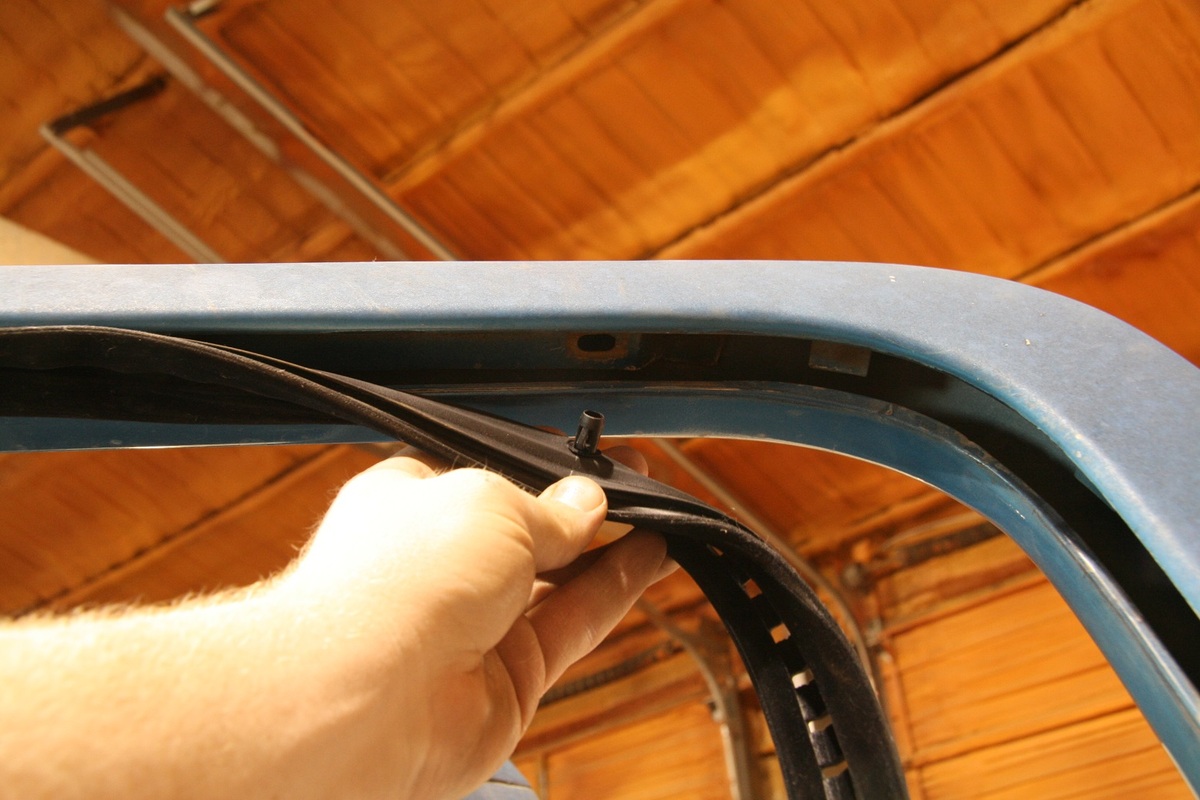
Applying Weather Stripping
Once the new windshield is securely installed, the application of weather stripping is essential to fortify the seal and provide additional protection against environmental elements. Weather stripping plays a pivotal role in ensuring a watertight and secure fit, contributing to the overall integrity of the windshield installation. Here’s a detailed guide to applying weather stripping:
- Inspect the Seal: Thoroughly examine the installed windshield to ensure that the weather stripping is uniformly and securely in place along the perimeter of the frame.
- Trim Excess Stripping: Carefully trim any excess weather stripping to ensure a clean and precise fit. Use a utility knife or trim pad remover to trim the stripping with accuracy, avoiding any damage to the newly installed windshield.
- Apply Gasket Sealer: Utilize a gasket sealer to reinforce the bond between the weather stripping and the windshield frame. Apply the sealer evenly and allow it to cure according to the manufacturer’s recommendations.
- Inspect for Uniformity: Verify that the weather stripping is uniformly aligned and securely adhered to the frame, leaving no gaps or areas of potential vulnerability.
- Allow for Curing: Once the gasket sealer is applied, allow sufficient time for it to cure and strengthen the bond between the weather stripping and the frame. This step is crucial for ensuring long-term durability and effectiveness.
By meticulously applying weather stripping and reinforcing the seal with gasket sealer, you can enhance the overall integrity of the windshield installation. The weather stripping serves as a crucial barrier against moisture, debris, and noise, contributing to a comfortable and secure driving experience.
Testing the New Windshield
After completing the installation and weather stripping application, it’s essential to conduct thorough testing to ensure that the new windshield is secure, watertight, and structurally sound. Proper testing provides peace of mind and verifies the effectiveness of the installation process. Here’s a comprehensive guide to testing the new windshield:
- Visual Inspection: Conduct a visual inspection of the installed windshield, carefully examining the perimeter and weather stripping for any signs of misalignment, gaps, or irregularities.
- Water Test: Use a gentle stream of water from a hose to simulate rainfall and assess the effectiveness of the seal. Observe the windshield from both the interior and exterior for any signs of water leakage or infiltration.
- Sound Insulation Test: Take the vehicle for a test drive to evaluate the effectiveness of the new windshield in reducing external noise. Pay attention to any noticeable reduction in road and wind noise compared to the previous windshield.
- Structural Integrity Check: Verify that the windshield is securely in place and does not exhibit any signs of movement or instability, especially when encountering bumps or uneven road surfaces.
- Functional Assessment: Test the windshield wipers to ensure that they operate smoothly and effectively across the entire surface of the new windshield without encountering any obstructions or irregularities.
By conducting comprehensive testing, you can confirm the successful installation and weather stripping application, ensuring that the new windshield meets the highest standards of performance and safety. Any issues identified during testing can be promptly addressed, providing you with the confidence that your vehicle is equipped with a reliable and durable windshield.
Conclusion
Replacing a windshield with weather stripping is a meticulous process that demands precision, attention to detail, and a commitment to quality. By following the comprehensive steps outlined in this guide, you’ve gained the knowledge and expertise to undertake this task with confidence and proficiency. From removing the old windshield to testing the new installation, each stage plays a crucial role in ensuring the integrity and functionality of your vehicle’s windshield.
Throughout this process, safety should always remain a top priority. By wearing protective gear and exercising caution, you can navigate each step with confidence and peace of mind. Additionally, adherence to the manufacturer’s guidelines and recommendations for materials and curing times is essential for achieving optimal results.
With the new windshield in place, secured by weather stripping and reinforced with gasket sealer, your vehicle is equipped with enhanced protection against the elements. The watertight seal and structural integrity of the installation contribute to a comfortable and secure driving experience, shielding you from external noise and providing clear visibility in various weather conditions.
By maintaining your vehicle’s windshield with care and attention, you contribute to its overall longevity and performance. Regular inspections and maintenance will ensure that the windshield continues to provide reliable protection and functionality, allowing you to enjoy a safe and comfortable driving experience for years to come.
With the knowledge and skills acquired from this guide, you are well-prepared to tackle the replacement of a windshield with weather stripping, empowering you to maintain your vehicle with confidence and expertise. Whether you’re a seasoned DIY enthusiast or a novice seeking to expand your automotive skills, this guide equips you with the essential information to complete the task effectively and ensure the continued reliability of your vehicle’s windshield.
Frequently Asked Questions about How To Replace A Windshield With Weather Stripping
Was this page helpful?
At Storables.com, we guarantee accurate and reliable information. Our content, validated by Expert Board Contributors, is crafted following stringent Editorial Policies. We're committed to providing you with well-researched, expert-backed insights for all your informational needs.


0 thoughts on “How To Replace A Windshield With Weather Stripping”