Home>Energy>Home Insulation & Ventilation>How To Put Weather Stripping On A Window
Home Insulation & Ventilation
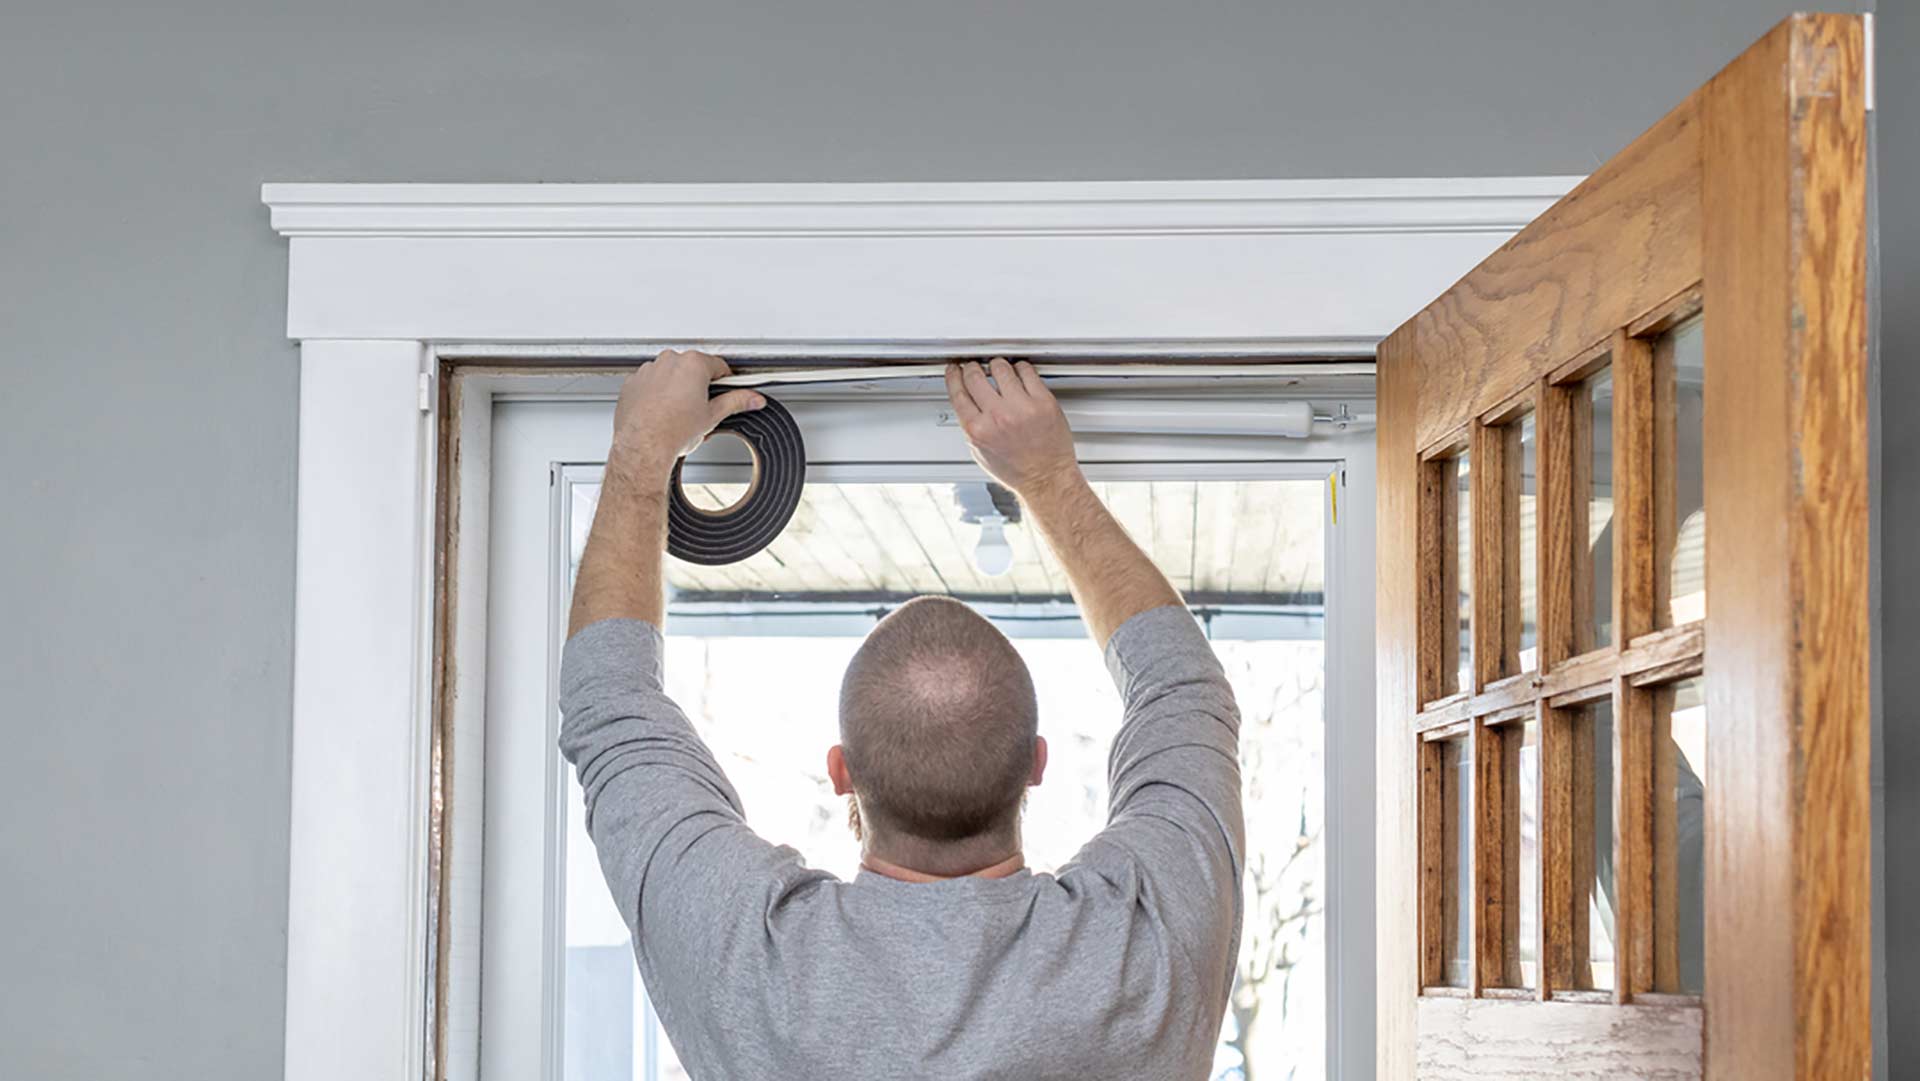
How To Put Weather Stripping On A Window
Modified: February 25, 2024
Learn how to properly install weather stripping on your windows for improved home insulation and ventilation. Step-by-step guide for a more energy-efficient and comfortable living space.
(Many of the links in this article redirect to a specific reviewed product. Your purchase of these products through affiliate links helps to generate commission for Storables.com, at no extra cost. Learn more)
Introduction
Welcome to the world of home insulation and ventilation, where the quest for energy efficiency meets the art of creating a comfortable living environment. When it comes to optimizing the energy efficiency of your home, weather stripping plays a crucial role. In this comprehensive guide, we will delve into the ins and outs of weather stripping for windows, equipping you with the knowledge and skills to enhance the insulation and energy efficiency of your living space.
Imagine a scenario where your cozy living room is adorned with beautiful curtains swaying gently in the breeze, offering a picturesque view of the world outside. However, this idyllic setting can be disrupted by pesky drafts seeping through the gaps around your windows, compromising the comfort and energy efficiency of your home. This is where weather stripping comes to the rescue, acting as a barrier against the intrusion of outdoor elements, such as cold air, dust, and moisture.
By understanding the importance of weather stripping and mastering the art of its application, you can transform your living space into a haven of comfort and energy efficiency. Whether you are a seasoned DIY enthusiast or a newcomer to the world of home improvement, this guide will equip you with the knowledge and practical insights needed to embark on this rewarding journey.
Join us as we explore the intricacies of weather stripping for windows, uncovering the tools and materials required, and guiding you through the step-by-step process of applying weather stripping with precision and finesse. By the end of this journey, you will not only possess the expertise to enhance the insulation of your windows but also the satisfaction of contributing to a more sustainable and energy-efficient living environment.
So, let's embark on this enlightening expedition into the world of weather stripping, where the fusion of practicality and creativity leads to a home that is not only visually appealing but also exudes comfort and energy efficiency.
Key Takeaways:
- Weather stripping for windows creates a snug seal, keeping out drafts and noise while enhancing energy efficiency and insulation, leading to a cozy and peaceful living space.
- By mastering the art of weather stripping, you can transform your home into a comfortable and sustainable haven, contributing to a more energy-efficient world.
Read more: Where To Put Weather Stripping On Doors
Understanding Weather Stripping
Weather stripping serves as a vital component in the realm of home insulation and energy efficiency, acting as a barrier to prevent the infiltration of outdoor elements into your living space. When it comes to windows, weather stripping plays a crucial role in sealing the gaps and preventing air leakage, ultimately contributing to a more comfortable and energy-efficient environment.
Imagine weather stripping as a guardian, diligently guarding your windows against the invasion of drafts, moisture, and external pollutants. By creating a tight seal around the edges of the windows, weather stripping ensures that the interior of your home remains insulated from the unpredictable elements of nature.
There are various types of weather stripping materials, each with its unique characteristics and applications. From adhesive foam tape to V-seal weather stripping, the choice of material depends on factors such as the size of the gaps, the type of window, and the prevailing weather conditions. Understanding the diverse range of weather stripping options empowers homeowners to make informed decisions and select the most suitable material for their specific needs.
Furthermore, weather stripping not only contributes to energy efficiency but also plays a pivotal role in sound insulation. By sealing the gaps around windows, it helps minimize the intrusion of external noise, fostering a serene and peaceful living environment.
As we delve deeper into the world of weather stripping, it is essential to recognize that its effectiveness is contingent on the precision of its application. A meticulously installed weather stripping ensures a snug and durable seal, thereby maximizing its insulation and energy-saving benefits.
By comprehending the significance of weather stripping and its diverse applications, you are poised to embark on a journey towards creating a well-insulated and energy-efficient living space. Armed with this knowledge, you are ready to explore the practical aspects of weather stripping, including the tools and materials required, the preparation of windows, and the step-by-step process of applying weather stripping with precision and finesse.
Now that we have unraveled the essence of weather stripping, let us venture into the realm of practical application, equipping you with the skills and insights needed to enhance the insulation and energy efficiency of your windows.
Tools and Materials Needed
Before embarking on the journey of weather stripping your windows, it is essential to gather the requisite tools and materials. Equipping yourself with the right arsenal ensures a smooth and effective application of weather stripping, setting the stage for enhanced insulation and energy efficiency.
Tools:
- Caulking gun: A sturdy caulking gun is indispensable for applying adhesive weather stripping with precision and control.
- Utility knife: A sharp utility knife enables you to cut weather stripping materials with accuracy, ensuring a tailored fit for your windows.
- Tape measure: A reliable tape measure facilitates the precise measurement of the dimensions for the weather stripping, ensuring a snug and effective seal.
- Screwdriver: In some cases, a screwdriver may be needed to remove existing hardware or to facilitate the installation of certain types of weather stripping.
- Clean cloth and cleaning solution: Before applying weather stripping, it is crucial to clean the window frames and sills thoroughly to ensure optimal adhesion.
- Safety goggles and gloves: Prioritizing safety, especially when using sharp tools, is paramount. Safety goggles and gloves provide protection during the application process.
Materials:
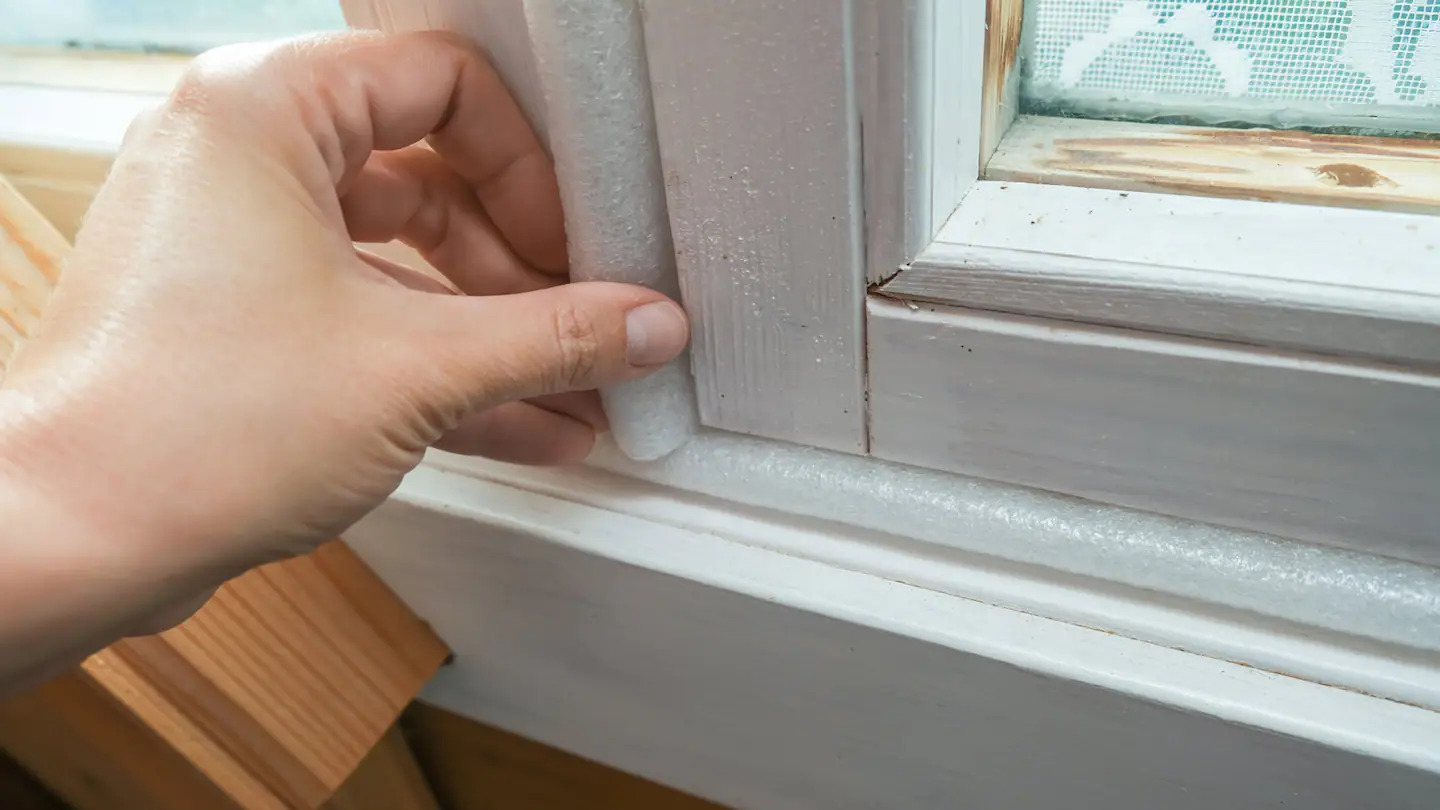
- Adhesive foam tape: This versatile material is ideal for sealing small to medium-sized gaps and is easy to apply, making it a popular choice for weather stripping windows.
- V-seal weather stripping: With its V-shaped design, this material offers a durable and effective seal for varying gap sizes, providing comprehensive protection against drafts and moisture.
- Felt weather stripping: Suitable for sliding windows, felt weather stripping offers a smooth and noise-reducing seal, enhancing both insulation and acoustic comfort.
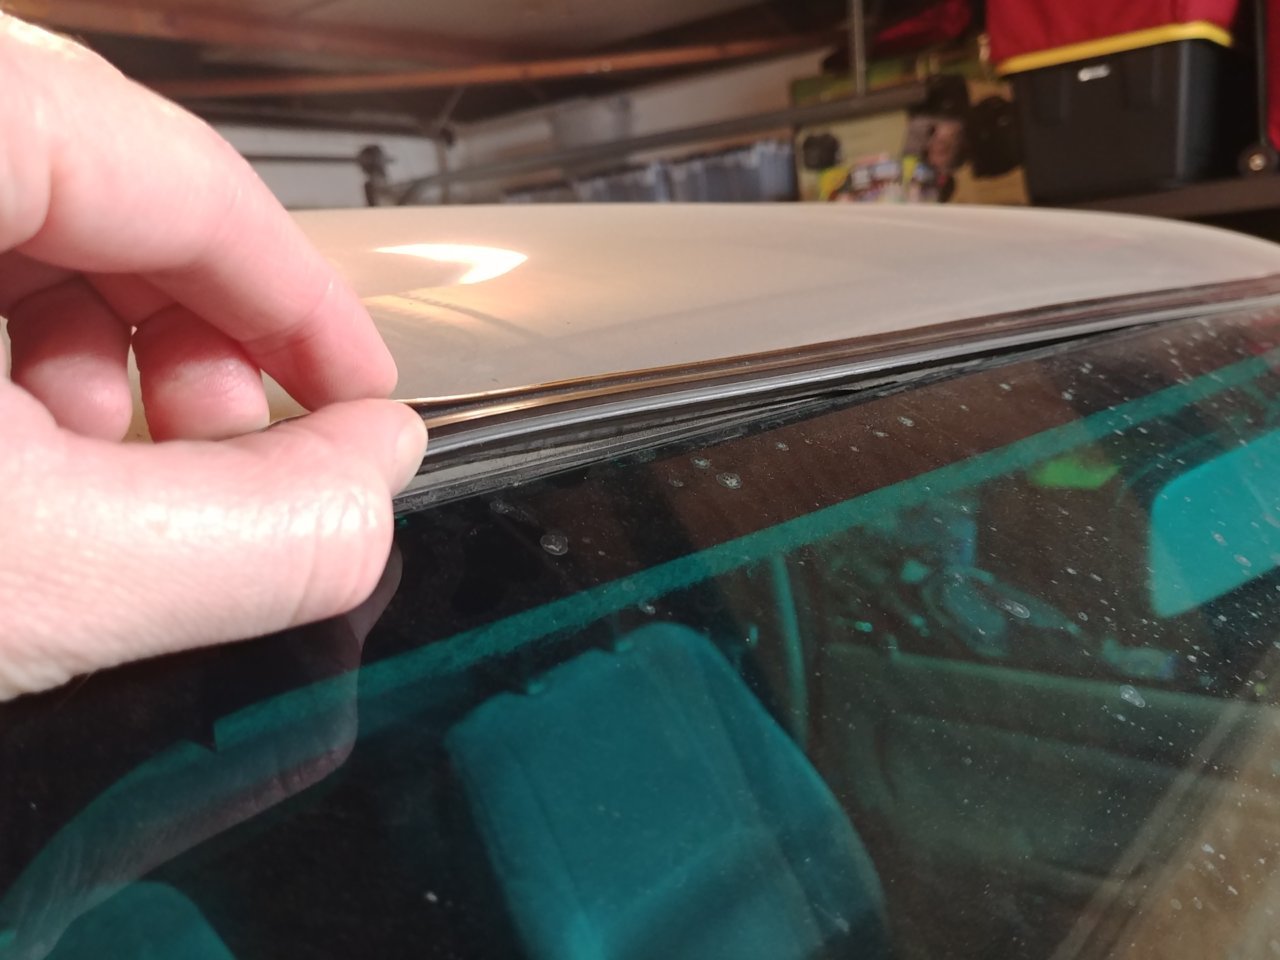
- Metal or vinyl weather stripping: These robust materials are designed for long-term durability and are ideal for sealing larger gaps and providing enhanced protection against external elements.
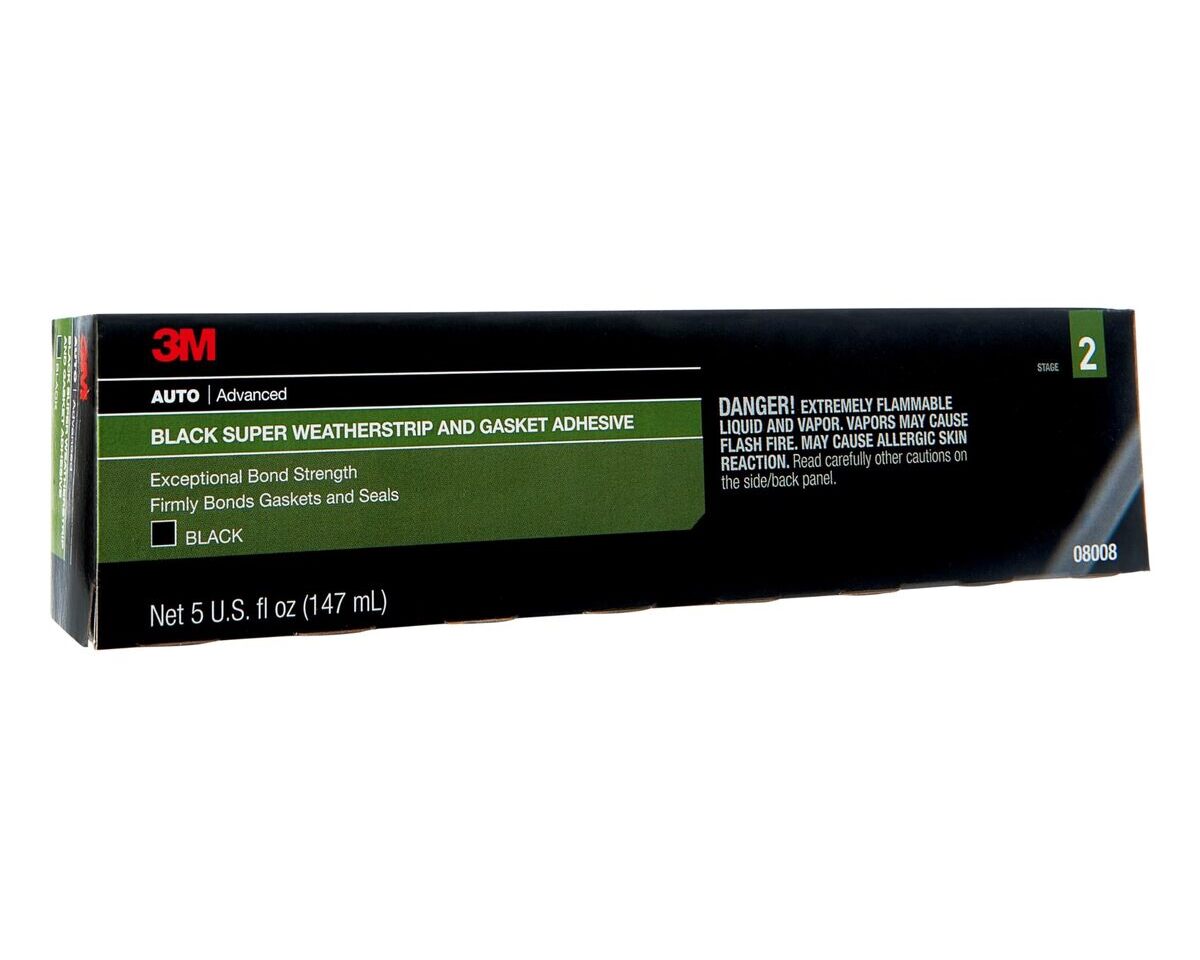
- Silicone-based weather stripping: Known for its resilience and weather resistance, silicone-based weather stripping is an excellent choice for outdoor applications, offering reliable protection against the elements.
By arming yourself with the appropriate tools and materials, you are poised to embark on the journey of weather stripping your windows with confidence and precision. With the stage set and the tools in hand, let us proceed to the next phase: preparing the window for the application of weather stripping.
Preparing the Window
Before diving into the application of weather stripping, it is crucial to prepare the window to ensure optimal adhesion and a seamless installation process. This preparatory phase sets the foundation for a durable and effective seal, maximizing the insulation and energy-saving benefits of weather stripping.
Step 1: Clean the Surface
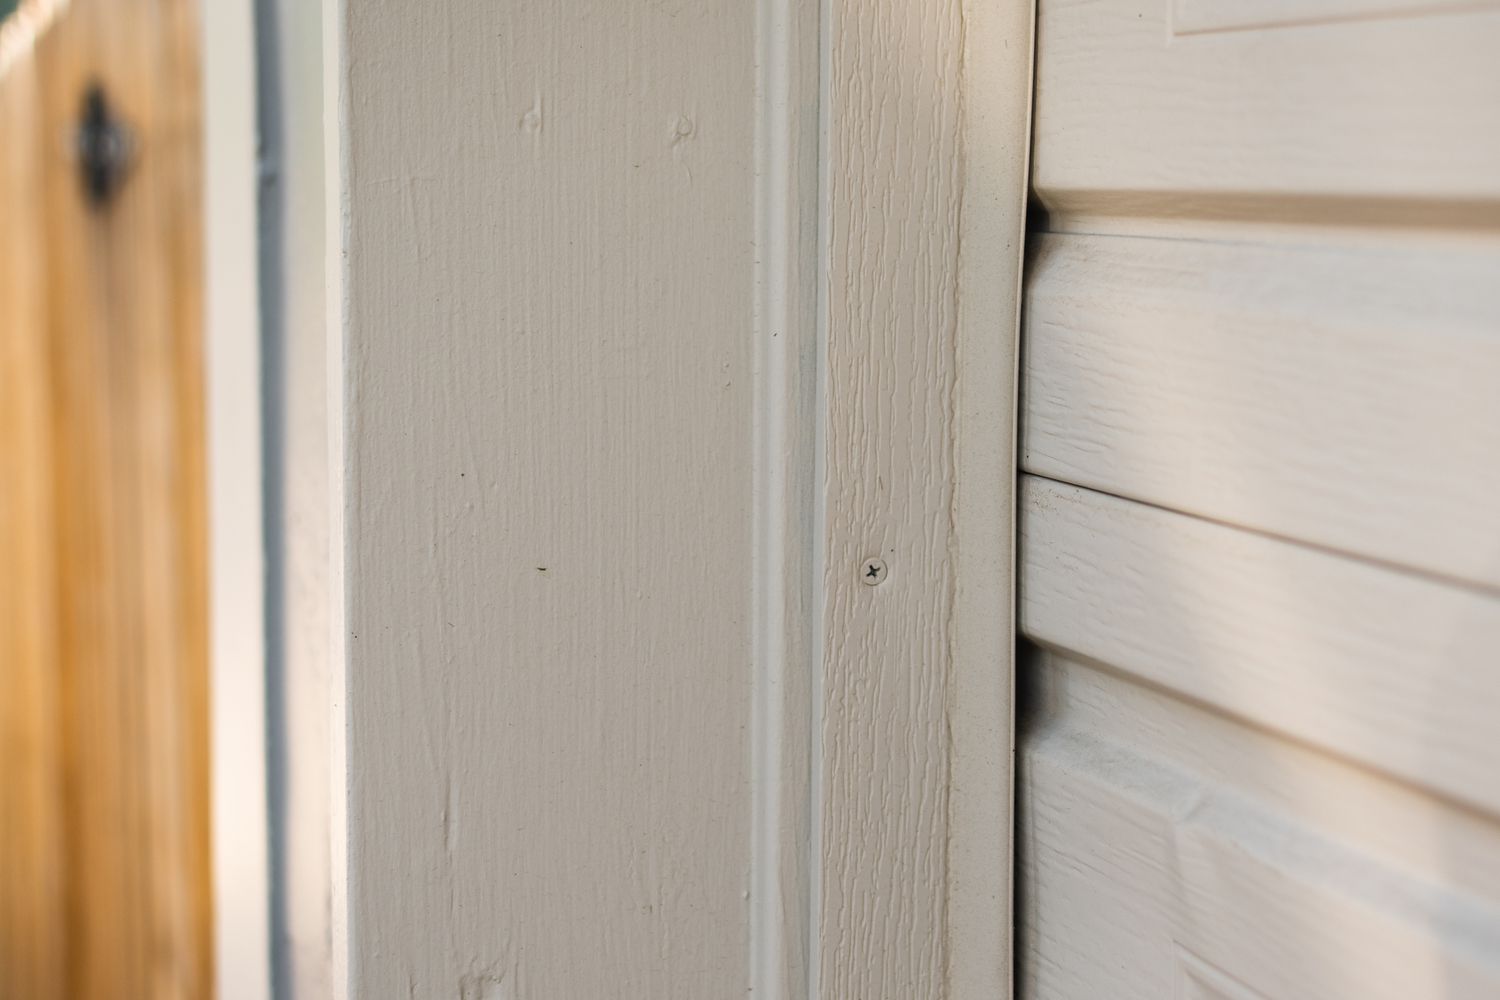
Prior to applying weather stripping, thoroughly clean the window frames and sills to remove any dirt, dust, or debris. Use a clean cloth and a mild cleaning solution to ensure that the surfaces are free from contaminants. This step is essential for promoting strong adhesion and preventing any obstructions that could compromise the effectiveness of the weather stripping.
Step 2: Measure and Mark
Using a tape measure, carefully measure the dimensions of the areas where the weather stripping will be applied. Mark these areas with a pencil or masking tape to provide a visual guide for the precise placement of the weather stripping. Accurate measurements and markings are crucial for ensuring a tailored fit and a snug seal once the weather stripping is in place.
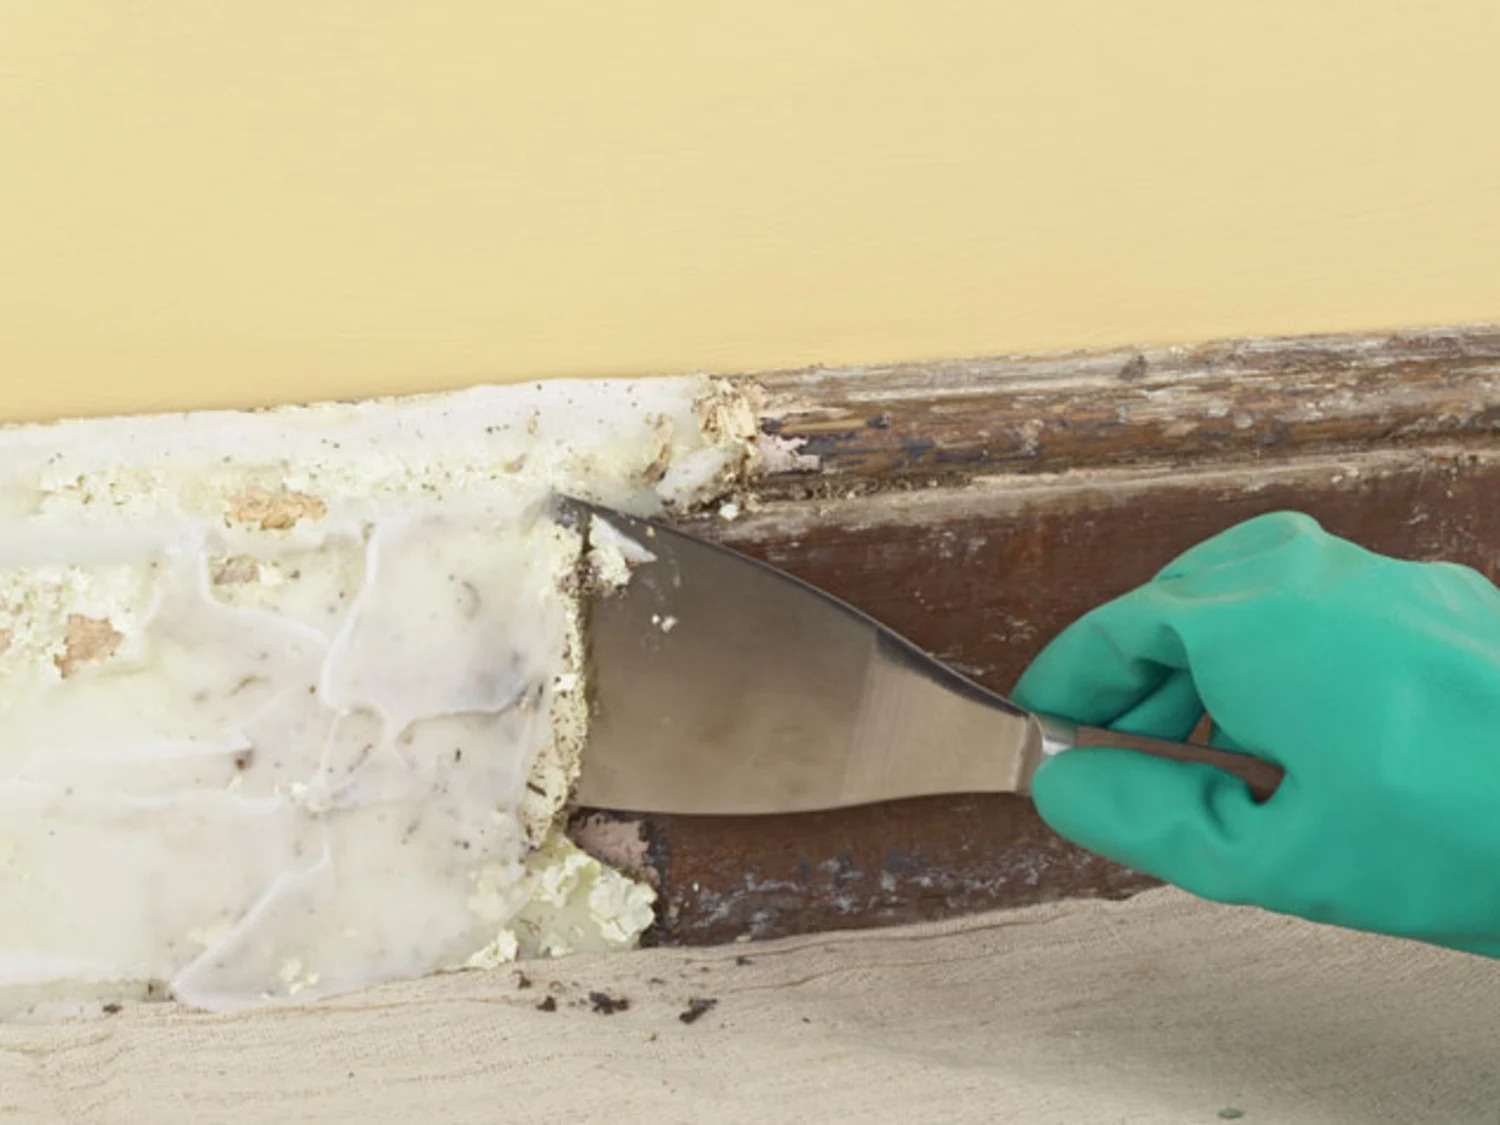
Step 3: Remove Existing Weather Stripping (If Applicable)
If there is existing weather stripping that needs to be replaced, carefully remove it using a utility knife or a screwdriver, taking care not to damage the window frames. Thoroughly clean the areas from which the old weather stripping has been removed to create a clean and smooth surface for the new application.
Read more: What Is Weather Stripping
Step 4: Ensure Dryness
Prior to applying the weather stripping, ensure that the surfaces are completely dry. Any moisture or dampness can hinder the adhesion of the weather stripping, potentially compromising its effectiveness. If necessary, use a dry cloth to remove any residual moisture before proceeding with the application.
By meticulously preparing the window for the application of weather stripping, you are laying the groundwork for a seamless and effective installation. This preparatory phase sets the stage for the next crucial step: applying the weather stripping with precision and finesse. With the window primed and ready, let us delve into the intricacies of applying weather stripping to achieve a snug and durable seal.
Applying the Weather Stripping
With the window meticulously prepared, it is time to embark on the precise and artful process of applying weather stripping. This pivotal step holds the key to creating a snug and durable seal, fortifying your windows against drafts and external elements while enhancing insulation and energy efficiency.
Step 1: Select the Appropriate Weather Stripping
Based on the measurements and the specific requirements of your windows, carefully choose the most suitable type of weather stripping. Whether it is adhesive foam tape, V-seal weather stripping, felt weather stripping, or other materials, ensure that it aligns with the dimensions and the nature of the gaps to be sealed.
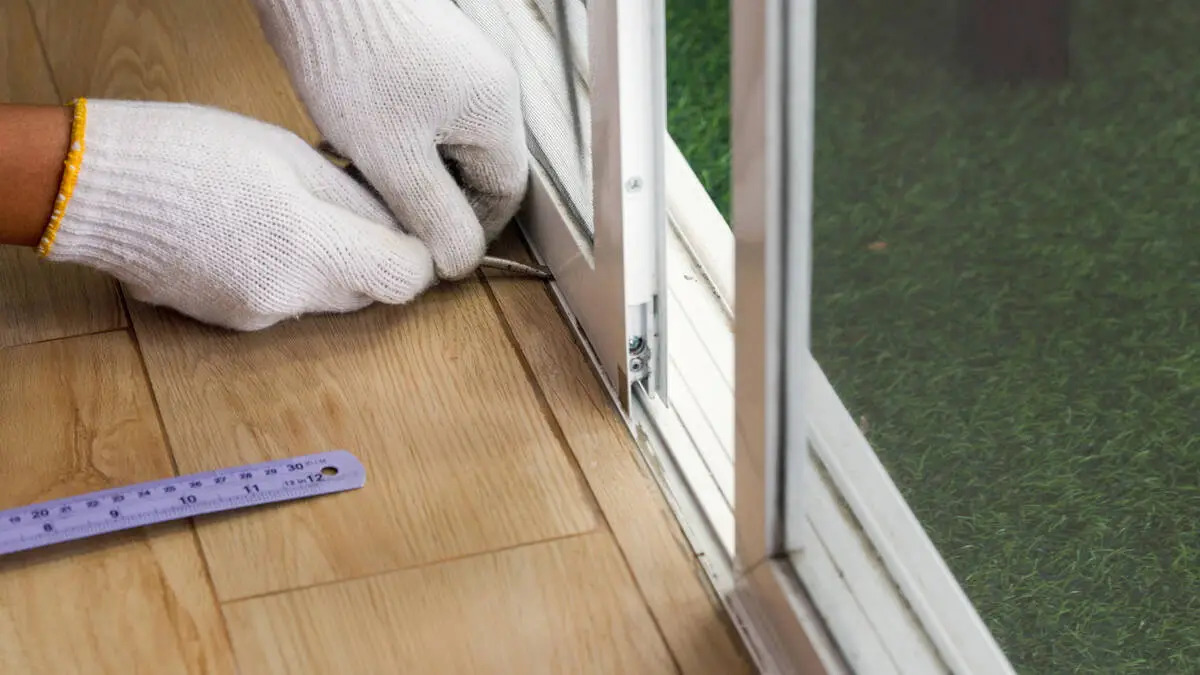
Step 2: Cut and Position the Weather Stripping
Using the measurements and markings as a guide, carefully cut the weather stripping to the required lengths using a sharp utility knife. Position the cut pieces along the designated areas, ensuring a precise fit and alignment with the edges of the window frames. For materials such as V-seal weather stripping, ensure that the V-shaped profile is oriented to create a secure seal.
Read more: How Often To Replace Weather Stripping
Step 3: Apply with Precision
With the cut pieces in position, apply them with precision, ensuring that they adhere firmly to the surfaces. If using adhesive foam tape, press it firmly along the edges, ensuring that it conforms to the contours of the window frames. For other materials, follow the specific application instructions to achieve optimal adhesion and a secure seal.
Step 4: Test the Seal
Once the weather stripping is applied, perform a thorough inspection to ensure that the seal is snug and free from gaps or inconsistencies. Close the window and check for any signs of air leakage or gaps where external light penetrates. Rectify any issues by adjusting the positioning or reinforcing the adhesion of the weather stripping.
Step 5: Trim Excess Material
If there is any excess weather stripping protruding beyond the edges of the window frames, carefully trim it with a utility knife to achieve a neat and streamlined finish. This step contributes to the aesthetic appeal of the installation while ensuring that the weather stripping does not interfere with the operation of the windows.
By following these meticulous steps and applying weather stripping with precision and finesse, you are poised to create a durable and effective seal that enhances the insulation and energy efficiency of your windows. With the weather stripping securely in place, the next crucial phase involves testing the seal to ensure its effectiveness in fortifying your windows against drafts and external elements.
Testing the Seal
With the weather stripping meticulously applied, the final phase involves testing the seal to ensure that it effectively fortifies your windows against drafts and external elements. This critical assessment serves as a quality assurance measure, validating the precision and effectiveness of the weather stripping installation.
Read more: How To Remove Old Weather Stripping
Step 1: Visual Inspection
Begin by conducting a visual inspection of the applied weather stripping. Examine the edges of the window frames to ensure that the weather stripping is securely in place and that there are no gaps or inconsistencies in the seal. Pay close attention to the corners and junctions, as these areas are pivotal in maintaining a snug and durable seal.
Step 2: Close Examination for Gaps
Close the window and carefully inspect the perimeter for any signs of gaps or spaces where external light penetrates. These indicators may point to areas where the weather stripping requires adjustments or additional reinforcement. Address any identified gaps with precision to ensure a comprehensive and airtight seal.
Step 3: Draft Test
To evaluate the effectiveness of the weather stripping in preventing drafts, conduct a draft test by positioning a lit candle or a thin strip of tissue near the edges of the window. Observe any flickering of the candle flame or movement of the tissue, as these indications suggest the presence of air leakage. Rectify any detected drafts by refining the positioning and adhesion of the weather stripping.
Step 4: Moisture Resistance Test
In regions prone to moisture or inclement weather, it is imperative to assess the weather stripping’s resistance to moisture. Conduct a moisture resistance test by simulating the effect of rain or humidity on the window. Inspect the areas where the weather stripping is applied for any signs of moisture infiltration. Address any observed issues to fortify the seal against external elements.
Read more: How To Repair A Car With Weather Stripping
Step 5: Sound Insulation Evaluation
As an additional measure, evaluate the impact of the weather stripping on sound insulation. Close the window and assess the reduction in external noise, gauging the effectiveness of the weather stripping in creating a serene and peaceful living environment. Fine-tune the installation to optimize both insulation and acoustic comfort.
By meticulously testing the seal of the applied weather stripping, you are ensuring that your windows are fortified against drafts, moisture, and external elements while maximizing insulation and energy efficiency. This comprehensive assessment solidifies the effectiveness of the weather stripping installation, contributing to a comfortable, sustainable, and well-insulated living space.
Conclusion
Congratulations on embarking on the enlightening journey of weather stripping for windows, where the fusion of practicality and creativity leads to a home that exudes comfort and energy efficiency. By unraveling the intricacies of weather stripping, understanding its significance, and mastering the art of its application, you have taken a significant step towards enhancing the insulation and sustainability of your living space.
Weather stripping stands as a stalwart guardian, fortifying your windows against the invasion of drafts, moisture, and external pollutants. Through meticulous preparation, precise application, and comprehensive testing, you have fortified your windows with a durable and effective seal, creating a haven of comfort and energy efficiency.
As you revel in the snug embrace of well-insulated windows, adorned with the artful application of weather stripping, take pride in your contribution to a more sustainable and energy-efficient living environment. Your dedication to precision and attention to detail have not only enhanced the insulation of your home but also fostered a serene and peaceful living space, free from the intrusion of drafts and external noise.
Armed with the knowledge and skills acquired on this journey, you are empowered to extend the benefits of weather stripping to other areas of your home, perpetuating the cycle of comfort and energy efficiency. From doors to attic hatches, the principles and practices you have mastered can be applied to fortify various entry points, amplifying the insulation and sustainability of your living space.
As you bask in the comfort and energy efficiency of your well-insulated windows, let this journey serve as a testament to the transformative power of practical knowledge and the art of application. By infusing your living space with the benefits of weather stripping, you have not only created a haven of comfort but also contributed to a more sustainable and energy-efficient world.
So, as you gaze out of your beautifully weather-stripped windows, adorned with the artful fusion of practicality and creativity, take pride in the enduring impact of your efforts. Your home is now a testament to the harmonious blend of comfort, sustainability, and the art of weather stripping.
Frequently Asked Questions about How To Put Weather Stripping On A Window
Was this page helpful?
At Storables.com, we guarantee accurate and reliable information. Our content, validated by Expert Board Contributors, is crafted following stringent Editorial Policies. We're committed to providing you with well-researched, expert-backed insights for all your informational needs.


0 thoughts on “How To Put Weather Stripping On A Window”