Home>Energy>Home Insulation & Ventilation>How To Remove Old Weather Stripping
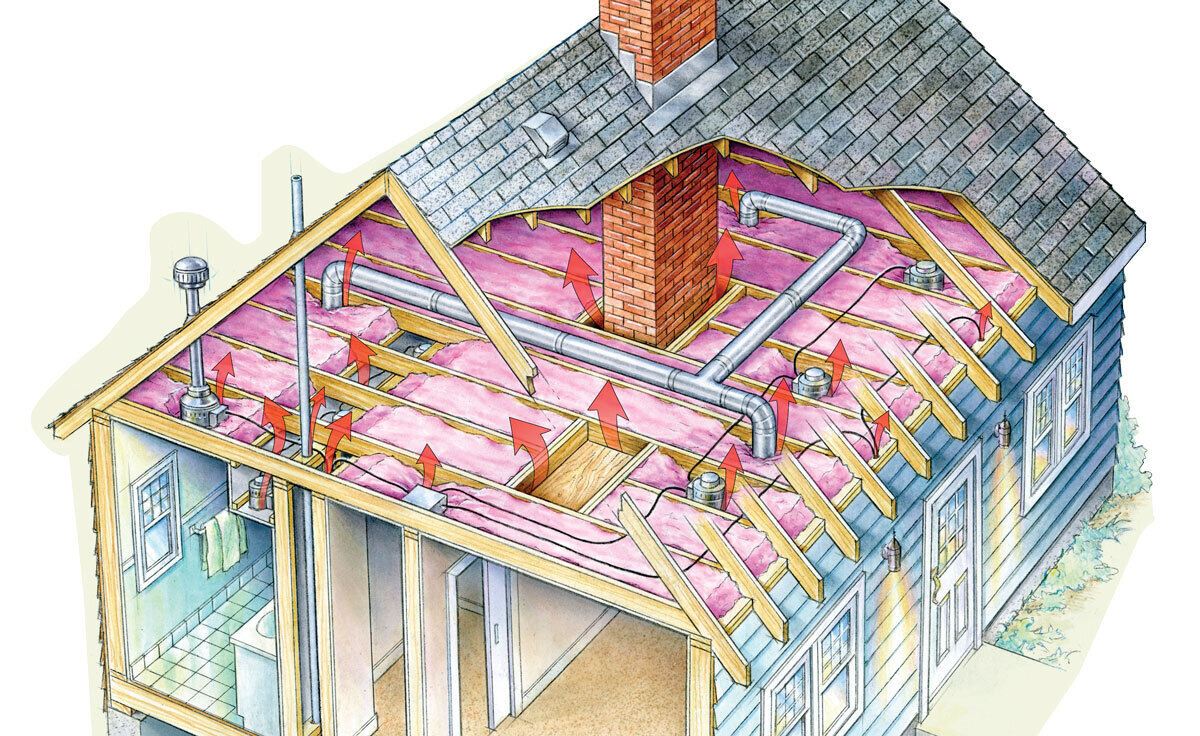
Home Insulation & Ventilation
How To Remove Old Weather Stripping
Modified: October 19, 2024
Learn how to remove old weather stripping and improve home insulation and ventilation with our step-by-step guide. Keep your home comfortable and energy-efficient.
(Many of the links in this article redirect to a specific reviewed product. Your purchase of these products through affiliate links helps to generate commission for Storables.com, at no extra cost. Learn more)
**
Introduction
**
Welcome to the comprehensive guide on removing old weather stripping from your home. Over time, weather stripping can wear down, become less effective, and detract from the overall insulation of your living space. By following the steps outlined in this article, you will be able to assess, remove, and replace old weather stripping, thereby improving the energy efficiency and comfort of your home.
Old weather stripping can lead to drafts, energy loss, and an overworked HVAC system. By taking the time to address this issue, you can potentially reduce your energy bills and create a more comfortable indoor environment. Whether you are a seasoned DIY enthusiast or someone looking to take on a new home improvement project, this guide will provide you with the knowledge and confidence to tackle the task at hand.
Throughout this article, we will explore the step-by-step process of removing old weather stripping, cleaning the surface, and installing new weather stripping. By the end, you will have the expertise to enhance the insulation of your home and ensure that it remains a comfortable and energy-efficient space for years to come. So, roll up your sleeves and get ready to transform your living space by bidding farewell to old weather stripping!
**
Key Takeaways:
- Say goodbye to old weather stripping and hello to energy efficiency! Follow these steps to remove and replace weather stripping for a cozier, cost-effective home.
- Assess, remove, clean, and install new weather stripping to keep your home cozy and energy-efficient. Regular maintenance ensures long-lasting insulation benefits.
Read more: How To Remove Paint From Weather Stripping
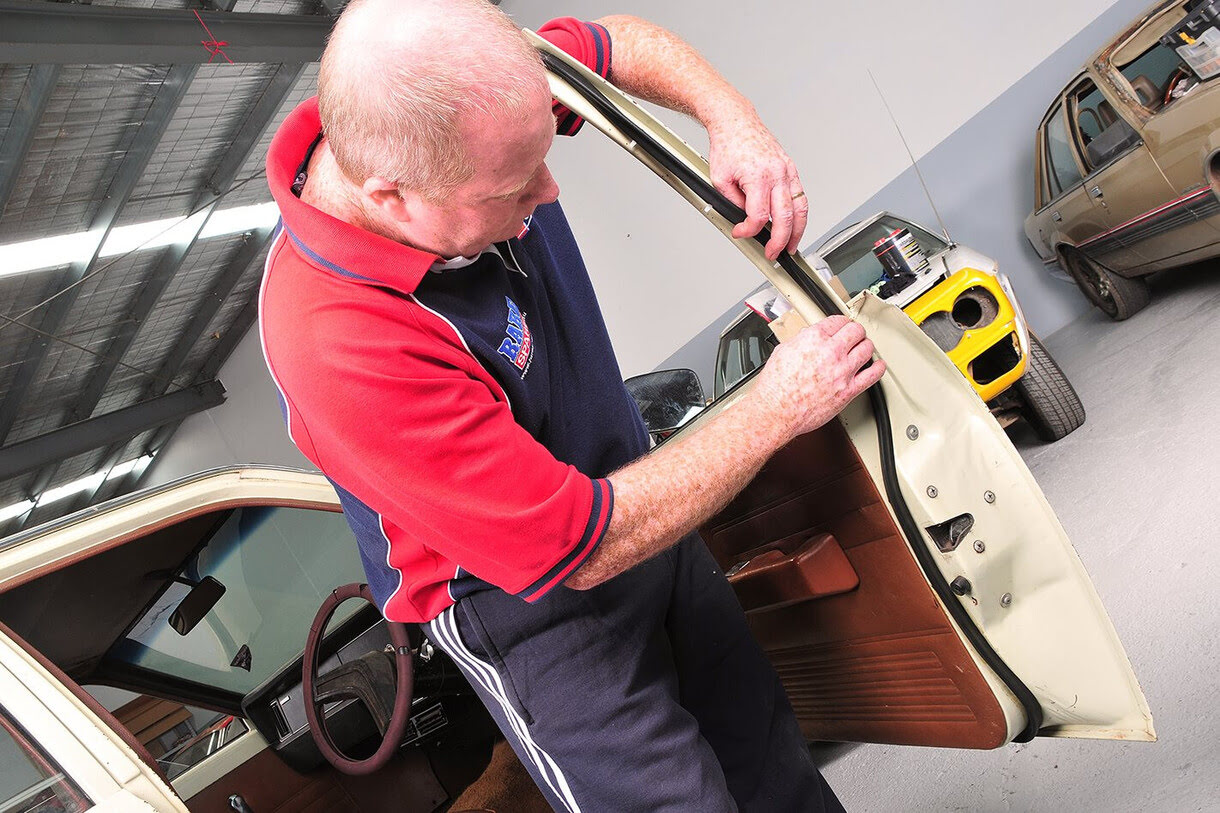
Step 1: Assessing the Weather Stripping
**
Before diving into the removal process, it’s crucial to assess the condition of the existing weather stripping. Start by visually inspecting the weather stripping around doors, windows, and any other areas where it has been installed. Look for signs of wear and tear, such as cracks, gaps, or areas where the stripping has become detached from the surface.
Additionally, pay attention to any drafts or temperature variations near doors and windows, as these can indicate ineffective weather stripping. On a sunny day, you can use the back of your hand to feel for drafts around the edges of doors and windows. If you notice a significant temperature difference or airflow, it’s likely that the weather stripping needs to be replaced.
Another method for assessing the condition of weather stripping is to perform a visual and tactile inspection. Look for any visible damage, such as peeling, warping, or discoloration. Gently run your fingers along the weather stripping to check for brittleness or deterioration. If the weather stripping feels brittle or crumbles upon touch, it is a clear indication that it has reached the end of its lifespan and should be removed and replaced.
Furthermore, consider the age of the weather stripping. If it has been in place for several years and has not been replaced, it is likely due for an upgrade. Aging weather stripping can lose its flexibility and effectiveness, making it less capable of providing a proper seal against the elements.
By thoroughly assessing the condition of the weather stripping, you will gain a clear understanding of the areas that require attention. This evaluation will set the stage for the subsequent steps of removing the old weather stripping and installing new, efficient weather sealing materials.
**
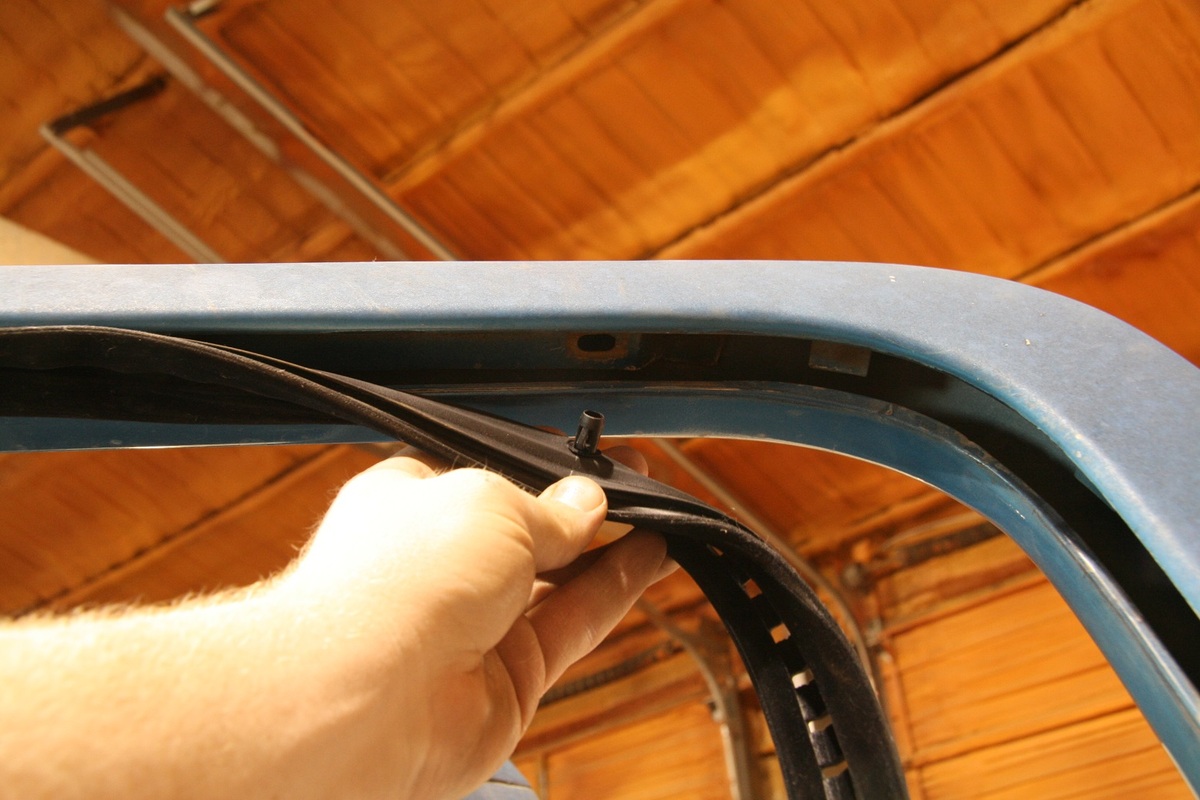
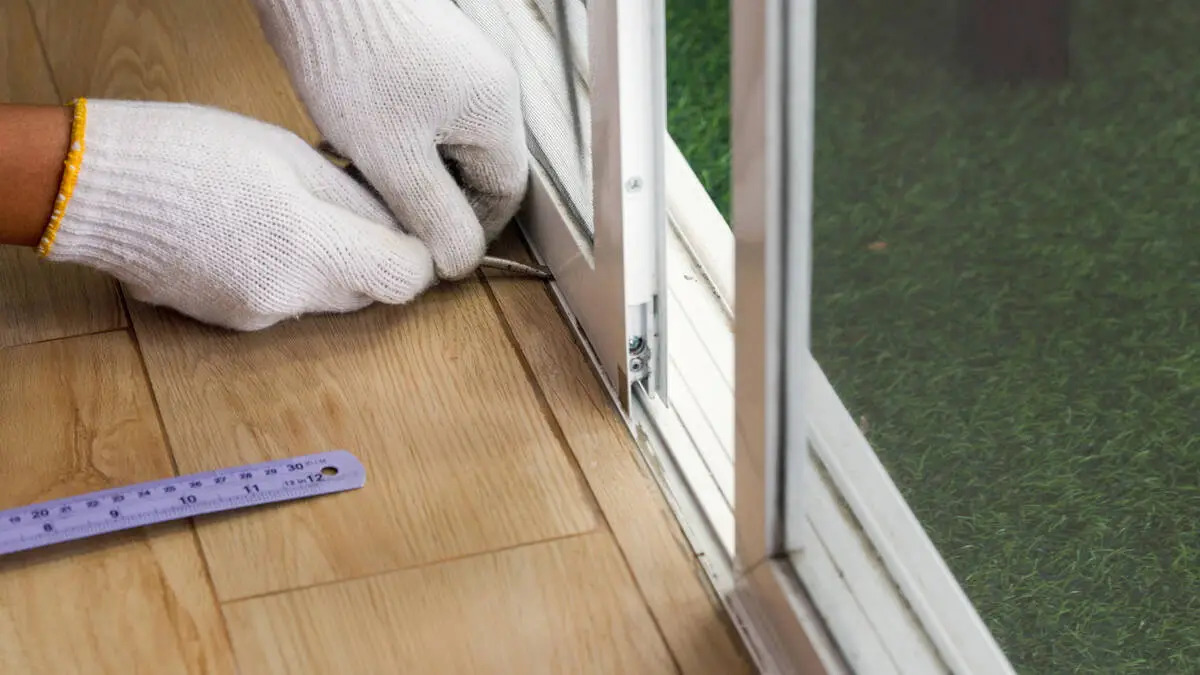
Step 2: Removing the Old Weather Stripping
**
With a comprehensive assessment of the weather stripping completed, it’s time to embark on the removal process. Before starting, gather the necessary tools, including a putty knife, utility knife, pliers, and a heat gun or hairdryer.
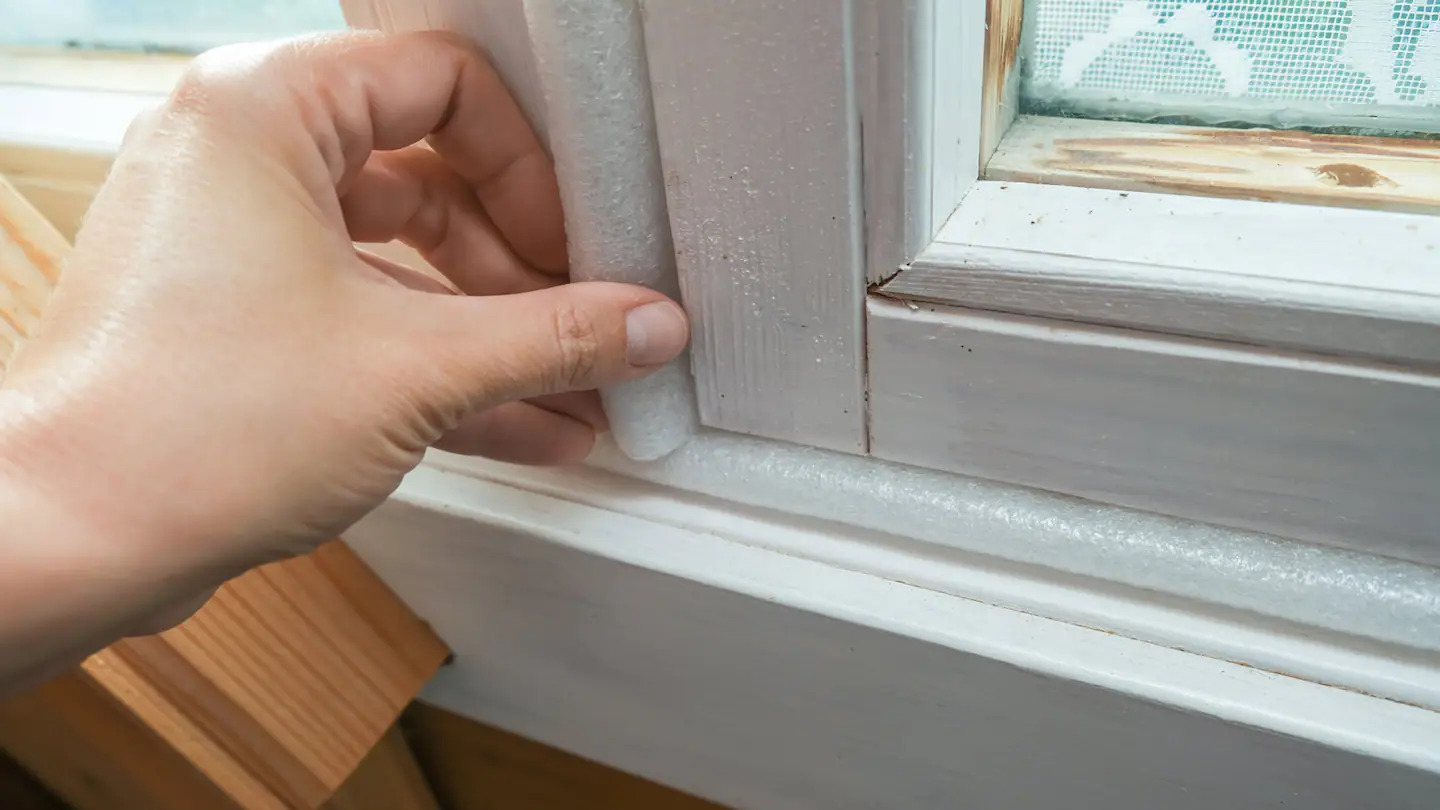
Begin by carefully peeling back a small section of the weather stripping to assess the method of attachment. Weather stripping can be held in place by adhesive, screws, or nails, so understanding the securing method is essential for safe and efficient removal. If the weather stripping is attached with adhesive, a heat gun or hairdryer can be used to gently warm the stripping, softening the adhesive and making it easier to peel away.
For weather stripping secured with screws or nails, use a screwdriver or pliers to remove the fasteners, taking care not to damage the surrounding surfaces. Once any fasteners are removed, carefully pull the weather stripping away from the door or window frame. It’s important to proceed with caution to avoid causing any damage to the underlying surfaces during the removal process.
As you remove the old weather stripping, take note of any residual adhesive or fastener remnants that may be left behind. Use a putty knife or adhesive remover to gently scrape away any remaining adhesive, ensuring that the surface is clean and smooth in preparation for the installation of new weather stripping.
Throughout the removal process, prioritize safety and precision to avoid any accidental damage to the door or window frames. By taking your time and using the appropriate tools, you can effectively remove the old weather stripping, setting the stage for the next crucial step: cleaning the surface in preparation for the installation of new weather sealing materials.
**
Use a putty knife to gently pry up the old weather stripping. Clean the area with a mild detergent and let it dry. Apply new weather stripping according to the manufacturer’s instructions.
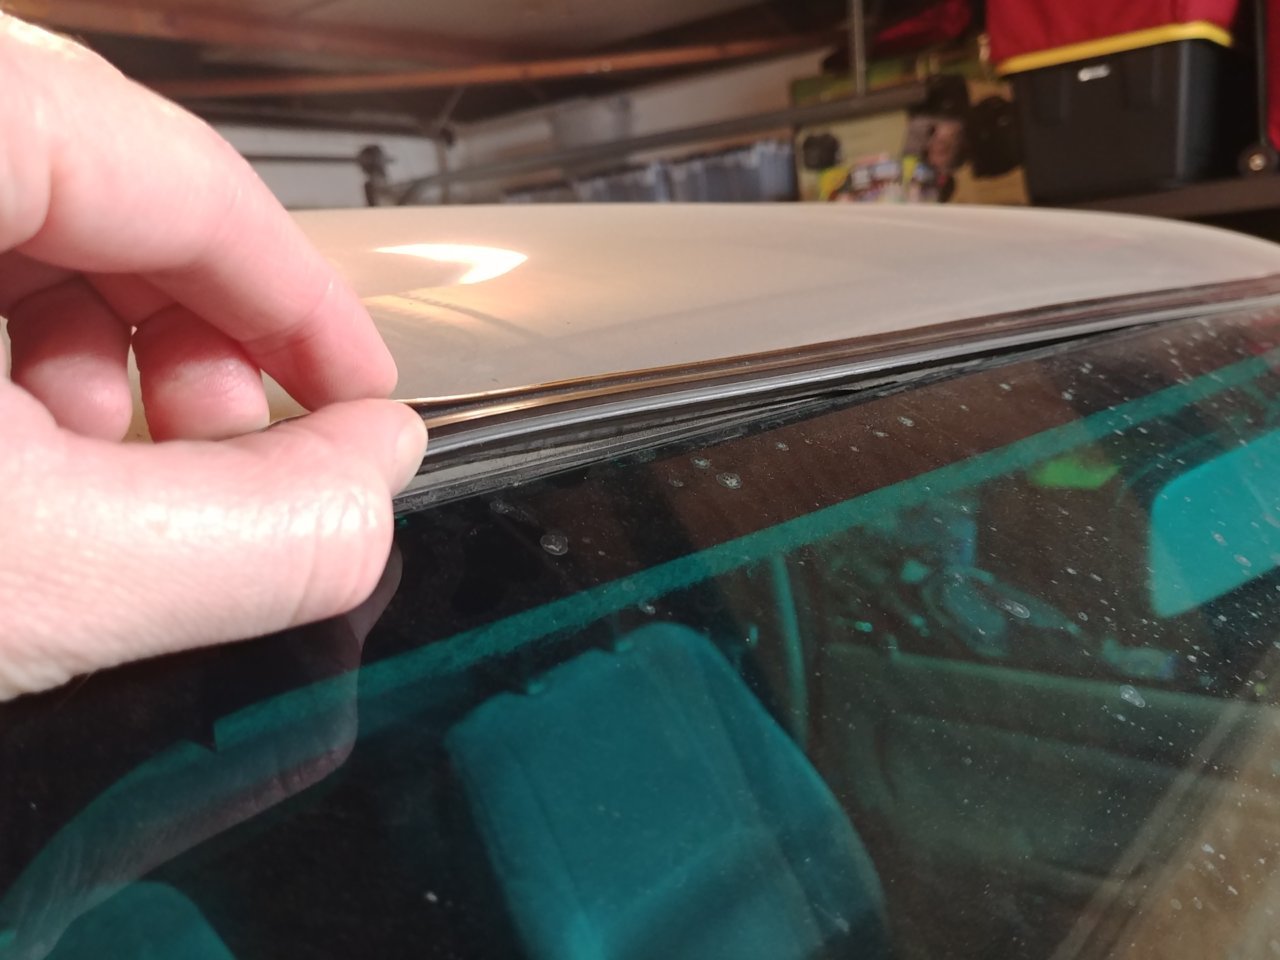
Step 3: Cleaning the Surface
**
After successfully removing the old weather stripping, the next vital step is to thoroughly clean the surface to ensure optimal adhesion and sealing for the new weather stripping. Begin by inspecting the surface for any residual adhesive, dirt, or debris that may impede the proper installation of the new weather sealing materials.
Use a mild detergent or specialized adhesive remover to clean the surface, ensuring that all traces of old adhesive, dirt, and grime are effectively removed. A clean, smooth surface is essential for the new weather stripping to adhere properly and form a tight seal against the elements.
Once the surface has been cleaned, allow it to dry completely before proceeding with the installation of the new weather stripping. A dry surface will promote optimal adhesion, ensuring that the new weather sealing materials bond securely to the door or window frame.
During the cleaning process, pay close attention to any areas that may require additional preparation, such as smoothing out rough or uneven surfaces. A smooth, even surface will facilitate the proper installation and performance of the new weather stripping, enhancing its effectiveness in sealing out drafts and moisture.
By dedicating time and attention to cleaning the surface, you are setting the stage for the successful installation of new weather stripping. A clean, well-prepared surface will ensure that the new weather sealing materials adhere securely and provide the maximum benefit in terms of energy efficiency and insulation.
With the surface meticulously cleaned and prepared, you are now ready to proceed to the final step: installing new weather stripping to enhance the insulation and comfort of your living space.
**
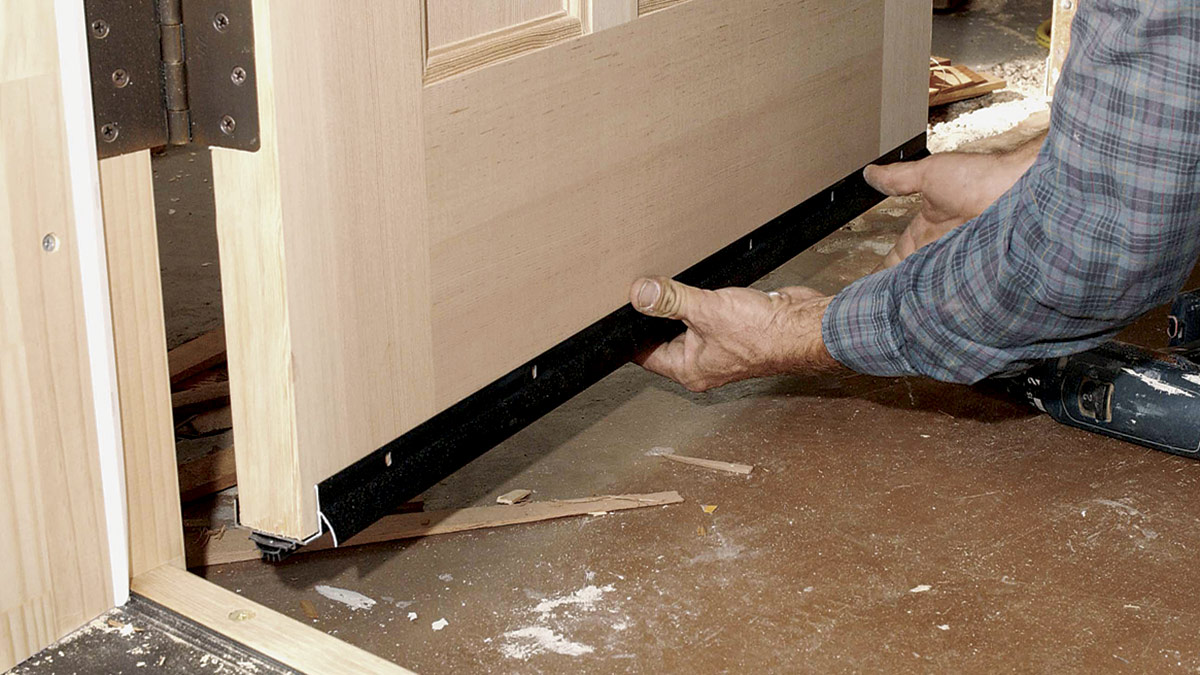
Step 4: Installing New Weather Stripping
**
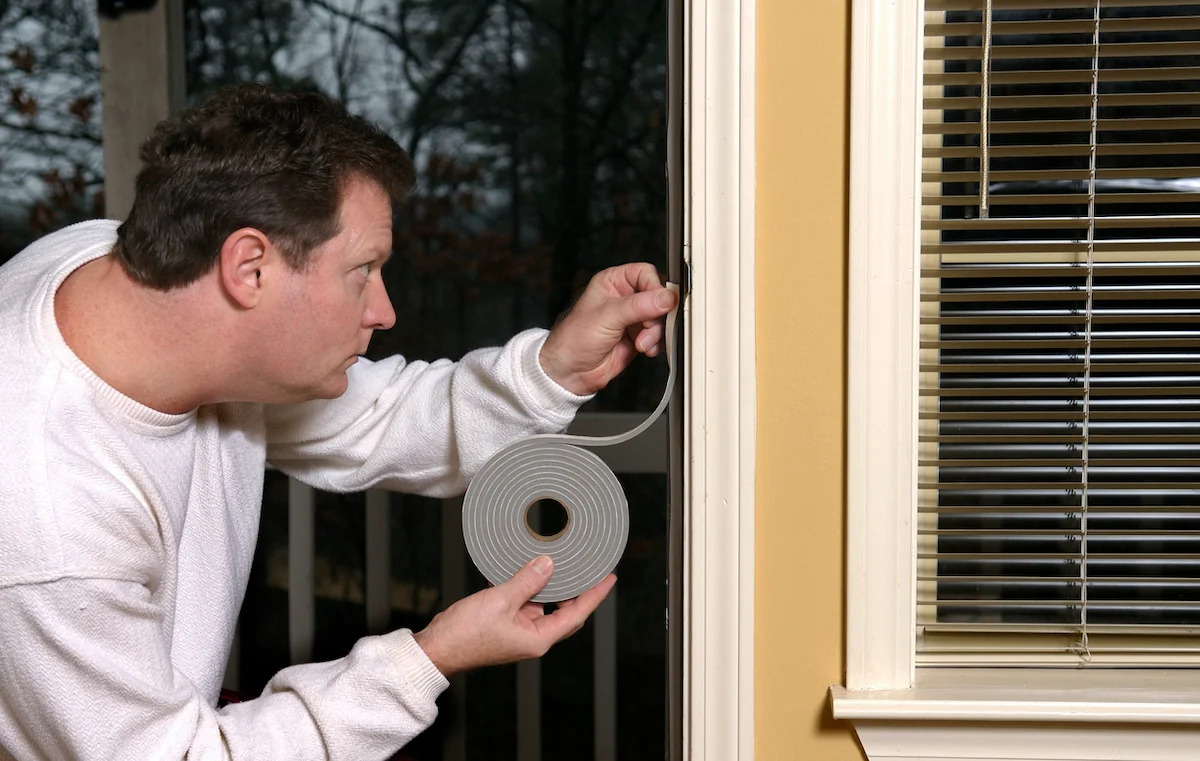
With the surface cleaned and prepared, it’s time to embark on the final step: installing new weather stripping to enhance the insulation and energy efficiency of your home. Before beginning the installation, gather the necessary materials, including the new weather stripping, a utility knife, and any additional tools recommended by the manufacturer.
Start by carefully measuring the dimensions of the door or window frame to determine the required length of the new weather stripping. It’s crucial to ensure that the weather stripping fits snugly without stretching or bunching, as a proper fit is essential for effective sealing and insulation.
Using a utility knife, carefully cut the new weather stripping to the measured length, ensuring clean, precise edges for optimal installation. If the weather stripping features adhesive backing, carefully remove the protective covering to expose the adhesive surface, readying it for secure attachment to the door or window frame.
Align the weather stripping along the edges of the door or window frame, pressing it firmly into place to ensure proper adhesion. Take care to apply even pressure along the entire length of the weather stripping to guarantee a tight seal against drafts and moisture. If the weather stripping requires additional fastening, follow the manufacturer’s guidelines for securing it in place, whether through screws, nails, or other recommended methods.
Once the new weather stripping is securely in place, perform a visual and tactile inspection to confirm that it forms a continuous seal along the edges of the door or window. Check for any gaps, wrinkles, or areas where the weather stripping may not be making full contact with the surface. Making any necessary adjustments at this stage will ensure that the new weather stripping provides effective insulation and energy efficiency.
By diligently following the installation process and paying attention to the details, you can be confident that the new weather stripping will contribute to a more comfortable, energy-efficient living space. With the installation complete, take a moment to appreciate the impact of this simple yet impactful upgrade, knowing that your home is now better equipped to keep out drafts and maintain a consistent, comfortable indoor environment.
**
Read more: What Is Weather Stripping
Conclusion
**
Congratulations! By following the step-by-step process outlined in this guide, you have successfully removed old weather stripping and installed new, efficient sealing materials, enhancing the insulation and energy efficiency of your home. This proactive approach to home maintenance not only contributes to a more comfortable indoor environment but also has the potential to reduce energy costs and minimize the strain on your HVAC system.
Old, deteriorating weather stripping can lead to drafts, energy loss, and decreased comfort within your living space. By taking the initiative to assess, remove, and replace the weather stripping, you have addressed a crucial aspect of home insulation, ensuring that your doors and windows provide a reliable barrier against the elements.
As you bask in the satisfaction of a job well done, take a moment to appreciate the impact of this relatively simple yet impactful upgrade. Your home is now better equipped to maintain a consistent, comfortable temperature, regardless of the weather outside. Additionally, the enhanced insulation provided by the new weather stripping can contribute to a more energy-efficient household, potentially leading to savings on your utility bills.
Remember that regular maintenance and periodic inspections of your home’s weather stripping can help you stay ahead of potential issues and ensure that your living space remains well-insulated and comfortable. By addressing wear and tear in a timely manner, you can prolong the lifespan of your weather stripping and maintain optimal energy efficiency throughout the year.
Thank you for taking the time to invest in the well-being of your home. Your proactive approach to home maintenance and improvement reflects a commitment to creating a comfortable, energy-efficient living environment for you and your family. With the new weather stripping in place, you can enjoy peace of mind, knowing that your home is better equipped to withstand the elements and provide a cozy, draft-free sanctuary for years to come.
Frequently Asked Questions about How To Remove Old Weather Stripping
Was this page helpful?
At Storables.com, we guarantee accurate and reliable information. Our content, validated by Expert Board Contributors, is crafted following stringent Editorial Policies. We're committed to providing you with well-researched, expert-backed insights for all your informational needs.


0 thoughts on “How To Remove Old Weather Stripping”