Home>Furniture & Design>Bathroom Accessories>How To Add A Bidet To A Toilet
Bathroom Accessories
How To Add A Bidet To A Toilet
Modified: October 20, 2024
Learn how to easily add a bidet to your toilet with our step-by-step guide. Upgrade your bathroom with this essential accessory today!
(Many of the links in this article redirect to a specific reviewed product. Your purchase of these products through affiliate links helps to generate commission for Storables.com, at no extra cost. Learn more)
Introduction
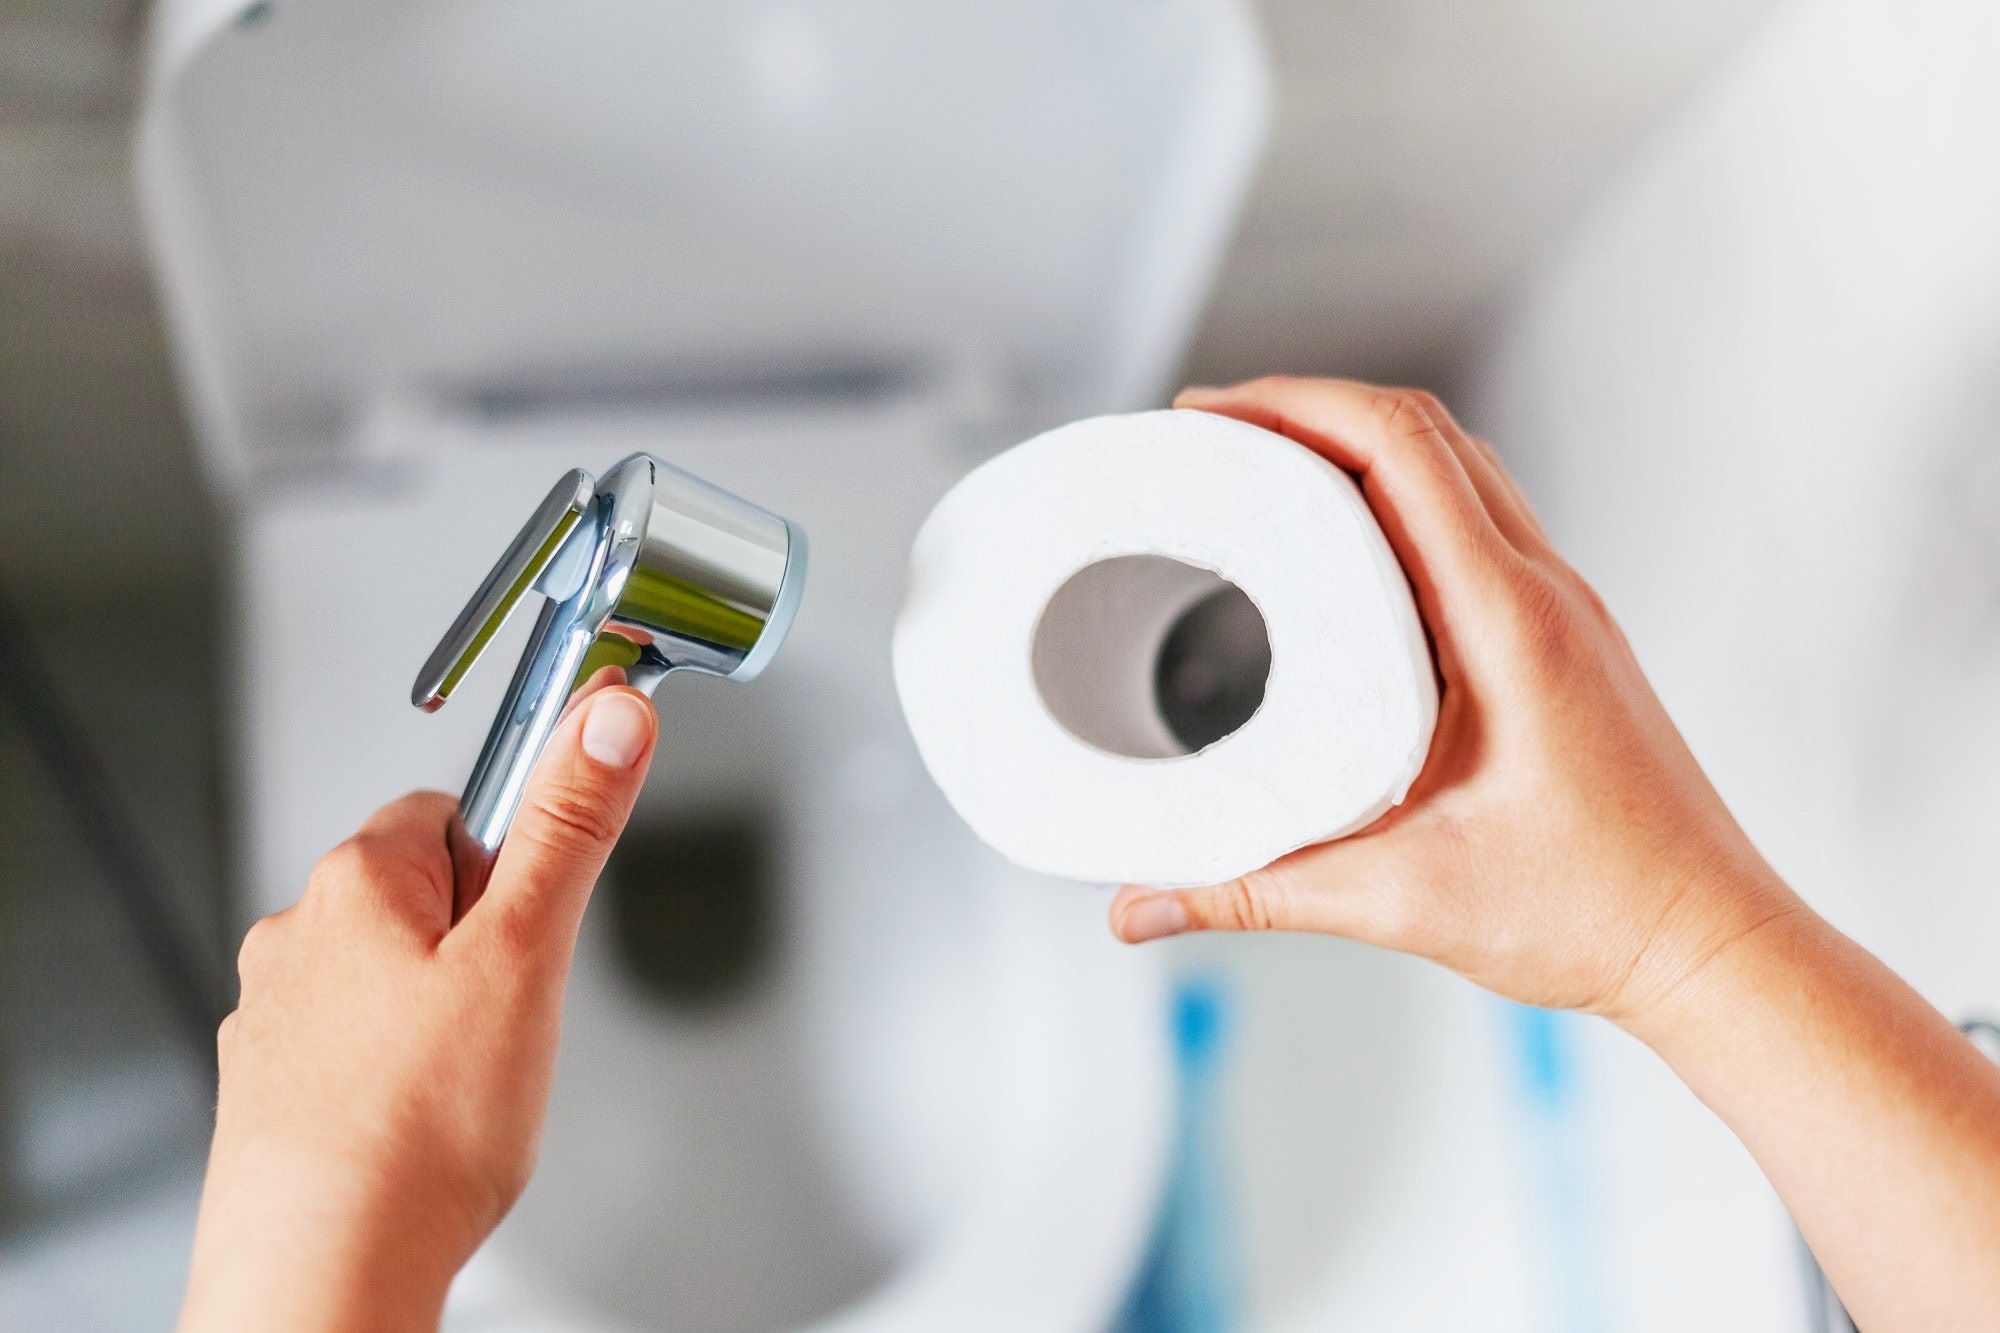
Adding a bidet to a toilet is a simple and effective way to enhance personal hygiene and comfort in the bathroom. Bidets have gained popularity in recent years due to their numerous benefits, including improved cleanliness, reduced toilet paper usage, and a luxurious spa-like experience. Whether you're looking to upgrade your bathroom or simply explore a more hygienic alternative to traditional toilet paper, installing a bidet attachment is a practical and rewarding endeavor.
In this comprehensive guide, we will walk you through the step-by-step process of adding a bidet to your toilet. From gathering the necessary tools and materials to testing and adjusting the bidet settings, you'll gain valuable insights into the installation process. By following these instructions, you can transform your ordinary toilet into a modern and functional fixture that promotes cleanliness and comfort.
With the growing awareness of sustainable living and eco-friendly practices, bidets offer a sustainable solution to reduce paper waste and minimize environmental impact. By embracing the use of bidets, individuals can contribute to a more eco-conscious lifestyle while enjoying the benefits of improved personal hygiene. Additionally, the convenience and ease of use associated with bidet attachments make them a valuable addition to any household, catering to individuals of all ages and abilities.
Whether you're a DIY enthusiast or a homeowner seeking to elevate your bathroom experience, this guide will equip you with the knowledge and confidence to successfully add a bidet to your toilet. Embrace the modern approach to personal hygiene and embark on a journey towards a cleaner, more sustainable lifestyle with the installation of a bidet attachment. Let's dive into the step-by-step process and discover how you can effortlessly upgrade your toilet with this innovative and practical addition.
Key Takeaways:
- Upgrade your toilet with a bidet attachment for improved hygiene, reduced paper waste, and a luxurious spa-like experience. Follow the step-by-step guide for a seamless installation process.
- Embrace sustainable living and modern comfort by adding a bidet attachment to your toilet. Enjoy personalized cleansing and contribute to a cleaner, eco-conscious lifestyle.
Read more: Bidet Toilet: How To Install
Step 1: Gather Necessary Tools and Materials
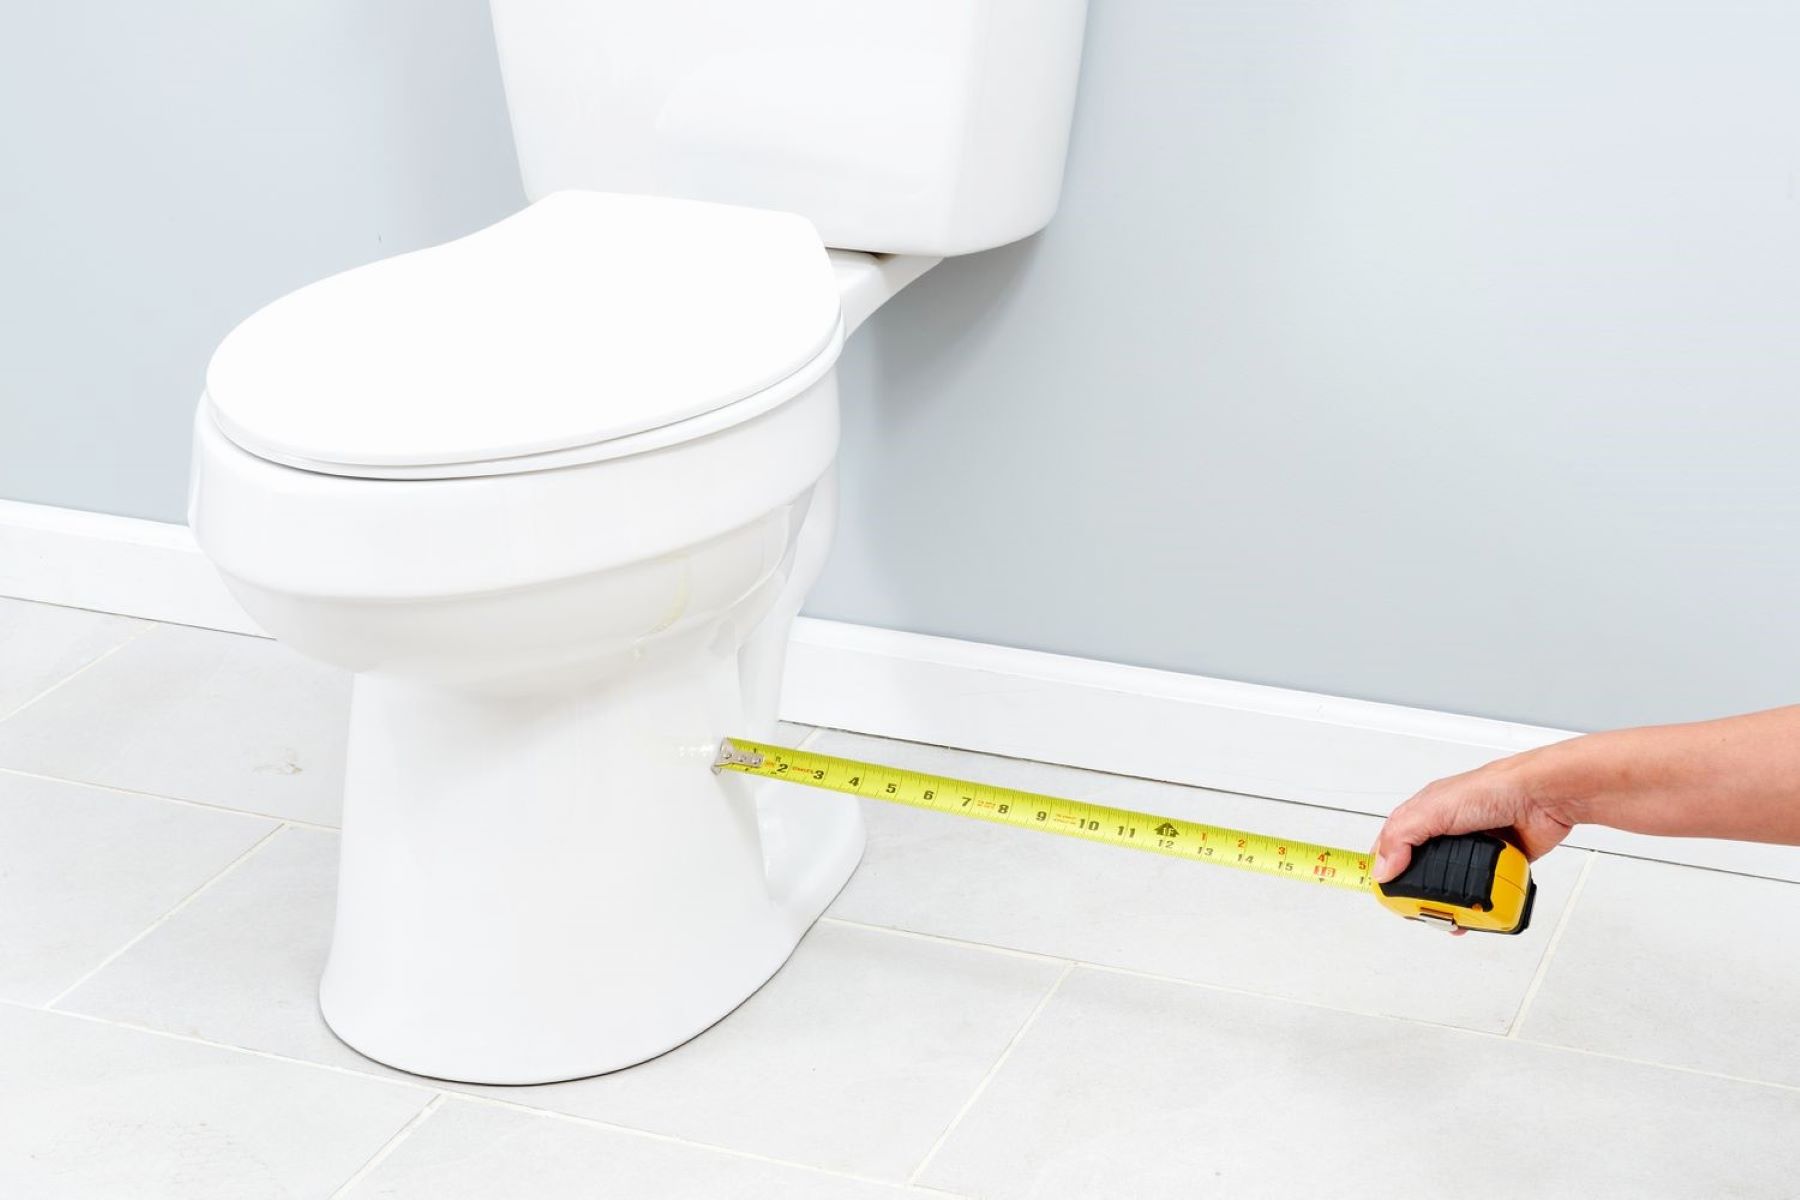
Before embarking on the installation of a bidet attachment, it is essential to gather all the required tools and materials to ensure a smooth and efficient process. By assembling the necessary items beforehand, you can streamline the installation and minimize interruptions. Here's a comprehensive list of tools and materials you'll need:
Tools:
- Adjustable Wrench: This versatile tool will be essential for loosening and tightening nuts and bolts during the installation process.
- Screwdriver: Both flat-head and Phillips-head screwdrivers may be required for removing the existing toilet seat and securing the bidet attachment.
- Teflon Tape: Also known as plumber's tape, this thin white tape is used to seal pipe threads, preventing leaks in the water supply connections.
- Bucket: Having a bucket on hand will be useful for catching any water that may drip during the installation.
- Towel: Keep a towel nearby to wipe up any spills or excess water that may occur during the installation process.
Materials:
- Bidet Attachment: Select a high-quality bidet attachment that is compatible with your toilet model and meets your specific preferences for features such as adjustable water pressure and nozzle positioning.
- Water Supply Adapter: Depending on your toilet's water supply connection, you may need an adapter to ensure compatibility with the bidet attachment.
- Rubber Washers: These small, circular rubber pieces are essential for creating a watertight seal between the bidet attachment and the toilet.
- Bidet Attachment Mounting Hardware: Ensure that all necessary mounting hardware, such as nuts, bolts, and washers, is included with the bidet attachment.
- User Manual: Familiarize yourself with the user manual provided with the bidet attachment to understand the installation instructions and any specific requirements.
By gathering these tools and materials in advance, you can approach the installation process with confidence and preparedness. With everything at your disposal, you'll be ready to proceed to the next step of turning off the water supply and commencing the installation of the bidet attachment.
Step 2: Turn Off Water Supply
Before beginning the installation of a bidet attachment, it is crucial to turn off the water supply to the toilet. This step is essential to prevent any water leakage or potential mess during the installation process. Here's a detailed guide on how to turn off the water supply for a seamless and hassle-free installation:
-
Locate the Shut-Off Valve: The shut-off valve is typically located behind the toilet, near the bottom on the wall or floor. It is a small valve connected to the water supply line leading to the toilet tank.
-
Turn the Valve Clockwise: To shut off the water supply, turn the valve clockwise until it is fully closed. This action will stop the flow of water to the toilet tank and the subsequent bidet attachment.
-
Flush the Toilet: After closing the shut-off valve, flush the toilet to drain any remaining water from the tank and the bowl. This step will help minimize water spillage when disconnecting the water supply line.
-
Prepare for Water Residue: Keep a towel and a small bucket handy to catch any residual water that may drip from the water supply line when disconnecting it from the toilet tank.
By following these steps to turn off the water supply, you can ensure a controlled and tidy environment for the subsequent stages of the bidet attachment installation. Taking the time to properly shut off the water supply demonstrates a proactive approach to the installation process and sets the stage for a successful and efficient upgrade to your toilet.
Remember, safety is paramount when working with water-related fixtures, so always exercise caution and attentiveness when handling the water supply shut-off valve. With the water supply turned off and the toilet flushed, you are now ready to proceed to the next step of removing the existing toilet seat in preparation for the bidet attachment installation.
Read more: How To Use A Bidet Toilet Seat
Step 3: Remove Existing Toilet Seat
Removing the existing toilet seat is a fundamental step in the process of adding a bidet attachment to your toilet. This task requires careful attention to detail and a systematic approach to ensure a smooth transition to the installation phase. Here's a detailed guide on how to remove the existing toilet seat:
-
Gather Necessary Tools: Before starting, ensure you have the required tools, including a screwdriver. Different toilet seat models may have varying mechanisms for attachment, so it's essential to use the appropriate tools for your specific toilet.
-
Locate the Seat Fasteners: Examine the underside of the toilet seat to locate the fasteners or bolts securing it to the toilet bowl. In most cases, these fasteners are located at the back of the seat, where it connects to the bowl.
-
Unscrew the Fasteners: Using a screwdriver, carefully unscrew the fasteners while holding the nuts in place. Some toilet seats may have plastic covers over the fasteners, which can be pried open to access the screws.
-
Lift and Remove the Seat: Once the fasteners are unscrewed, lift the toilet seat and carefully remove it from the toilet bowl. Be mindful of any residual adhesive or debris that may be present on the bowl's surface.
-
Clean the Area: With the toilet seat removed, take the opportunity to clean the area where the seat was attached. Wipe the bowl's surface to ensure it is free from any dirt or residue, preparing it for the installation of the bidet attachment.
By following these steps to remove the existing toilet seat, you can effectively prepare the toilet for the subsequent installation of the bidet attachment. Taking the time to execute this process with precision sets the stage for a seamless transition to the next phase of the installation, ensuring that the bidet attachment can be securely and efficiently mounted onto the toilet.
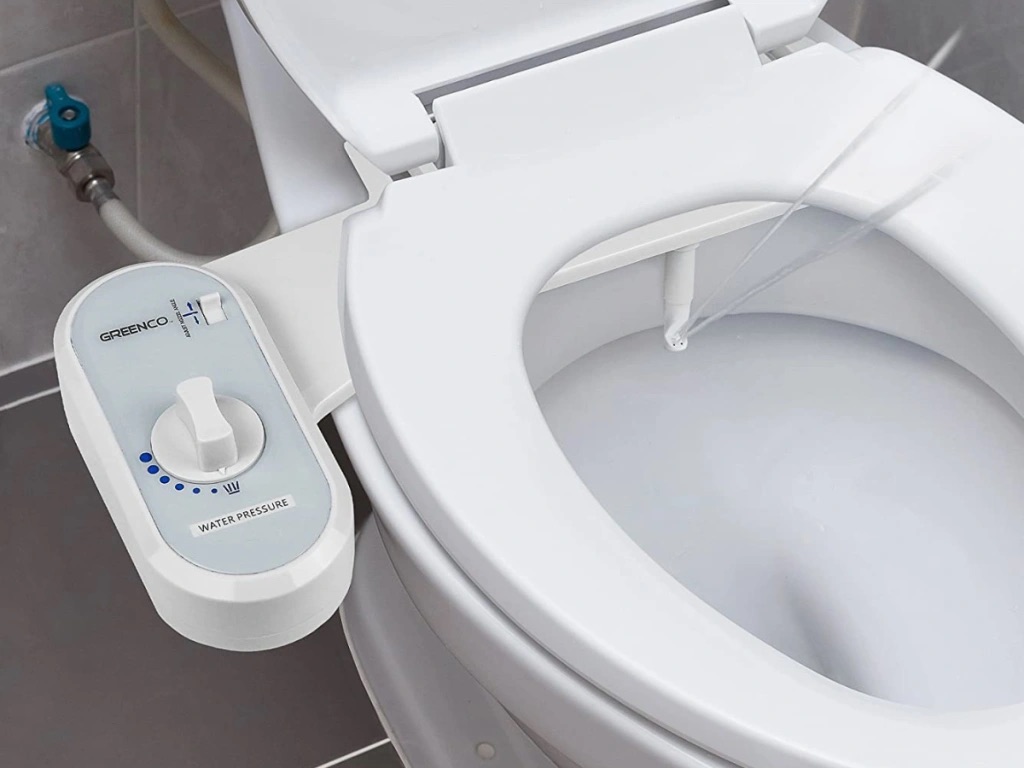
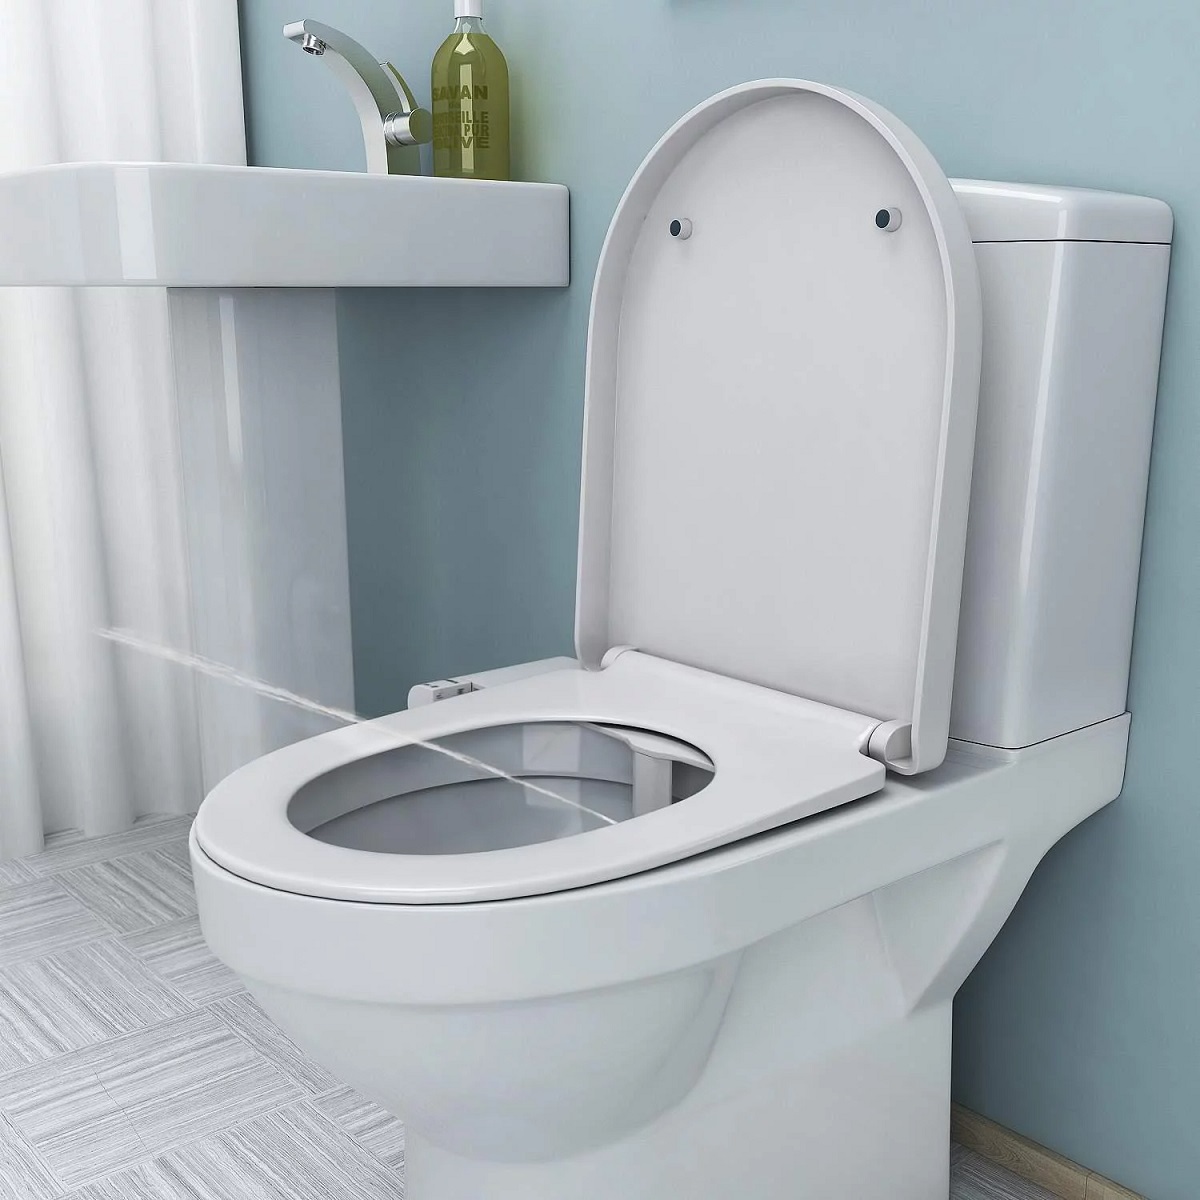
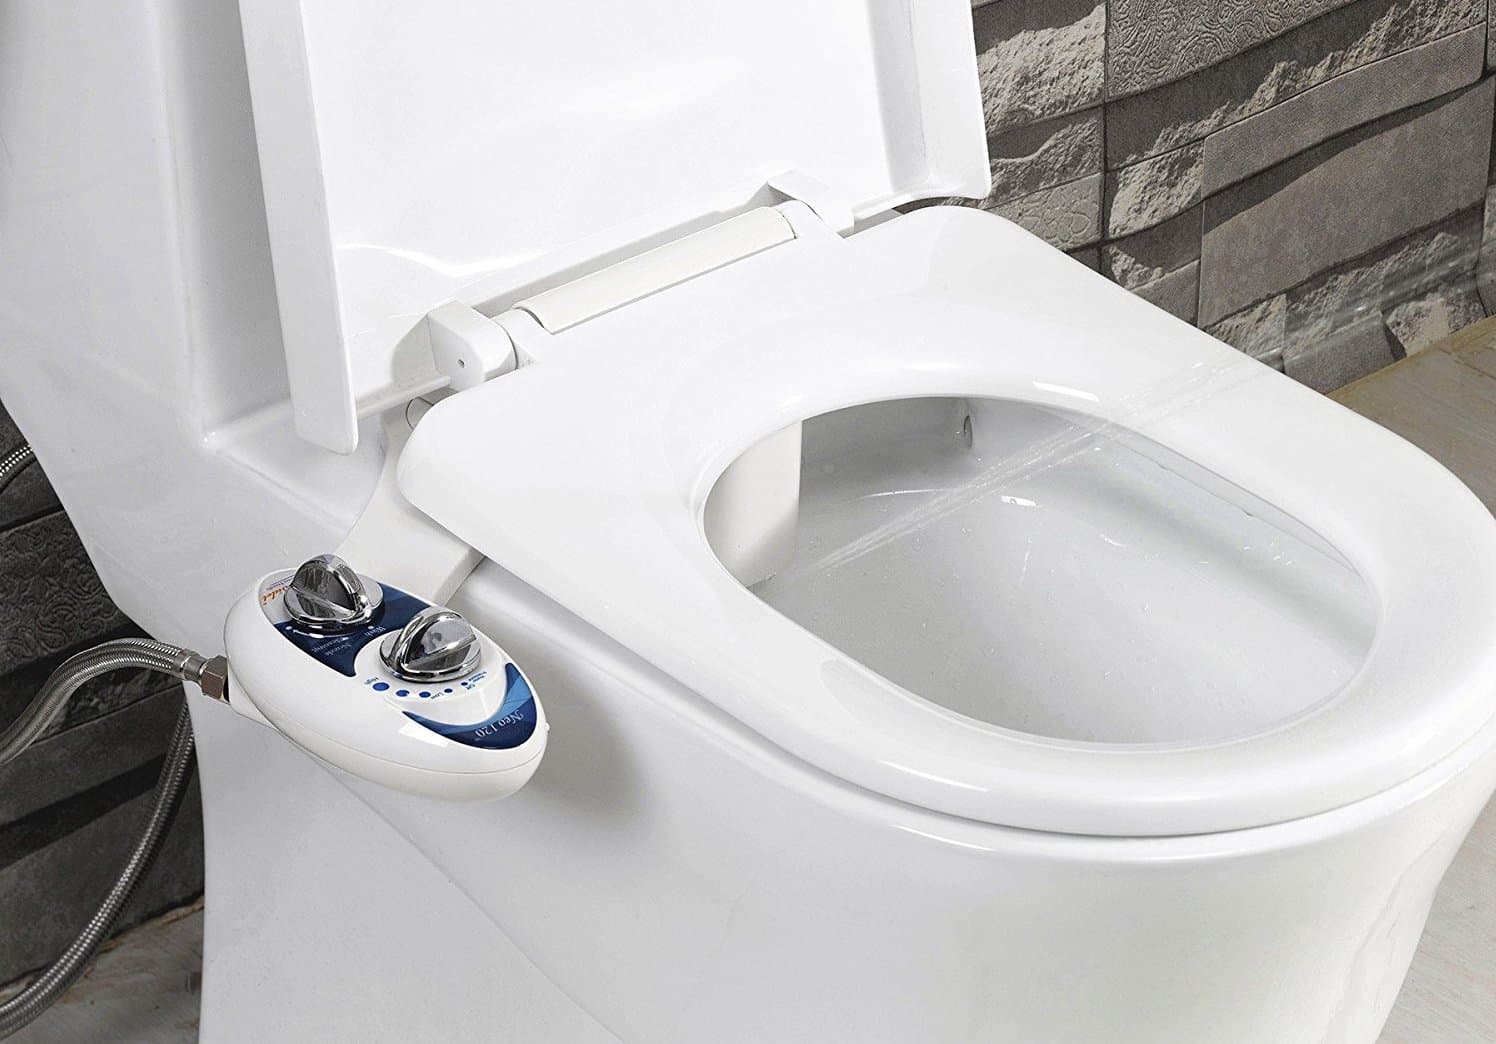
Step 4: Install Bidet Attachment
With the existing toilet seat removed and the necessary tools and materials at hand, you are now ready to proceed with the installation of the bidet attachment. This pivotal step marks the transformation of your conventional toilet into a modern, hygienic fixture that offers enhanced comfort and cleanliness. Here's a detailed guide on how to install the bidet attachment:
-
Position the Bidet Attachment: Carefully position the bidet attachment over the bolt holes on the toilet bowl. Ensure that the attachment aligns with the holes and sits securely on the bowl's surface.
-
Secure the Attachment: Using the provided mounting hardware, such as nuts, bolts, and rubber washers, secure the bidet attachment in place. Tighten the fasteners evenly to ensure a stable and balanced attachment to the toilet bowl.
-
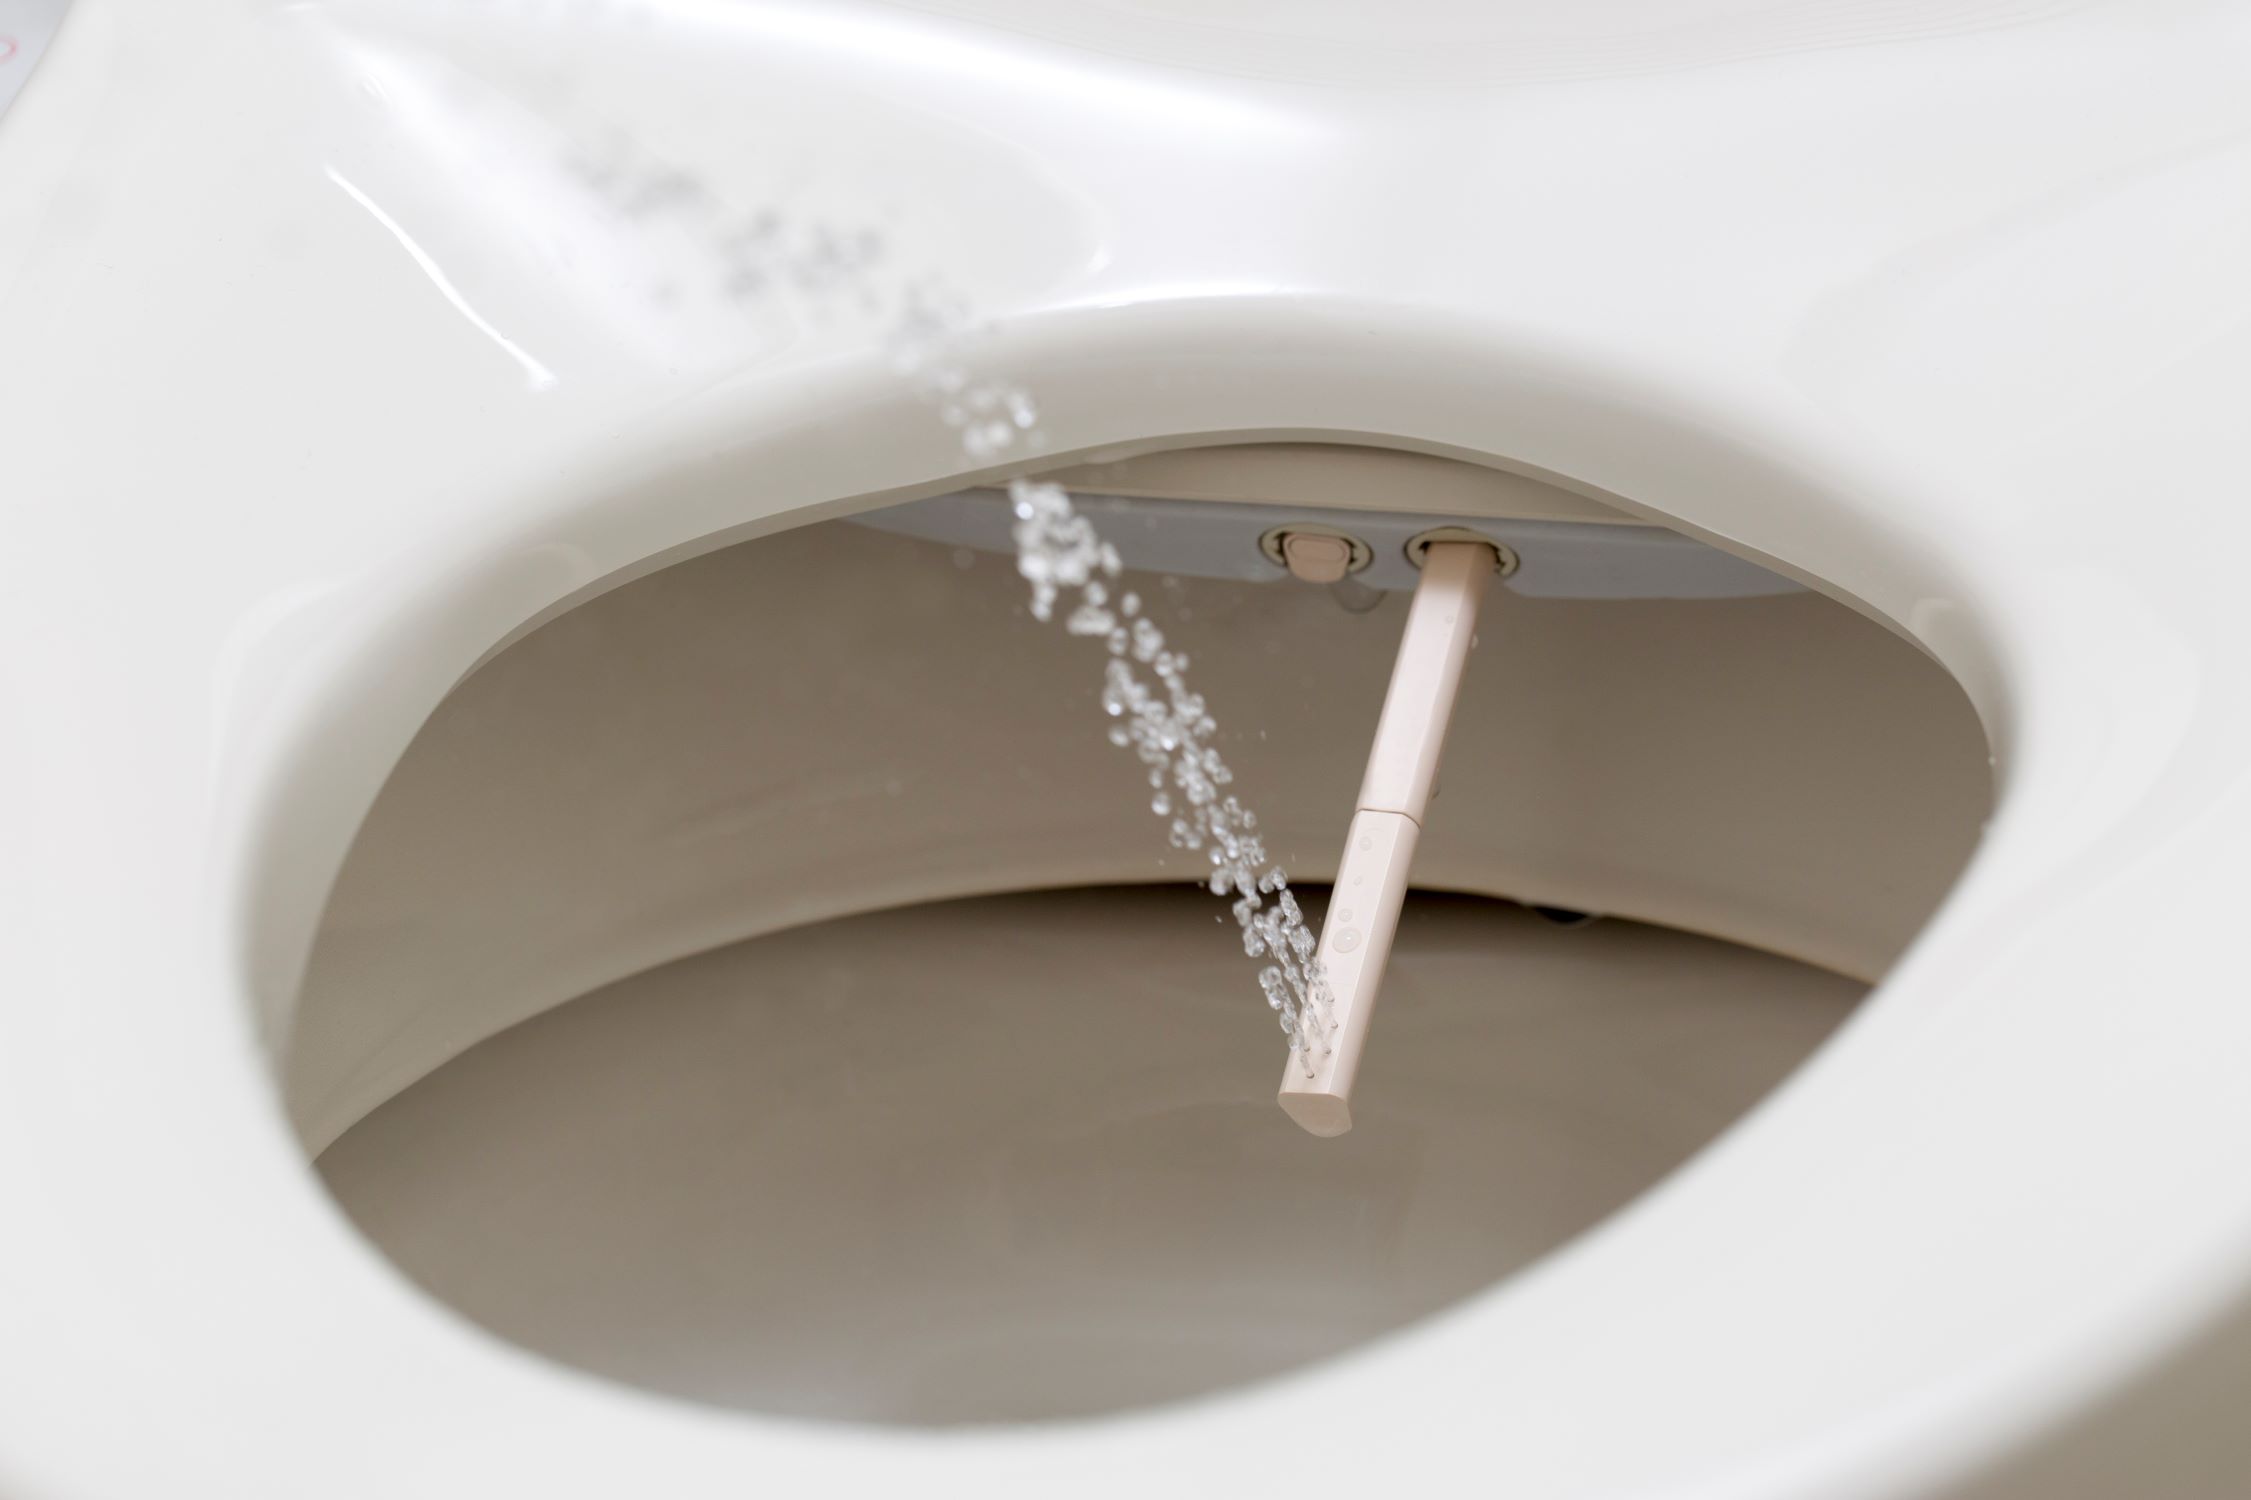
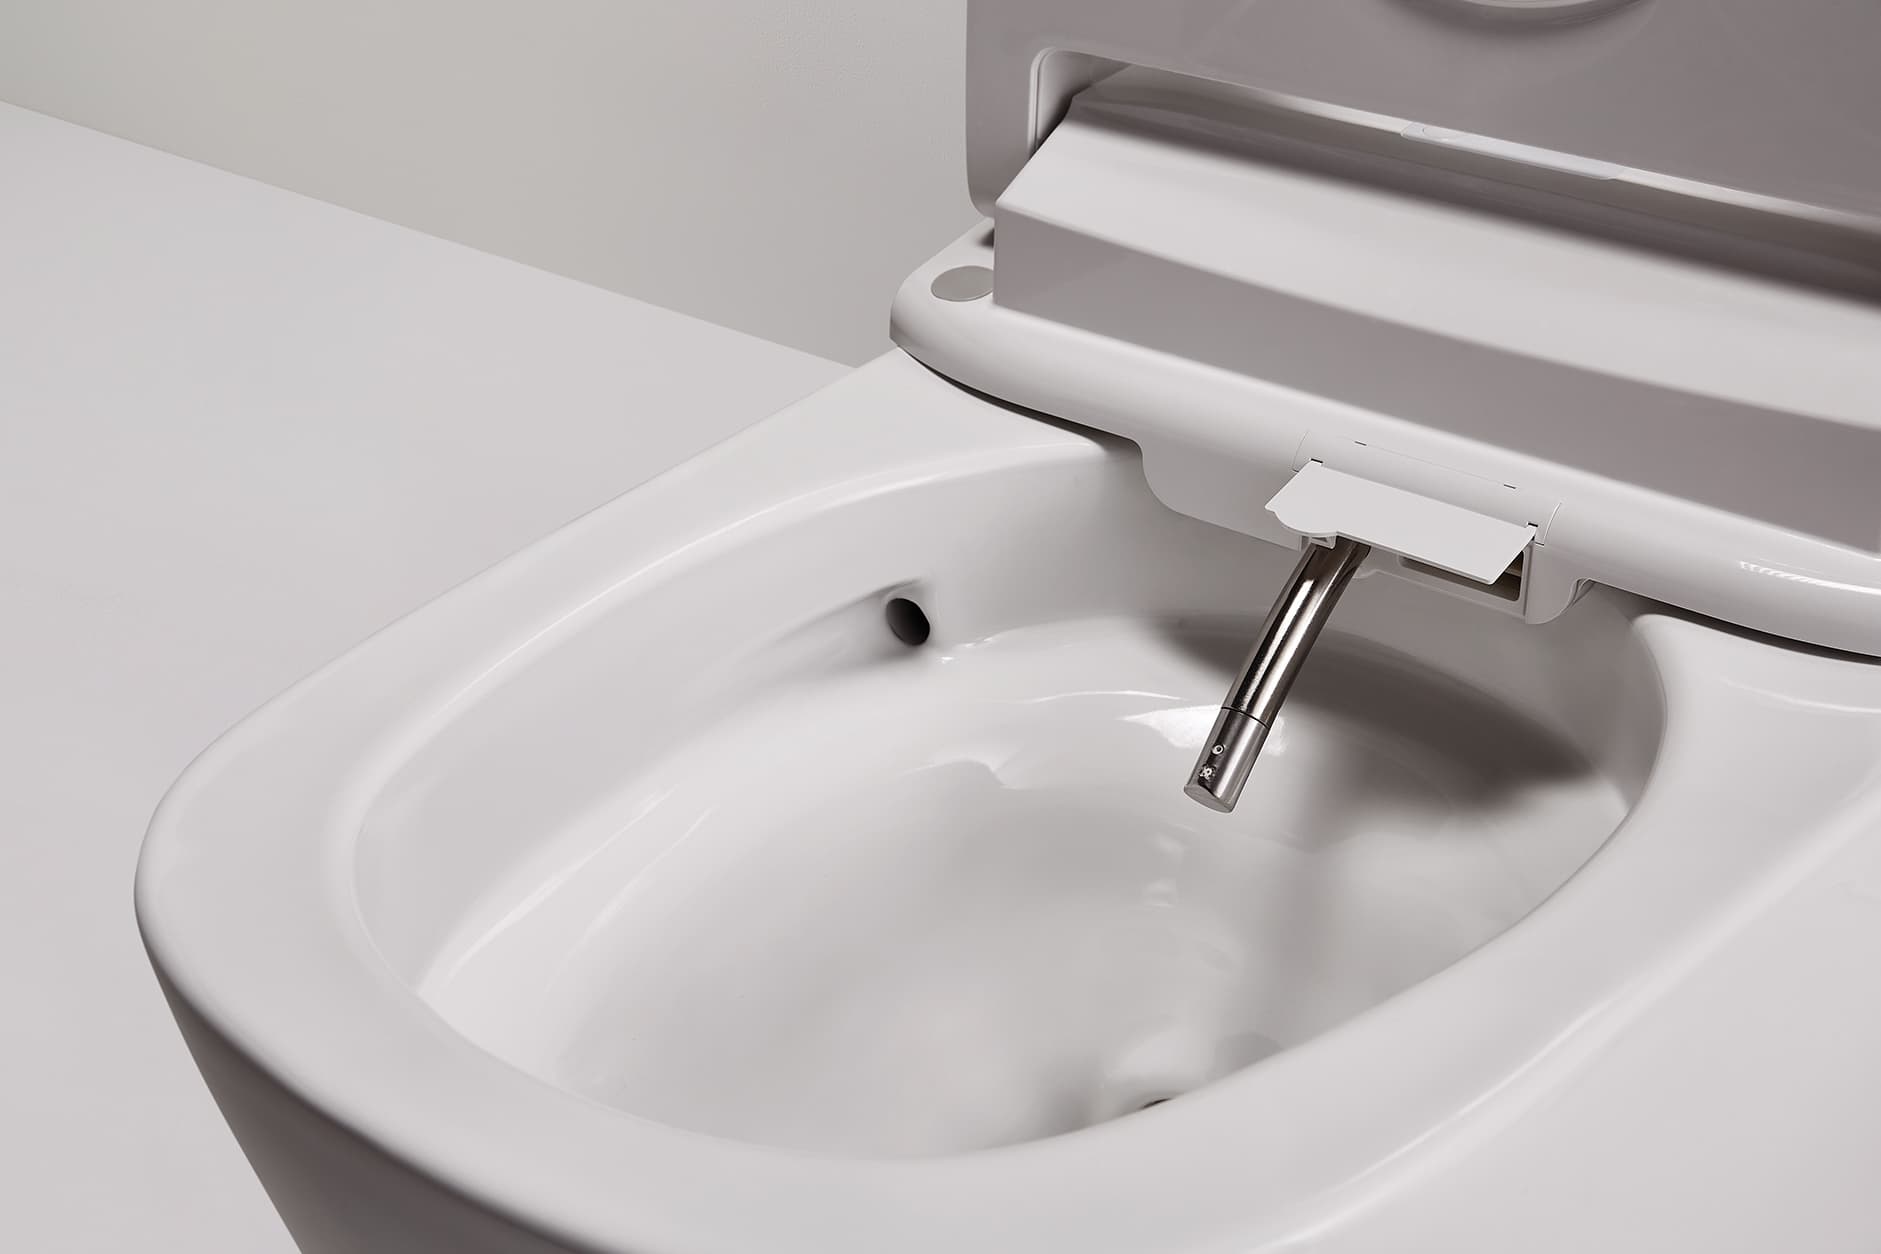
Adjust Nozzle Positioning: Depending on the design of the bidet attachment, you may have the option to adjust the positioning of the cleansing nozzle. Follow the manufacturer's instructions to customize the nozzle's angle and reach according to your preferences.
-
Connect Water Supply: Locate the water supply connection on the bidet attachment and carefully connect it to the toilet's water supply line. Use Teflon tape to seal the threaded connections and prevent any potential leaks.
-
Double-Check Connections: Once the bidet attachment is secured and the water supply is connected, double-check all the connections to ensure they are tight and leak-free. This step is crucial to prevent any water-related issues once the bidet is in use.
-
Refer to the User Manual: Consult the user manual provided with the bidet attachment for any specific installation guidelines or additional steps recommended by the manufacturer. Following the manufacturer's instructions will help ensure a successful and trouble-free installation.
By following these steps to install the bidet attachment, you can effectively integrate this innovative and practical fixture into your bathroom. The installation process represents a significant upgrade to your toilet, offering a modern approach to personal hygiene and comfort. With the bidet attachment securely in place, you are now ready to proceed to the next step of connecting the water supply and testing the bidet settings.
The successful installation of the bidet attachment sets the stage for a transformative and rewarding experience, elevating your bathroom's functionality and promoting enhanced cleanliness and comfort for everyday use.
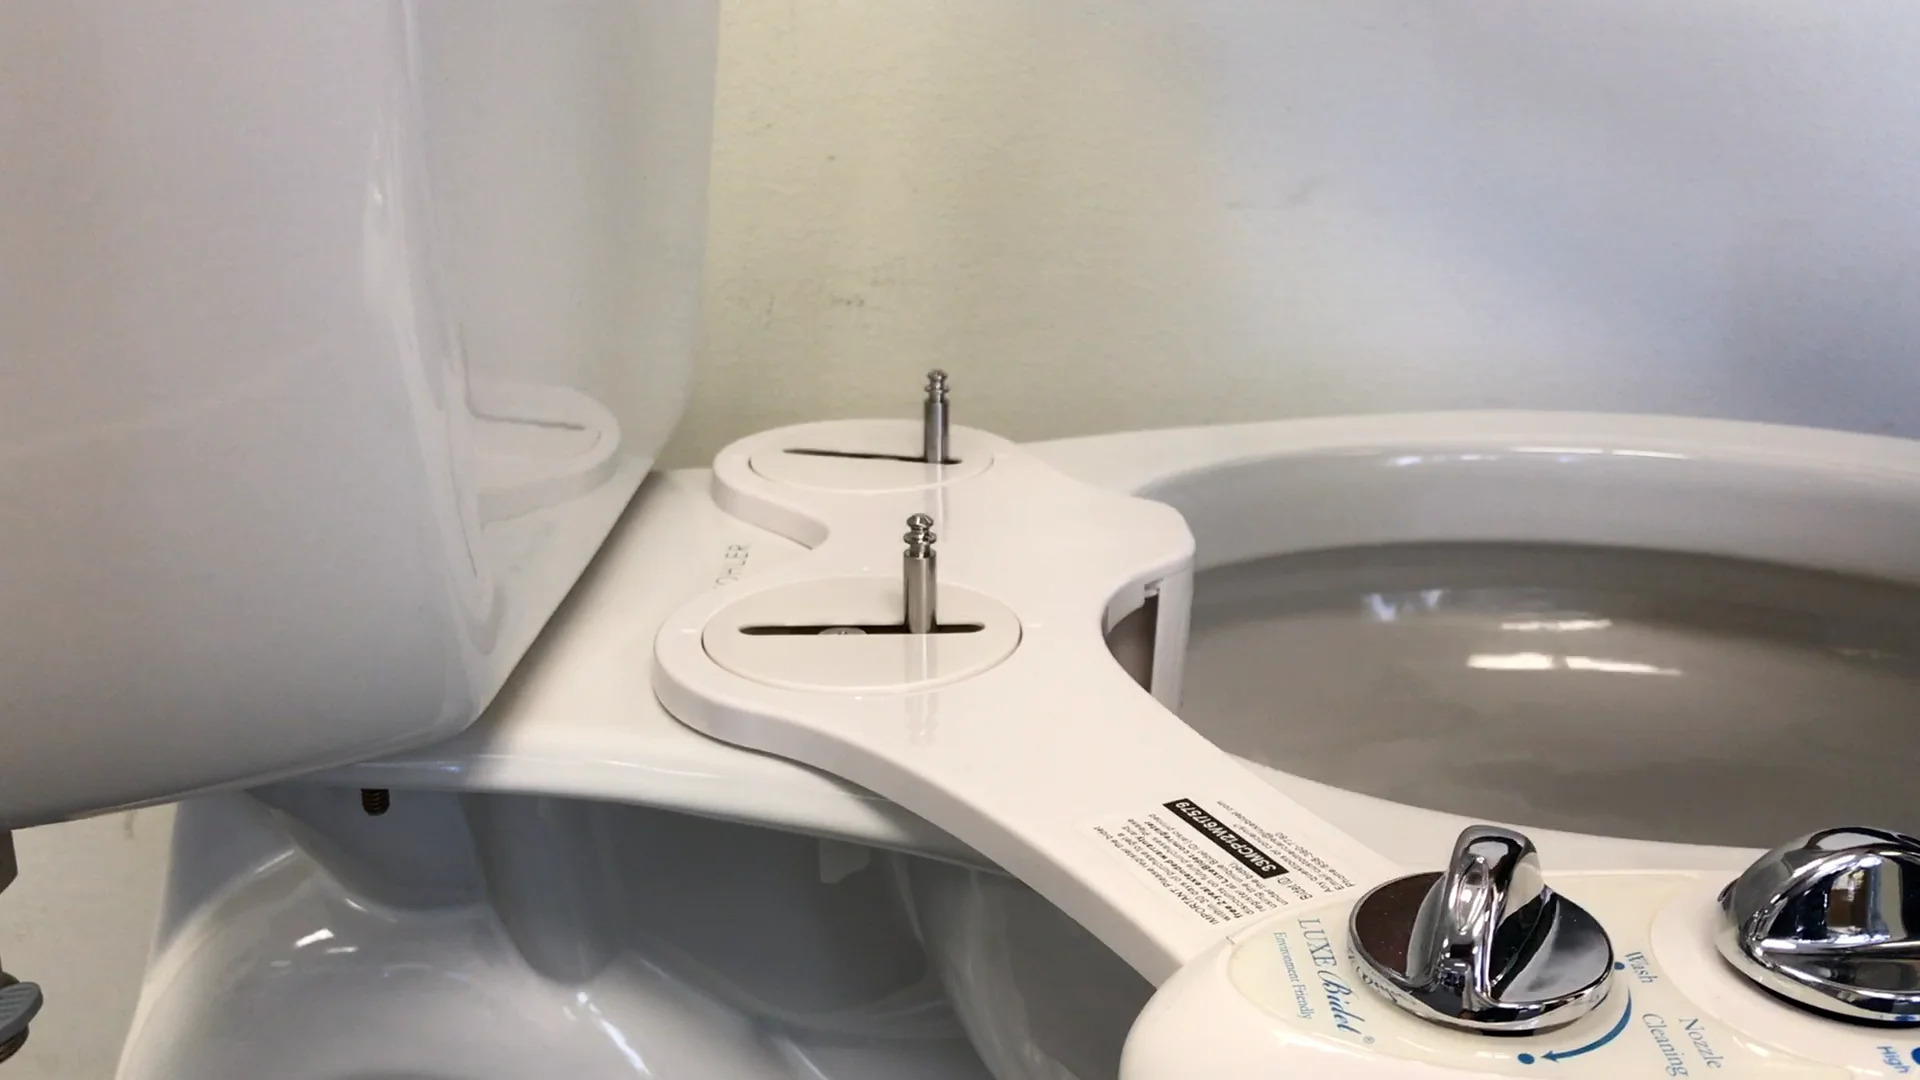
Step 5: Connect Water Supply
Connecting the water supply is a crucial step in the installation of a bidet attachment, as it ensures the proper functioning of the cleansing mechanism. This process involves establishing a secure and leak-free connection between the bidet attachment and the toilet's water supply line. Here's a detailed guide on how to connect the water supply to the bidet attachment:
-
Locate the Water Supply Connection: Identify the water supply connection point on the bidet attachment. This connection point is typically located at the rear or underside of the attachment and is designed to receive the water supply line.
-
Prepare the Water Supply Line: Before making the connection, ensure that the water supply line is clean and free from any debris or damage. If necessary, trim the water supply line to the appropriate length, taking care to maintain a clean and straight cut.
-
Apply Teflon Tape: To create a secure and watertight seal, wrap the threaded end of the water supply line with Teflon tape. This tape acts as a sealant, preventing any potential leaks at the connection point.
-
Connect the Water Supply Line: Carefully thread the prepared end of the water supply line into the water supply connection on the bidet attachment. Use a clockwise motion to tighten the connection, ensuring that it is snug and secure.
-
Double-Check the Connection: Once the water supply line is connected, double-check the tightness of the connection to ensure that it is secure and leak-free. Any signs of leakage or looseness should be addressed immediately to prevent water-related issues during use.
-
Turn On the Water Supply: With the water supply line securely connected, slowly turn on the shut-off valve to restore the flow of water to the toilet and the newly installed bidet attachment. Monitor the connection for any signs of leakage as the water supply is restored.
-
Test the Water Flow: Once the water supply is restored, test the water flow through the bidet attachment to ensure that it is functioning as intended. Adjust the water pressure and temperature settings as per the manufacturer's instructions to customize the cleansing experience.
By following these steps to connect the water supply to the bidet attachment, you can ensure a seamless and effective integration of this innovative fixture into your bathroom. The secure and reliable connection of the water supply is essential for the optimal performance of the bidet attachment, providing a hygienic and comfortable cleansing experience. With the water supply successfully connected, you are now ready to proceed to the next step of testing and adjusting the bidet settings to personalize your experience.
When adding a bidet to a toilet, make sure to turn off the water supply before starting the installation process. This will prevent any leaks or water damage.
Step 6: Test and Adjust Bidet Settings
With the bidet attachment successfully installed and the water supply connected, it's time to test and adjust the bidet settings to personalize your cleansing experience. This step allows you to fine-tune the water pressure, nozzle positioning, and any additional features offered by the bidet attachment. By customizing the settings to your preferences, you can ensure a comfortable and effective cleansing experience tailored to your individual needs.
Here's a detailed guide on how to test and adjust the bidet settings:
-
Activate the Bidet: Begin by activating the bidet attachment according to the manufacturer's instructions. This may involve pressing a button, turning a dial, or using a remote control, depending on the design of the bidet attachment.
-
Adjust Water Pressure: Explore the range of water pressure settings available on the bidet attachment. Start with the lowest pressure setting and gradually increase it to find the level that is most comfortable and effective for you. Pay attention to the sensation and coverage of the water spray to determine the optimal pressure.
-
Customize Nozzle Positioning: If the bidet attachment offers adjustable nozzle positioning, experiment with different angles and positions to find the most suitable configuration for your cleansing needs. Ensure that the nozzle effectively targets the desired area for thorough and comfortable cleansing.
-
Explore Additional Features: Some bidet attachments may include additional features such as oscillating or pulsating spray patterns, adjustable water temperature, or air drying functionality. Take the time to explore these features and customize them to enhance your overall cleansing experience.
-
Consider User Preferences: If multiple individuals will be using the bidet attachment, consider their preferences and adjust the settings accordingly. The ability to save personalized settings, if available, can streamline the user experience for each individual.
-
Refer to the User Manual: Consult the user manual provided with the bidet attachment for specific guidance on adjusting the settings and making the most of the available features. The manufacturer's recommendations can offer valuable insights into optimizing the bidet attachment for your comfort and satisfaction.
By testing and adjusting the bidet settings, you can ensure that the attachment is tailored to your preferences, providing a personalized and effective cleansing experience. This step allows you to harness the full potential of the bidet attachment, maximizing its benefits and enhancing your overall bathroom routine. With the settings adjusted to your satisfaction, you are now ready to enjoy the modern convenience and comfort offered by the newly installed bidet attachment.
Read more: What Is A Bidet Toilet Seat
Step 7: Reinstall Toilet Seat
After successfully installing the bidet attachment and customizing the settings to your preferences, the final step involves reinstalling the toilet seat to complete the transformation of your toilet. Reattaching the toilet seat is a straightforward yet essential task that adds the finishing touch to the installation process. Here's a detailed guide on how to reinstall the toilet seat:
-
Position the Toilet Seat: Place the toilet seat over the bowl, aligning it with the bolt holes and ensuring that it sits evenly and securely on the rim of the bowl.
-
Secure the Seat Fasteners: Using the appropriate fasteners or bolts, secure the toilet seat in place by threading the fasteners through the bolt holes on the bowl. Depending on the type of fasteners, you may need to hold the nuts in place while tightening the bolts from the top of the seat.
-
Tighten the Fasteners: Using a screwdriver, carefully tighten the fasteners to secure the toilet seat in place. Ensure that the seat is stable and does not shift or wobble when pressure is applied.
-
Check for Stability: Once the fasteners are tightened, gently test the stability of the toilet seat by applying light pressure in different areas. The seat should remain firmly in place without any movement or shifting.
-
Double-Check Alignment: Verify that the toilet seat is aligned symmetrically with the bowl and sits evenly on the rim. Adjust the position if necessary to achieve a balanced and uniform appearance.
-
Test the Lid and Seat Functionality: Open and close the toilet seat and lid to ensure that they operate smoothly and securely. Check for any signs of instability or misalignment during the movement of the seat and lid.
-
Clean and Inspect: Wipe the surface of the toilet seat and bowl to remove any fingerprints, smudges, or debris accumulated during the installation process. Inspect the area to ensure that it is clean and free from any residual materials.
By following these steps to reinstall the toilet seat, you can effectively complete the installation of the bidet attachment and restore the functionality and aesthetics of your toilet. The reinstallation of the toilet seat signifies the successful integration of the bidet attachment into your bathroom, providing a modern and hygienic solution for personal cleansing. With the toilet seat securely in place, you can now enjoy the enhanced comfort and convenience offered by the upgraded toilet, embracing the benefits of improved hygiene and sustainable living.
Conclusion
In conclusion, the process of adding a bidet attachment to a toilet represents a significant upgrade that enhances personal hygiene, comfort, and sustainability in the bathroom. By following the step-by-step installation guide outlined in this comprehensive article, individuals can seamlessly integrate a bidet attachment into their existing toilet, transforming it into a modern and functional fixture that promotes cleanliness and convenience.
The installation process begins with gathering the necessary tools and materials, ensuring preparedness and efficiency. Turning off the water supply and removing the existing toilet seat are essential preliminary steps that set the stage for the successful installation of the bidet attachment. With careful attention to detail and precision, the bidet attachment is securely installed, and the water supply is connected, culminating in a personalized and effective cleansing experience.
Testing and adjusting the bidet settings allow individuals to tailor the attachment to their preferences, maximizing its benefits and comfort. The final step of reinstalling the toilet seat completes the installation process, ensuring that the bidet attachment is seamlessly integrated into the toilet's functionality and aesthetics.
The addition of a bidet attachment offers numerous advantages, including improved personal hygiene, reduced reliance on toilet paper, and a luxurious spa-like experience. Furthermore, bidets contribute to sustainable living by minimizing paper waste and reducing environmental impact, aligning with eco-friendly practices and a conscious approach to daily routines.
Embracing the installation of a bidet attachment represents a proactive step towards a cleaner, more sustainable lifestyle, catering to individuals of all ages and abilities. The modern convenience and comfort offered by the bidet attachment elevate the bathroom experience, promoting enhanced cleanliness and well-being for everyday use.
By following this comprehensive guide, individuals can confidently embark on the journey of adding a bidet attachment to their toilet, reaping the benefits of improved personal hygiene, comfort, and sustainability. The installation process empowers individuals to embrace a modern approach to bathroom hygiene, contributing to a cleaner and more eco-conscious lifestyle.
In summary, the installation of a bidet attachment represents a transformative upgrade to the bathroom, offering a practical and rewarding solution for enhanced personal hygiene and comfort. With the bidet attachment seamlessly integrated into the toilet, individuals can enjoy the modern convenience and sustainable benefits it brings to their daily routine.
Frequently Asked Questions about How To Add A Bidet To A Toilet
Was this page helpful?
At Storables.com, we guarantee accurate and reliable information. Our content, validated by Expert Board Contributors, is crafted following stringent Editorial Policies. We're committed to providing you with well-researched, expert-backed insights for all your informational needs.


0 thoughts on “How To Add A Bidet To A Toilet”