Articles
How To Remove Toilet Seat
Modified: January 6, 2024
Learn how to remove a toilet seat easily with step-by-step instructions and helpful tips. Find informative articles on toilet seat removal and maintenance for a hassle-free experience.
(Many of the links in this article redirect to a specific reviewed product. Your purchase of these products through affiliate links helps to generate commission for Storables.com, at no extra cost. Learn more)
Introduction
Removing a toilet seat may seem like a simple task, but it can quickly become frustrating if you don’t have the right tools or know the proper steps to follow. Whether you’re replacing a worn-out seat or completing a bathroom renovation, knowing how to remove a toilet seat properly is essential.
Fortunately, with a few basic tools and some guidance, you can easily remove a toilet seat in no time. In this article, we will walk you through the step-by-step process of removing a toilet seat, ensuring that you complete the task safely and effectively.
Before we delve into the details, let’s quickly discuss the tools and materials you’ll need for the job.
Key Takeaways:
- Easily remove a toilet seat by following simple steps and using basic tools, ensuring a safe and efficient process. Preparing the area, unfastening the seat, and performing maintenance are key to success.
- Knowing how to remove a toilet seat is a valuable skill for maintenance or renovation. Clean the area, inspect for wear, and handle the seat with care for optimal results.
Read more: How To Remove Bidet Toilet Seat
Tools and Materials Needed
Before you begin the process of removing a toilet seat, it’s essential to gather all the necessary tools and materials. Here’s a list of what you’ll need:
- Adjustable wrench or pliers
- Screwdriver (flathead or Phillips, depending on the type of screws)
- Protective gloves
- Optional: Penetrating oil or lubricant
- Clean cloth or rag
Having these tools and materials ready will ensure that you are well-equipped for the task at hand and minimize any potential difficulties during the removal process.
Step 1: Preparing for the Removal
Before you dive into removing the toilet seat, it’s important to take some precautionary measures and prepare the area. Here’s what you need to do:
- Put on protective gloves to shield your hands from any dirt or bacteria.
- Close the toilet lid and seat to ensure they are in the down position.
- Clean the area around the hinges and bolts of the toilet seat. Use a clean cloth or rag to remove any dust, debris, or buildup that may have accumulated.
- If the toilet seat has been in place for a long time and the screws or bolts appear rusty or stuck, apply a small amount of penetrating oil or lubricant to loosen them. This will make the removal process easier.
By taking these preparatory steps, you’ll create a clean and safe workspace, as well as facilitate the removal process, especially if the toilet seat has been attached for a long time and the screws or bolts are stubborn.
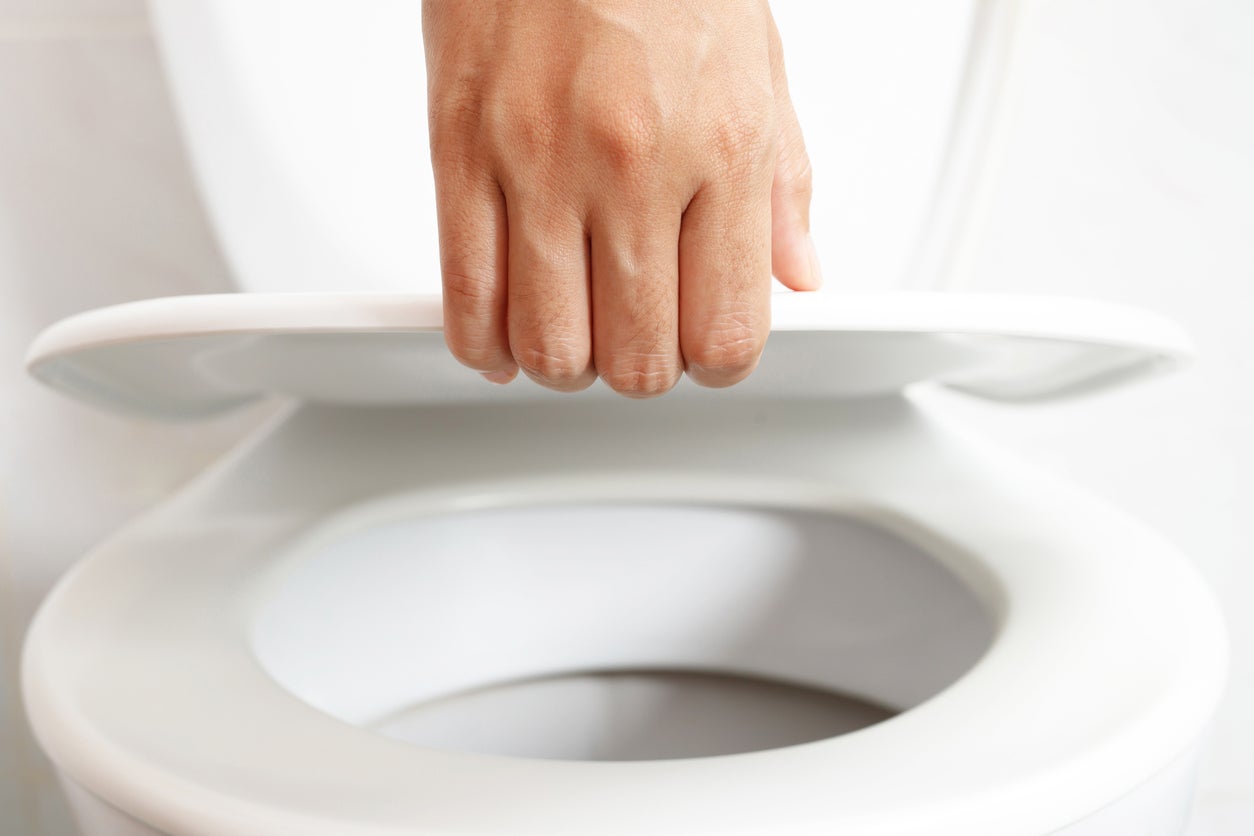
Step 2: Unfastening the Seat
Once you’ve prepared the area, it’s time to start unfastening the toilet seat. Follow these steps to proceed:
- Locate the hinges at the back of the toilet seat, where it attaches to the toilet bowl. Depending on the design, you may find either a plastic cover or exposed screws.
- If there are plastic covers, carefully pry them open using a flathead screwdriver. This will reveal the screws underneath.
- Using an adjustable wrench or pliers, grip the nuts or screws securing the seat to the toilet bowl. Hold the screw steady while you use a screwdriver (flathead or Phillips, depending on the type of screws) to loosen and remove the screws.
- Repeat the process for all the screws on both sides of the seat.
Note: Different toilet seat designs may have different types of fastening mechanisms, so refer to the manufacturer’s instructions if you encounter any unique features or difficulties.
By unfastening the seat using these steps, you’ll remove the primary attachment points that hold the toilet seat in place. Once the screws or nuts are loosened and removed, you can proceed to the next step of removing the bolts.
To remove a toilet seat, locate the bolts at the back of the seat and use a screwdriver to unscrew them. Lift the seat and clean the area before installing a new one.
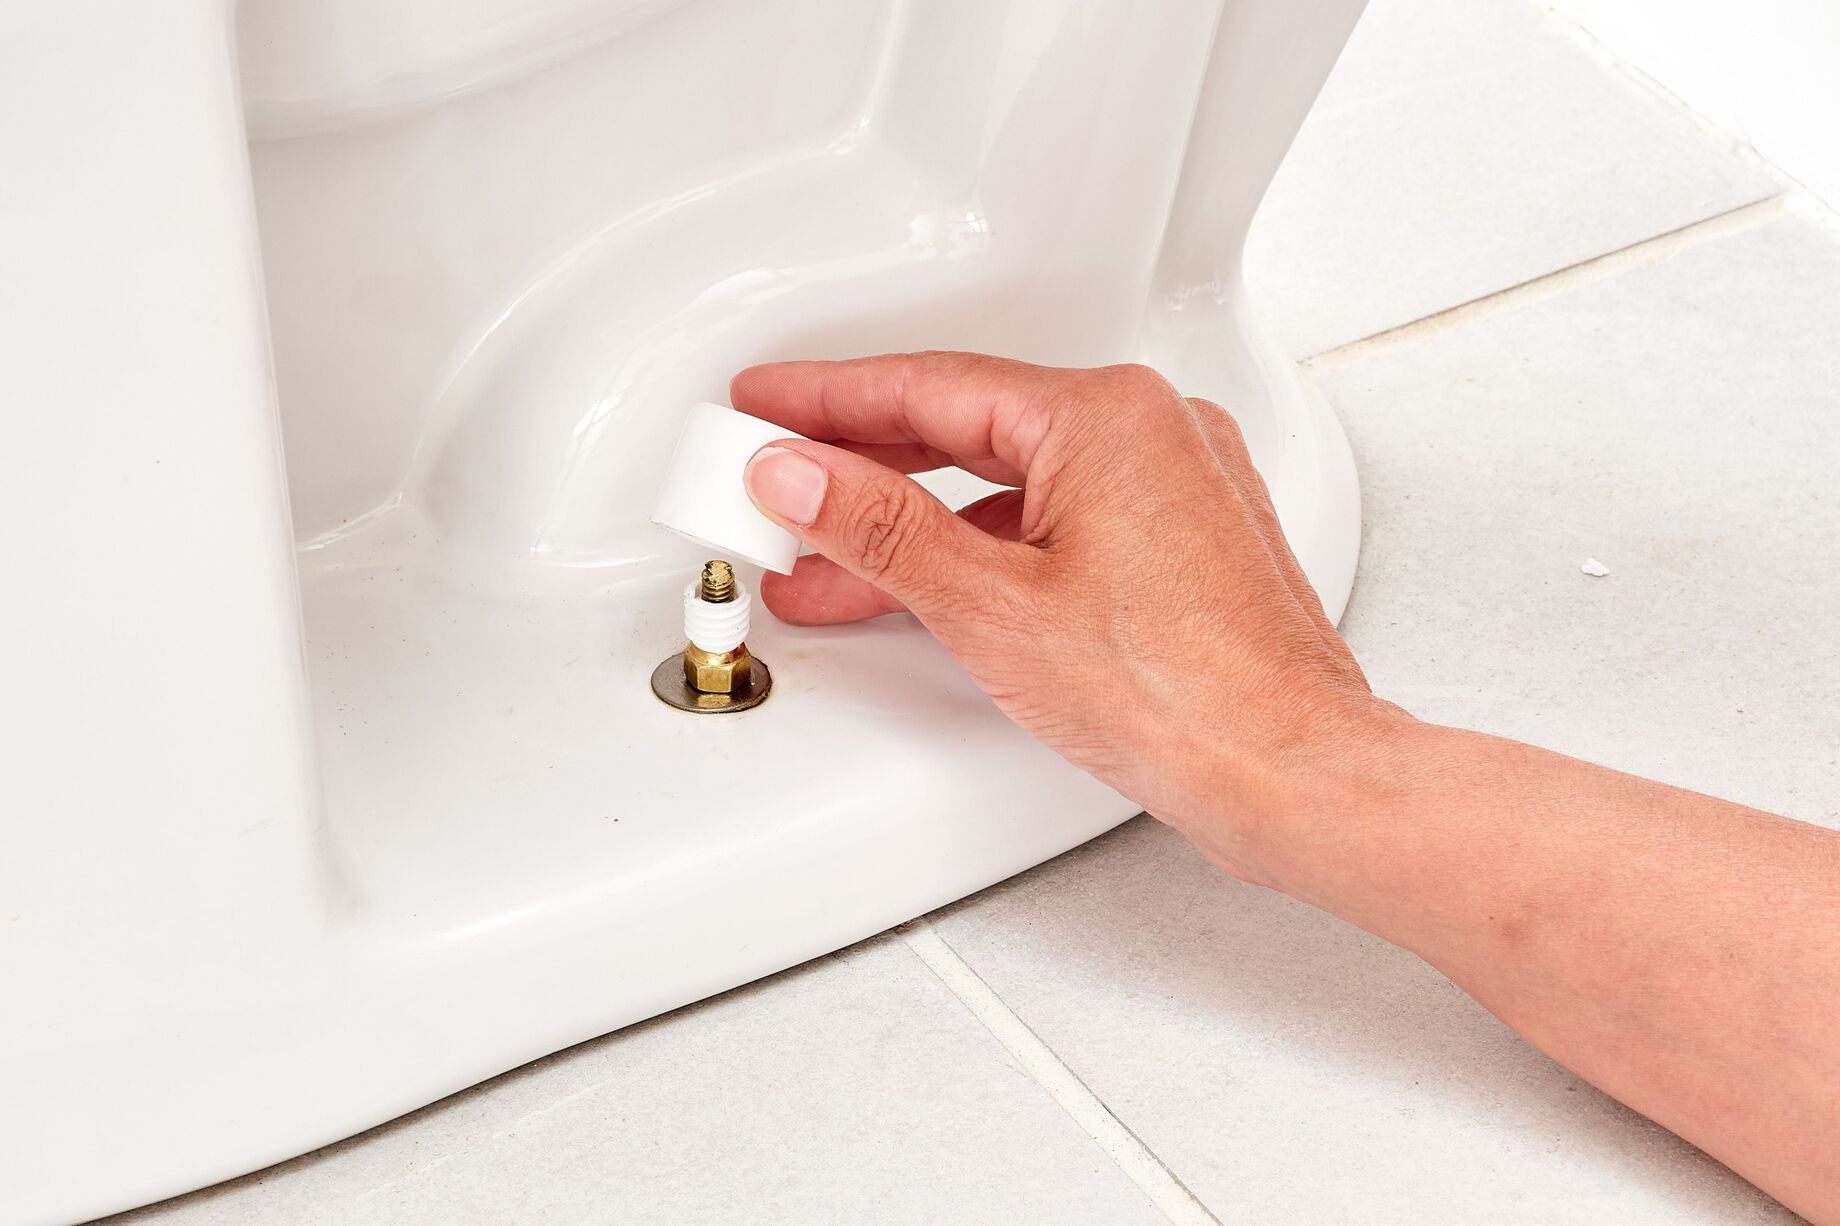
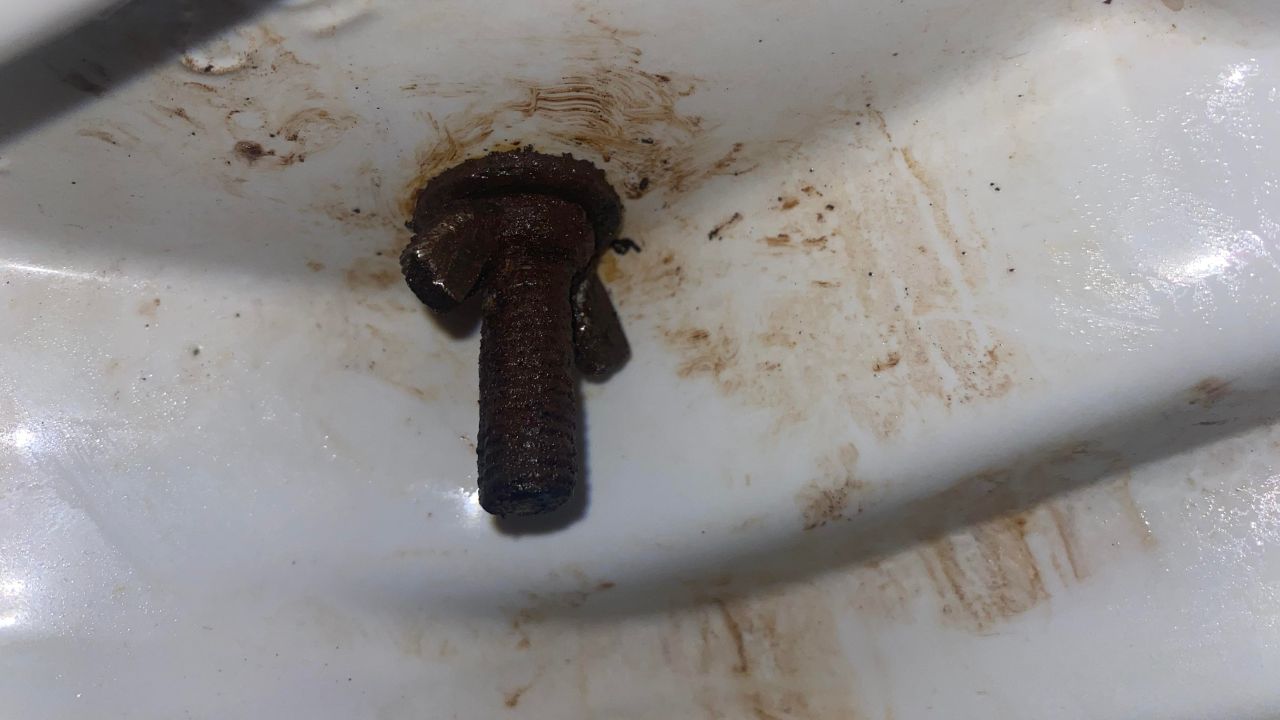
Step 3: Removing the Bolts
With the seat unfastened, the next step entails removing the bolts that secure the toilet seat to the toilet bowl. Follow these steps to accomplish this:
- Locate the bolts underneath the toilet bowl, where they pass through the holes in the seat hinges.
- Using an adjustable wrench or pliers, grip the nuts that secure the bolts from underneath the toilet bowl.
- While holding the nuts steady, use a screwdriver or drill to unscrew the bolts from the top of the toilet seat.
- If the bolts are stubborn or rusted, applying a small amount of penetrating oil or lubricant may help loosen them.
- Once the bolts are unscrewed, carefully pull them out from the holes in the seat hinges.
If your toilet seat has an alternative fastening mechanism, such as snap-on or click-on hinges, refer to the manufacturer’s instructions for guidance on removing the seat.
By successfully removing the bolts, you’ll detach the seat from the toilet bowl completely, allowing you to proceed to the next step of detaching the seat itself.
Read more: How To Remove Toto Toilet Seat
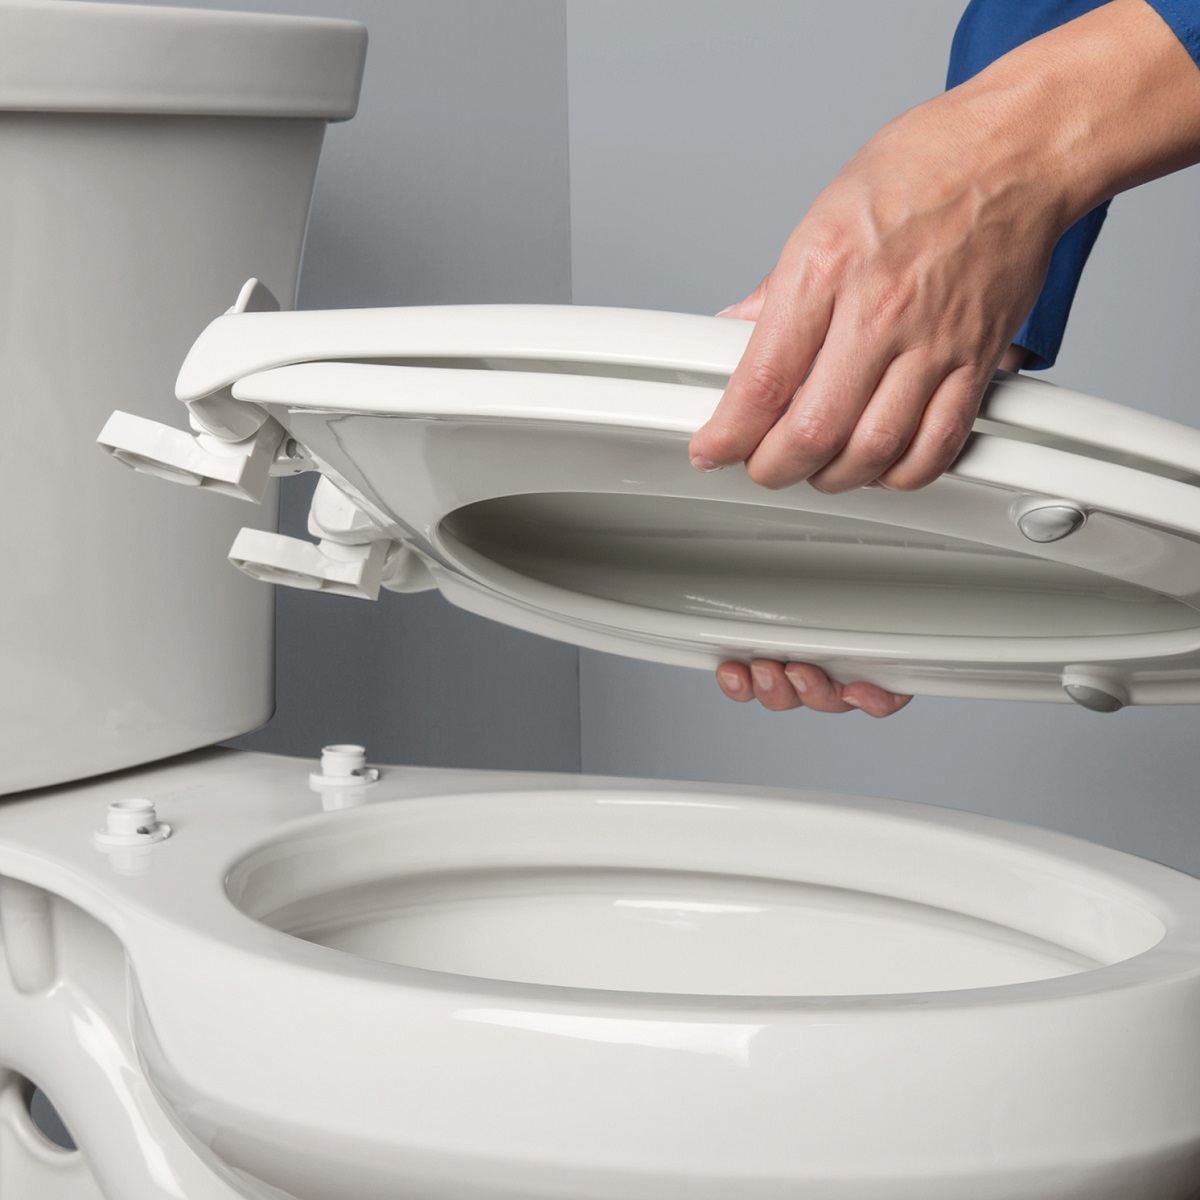
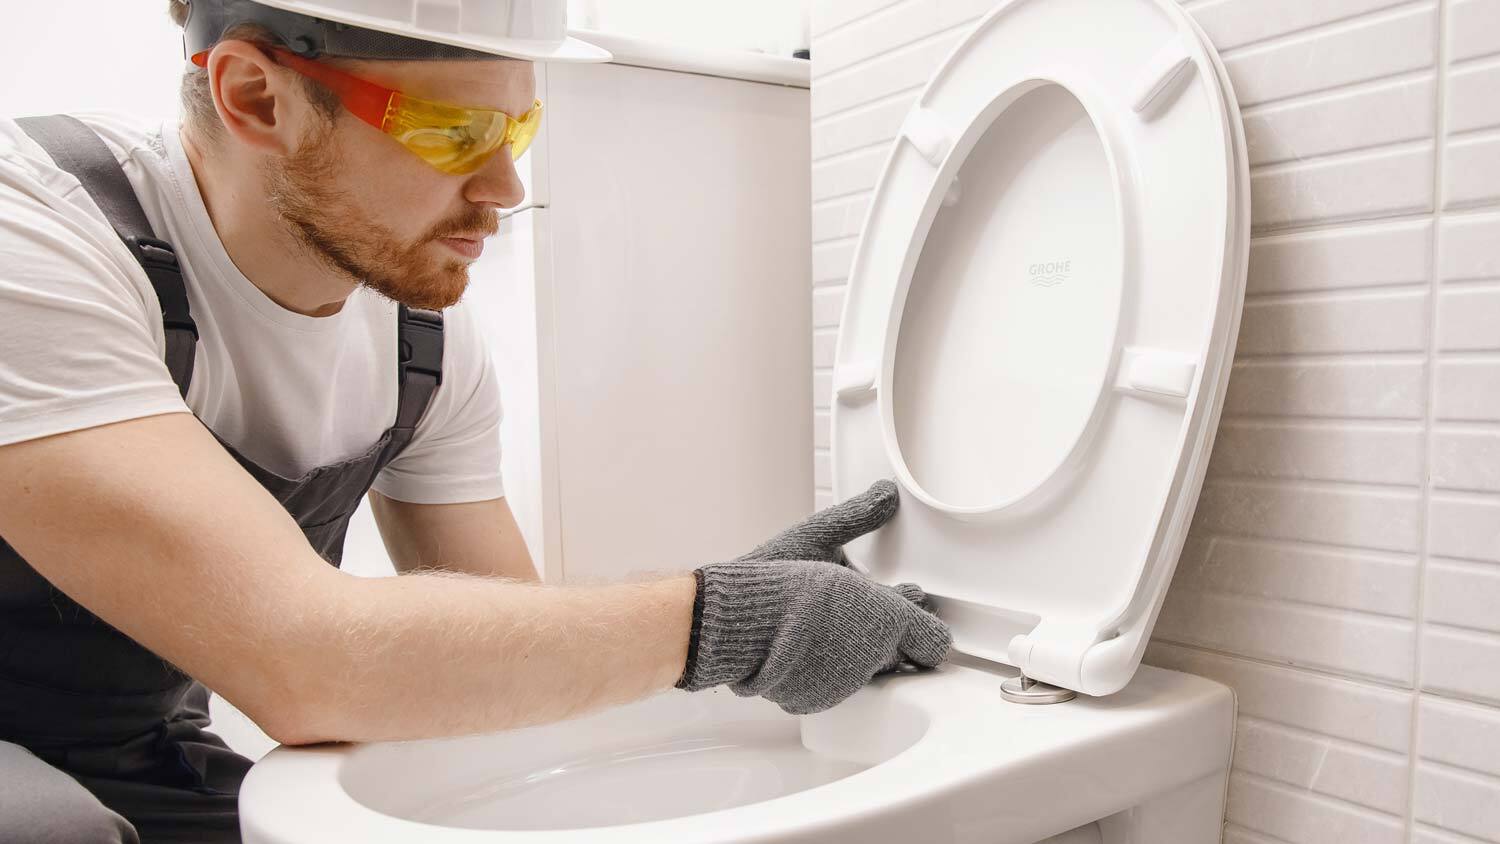
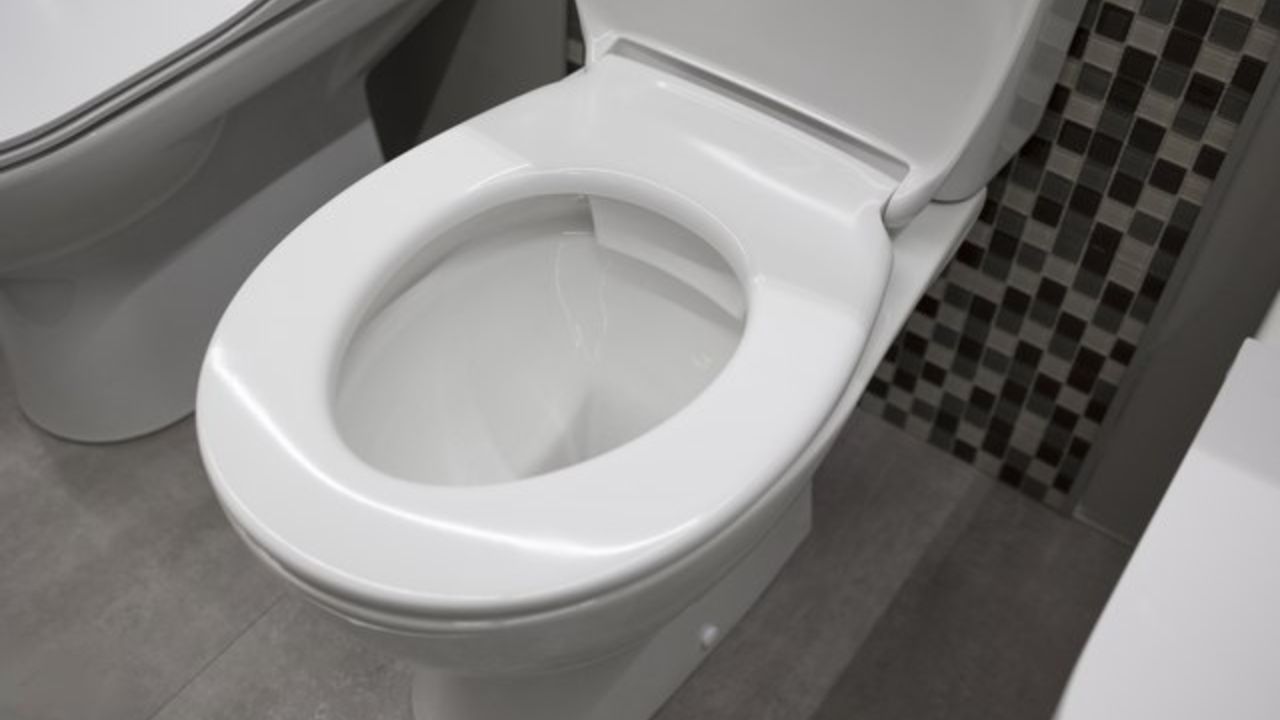
Step 4: Detaching the Seat
Now that the bolts have been removed, it’s time to detach the toilet seat from the toilet bowl. Follow these steps to complete this process:
- Gently lift the toilet seat assembly upwards to detach it from the toilet bowl.
- If there is any resistance or the seat is stuck, wiggle it back and forth or side to side while applying gentle upward pressure. This will help loosen any remaining grip or suction.
- Once the seat is detached, set it aside in a safe location.
During this step, it’s essential to handle the seat with care and avoid any excessive force that could cause damage. By lifting and wiggling the seat gently, you’ll be able to detach it smoothly without any complications.
Congratulations! You have successfully removed the toilet seat from the toilet bowl. The next step is to clean the area and perform any necessary maintenance before installing a new seat or completing your bathroom renovation project.
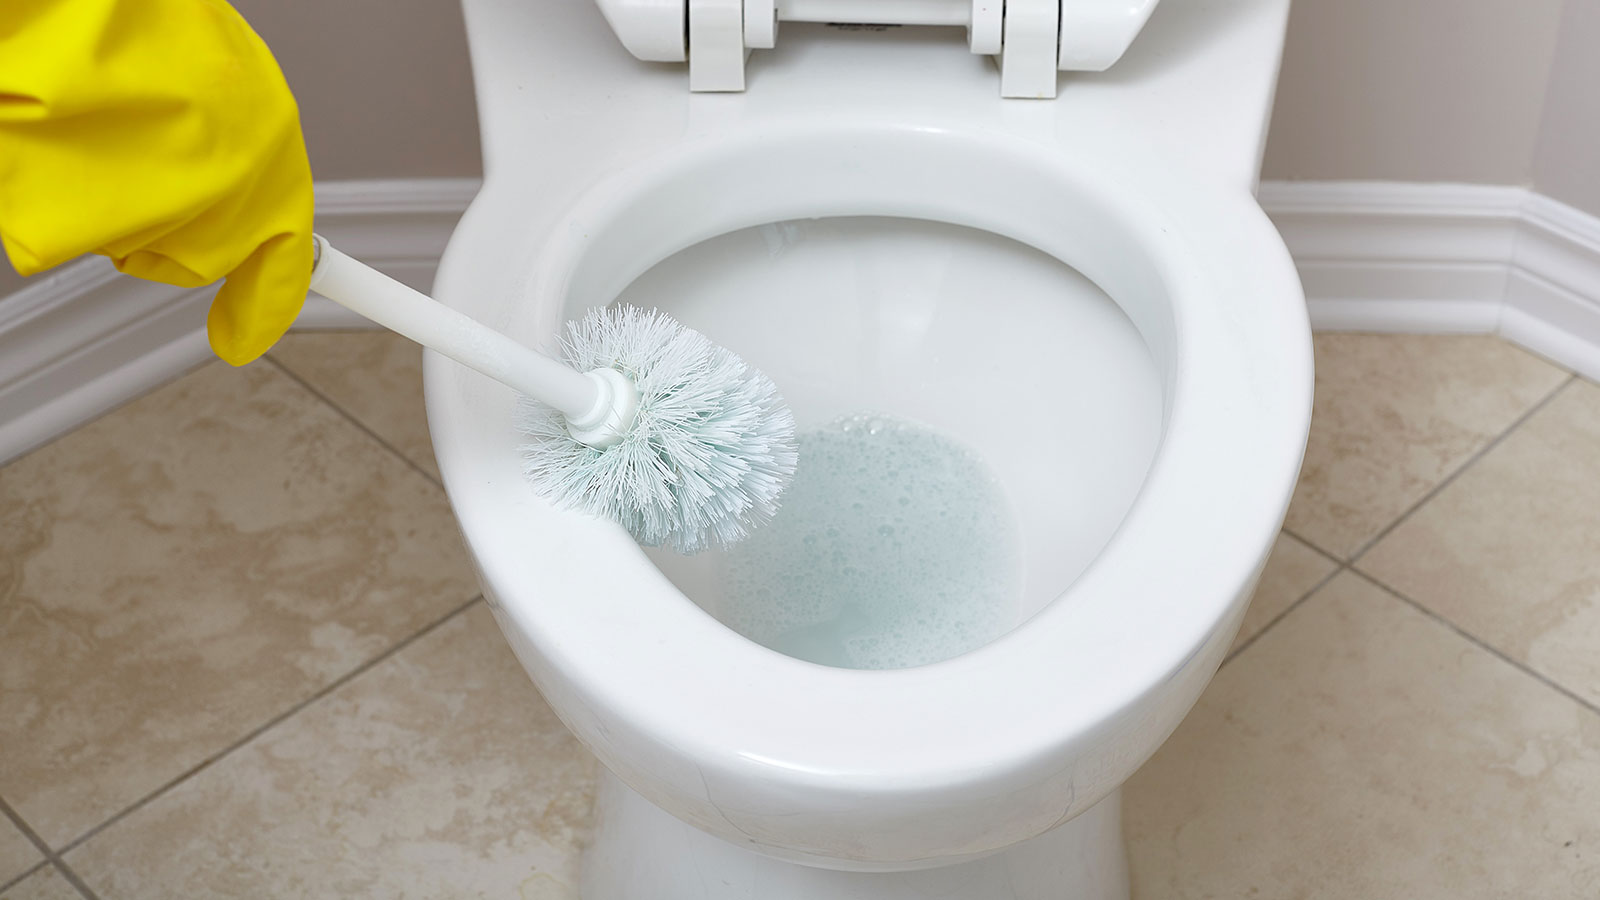
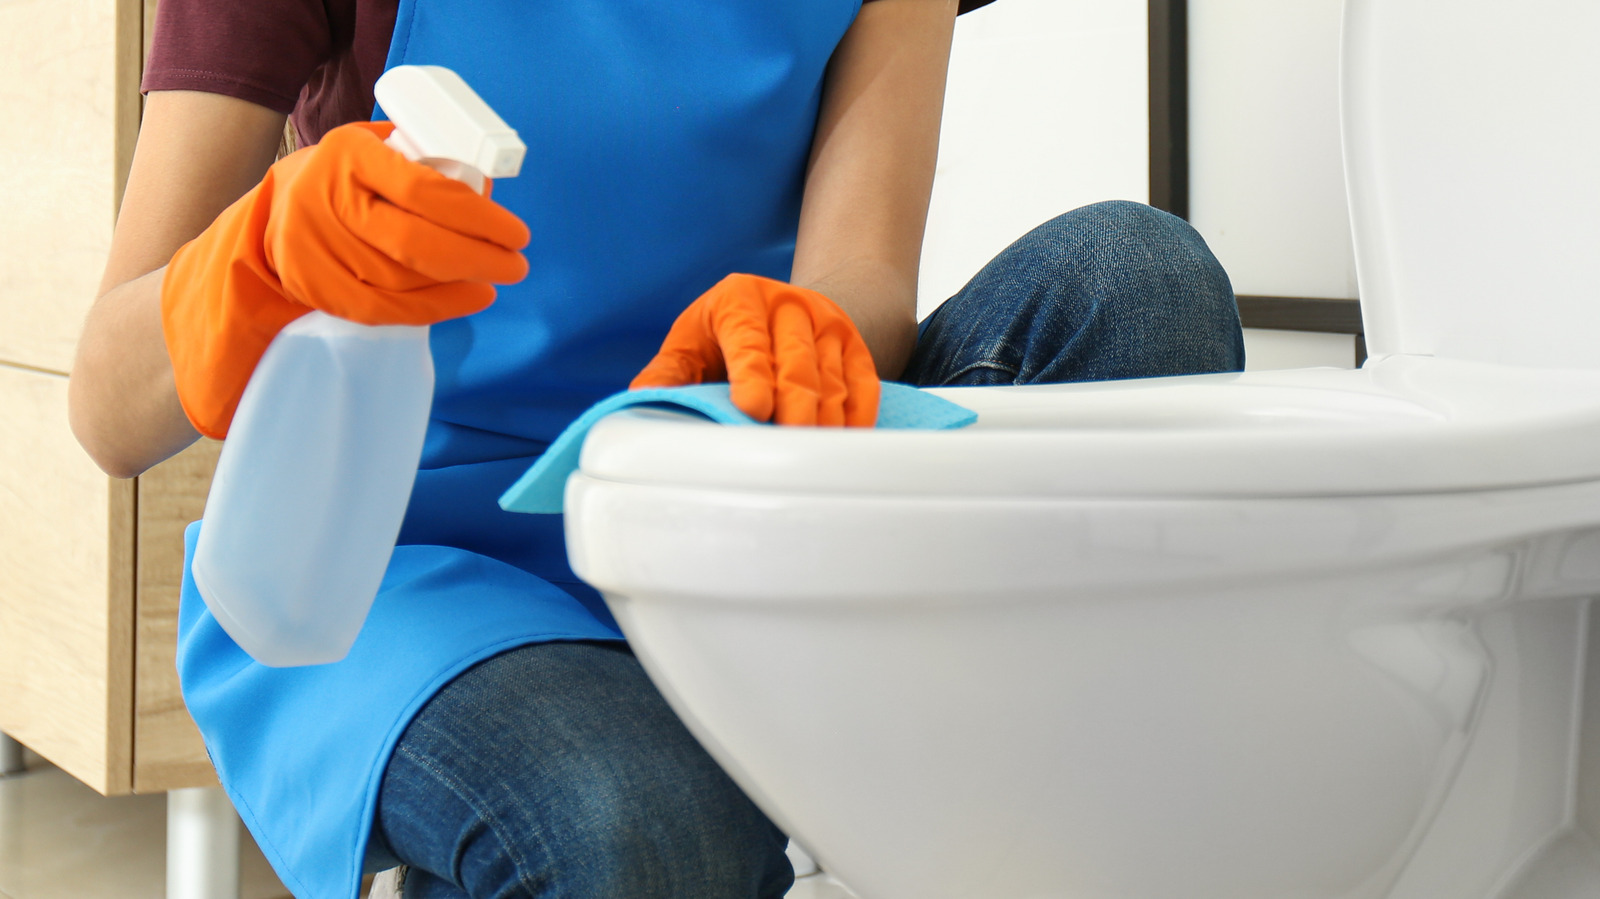
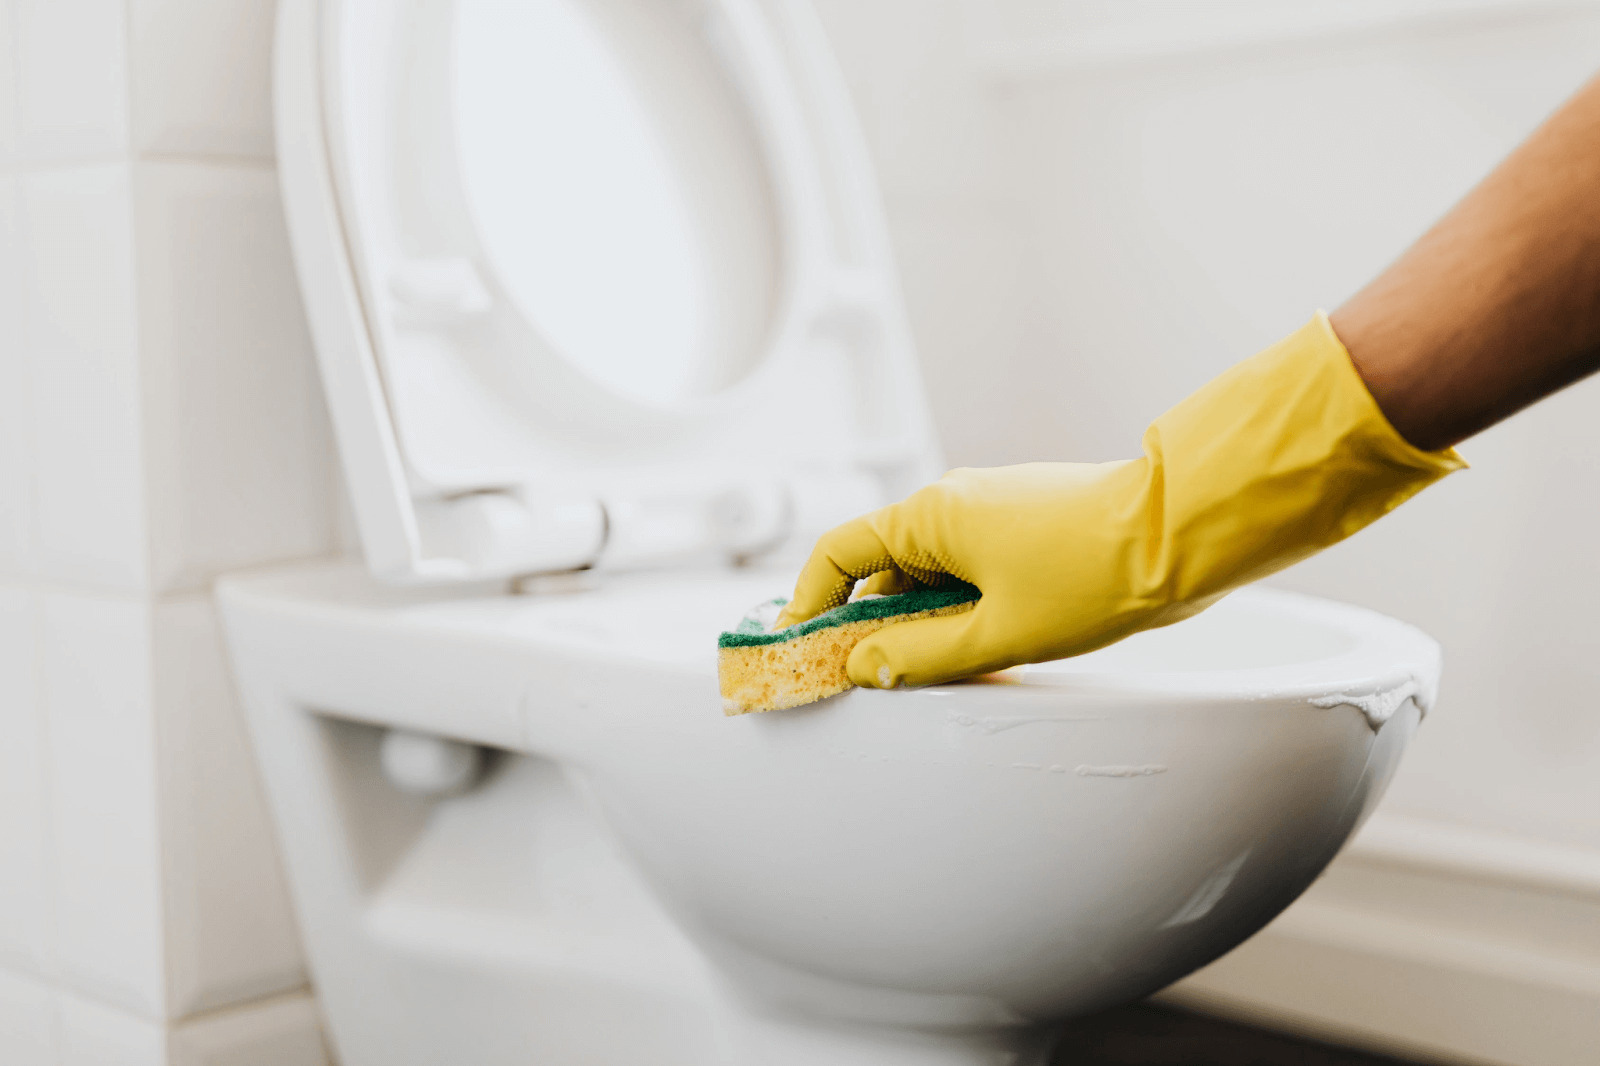
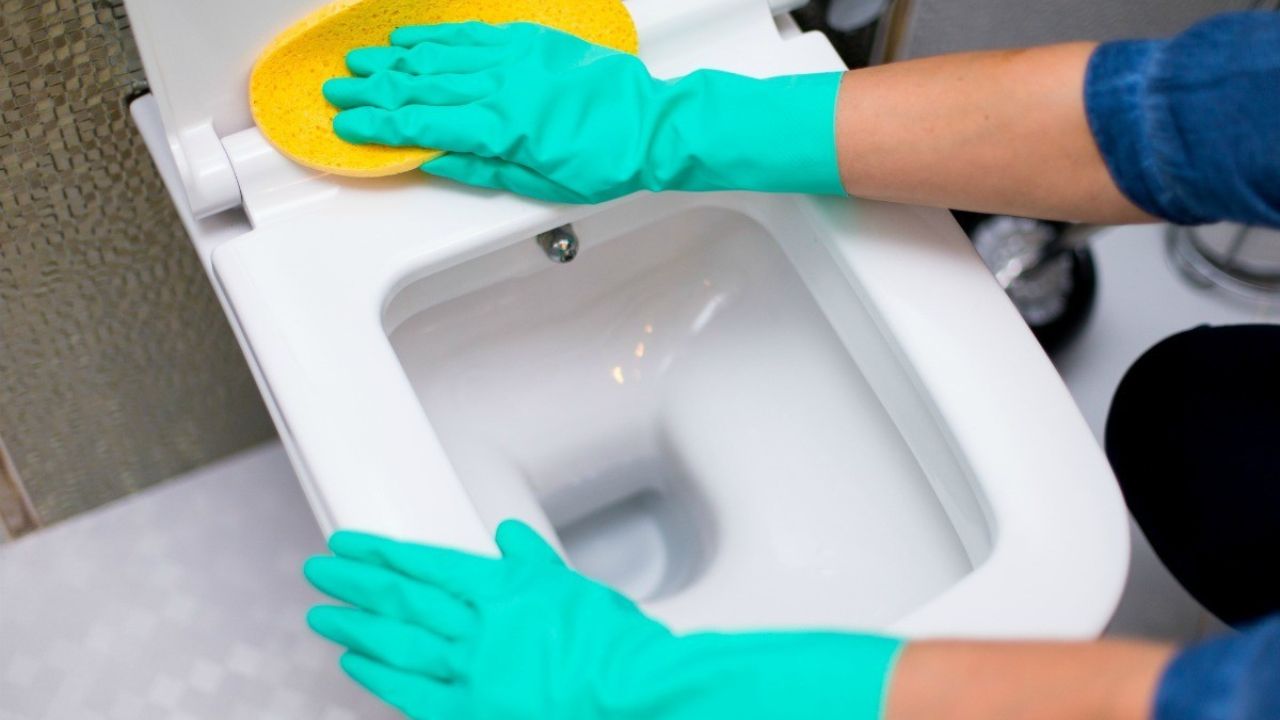
Step 5: Cleaning and Maintenance
With the toilet seat removed, it’s the perfect time to clean the area and perform any necessary maintenance. Follow these steps to ensure a clean and well-maintained toilet bowl:
- Use a mild household cleaner or disinfectant to clean the entire toilet bowl, including the areas where the seat was attached.
- Scrub the toilet bowl thoroughly with a toilet brush to remove any stains or residue.
- Rinse the toilet bowl with clean water to remove any cleaning solution.
- Dry the area around the hinges and bolts with a clean cloth or allow it to air dry.
- Inspect the hinges and bolts for any signs of wear or damage. If necessary, replace them before installing a new toilet seat.
- Clean the removed toilet seat separately using mild soap and water or a suitable cleaner, following the manufacturer’s instructions.
By following these cleaning and maintenance steps, you’ll ensure a hygienic and well-maintained toilet bowl. It will also ensure that the area is ready for your new toilet seat installation or any other necessary renovations.
Conclusion
Removing a toilet seat may not be the most glamorous task, but it is a straightforward process that can be done with a few basic tools and a little know-how. By following the step-by-step guide outlined in this article, you can remove a toilet seat safely and efficiently.
Remember to prepare the area properly, unfasten the seat, remove the bolts, and detach the seat from the toilet bowl. Taking the time to clean and perform any necessary maintenance will ensure that your toilet bowl is in optimal condition.
Whether you’re replacing a worn-out seat, completing a bathroom renovation, or performing routine maintenance, knowing how to remove a toilet seat is a valuable skill. By following these steps and taking the necessary precautions, you’ll be able to tackle this task with ease.
Now that you have successfully removed the toilet seat, you can either install a new one or proceed with your planned bathroom renovations. Remember to consult the manufacturer’s instructions for any specific guidance related to your toilet seat and follow proper installation procedures when the time comes.
With a clean and well-maintained toilet seat, your bathroom will not only look great but also provide a comfortable and hygienic experience for you and your household.
Frequently Asked Questions about How To Remove Toilet Seat
Was this page helpful?
At Storables.com, we guarantee accurate and reliable information. Our content, validated by Expert Board Contributors, is crafted following stringent Editorial Policies. We're committed to providing you with well-researched, expert-backed insights for all your informational needs.


0 thoughts on “How To Remove Toilet Seat”