Home>Furniture & Design>Bathroom Accessories>How To Clean A Plunger Holder
Bathroom Accessories
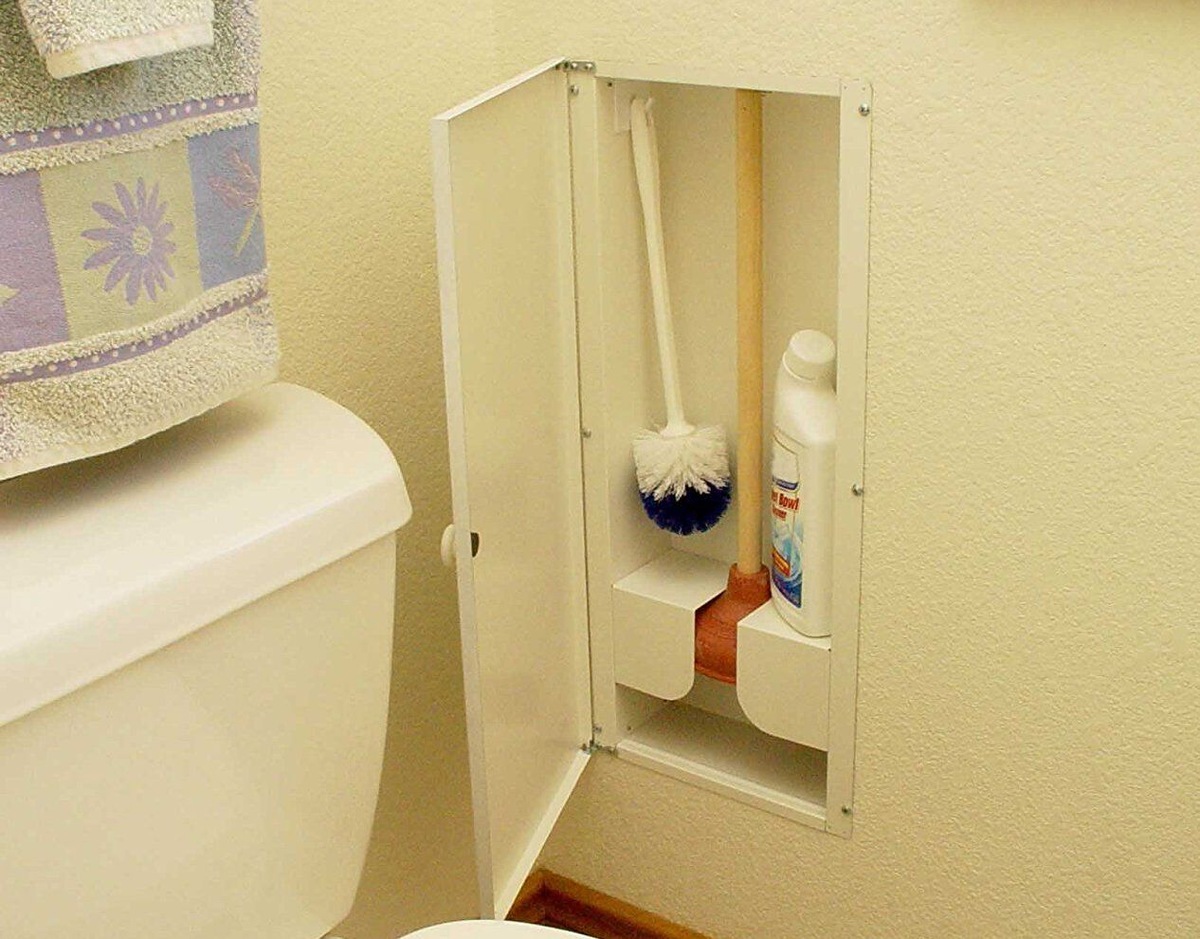
How To Clean A Plunger Holder
Modified: March 25, 2024
Learn how to effectively clean and maintain your bathroom accessories, including plunger holders, with our expert tips. Keep your bathroom clean and hygienic.
(Many of the links in this article redirect to a specific reviewed product. Your purchase of these products through affiliate links helps to generate commission for Storables.com, at no extra cost. Learn more)
Introduction
Cleaning a plunger holder is an essential yet often overlooked task in maintaining a hygienic bathroom. Over time, plunger holders can accumulate dirt, grime, and unpleasant odors, which can compromise the cleanliness of the entire bathroom. By regularly cleaning the plunger holder, you can ensure that it remains free from germs and bacteria, contributing to a healthier and more pleasant bathroom environment.
In this comprehensive guide, we will walk you through the step-by-step process of cleaning a plunger holder effectively. Whether you have a traditional plunger holder or a more modern and stylish design, the cleaning process remains relatively similar. By following these simple yet crucial steps, you can restore your plunger holder to its pristine condition and eliminate any lingering odors, ensuring that it is ready for future use.
A clean plunger holder not only enhances the overall cleanliness of your bathroom but also prolongs the lifespan of your plunger. Additionally, maintaining a clean and odor-free plunger holder reflects positively on your attention to detail and household hygiene. With the right materials and a systematic approach, you can easily tackle this task and enjoy the benefits of a fresh and sanitary bathroom accessory.
Now, let's delve into the step-by-step process of cleaning a plunger holder, starting with gathering the necessary materials.
Key Takeaways:
- Regularly cleaning your plunger holder with mild solutions and gentle tools ensures a hygienic and odor-free bathroom, prolonging the lifespan of your plunger and maintaining a visually appealing space.
- Thoroughly disassembling, scrubbing, and drying your plunger holder not only eliminates dirt and grime but also reflects positively on your household’s attention to detail and cleanliness standards.
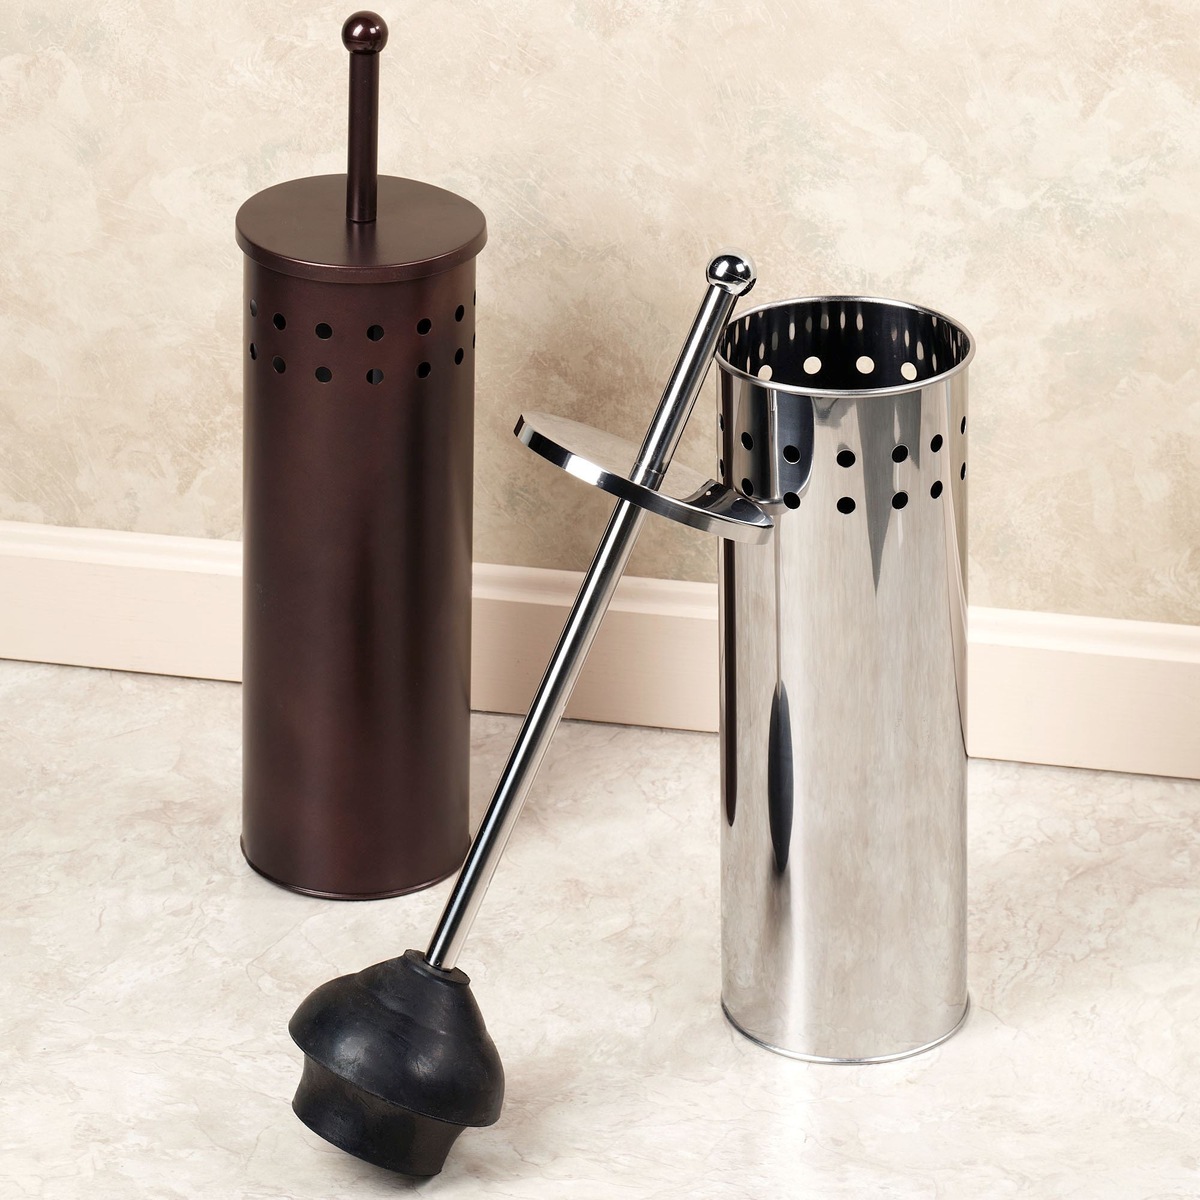
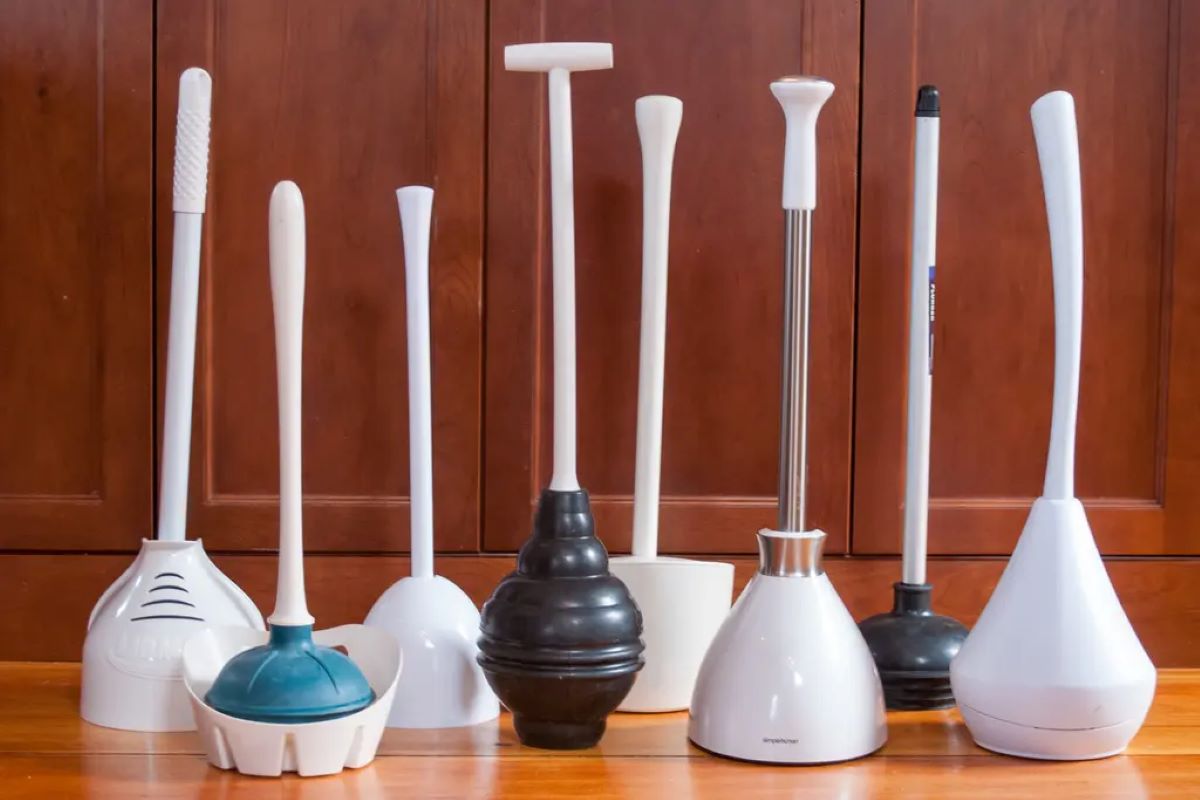
Read also: 15 Best Toilet Plunger Holder for 2025
Step 1: Gather necessary materials
Before embarking on the task of cleaning your plunger holder, it's essential to gather the necessary materials to ensure a thorough and effective cleaning process. By having the right supplies on hand, you can streamline the cleaning procedure and achieve optimal results. Here's a comprehensive list of materials you'll need:
-
Rubber Gloves: To protect your hands from coming into direct contact with any dirt, grime, or cleaning solutions, it's advisable to wear rubber gloves throughout the cleaning process. This not only safeguards your skin but also provides a barrier against any potentially harmful substances.
-
Cleaning Solution: Select a mild yet effective cleaning solution suitable for use on bathroom accessories. This can include a gentle all-purpose cleaner, mild dish soap, or a mixture of water and white vinegar. Avoid using harsh chemicals that may damage the plunger holder's material.
-
Soft-Bristled Brush or Sponge: A soft-bristled brush or sponge is essential for scrubbing away any accumulated dirt and grime from the surface of the plunger holder. Opt for a brush with gentle bristles to avoid scratching or damaging the material.
-
Microfiber Cloth or Towel: Prepare a clean microfiber cloth or towel for drying the plunger holder after cleaning. Microfiber materials are highly absorbent and gentle on surfaces, making them ideal for drying without leaving lint or residue behind.
-
Old Toothbrush: An old toothbrush can be repurposed for reaching into crevices and tight spaces, ensuring thorough cleaning in areas that may be challenging to access with a larger brush or sponge.
-
Bucket or Basin: Depending on the size of your plunger holder, a bucket or basin may be necessary for soaking and rinsing the components. This will facilitate the cleaning process and help contain any excess water or cleaning solution.
By gathering these essential materials, you'll be well-prepared to tackle the task of cleaning your plunger holder effectively and efficiently. With the right tools at your disposal, you can proceed to the next step of disassembling the plunger holder and initiating the cleaning process.
Step 2: Disassemble the plunger holder
Disassembling the plunger holder is a crucial step in the cleaning process, as it allows for thorough access to all components and ensures comprehensive cleaning. Before beginning this step, it's important to ensure that the plunger has been removed from the holder and placed in a separate location to prevent any cross-contamination during the cleaning process.
-
Remove the Plunger Holder from its Mounting: If your plunger holder is wall-mounted or attached to a specific fixture, carefully detach it from its mounting. This may involve unscrewing or unclipping the holder, depending on its design. Place the holder in a designated cleaning area where you can work on disassembling its components.
-
Separate the Components: Many plunger holders consist of multiple components, such as a base, cover, and any additional attachments. Carefully disassemble these parts, taking note of their arrangement and orientation. Some holders may have a removable drip tray or inner container, which should also be separated for thorough cleaning.
-
Inspect for Hidden Dirt and Debris: As you disassemble the plunger holder, take the opportunity to inspect each component for any hidden dirt, debris, or mold accumulation. Pay close attention to crevices, seams, and areas where different parts connect, as these are common spots for buildup.
-
Prepare for Cleaning: Once the plunger holder is fully disassembled, prepare the cleaning solution and tools you gathered in the previous step. Depending on the material of the plunger holder, ensure that the cleaning solution is suitable and will not cause any damage.
By carefully disassembling the plunger holder, you create the foundation for a thorough and effective cleaning process. This step allows you to access all areas of the holder, ensuring that no dirt or grime is left behind. With the components separated and ready for cleaning, you can proceed to the next step of actually cleaning the plunger holder and restoring it to a pristine condition.
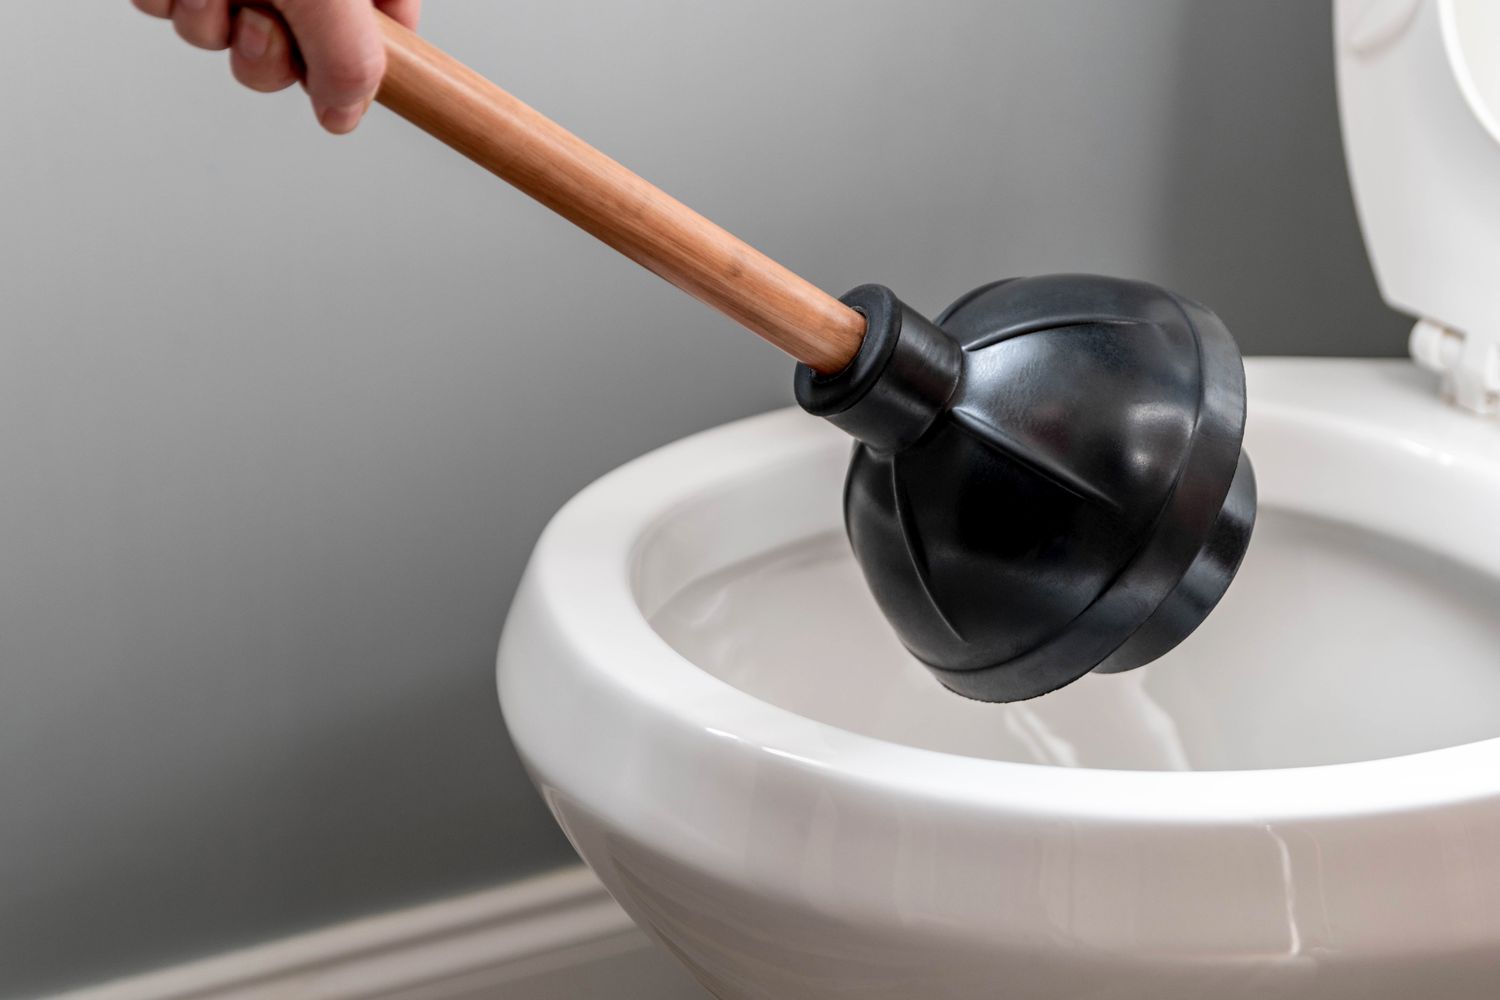
To clean a plunger holder, remove the plunger and rinse the holder with hot water and soap. Use a brush to scrub away any residue, then dry thoroughly before replacing the plunger.
Step 3: Clean the plunger holder
With the plunger holder disassembled and the necessary materials at hand, it's time to embark on the pivotal step of cleaning the plunger holder. This process involves thorough scrubbing, soaking, and meticulous attention to detail to ensure that all traces of dirt, grime, and odors are effectively eliminated. Follow these detailed steps to achieve a spotless and hygienic plunger holder:
-
Soak the Components: Begin by submerging the disassembled components of the plunger holder in a solution of warm water and mild cleaning solution. This soaking process helps to loosen any stubborn dirt or residue, making it easier to remove during the subsequent cleaning. Allow the components to soak for several minutes, ensuring that all surfaces are fully immersed.
-
Scrub and Clean: Using a soft-bristled brush or sponge, gently scrub the surfaces of the plunger holder components, paying particular attention to areas with visible dirt or grime. For crevices and hard-to-reach spots, utilize an old toothbrush to ensure thorough cleaning. Take care to scrub both the interior and exterior surfaces of each component, working methodically to cover the entire area.
-
Address Stubborn Stains: If any components exhibit stubborn stains or discoloration, consider applying a small amount of baking soda or a specialized stain remover to the affected areas. Allow the solution to sit for a few minutes before gently scrubbing the stained areas. This targeted approach can effectively lift and remove persistent stains, restoring the original appearance of the plunger holder.
-
Rinse Thoroughly: After scrubbing and addressing any stains, thoroughly rinse each component under running water to remove any residual cleaning solution. Ensure that all traces of soap or cleaning agents are completely washed away, leaving the components clean and free from any chemical residue.
-
Dry Completely: Once the components have been cleaned and rinsed, use a clean microfiber cloth or towel to dry them thoroughly. Pay attention to drying both the interior and exterior surfaces, as any remaining moisture can potentially lead to mold or mildew growth. Allow the components to air dry completely before proceeding to the reassembly stage.
By meticulously following these steps, you can effectively clean the plunger holder and restore it to a pristine condition. This thorough cleaning process not only eliminates dirt and grime but also helps to eradicate any lingering odors, ensuring that your plunger holder remains hygienic and visually appealing. With the plunger holder components now clean and dry, you are ready to proceed to the final step of reassembling the holder and preparing it for future use.
Step 4: Dry and reassemble the plunger holder
After completing the thorough cleaning process, the next crucial step involves drying the plunger holder components and reassembling them to restore the holder to its functional state. Proper drying is essential to prevent mold or mildew growth and ensure that the plunger holder is ready for future use. Follow these detailed steps to effectively dry and reassemble the plunger holder:
-
Air Dry the Components: Place the cleaned components of the plunger holder in a well-ventilated area to air dry completely. Ensure that each part is positioned in a manner that allows air to circulate around it, facilitating the drying process. Depending on the material of the components and the humidity level, air drying may take several hours to ensure thorough moisture evaporation.
-
Use a Hair Dryer (Optional): If you prefer to expedite the drying process, a hair dryer set to a low or cool setting can be used to gently blow-dry the cleaned components. Maintain a safe distance between the hair dryer and the components to avoid heat damage, and periodically check for dryness to prevent overheating. This method can be particularly useful for drying intricate or hard-to-reach areas.
-
Inspect for Moisture: After air drying or using a hair dryer, carefully inspect each component to ensure that no moisture remains. Pay close attention to crevices, seams, and any recessed areas where water may have accumulated. Any lingering moisture should be thoroughly dried to prevent potential issues in the future.
-
Reassemble the Plunger Holder: Once all components are completely dry, proceed to reassemble the plunger holder in the reverse order of disassembly. Carefully align and secure each part, ensuring that they fit together snugly and securely. If the plunger holder includes a drip tray or inner container, ensure that these are properly reinserted and positioned.
-
Mount or Place the Plunger Holder: If the plunger holder was wall-mounted or attached to a specific fixture, reattach it according to the manufacturer's instructions. Use the appropriate tools and hardware to secure the holder in its designated location, ensuring stability and functionality.
By diligently following these steps, you can effectively dry and reassemble the plunger holder, preparing it for future use. A thoroughly dried and reassembled plunger holder not only maintains a clean and hygienic bathroom environment but also ensures the longevity and functionality of the accessory. With the plunger holder now restored to its original state, you can confidently return it to its designated spot, knowing that it is clean, dry, and ready for use whenever needed.
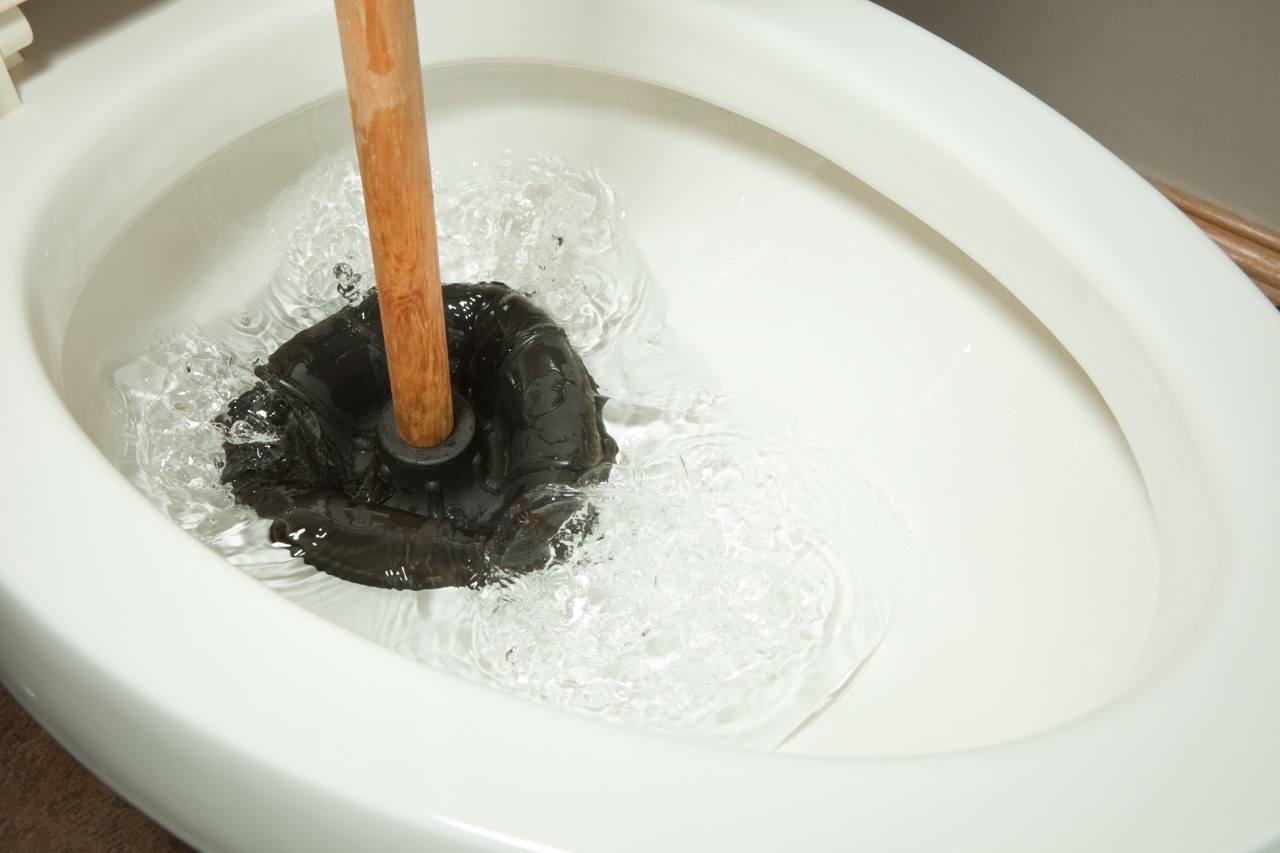
Read more: How To Clean A Toilet Plunger
Conclusion
In conclusion, the process of cleaning a plunger holder is a fundamental aspect of maintaining a hygienic and visually appealing bathroom environment. By following the step-by-step guide outlined in this comprehensive article, you can effectively restore your plunger holder to a pristine condition, free from dirt, grime, and unpleasant odors. The importance of regular cleaning cannot be overstated, as a clean plunger holder not only contributes to overall bathroom cleanliness but also prolongs the lifespan of the plunger itself.
Through the meticulous cleaning process, which involves disassembling, scrubbing, and thorough drying, you can ensure that every component of the plunger holder is free from any accumulated debris or residue. This attention to detail not only enhances the aesthetic appeal of the plunger holder but also eliminates any potential sources of bacteria or odors, promoting a healthier bathroom environment.
Furthermore, the use of mild cleaning solutions and gentle tools ensures that the plunger holder's material is not compromised during the cleaning process. This approach safeguards the integrity of the holder while effectively removing any stubborn stains or discoloration, resulting in a refreshed and revitalized accessory.
By reassembling the plunger holder and returning it to its designated location, you complete the cleaning process, readying it for future use. The satisfaction of knowing that your plunger holder is clean, dry, and free from any lingering odors adds to the overall sense of cleanliness and order in your bathroom.
In addition to the immediate benefits of a clean plunger holder, such as improved aesthetics and hygiene, the regular maintenance and care of bathroom accessories reflect positively on your household's attention to detail and cleanliness standards. Visitors and family members alike will appreciate the fresh and well-maintained bathroom environment, creating a positive impression and contributing to a pleasant overall experience.
In essence, the process of cleaning a plunger holder is not only a practical task but also a meaningful investment in the cleanliness and ambiance of your bathroom. By incorporating this essential maintenance routine into your household cleaning regimen, you can enjoy the long-term benefits of a consistently fresh, hygienic, and visually appealing bathroom space.
Frequently Asked Questions about How To Clean A Plunger Holder
Was this page helpful?
At Storables.com, we guarantee accurate and reliable information. Our content, validated by Expert Board Contributors, is crafted following stringent Editorial Policies. We're committed to providing you with well-researched, expert-backed insights for all your informational needs.


0 thoughts on “How To Clean A Plunger Holder”