Home>Furniture & Design>Bathroom Accessories>How To Use A Master Plunger
Bathroom Accessories
How To Use A Master Plunger
Modified: October 19, 2024
Learn how to effectively use a master plunger for unclogging your bathroom drain and other bathroom accessories with our step-by-step guide. Keep your bathroom in top shape!
(Many of the links in this article redirect to a specific reviewed product. Your purchase of these products through affiliate links helps to generate commission for Storables.com, at no extra cost. Learn more)
Introduction
When faced with a clogged toilet or a stubbornly blocked drain, the trusty plunger often emerges as the hero of the hour. This humble yet effective tool is a staple in every household, ready to tackle the inconvenience of plumbing issues with ease. Whether you're a seasoned homeowner or a novice DIY enthusiast, mastering the art of using a plunger is a valuable skill that can save you time, money, and the hassle of calling a professional plumber.
In this comprehensive guide, we will delve into the intricacies of using a master plunger to unclog toilets, sinks, and drains effectively. From selecting the right type of plunger to executing the proper technique, we will equip you with the knowledge and confidence to handle common plumbing mishaps with finesse. By following the step-by-step instructions and gaining insights into the nuances of plunger usage, you'll be well-prepared to tackle any plumbing challenge that comes your way.
So, whether you're dealing with a minor inconvenience or a major plumbing dilemma, arming yourself with the expertise to wield a plunger effectively can make all the difference. Join us as we embark on a journey to demystify the art of plunging and empower you to conquer clogs with ease. Let's dive in and discover the secrets to becoming a master of the plunger!
Key Takeaways:
- Mastering the art of plunging involves choosing the right plunger for the job, positioning it correctly, and creating a tight seal to effectively tackle clogs in sinks, bathtubs, and toilets.
- Persistence is key when using a plunger – be patient, apply steady pressure, and don’t be afraid to repeat the process to successfully unclog stubborn drains and toilets.
Read more: Accordion Plunger: How To Use
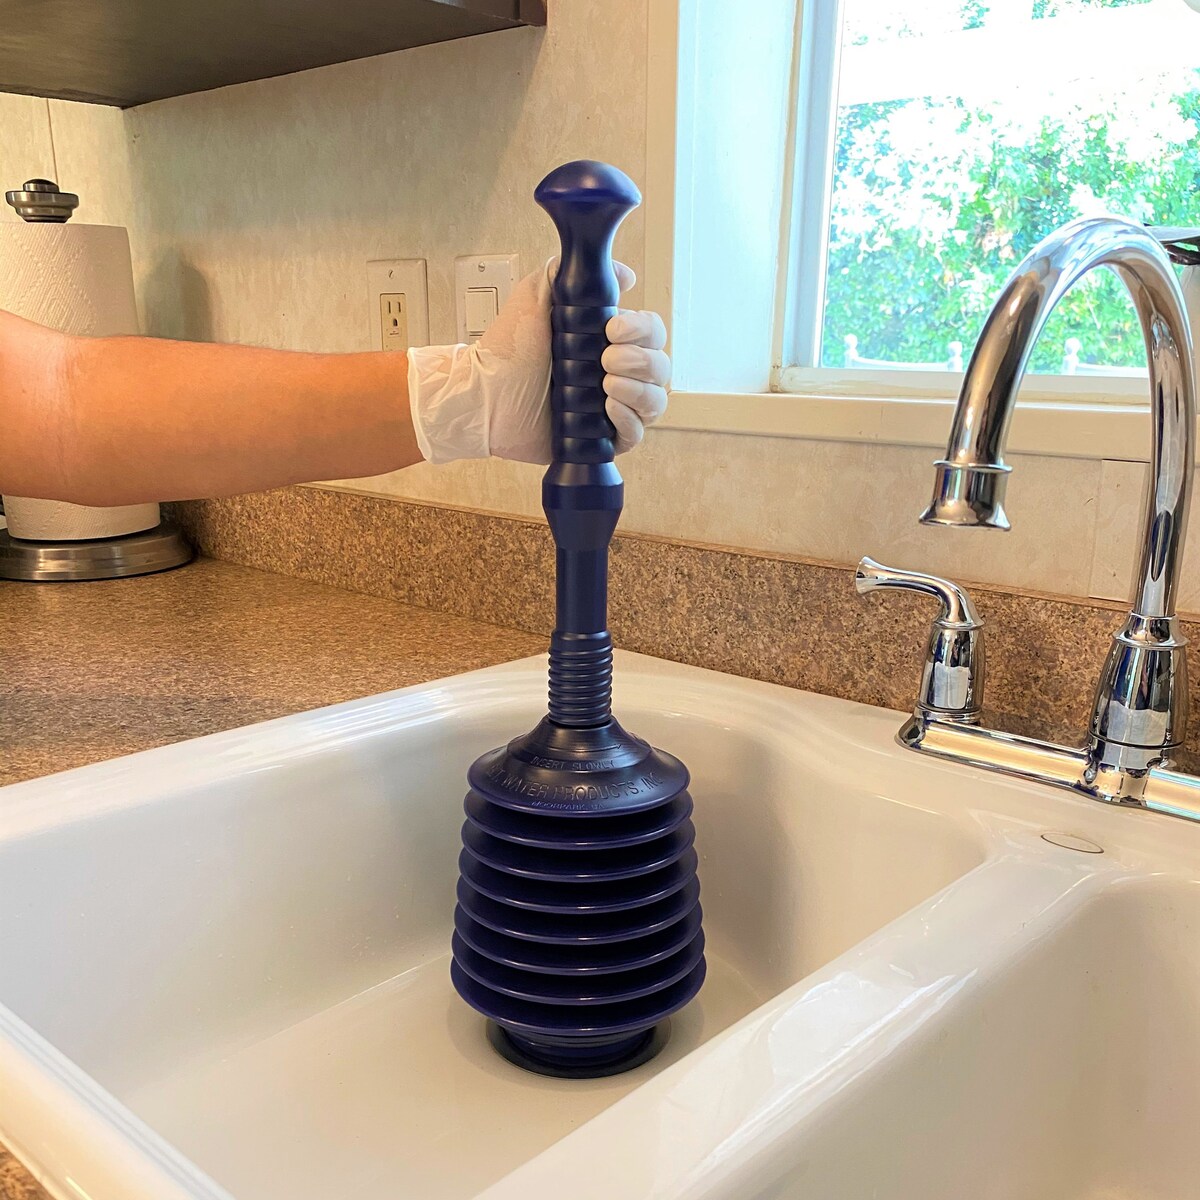
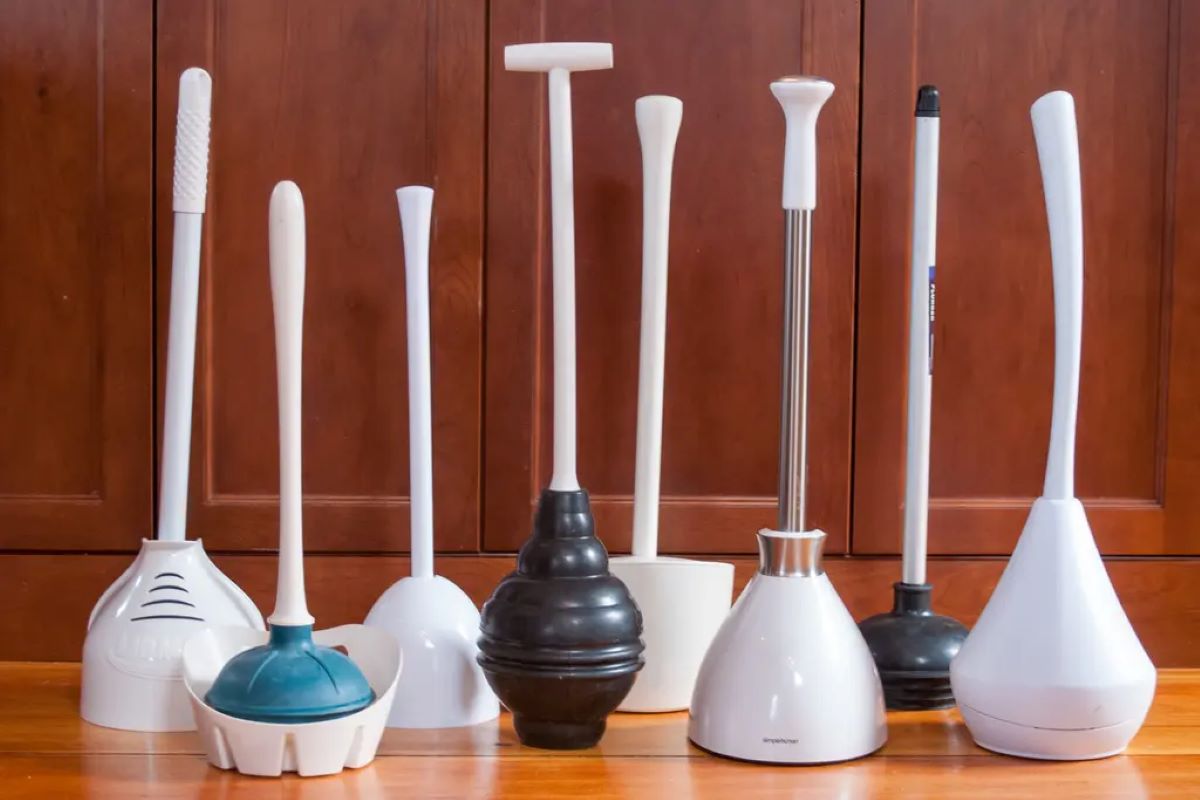
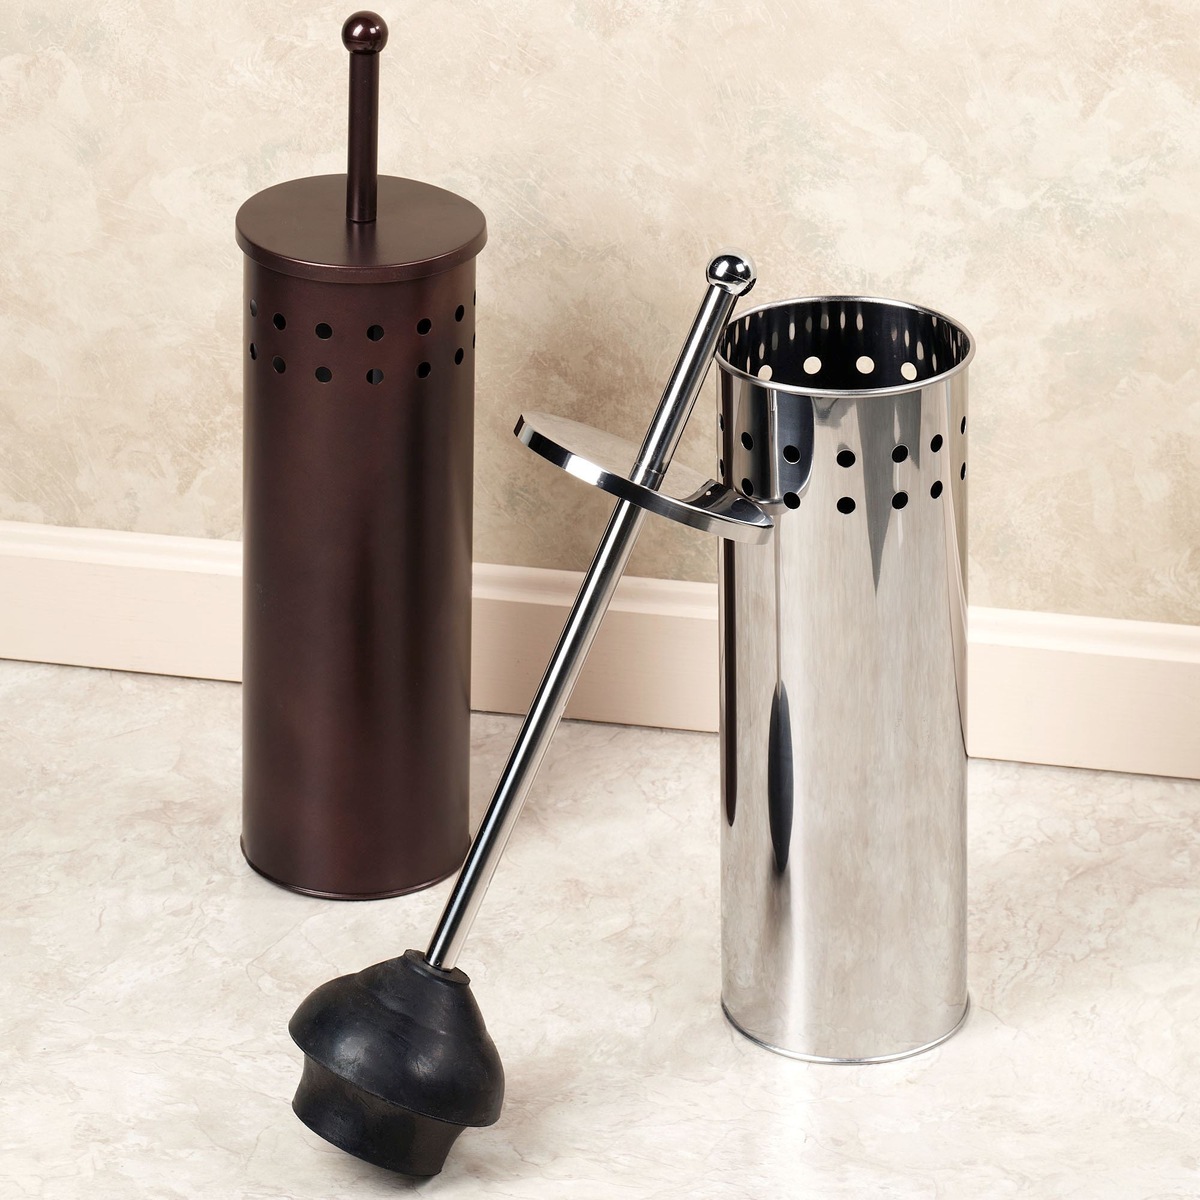
Step 1: Choose the Right Plunger
Selecting the right plunger is the crucial first step in effectively resolving a plumbing issue. Plungers come in various types, each designed for specific applications, and choosing the appropriate one can significantly impact the success of your unclogging endeavors.
Types of Plungers
-
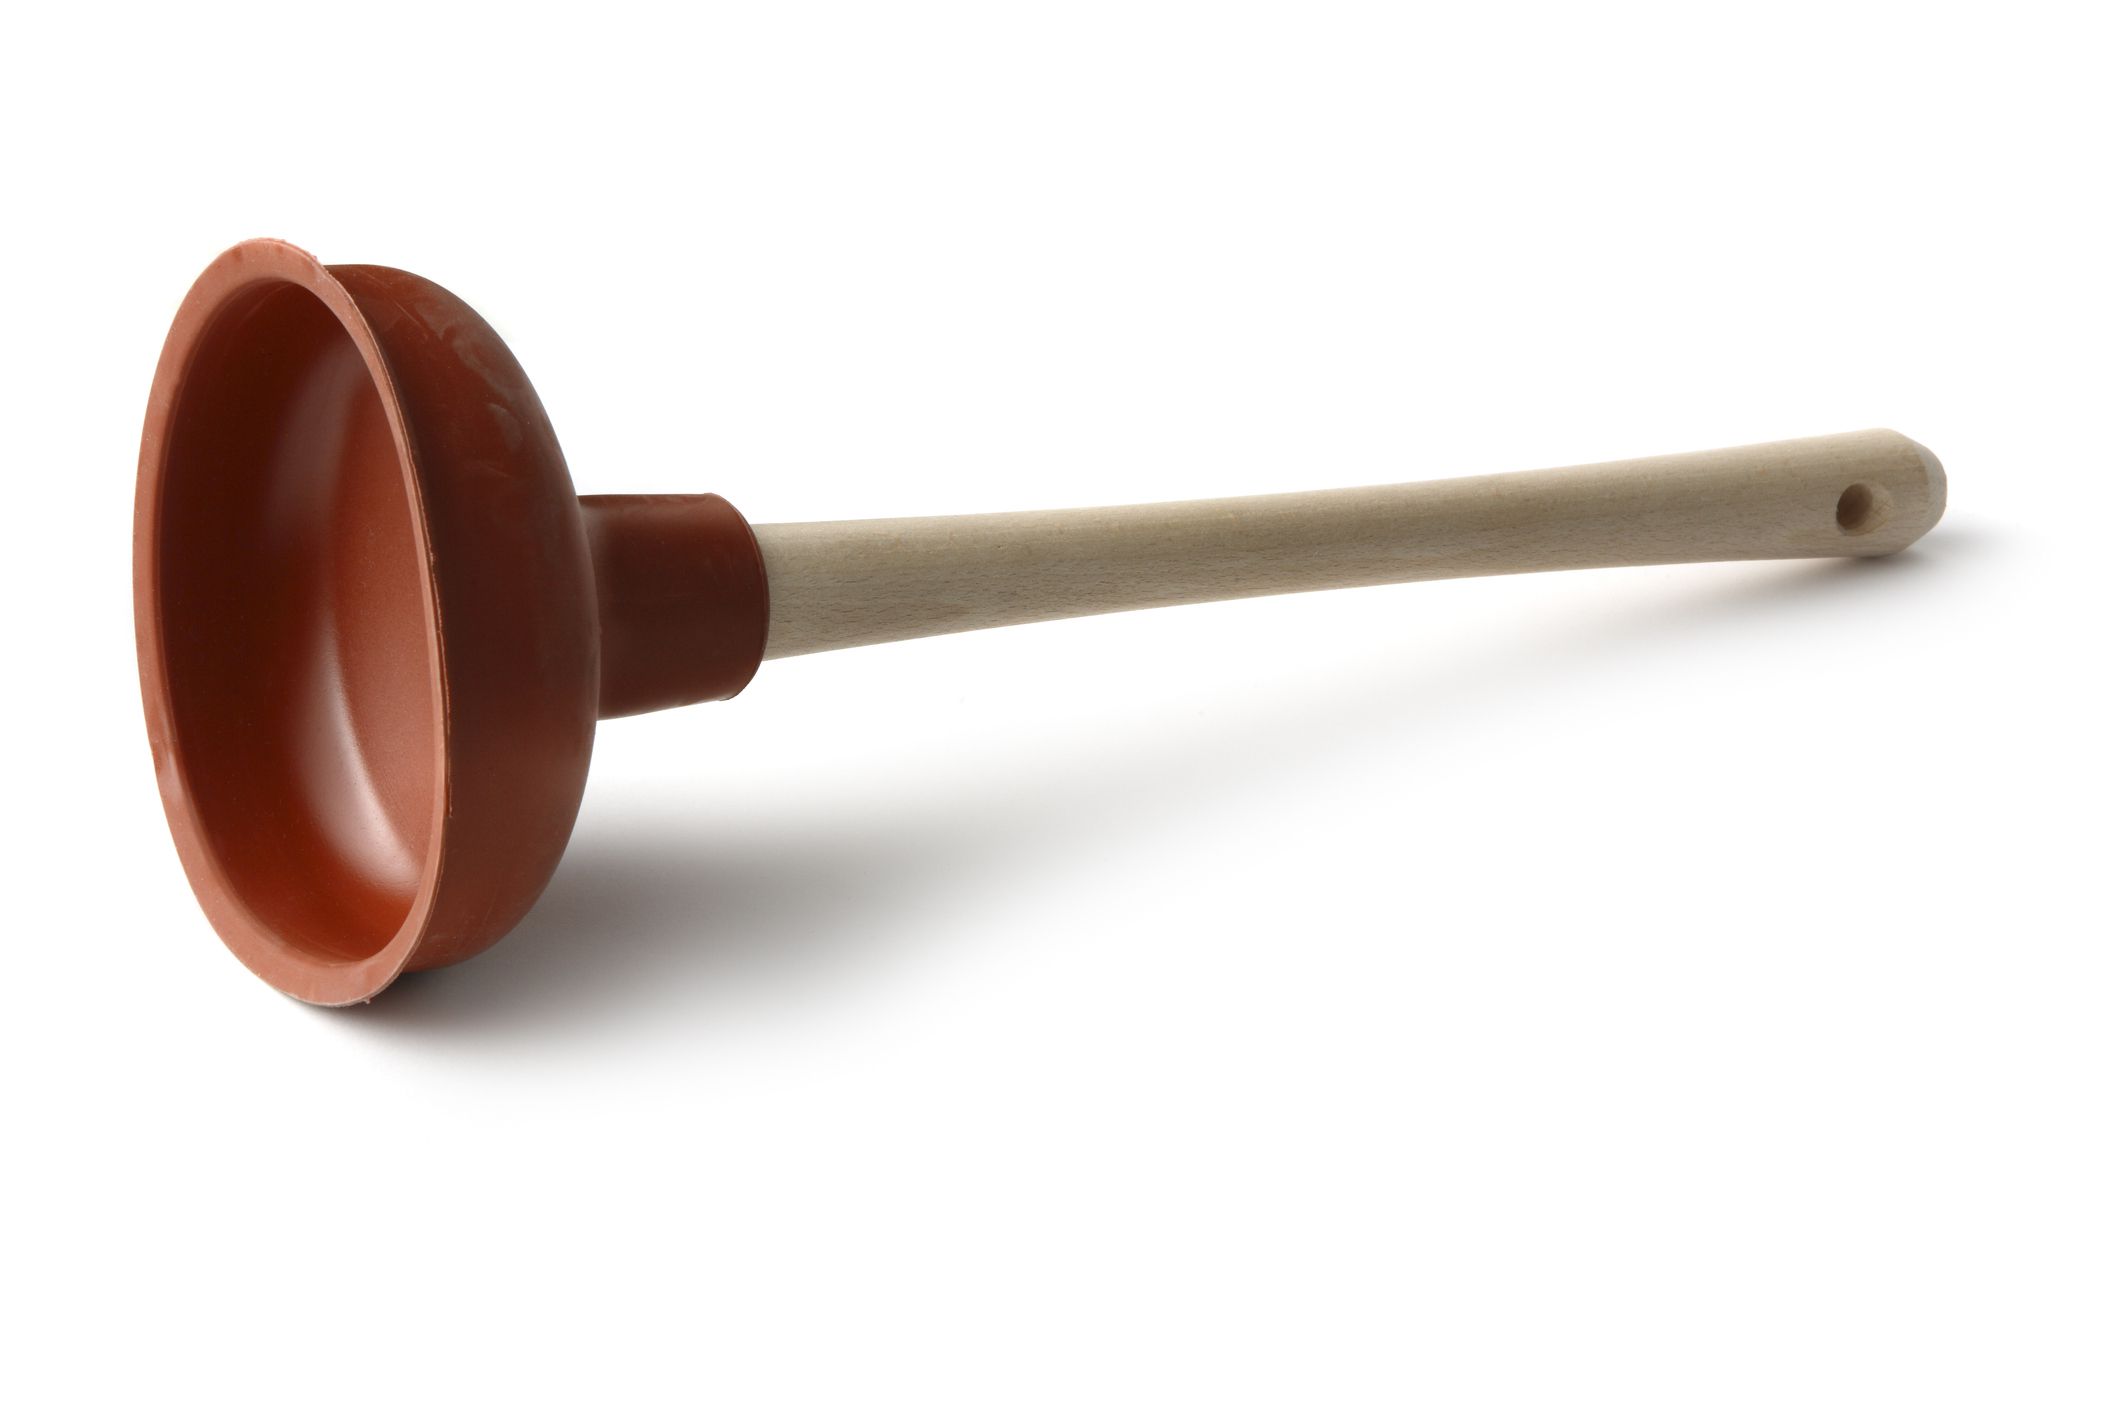
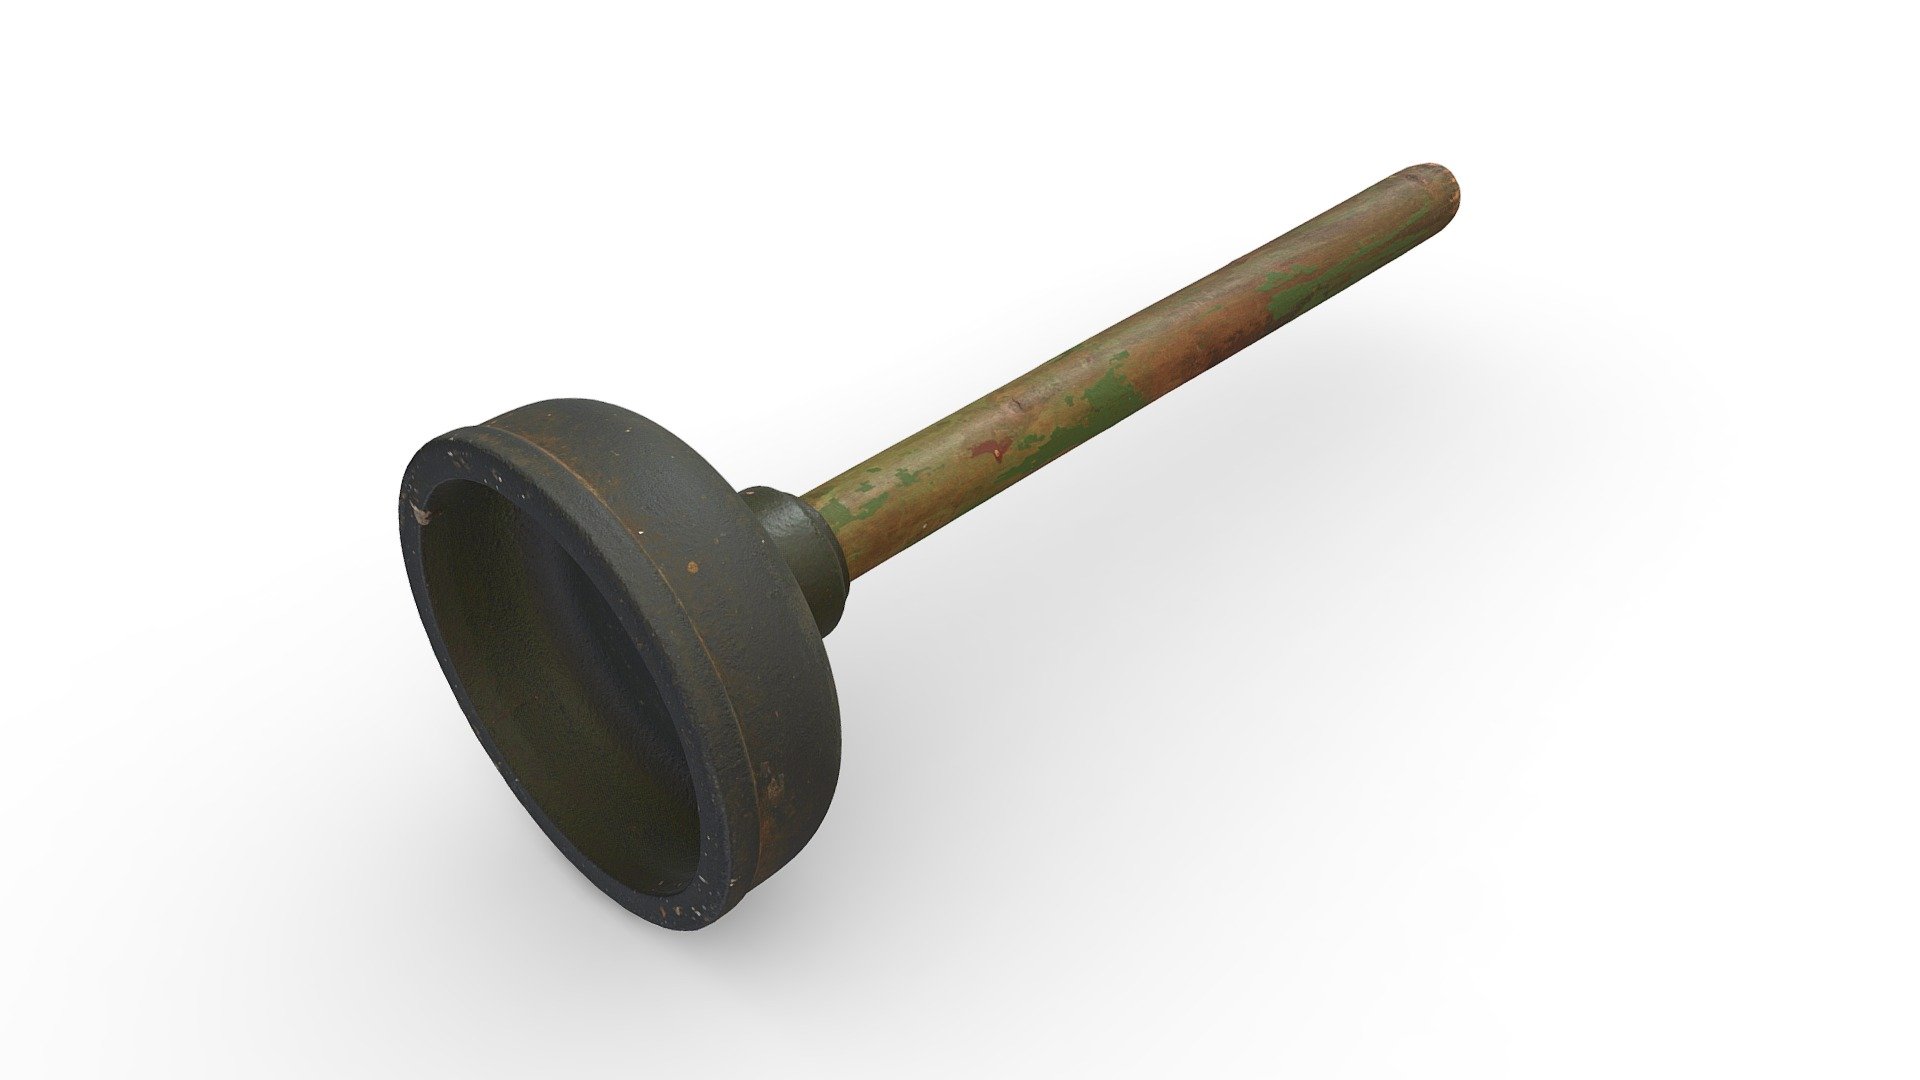
Cup Plunger: This is the most common type of plunger, recognized by its rubber cup that is ideal for use on flat surfaces such as sinks and bathtubs. The flexibility of the rubber cup allows for a tight seal, enabling effective suction to dislodge clogs.
-
Flange Plunger: Distinguished by its soft rubber flap that folds out from inside the cup, the flange plunger is specifically designed for toilets. The flange extends from the bottom of the cup, fitting snugly into the toilet drain to create a powerful seal for efficient plunging.
-
Accordion Plunger: With a bellows-shaped rubber head, the accordion plunger is suitable for clearing tough clogs in toilets. Its unique design allows for increased pressure and suction, making it an effective tool for stubborn blockages.
Considerations for Selection
When choosing a plunger, consider the nature of the clog and the type of fixture you need to unclog. For sink and bathtub clogs, a cup plunger is the go-to option due to its flat surface and versatile design. Conversely, when dealing with a toilet blockage, a flange plunger is essential for creating a secure seal within the curved toilet drain.
Additionally, ensure that the plunger's handle is comfortable to grip, as this will facilitate the application of consistent pressure during the plunging process. A sturdy, well-constructed handle is essential for maintaining control and maximizing the effectiveness of each plunge.
By carefully assessing the type of clog and the fixture in need of unclogging, you can confidently select the right plunger for the job. Armed with the appropriate plunger, you are now ready to proceed to the next step and position the tool correctly for optimal results.
Step 2: Position the Plunger
Positioning the plunger correctly is a fundamental aspect of achieving successful results when addressing a clogged fixture. Whether it's a sink, bathtub, or toilet, the proper placement of the plunger sets the stage for effective suction and pressure application. By following these guidelines, you can ensure that the plunger is optimally positioned to tackle the obstruction and facilitate the unclogging process.
Read more: How To Use Plunger On Toilet
Sink and Bathtub Plunging
When dealing with a clogged sink or bathtub drain, start by ensuring that the rubber cup of the plunger completely covers the drain opening. This creates a sealed environment essential for generating the necessary suction. Position the plunger at an angle that allows the cup to be fully submerged in water, ensuring a watertight seal. Once in place, press down firmly to expel any air trapped inside the cup, and then begin the plunging motion.
Toilet Plunging
For toilet clogs, the positioning of the plunger is crucial for creating a secure seal within the curved drain. Insert the flange of the plunger into the toilet bowl, ensuring that it fits snugly into the drain opening. The flange should form a tight seal to prevent air from escaping, allowing for effective suction and pressure application. Once the plunger is positioned, gently press down to expel any air and ensure a solid seal before commencing the plunging action.
Additional Considerations
Regardless of the fixture being addressed, it's essential to maintain a steady grip on the plunger handle while positioning the tool. This ensures stability and control during the plunging process, allowing for consistent pressure application. Additionally, take care to avoid splashing water outside the fixture when positioning the plunger, as this can lead to unnecessary mess and inconvenience.
By adhering to these positioning guidelines, you can set the stage for a successful plunging endeavor. With the plunger securely in place and a tight seal established, you are now ready to proceed to the next step and create the necessary suction to dislodge the stubborn clog.
Step 3: Create a Seal
Creating a tight seal is a pivotal aspect of the plunging process, as it directly influences the effectiveness of dislodging the clog. Whether you're addressing a sink, bathtub, or toilet blockage, the establishment of a secure seal is essential for generating the required suction and pressure to tackle the obstruction.
Read more: How To Use A Bellows Plunger
Sink and Bathtub Sealing
When using a cup plunger on a sink or bathtub drain, ensure that the rubber cup completely covers the drain opening. This is crucial for creating an airtight environment, allowing the plunger to generate the necessary suction. Press down firmly on the plunger to expel any trapped air and form a tight seal. The seal should be maintained throughout the plunging process to maximize the force exerted on the clog, facilitating its removal.
Toilet Sealing
For toilet plunging with a flange plunger, the creation of a secure seal within the curved drain is paramount. Insert the flange into the toilet bowl, ensuring a snug fit in the drain opening. The flange should form a watertight seal to prevent air from escaping, enabling effective suction and pressure application. Gently pressing down on the plunger expels any air and solidifies the seal, setting the stage for impactful plunging action.
Importance of a Solid Seal
A solid seal is critical for the plunger to function optimally, as it enables the generation of sufficient suction and pressure to dislodge the clog. Without a proper seal, the effectiveness of the plunging process is compromised, potentially prolonging the resolution of the plumbing issue. Therefore, meticulous attention to creating and maintaining a seal is fundamental to the success of the unclogging endeavor.
By focusing on creating a robust seal, you lay the groundwork for a successful plunging experience. With the seal in place, the stage is set for the application of pressure and suction to address the stubborn clog effectively.
Step 4: Apply Pressure
With the plunger positioned and a secure seal in place, it's time to apply the necessary pressure to dislodge the stubborn clog. This step is crucial in harnessing the combined forces of suction and compression to effectively address the obstruction within the plumbing system.
When using a plunger on a sink or bathtub drain, begin by exerting downward pressure on the handle while maintaining the sealed position of the rubber cup over the drain opening. The goal is to create a forceful suction that dislodges the clog, allowing water to flow freely through the drain. Employ a rhythmic plunging motion, alternating between gentle and vigorous presses to maximize the impact on the obstruction. This dynamic approach helps to break up the clog and facilitate its movement through the plumbing system.
In the case of a toilet blockage, the application of pressure with a flange plunger follows a similar principle. With the plunger securely positioned and a tight seal established, press down on the handle in a controlled manner to generate suction within the toilet drain. The goal is to create enough force to dislodge the clog and restore proper flushing functionality. Utilize a steady and deliberate plunging motion, maintaining the seal and applying consistent pressure to effectively address the obstruction.
It's important to exercise patience and persistence during this step, as some clogs may require repeated plunging to achieve the desired results. By maintaining a firm grip on the plunger handle and employing a steady, rhythmic motion, you can maximize the pressure applied to the clog, increasing the likelihood of a successful unclogging outcome.
Throughout the pressure application process, be mindful of any changes in the plumbing system, such as the movement of water or the release of trapped air. These indicators can provide valuable insight into the progress of the unclogging effort, guiding the intensity and duration of the plunging action.
By skillfully applying pressure in conjunction with a secure seal and proper positioning, you harness the full potential of the plunger to address the clog effectively. With each plunge, you inch closer to restoring the smooth functionality of your plumbing fixtures, empowered by the mastery of this essential plunging technique.
Read more: How To Use A Sink Plunger
Step 5: Repeat if Necessary
In the realm of plumbing challenges, persistence often proves to be the key to success. When faced with a particularly stubborn clog, the need for repetition in the plunging process may arise. This step underscores the importance of perseverance and the willingness to engage in multiple plunging attempts to achieve the desired outcome.
After applying pressure and executing a series of plunging motions, it's essential to assess the effectiveness of the initial efforts. If the clog persists or shows minimal signs of improvement, it's time to embrace the notion of repetition. This entails repositioning the plunger, recreating a solid seal, and once again applying pressure to dislodge the stubborn obstruction.
When repeating the plunging process, it's crucial to maintain a methodical approach while incorporating adjustments based on the observed results. Start by repositioning the plunger to ensure optimal coverage of the drain opening, followed by the creation of a secure seal to facilitate effective suction. With the plunger in position and the seal established, proceed to apply pressure with a steady and controlled plunging motion.
Throughout the repetition of the plunging process, pay close attention to any changes in the plumbing system, such as the movement of water or the release of trapped air. These indicators serve as valuable cues, guiding the intensity and duration of the repeated plunging attempts. By remaining attentive to these subtle shifts, you can adapt your approach and maximize the impact of each repetition.
It's important to acknowledge that certain clogs may require multiple rounds of plunging to achieve a breakthrough. The persistence and dedication to repeating the plunging process reflect a commitment to resolving the plumbing issue effectively. Embracing the concept of repetition underscores the tenacity and resilience required to overcome challenging clogs, ultimately leading to a successful unclogging outcome.
By embracing the notion of repetition when necessary, you demonstrate a steadfast determination to conquer the plumbing obstacle at hand. Each repetition brings you closer to achieving the desired result, reinforcing the significance of persistence in the realm of plumbing maintenance and repair.
Conclusion
In the realm of household maintenance, the mastery of plunging techniques emerges as a valuable skill, offering a practical solution to common plumbing challenges. As we conclude this comprehensive guide on using a master plunger, it's evident that the art of plunging extends beyond the physical act of applying pressure and suction. It embodies a mindset of resilience, adaptability, and a willingness to engage in repetitive efforts to achieve a favorable outcome.
The journey to becoming a master of the plunger begins with the fundamental step of selecting the right type of plunger for the specific plumbing fixture in need of attention. Whether it's a cup plunger for sinks and bathtubs or a flange plunger for toilets, the significance of this initial choice cannot be overstated. By carefully considering the nature of the clog and the design of the fixture, you set the stage for a targeted and effective unclogging endeavor.
Positioning the plunger with precision and creating a secure seal are pivotal steps that lay the groundwork for successful plunging. Whether addressing a sink, bathtub, or toilet blockage, the proper placement of the plunger sets the stage for the generation of essential suction and pressure, essential for dislodging the stubborn clog.
The application of pressure with a steady and rhythmic plunging motion represents the culmination of the plunging process, harnessing the combined forces of suction and compression to address the obstruction effectively. This step requires patience, persistence, and a keen awareness of the subtle changes within the plumbing system, guiding the intensity and duration of the plunging action.
Embracing the concept of repetition underscores the resilience and determination required to overcome challenging clogs, reinforcing the significance of persistence in the realm of plumbing maintenance and repair. The willingness to engage in multiple plunging attempts reflects a commitment to achieving the desired outcome, even in the face of stubborn obstructions.
As we reflect on the intricacies of using a master plunger, it becomes evident that the journey to mastery extends beyond the physical act of plunging. It embodies a mindset of adaptability, perseverance, and a proactive approach to addressing household plumbing challenges. By mastering the art of plunging, you equip yourself with a valuable skill that empowers you to navigate common plumbing mishaps with confidence and finesse, ultimately contributing to a seamless and functional home environment.
Frequently Asked Questions about How To Use A Master Plunger
Was this page helpful?
At Storables.com, we guarantee accurate and reliable information. Our content, validated by Expert Board Contributors, is crafted following stringent Editorial Policies. We're committed to providing you with well-researched, expert-backed insights for all your informational needs.


0 thoughts on “How To Use A Master Plunger”