Articles
How To Clean A Toilet Plunger
Modified: October 19, 2024
Learn effective techniques for cleaning and maintaining your toilet plunger with our comprehensive articles. Keep your plunger sanitary and ready for use.
(Many of the links in this article redirect to a specific reviewed product. Your purchase of these products through affiliate links helps to generate commission for Storables.com, at no extra cost. Learn more)
Introduction
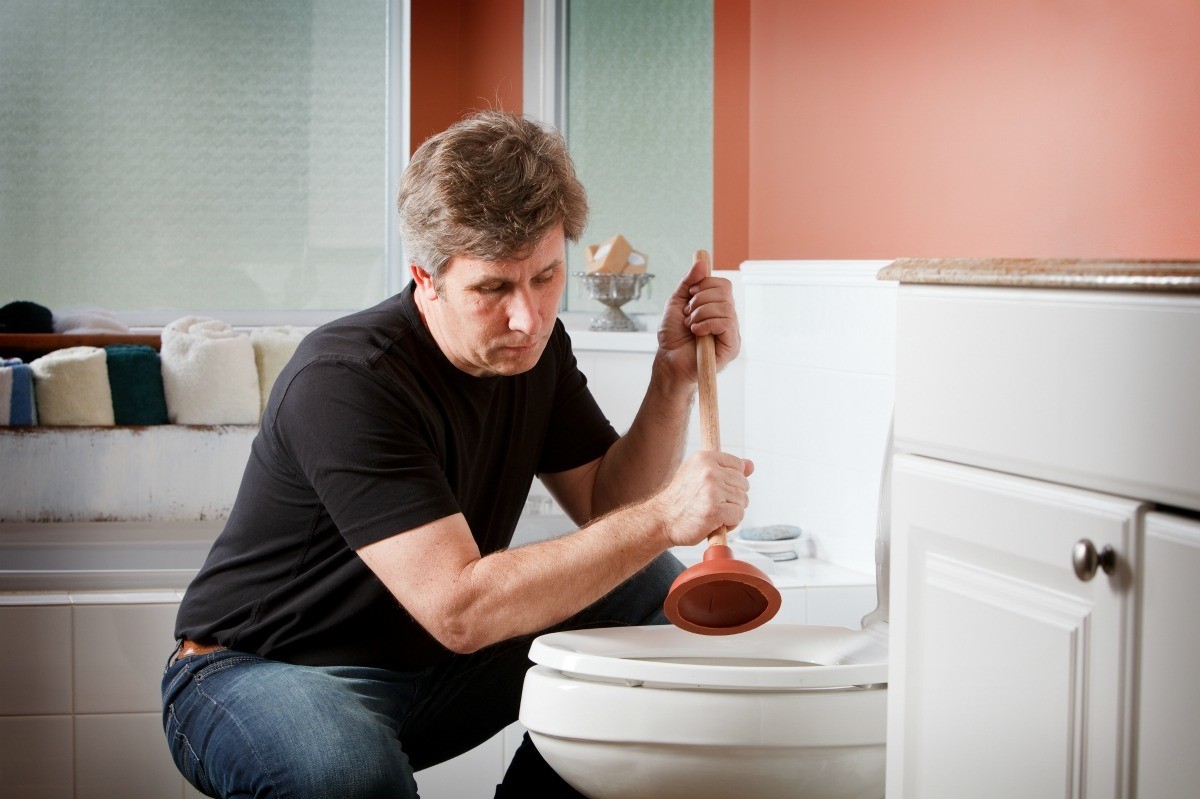
Whether you have just moved into a new home or have been in your current house for a while, having a well-maintained and clean bathroom is essential for a healthy and pleasant living environment. One of the most common tools found in any bathroom is a toilet plunger, which comes in handy when dealing with clogged toilets.
While toilets are designed to handle waste, there are times when they can become clogged due to various factors such as excess toilet paper, foreign objects, or even issues with the plumbing system. This is where a toilet plunger proves its worth by allowing you to unclog the toilet efficiently.
However, like any other tool, a toilet plunger can accumulate bacteria, dirt, and debris over time, making it unhygienic and potentially spreading germs in your bathroom. Therefore, it is important to regularly clean and disinfect your toilet plunger to maintain proper hygiene and maximize its effectiveness when faced with a clogged toilet.
In this article, we will guide you on how to clean a toilet plunger effectively and ensure it remains in tip-top shape for future use. By following these simple steps, you can ensure a clean and well-maintained toilet plunger that is both reliable and hygienic.
Key Takeaways:
- Regularly cleaning and disinfecting your toilet plunger is crucial for maintaining a hygienic bathroom environment and ensuring its effectiveness in unclogging toilets.
- Proper storage, thorough rinsing, and effective plunging techniques are essential for maintaining a clean and reliable toilet plunger.
Read more: How To Store A Toilet Plunger
Gather Supplies
Before you begin the process of cleaning your toilet plunger, it is important to gather all the necessary supplies. By having everything on hand, you can ensure a smooth and efficient cleaning process. Here are the supplies you will need:
- Rubber gloves: To protect your hands from any potential bacteria or dirt on the plunger.
- Bucket or sink: To contain the water and cleaning solution for soaking the plunger.
- Cleaning solution: You can use a mixture of warm water and mild detergent, or you can opt for a disinfectant cleaner.
- Scrub brush or old toothbrush: These will be used to scrub and clean the plunger thoroughly.
- Old towel or paper towels: For drying the plunger after cleaning.
Make sure to have all these supplies ready before you begin the cleaning process. This will help streamline the process and ensure you have everything you need to effectively clean your toilet plunger.
Prepare the Plunger
Before diving into the cleaning process, it is important to prepare the plunger for thorough cleaning. This step involves removing any excess debris or waste that may be stuck on the plunger. Here’s how to prepare the plunger:
- Put on rubber gloves: It is essential to protect your hands from any potentially harmful bacteria or germs during the cleaning process.
- Inspect the plunger: Take a close look at the plunger to identify any visible debris or residue. Use your gloved hands or a paper towel to remove any large debris that may be stuck on the rubber suction cup or handle of the plunger.
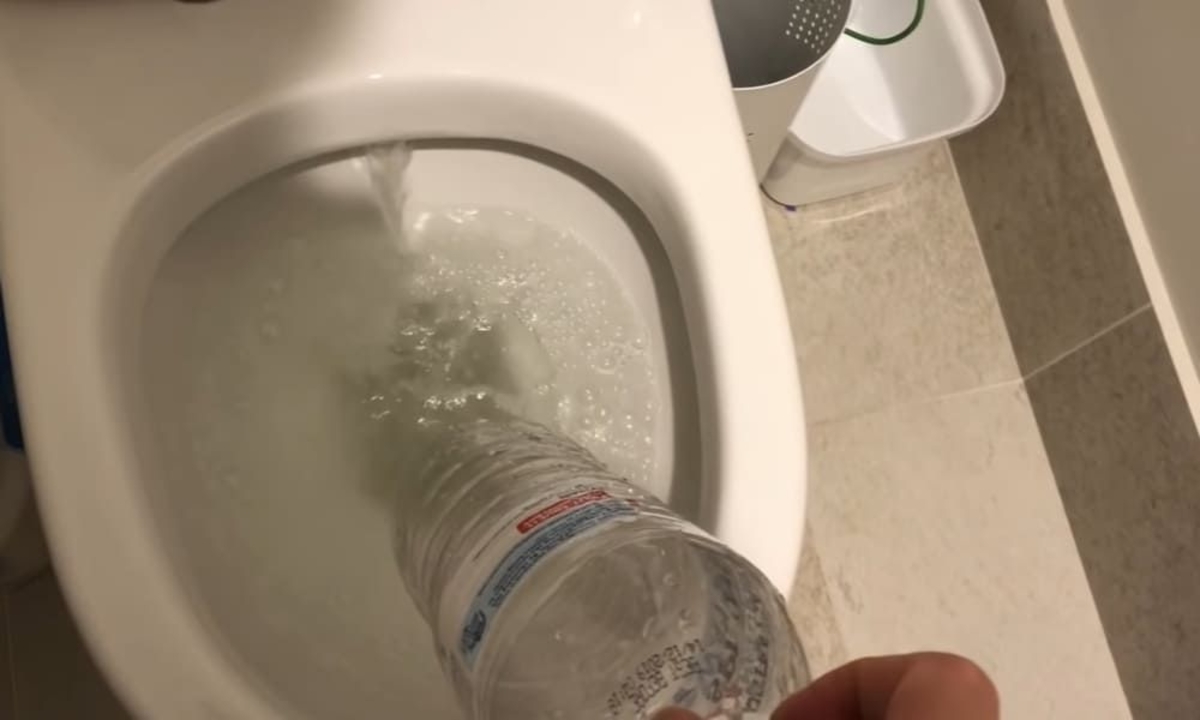
- Flush the toilet: To ensure a cleaner and more hygienic plunger, flush the toilet to get rid of any residual waste in the bowl.
By preparing the plunger before cleaning, you are setting the stage for a more effective and thorough cleaning process. Removing excess debris will prevent it from spreading during the cleaning process and ensure a cleaner end result.
Remove Excess Debris
Once you have prepared the plunger, the next step is to remove any excess debris that may be stuck on the rubber suction cup or handle. This is an important step to prevent the debris from spreading or contaminating other surfaces during the cleaning process. Here’s how to remove excess debris from your toilet plunger:
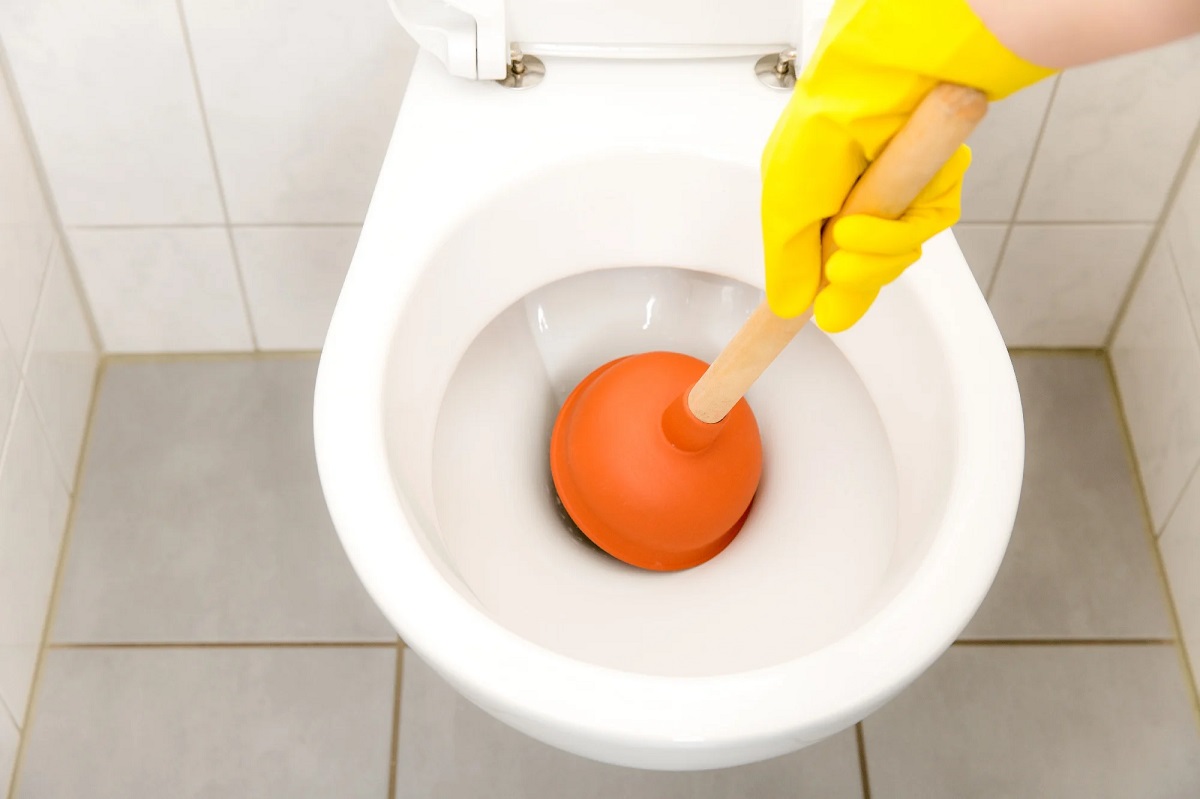
- Hold the plunger by the handle: Ensure a firm grip on the handle of the plunger, making sure not to touch the rubber suction cup with your hands.
- Inspect the suction cup: Take a close look at the rubber suction cup to identify any debris or waste that may be stuck on it, such as toilet paper or foreign objects.
- Use a soft brush or your gloved hand: Gently brush or wipe away the debris from the rubber suction cup. You can use an old toothbrush or a soft-bristled brush to remove the debris. Alternatively, you can also use your gloved hand to wipe away the debris.
- Check the handle: Inspect the handle of the plunger for any debris that may be stuck on it. If you notice any, wipe it away with a paper towel or cloth.
- Dispose of the debris: After removing the debris, dispose of it in a trash bag or flush it down the toilet.
By removing excess debris from your toilet plunger, you are ensuring a cleaner and more effective cleaning process. This step helps prevent the spread of germs and maintains proper hygiene in your bathroom.
Clean the Plunger
After removing the excess debris, it’s time to clean the rubber suction cup and handle of the plunger to rid them of any dirt, grime, or bacteria. This step is crucial for maintaining a hygienic toilet plunger. Here’s how to clean the plunger effectively:
- Fill a sink or bucket with warm water: Fill a sink or bucket with warm water, ensuring there is enough water to completely submerge the plunger.
- Add a mild detergent or disinfectant cleaner: Add a small amount of mild detergent or a disinfectant cleaner to the water. Mix it gently to create a cleaning solution.
- Submerge the plunger: Place the plunger in the water, making sure it is fully submerged. Allow it to soak for about 10 to 15 minutes. This will help loosen any dirt or grime present on the plunger.
- Scrub the plunger: After soaking, use a scrub brush or an old toothbrush to scrub the rubber suction cup and handle of the plunger. Scrub in a circular motion, paying close attention to any visible stains or residue. This will help remove any stubborn dirt or bacteria.
- Rinse with clean water: Once you have finished scrubbing, rinse the plunger thoroughly with clean water. Make sure to remove all traces of detergent or disinfectant.
- Inspect for cleanliness: After rinsing, inspect the plunger to ensure it is clean and free from any residue. If necessary, repeat the cleaning process or focus on specific areas that may still require attention.
By cleaning the rubber suction cup and handle of your plunger, you are eliminating dirt and bacteria that may have accumulated over time. This not only improves the hygiene of the plunger but also ensures its effectiveness when confronted with a clogged toilet.
After using the plunger, clean it by soaking it in a mixture of hot water and bleach for 30 minutes, then rinse it thoroughly before storing.
Read more: How To Make A Plunger For A Toilet
Disinfect the Plunger
After cleaning the rubber suction cup and handle of the plunger, the next step is to disinfect it. Disinfection is crucial for killing any remaining bacteria or germs that may be present on the surface of the plunger. Here’s how to disinfect your toilet plunger:
- Prepare a disinfectant solution: You can use a mixture of warm water and bleach or a commercial disinfectant solution. Follow the instructions on the disinfectant product for the correct dilution ratio.
- Submerge the plunger: Place the plunger in the disinfectant solution, making sure it is fully submerged. Allow it to soak for about 10 to 15 minutes. This will help kill any remaining bacteria or germs.
- Use gloves and avoid contact: When handling the disinfectant solution, it’s important to wear rubber gloves and avoid direct contact with your skin. This will protect your hands from any potential skin irritation or chemical exposure.
- Rinse with clean water: After the plunger has soaked in the disinfectant solution, remove it and rinse it thoroughly with clean water to remove any remaining disinfectant residue.
Disinfecting your toilet plunger helps ensure that you eliminate any lingering bacteria or germs that may have survived the cleaning process. This step is essential for maintaining proper hygiene in your bathroom and preventing the spread of harmful microorganisms.
Rinse and Dry the Plunger
After disinfecting the plunger, it’s important to rinse it thoroughly and allow it to dry completely before storing it. Proper rinsing removes any remaining residue from the disinfectant and ensures the plunger is ready for future use. Here’s how to rinse and dry your toilet plunger:
- Rinse with clean water: Hold the plunger under running water, preferably warm water, and thoroughly rinse off any remaining disinfectant or cleaning solution. Make sure to rinse both the rubber suction cup and the handle to remove any traces of residue.
- Inspect for cleanliness: As you rinse, inspect the plunger for any remaining dirt or stains. Pay close attention to hard-to-reach areas and crevices. If necessary, use a soft brush or cloth to remove any stubborn residue.
- Dry the plunger: After rinsing, shake off any excess water from the plunger. Then, place it on a clean towel or a drying rack to air dry completely. Avoid drying the plunger on a surface that may be contaminated, such as the bathroom floor or toilet seat.
- Ensure complete dryness: It’s important to ensure that the plunger is completely dry before storing it. Any moisture left on the plunger can promote the growth of mold or bacteria, leading to unpleasant odors and potential health risks.
By rinsing and thoroughly drying your toilet plunger, you are ensuring that it remains clean and free from any moisture that may foster the growth of bacteria. This step is crucial for maintaining the hygiene and effectiveness of your plunger.
Store the Plunger Properly
Once your toilet plunger is clean and dry, it’s important to store it properly to maintain its cleanliness and prevent any cross-contamination. Here are some tips for storing your toilet plunger:
- Designate a specific storage area: Choose a dedicated storage area for your plunger, preferably near the toilet for easy access when needed. This could be a bathroom cabinet, a closet, or a designated spot in the bathroom.
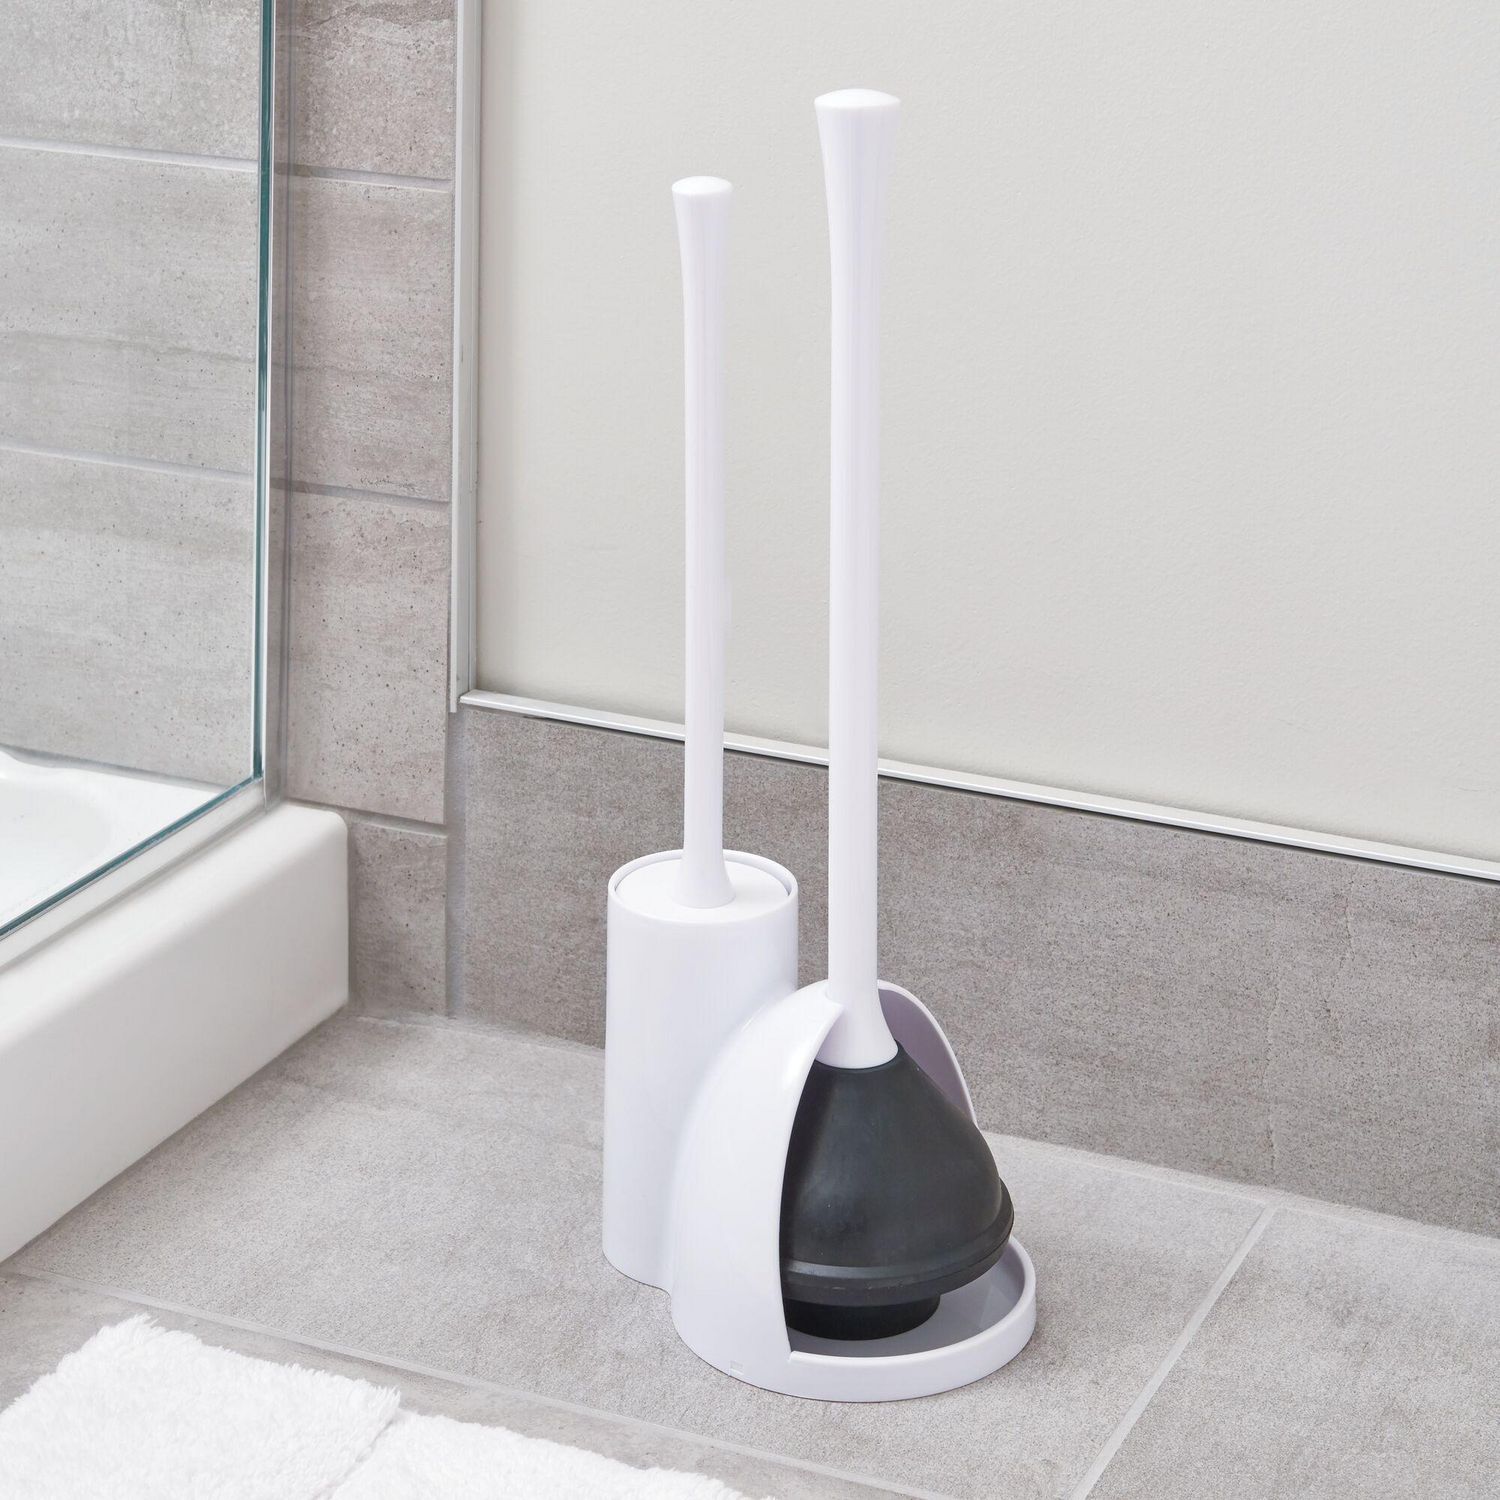
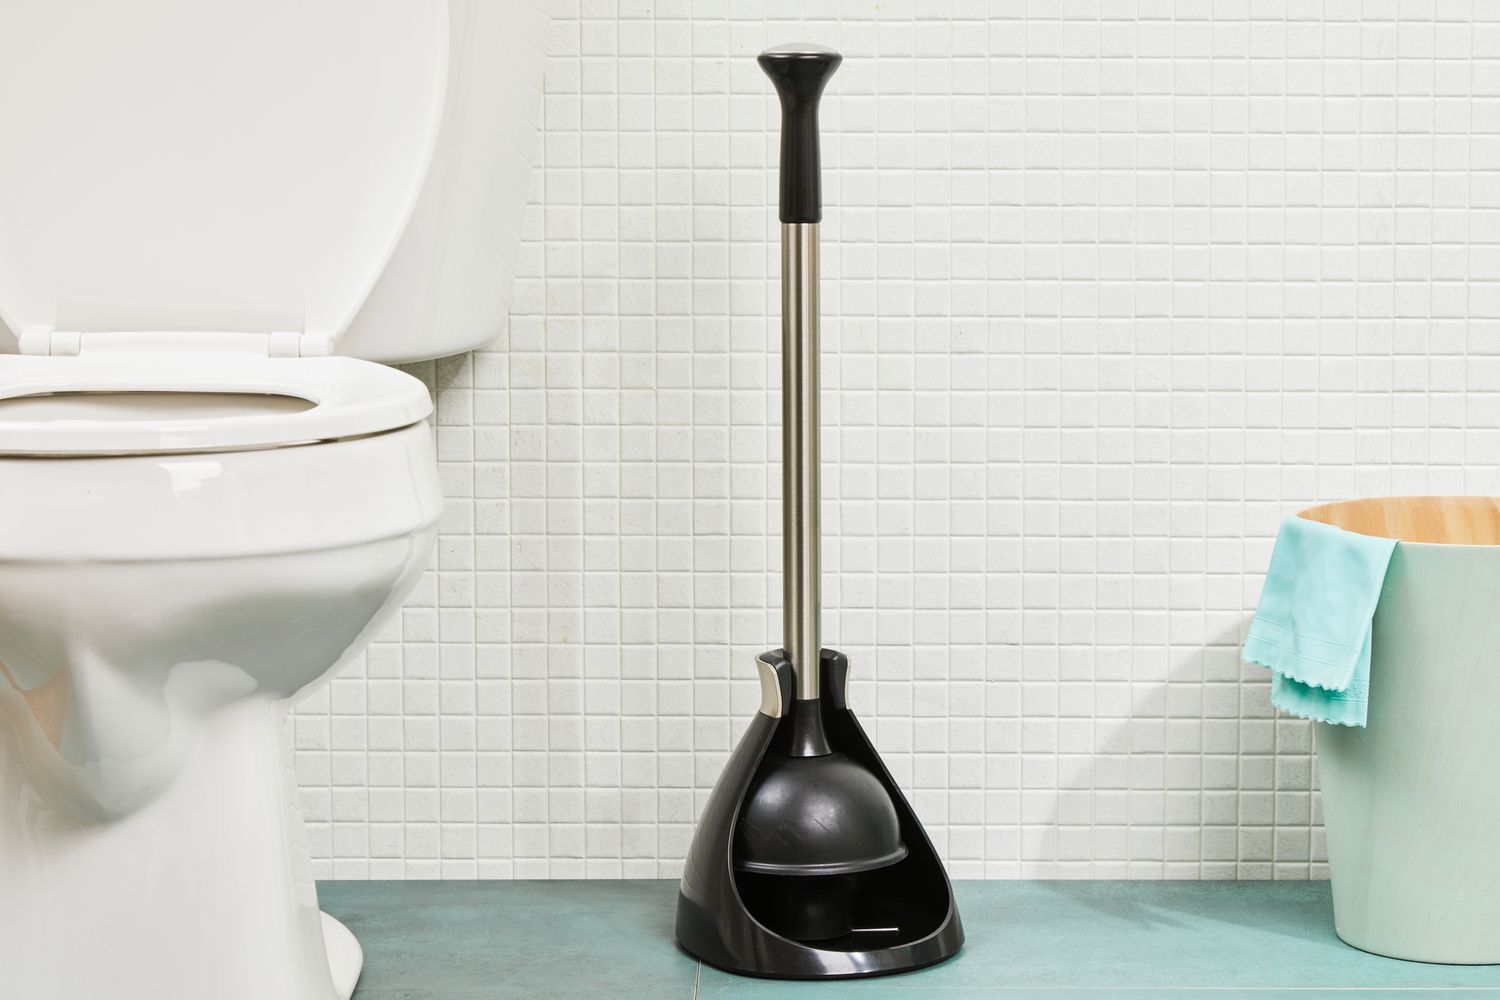
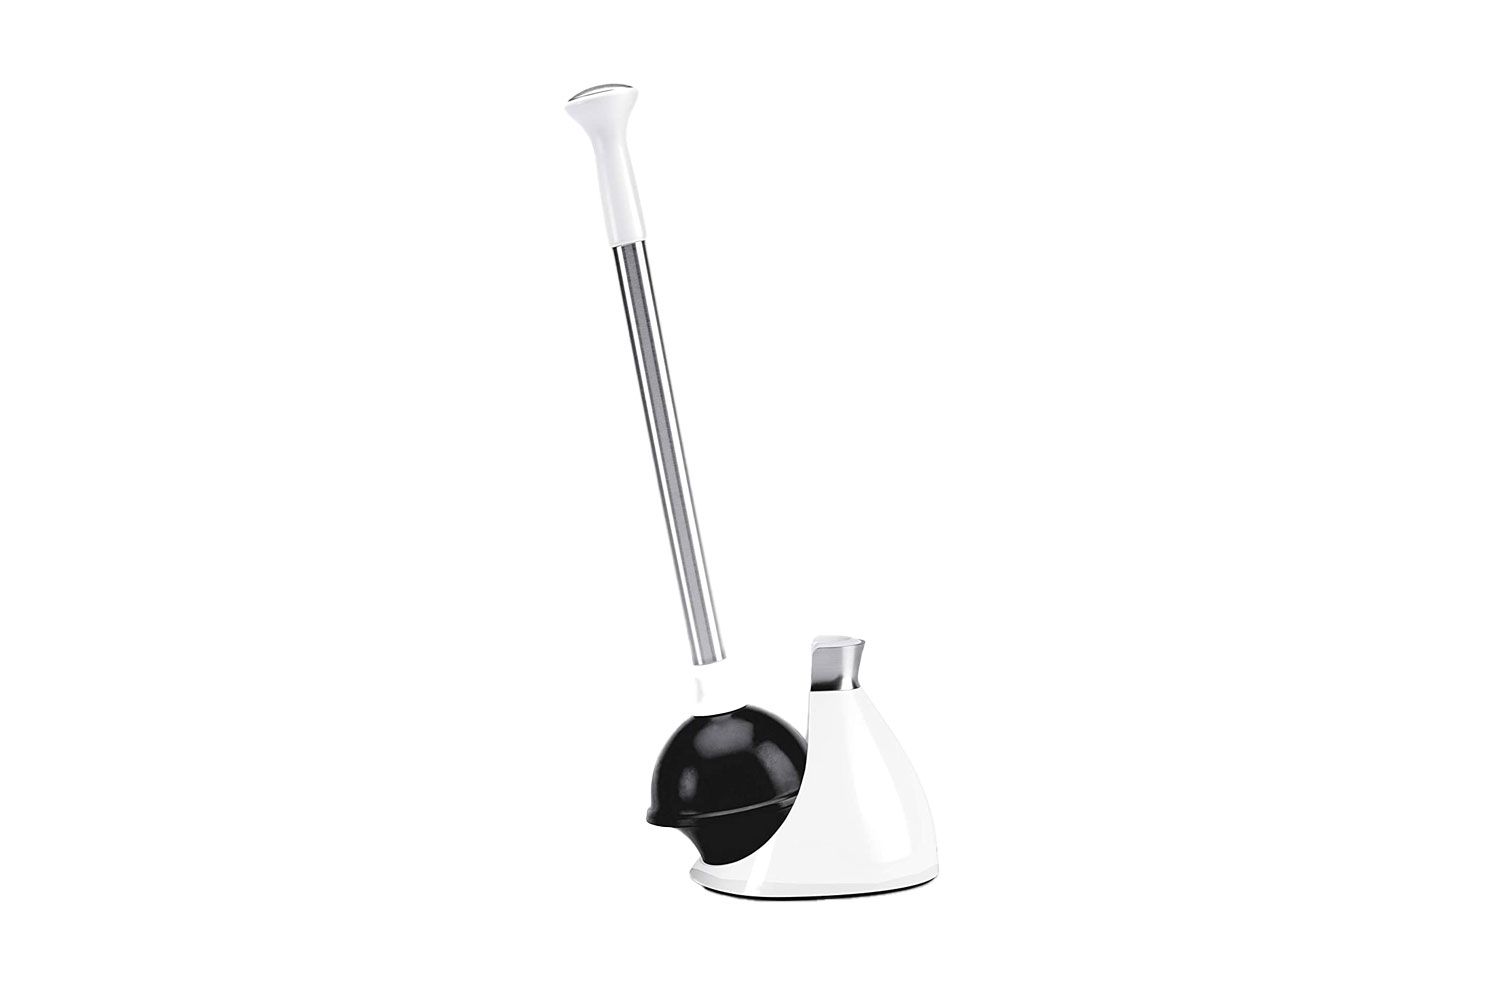
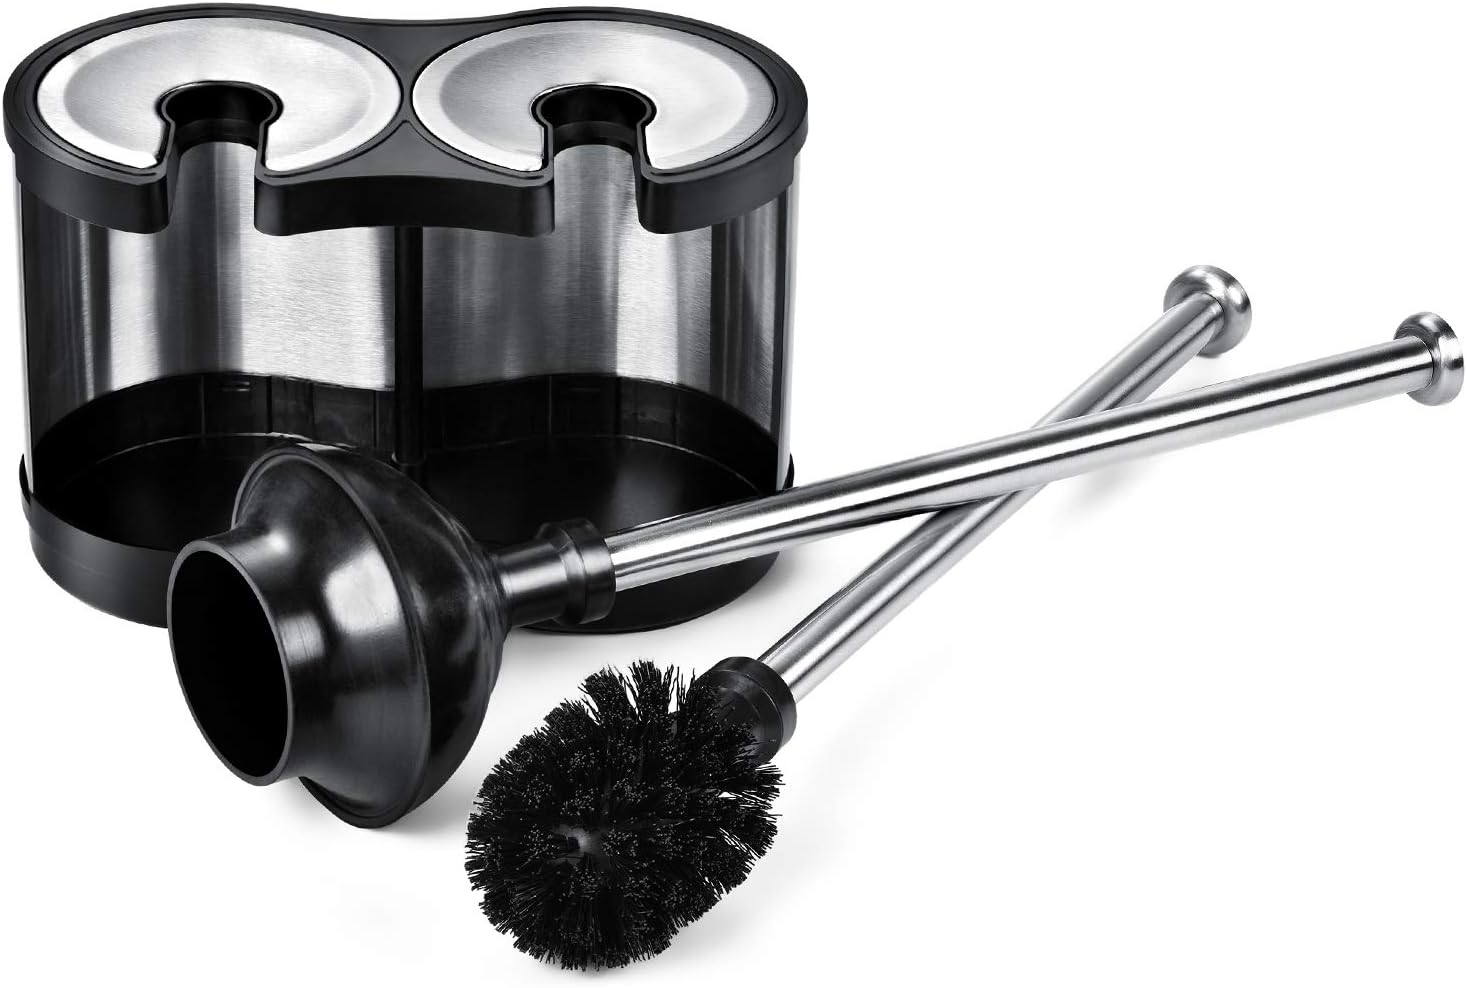
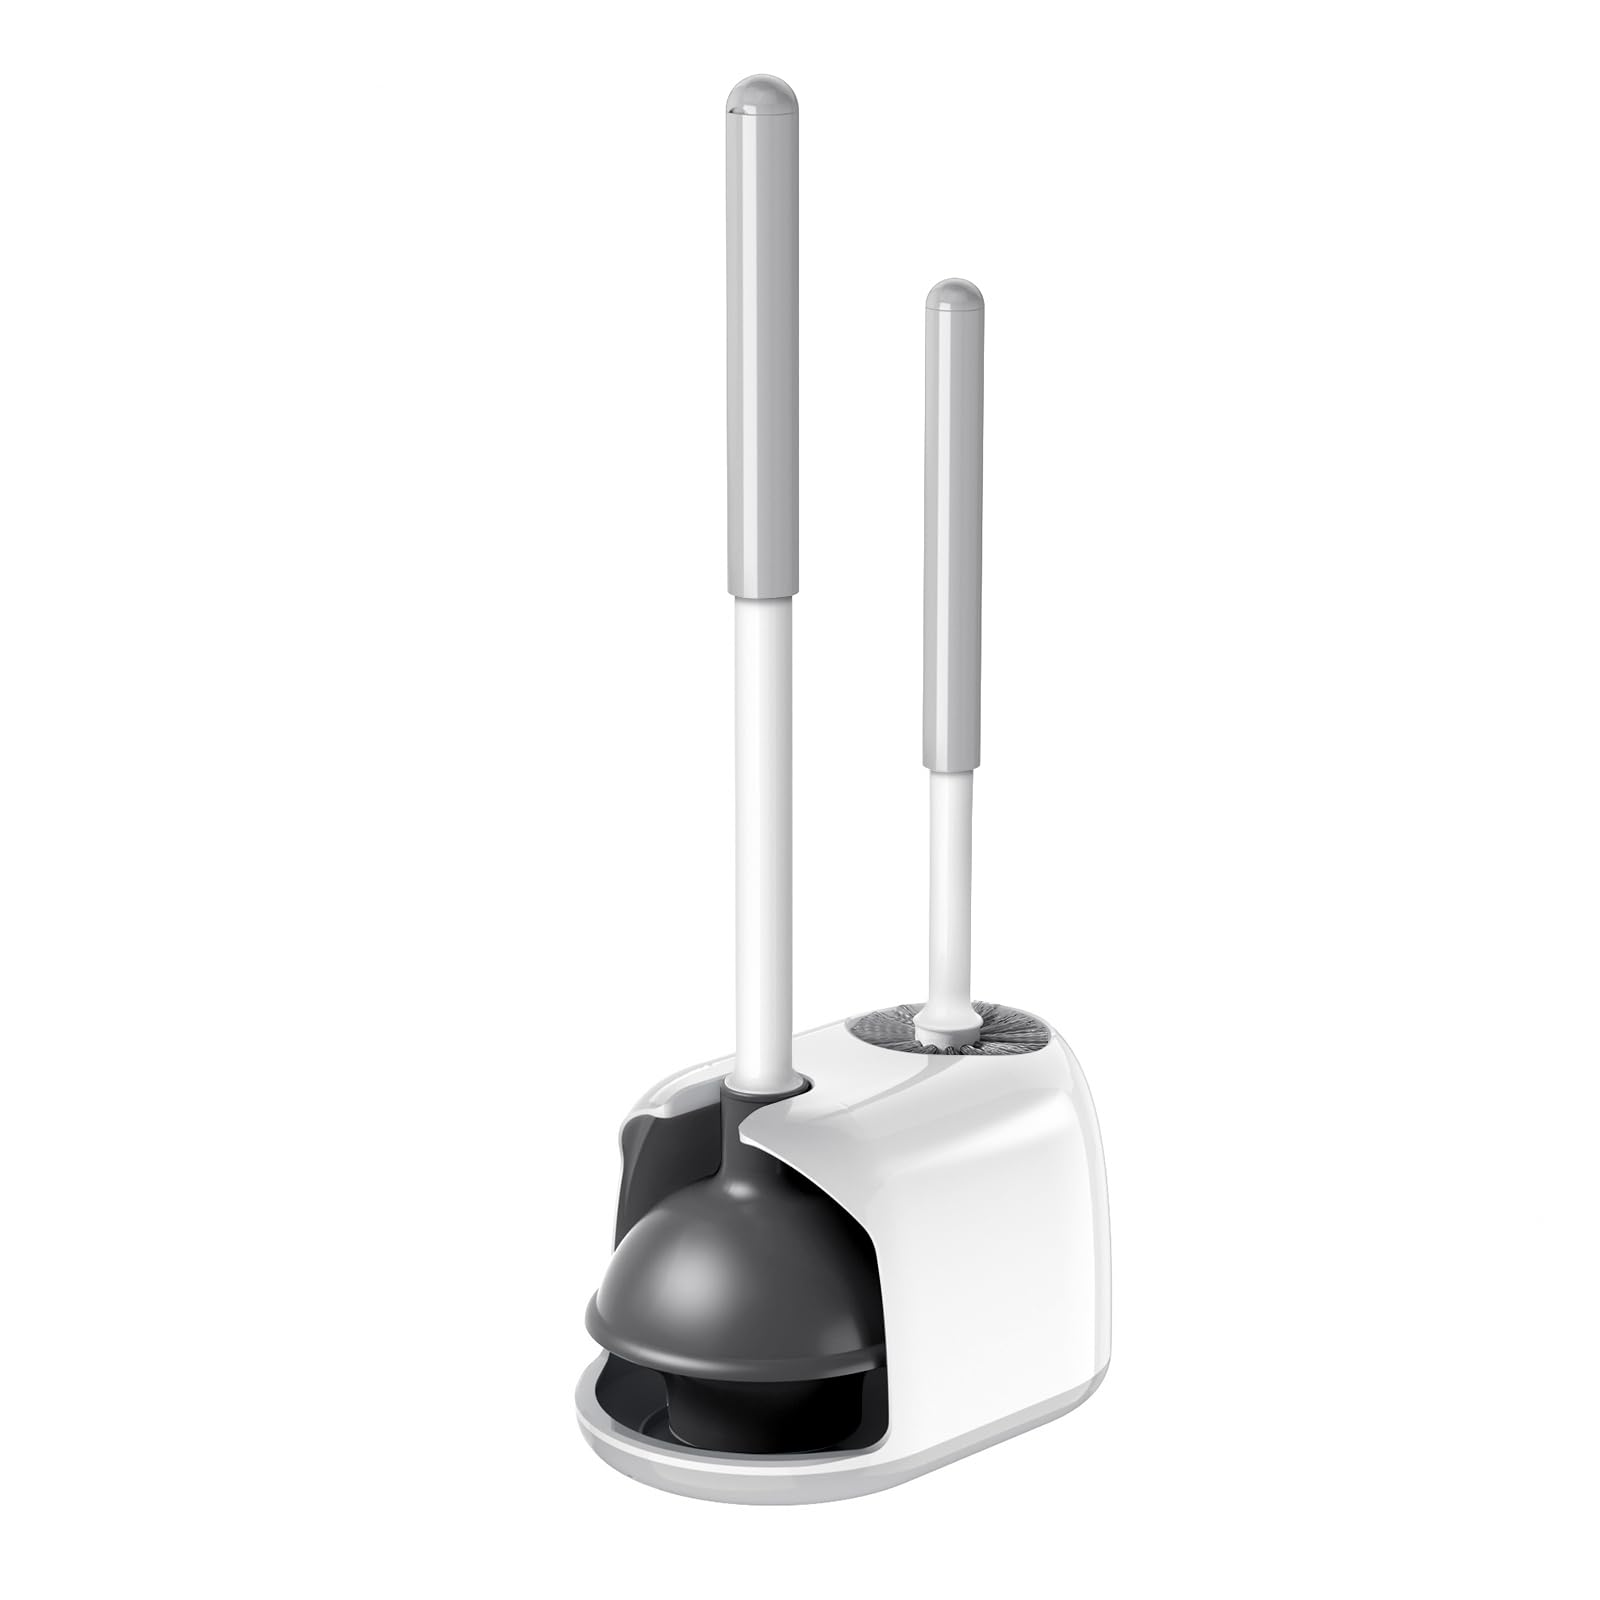
- Use a plunger holder or caddy: Consider using a plunger holder or caddy to store your plunger. These holders are designed to keep the plunger upright and off the floor, minimizing contact with any potentially dirty surfaces. Choose a holder that has drain holes to allow proper airflow and drying.
- Keep it separate from other cleaning tools: Avoid storing your toilet plunger with other cleaning tools or products. Keeping it separate prevents any cross-contamination and maintains the plunger’s hygiene.
- Ensure proper ventilation: Adequate airflow is essential for drying out any residual moisture on the plunger. Make sure the storage area has good ventilation to prevent the growth of mold or mildew.
- Regularly clean the storage area: Keep the storage area clean by regularly wiping it down with a disinfectant cleaner or soapy water. This helps maintain a hygienic storage environment for your plunger.
By storing your plunger properly, you not only maintain its cleanliness but also prevent the spread of germs and maintain a tidy and organized bathroom space.
Tips for Clean and Effective Plunging
Having a clean and properly maintained plunger is essential, but it’s also important to know how to use it effectively for unclogging toilets. Here are some tips for clean and effective plunging:
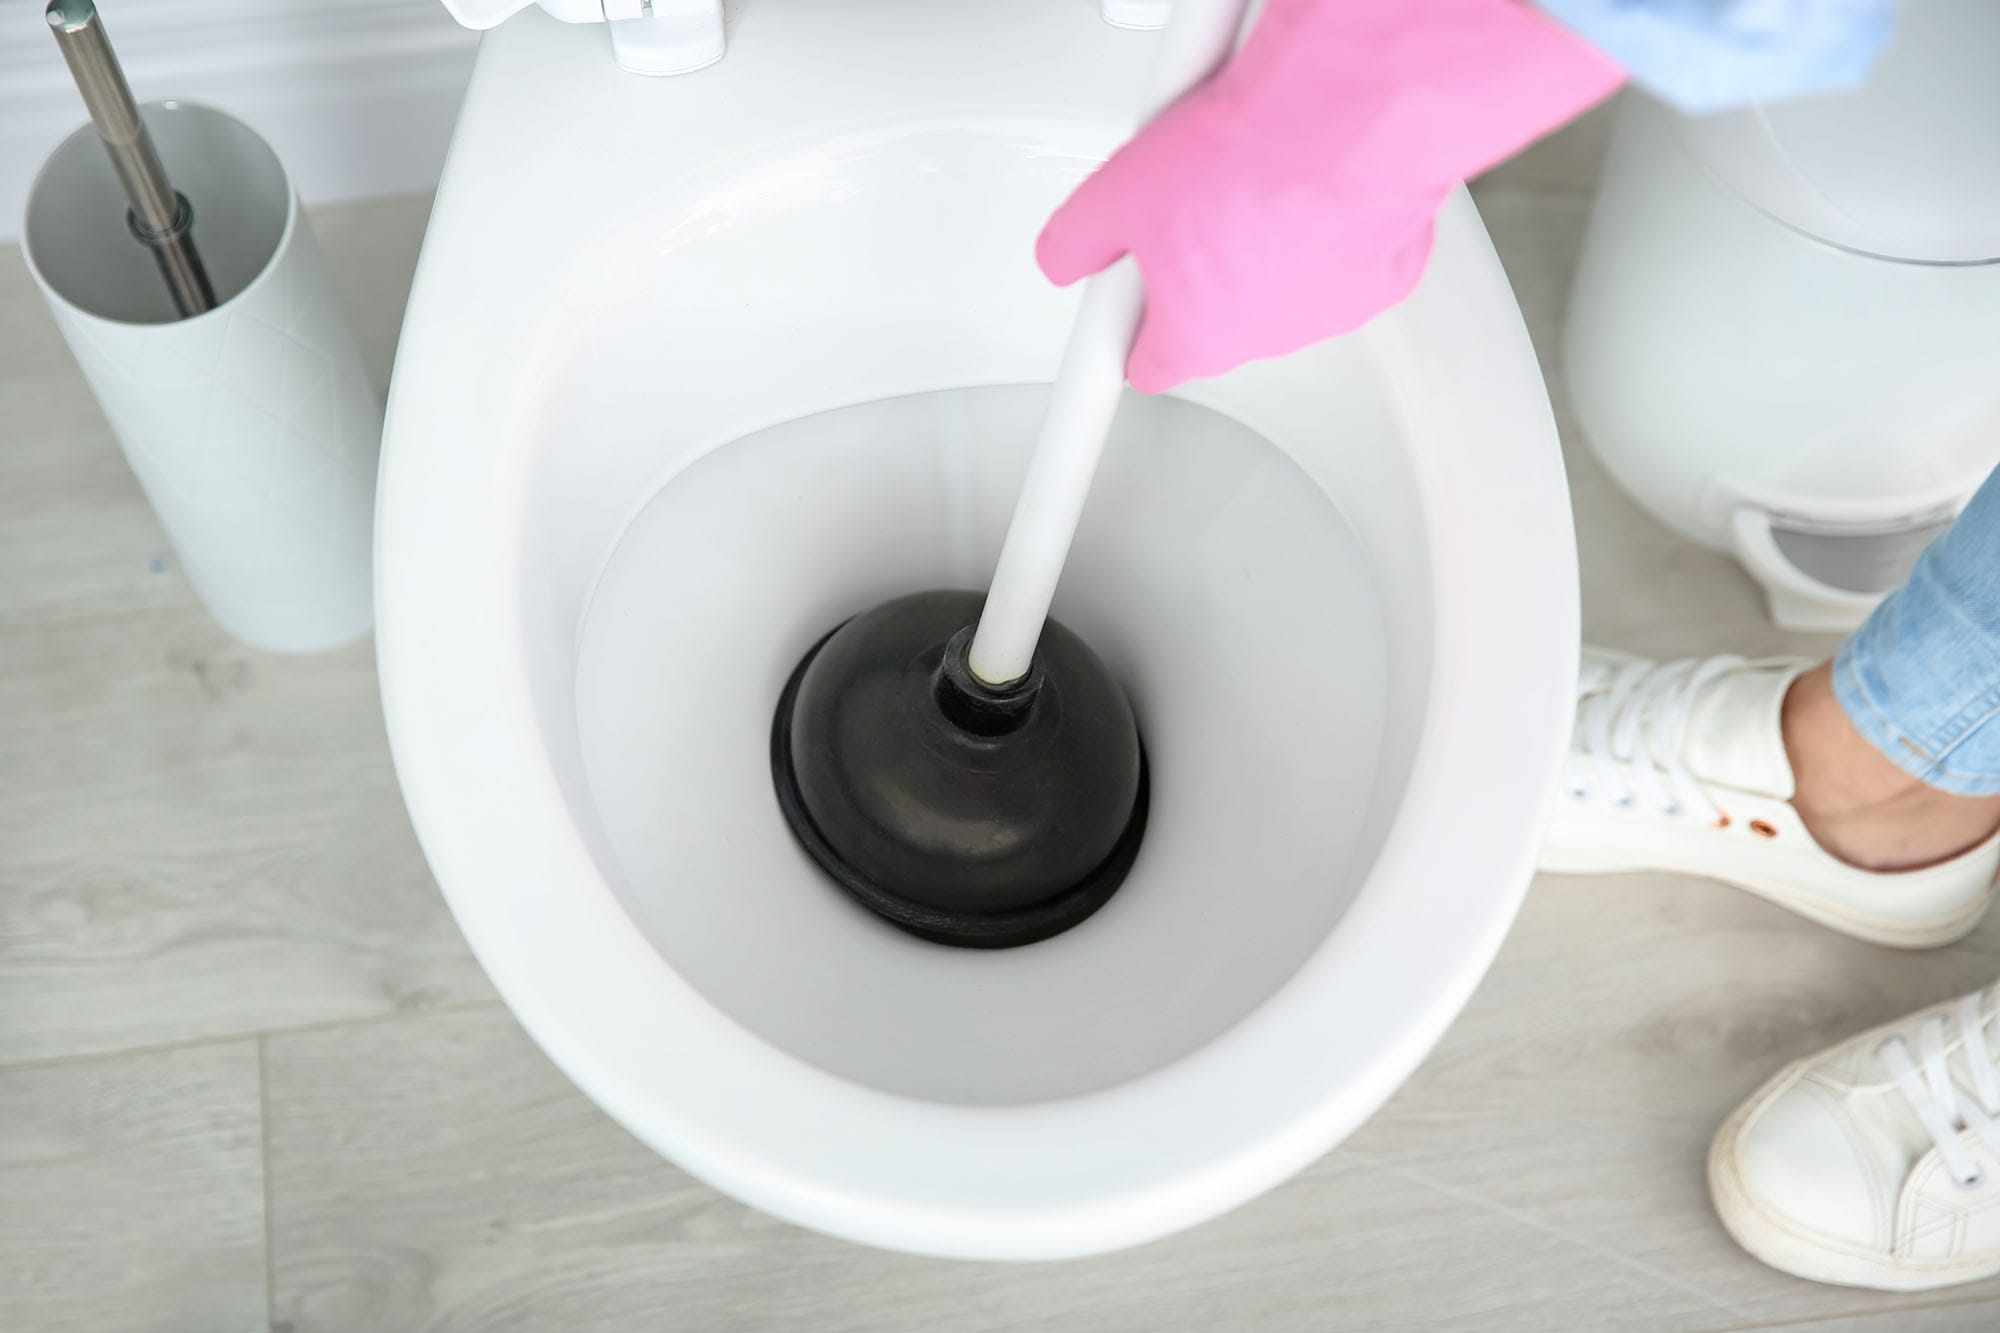
- Use proper technique: When plunging, make sure to create a tight seal between the rubber suction cup and the toilet bowl’s drain opening. This will help create suction and force the clog to dislodge.
- Apply even pressure: Apply steady and even pressure on the plunger handle while plunging. Push down firmly, then pull up sharply to create suction. Repeat the plunging motion several times, adjusting the angle and force as needed.
- Avoid excessive force: While it’s important to exert pressure, avoid using excessive force as it may damage your toilet or cause water to splash out. Keep the plunging motion controlled and consistent.
- Be patient: Plunging may require some patience, especially for more stubborn clogs. Keep plunging until you feel the water drain or see signs of improvement. This may take a few minutes, so don’t give up too quickly.
- Avoid chemical drain cleaners: It is not recommended to use chemical drain cleaners in conjunction with plunging, as the combination of chemicals and suction can lead to dangerous reactions. Stick to using a plunger and seek professional help if the clog persists.
- Clean and sanitize the plunger after use: After successfully unclogging the toilet, make sure to clean and sanitize the plunger once again following the steps outlined earlier in this article. This ensures that it remains clean and ready for future use.
By following these tips, you can effectively use your plunger to remove toilet clogs while maintaining proper hygiene and preventing the spread of germs.
Read more: How To Clean A Plunger Holder
Conclusion
Keeping your toilet plunger clean and well-maintained is essential for maintaining a hygienic bathroom and ensuring its effectiveness when faced with a clogged toilet. By following the steps outlined in this article, you can easily clean and disinfect your plunger, keeping it in optimal condition for future use.
Remember to gather all the necessary supplies, prepare the plunger by removing excess debris, clean and scrub it thoroughly, disinfect it to kill any remaining bacteria, rinse it with clean water, and allow it to dry completely before storing it properly. These steps will help prevent the spread of germs and maintain a clean and effective toilet plunger.
In addition, familiarize yourself with proper plunging techniques, such as creating a tight seal, applying even pressure, and being patient. By understanding the proper techniques, you can confidently tackle toilet clogs and unclog them efficiently.
By incorporating these practices into your routine, you can ensure a clean and well-maintained toilet plunger that is ready whenever you need it. A properly cared-for plunger will not only make your bathroom more hygienic but also provide peace of mind knowing that you can quickly resolve any toilet clogs that may arise.
Remember, a clean plunger is a key tool in maintaining a clean and functional bathroom. So, take the time to clean and care for your plunger regularly, and it will continue to serve you well for years to come.
Frequently Asked Questions about How To Clean A Toilet Plunger
Was this page helpful?
At Storables.com, we guarantee accurate and reliable information. Our content, validated by Expert Board Contributors, is crafted following stringent Editorial Policies. We're committed to providing you with well-researched, expert-backed insights for all your informational needs.

0 thoughts on “How To Clean A Toilet Plunger”