Home>Furniture & Design>Bathroom Accessories>How To Fix A Toilet Seat That Won’t Stay Up
Bathroom Accessories
How To Fix A Toilet Seat That Won’t Stay Up
Modified: August 24, 2024
Learn how to fix a stubborn toilet seat that won't stay up with our expert tips and tricks. Find solutions for bathroom accessories issues now!
(Many of the links in this article redirect to a specific reviewed product. Your purchase of these products through affiliate links helps to generate commission for Storables.com, at no extra cost. Learn more)
Introduction
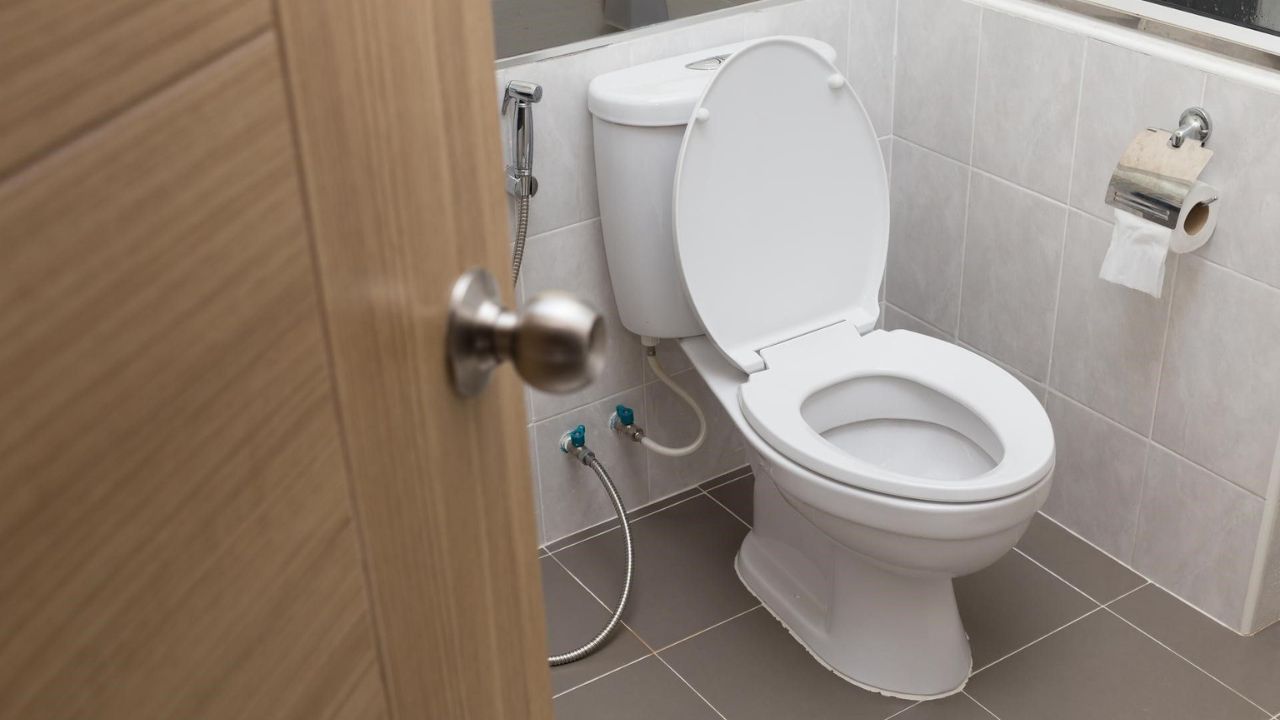
A wobbly or loose toilet seat can be an annoying inconvenience in any bathroom. The frustration of a toilet seat that won't stay up can disrupt the smooth functioning of your daily routine. Whether it's due to worn-out hinges, loose screws, or other factors, this common issue can be easily resolved with the right tools and a bit of know-how. In this guide, we'll walk you through the step-by-step process of fixing a toilet seat that won't stay up, allowing you to regain the comfort and functionality of your bathroom fixture.
A stable and properly functioning toilet seat is essential for a comfortable and hygienic bathroom experience. When the seat refuses to stay up, it can lead to unnecessary hassle and potential safety concerns. Whether you're dealing with a traditional or modern toilet seat, the methods for addressing this issue remain largely the same. By following the instructions outlined in this guide, you'll be able to restore the stability and functionality of your toilet seat, ensuring a hassle-free experience for yourself and your household.
Understanding the underlying causes of a loose or wobbly toilet seat is crucial in addressing the issue effectively. From worn-out hinges to loose screws, identifying the root cause will guide you in selecting the appropriate solution. By taking a systematic approach to troubleshooting and repair, you can ensure that the problem is resolved comprehensively, preventing any recurring issues in the future.
Now, let's delve into the essential steps and techniques required to fix a toilet seat that won't stay up. With the right tools and a clear understanding of the problem, you'll be able to tackle this common household issue with confidence and ease. Let's get started on the journey to restoring the functionality and stability of your toilet seat.
Key Takeaways:
- Keep your toilet seat stable by inspecting, tightening, or replacing hinges. This ensures a hassle-free and comfortable bathroom experience for you and your household.
- Use essential tools like an adjustable wrench and replacement hinges to fix a wobbly toilet seat. Thoroughly inspect, tighten, or replace hinges for a stable and secure toilet seat.
Read more: Why Wont My Toilet Fill Up With Water
Understanding the Problem
A toilet seat that refuses to stay up can be a frustrating and inconvenient issue, disrupting the smooth functioning of your bathroom. Understanding the underlying causes of this problem is crucial in effectively addressing and resolving it. There are several common reasons why a toilet seat won't stay up, and identifying the specific cause in your situation is the first step toward finding the appropriate solution.
One of the primary culprits behind a wobbly or loose toilet seat is worn-out hinges. Over time, the constant opening and closing of the seat can lead to wear and tear on the hinges, causing them to become loose or ineffective. Additionally, the screws attaching the hinges to the toilet bowl may become loose, further contributing to the instability of the seat. It's essential to inspect the hinges and screws to determine if they are the source of the problem.
Another potential cause of a toilet seat that won't stay up is a misaligned or damaged hinge mechanism. If the hinges are not properly aligned or if the internal components of the hinge mechanism are damaged, the seat may struggle to remain in the upright position. Furthermore, the hinge mechanism may have accumulated debris or corrosion, hindering its smooth operation. Identifying any misalignment or damage within the hinge mechanism is crucial in addressing this issue effectively.
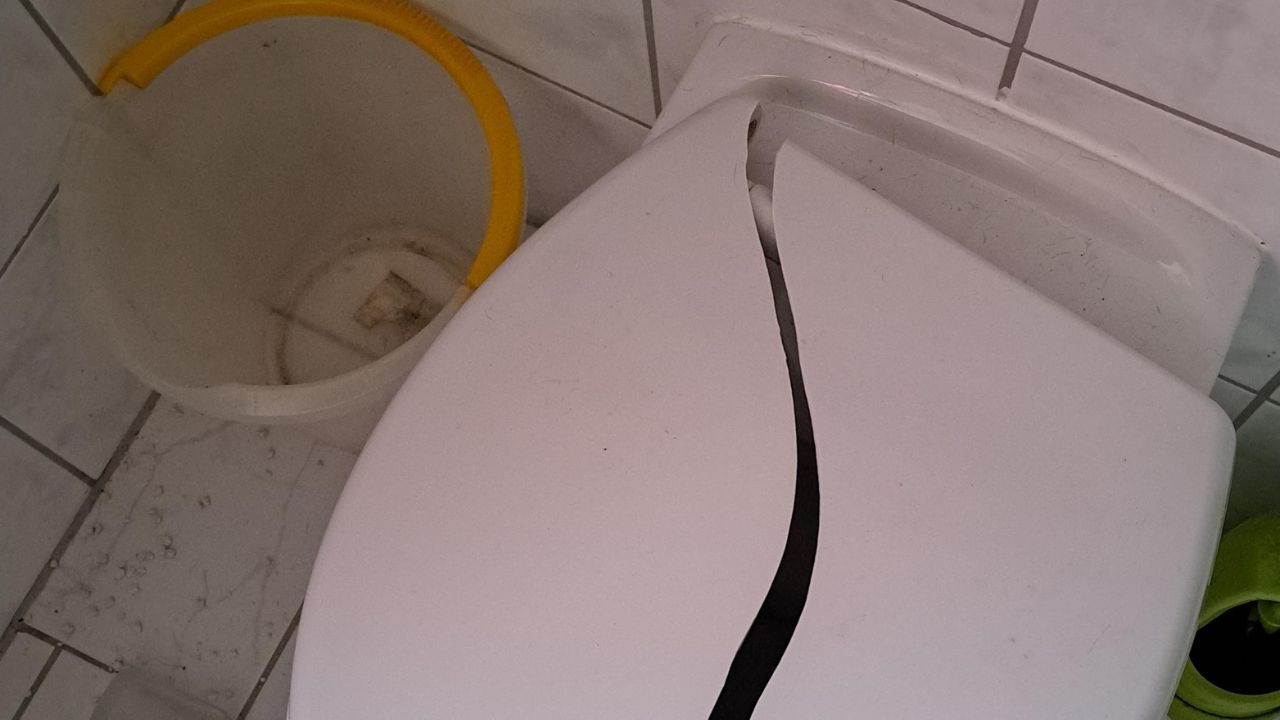
In some cases, the toilet seat itself may be the root cause of the problem. If the seat is old, worn, or damaged, it may not provide adequate support for staying in the upright position. Additionally, the shape or design of the seat may contribute to its inability to stay up. Assessing the condition and design of the seat is important in determining whether it is a contributing factor to the issue at hand.
Understanding the specific cause of your toilet seat problem will guide you in selecting the appropriate tools and materials for the subsequent repair steps. By thoroughly assessing the hinges, screws, hinge mechanism, and the seat itself, you can gain a comprehensive understanding of the problem, setting the stage for effective and lasting solutions.
Tools and Materials Needed
To effectively address the issue of a toilet seat that won't stay up, you'll need a few essential tools and materials to facilitate the repair process. By ensuring that you have the following items on hand, you'll be well-prepared to tackle the task with confidence and efficiency.
Tools:
-
Adjustable Wrench: This versatile tool will be essential for loosening and tightening nuts and bolts during the repair process. Ensure that the wrench is adjustable to accommodate various sizes of nuts and bolts commonly found in toilet seat hinges.
-
Screwdriver: A Phillips or flat-head screwdriver, depending on the type of screws used in your toilet seat hinges, will be necessary for removing and reattaching screws. Having both types of screwdrivers on hand will ensure that you're prepared for any screw configuration.
-
Pliers: A pair of pliers will come in handy for gripping and manipulating small components, such as nuts and washers, during the repair process. Look for a sturdy and reliable pair of pliers that provide a secure grip for precise adjustments.
-
Rubber Gloves: It's advisable to wear rubber gloves during the repair to protect your hands from any dirt, grime, or cleaning solutions that may be encountered while working on the toilet seat. Additionally, gloves can provide a better grip when handling components.
-
Cleaning Supplies: Depending on the condition of the toilet seat and hinges, you may need cleaning supplies such as a mild detergent, a brush, or a cloth to remove any accumulated debris, dirt, or corrosion. Ensuring that the components are clean and free from obstruction is crucial for optimal functionality.
Materials:
-
Replacement Hinges: If the existing hinges are damaged, worn-out, or ineffective, having replacement hinges on hand will allow you to address the issue promptly. Ensure that the replacement hinges are compatible with your specific toilet seat model and design.
-
Replacement Screws and Nuts: In the event that the existing screws and nuts are damaged or stripped, having a set of replacement screws and nuts available will facilitate the repair process. It's important to select screws and nuts that are compatible with your toilet seat hinges and toilet bowl.
-
Lubricant: A lubricant such as silicone grease or WD-40 can be useful for addressing any stiffness or resistance in the hinge mechanism. Applying a small amount of lubricant to the hinges can help improve their functionality and ensure smooth operation.
By gathering these essential tools and materials, you'll be well-equipped to proceed with the subsequent repair steps, addressing the underlying causes of the toilet seat issue effectively and comprehensively.
Read more: How To Fix A Toilet Seat Lid
Step 1: Remove the Toilet Seat
Removing the toilet seat is the first crucial step in addressing the issue of a toilet seat that won't stay up. Before beginning this process, it's important to gather the necessary tools and materials, including an adjustable wrench, screwdriver, and rubber gloves. Additionally, having a mild detergent and a brush or cloth for cleaning may be beneficial, especially if the hinges and surrounding areas require cleaning.
To start, locate the plastic caps or covers at the back of the toilet seat, near the hinges. These caps are designed to conceal the screws that secure the seat to the toilet bowl. Using a flat-head screwdriver, carefully pry off these caps to reveal the screws underneath. In some cases, the caps may be attached using adhesive, so gentle prying and twisting may be necessary to remove them without causing damage.
Once the screws are exposed, use the appropriate screwdriver to loosen and remove them. It's important to hold the nuts underneath the toilet bowl with a pair of pliers to prevent them from spinning along with the screws. After removing the screws, carefully lift the toilet seat and set it aside.
If the screws are particularly tight or stubborn, applying a small amount of lubricant to the threads may help loosen them. Additionally, using an adjustable wrench to hold the nuts while turning the screws can provide better leverage and control during the removal process.
With the toilet seat successfully removed, take this opportunity to inspect the hinges, screws, and the area surrounding the mounting points on the toilet bowl. If there is any debris, dirt, or corrosion present, use a mild detergent and a brush or cloth to clean the surfaces thoroughly. Ensuring that the mounting area is clean and free from obstruction will facilitate the subsequent steps of the repair process.
By carefully following these steps and taking the time to remove the toilet seat with precision and care, you'll set the stage for effectively addressing the underlying causes of the issue. With the seat removed, you can proceed to inspect the hinges and hinge mechanism, identifying any wear, damage, or misalignment that may be contributing to the problem.
Step 2: Inspect the Hinges
With the toilet seat successfully removed, the next critical step in resolving the issue of a toilet seat that won't stay up is to thoroughly inspect the hinges. The hinges play a pivotal role in supporting and securing the toilet seat, and any wear, damage, or misalignment in this component can contribute to the instability of the seat.
Begin by closely examining the hinges for any visible signs of wear or damage. Check for cracks, fractures, or deformation in the hinge components, as these issues can compromise the structural integrity of the hinges and hinder their ability to support the seat effectively. Additionally, inspect the hinge mechanism for any signs of misalignment or obstruction that may impede its smooth operation.
Next, assess the condition of the hinge screws and nuts that secure the hinges to the toilet bowl. Look for signs of corrosion, stripping, or damage that may affect the stability and functionality of the hinges. If the screws or nuts appear worn or compromised, it may be necessary to replace them with new, compatible components to ensure a secure and reliable attachment of the hinges to the toilet bowl.
In some cases, the hinge mechanism may have accumulated debris, dirt, or grime, leading to stiffness or resistance in its operation. Carefully clean the hinge components using a mild detergent and a brush or cloth to remove any obstructions and ensure smooth movement. Additionally, applying a small amount of lubricant, such as silicone grease or WD-40, to the hinge mechanism can help improve its functionality and prevent future issues related to stiffness or resistance.
During the inspection process, it's essential to verify that the hinges are compatible with the specific design and dimensions of the toilet seat. Ensuring that the hinges are suitable for the seat and toilet bowl will contribute to a secure and stable installation, addressing the issue of the seat failing to stay up effectively.
By meticulously inspecting the hinges and assessing their condition, you'll gain valuable insights into the underlying causes of the problem. This thorough examination will guide you in determining the appropriate course of action, whether it involves tightening, adjusting, or replacing the hinges to restore the stability and functionality of the toilet seat.
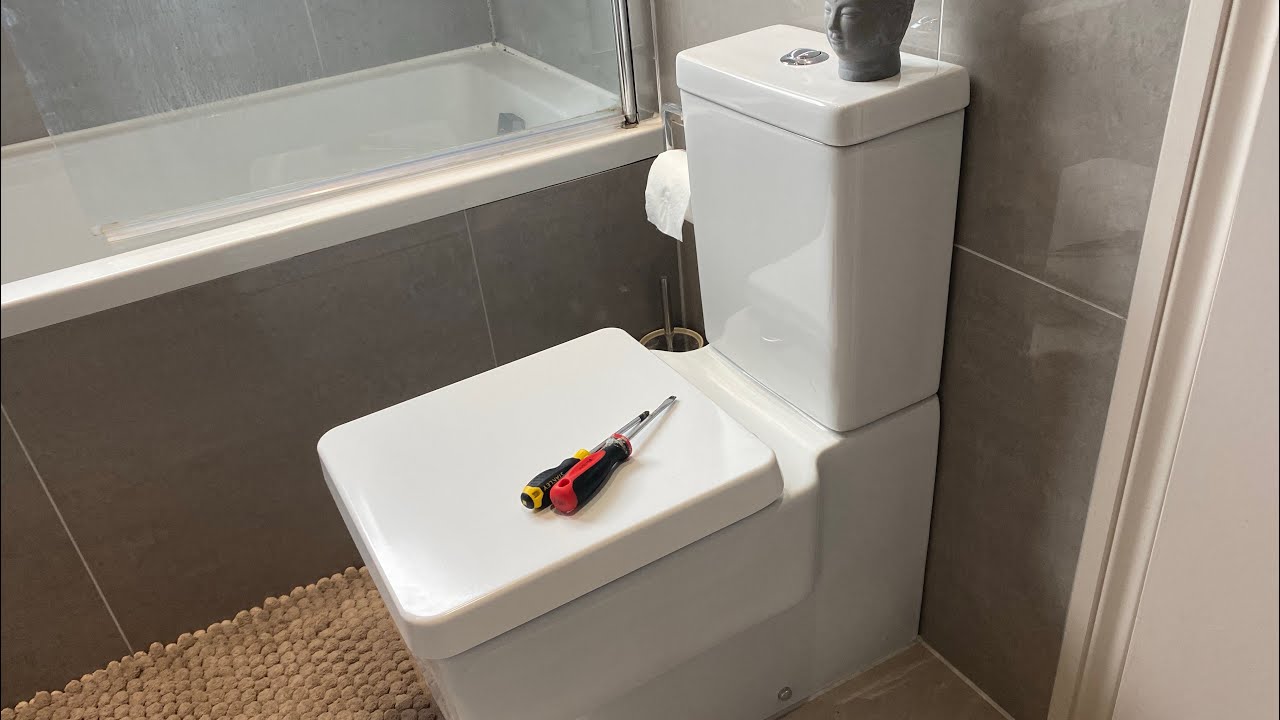
Step 3: Tighten the Hinges
After inspecting the hinges and identifying any signs of wear, damage, or misalignment, the next crucial step in addressing a toilet seat that won't stay up is to tighten the hinges. This process involves securing the hinges to the toilet bowl with precision and care, ensuring a stable and reliable attachment that supports the functionality of the seat.
Begin by positioning the toilet seat over the mounting points on the toilet bowl, aligning the hinges with the holes or recesses designed to accommodate them. With the seat in place, carefully insert the screws through the hinge openings, ensuring that they align with the corresponding holes in the toilet bowl. Holding the nuts underneath the bowl with a pair of pliers, use a screwdriver to tighten the screws securely. It's important to exercise caution and avoid over-tightening, as this can lead to damage or cracking of the hinge components.
As you tighten the screws, periodically check the stability and alignment of the seat to ensure that it remains level and secure. If necessary, make minor adjustments to the positioning of the seat and hinges to achieve optimal stability. Additionally, ensure that the hinge mechanism operates smoothly and without resistance, indicating a secure and well-aligned installation.
If the existing screws and nuts show signs of wear, stripping, or damage during the tightening process, it may be necessary to replace them with new, compatible components. Selecting high-quality replacement screws and nuts that are specifically designed for toilet seat hinges will contribute to a secure and long-lasting installation, addressing the issue of the seat failing to stay up effectively.
Once the hinges are securely tightened and the seat is stable and level, perform a final inspection to verify the integrity of the installation. Gently test the seat to ensure that it remains in the upright position without wobbling or slipping. If the seat exhibits stability and reliability, the tightening process has been successful in resolving the issue.
By meticulously following these steps and taking the time to tighten the hinges with precision and care, you'll effectively address the underlying causes of the problem, restoring the stability and functionality of the toilet seat. With the hinges securely fastened and the seat remaining in the upright position, you can proceed with confidence, knowing that the issue has been comprehensively resolved.
To fix a toilet seat that won’t stay up, tighten the seat hinges with a screwdriver. If the hinges are worn out, replace them with new ones.
Step 4: Replace the Hinges
If the inspection reveals significant wear, damage, or misalignment in the existing hinges, or if tightening the hinges does not resolve the issue of the toilet seat failing to stay up, replacing the hinges becomes a necessary and effective solution. By replacing the hinges with new, compatible components, you can address the underlying causes of the problem and restore the stability and functionality of the toilet seat.
To begin the hinge replacement process, start by selecting replacement hinges that are specifically designed for your toilet seat model and compatible with the dimensions and design of the seat and toilet bowl. It's essential to ensure that the replacement hinges match the specifications of the original components, facilitating a seamless and secure installation.
With the replacement hinges in hand, carefully position the toilet seat over the mounting points on the toilet bowl, aligning the new hinges with the corresponding holes or recesses designed to accommodate them. Insert the screws through the hinge openings, ensuring that they align with the corresponding holes in the toilet bowl. Holding the nuts underneath the bowl with a pair of pliers, use a screwdriver to secure the new hinges in place, ensuring a stable and reliable attachment.
As you install the replacement hinges, pay close attention to the alignment and stability of the seat, making any necessary adjustments to achieve optimal positioning. Additionally, ensure that the hinge mechanism operates smoothly and without resistance, indicating a secure and well-aligned installation of the new components.
Once the replacement hinges are securely installed and the seat is stable and level, perform a thorough inspection to verify the integrity of the new installation. Test the seat to ensure that it remains in the upright position without wobbling or slipping, confirming that the replacement hinges have effectively resolved the issue.
By meticulously following these steps and taking the time to replace the hinges with precision and care, you'll address the underlying causes of the problem comprehensively. With the new hinges securely in place and the seat remaining in the upright position, you can proceed with confidence, knowing that the issue has been effectively resolved.
Read more: How To Use Toilet Seat Up Or Down
Step 5: Reinstall the Toilet Seat
With the underlying issues of the toilet seat addressed through inspection, tightening, or replacement of the hinges, the final step involves reinstalling the toilet seat to complete the repair process. Reinstallation is a critical aspect of ensuring that the seat is securely and stably positioned, allowing for a hassle-free and functional bathroom experience.
To begin the reinstallation process, carefully position the toilet seat over the mounting points on the toilet bowl, aligning the hinges with the corresponding holes or recesses designed to accommodate them. It's important to ensure that the seat is centered and level, providing optimal comfort and stability for users. Once the seat is properly positioned, insert the screws through the hinge openings, ensuring that they align with the corresponding holes in the toilet bowl.
Using the appropriate screwdriver, tighten the screws securely, holding the nuts underneath the bowl with a pair of pliers to prevent them from spinning. It's crucial to exercise caution and avoid over-tightening, as this can lead to damage or cracking of the hinge components. As you tighten the screws, periodically check the stability and alignment of the seat to ensure that it remains level and secure. Making minor adjustments to the positioning of the seat and hinges, if necessary, will contribute to a stable and reliable installation.
Once the seat is securely reinstalled, perform a final inspection to verify the integrity of the installation. Gently test the seat to ensure that it remains in the upright position without wobbling or slipping. If the seat exhibits stability and reliability, the reinstallation process has been successful in completing the repair.
By meticulously following these steps and taking the time to reinstall the toilet seat with precision and care, you'll ensure that the underlying issues have been comprehensively addressed. With the seat securely in place and functioning as intended, you can proceed with confidence, knowing that the repair process has effectively resolved the issue of the toilet seat failing to stay up.
This completes the step-by-step process of fixing a toilet seat that won't stay up, allowing you to restore the stability and functionality of this essential bathroom fixture.
Conclusion
In conclusion, addressing the issue of a toilet seat that won't stay up requires a systematic approach that involves thorough inspection, precise adjustments, and, if necessary, the replacement of components. By understanding the underlying causes of the problem and following the step-by-step repair process outlined in this guide, you can effectively restore the stability and functionality of your toilet seat, ensuring a hassle-free and comfortable bathroom experience.
Throughout the repair process, the importance of meticulous inspection cannot be overstated. By carefully examining the hinges, screws, and hinge mechanism, you gain valuable insights into the specific factors contributing to the instability of the seat. Whether it's worn-out hinges, loose screws, misalignment, or damage, a comprehensive inspection sets the stage for targeted and effective solutions.
Tightening the hinges is often a crucial step in resolving the issue, as it addresses the stability and secure attachment of the seat to the toilet bowl. By carefully tightening the screws and ensuring that the seat remains level and secure, you can significantly improve its ability to stay in the upright position. Additionally, the use of lubricants and cleaning supplies can enhance the smooth operation of the hinge mechanism, contributing to a more reliable and durable repair.
In cases where the existing hinges are significantly worn or damaged, the replacement of hinges becomes a necessary and effective solution. By selecting compatible replacement hinges and installing them with precision, you can address the root causes of the problem and ensure a stable and reliable attachment of the seat to the toilet bowl.
The reinstallation of the toilet seat marks the completion of the repair process, providing the final opportunity to verify the stability and functionality of the seat. By carefully positioning the seat, tightening the screws, and conducting a thorough inspection, you can confirm that the underlying issues have been comprehensively addressed, allowing you to proceed with confidence and peace of mind.
By following the steps outlined in this guide and leveraging the appropriate tools and materials, you can effectively resolve the issue of a toilet seat that won't stay up, restoring the comfort and functionality of this essential bathroom fixture. With a stable and secure toilet seat in place, you can enjoy a hassle-free and convenient bathroom experience for yourself and your household.
Frequently Asked Questions about How To Fix A Toilet Seat That Won't Stay Up
Was this page helpful?
At Storables.com, we guarantee accurate and reliable information. Our content, validated by Expert Board Contributors, is crafted following stringent Editorial Policies. We're committed to providing you with well-researched, expert-backed insights for all your informational needs.


0 thoughts on “How To Fix A Toilet Seat That Won’t Stay Up”