Home>Furniture & Design>Bathroom Accessories>How To Fix A Toilet Seat Lid
Bathroom Accessories
How To Fix A Toilet Seat Lid
Modified: October 20, 2024
Learn how to easily fix a loose or broken toilet seat lid with our step-by-step guide. Find out the best bathroom accessories for a quick and affordable solution.
(Many of the links in this article redirect to a specific reviewed product. Your purchase of these products through affiliate links helps to generate commission for Storables.com, at no extra cost. Learn more)
Introduction
When it comes to bathroom maintenance, one of the most common issues homeowners encounter is a loose or damaged toilet seat lid. A wobbly or cracked toilet seat lid not only detracts from the aesthetics of the bathroom but can also lead to discomfort and inconvenience. Fortunately, addressing this problem is a straightforward task that can be accomplished with a few basic tools and a systematic approach.
In this comprehensive guide, we will walk you through the step-by-step process of fixing a toilet seat lid. Whether you are dealing with a loose seat, a broken hinge, or simply want to upgrade to a new toilet seat lid, this article will equip you with the knowledge and skills to tackle the task with confidence.
By following the instructions outlined in this guide, you will be able to restore the functionality and appearance of your toilet seat lid, ensuring a comfortable and visually appealing bathroom experience for you and your family. So, gather your tools and let's dive into the process of fixing your toilet seat lid.
Key Takeaways:
- Say goodbye to wobbly toilet seat lids! Follow our easy guide to fix or replace your toilet seat lid, ensuring a comfy and stylish bathroom for you and your family.
- Keep your bathroom in top shape by cleaning, installing, and testing a new toilet seat lid. Enjoy a stable, hygienic, and visually appealing bathroom experience with our step-by-step process.
Read more: How To Replace A Toilet Seat Lid
Tools and Materials Needed
Before embarking on the task of fixing a toilet seat lid, it's essential to gather the necessary tools and materials to ensure a smooth and efficient process. Here's a comprehensive list of items you'll need:
Tools:
- Adjustable Wrench: This versatile tool will be essential for loosening and tightening nuts and bolts during the removal and installation of the toilet seat lid.
- Screwdriver (Flathead and Phillips-head): A set of screwdrivers will come in handy for removing the screws that secure the old toilet seat lid in place and installing the new one.
- Pliers: Pliers will be useful for gripping and maneuvering small components, such as nuts and bolts, during the repair process.
- Putty Knife: Use a putty knife to scrape off any old caulk or adhesive residue from the toilet bowl and seat area before installing the new seat lid.
- Rubber Gloves: It's always a good idea to wear rubber gloves when working on bathroom fixtures to protect your hands from dirt and cleaning chemicals.
Materials:
- New Toilet Seat Lid: Depending on the nature of the issue, you may need to replace the entire toilet seat lid or just specific components such as hinges or bumpers. Ensure that the new seat lid is compatible with your toilet bowl and matches the existing hardware.
- Disinfectant Cleaner: Before installing the new seat lid, thoroughly clean the toilet bowl and seat area with a disinfectant cleaner to ensure a hygienic environment.
- Caulk or Adhesive: If the new toilet seat lid requires adhesive to secure it in place, make sure to have a suitable caulk or adhesive on hand.
- Replacement Hardware: In some cases, you may need to replace the nuts, bolts, or hinges that secure the toilet seat lid. Have replacement hardware available if necessary.
- Safety Glasses: While removing the old seat lid or handling hardware, it's advisable to wear safety glasses to protect your eyes from any debris or splinters.
By assembling these tools and materials, you'll be well-prepared to tackle the task of fixing your toilet seat lid effectively and efficiently. With everything at your disposal, you can proceed to the next steps with confidence, knowing that you have the necessary resources to complete the job.
Step 1: Remove the Old Toilet Seat Lid
Removing the old toilet seat lid is the initial step in the process of fixing or replacing it. This task requires careful attention to detail and a systematic approach to ensure a smooth transition to the next phase of the repair. Here's a detailed guide on how to remove the old toilet seat lid:
-
Gather Your Tools: Before starting the removal process, gather the necessary tools, including a screwdriver (flathead or Phillips-head) and an adjustable wrench. Having these tools readily available will streamline the removal process and minimize any potential delays.
-
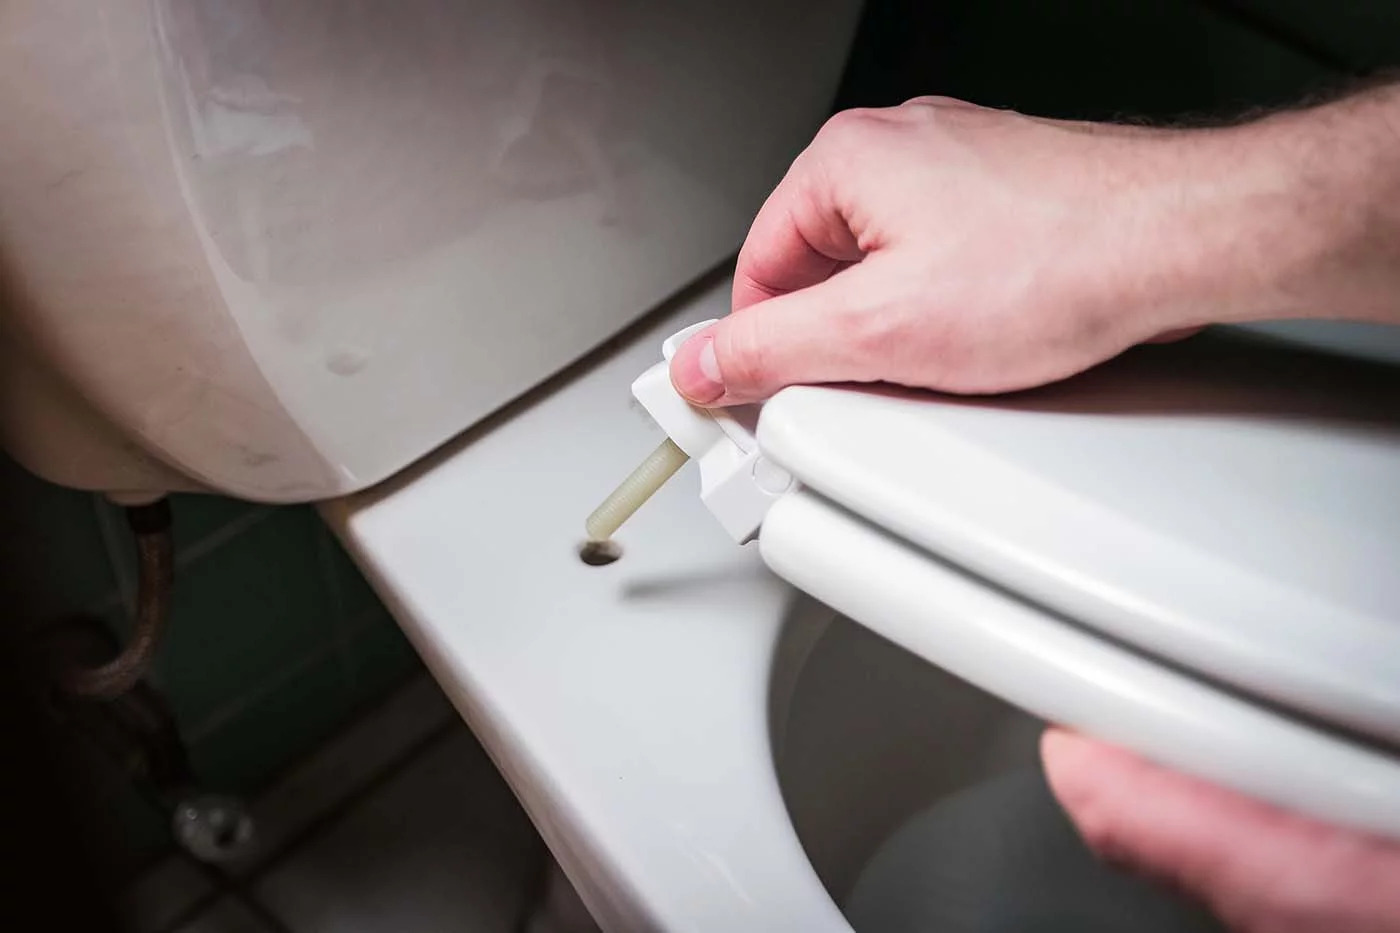
Locate the Fasteners: Inspect the underside of the toilet seat to locate the fasteners securing it to the bowl. In most cases, you will find plastic or metal caps covering the fasteners. Use a flathead screwdriver to carefully pry off these caps, revealing the screws or bolts beneath.
-
Loosen the Fasteners: Using the appropriate screwdriver or wrench, begin loosening the screws or bolts that hold the toilet seat in place. Turn the screws counterclockwise to loosen them, ensuring a firm grip on the screwdriver or wrench to prevent slippage. If the fasteners are rusted or stubborn, applying a penetrating oil may facilitate easier removal.
-
Lift and Remove the Seat: Once the fasteners are sufficiently loosened, lift the toilet seat and lid assembly to expose the topside of the fasteners. Continue holding the screws or bolts from beneath while unscrewing the nuts from the topside. Carefully remove the nuts and any accompanying washers, setting them aside for disposal or potential reuse.
-
Clean the Area: With the old toilet seat lid removed, take the opportunity to clean the exposed area of the toilet bowl and the seat mounting points. Use a disinfectant cleaner to thoroughly sanitize the surfaces, ensuring a hygienic environment for the installation of the new seat lid.
By following these steps, you can successfully remove the old toilet seat lid, paving the way for the subsequent stages of the repair process. With the old seat lid out of the way, you are now ready to proceed to the next phase of the repair, whether it involves cleaning, replacing components, or installing a new toilet seat lid.
Read more: How To Fix Cracked Toilet Seat
Step 2: Clean the Toilet Bowl and Seat Area
After successfully removing the old toilet seat lid, it's essential to thoroughly clean the toilet bowl and the seat mounting area before proceeding with the installation of the new seat lid. This critical step not only ensures a hygienic environment but also provides a clean and smooth surface for the new seat lid to be securely attached.
Here's a detailed guide on how to effectively clean the toilet bowl and seat area:
-
Prepare Cleaning Supplies: Before starting the cleaning process, gather the necessary cleaning supplies, including a disinfectant cleaner, a putty knife, and a clean cloth or sponge. Additionally, ensure that you have rubber gloves on to protect your hands from cleaning chemicals.
-
Clean the Toilet Bowl: Begin by applying the disinfectant cleaner to the interior of the toilet bowl, focusing on the areas around the rim and the waterline. Use a toilet brush to scrub the surfaces thoroughly, ensuring that all stains, mineral deposits, and residue are effectively removed. Pay special attention to the underside of the rim and the trapway to ensure comprehensive cleaning.
-
Scrub the Seat Mounting Area: Using the putty knife, carefully scrape off any old caulk, adhesive residue, or debris from the seat mounting points on the toilet bowl. Ensure that the mounting area is free from any remnants of the old seat lid or adhesive, as these can affect the stability and adhesion of the new seat lid.
-
Wipe Down Surfaces: Once the toilet bowl and seat mounting area are thoroughly cleaned, use a clean cloth or sponge dampened with the disinfectant cleaner to wipe down the surfaces. Pay attention to detail, ensuring that all surfaces are sanitized and free from any lingering grime or cleaning residue.
-
Inspect for Residue: After cleaning, inspect the toilet bowl and seat mounting area to ensure that no residue or debris remains. Any leftover adhesive, caulk, or foreign particles should be removed to provide a smooth and clean surface for the installation of the new seat lid.
By meticulously cleaning the toilet bowl and seat area, you are not only maintaining a hygienic bathroom environment but also preparing the surfaces for the seamless installation of the new toilet seat lid. With this crucial step completed, you are now ready to proceed to the next phase of the repair process, which involves installing the new seat lid securely and effectively.
Step 3: Install the New Toilet Seat Lid
With the old toilet seat lid removed and the toilet bowl and seat area thoroughly cleaned, it's time to proceed with the installation of the new toilet seat lid. This pivotal step requires precision and attention to detail to ensure a secure and stable attachment of the new seat lid. Here's a comprehensive guide on how to effectively install the new toilet seat lid:
-
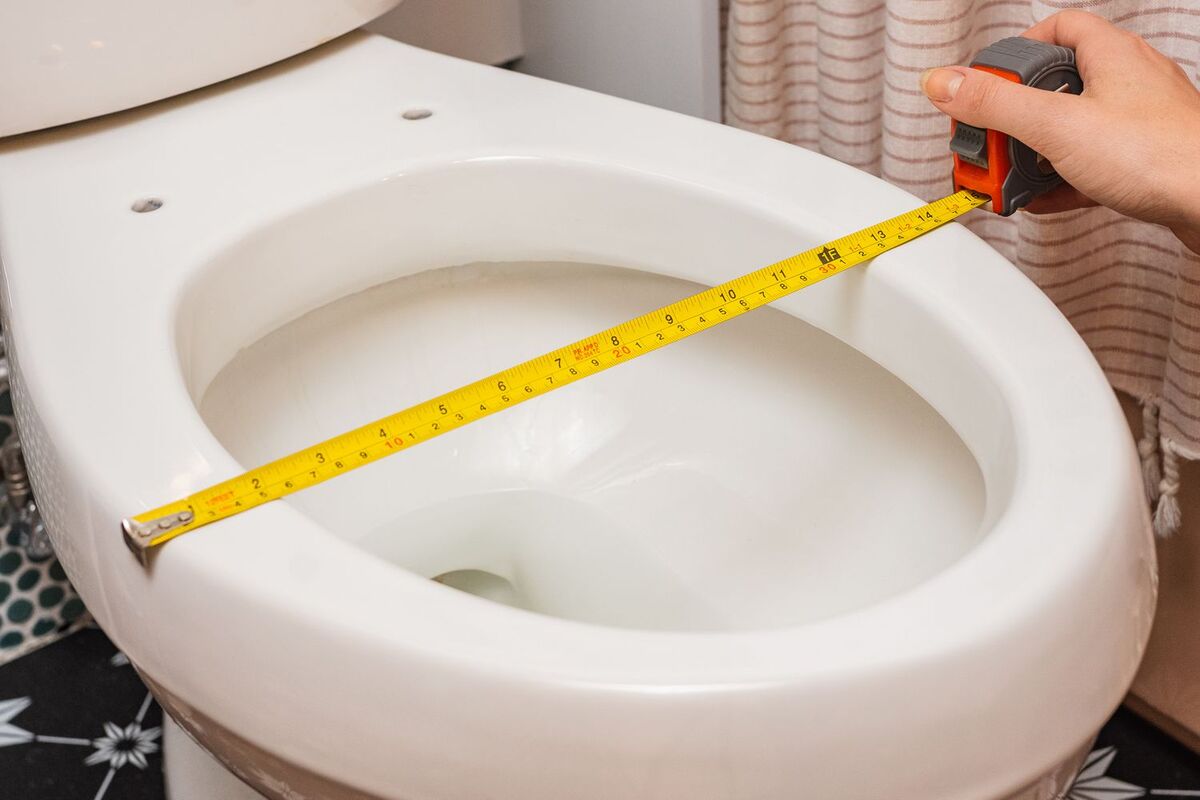
Position the New Seat Lid: Carefully position the new toilet seat lid over the mounting points on the toilet bowl, aligning it to ensure a symmetrical and centered placement. Take note of any alignment guides or markings on the seat lid to facilitate accurate positioning.
-
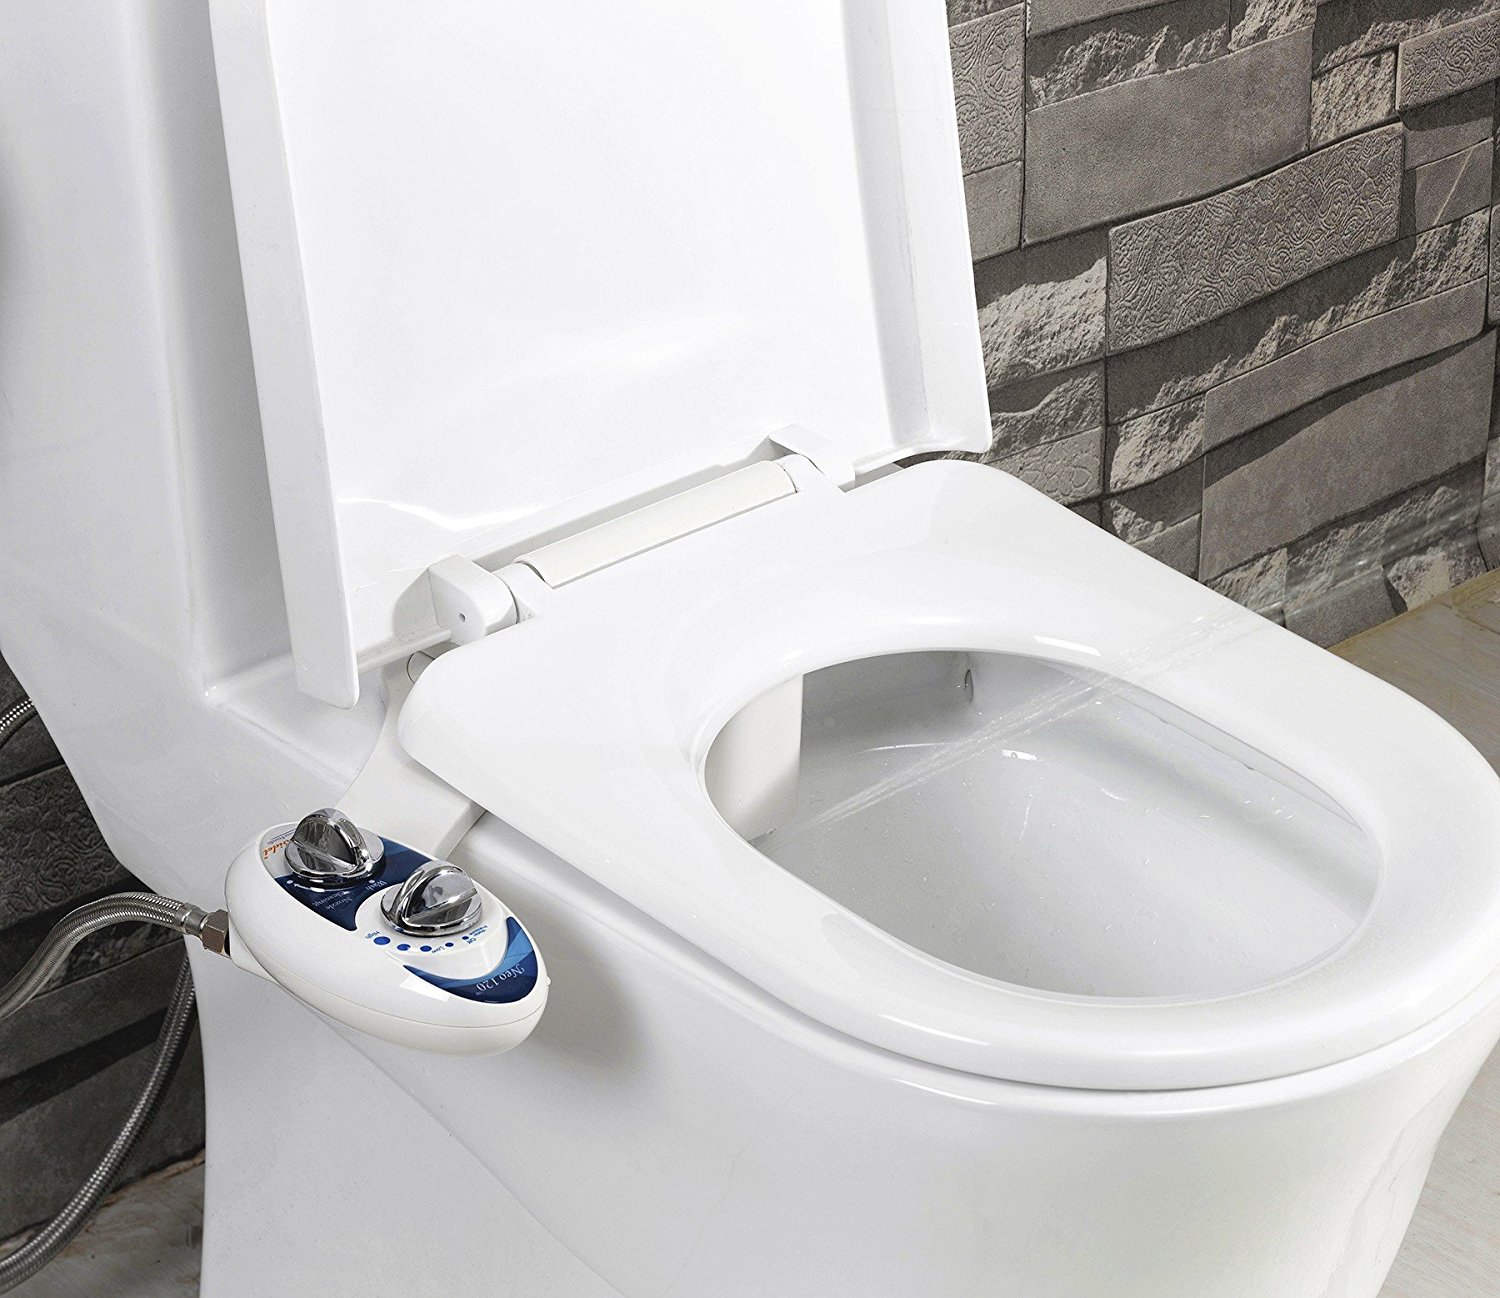
Attach the Hinges: If the new seat lid includes hinges that need to be attached, carefully align the hinges with the mounting points on the toilet bowl. Use the provided screws and a screwdriver to secure the hinges in place, ensuring a snug fit without over-tightening the screws.
-
Secure the Seat Lid: With the hinges in place, lower the seat lid onto the bowl, ensuring that it sits flush and level. If the seat lid utilizes a quick-release mechanism, follow the manufacturer's instructions to securely fasten it to the hinges. For seats with traditional bolts and nuts, proceed to the next step.
-
Install the Nuts and Bolts: From beneath the toilet bowl, insert the bolts through the mounting holes, ensuring that they align with the hinges or mounting points on the seat lid. Place the washers over the bolts, followed by the nuts, and hand-tighten them to secure the seat lid in place.
-
Adjust for Alignment: Once the seat lid is loosely secured, adjust its position to ensure proper alignment and centering. Make any necessary adjustments to the seat lid's position before proceeding to the final tightening of the nuts.
-
Tighten the Nuts: Using an adjustable wrench, carefully tighten the nuts beneath the toilet bowl, ensuring a firm and secure attachment of the seat lid. Alternate between the nuts to achieve even and balanced tightening, taking care not to over-tighten, which could potentially damage the seat or bowl.
-
Trim Excess Bolt Length: If the bolts extend beyond the nuts, use a hacksaw or bolt cutter to trim the excess length, ensuring that the trimmed ends are smooth and free from sharp edges.
By following these steps, you can effectively install the new toilet seat lid, ensuring a secure and stable attachment that enhances the functionality and aesthetics of your bathroom. With the new seat lid in place, you are now ready to proceed to the final step of the repair process, which involves testing the seat lid to ensure its stability and functionality.
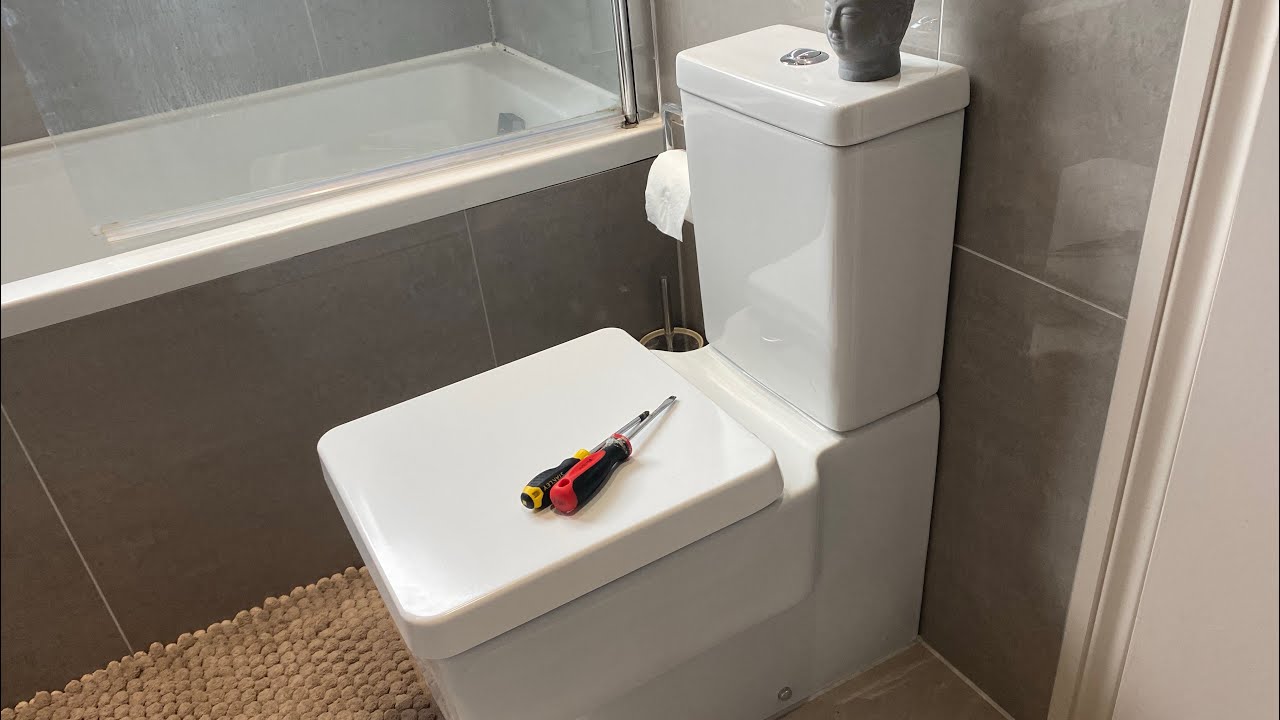
Check the hinges and screws to make sure they are tight. If they are loose, use a screwdriver to tighten them. If the hinges are broken, replace them with new ones.
Step 4: Secure the Toilet Seat Lid in Place
After successfully installing the new toilet seat lid, the next crucial step is to secure it in place to ensure stability and longevity. Properly securing the seat lid not only enhances user comfort but also prevents potential issues such as shifting or loosening over time. Here's a detailed guide on how to effectively secure the toilet seat lid in place:
-
Check Alignment: Before proceeding with securing the seat lid, double-check its alignment and positioning to ensure that it sits evenly and symmetrically on the toilet bowl. Any necessary adjustments should be made at this stage to guarantee a balanced and centered placement.
-
Apply Caulk or Adhesive (If Required): Depending on the type of toilet seat lid and manufacturer recommendations, you may need to apply a thin bead of caulk or adhesive along the underside of the seat lid where it meets the toilet bowl. This step is particularly relevant for seats that require adhesive for added stability.
-
Tighten Hinge Screws: If the seat lid features adjustable hinges, ensure that the hinge screws are securely tightened to prevent any wobbling or movement. Use a screwdriver to carefully tighten the hinge screws, taking care not to over-tighten, which could potentially strip the threads.
-
Check for Stability: Once the seat lid is secured, gently test its stability by applying light pressure and ensuring that it remains firmly in place. Any signs of shifting or instability should prompt a reevaluation of the securing process to address potential issues.
-
Inspect Nuts and Bolts: If the seat lid is secured with traditional nuts and bolts, inspect the nuts to ensure they are tightened securely. Use an adjustable wrench to verify the tightness of the nuts, ensuring that they provide a firm and stable attachment without being overly tightened.
-
Reinforce with Locking Washers (If Applicable): Some toilet seat lids come with locking washers designed to prevent the nuts from loosening over time. If your seat lid includes these washers, ensure that they are properly installed to provide an additional layer of security.
-
Test the Seat Lid: After securing the seat lid, perform a thorough test by gently opening and closing the lid to ensure smooth operation and stability. Additionally, apply gentle pressure to different areas of the seat lid to confirm that it remains securely in place.
By meticulously following these steps, you can effectively secure the toilet seat lid in place, ensuring a stable and reliable attachment that enhances the overall functionality and appearance of your bathroom. With the seat lid securely in position, you can proceed with confidence, knowing that the repair process has been completed with precision and attention to detail.
Step 5: Test the Toilet Seat Lid
After securing the new toilet seat lid in place, the final step in the repair process involves thoroughly testing the seat lid to ensure its stability, functionality, and overall performance. This critical phase allows you to confirm that the installation has been executed effectively and that the seat lid meets the necessary standards for everyday use. Here's a detailed guide on how to conduct a comprehensive test of the toilet seat lid:
-
Operational Testing: Begin by gently opening and closing the seat lid to assess its operational smoothness and functionality. Pay attention to any resistance, sticking, or misalignment during the movement of the lid. A well-installed seat lid should open and close smoothly without any hindrances.
-
Stability Assessment: Apply gentle pressure to different areas of the seat lid, including the front, sides, and rear, to evaluate its stability. The seat lid should remain firmly in place without shifting or wobbling, indicating a secure attachment to the toilet bowl. Any signs of instability should prompt a reassessment of the securing process.
-
Hinge Integrity: Test the integrity of the hinges by gently rocking the seat lid from side to side. The hinges should hold the seat lid securely in place without excessive play or movement. If the seat lid features adjustable hinges, ensure that they maintain their position and do not shift during the testing process.
-
Alignment Confirmation: Verify that the seat lid is aligned symmetrically with the toilet bowl, ensuring that it sits evenly and centered. Any misalignment may indicate an improper installation, necessitating adjustments to achieve a balanced and aesthetically pleasing appearance.
-
User Comfort Evaluation: Sit on the toilet seat with the lid down to assess its comfort and stability. The seat lid should provide a secure and comfortable surface for users, without any shifting or discomfort. This evaluation is crucial to ensure that the seat lid meets the ergonomic and functional requirements of everyday use.
-
Visual Inspection: Conduct a visual inspection of the installed seat lid from various angles to ensure that it complements the overall aesthetics of the bathroom. Verify that the seat lid aligns with the toilet bowl and that its color, material, and design are cohesive with the bathroom decor.
By meticulously conducting these tests, you can ascertain the effectiveness of the repair process and the quality of the newly installed toilet seat lid. Any identified issues or concerns should be addressed promptly to ensure that the seat lid meets the necessary standards for long-term use. With the completion of the testing phase, you can confidently conclude the repair process, knowing that the toilet seat lid has been installed and validated with precision and thoroughness.
Read more: How To Fix Slow Close Toilet Seat
Conclusion
In conclusion, addressing a loose, damaged, or outdated toilet seat lid is a manageable task that can significantly enhance the functionality and aesthetics of your bathroom. By following the systematic steps outlined in this guide, you can effectively fix or replace the toilet seat lid, ensuring a comfortable and visually appealing bathroom experience for you and your family.
The process begins with gathering the necessary tools and materials, including an adjustable wrench, screwdrivers, pliers, and a new toilet seat lid. With these resources at hand, you can proceed to remove the old seat lid, clean the toilet bowl and seat area, and install the new seat lid with precision and attention to detail.
After securing the new seat lid in place, thorough testing is essential to confirm its stability, functionality, and overall performance. Operational testing, stability assessment, hinge integrity evaluation, and user comfort assessment are critical aspects of the testing phase, ensuring that the seat lid meets the necessary standards for everyday use.
By meticulously following these steps, you can revitalize your bathroom space, ensuring a hygienic and comfortable environment for your daily routines. Whether you opt to repair a loose seat, replace a damaged lid, or upgrade to a new design, the process outlined in this guide equips you with the knowledge and skills to tackle the task with confidence.
Ultimately, a well-maintained and aesthetically pleasing toilet seat lid contributes to the overall ambiance of your bathroom, reflecting attention to detail and a commitment to comfort and functionality. With the completion of the repair process, you can enjoy the satisfaction of a revitalized bathroom space, where every detail contributes to a pleasant and inviting atmosphere.
In summary, by following the comprehensive steps outlined in this guide, you can effectively address toilet seat lid issues, ensuring a seamless and enjoyable bathroom experience for you and your household.
Frequently Asked Questions about How To Fix A Toilet Seat Lid
Was this page helpful?
At Storables.com, we guarantee accurate and reliable information. Our content, validated by Expert Board Contributors, is crafted following stringent Editorial Policies. We're committed to providing you with well-researched, expert-backed insights for all your informational needs.


0 thoughts on “How To Fix A Toilet Seat Lid”