Home>Furniture & Design>Bathroom Accessories>How To Tighten A Toilet Seat With Hidden Fixings
Bathroom Accessories
How To Tighten A Toilet Seat With Hidden Fixings
Modified: October 19, 2024
Learn how to tighten a toilet seat with hidden fixings easily. Get the best bathroom accessories and DIY tips for a secure and stable toilet seat. Improve your bathroom today!
(Many of the links in this article redirect to a specific reviewed product. Your purchase of these products through affiliate links helps to generate commission for Storables.com, at no extra cost. Learn more)
Introduction
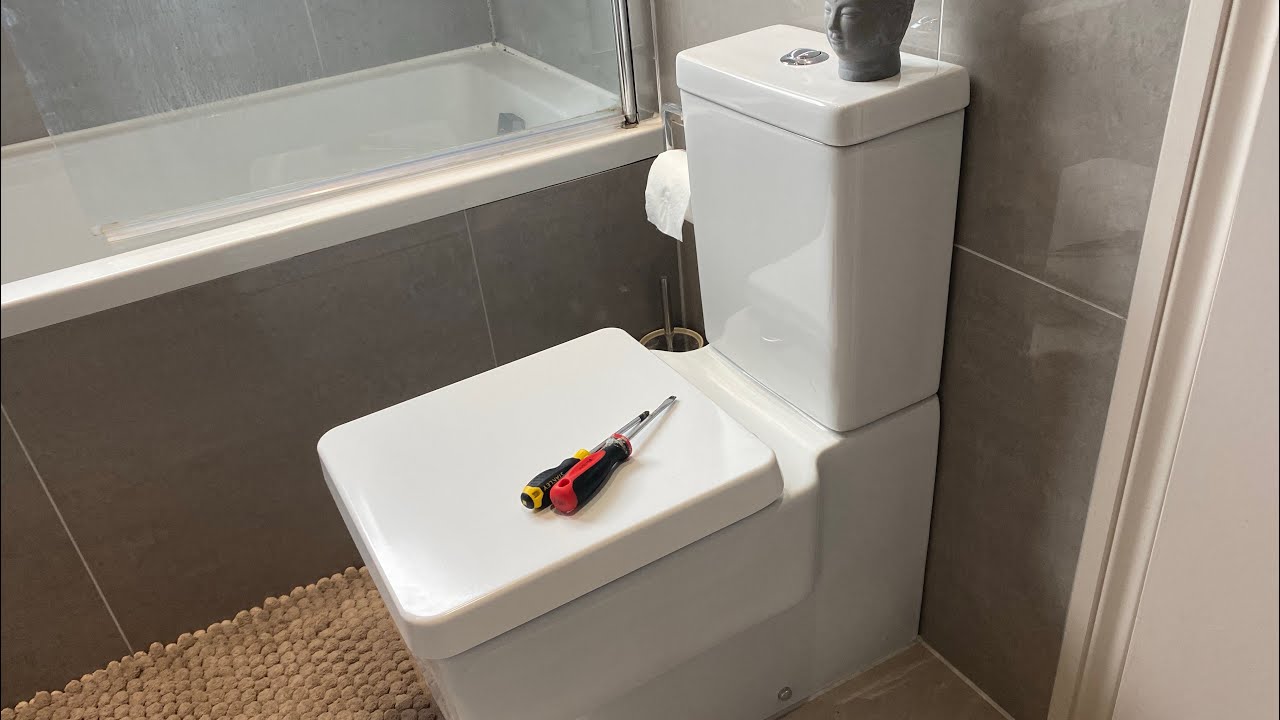
Tightening a toilet seat with hidden fixings is a common maintenance task that can help prevent annoying wiggling and ensure a stable and secure seat. Over time, the constant use of a toilet seat can cause the fixings to loosen, leading to an unstable and wobbly seat. This not only poses an inconvenience but can also be a safety hazard. Fortunately, with the right tools and a little know-how, tightening a toilet seat with hidden fixings can be a straightforward and rewarding DIY project.
In this comprehensive guide, we will walk you through the step-by-step process of tightening a toilet seat with hidden fixings. Whether you're a seasoned DIY enthusiast or a novice homeowner looking to tackle your first home maintenance project, this guide will equip you with the knowledge and confidence to successfully tighten the fixings of your toilet seat.
By following the instructions outlined in this guide, you can restore stability to your toilet seat and ensure a comfortable and secure experience for yourself and your household. So, gather your tools and let's dive into the process of tightening a toilet seat with hidden fixings to keep your bathroom in top-notch condition.
Key Takeaways:
- Keep your toilet seat stable and secure by tightening hidden fixings with the right tools and know-how. It’s a straightforward DIY project that ensures a comfortable and safe bathroom experience for you and your family.
- Understanding the anatomy of hidden fixings and the role they play in supporting the toilet seat is essential for effectively tightening them. With the right tools and materials, you can restore stability to your toilet seat and ensure a well-maintained bathroom.
Understanding Hidden Fixings
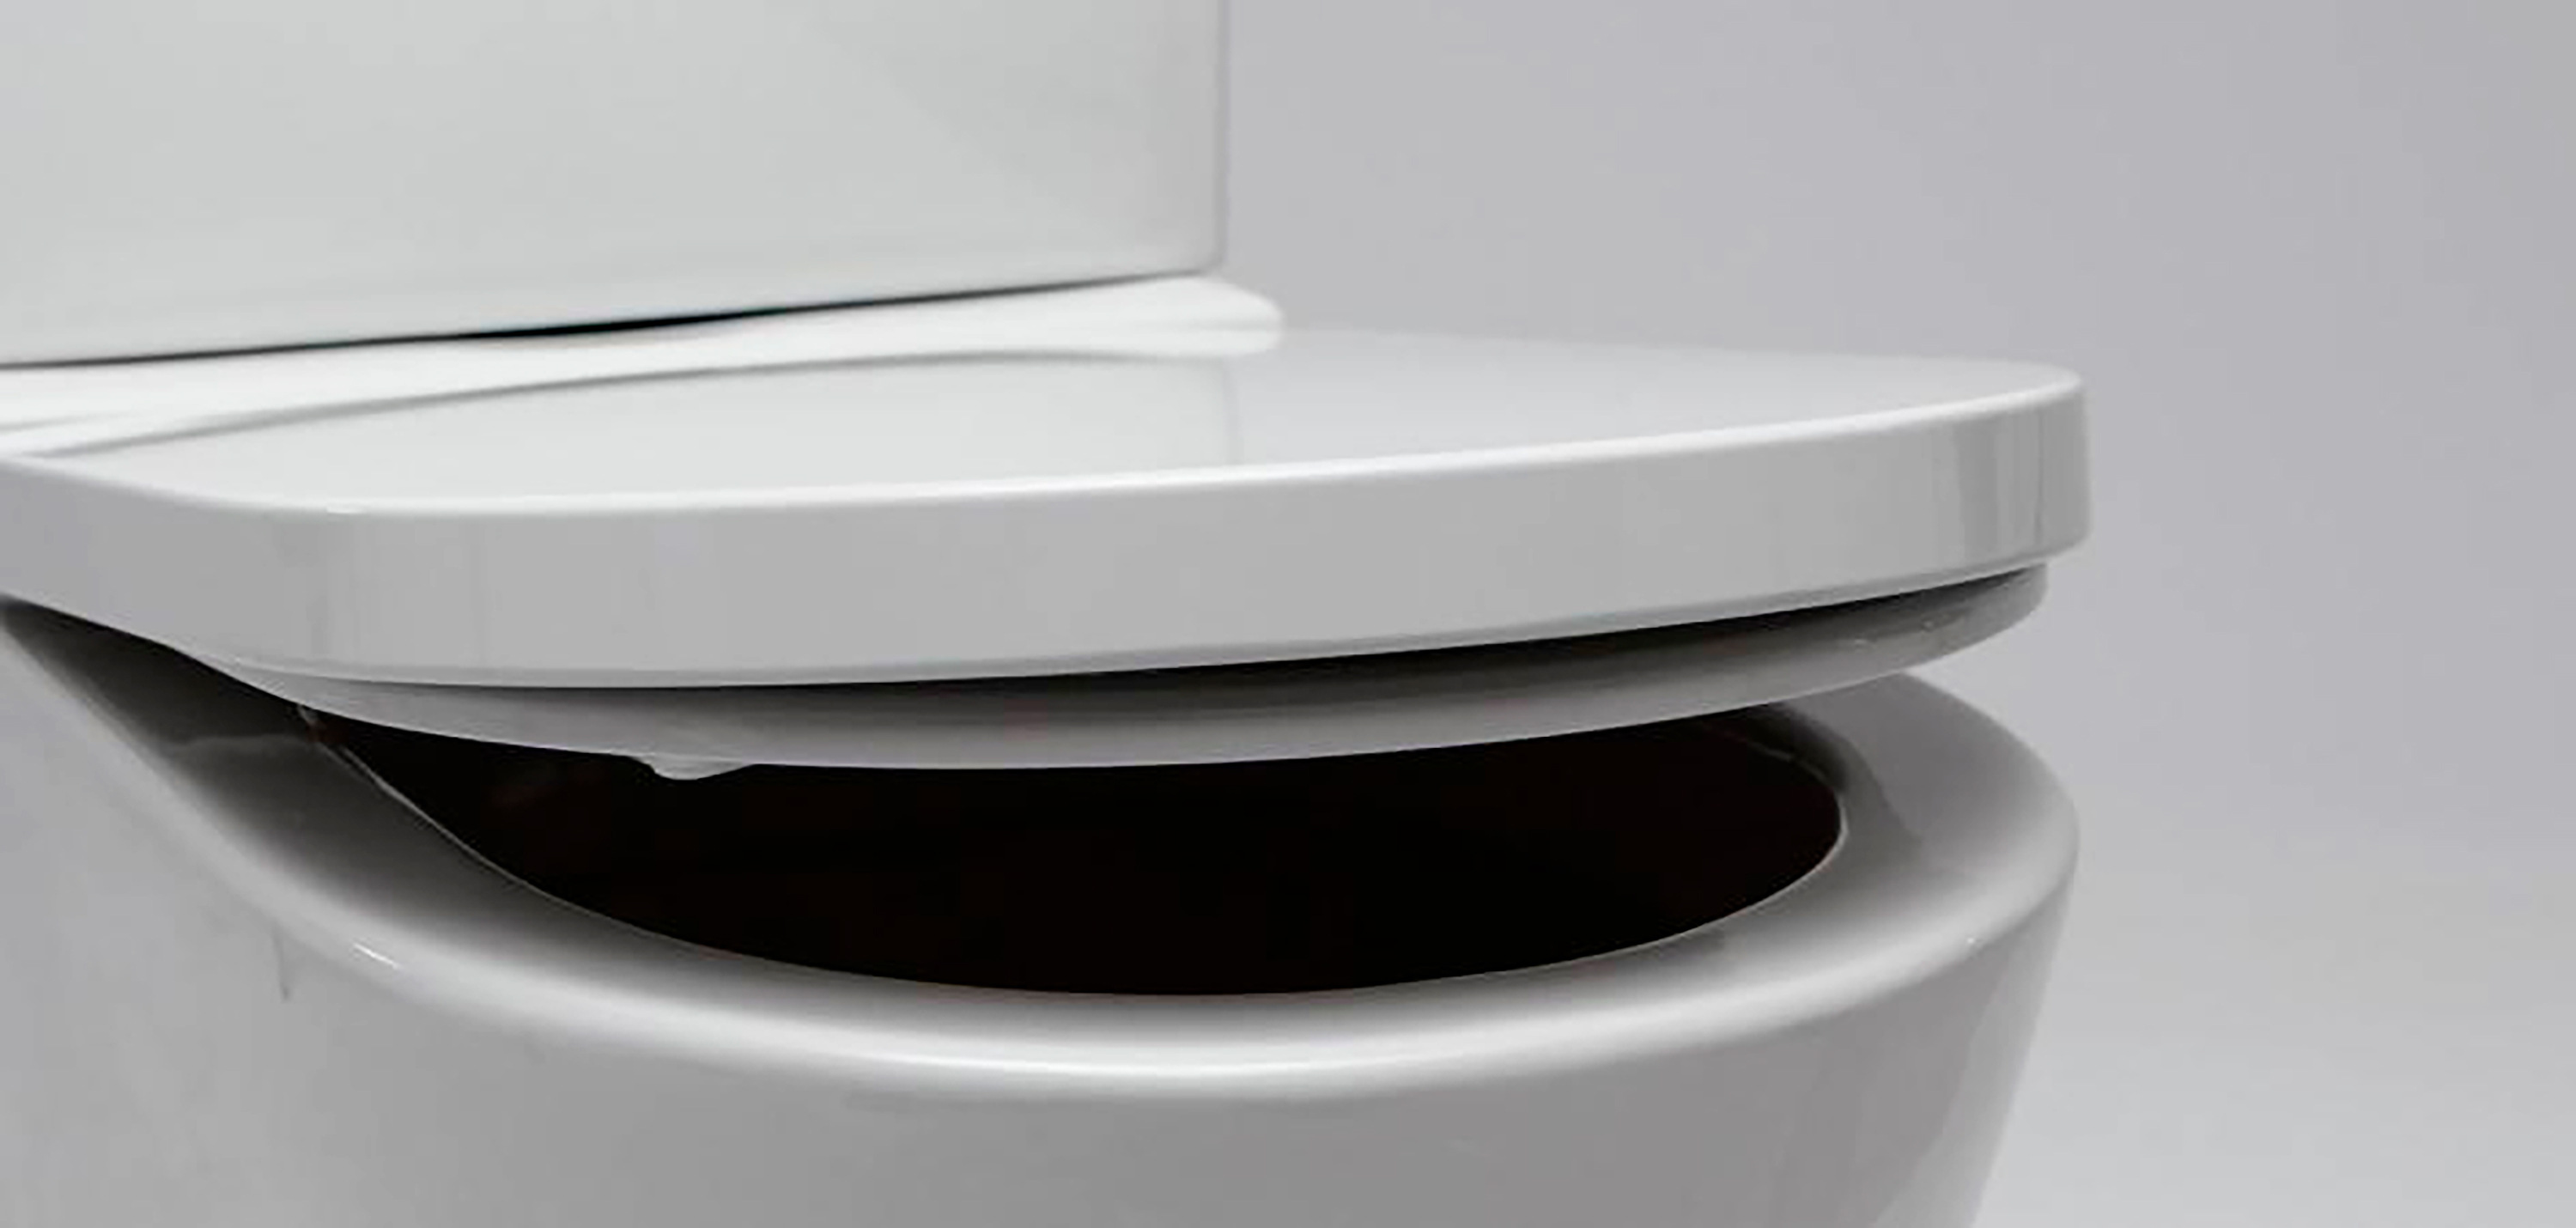
Hidden fixings, also known as blind fixings, are a popular choice for modern toilet seats due to their sleek and seamless appearance. Unlike traditional exposed fixings, which are visible from the top of the toilet seat, hidden fixings are designed to be concealed beneath the seat, creating a clean and uncluttered look in the bathroom.
These innovative fixings consist of a combination of bolts, nuts, and washers that are strategically positioned underneath the toilet seat, effectively hiding them from plain view. The discreet nature of hidden fixings not only contributes to the aesthetic appeal of the toilet seat but also minimizes the accumulation of dirt and grime in hard-to-reach areas, making cleaning and maintenance more convenient.
Understanding the anatomy of hidden fixings is essential for effectively tightening a toilet seat. Typically, hidden fixings comprise two main components: the hinge and the securing mechanism. The hinge allows the toilet seat to pivot for easy cleaning and maintenance, while the securing mechanism, often concealed beneath a protective cover, holds the seat firmly in place.
When the fixings become loose over time, the toilet seat may start to wobble or shift, compromising its stability and functionality. This is a common occurrence due to regular use and the natural settling of the toilet seat. Therefore, being able to identify and access the hidden fixings is crucial for maintaining a secure and well-aligned toilet seat.
By gaining a clear understanding of how hidden fixings function and their role in supporting the toilet seat, you can proceed with confidence to tighten the fixings and restore stability to the seat. With this knowledge in mind, let's move on to the practical steps and tools required to address the issue of loose hidden fixings and ensure a securely fastened toilet seat.
Tools and Materials Needed
When it comes to tightening a toilet seat with hidden fixings, having the right tools and materials at your disposal is essential for a successful and hassle-free maintenance task. Before embarking on the project, gather the following items to ensure that you are well-equipped to address the issue of loose fixings and restore stability to your toilet seat.
Tools:
-
Adjustable Wrench: An adjustable wrench is a versatile tool that allows you to tighten nuts and bolts of various sizes. Its adjustable jaw width makes it suitable for working with different types of fixings, including those found in toilet seat hinges.
-
Screwdriver (Flathead or Phillips-head): Depending on the type of screws used to secure the protective covers of the hidden fixings, a flathead or Phillips-head screwdriver will be necessary for removing the covers and accessing the fixings underneath.
-
Pliers: Pliers can be useful for holding nuts in place while tightening the corresponding bolts, especially in confined spaces where fingers may not reach easily.
-
Rubber Gloves: Wearing rubber gloves is recommended to maintain hygiene and protect your hands during the maintenance process.
Materials:
-
Cleaning Solution and Cloth: Before tightening the fixings, it's advisable to clean the area around the hidden fixings to remove any accumulated dirt or debris. A mild cleaning solution and a cloth can be used for this purpose.
-
Replacement Washers (If Needed): In some cases, the existing washers in the hidden fixings may be worn out or damaged. Having replacement washers on hand can ensure that the fixings are properly secured after tightening.
-
Lubricating Oil or Grease: Applying a small amount of lubricating oil or grease to the threads of the bolts can facilitate the tightening process and help prevent future loosening of the fixings.
By assembling these tools and materials, you will be well-prepared to tackle the task of tightening the hidden fixings of your toilet seat. With the right equipment at your disposal, you can proceed with confidence and efficiency, knowing that you have everything you need to restore stability and functionality to your toilet seat.
Read more: How To Replace Toilet Seat With Hidden Bolts
Step 1: Remove the Toilet Seat
Removing the toilet seat is the initial step in the process of tightening hidden fixings. Before attempting to access and tighten the fixings, it's essential to create a clear working space by removing the seat from the toilet bowl. This allows for better visibility and maneuverability when addressing the hidden fixings underneath.
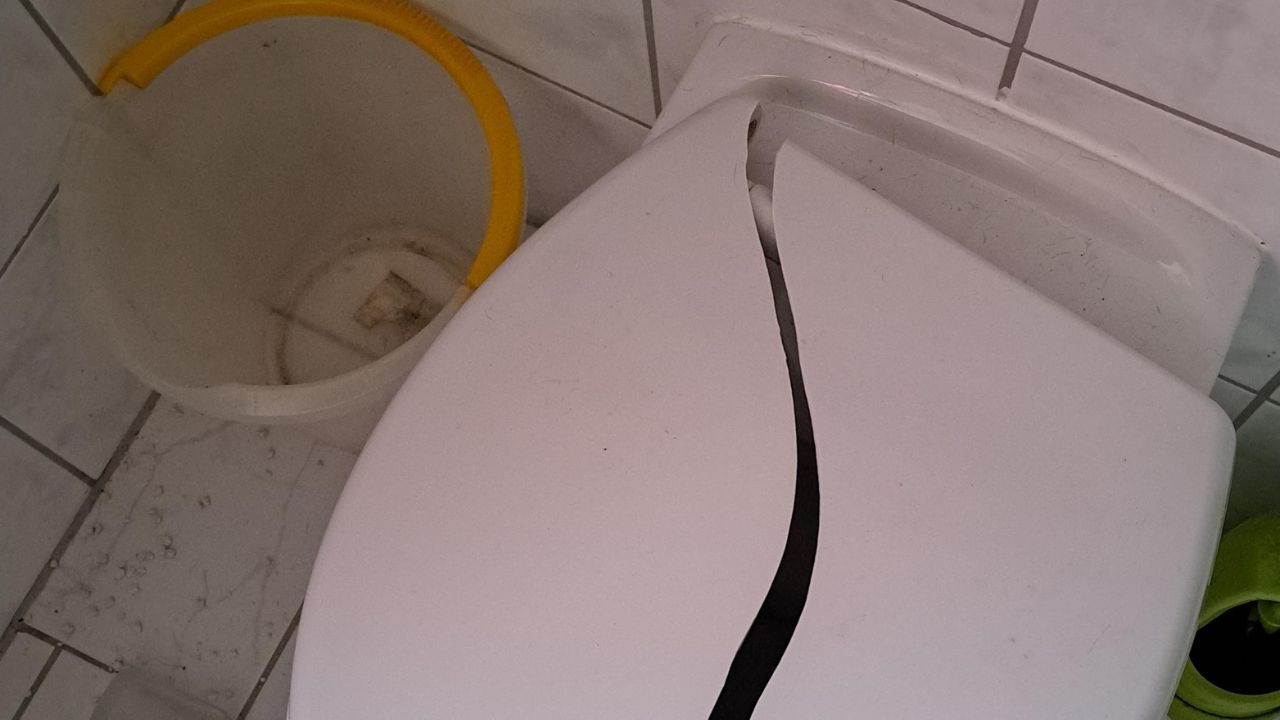
To begin, locate the plastic caps or covers at the back of the toilet seat, near the hinges. These covers are designed to conceal the fixings and may be secured in place with screws. Using a suitable screwdriver, carefully remove the screws holding the covers in place. Once the screws are loosened, gently lift the covers to reveal the hidden fixings beneath.
With the covers removed, you will have access to the fixings, which typically consist of bolts and nuts securing the hinges to the toilet bowl. Using an adjustable wrench, carefully loosen and remove the nuts from the bolts. It's important to keep track of the nuts and bolts, as they will need to be reattached during the reinstallation process.
After the nuts have been removed, lift the toilet seat and carefully detach it from the toilet bowl. Take care to handle the seat and hinges with caution to avoid any accidental damage. Once the seat is removed, set it aside in a safe and clean area, ensuring that it is placed on a stable surface to prevent any potential damage or misplacement.
By following these steps to remove the toilet seat, you will create a clear and accessible workspace for addressing the hidden fixings. With the seat successfully detached, you can proceed to the next phase of the maintenance process, which involves locating and tightening the fixings to restore stability and ensure a secure and well-aligned toilet seat.
Step 2: Locate the Hidden Fixings
With the toilet seat successfully removed, the next crucial step is to locate the hidden fixings concealed beneath the hinges. These fixings play a pivotal role in securing the toilet seat to the toilet bowl, and identifying their exact position is essential for effectively tightening and stabilizing the seat.
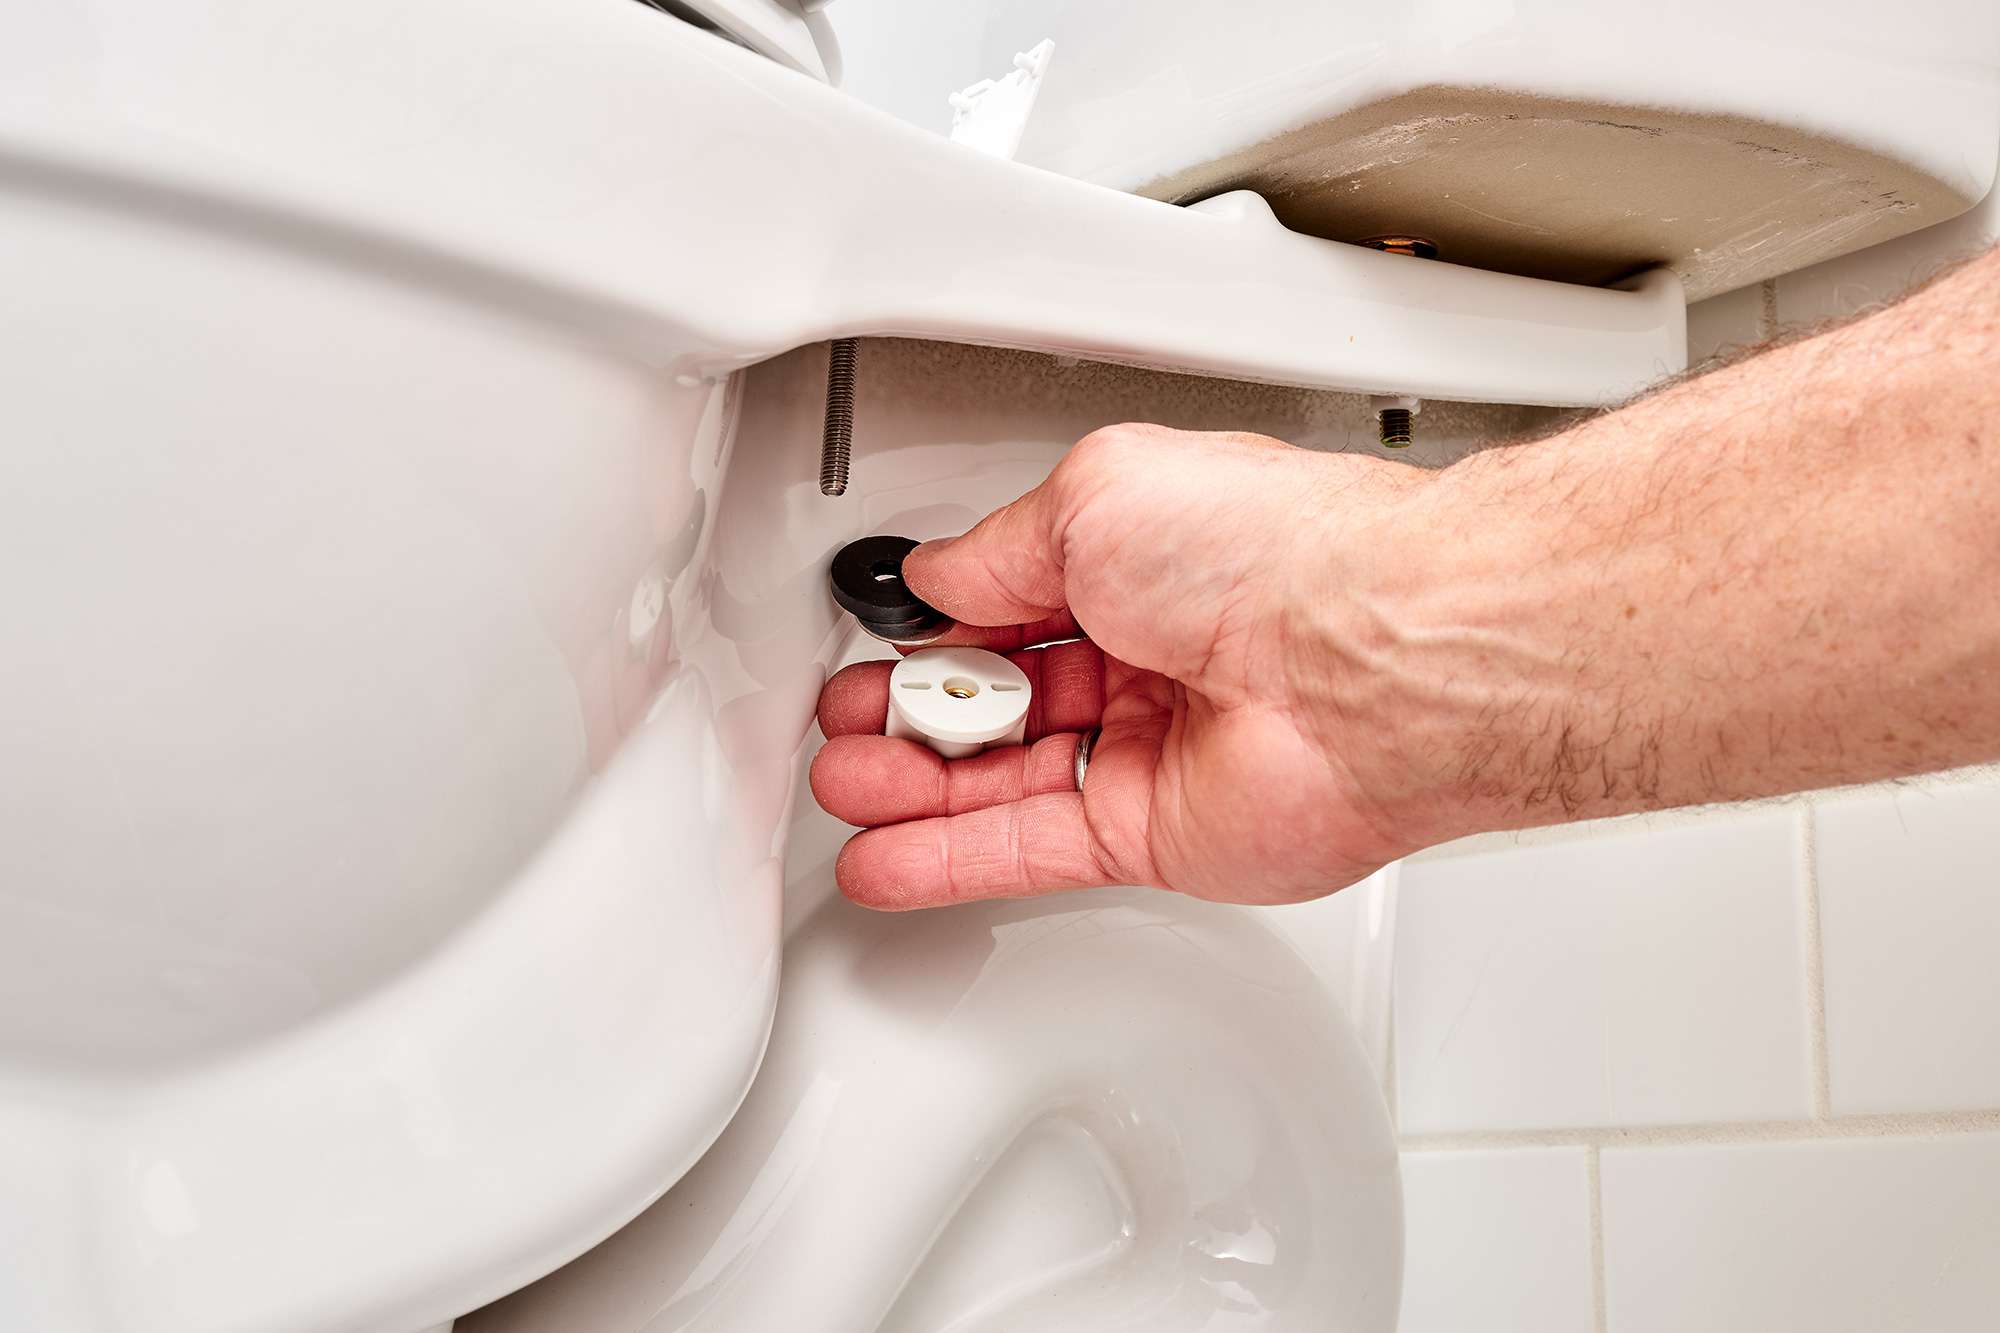
Upon removing the plastic covers at the back of the toilet seat, you will gain visibility of the hidden fixings, which typically consist of bolts and nuts. The bolts are securely fastened to the hinges and extend through the mounting holes on the toilet bowl, while the nuts are positioned underneath to hold the bolts in place. These components work in tandem to provide stability and support to the toilet seat.
As you inspect the exposed fixings, take note of their positioning and the condition of the surrounding area. It's important to ensure that the mounting holes on the toilet bowl are clean and free from any debris or residue that may hinder the tightening process. If necessary, use a mild cleaning solution and a cloth to gently clean the area around the fixings, preparing it for the subsequent steps.
In some cases, the fixings may be covered with accumulated grime or residue, especially if the toilet seat has been in place for an extended period. Carefully remove any dirt or debris from the exposed fixings to facilitate a smooth and effective tightening process. This step is crucial for ensuring a secure and reliable connection between the toilet seat and the toilet bowl once the fixings are tightened.
By taking the time to locate and prepare the hidden fixings for the tightening process, you set the stage for a successful maintenance endeavor. With a clear understanding of the fixings' position and condition, you can proceed with confidence to the next phase of the process, which involves tightening the fixings to restore stability and functionality to the toilet seat.
Use a screwdriver to tighten the screws on the underside of the toilet seat. If the screws are hidden, look for a small cover that can be popped open to access the screws. Turn the screws clockwise to tighten the seat.
Step 3: Tighten the Fixings
Tightening the hidden fixings is a critical step in restoring stability and security to the toilet seat. With the fixings exposed and the surrounding area prepared, you can now focus on effectively tightening the bolts and nuts to ensure a snug and secure connection between the seat and the toilet bowl.
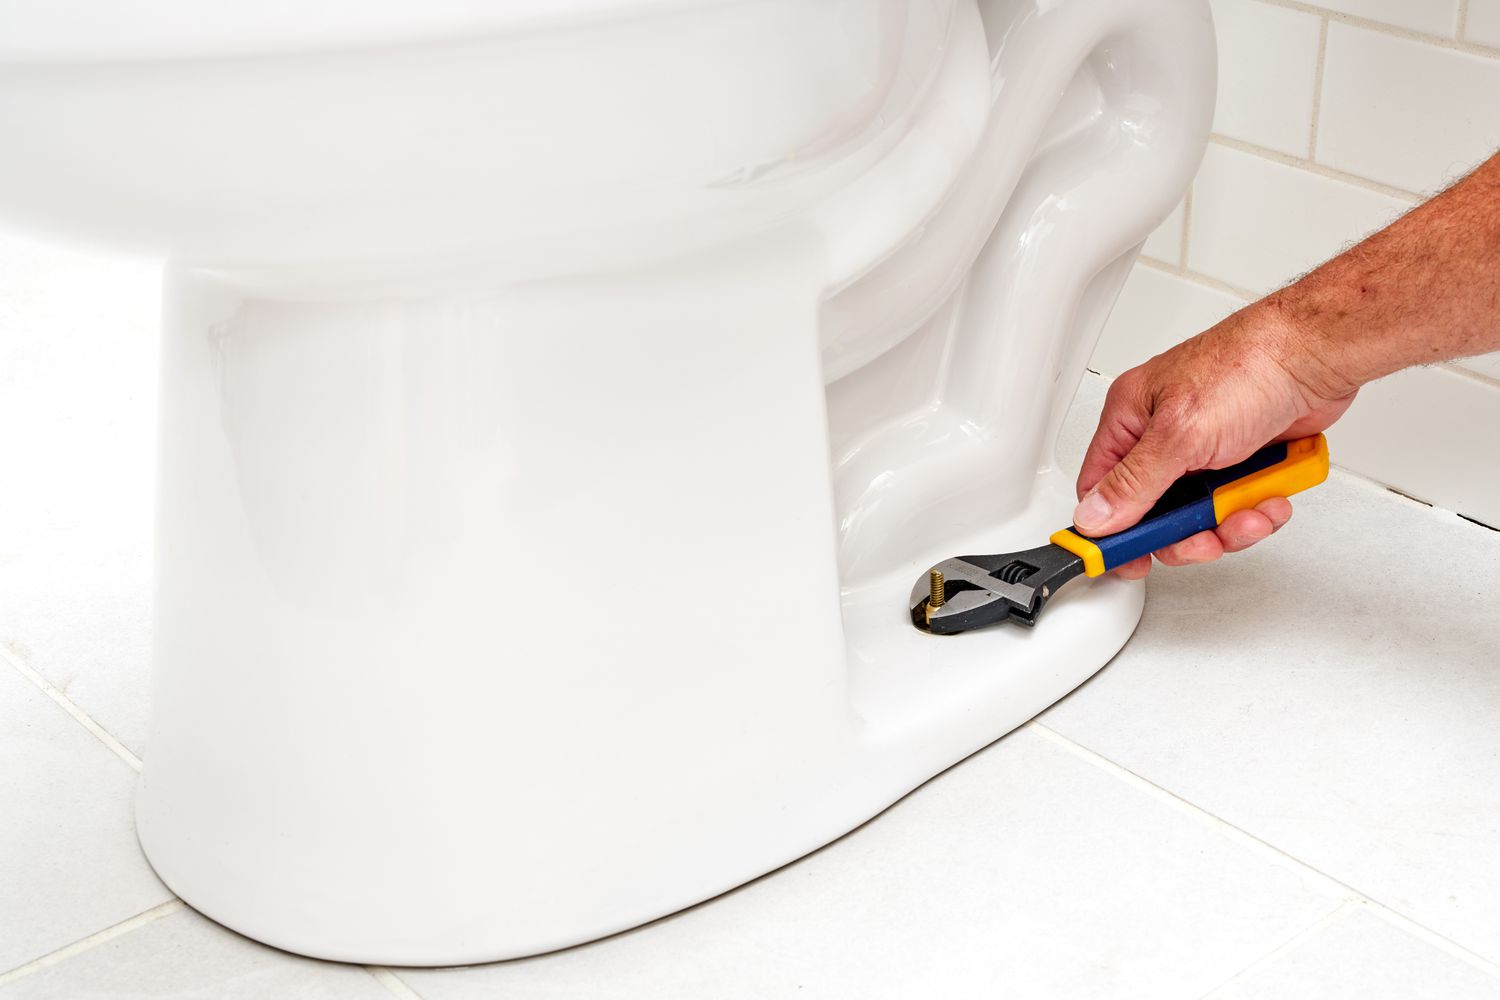
Using an adjustable wrench, carefully tighten the nuts on the underside of the toilet bowl. It's important to apply firm but controlled pressure to ensure that the nuts are securely fastened to the bolts. As you tighten the nuts, periodically check the alignment and stability of the toilet seat to gauge the effectiveness of the tightening process. This step allows you to make any necessary adjustments to achieve the desired level of stability and alignment.
In some instances, the bolts may also require tightening to reinforce the connection between the hinges and the toilet bowl. Using the adjustable wrench, gently tighten the bolts to enhance the overall stability of the toilet seat. It's essential to exercise caution and avoid over-tightening, as this may lead to damage or misalignment of the fixings.
If the existing washers in the fixings show signs of wear or damage, consider replacing them with new washers to ensure a secure and durable connection. Carefully remove the old washers and replace them with the new ones before reassembling the fixings. This simple yet effective measure can significantly contribute to the long-term stability and reliability of the toilet seat.
Applying a small amount of lubricating oil or grease to the threads of the bolts can further enhance the effectiveness of the tightening process. The lubrication reduces friction and helps prevent future loosening of the fixings, prolonging the stability and integrity of the toilet seat.
By diligently following these steps and exercising precision and care during the tightening process, you can effectively restore stability and security to the toilet seat. Once the fixings are securely tightened and any necessary adjustments have been made, you are ready to proceed to the final step of reattaching the toilet seat to the toilet bowl, completing the maintenance process with confidence and satisfaction.
Step 4: Reattach the Toilet Seat
After successfully tightening the hidden fixings and ensuring the stability of the toilet seat, the final step involves reattaching the seat to the toilet bowl. This crucial phase of the maintenance process completes the comprehensive task of tightening a toilet seat with hidden fixings, allowing you to enjoy a secure and well-aligned seat in your bathroom.
Begin by carefully positioning the toilet seat over the mounting holes on the toilet bowl, ensuring that the seat aligns evenly with the bowl and the fixings are properly aligned with the mounting holes. Gently lower the seat onto the bowl, taking care to align the hinges with the corresponding holes and ensuring a snug fit.
Once the seat is properly positioned, reinsert the bolts through the mounting holes, aligning them with the hinges on the underside of the seat. With the bolts in place, carefully thread the nuts onto the bolts from underneath the toilet bowl, using an adjustable wrench to tighten them securely. It's important to apply even pressure to ensure that the seat is firmly and evenly secured to the bowl.
As you tighten the nuts, periodically check the alignment and stability of the seat to confirm that it is securely fastened and free from any wobbling or shifting. This step allows you to make any final adjustments to the tightness of the fixings, ensuring a stable and reliable connection between the seat and the toilet bowl.
Once the seat is securely reattached and the fixings are tightened to the appropriate level, replace the plastic covers over the fixings at the back of the seat. Use a screwdriver to reattach the screws that secure the covers, ensuring that they are firmly in place. The covers not only provide a clean and finished look but also offer protection to the fixings, minimizing the accumulation of dirt and debris.
With the toilet seat successfully reattached and the hidden fixings securely tightened, take a moment to ensure that the seat is stable and aligned to your satisfaction. Gently test the seat to confirm that it is securely fastened and free from any wobbling or movement. This final check allows you to verify the effectiveness of the maintenance task and ensures that the toilet seat is ready for regular use.
By following these detailed steps to reattach the toilet seat, you complete the process of tightening hidden fixings and restoring stability to the seat. With the seat securely fastened and aligned, you can take pride in successfully addressing the issue of loose fixings and enjoy the comfort and security of a well-maintained toilet seat in your bathroom.
Conclusion
Tightening a toilet seat with hidden fixings is a rewarding and practical DIY task that empowers homeowners to maintain the stability and functionality of their bathroom fixtures. By following the comprehensive steps outlined in this guide, you have gained valuable insights into the process of addressing loose fixings and ensuring a secure and well-aligned toilet seat.
Understanding the anatomy of hidden fixings and the role they play in supporting the toilet seat has equipped you with the knowledge to identify and access these essential components. The careful removal of the toilet seat and the meticulous preparation of the hidden fixings have set the stage for effectively tightening the bolts and nuts, restoring stability to the seat.
With the right tools and materials at your disposal, you have successfully navigated the process of tightening the hidden fixings, taking care to make any necessary adjustments and replacements to ensure a secure and durable connection. The application of lubricating oil or grease further enhances the effectiveness of the tightening process, contributing to the long-term stability of the toilet seat.
Reattaching the toilet seat to the bowl, with the fixings securely tightened, marks the completion of the maintenance task. The meticulous alignment and secure fastening of the seat demonstrate your commitment to ensuring a comfortable and reliable bathroom experience for yourself and your household.
By successfully tightening the hidden fixings of your toilet seat, you have not only addressed the issue of wobbling and instability but also contributed to the overall maintenance and care of your bathroom. The clean and uncluttered appearance of the toilet seat, with its hidden fixings securely fastened, adds to the aesthetic appeal of the bathroom, creating a welcoming and well-maintained environment for all users.
As you reflect on the completion of this maintenance task, take pride in your ability to effectively address the issue of loose fixings and restore stability to the toilet seat. Your dedication to maintaining the functionality and appearance of your bathroom fixtures exemplifies your commitment to creating a comfortable and secure living space for yourself and your loved ones.
With the knowledge and confidence gained from this guide, you are well-prepared to tackle future maintenance tasks and ensure the ongoing care and reliability of your bathroom accessories. By embracing the principles of proactive maintenance and attention to detail, you contribute to the longevity and functionality of your home, creating a space that is both inviting and well-maintained for years to come.
Frequently Asked Questions about How To Tighten A Toilet Seat With Hidden Fixings
Was this page helpful?
At Storables.com, we guarantee accurate and reliable information. Our content, validated by Expert Board Contributors, is crafted following stringent Editorial Policies. We're committed to providing you with well-researched, expert-backed insights for all your informational needs.


0 thoughts on “How To Tighten A Toilet Seat With Hidden Fixings”