Home>Furniture & Design>Bathroom Accessories>How To Fix A Squeaky Toilet Seat

Bathroom Accessories
How To Fix A Squeaky Toilet Seat
Modified: February 27, 2024
Learn how to fix a squeaky toilet seat with our easy step-by-step guide. Keep your bathroom accessories in top condition with our helpful tips.
(Many of the links in this article redirect to a specific reviewed product. Your purchase of these products through affiliate links helps to generate commission for Storables.com, at no extra cost. Learn more)
Introduction
A squeaky toilet seat can be an annoying and disruptive issue in any household. The incessant creaking and wobbling can disrupt the peace and comfort of your bathroom experience. However, the good news is that fixing a squeaky toilet seat is a relatively simple task that can be accomplished with just a few basic tools and some DIY know-how. In this comprehensive guide, we will walk you through the step-by-step process of identifying the source of the squeak and implementing effective solutions to silence that pesky noise once and for all.
A squeaky toilet seat is often caused by loose or worn-out components, such as hinges and bolts. Over time, the constant opening and closing of the seat can lead to wear and tear, resulting in the irritating squeaking sound. By understanding the root cause of the issue, you can take targeted actions to address the problem and restore tranquility to your bathroom.
Whether you are a seasoned DIY enthusiast or a novice homeowner looking to tackle a simple household repair, this guide will equip you with the knowledge and confidence to resolve the squeaky toilet seat dilemma. With a few easy steps and a little bit of effort, you can bid farewell to the unwelcome noise and enjoy a peaceful and serene bathroom experience once again.
So, roll up your sleeves, gather your tools, and let's dive into the process of fixing that squeaky toilet seat. By the end of this guide, you'll have the expertise to tackle this common household annoyance and restore harmony to your bathroom environment.
Key Takeaways:
- Say goodbye to a squeaky toilet seat by tightening the bolts and applying lubricant to the hinges. This simple DIY fix restores peace and comfort to your bathroom.
- If the squeak persists, replace the toilet seat hinges for a long-term solution. Enjoy a quiet and stable toilet seat for years to come.
Read more: How To Fix Toilet Seat Hinge
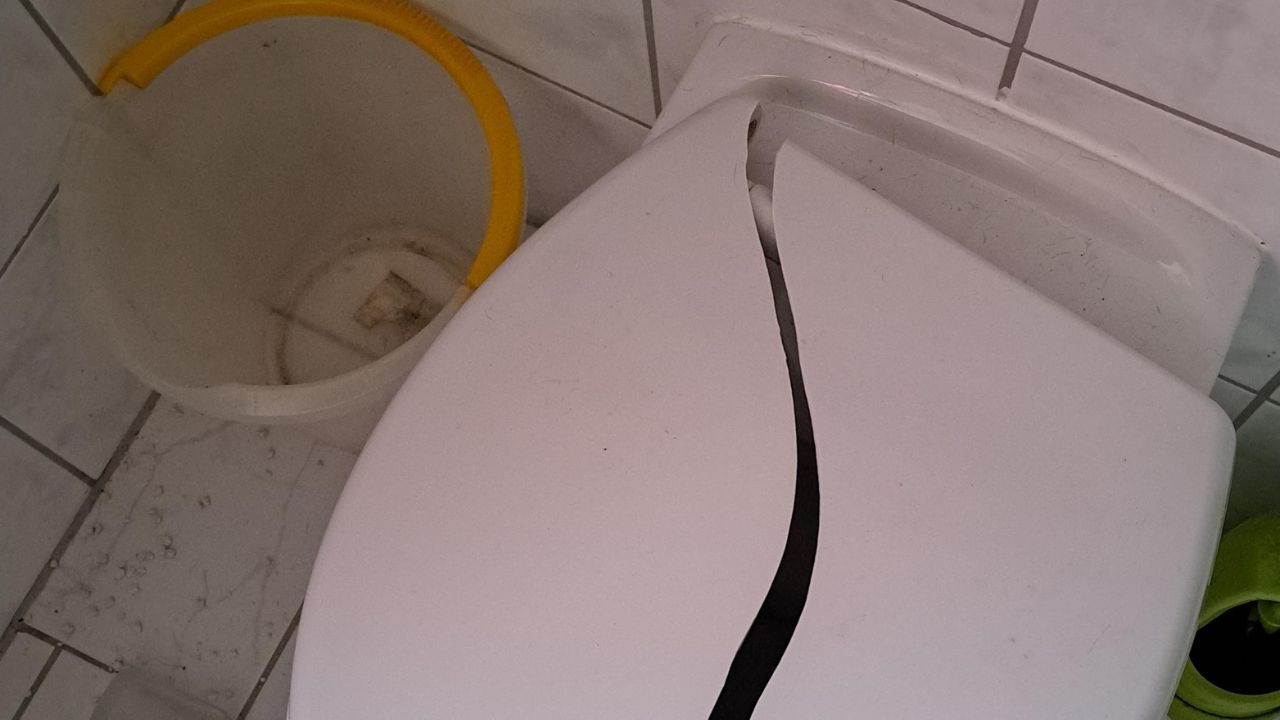
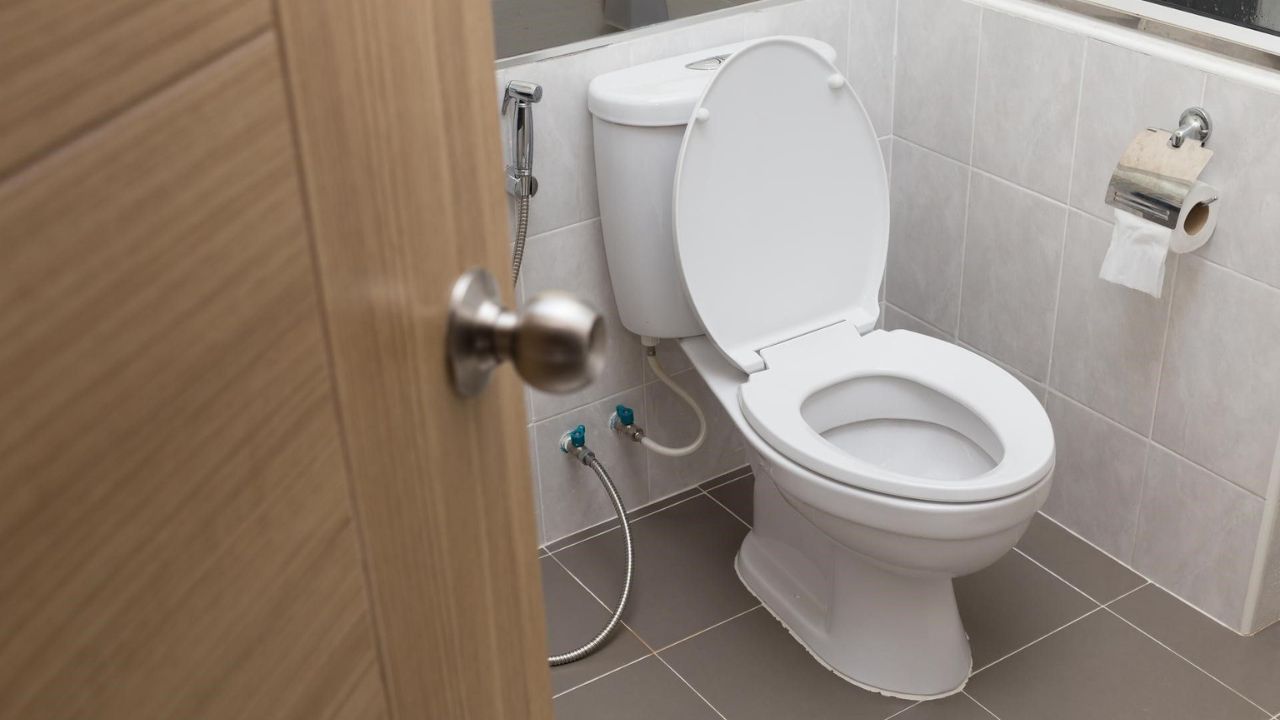
Step 1: Identify the source of the squeak
Before diving into the repair process, it's crucial to pinpoint the exact source of the squeak. A squeaky toilet seat can emanate from various components, and identifying the root cause is the first step toward effective resolution.
Start by carefully inspecting the toilet seat and hinges. Open and close the seat to replicate the squeaking sound, paying close attention to the specific areas where the noise originates. Often, the squeak is caused by friction between the hinges and the toilet bowl or between the seat and the hinges. By observing and listening closely, you can narrow down the location of the issue.
Next, check the bolts that secure the toilet seat to the bowl. Loose or worn-out bolts can also be a common culprit behind a squeaky seat. Gently wiggle the seat to detect any movement or instability caused by loose bolts.
Additionally, examine the hinges for signs of wear, rust, or damage. Over time, the constant movement of the hinges can lead to friction and squeaking. Look for any visible wear and tear, as well as any accumulation of debris or residue that may be contributing to the noise.
In some cases, the squeak may be caused by the material of the toilet seat itself. If the seat is made of plastic or wood, it may develop creaking sounds due to age or exposure to moisture. By thoroughly assessing the seat material, you can determine if it is a contributing factor to the squeak.
By methodically inspecting the various components of the toilet seat, you can effectively narrow down the source of the squeak and proceed with targeted solutions. Understanding the specific area causing the noise will enable you to implement the most appropriate fix, whether it involves tightening bolts, lubricating hinges, or replacing worn-out components.
Once you have identified the source of the squeak, you can proceed to the next step with confidence, knowing that you are equipped with the knowledge to address the issue effectively.
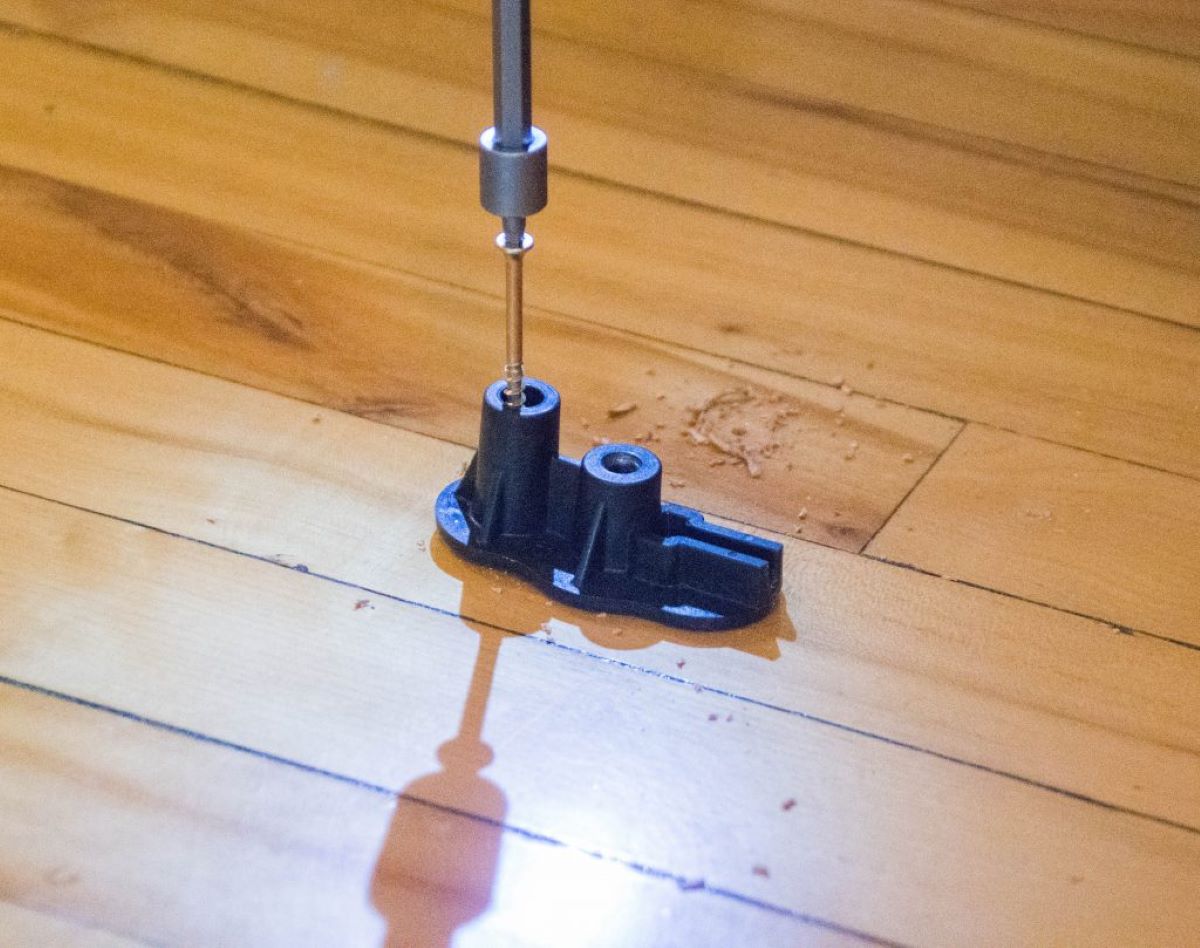
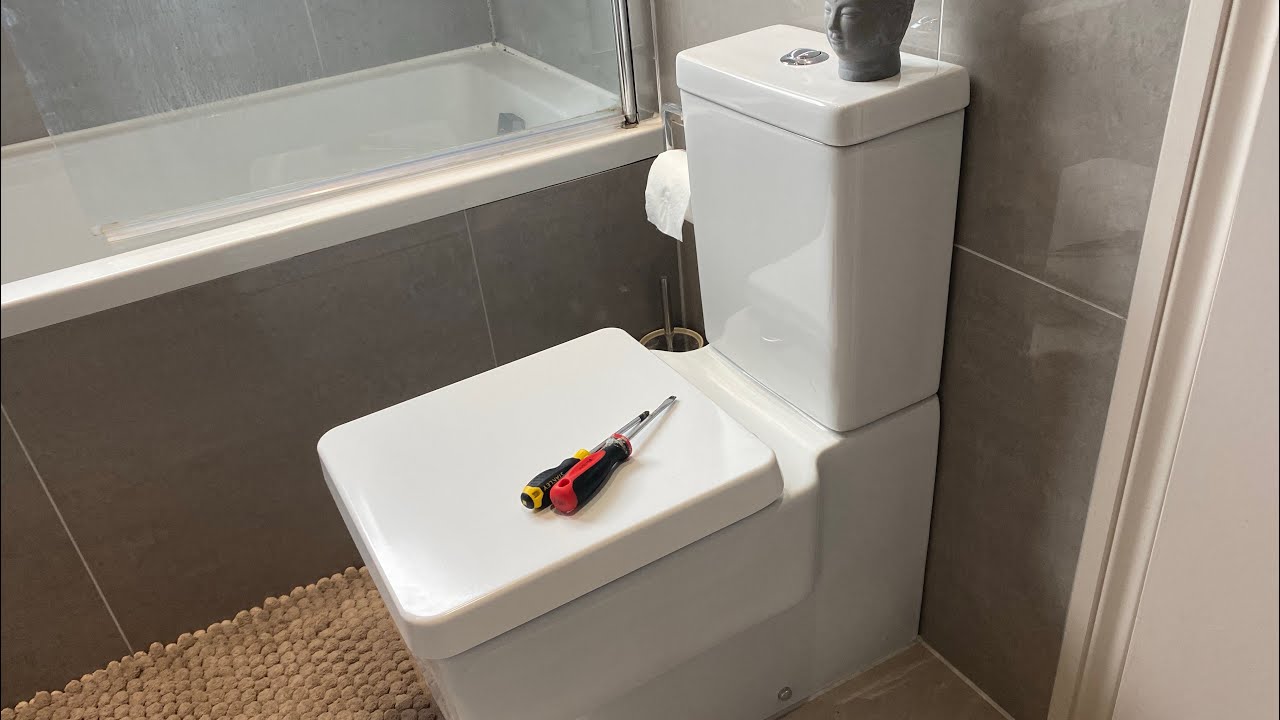
Step 2: Tighten the toilet seat bolts
Loose bolts are a common culprit behind a squeaky toilet seat. Over time, the constant use of the toilet seat can cause the bolts to gradually loosen, leading to instability and the annoying squeaking sound. Fortunately, tightening the bolts is a straightforward and effective solution to address this issue.
To begin, gather a set of basic tools, including a screwdriver or wrench, depending on the type of bolts securing the toilet seat. It's important to use the appropriate tool to ensure a secure and snug fit during the tightening process.
Start by locating the bolts that secure the toilet seat to the bowl. These bolts are typically located at the rear of the seat, attaching it to the hinges and the toilet bowl. Using the screwdriver or wrench, carefully tighten the bolts by turning them clockwise. Apply firm but gentle pressure to ensure that the bolts are securely fastened without over-tightening, which could potentially damage the seat or the bowl.
As you tighten the bolts, periodically test the seat by gently rocking it back and forth to assess the stability. If the squeaking persists, continue tightening the bolts until the seat feels secure and the movement is minimized. Be mindful not to overtighten the bolts, as this can lead to cracking or damage to the toilet seat or bowl.
Once the bolts are tightened, close the toilet seat and test it by sitting on it to check for any remaining squeaks or wobbles. If the squeaking has been eliminated and the seat feels stable, you have successfully addressed the issue by tightening the bolts.
In some cases, the bolts themselves may be worn or damaged, contributing to the squeak. If tightening the bolts does not resolve the issue, consider replacing them with new ones to ensure a secure and stable fit for the toilet seat.
By taking the time to tighten the toilet seat bolts, you can effectively eliminate the source of the squeak and restore tranquility to your bathroom environment. This simple yet impactful solution can be accomplished with minimal effort and basic tools, making it an accessible and practical DIY fix for a squeaky toilet seat.
To fix a squeaky toilet seat, try tightening the bolts that hold the seat to the toilet. If that doesn’t work, consider adding a rubber washer between the seat and the toilet to reduce friction and noise.
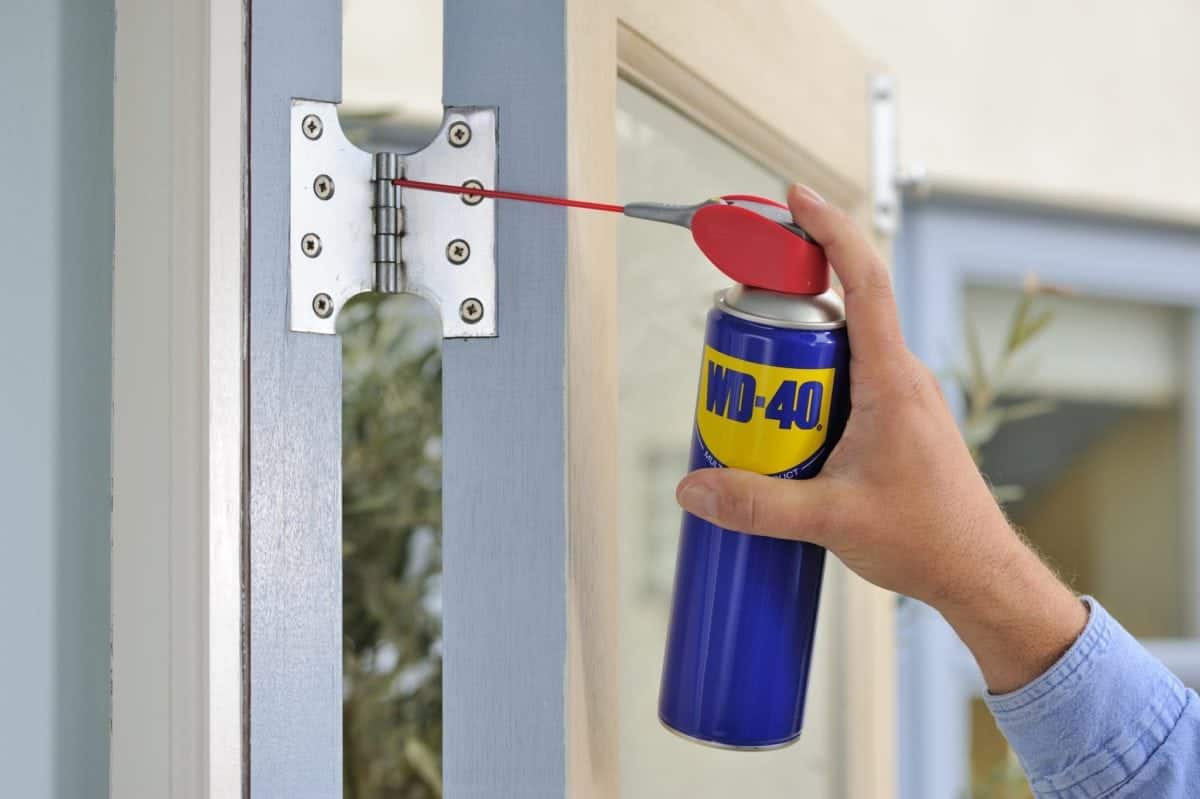
Step 3: Apply lubricant to the hinges
After addressing loose bolts, the next step in silencing a squeaky toilet seat involves applying lubricant to the hinges. Over time, the constant movement and friction between the hinges and the toilet bowl can lead to squeaking and discomfort. By applying lubricant, you can reduce the friction and eliminate the source of the annoying noise.
To begin, gather a suitable lubricant for the hinges. Silicone-based lubricants are often recommended for toilet seat hinges due to their water-resistant properties and long-lasting effectiveness. Additionally, silicone lubricants are safe to use on various materials, including plastic and metal, making them an ideal choice for this application.
With the lubricant in hand, carefully open the toilet seat to expose the hinges. Ensure that the seat is securely propped open to provide easy access to the hinge mechanism. Next, apply a small amount of the silicone lubricant to the pivot points and moving parts of the hinges. Use a precise applicator, such as a nozzle or small brush, to target the specific areas where friction occurs.
As you apply the lubricant, work it into the hinges by gently moving the seat back and forth. This motion helps distribute the lubricant evenly and allows it to penetrate the hinge components, effectively reducing friction and minimizing the squeaking noise. Be mindful not to apply an excessive amount of lubricant, as this can lead to messy residue and may attract dust and debris over time.
Once the lubricant has been applied, gently close and reopen the toilet seat several times to allow the lubricant to coat the hinge surfaces thoroughly. As you move the seat, listen for any remaining squeaks, and observe the smoothness of the hinge operation. The lubricant should significantly reduce or eliminate the squeaking, resulting in a quieter and more comfortable toilet seat experience.
In addition to addressing the squeak, applying lubricant to the hinges helps maintain the longevity and functionality of the toilet seat components. By reducing friction and preventing excessive wear, the lubricant contributes to the smooth operation of the hinges, ensuring a pleasant and hassle-free user experience.
By taking the time to apply lubricant to the hinges, you can effectively eliminate the source of the squeak and enhance the overall functionality of your toilet seat. This simple yet impactful solution offers long-lasting benefits and contributes to a peaceful and enjoyable bathroom environment.
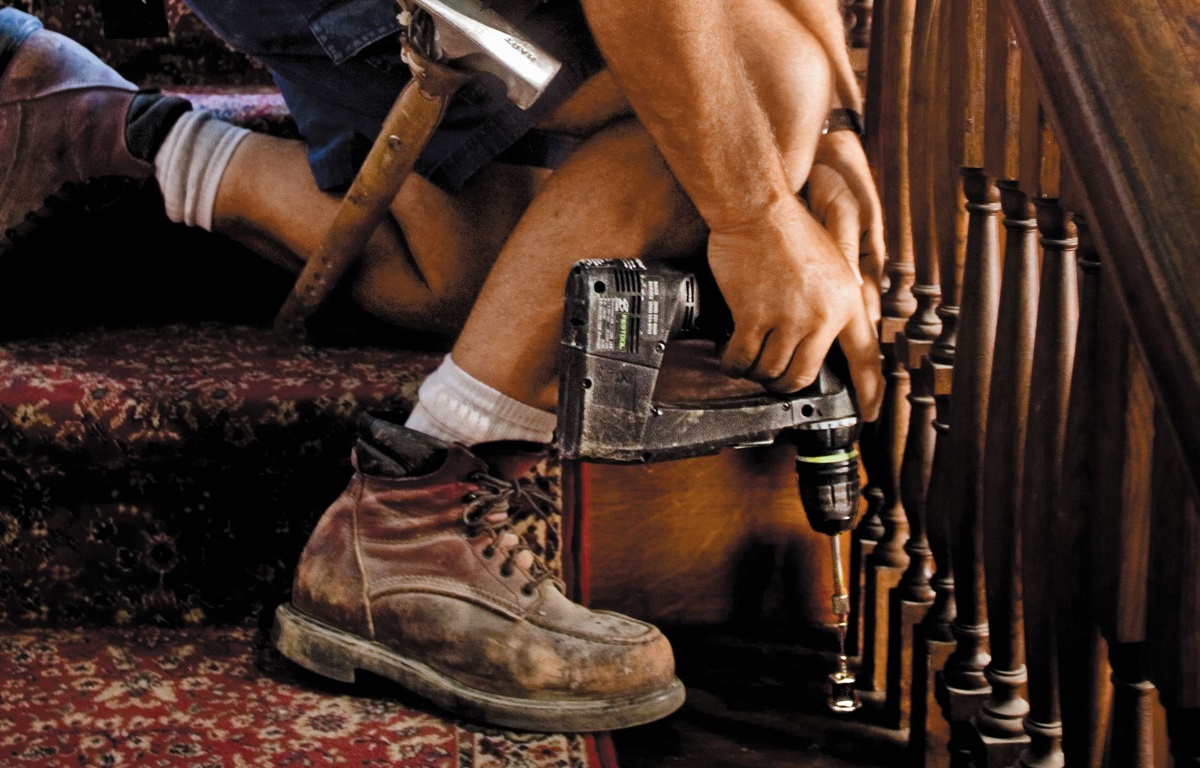
Step 4: Replace the toilet seat hinges
If the squeaking persists despite tightening the bolts and applying lubricant, it may be necessary to replace the toilet seat hinges. Over time, hinges can wear out, accumulate debris, or become damaged, leading to persistent squeaking and compromised functionality. By replacing the hinges, you can effectively address the root cause of the issue and restore peace and tranquility to your bathroom environment.
To begin the hinge replacement process, gather the necessary tools and materials, including a new set of toilet seat hinges compatible with your existing seat. Ensure that the replacement hinges are of high quality and designed to provide smooth and durable operation, minimizing the likelihood of future squeaking issues.
Start by carefully removing the existing hinges from the toilet seat. Depending on the specific design of the seat, this may involve unscrewing the hinges from the seat or detaching them from the mounting points on the toilet bowl. Use a screwdriver or appropriate tool to carefully disassemble the old hinges, taking care not to damage the seat or surrounding components.
Once the old hinges have been removed, prepare the new hinges for installation. Inspect the replacement hinges to ensure that they are free from any defects and are compatible with the toilet seat and bowl. Additionally, check for any included instructions or guidelines provided by the manufacturer to ensure proper installation.
Next, position the new hinges on the toilet seat, aligning them with the mounting points and ensuring a secure fit. Carefully fasten the hinges to the seat using the provided hardware, such as screws or bolts, and tighten them to the manufacturer's recommended specifications. It's important to achieve a snug and stable attachment to prevent future movement and potential squeaking.
Once the new hinges are securely attached to the seat, position the seat over the mounting points on the toilet bowl. Align the hinges with the corresponding mounting holes and carefully secure them in place, ensuring that the seat is level and stable. Double-check the tightness of the fasteners to guarantee a secure and wobble-free installation.
With the new hinges in place, test the toilet seat by opening and closing it to ensure smooth and quiet operation. Sit on the seat to verify its stability and comfort, listening for any remaining squeaks or signs of instability. The replacement hinges should provide a noticeable improvement in the functionality of the toilet seat, effectively eliminating the source of the squeak.
By replacing the toilet seat hinges, you have taken a proactive step toward resolving the persistent squeaking issue and ensuring a peaceful and enjoyable bathroom experience. The new hinges contribute to the smooth operation and stability of the seat, offering long-lasting relief from the annoyance of a squeaky toilet seat.
Read more: How To Fix A Toilet Seat Lid
Conclusion
In conclusion, addressing a squeaky toilet seat is a manageable task that can significantly enhance the comfort and tranquility of your bathroom environment. By following the step-by-step process outlined in this guide, you can effectively identify the source of the squeak and implement targeted solutions to silence the annoying noise once and for all.
The journey to fix a squeaky toilet seat begins with a thorough inspection to pinpoint the specific area causing the squeak. Whether it's loose bolts, worn-out hinges, or friction between components, understanding the root cause is essential for implementing the most effective solution. By taking the time to identify the source of the squeak, you can approach the repair process with confidence and precision.
Tightening the toilet seat bolts is often the first line of defense against a squeaky seat. By using basic tools and applying gentle pressure, you can secure the bolts and minimize movement, effectively eliminating the source of the squeak. This simple yet impactful solution offers immediate relief and contributes to a stable and comfortable toilet seat experience.
Applying lubricant to the hinges is another valuable step in addressing a squeaky toilet seat. By reducing friction and enhancing the smooth operation of the hinges, lubricant effectively eliminates the source of the annoying noise. This proactive measure not only silences the squeak but also contributes to the long-term functionality and durability of the toilet seat components.
In cases where the squeaking persists, replacing the toilet seat hinges offers a comprehensive solution to the issue. By installing high-quality replacement hinges, you can ensure smooth and quiet operation, effectively eliminating the source of the squeak and restoring peace to your bathroom environment.
By taking a proactive approach to address a squeaky toilet seat, you can enhance the overall comfort and functionality of your bathroom while eliminating a common household annoyance. Whether you are a seasoned DIY enthusiast or a novice homeowner, the process of fixing a squeaky toilet seat is accessible and rewarding, offering immediate relief and long-term benefits.
So, armed with the knowledge and confidence gained from this guide, you can bid farewell to the unwelcome noise and enjoy a peaceful and serene bathroom experience once again. With a few easy steps and a little bit of effort, you can restore harmony to your bathroom environment and ensure a quiet and comfortable toilet seat for years to come.
Frequently Asked Questions about How To Fix A Squeaky Toilet Seat
Was this page helpful?
At Storables.com, we guarantee accurate and reliable information. Our content, validated by Expert Board Contributors, is crafted following stringent Editorial Policies. We're committed to providing you with well-researched, expert-backed insights for all your informational needs.


0 thoughts on “How To Fix A Squeaky Toilet Seat”