Home>Furniture & Design>Bathroom Accessories>How To Change Out Bathtub Faucets
Bathroom Accessories
How To Change Out Bathtub Faucets
Modified: March 2, 2024
Learn how to easily change out bathtub faucets and upgrade your bathroom accessories with our step-by-step guide. Transform your bathroom with new fixtures today!
(Many of the links in this article redirect to a specific reviewed product. Your purchase of these products through affiliate links helps to generate commission for Storables.com, at no extra cost. Learn more)
Introduction
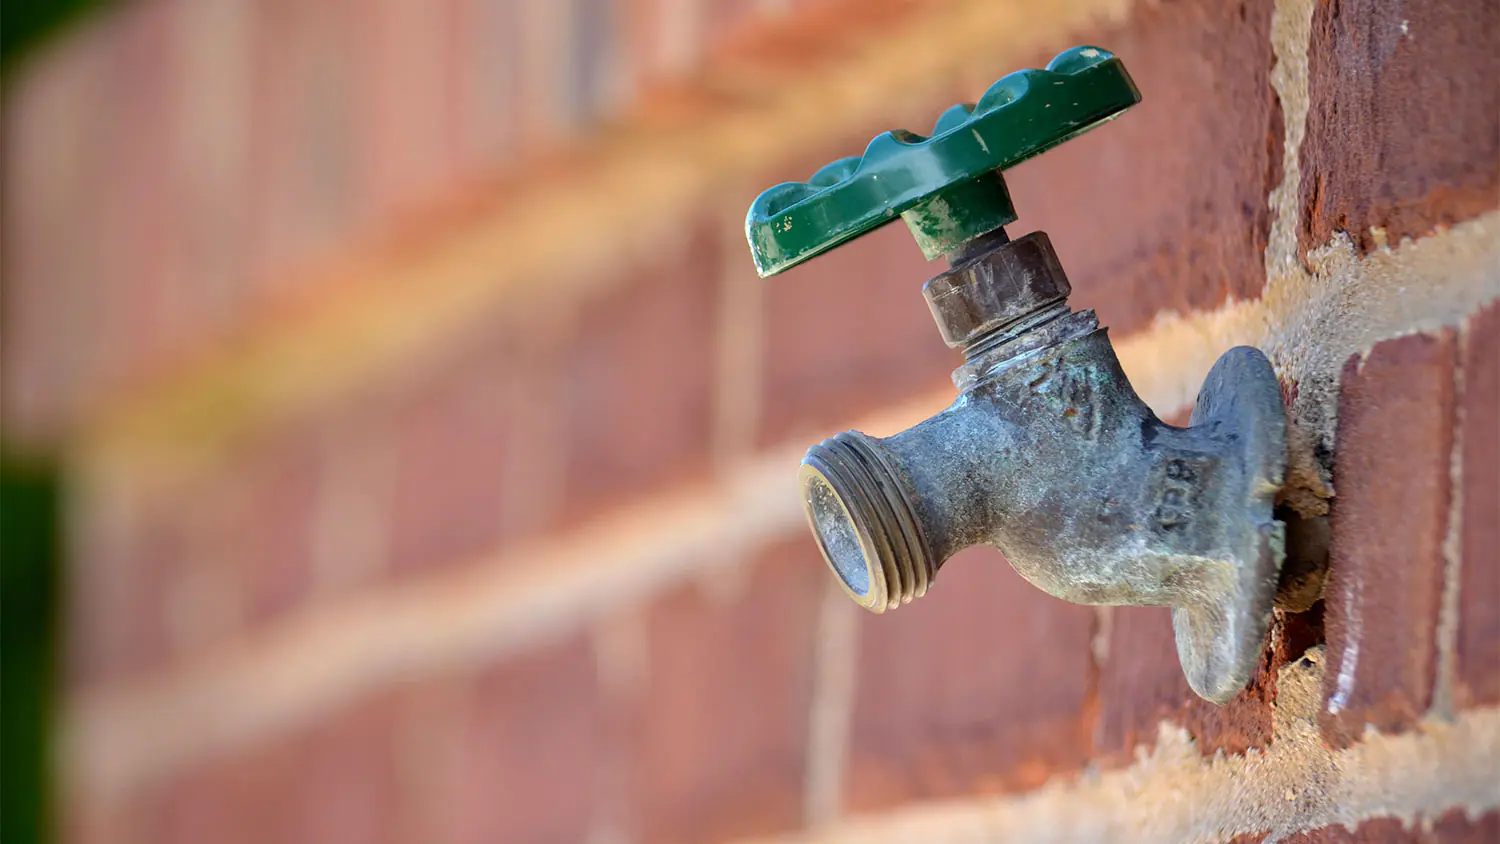
Changing out bathtub faucets can breathe new life into your bathroom, giving it a fresh and updated look. Whether you're looking to replace a worn-out faucet or simply want to upgrade to a more modern style, this DIY project is a great way to enhance the functionality and aesthetics of your bathtub.
In this comprehensive guide, you'll learn the step-by-step process of replacing your bathtub faucet. From gathering the necessary tools and materials to turning off the water supply and installing the new faucet, we'll walk you through each stage of the process. By following these instructions, you can tackle this project with confidence and achieve professional-looking results.
So, roll up your sleeves and get ready to transform your bathtub with a brand-new faucet. With the right tools, a bit of know-how, and a can-do attitude, you'll soon be enjoying the satisfaction of a successful home improvement project. Let's dive in and discover how to change out bathtub faucets like a pro!
Key Takeaways:
- Gather the right tools and materials before changing out your bathtub faucet to save time and minimize frustration. A proactive approach sets you up for a successful DIY project.
- Turning off the water supply, removing the old faucet, installing the new one, and testing for leaks are crucial steps in changing out bathtub faucets. Follow each step carefully for a professional-looking outcome.
Read more: How To Change Bathtub Faucet Handle
Step 1: Gather the necessary tools and materials
Before embarking on the journey of replacing your bathtub faucet, it's essential to gather all the required tools and materials. Having everything at hand will streamline the process and prevent unnecessary interruptions. Here's a comprehensive list of what you'll need:
Tools:
- Adjustable wrench
- Pipe wrench
- Screwdriver (flathead and Phillips)
- Plumber's putty or silicone caulk
- Tubing cutter or hacksaw
- Flashlight
- Safety glasses
Materials:
- New bathtub faucet
- Replacement washers and O-rings
- Teflon tape
- Rag or towel
- Bucket
- Cleaning solution
- Replacement pipe if necessary
- Plumbers tape
By ensuring that you have all these tools and materials on hand, you'll be well-prepared to tackle the task of changing out your bathtub faucet. This proactive approach will save you time and minimize any potential frustration that may arise from having to pause the project to hunt down a missing tool or material.
With everything gathered and ready to go, you're now set to move on to the next step in the process: turning off the water supply.
Step 2: Turn off the water supply
Before you begin the process of replacing your bathtub faucet, it's crucial to turn off the water supply to the bathtub. This step is essential for ensuring a safe and mess-free environment as you work on the faucet replacement. Here's a detailed guide on how to turn off the water supply:
-
Locate the Water Shut-Off Valve: The water shut-off valve for the bathtub is typically located near the tub or in the basement or utility area. It may be a lever-style valve or a knob that needs to be turned clockwise to shut off the water flow.
-
Turn Off the Main Water Supply: If you're unable to locate a dedicated shut-off valve for the bathtub, you may need to shut off the main water supply to your home. The main shut-off valve is usually located near the water meter or where the main water line enters your home. Turning off the main water supply will ensure that no water flows into any part of your plumbing system, including the bathtub.
-
Test the Water Supply: After turning off the water supply, it's a good idea to test the faucets in the bathroom to ensure that the water flow has been successfully shut off. This step will prevent any unexpected water leakage during the faucet replacement process.
By following these steps to turn off the water supply, you'll create a safe and controlled environment for replacing your bathtub faucet. With the water supply turned off, you can proceed to the next step of removing the old faucet with confidence and peace of mind.
Read more: How To Change Out Bathtub Drain
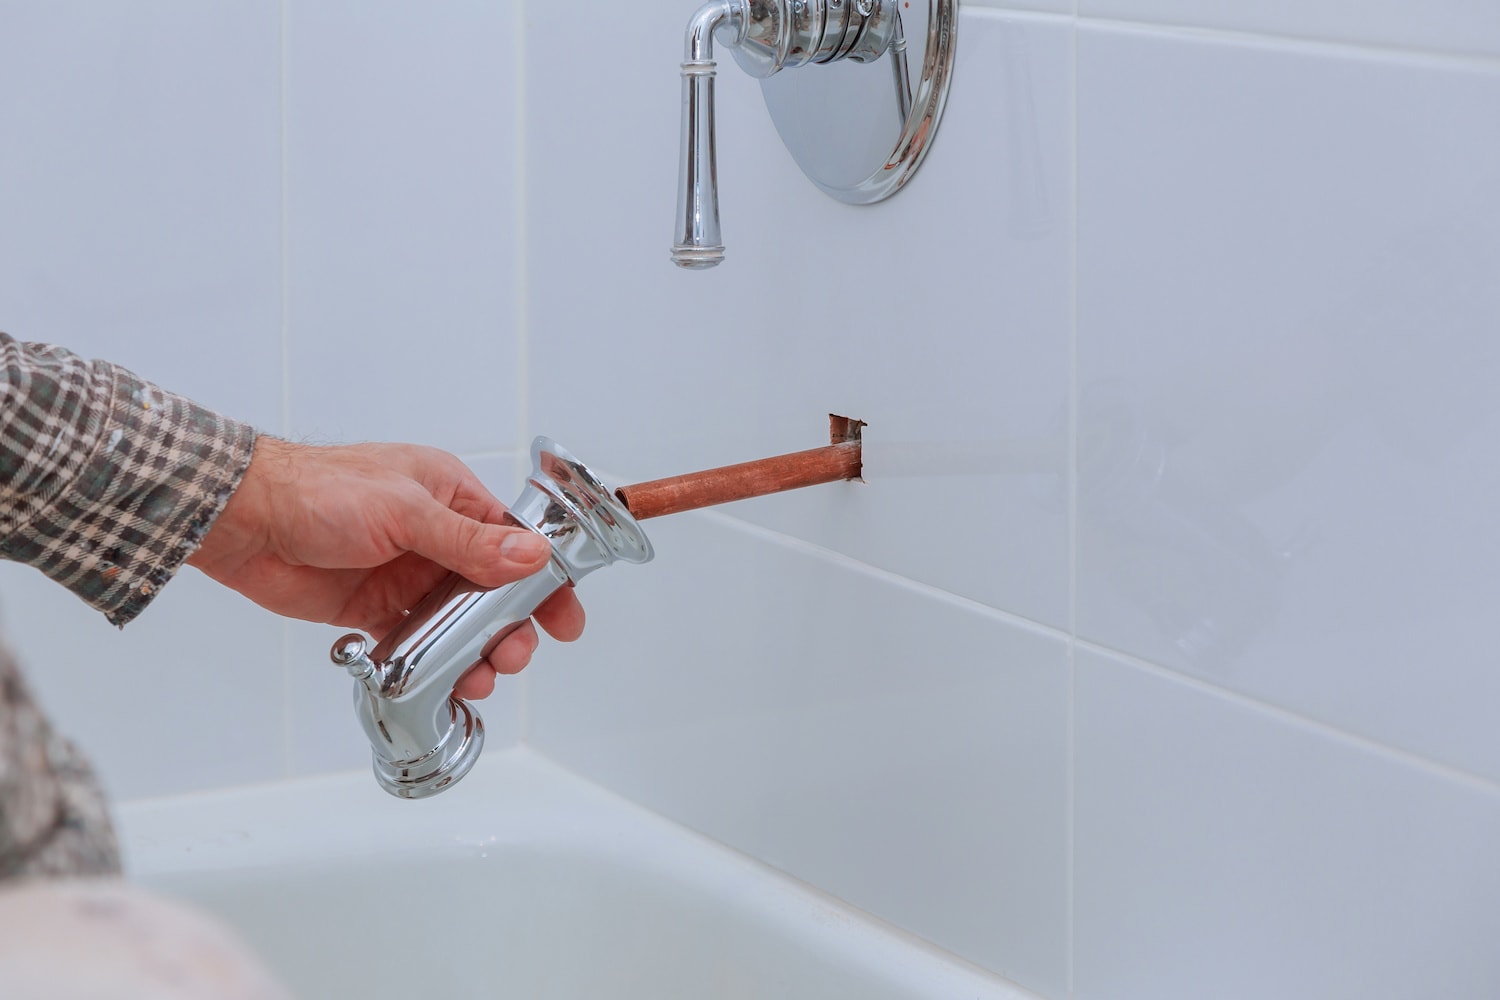
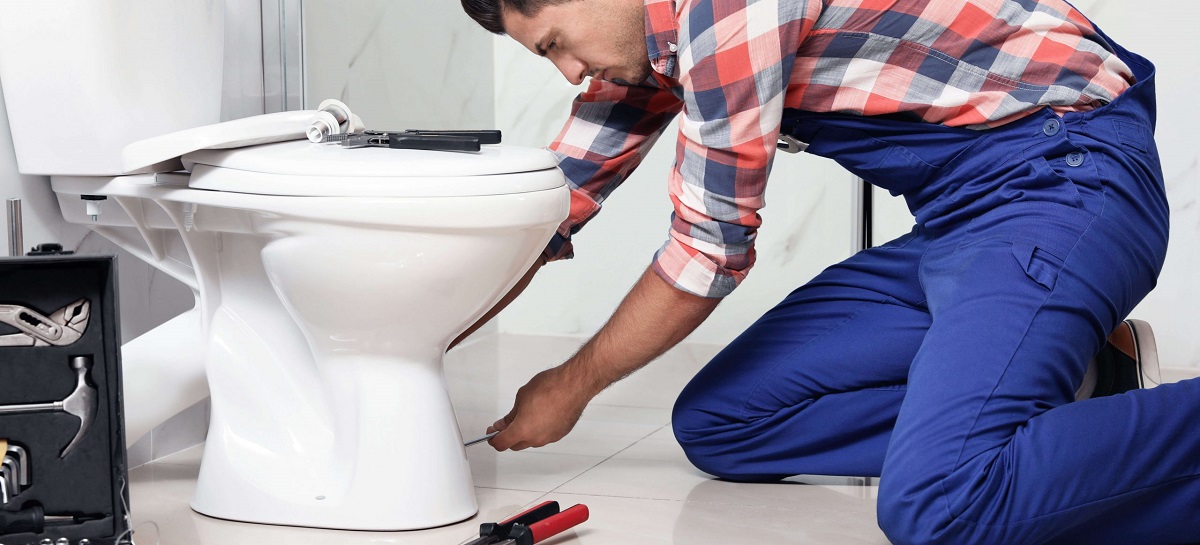
Step 3: Remove the old faucet
With the water supply safely turned off, it's time to bid farewell to the old bathtub faucet. Removing the old faucet is a crucial step in the replacement process, and it requires careful attention to detail. Here's a detailed guide on how to remove the old faucet:
-
Access the Faucet: Depending on the type of bathtub and faucet design, you may need to access the faucet from the wall behind the bathtub or from underneath the tub. Use a flashlight to illuminate the area and gain a clear view of the faucet connections.
-
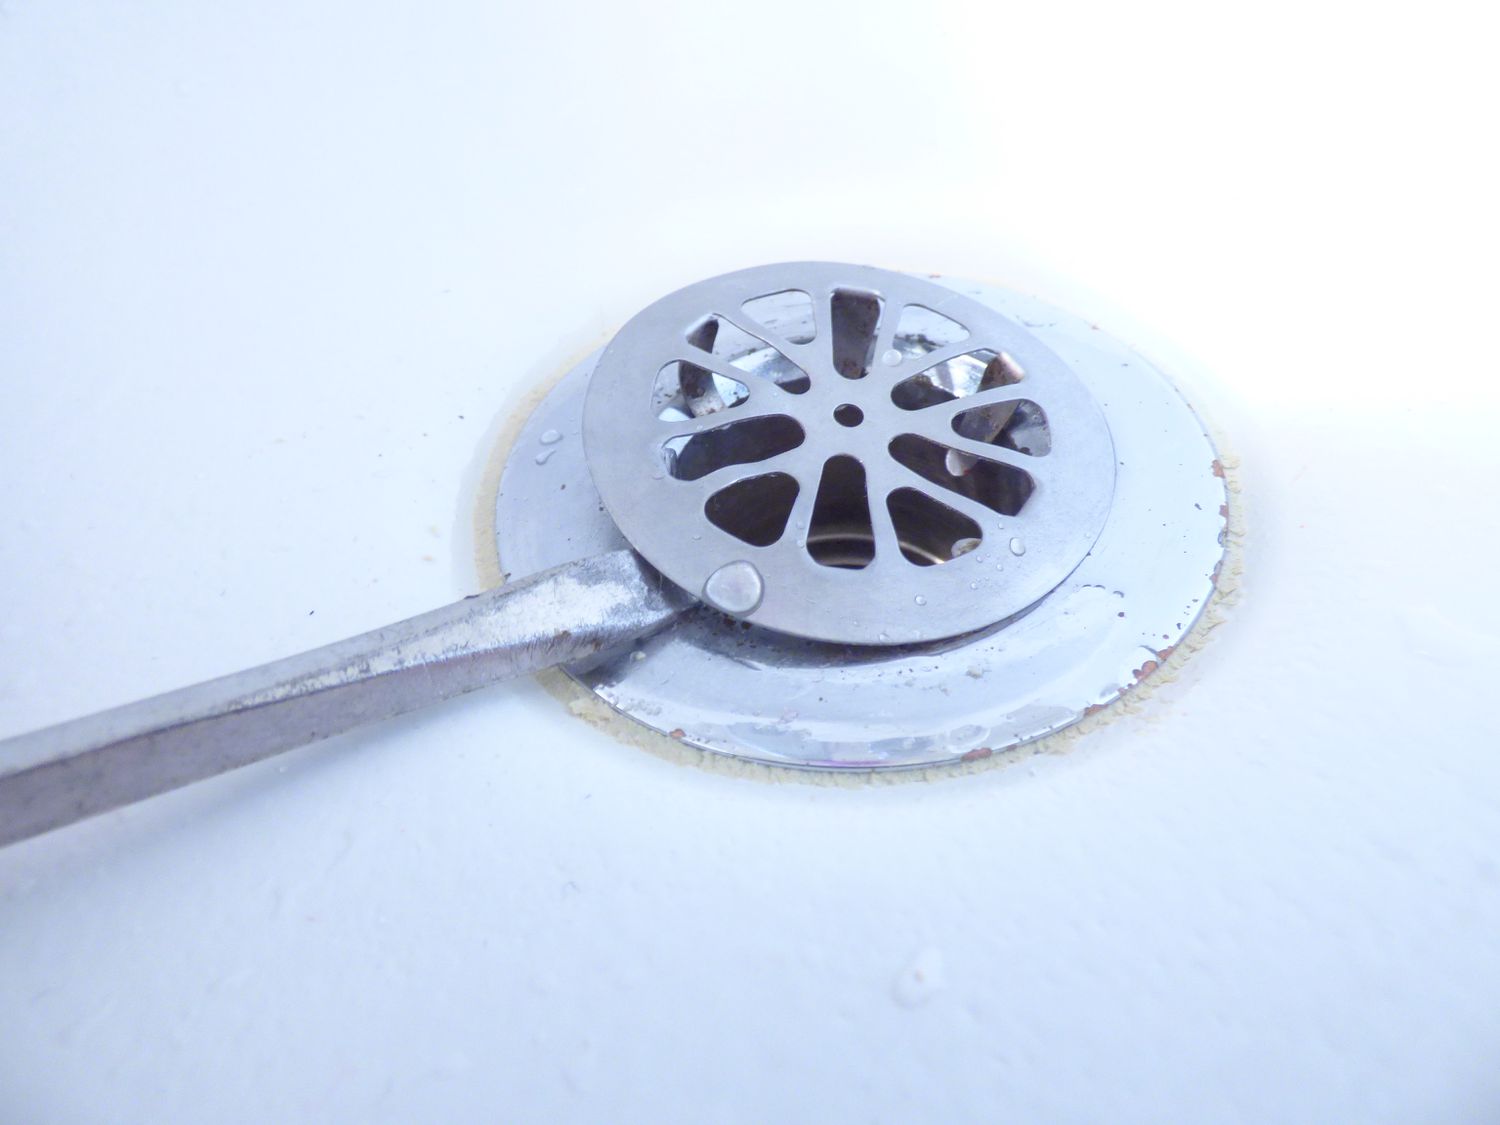
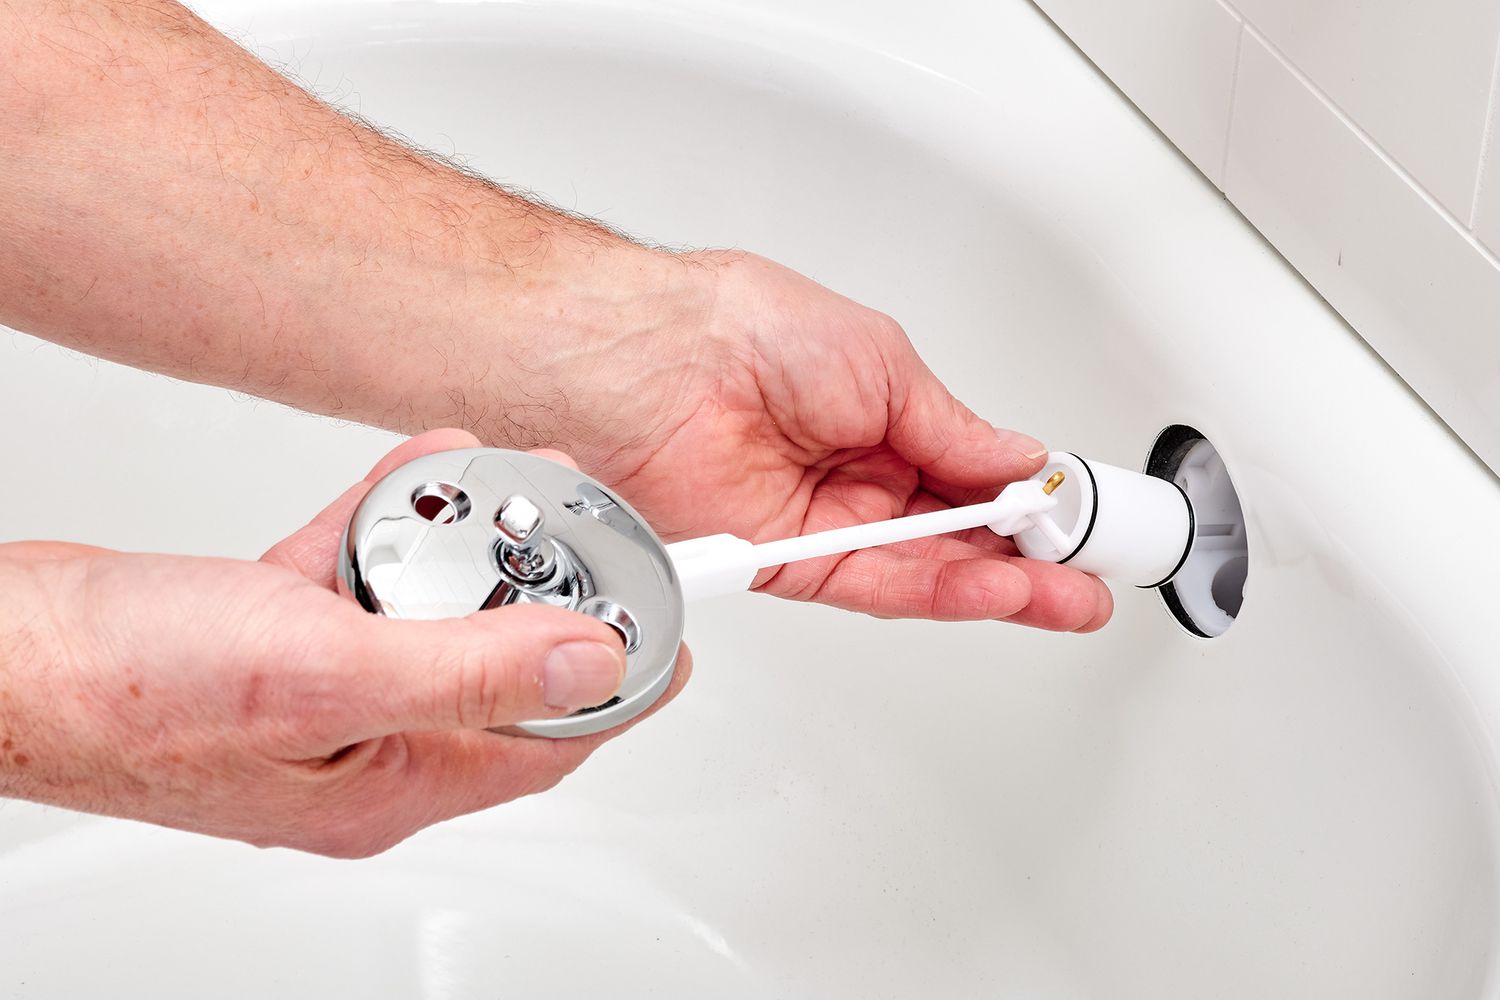
Detach the Handles and Trim: Using a screwdriver, carefully remove the handles and any trim pieces covering the faucet. These components are often secured with screws or decorative caps that conceal the fasteners. Once the handles and trim are removed, set them aside for disposal or potential reuse.
-
Loosen the Faucet Connections: With the handles and trim removed, you'll gain access to the faucet connections. Use an adjustable wrench to loosen and disconnect the water supply lines connected to the faucet. Be prepared for residual water to drain from the lines, so have a bucket and rag handy to catch any drips.
-
Remove the Faucet Assembly: After disconnecting the water supply lines, use a pipe wrench to loosen and remove the faucet assembly from the bathtub. Depending on the type of faucet, there may be additional nuts or fasteners securing it in place. Take your time to carefully detach the faucet, ensuring that no surrounding surfaces or plumbing components are damaged in the process.
-
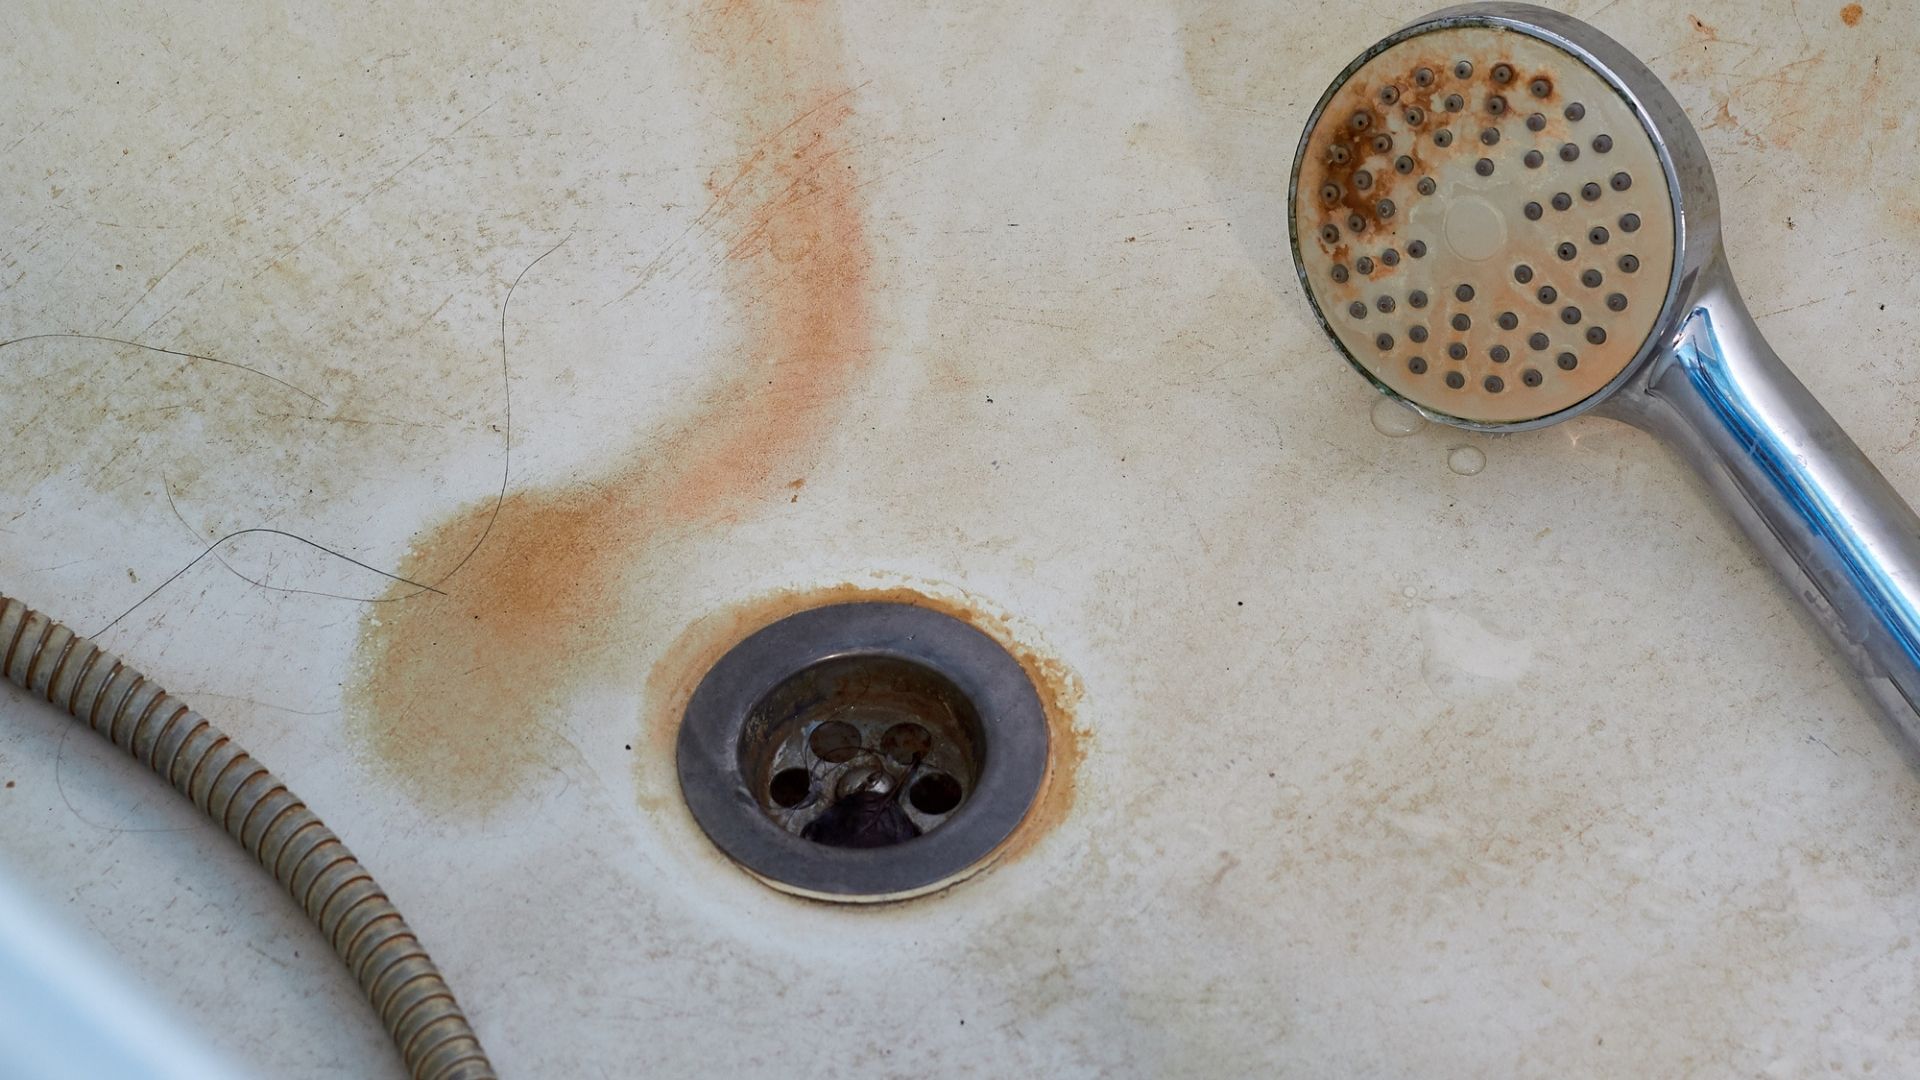
Clean the Area: Once the old faucet is removed, take a moment to clean the exposed area around the bathtub. Wipe away any accumulated grime, residue, or old plumber's putty to prepare the surface for the installation of the new faucet.
By following these steps to remove the old bathtub faucet, you'll pave the way for the installation of a fresh, new fixture. With the old faucet out of the picture, you're now ready to embark on the exciting next phase of the process: installing the new faucet.
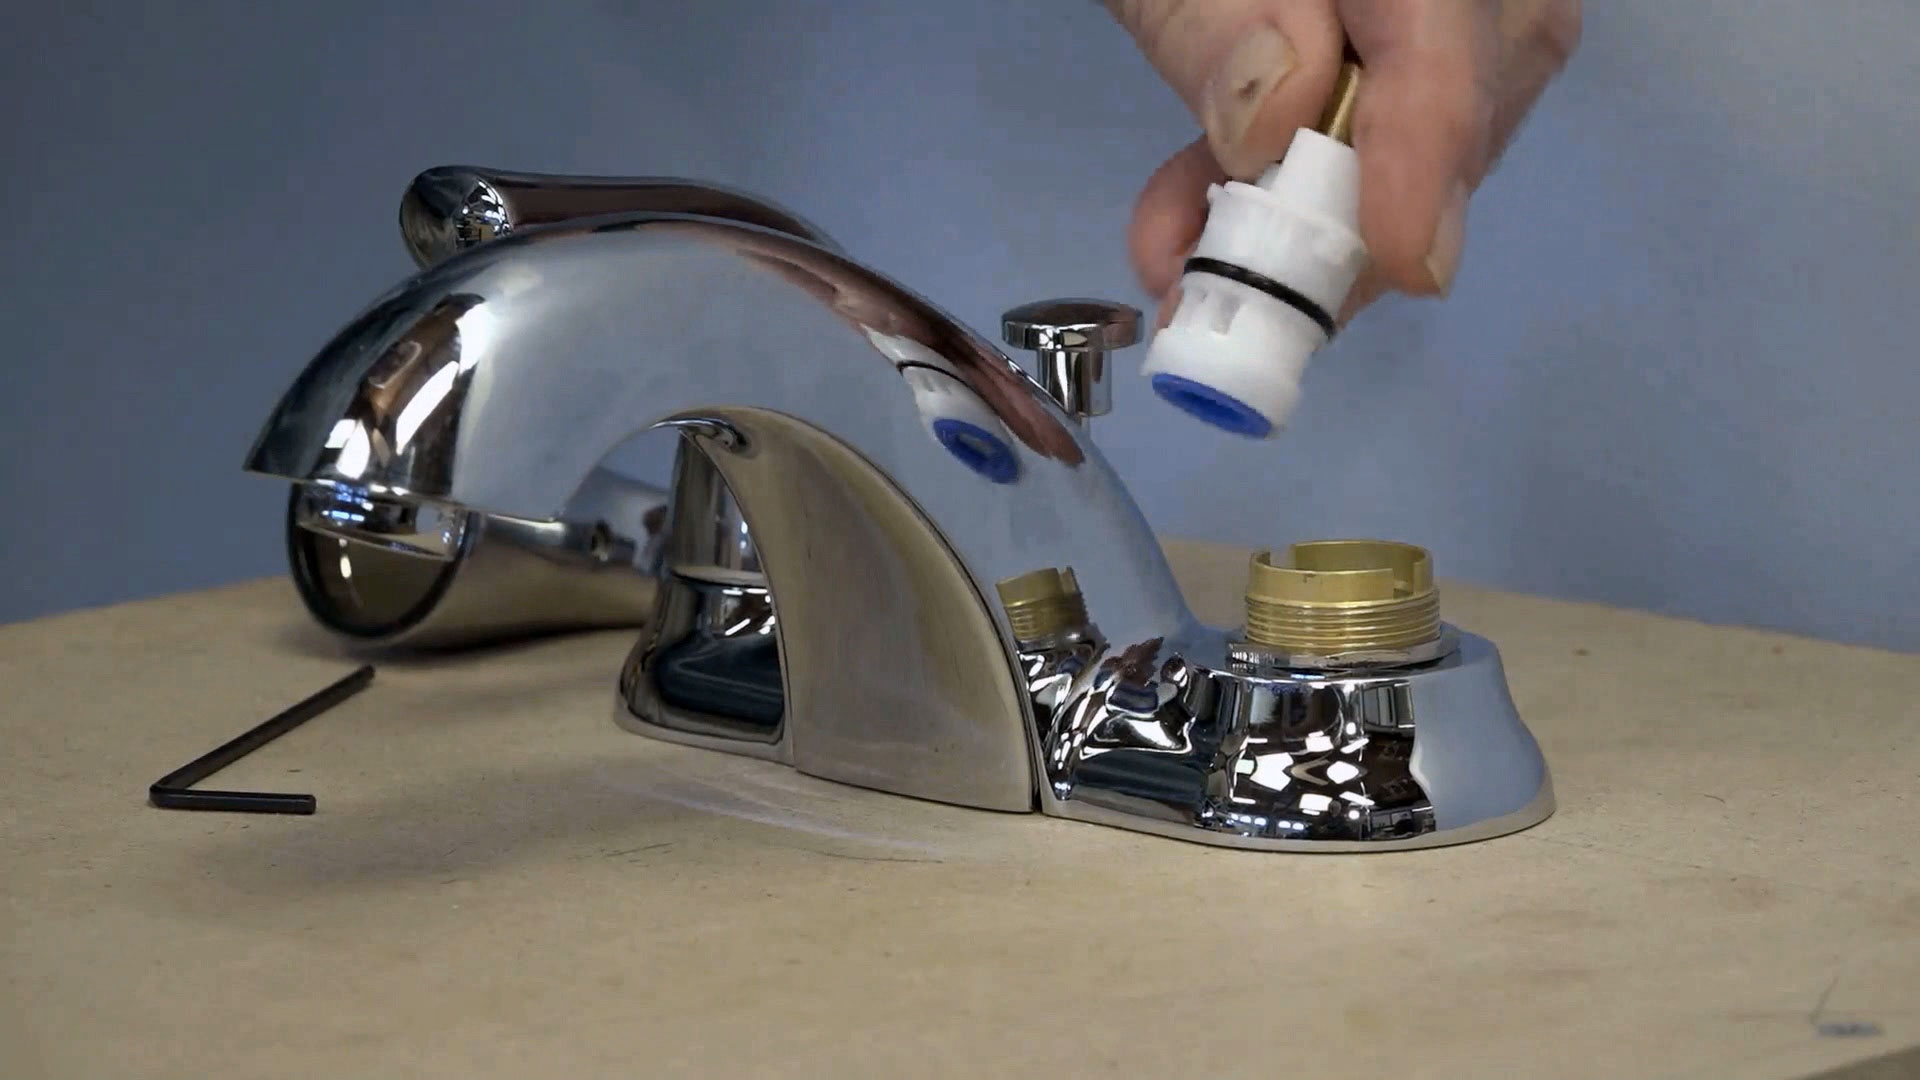
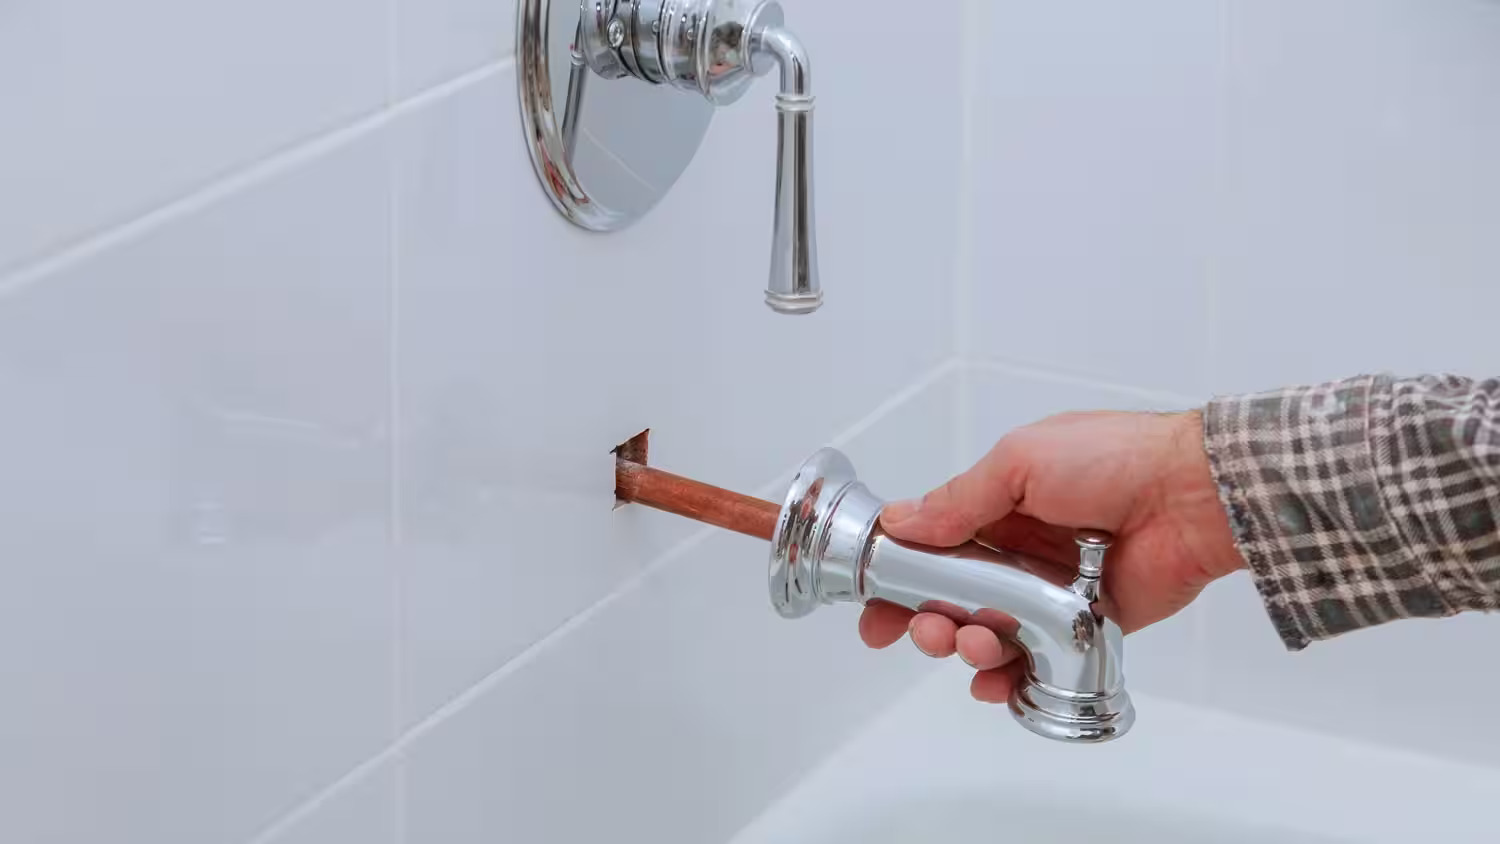
Step 4: Install the new faucet
With the old faucet successfully removed, it's time to usher in the new fixture that will breathe fresh life into your bathtub. The installation process requires precision and attention to detail to ensure a secure and leak-free fit. Here's a comprehensive guide on how to install the new faucet:
-
Prepare the Installation Area: Before installing the new faucet, ensure that the area around the bathtub is clean and free of any debris or old sealant. Wipe down the surface to create a clean and smooth foundation for the new fixture.
-
Apply Plumber's Putty or Silicone Caulk: If the new faucet requires a sealant to create a watertight connection, apply plumber's putty or silicone caulk to the base of the faucet. This step is essential for preventing water from seeping into the gaps between the fixture and the bathtub.
-
Position the New Faucet: Carefully position the new faucet in the designated installation area, ensuring that it aligns with the pre-drilled holes in the bathtub. Take your time to center the faucet and ensure that it sits flush against the surface.
-
Secure the Faucet: Once the faucet is properly positioned, secure it in place by fastening the mounting nuts or screws. Use an adjustable wrench or the appropriate tool to tighten the fasteners, ensuring that the faucet is stable and immovable.
-
Connect the Water Supply Lines: With the faucet securely in place, reconnect the water supply lines to the corresponding hot and cold water connections on the new fixture. Use Teflon tape to create a tight and secure seal, preventing any potential leaks at the connections.
-
Install the Handles and Trim: After connecting the water supply lines, install the handles and trim pieces that accompany the new faucet. Follow the manufacturer's instructions for securing these components, ensuring that they are firmly in place and aligned with the design of the faucet.
-
Test the Faucet: With the installation complete, turn on the water supply and test the new faucet for leaks and proper functionality. Check for any signs of water leakage around the connections and ensure that the hot and cold water handles operate smoothly.
By following these steps to install the new bathtub faucet, you'll bring your bathroom one step closer to a fresh and updated look. With the new fixture securely in place, you're now ready to proceed to the final step of the process: turning the water supply back on and enjoying your newly installed bathtub faucet.
Before starting, make sure to turn off the water supply to the bathtub. Use a wrench to loosen and remove the old faucet. Clean the area before installing the new faucet to ensure a proper seal.
Step 5: Turn the water supply back on
With the new bathtub faucet securely installed and tested for proper functionality, it's time to restore the water supply and bring your rejuvenated bathtub back to life. Turning the water supply back on is a straightforward yet crucial step in the faucet replacement process. Here's a detailed guide on how to safely and effectively turn the water supply back on:
-
Locate the Water Shut-Off Valve: Before turning the water supply back on, it's essential to ensure that the faucet handles are in the closed position. This precautionary measure will prevent any sudden surges of water when the supply is restored. Locate the water shut-off valve for the bathtub and ensure that it is fully open to allow water to flow to the faucet.
-
Gradually Open the Water Supply: With the faucet handles closed, gradually open the water shut-off valve to restore the flow of water to the bathtub. Slowly turning the valve will allow the plumbing system to repressurize without causing sudden water hammer or pressure spikes. Keep an eye on the faucet as you gradually open the water supply, ensuring that there are no immediate signs of leaks or irregular water flow.
-
Check for Leaks: Once the water supply is fully restored, carefully inspect the area around the new faucet for any signs of leaks or drips. Pay close attention to the connections between the faucet and the water supply lines, as well as the base of the fixture. If you notice any leaks, promptly tighten the connections or address any potential issues to prevent water damage and ensure a watertight seal.
-
Test the Faucet: With the water supply back on, test the new faucet to ensure that both the hot and cold water handles operate smoothly and deliver the expected water flow. Check for any unusual noises, such as rattling or sputtering, which may indicate air trapped in the lines. Running the water for a few minutes will help purge any air from the system and ensure consistent water flow.
-
Inspect Surrounding Areas: After the faucet has been tested, inspect the surrounding areas for any signs of water accumulation or moisture. Ensure that the connections are dry and that there are no hidden leaks that could lead to water damage over time. Wipe down the area around the faucet to remove any residual water and ensure a clean and dry environment.
By following these steps to turn the water supply back on, you'll complete the final stage of the bathtub faucet replacement process. With the water flowing smoothly and the new faucet adding a touch of elegance to your bathtub, you can now step back and admire the successful outcome of your DIY project. Congratulations on mastering the art of changing out bathtub faucets!
Conclusion
Congratulations on successfully completing the process of changing out your bathtub faucet! By following the step-by-step guide provided in this article, you've not only enhanced the functionality and aesthetics of your bathroom but also gained valuable DIY skills. As you stand back and admire your newly installed faucet, take pride in the fact that you've accomplished a significant home improvement project with confidence and precision.
The journey of replacing a bathtub faucet may have presented its challenges, but your proactive approach and attention to detail have resulted in a professional-looking outcome. From gathering the necessary tools and materials to turning off the water supply, removing the old faucet, installing the new fixture, and turning the water supply back on, each step has contributed to the successful transformation of your bathtub.
As you revel in the satisfaction of a job well done, take a moment to appreciate the impact of your efforts. The new faucet not only adds a touch of elegance to your bathtub but also serves as a testament to your ability to tackle DIY projects with skill and determination. Whether you embarked on this endeavor to address a worn-out faucet or simply desired a fresh look for your bathroom, the result is a testament to your commitment to maintaining a beautiful and functional living space.
Furthermore, the knowledge and experience gained from this project can serve as a foundation for future DIY endeavors. As you reflect on the process of changing out your bathtub faucet, consider the skills you've honed, the challenges you've overcome, and the sense of accomplishment that accompanies a successful home improvement project. These experiences can empower you to take on new projects with confidence, knowing that you have the capability to bring your vision to life.
In conclusion, the journey of changing out a bathtub faucet is not just about the physical transformation of a fixture; it's about the empowerment that comes from mastering a new skill and the pride that accompanies a job well done. As you enjoy the enhanced functionality and visual appeal of your bathtub, remember that you've not only upgraded your living space but also enriched your DIY repertoire. So, take a moment to bask in the satisfaction of a successful project and look forward to the next opportunity to apply your newfound expertise.
Frequently Asked Questions about How To Change Out Bathtub Faucets
Was this page helpful?
At Storables.com, we guarantee accurate and reliable information. Our content, validated by Expert Board Contributors, is crafted following stringent Editorial Policies. We're committed to providing you with well-researched, expert-backed insights for all your informational needs.


0 thoughts on “How To Change Out Bathtub Faucets”